Close
0%
0%

IOT - ESP8266 Dual Relay Module Controller Shield

Intended for a ESP8266-01 module Using NodeMCU Firmware
To control my Solar PV setup DC disconnects remotely

Similar projects worth following
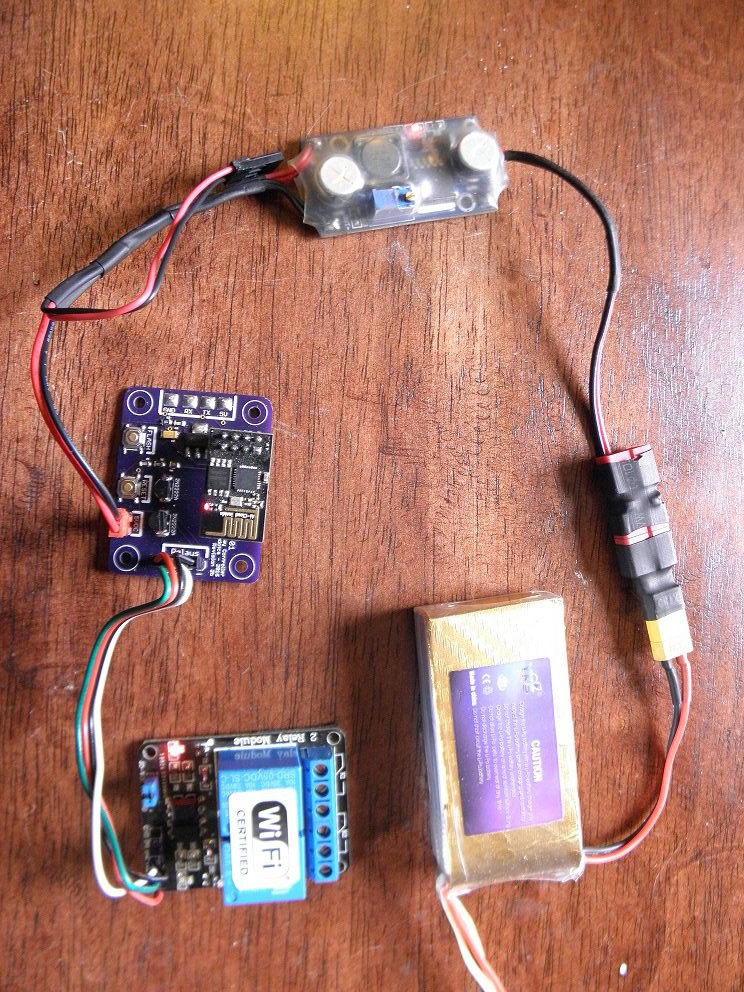
I have seen lots of different types available that use other firmware and larger design but wouldn't work for my needs, so I figured I would do my own version that uses a generic 2 relay module and simple parts

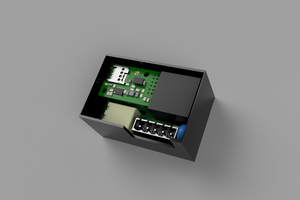
Initially I wanted to make a dual outlet in-wall ac jack where each outlet can be changed independently and allow for seamless integration into a smart home setup that contractors can install replacing standard ac outlets, but right now fabrication of housings are beyond my resources to develop better than a 3d printed version

So for now it's early stages this will be for my solar bank and pv disconnect to remotely turn off when they are not needed

I'm awaiting a few prototypes for testing from Oshpark. and will share more info and links once tested

Hopefully once the first segments of codes finalized i will incorporate the nextion screen for local touch screen control and AP setting changes, but thats to come later on

I plan to make the final pcb board large enough to mount the relay on also, for the sake of production cost this version for testing was done, but links will remain in my published section for oskpark orders after the large version is produced

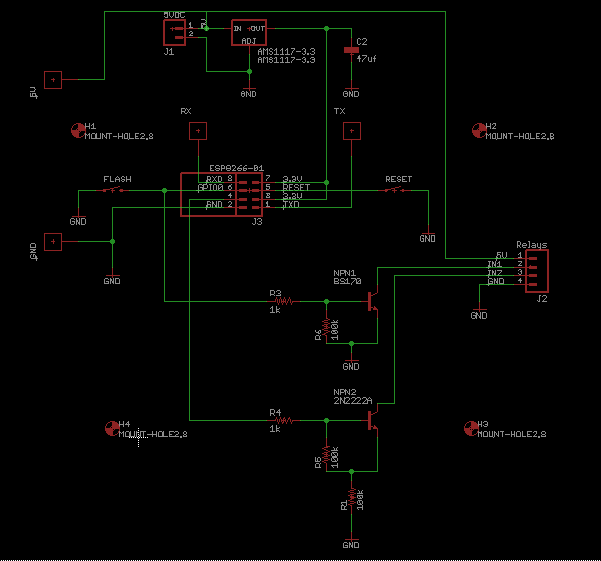
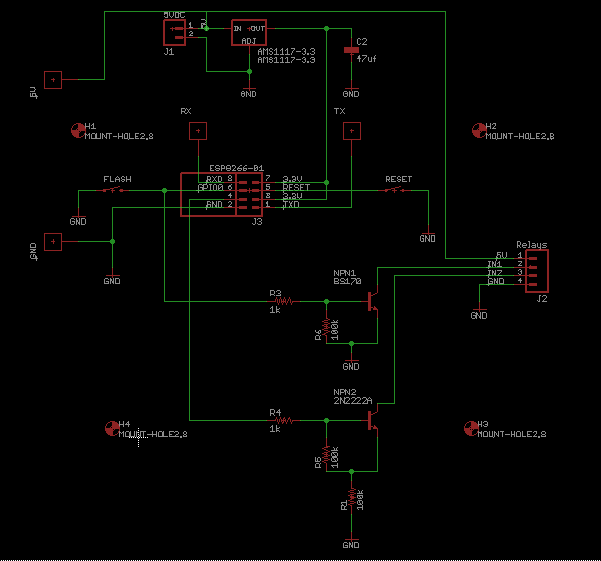
Schematic: (swapped npn1 to BS170 mosfet)
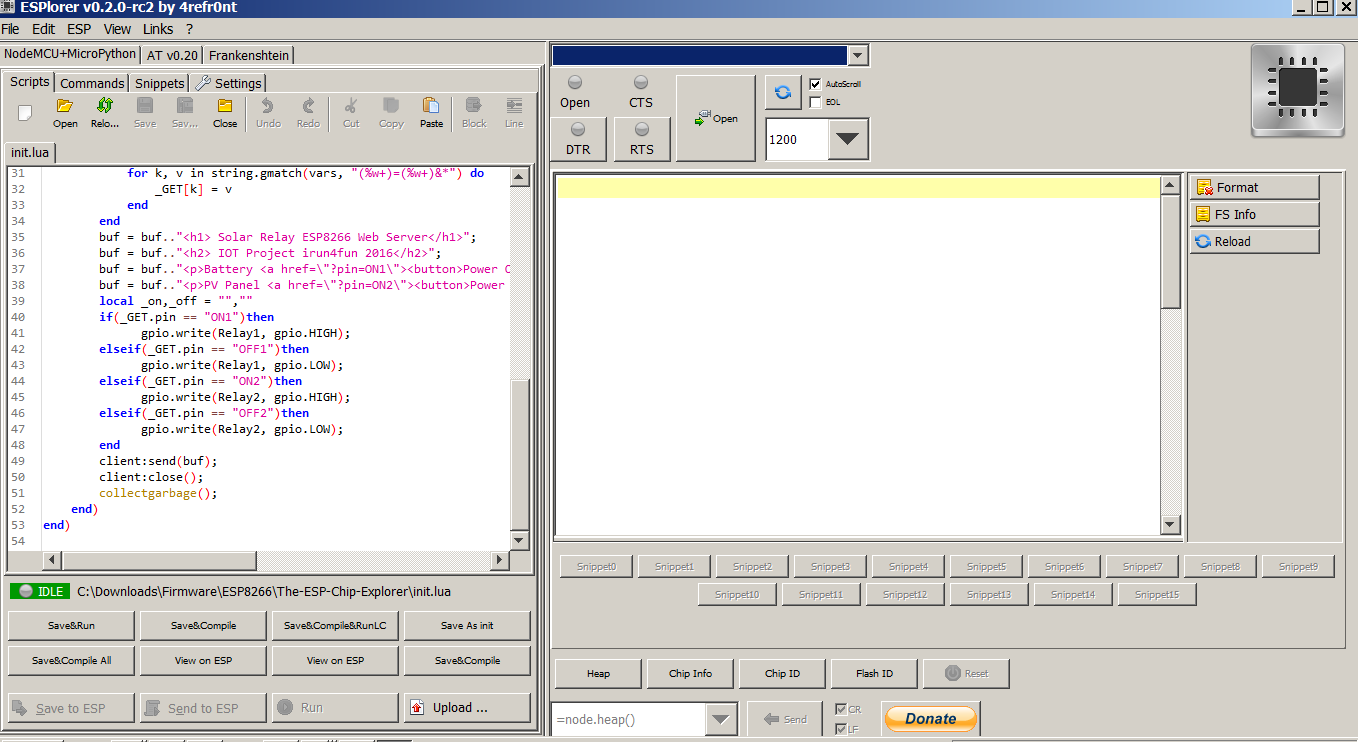
Code so far (without display support)"

wifi.setmode(wifi.STATION)

wifi.sta.config("ssid","weppassword")

print('\nSolar PV Controller - ESP8266 Server v1b\n')

tmr.alarm(0, 1000, 1, function()

if wifi.sta.getip() == nil then

print("Connecting to AP...\n")

else

ip, nm, gw=wifi.sta.getip()

macAdd = wifi.sta.getmac();

print("IP Info: \nIP Address: ",ip)

print("Netmask: ",nm)

print("Gateway Addr: ",gw,'\n')

print("Mac Addr: ",macAdd,'\n')

tmr.stop(0)

end

end)

Relay1 = 0

Relay2 = 2

gpio.mode(Relay1, gpio.OUTPUT)

gpio.mode(Relay2, gpio.OUTPUT)

srv=net.createServer(net.TCP)

srv:listen(80,function(conn)

conn:on("receive", function(client,request)

local buf = "";

local _, _, method, path, vars = string.find(request, "([A-Z]+) (.+)?(.+) HTTP");

if(method == nil)then

_, _, method, path = string.find(request, "([A-Z]+) (.+) HTTP");

end

local _GET = {}

if (vars ~= nil)then

for k, v in string.gmatch(vars, "(%w+)=(%w+)&*") do

_GET[k] = v

end

end

buf = buf.."<h1> Solar Relay ESP8266 Web Server</h1>";

buf = buf.."<h2> IOT Project irun4fun 2016</h2>";

buf = buf.."<p>Battery Bank <a href=\"?pin=ON1\"><button>Power ON</button></a>&nbsp;<a href=\"?pin=OFF1\"><button>Power OFF</button></a></p>";

buf = buf.."<p>Solar Array <a href=\"?pin=ON2\"><button>Power ON</button></a>&nbsp;<a href=\"?pin=OFF2\"><button>Power OFF</button></a></p>";

local _on,_off = "",""

if(_GET.pin == "ON1")then

gpio.write(Relay1, gpio.HIGH);

elseif(_GET.pin == "OFF1")then

gpio.write(Relay1, gpio.LOW);

elseif(_GET.pin == "ON2")then

gpio.write(Relay2, gpio.HIGH);

elseif(_GET.pin == "OFF2")then

gpio.write(Relay2, gpio.LOW);

end

client:send(buf);

client:close();

collectgarbage();

end)

end)

ESP8266_Relay_Adapter _mod v2B.sch

Eagle Schematic

sch - 186.26 kB - 04/07/2016 at 19:14

Download

ESP8266_Relay_Adapter _mod v2B.brd

Eagle Board File

brd - 60.43 kB - 04/07/2016 at 19:14

Download

Screenshot 2016-03-14 17.46.16.png

Schematic

Portable Network Graphics (PNG) - 12.01 kB - 03/14/2016 at 21:47

Preview

mycode.lua

lua code so far

lua - 1.96 kB - 03/14/2016 at 21:13

Download

View all 12 components

  • Testing Other ESP Modules

    Charles Lakins05/05/2016 at 13:46 0 comments

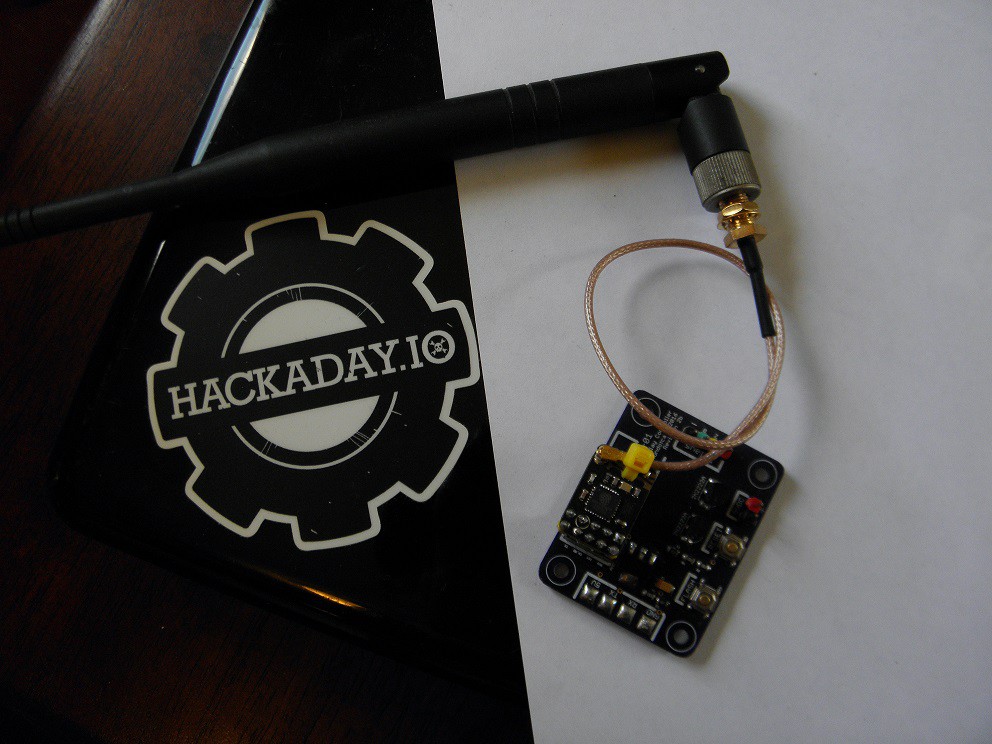
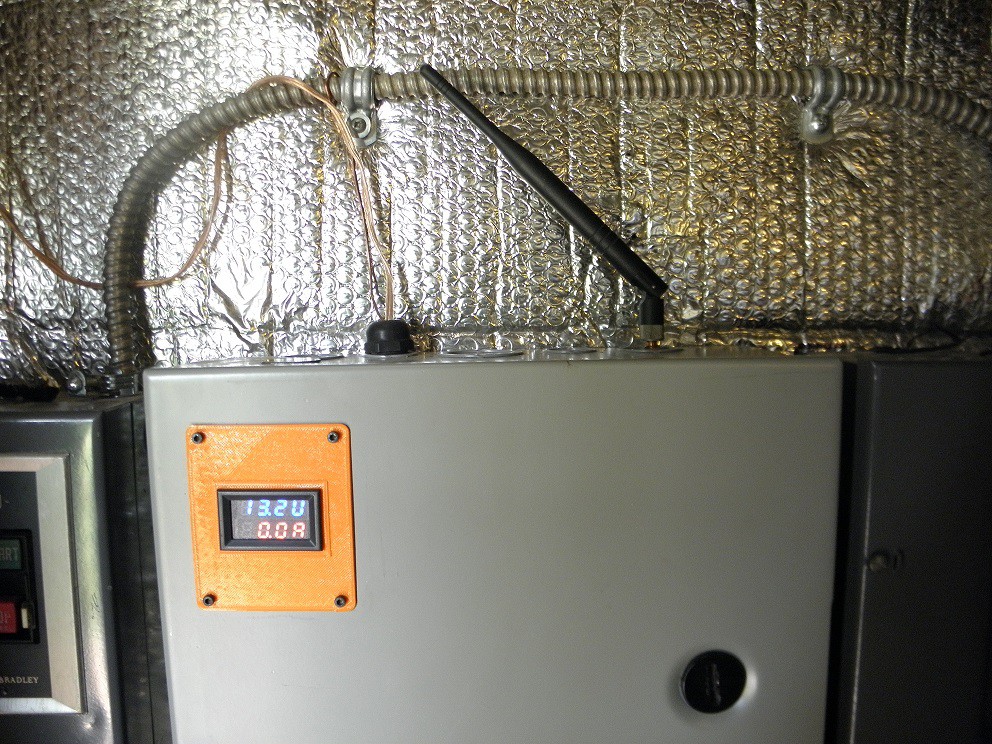
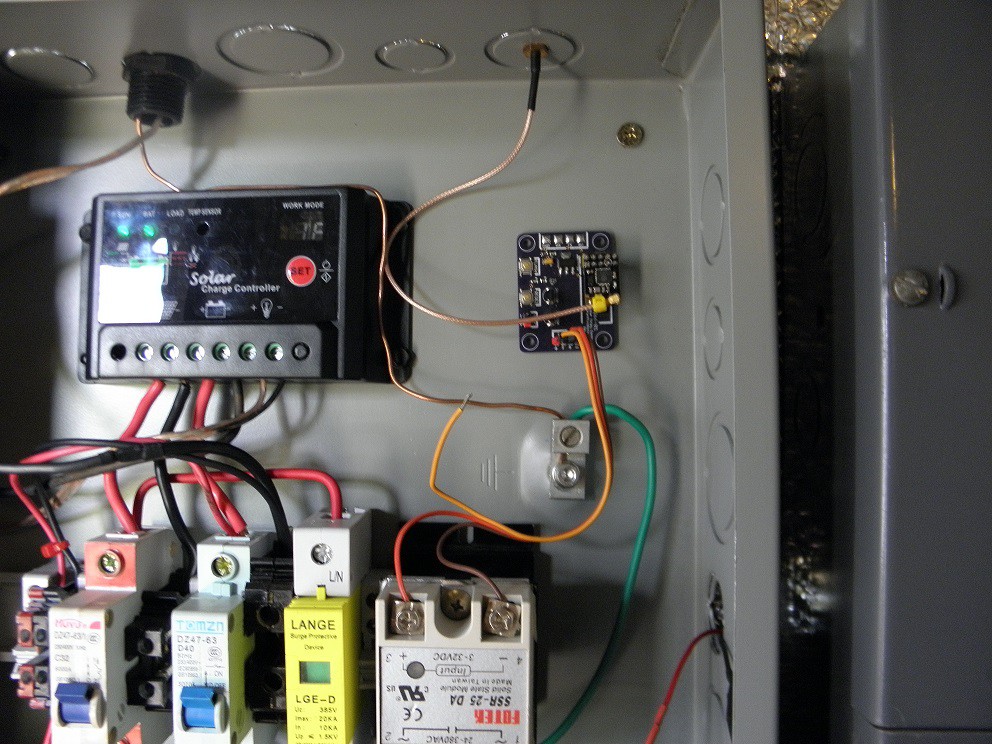
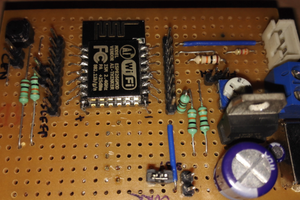
    Testing BLK BOX 4 layer ESP board to take advantage of it's onboard U.FL connector for external antenna mounting on my solar controller enclosure, its pins are the same as the ESP-01 with the exception there are two more IO's added on one end for GPIO12/ADC (jumper selection) and GPIO14

    https://www.tindie.com/products/blkbox/4-layer-esp8266-wifi-module/

    Photos of the module Installed for testing a Solid State Relay


  • Voltage Check - Trouble Shooting

    Charles Lakins04/07/2016 at 18:31 0 comments

    Voltage Checks:

    NPN1 Gate (gpio0) = 2.6v

    NPN2 Base (gpio2) = 3,2v

    Relay output pin from NPN1 = 0.0v

    Relay output pin from NPN2 = 2.7v

  • Code or Resistor values?

    Charles Lakins04/07/2016 at 15:44 0 comments

    So far the change to NPN1 has passed bootup and allows it to connect to my AP ok

    I'm not sure if my codes right as the buttons arent doing anything when i turn them on/off , also the NPN2 circuit seems to be always triggering its relay where the NPN1 one wont (code maybe or R6 vaue)

  • Changes to Component: NPN1

    Charles Lakins04/07/2016 at 13:25 0 comments

    NPN1 using the 2N222A was triggering flash mode on boot, with some troubleshooting help from member SUF here. I Swapped it out for a pin compatible BS170 N channel mostfet

    "the MOSFETs Gate is insulated from the Drain-Source channel,

    and not acting like a clamping diode"

    Schematic Changes:

  • Code or resistor value discrepancy

    Charles Lakins04/05/2016 at 23:56 0 comments

    Theres a Code or resistor value discrepancy for the GPIO0 for reset

    when I remove R3 (1K) to disconnect the transistor for relay output the board boots and connects to the AP Correctly ,so its either the code or a resistor value

    Considering adding a diode for output only on the R3 Trace so it doesnt see anything from the transistor side

  • Inital Testing

    Charles Lakins04/05/2016 at 21:56 0 comments

    Testing seems to be ok, 5v and 3.3v are spot on, but its not connectiing to the AP but will with just voltage supplied & reset works as intended

    I think the code needs to set the gpio high so it doesn't enter flash mode on startup besides that so far so good


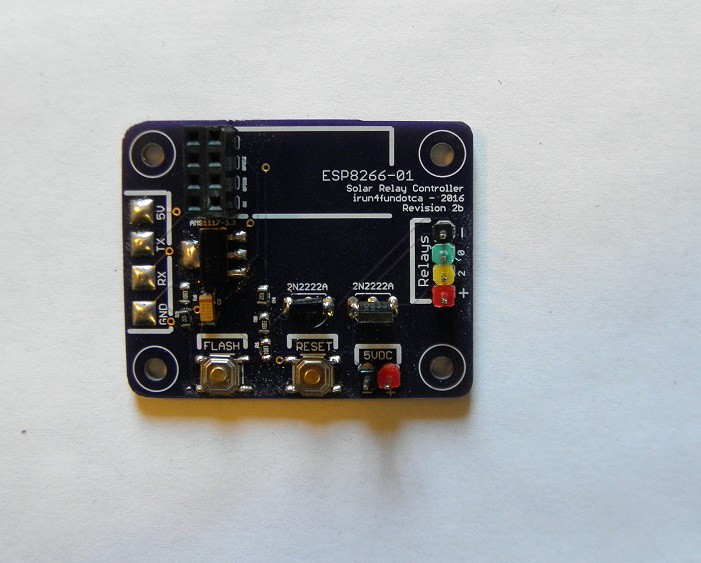
  • First Assembly

    Charles Lakins04/05/2016 at 18:23 1 comment

    First Board Assembled - Testing to follow

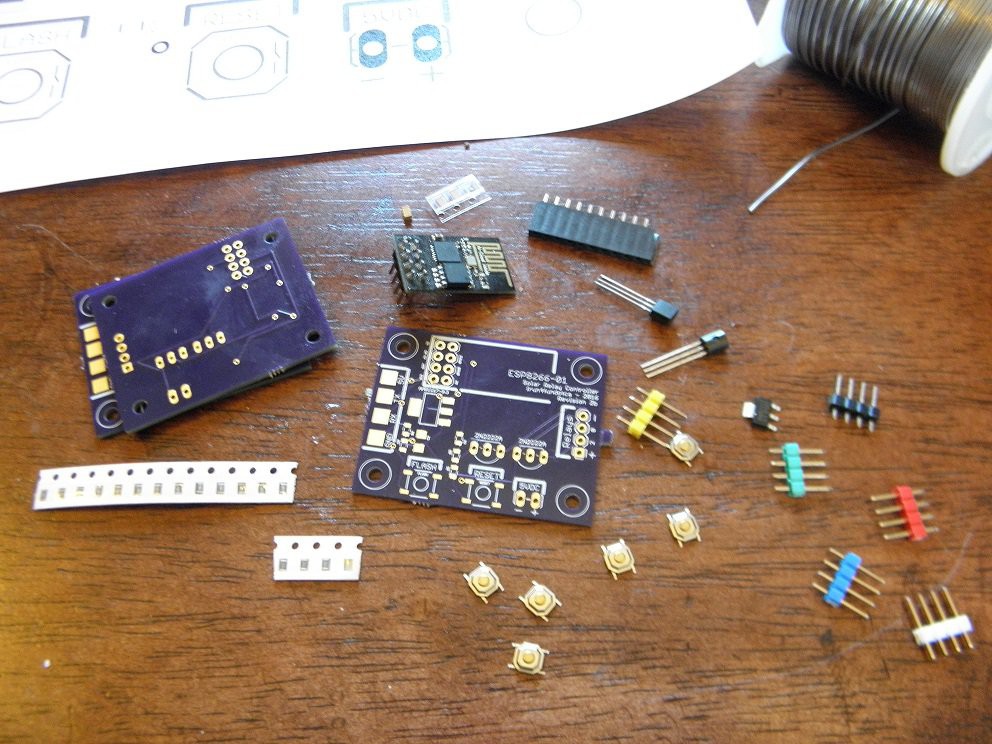
  • Boards Arrived - Assembly Started

    Charles Lakins04/05/2016 at 17:15 0 comments

    The oshpark order arrived - assembly started and shipping out Vlad's board for testing

  • Oshpark Boards Shipped

    Charles Lakins04/01/2016 at 00:15 0 comments

    Oshpark prototypes shipped last week might arrive next week for some testing before final revision submission on next run

View all 9 project logs

View all 4 instructions

Enjoy this project?

Share

Discussions

IW0HJZ wrote 04/26/2016 at 14:31 point

Yes, sorry, I miss the webserver picture.
the idea was to put all in a double socket box without transformer:
220---->12----->5----->3,3 ( tremendous contraption with 3 1N4007 diode), looking something compact.

waiting for future developments
all the best iw0hjz

  Are you sure? yes | no

Charles Lakins wrote 04/26/2016 at 17:53 point

yeah i intended to make an in wall outlet, but for development purposes i decided to use it on my solar setup for easy testing, mold casting for enclosure is costly

  Are you sure? yes | no

IW0HJZ wrote 04/26/2016 at 14:25 point

Yes, I miss the webserver picture, sorry.

  Are you sure? yes | no

IW0HJZ wrote 04/26/2016 at 09:29 point

Hi,Charles nice work! 

Mine start from here:https://hackaday.io/project/4422-esp8266-native-switcher and the results (one year ago) are show in this ugly photos !

https://www.dropbox.com/sc/qnu7hi3bzl43ft2/AAAilgur4l6ftP8YSP6kghMMa

" NPN1 using the 2N222A was triggering flash mode on boot, with some troubleshooting help from member SUF here. I Swapped it out for a pin compatible BS170 N channel mostfet
"the MOSFETs Gate is insulated from the Drain-Source channel,
and not acting like a clamping diode"   same problem, this seems the right solution, I put some opto-isolator but still click on startup...

Nice pcb, which kind of web page ( if one) you use to control the switch?

For me works better one pcb with the relays on it.

Hope to see soon the final version.

Ciao Alberto Iw0hjz

  Are you sure? yes | no

Charles Lakins wrote 04/26/2016 at 11:57 point

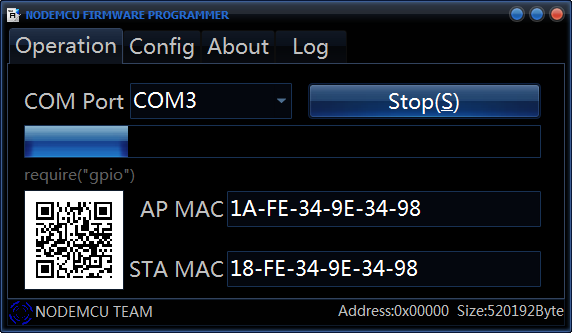
ahh good work too, I plan to make a larger board to make room for direct soldering of the 2 relay modules pins so the whole module fits once I get finished, maybe even a snap off section to keep it small If someone wanted it that way instead , my loaded code hosts the webpage from its IP as shown in the images (with serial output also)l

  Are you sure? yes | no

Similar Projects

Does this project spark your interest?

Become a member to follow this project and never miss any updates