Close
0%
0%

Bypassing TV broadcasting restrictions

A compact Tvheadend server based on a RPi3 to bypass geographical restrictions of TV broadcasting

Similar projects worth following
My dad likes to watch TV, but he doesn't get the channels he enjoys because of geographical broadcasting restrictions. So I'm building a Tvheadend server, based on a Raspberry Pi 3 and a DVB-T receiver, in order to receive the broadcasting in the allowed zone and transmit it over the Internet to a media center (or any computer really).

This project shows how to make a compact Tvheadend server that is also secure and relatively easy to set up. I'm learning as I build it so this should be fun...

Television broadcasts have geographical restrictions because of licensing and whatnot. This is annoying as some people (my dad for one) prefer channels from places they are not living in, especially with all the people moving around the planet all the time now.

As far as I'm concerned geographical restrictions should be a relic of the past, but TV stations are still not keen on broadcasting their shows over the Internet, or they only broadcast some of them. Radio channels are mostly accessible everywhere now, but for TV it's still not there yet.

There are probably laws that still disallow this kind of broadcasting, but it is strictly meant for personal use, so no issues there.

Personally I couldn't care less about television, the garbage media and forced advertisements have left a foul image of the idiot-box, but I still consider it a fun project.

  • Secure access to Tvheadend server

    Solenoid04/27/2016 at 05:35 0 comments

    Internet security is a hot topic nowadays, having computers exposed to the internet (opened ports) is a very real risk and you wouldn't believe the number of bots that are scanning through all the IP addresses in hope of finding an ill-configured system or simply brute forcing everything.

    I recently had an experience where one of the computers I managed, which had an exposed port 22 (SSH), was being brute forced from a Chinese IP addresses. Fortunately SSH was not enabled for the the root account, which it tried to break. However sooner or later on unchecked systems a robot will succeed and compromise the network.

    This is why I'm writing about a simple way to set up a truly robust connection, as the Tvheadend server in this project obviously needs remote access.

    Enter OpenVPN: an open, free, robust and easy to setup virtual private network software. It has a slight learning curve which might be discouraging at first, but this tutorial here explains how to set it up for the current use case, actually it's surprisingly easy and painless (as long as you use tunnelling mode and not ethernet bridging)

    The VPN provides an encrypted connection, it does not require any configuration of the remote router, which is really nice as the Tvheadend server might be left at a friends or relatives place and changing their router settings is not always possible/allowed.

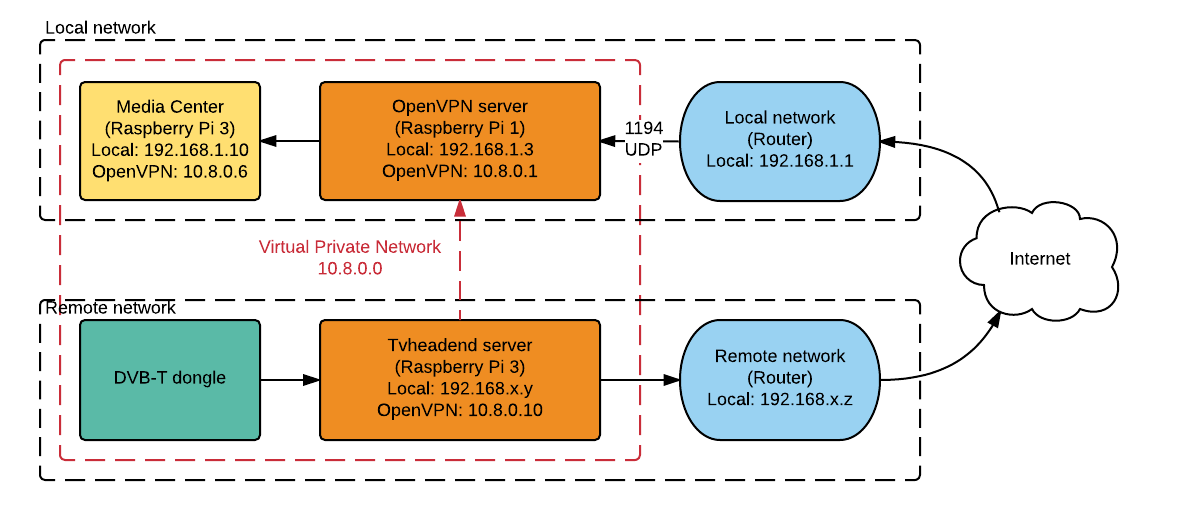
    The network is set up as follows:

    • The DVB-T dongle is connected to the Tvheadend server, which is a OpenVPN client
    • The OpenVPN server is a Raspberry Pi 1
    • The media center is another client connected to the OpenVPN server
    • The local network router needs to forward the incoming UDP packets on port 1194 to the OpenVPN server
    • The clients and server can communicate securely on the virtual private network between themselves on the 10.8.0.x subnet

    This is the network setup I'm going for here. The media center (10.8.0.6) I'm using, based on Kodi, will be able to access the Tvheadend server via the IP address 10.8.0.10, through the OpenVPN server on 10.8.0.1. The red arrow indicates the virtual connection, the true physical connection is represented by the black arrows.

    One could also set up the OpenVPN server on the media center computer, however I want to run a couple other services on the Raspberry Pi 1 which I don't want on the media center itself (Pi-Hole, OwnCloud...).

    Installing OpenVPN

    DietPi has pre-configured packages that one can install by simply checking a box, it is super useful in this case.

    Simply call:

    dietpi-software

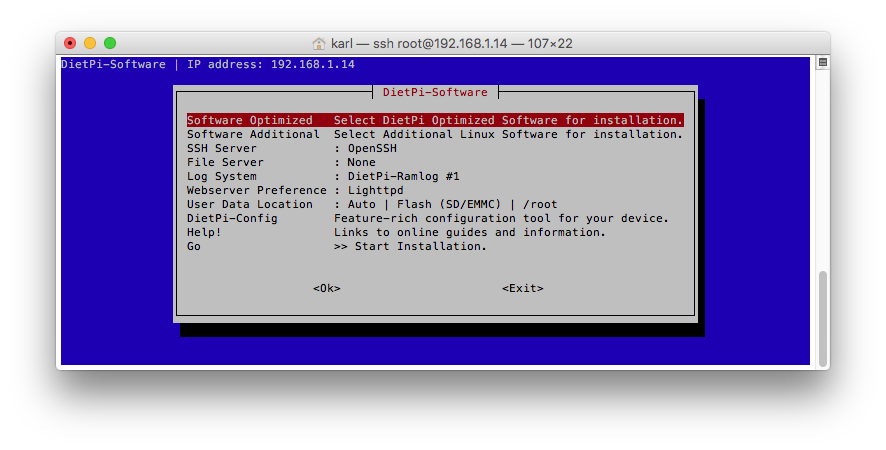
    Which opens the software installation process:

    Select "Software Optimized", scroll down until you see "OpenVPN", hit the space-bar to select it and follow the instructions to install it. Do the same for the server and client.

    Generating certificates

    Configuring the OpenVPN server is a fairly straight forward procedure, you don't need to understand everything (I sure didn't), some certificates (read: impossible-to-guess-super-long-passwords) simply need to be generated and copied from the server to the client.

    I followed the instructions on the official OpenVPN how-to tutorial.

    First go to /etc/openvpn/easy-rsa/ where all the tools for certificate creation are located. Execute the following commands in order and hit enter or reply with "y" whenever it asks for something:

    . ./vars
    ./clean-all
    ./build-ca
    ./build-key-server server
    ./build-key client_tvheadend
    ./build-key client_osmc
    ./build-dh

    It created some files under /etc/openvpn/easy-rsa/keys/ which need to be copied to /etc/openvpn/ on the server and client computers.

    Configuring OpenVPN server

    Copy the following files to /etc/openvpn/ on the server:

    • ca.crt
    • ca.key
    • dh1024.pem
    • server.crt
    • server.key

    Create the configuration file for the server, named server.conf in /etc/openvpn/. This is the main file that needs some custom setup and it is the only thing that differentiates the server from the client. I used the template provided by OpenVPN for the server.

    To allow the clients to access each other modify the following lines in server.conf:

    1. Uncomment...
    Read more »

  • Setting up Tvheadend

    Solenoid04/10/2016 at 21:25 0 comments

    This is a short set up how-to for the system I use, from blank SD-card to functioning Tvheadend server.

    The system is based on DietPi, at first I tried Raspbian Jessie Lite, however it was not light enough for my taste, DietPi is really well finished and much better suited for a headless system than the Lite version of Raspbian. This list convinced me to switch to DietPi.

    1. Download DietPi
    2. Install the operating system using the instructions detailed here
    3. Setup DietPi by following the instructions here
      1. Take a look at the dietpi.txt file on the /boot partition, you can set up a lot of things prior to the first boot, such as Wi-Fi credentials, which is especially useful for a headless Raspberry Pi 3
      2. Optionally install software packages described here, none are needed for the next steps
    4. Call "apt-get install apt-transport-https" to allow downloading packages over https, it will prompt some warning messages to which one must answer with a click on the "y" key
    5. Install Tvheadend
      1. apt-key adv --keyserver hkp://keyserver.ubuntu.com:80 --recv-keys 379CE192D401AB61
      2. echo "deb https://dl.bintray.com/tvheadend/deb jessie release" | sudo tee -a /etc/apt/sources.list
      3. apt-get update
      4. apt-get install tvheadend -y
      5. Follow the instructions on screen and enter the username and password for Tvheadend when prompted
    6. Configure Tvheadend
      1. Go to the URL of the Raspberry Pi, port 9981, something like http://192.168.1.160:9981
      2. Under Configuration, DVB Inputs, Networks select Add
      3. Select DVB-T Network
      4. Enter a dummy name, for example "Television"
      5. Under Pre-defined Muxes select "--Generic--: auto-Default"
      6. Click Create
      7. Go to the TV adapters tab and select the Realtek RTL2832 (DVB-T) adapter
      8. Check the Enabled checkbox
      9. Under Networks select the previously created network
      10. Click Save
      11. Select the Muxes tab
      12. Wait for the system to scan all the frequencies, it will take a while
    7. Save the channels
      1. Go to Configuration, DVB Inputs, Services
      2. Select Map All
      3. Click Map
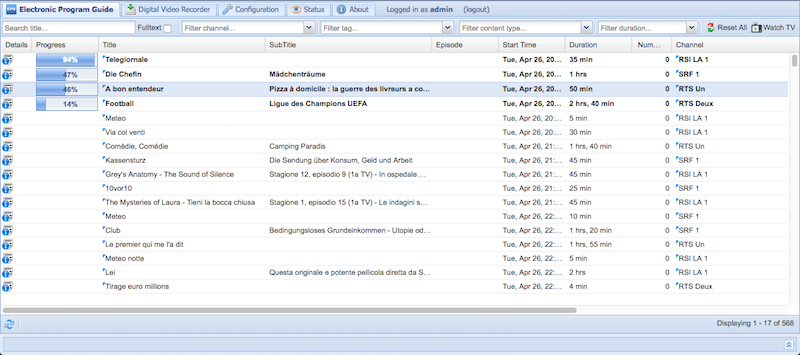
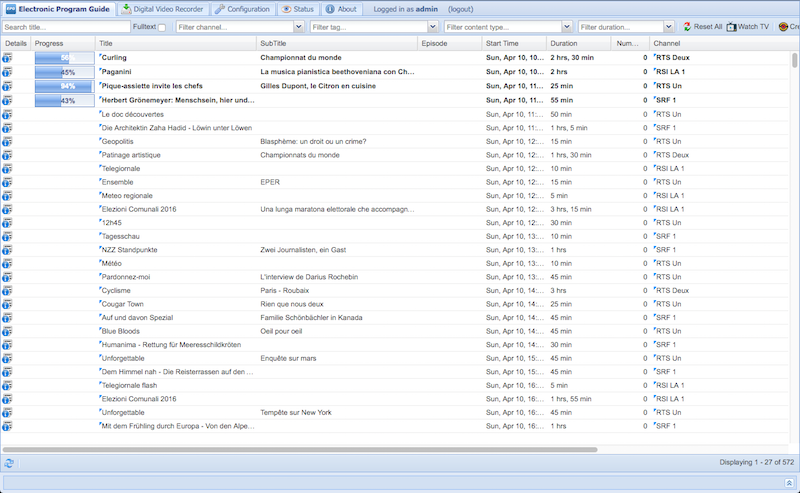
      4. Go to the Electronic Program Guide, it will populate the programs of the mapped channels

    From there you can discover all the functionalities of Tvheadend, it is truly a remarkable, feature complete, piece of software.

  • Tvheadend Personal Video Recorder back end

    Solenoid04/09/2016 at 23:12 0 comments

    The software that manages the stream from the DVB-T dongle is Tvheadend Personal Video Recorder (PVR) back end. It's a very polished TV streaming server and recorder, with lots of options.

    It allows to scan for channels, list them, obtain the schedule, record shows (even automatically) and stream in a standard format that any video player can read. Essentially an open-source TV recorder on steroids. All the management is done via a web-browser, so no special front end management software is required.

    Most of the options are pretty explicit, but normally one only needs to set up the dongle, let is scan for channels, click a button and it's ready to stream.

    This means that once the server is up one can connect to it without any additional software other than a standard video player like VLC. You can actually download a .m3u file and start the stream whenever you want just like an .mp4 or .avi file. I intend to use it with a media center based on Kodi.

    The system does however have its limits. I tested with two streams and it started to struggle, every stream takes about 3 to 5% of CPU. Since this project is meant for personal use only it won't be an issue.

  • Concerns, tests, relief

    Solenoid04/09/2016 at 21:10 0 comments

    I was a bit concerned about the design choices in this project. I intend to put a lot of heating elements in a tiny enclosure with no way to evacuate heat, probably ignore all rules regarding signal cables proximity to power cables, have 230V going inside, etc. Therefore some tests were afoot.

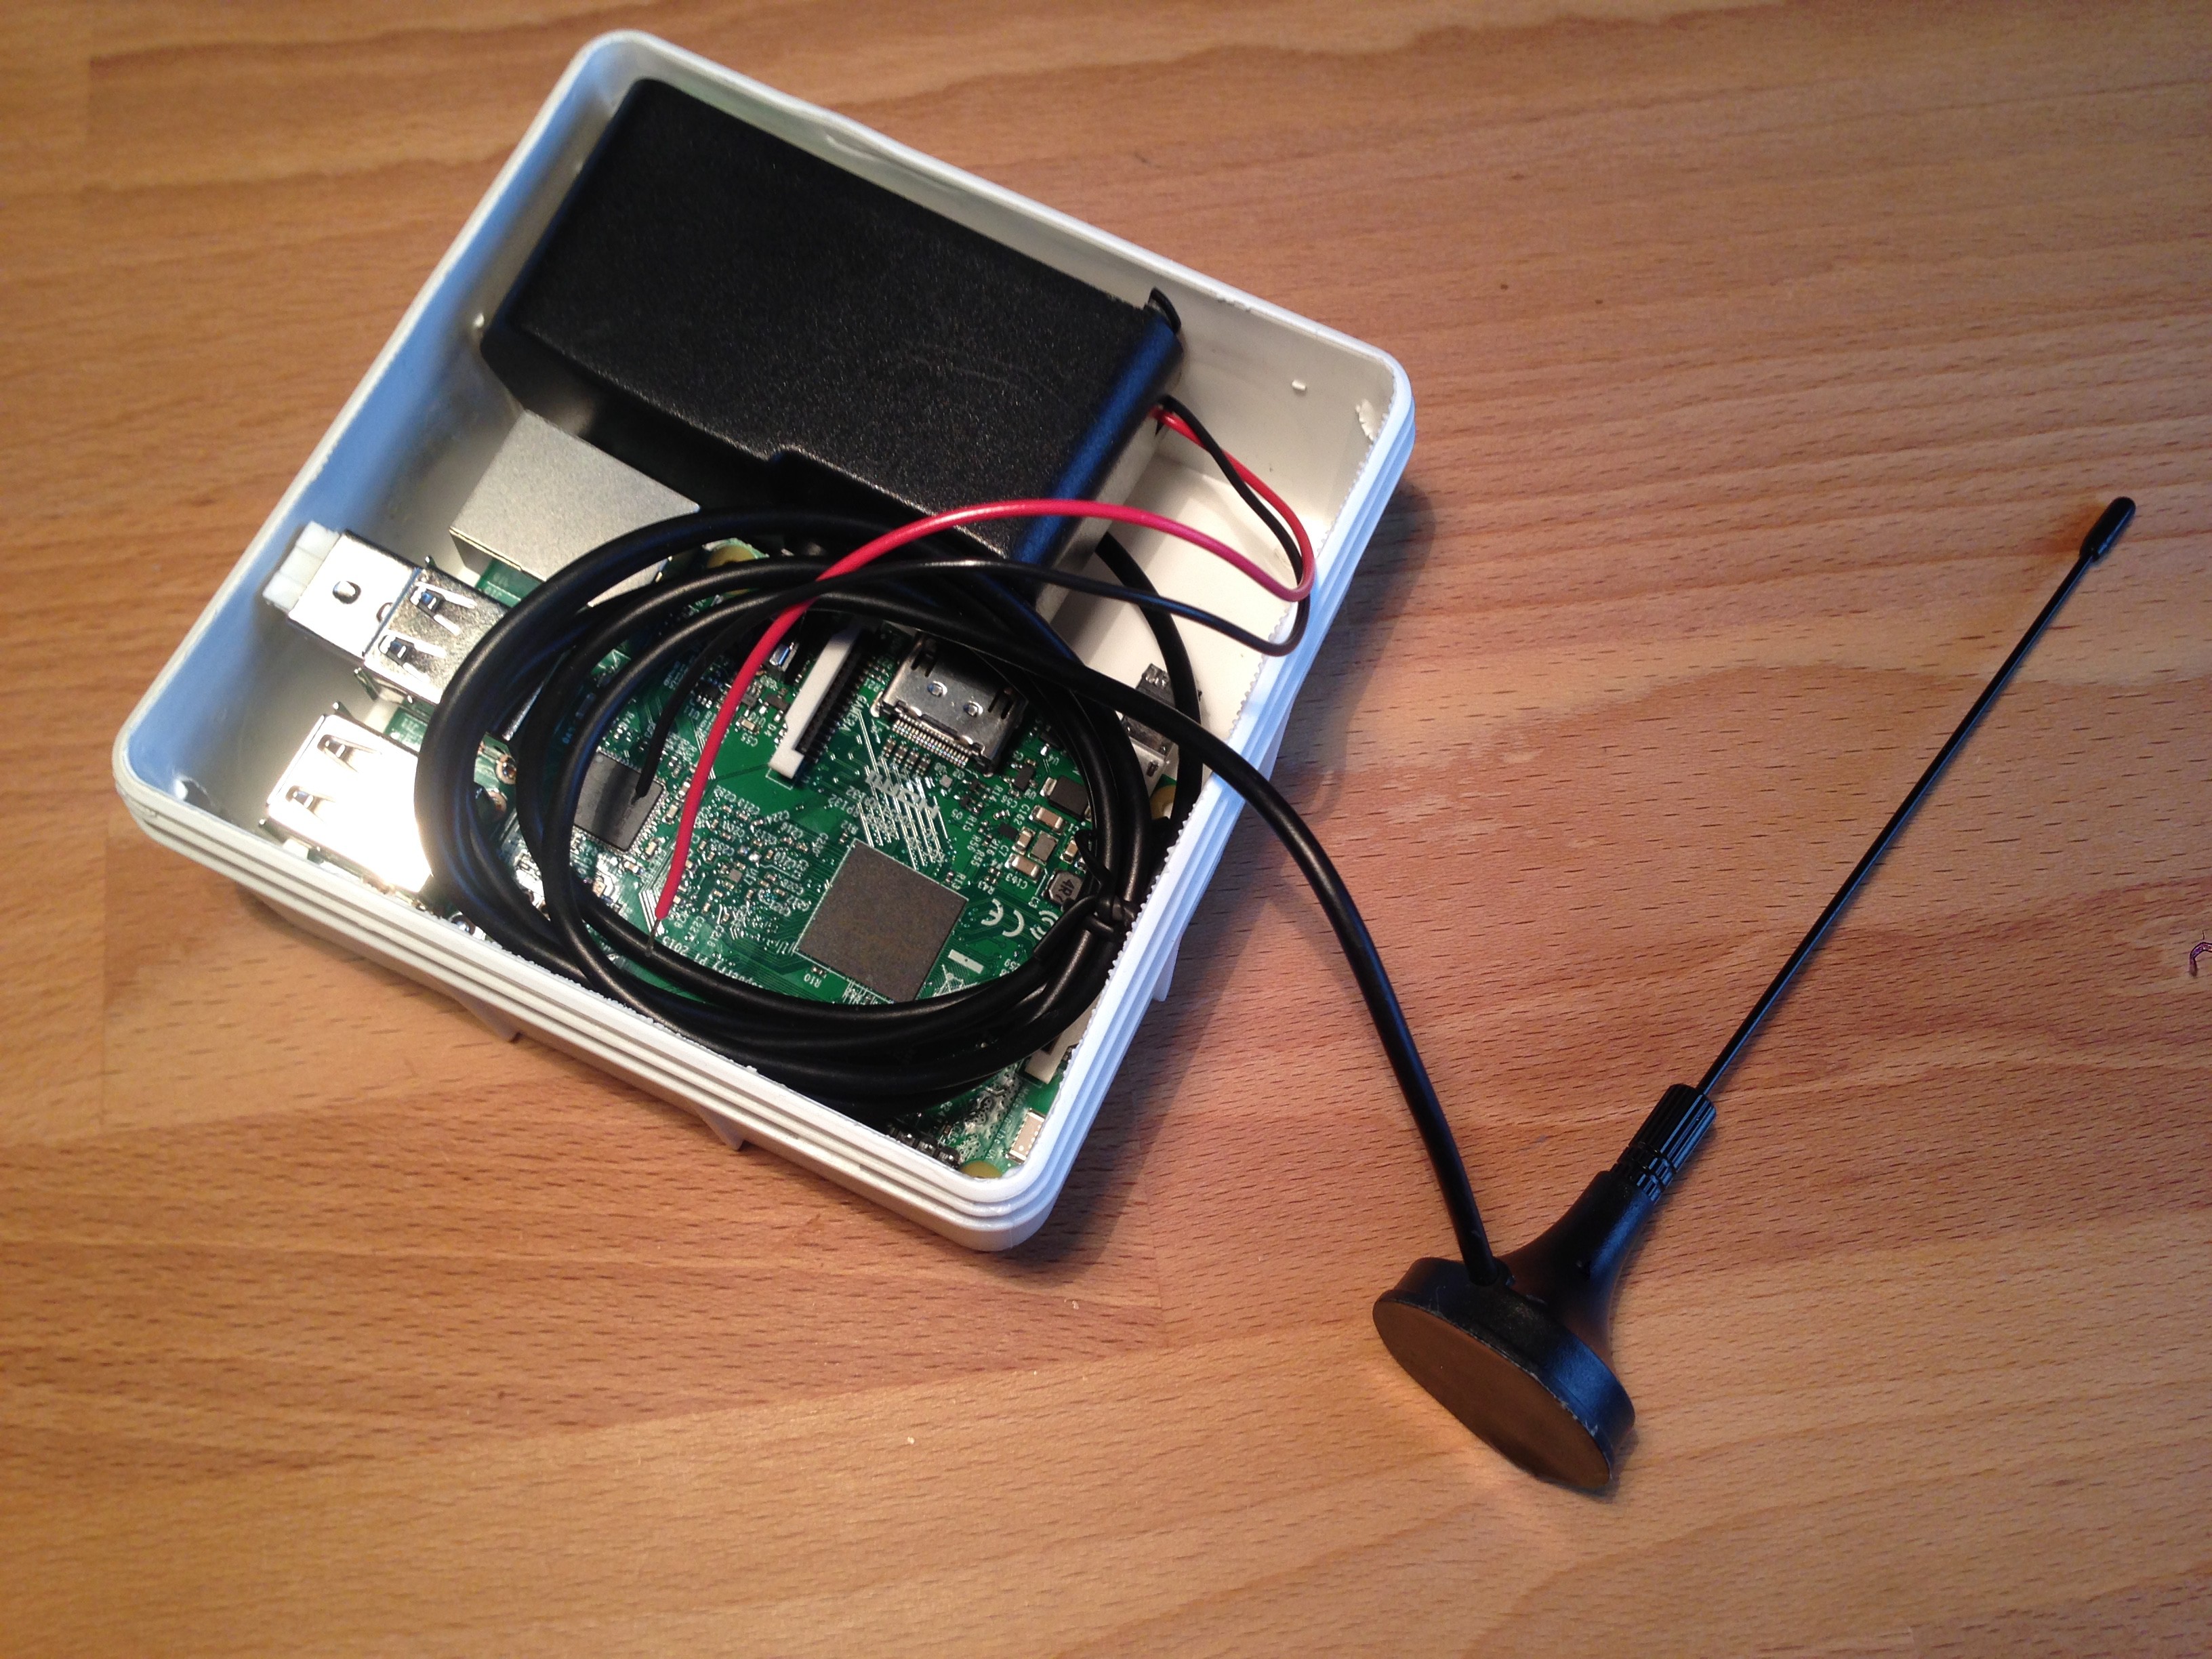
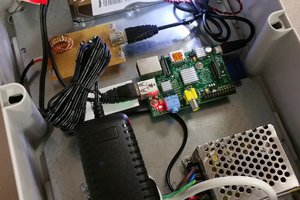
    This is what is currently planned. The DVB-T dongle is hidden under the RPi and the power supply, the antenna with its base is the only part that would remain outside the enclosure. It's a tight fit, the dongle needs a custom USB extension as there is almost no space between the RPi USB ports and the enclosure wall, there weren't any with a short connector on eBay.

    Raspberry Pi temperature

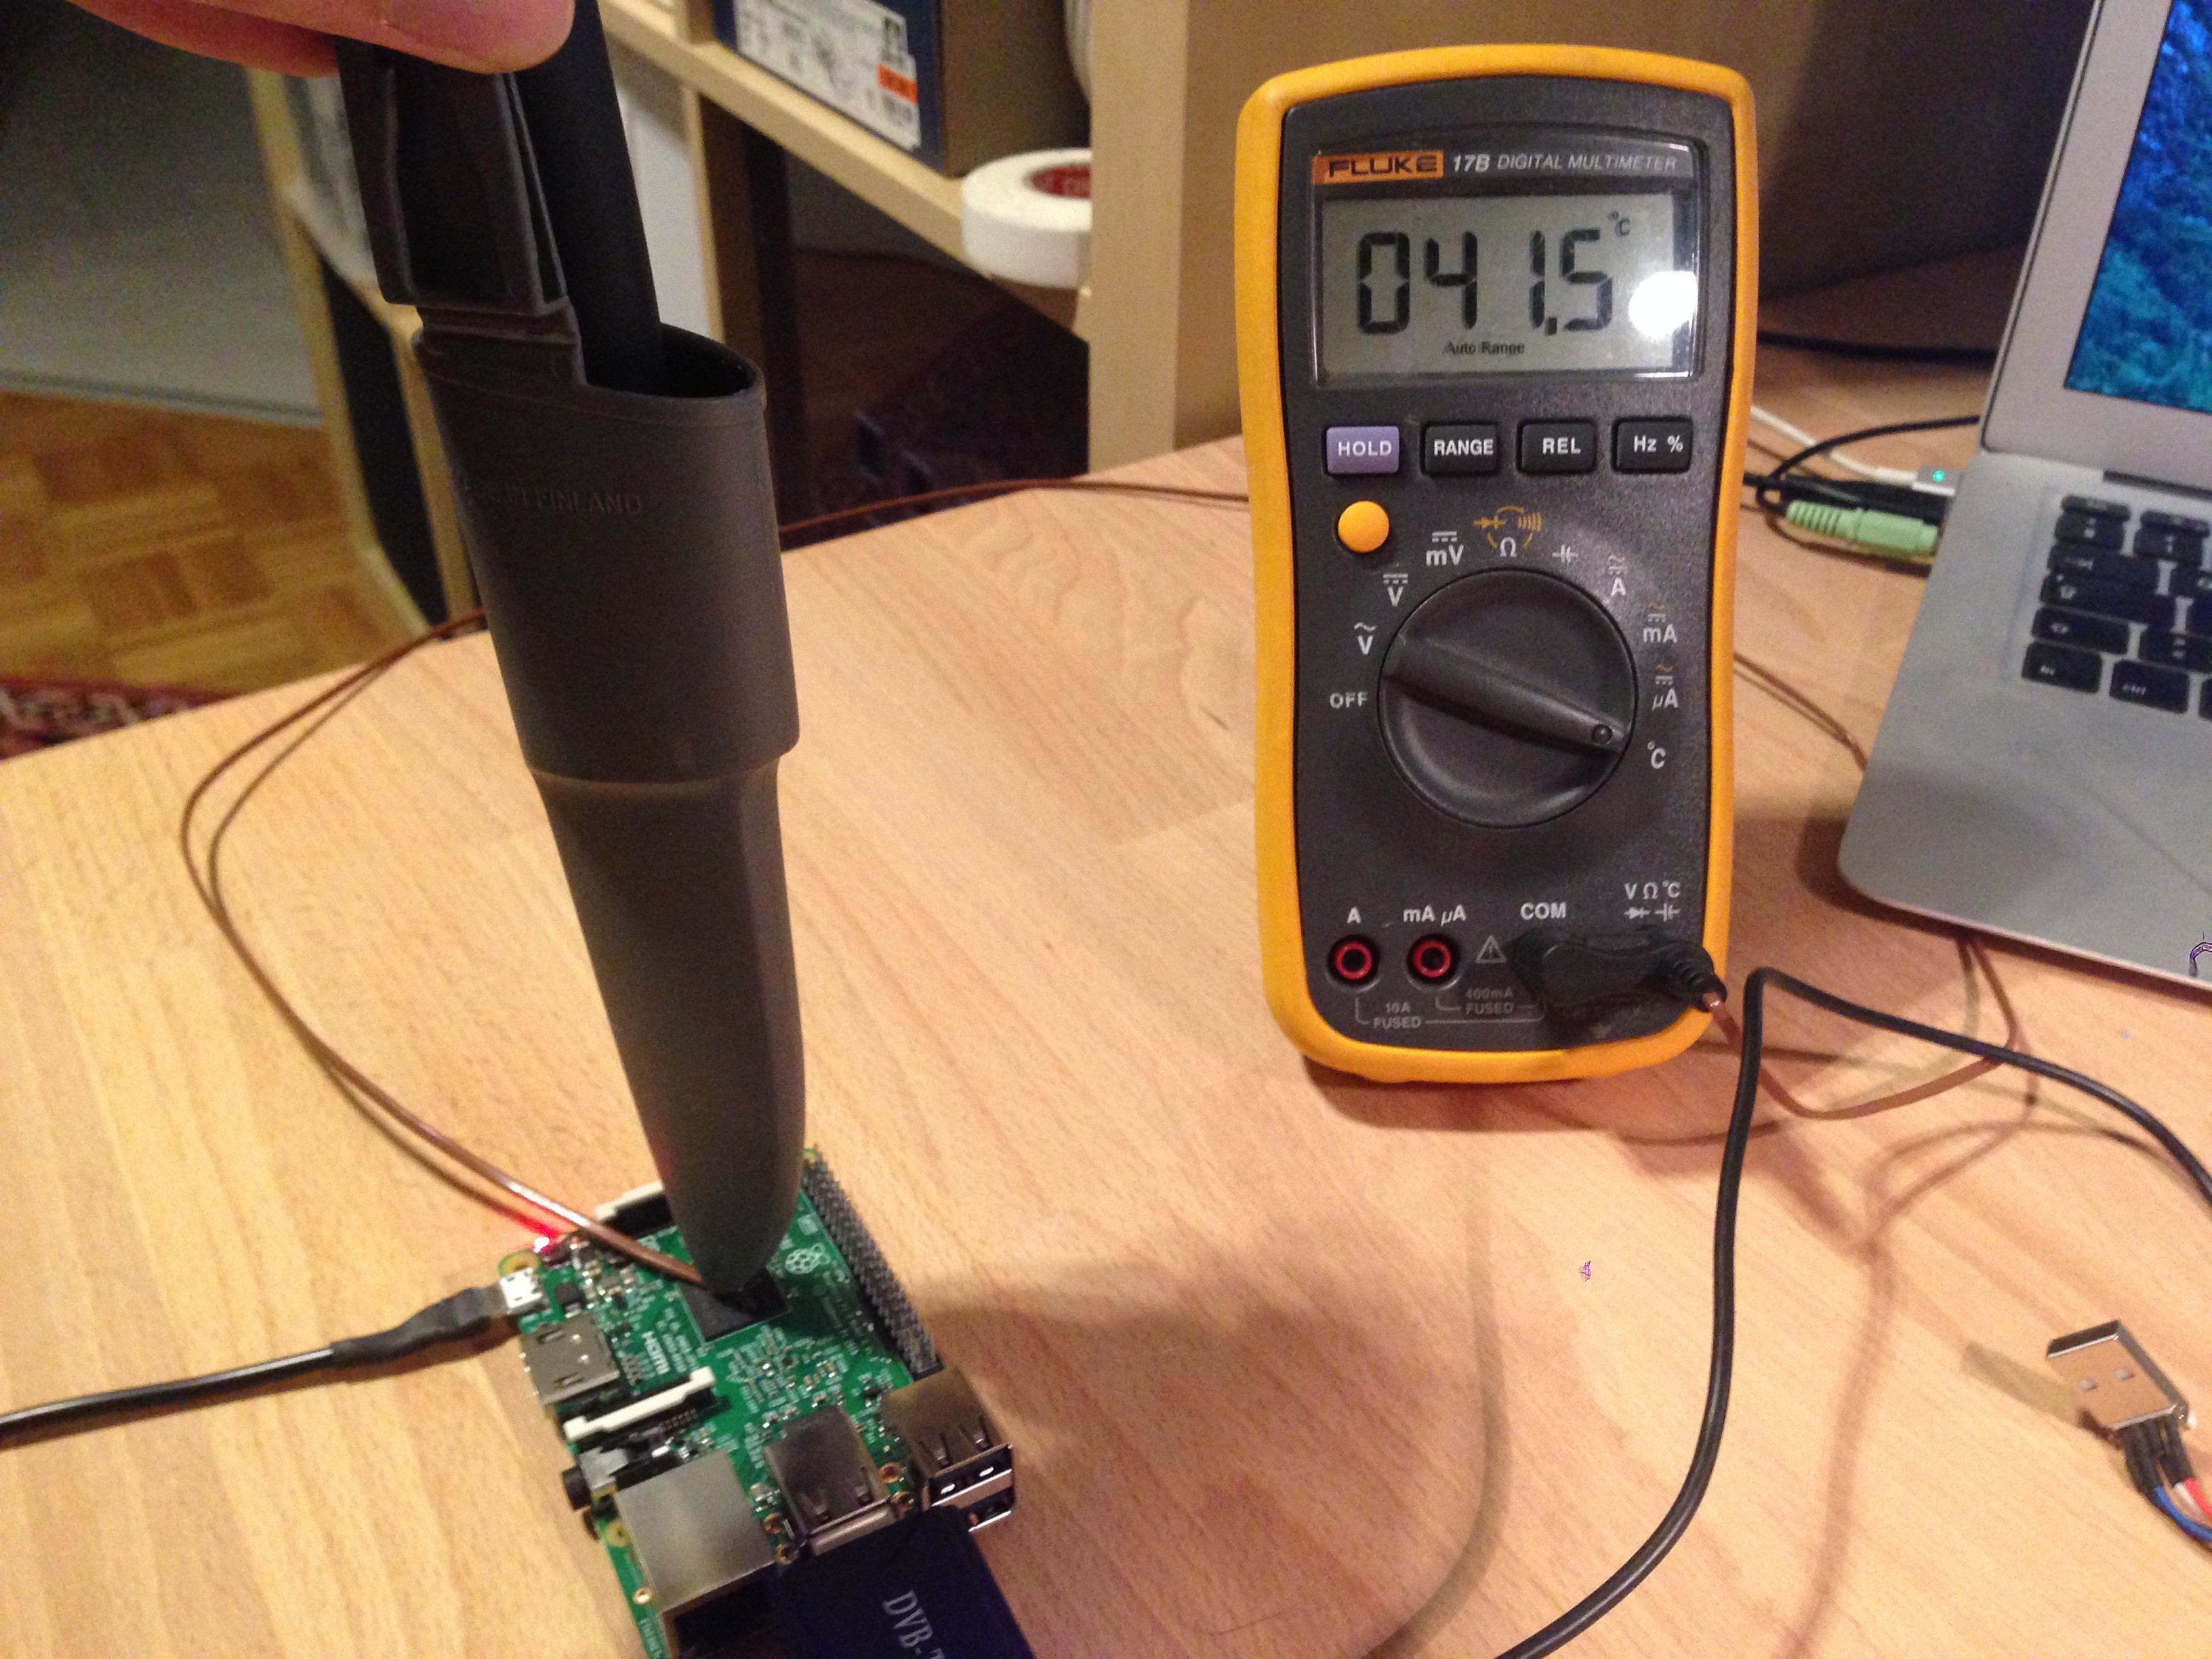
    The Raspberry Pi 3 has been reported to run somewhat hot. Officially it can run without active cooling or heatsinks, but it does raise the matter of heat in a tiny enclosed environment. Let's measure temperature while it's under load, streaming a channel:

    The measurement method was pretty crude, the multimeter said 41.5°C. The Raspberry Pi can report its own temperature when issued the command "/opt/vc/bin/vcgencmd measure_temp", it reported 47°C. I'm not trusting the Fluke very much, as the thermocouple feels really flimsy, however two measurements under 50°C increase confidence.

    During operation the Tvheadend process took about 3-5% of the CPU (observed via the "top" command).

    Power supply performance

    The Chinese power supply is rated 5V/2A, something to be cautious of. Sure at no load the output might be close to 5V, but under heavy load the signal might be noisy. A noisy signal is bad for the electronics. The power supply is also a potential heat source.

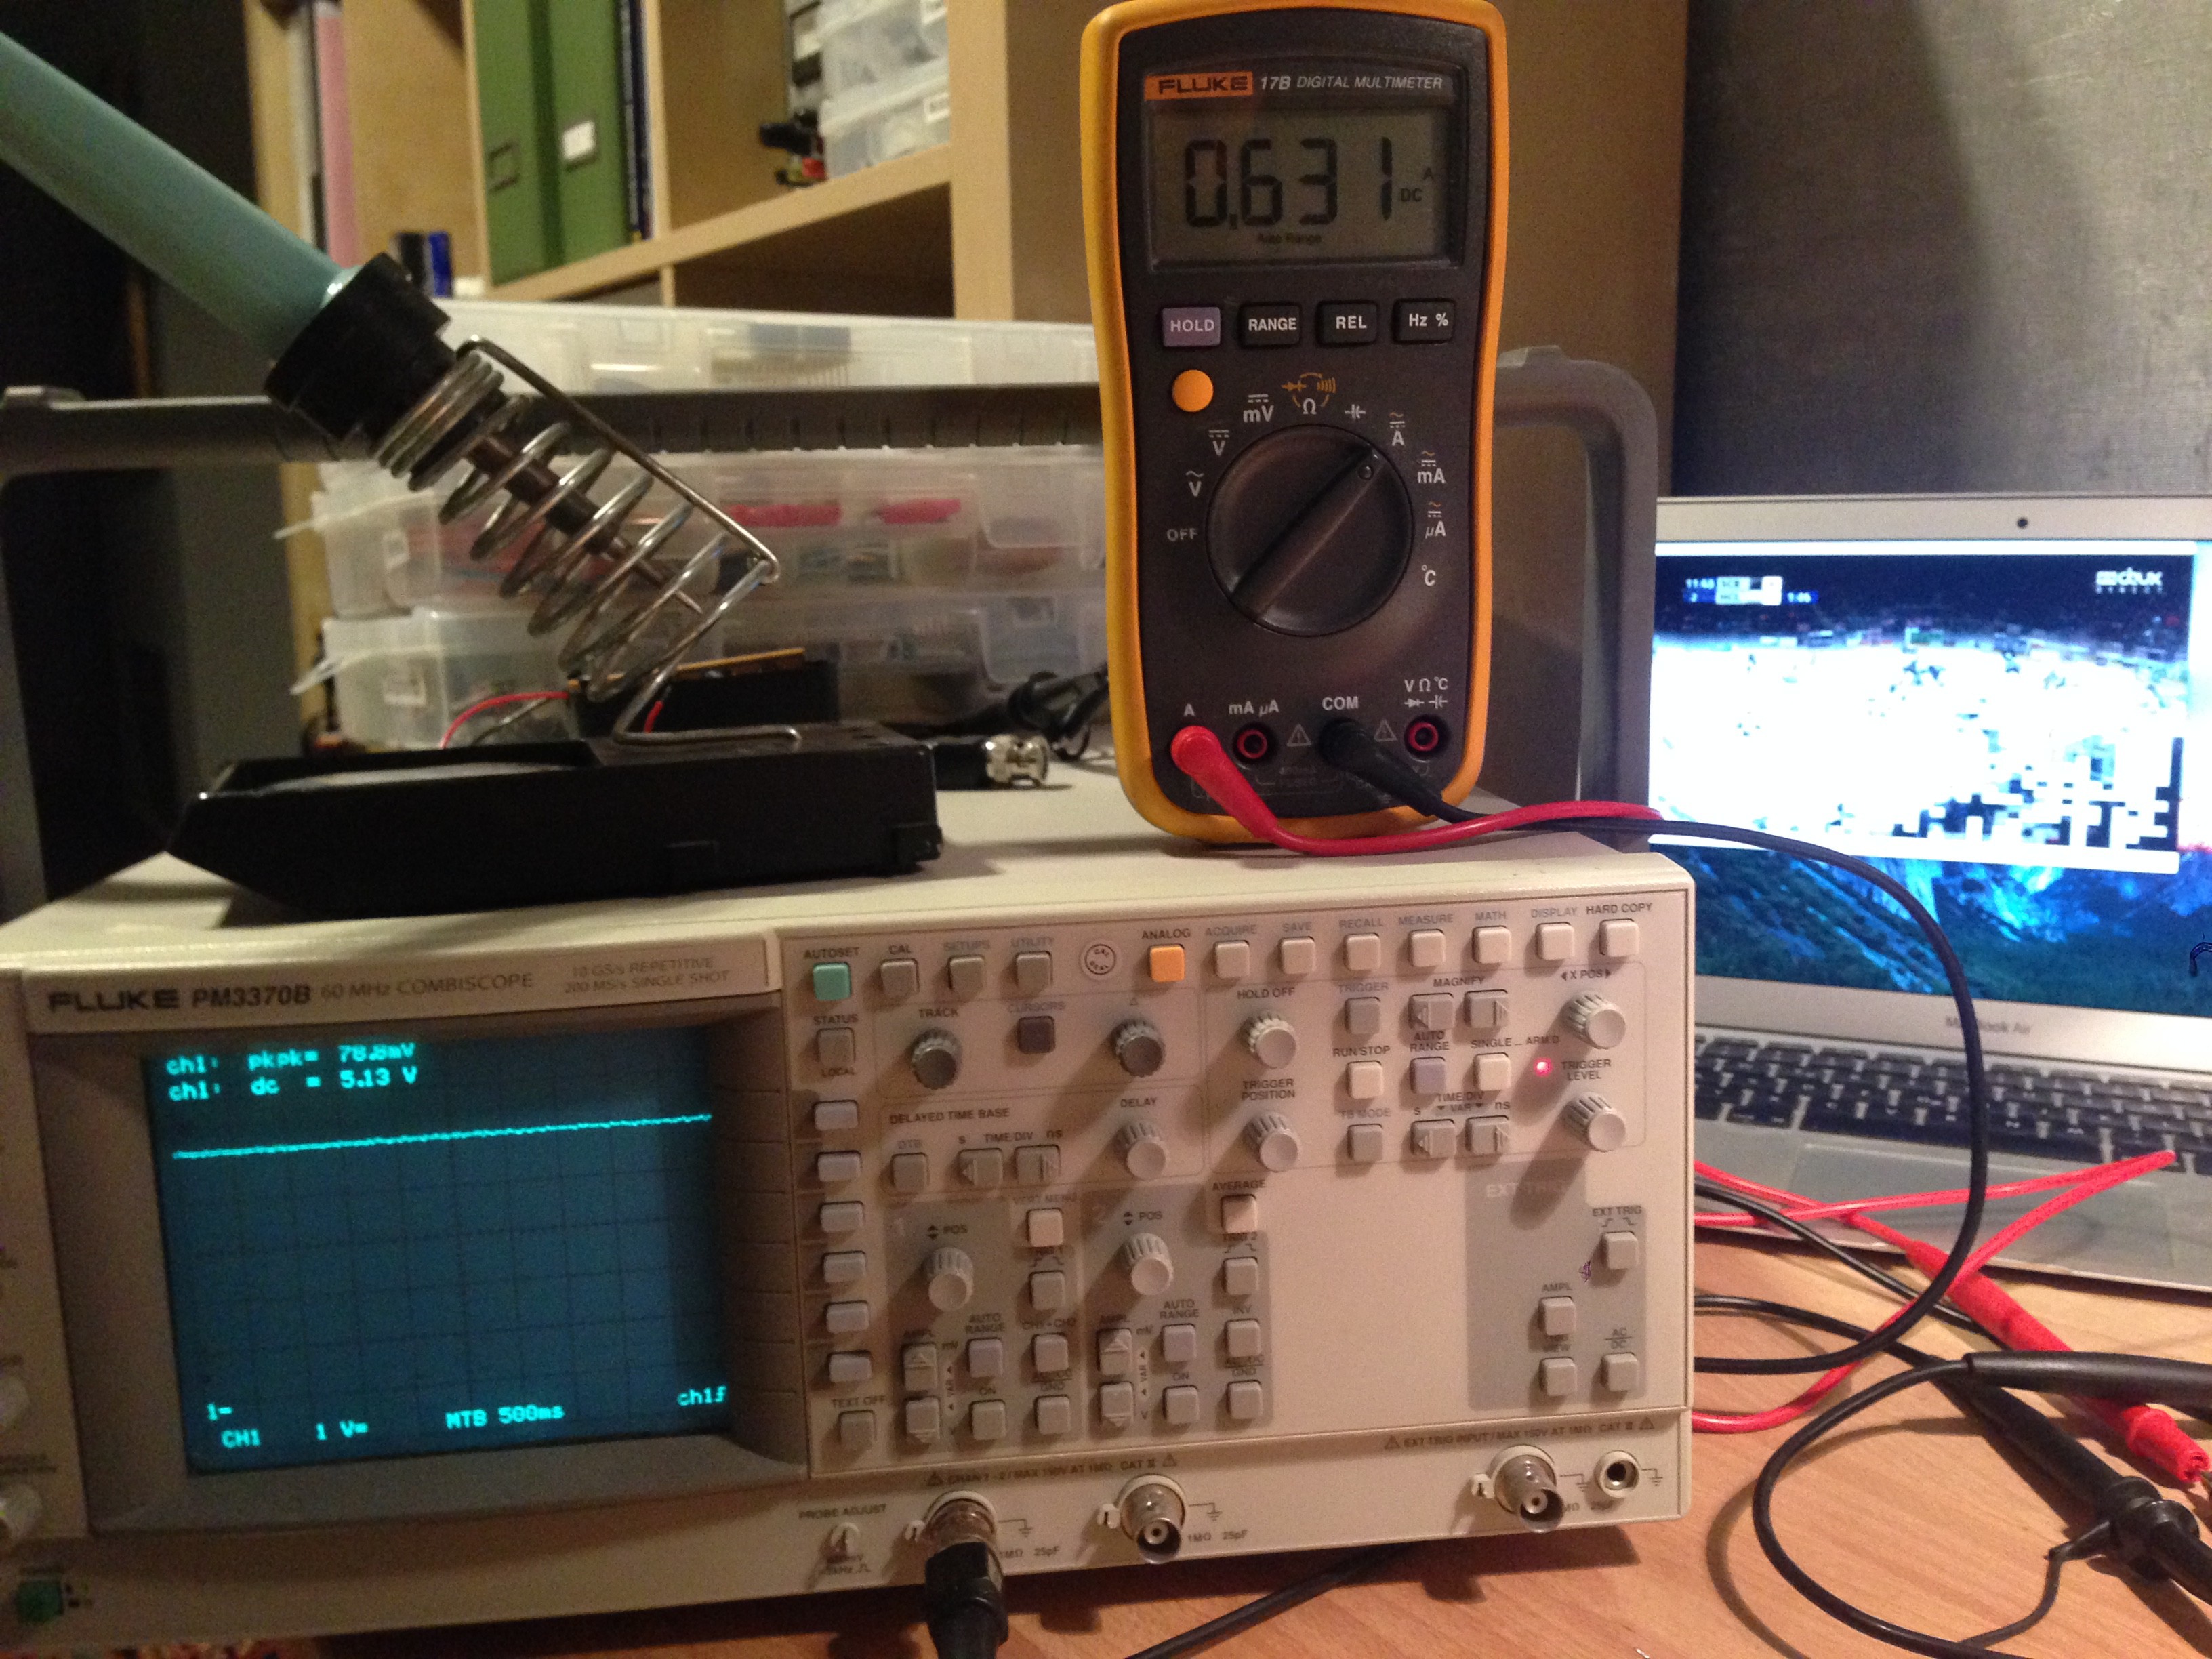
    First I looked at the output signal of the power supply without any load: 5.35V and a peak-to-peak noise of 118mV. It's out of USB specifications (maximum is 5.25V), but without a load it doesn't really count.

    I connected the system and streamed some video to see how the power supply copes with a real usage scenario. The voltage was observed to be between 5.28V and 5.13V, the current oscillated between 600mA and 800mA, but mostly stable around 700mA. The peak to peak noise did not change, this is excellent news, I expected a higher power draw or at least some more noise.

    It ran for about an hour, I touched the plastic enclosure of the power supply to see if it was hot, it was almost at room temperature, so it gets a pass.

    Power supply input current was not measured because of lack of proper tools, so efficiency cannot be evaluated.

    I must note that I sourced the power supply from an electronics waste bin, it might be better than what you find on eBay, although it looks suspiciously similar. I will keep an eye on it though, because it might run well for the first week/month, but then the elements might start to fail, there's a reason these things are cheap.

    DVB-T dongle power, temperature

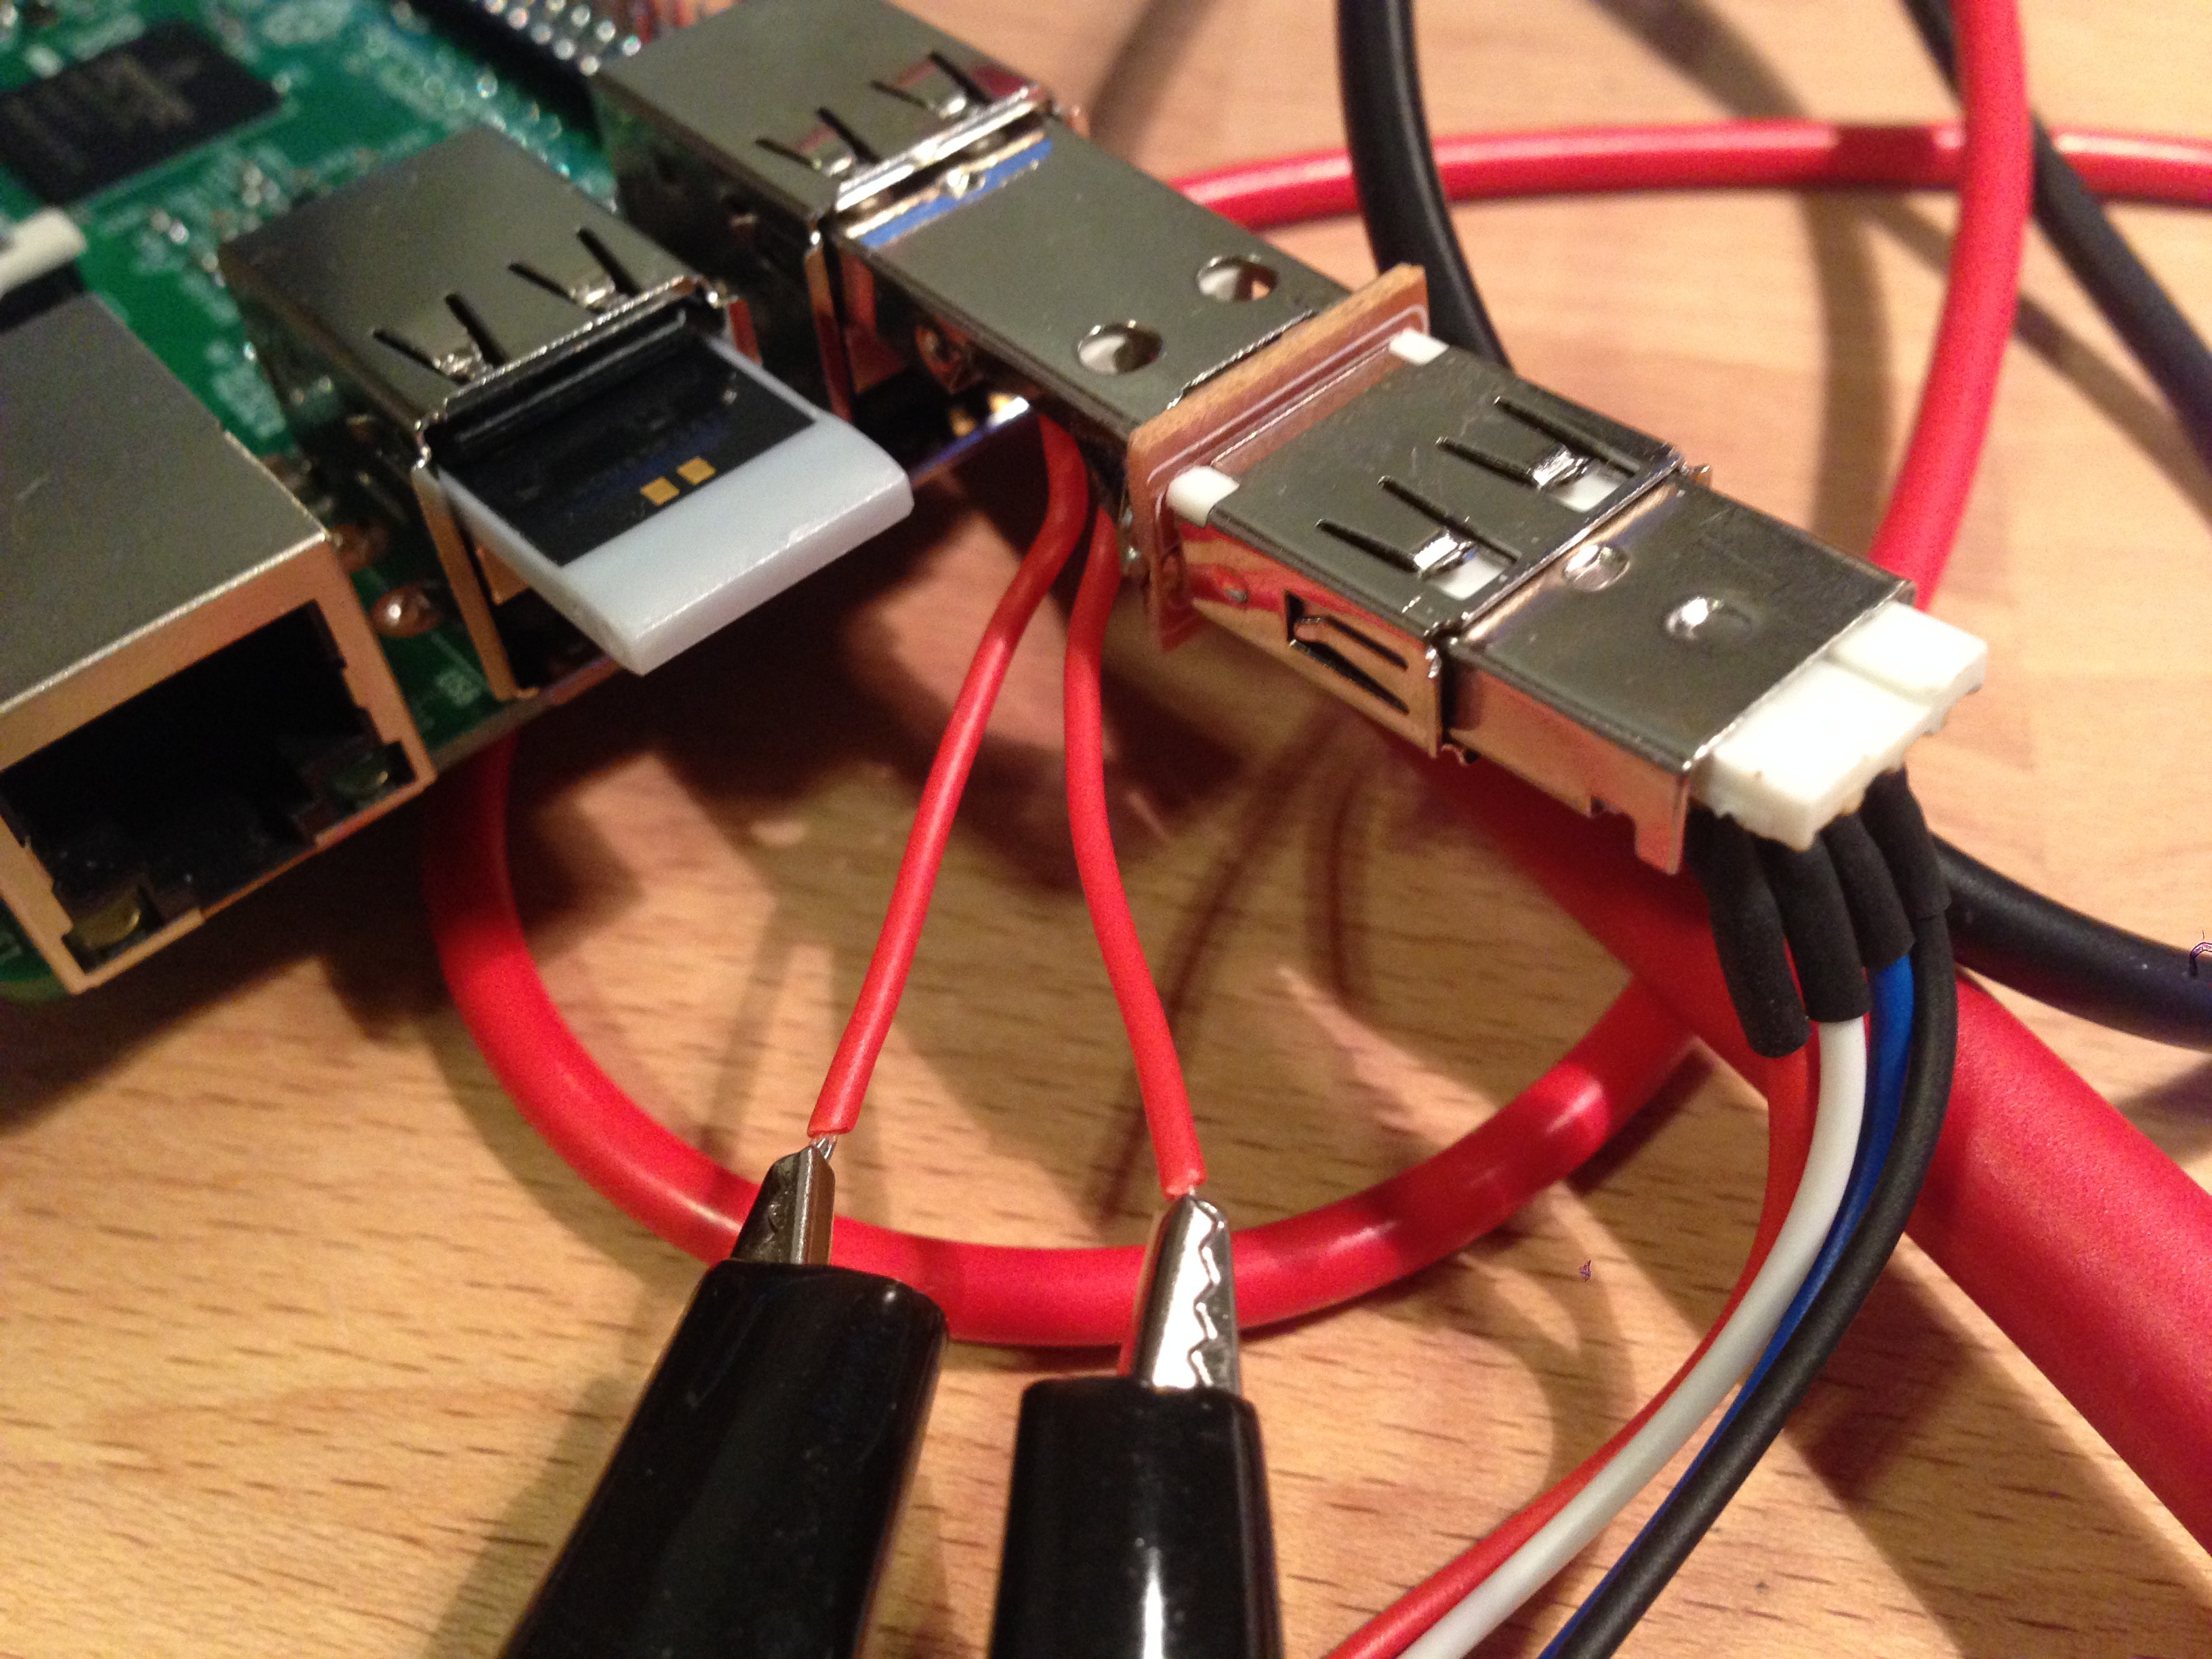
    I measured the DVB-T dongle current using my home-made tool. While idling it hovered around 97mA, but when it was actively streaming it was around 290mA. It felt hot to the touch.

    Enclosure

    The enclosure doesn't have any venting holes (IP65: protected from total dust ingress, protected from low pressure water jets from any direction). I chose this enclosure because the project might need to be left outside for best signal reception. I'll do a proper temperature test in a controlled environment when the hardware is finalised.

  • Bill of Materials (BOM)

    Solenoid04/09/2016 at 09:44 0 comments

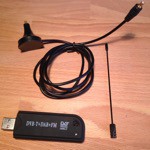
    I made a list of components with pictures, references, link to the product and a ballpark price to make it easier to find the same components. Not all DVB-T dongles work well with the Raspberry Pi (driver wise), some look very similar, so one has to take care to look which components are used inside. The one I used works out of the box.

    DVB-T references to terrestrial digital video broadcasting, this is kind of a hit-and-miss technique depending on where live you and where you can put the device. The signals might not propagate everywhere. If possible/available DVB-C (cable) should be preferred.

    I needed to roll my own USB extension cable because of the enclosure size I chose, an easier way would be to simply attach the DVB-T dongle to the RPi and buy a bigger enclosure...

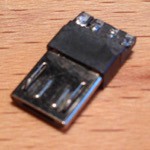
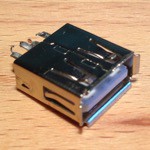
    For the USB connectors I bought a male micro-USB to female USB-A connector and broke it to get the components, it was cheaper this way.

    PictureReferenceLinkPrice
    Raspberry Pi 3 model B
    Wi-Fi is needed to transmit data to the local router, possibly from outside the house
    Link$35
    Micro SD card
    8GB should be the minimum
    Link$10
    DVB-T receiver with antenna
    With RTL2832U and R820T
    Link$8
    Power supply
    100V-230V to 5V/2A, the type doesn't matter as it's going to be broken and put inside of the project box
    Link$3
    Male micro USB connector
    To connect power to the RPi3
    Link$0.5
    Female USB-A connector
    To connect the DVB-T receiver
    Link$0.5
    Male USB-A connector
    To connect the DVB-T receiver to the RPi3
    Link$1
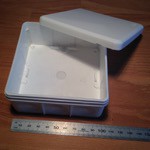
    Junction box
    A junction box is a nice project box as it has IP65 is protection norm (can be left outside)
    100mm by 100mm is really the strict minimum, I can barely fit everything inside
    I bought mine from a local shop, so the exact same one might not be on eBay
    Link$5
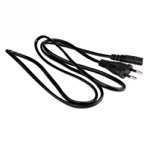
    AC power supply cable
    This depends on the region you live in
    Link$2
    9 partsTotal$65

    Some soldering and wire are also needed for the assembly.

View all 5 project logs

Enjoy this project?

Share

Discussions

phaseform wrote 12/13/2016 at 05:33 point

I saw you were manually measuring the temp for the CPU, you know the Broadcom chip has that inbuilt? :)
http://lolhumans.space/2016/09/rpi-temp-and-cpu-on-thingspeak/

  Are you sure? yes | no

Ish wrote 04/21/2016 at 12:06 point

Nice. I'd recommend using an aerial other than the included one though, as that type of aerial tends to be quite poor even in a good signal area. I found something like the Max Signal TW1 to be massively better than the included aerial, and it is suitable for both indoor and outdoor use. It will bump your component cost quite a bit though (as you've done a great job of keeping your budget in check).

  Are you sure? yes | no

Solenoid wrote 04/28/2016 at 05:23 point

Good point, however the one that came with the DVB-T dongle works well if a good position is found. It is very sensitive, the orientation and position make all the difference, but once a good one is found it works reliably, even indoors. This might not work for everybody though, so another antenna is a possible solution.

  Are you sure? yes | no

Similar Projects

Does this project spark your interest?

Become a member to follow this project and never miss any updates