 Rahim Khoja
Features:
- Full featured web administration GUI
- Maximum of 65,280 uniquely addressable Mi-Light RGB Devices ( But an unlimited amount of Devices can be Synced to a single address )
- Maximum of 65,280 uniquely addressable Mi-Light CCT Devices ( But an unlimited amount of Devices can be Synced to a single address )
- Unlimited amount of Mi-Light Smartphone Remotes ( Secured by MAC Address )
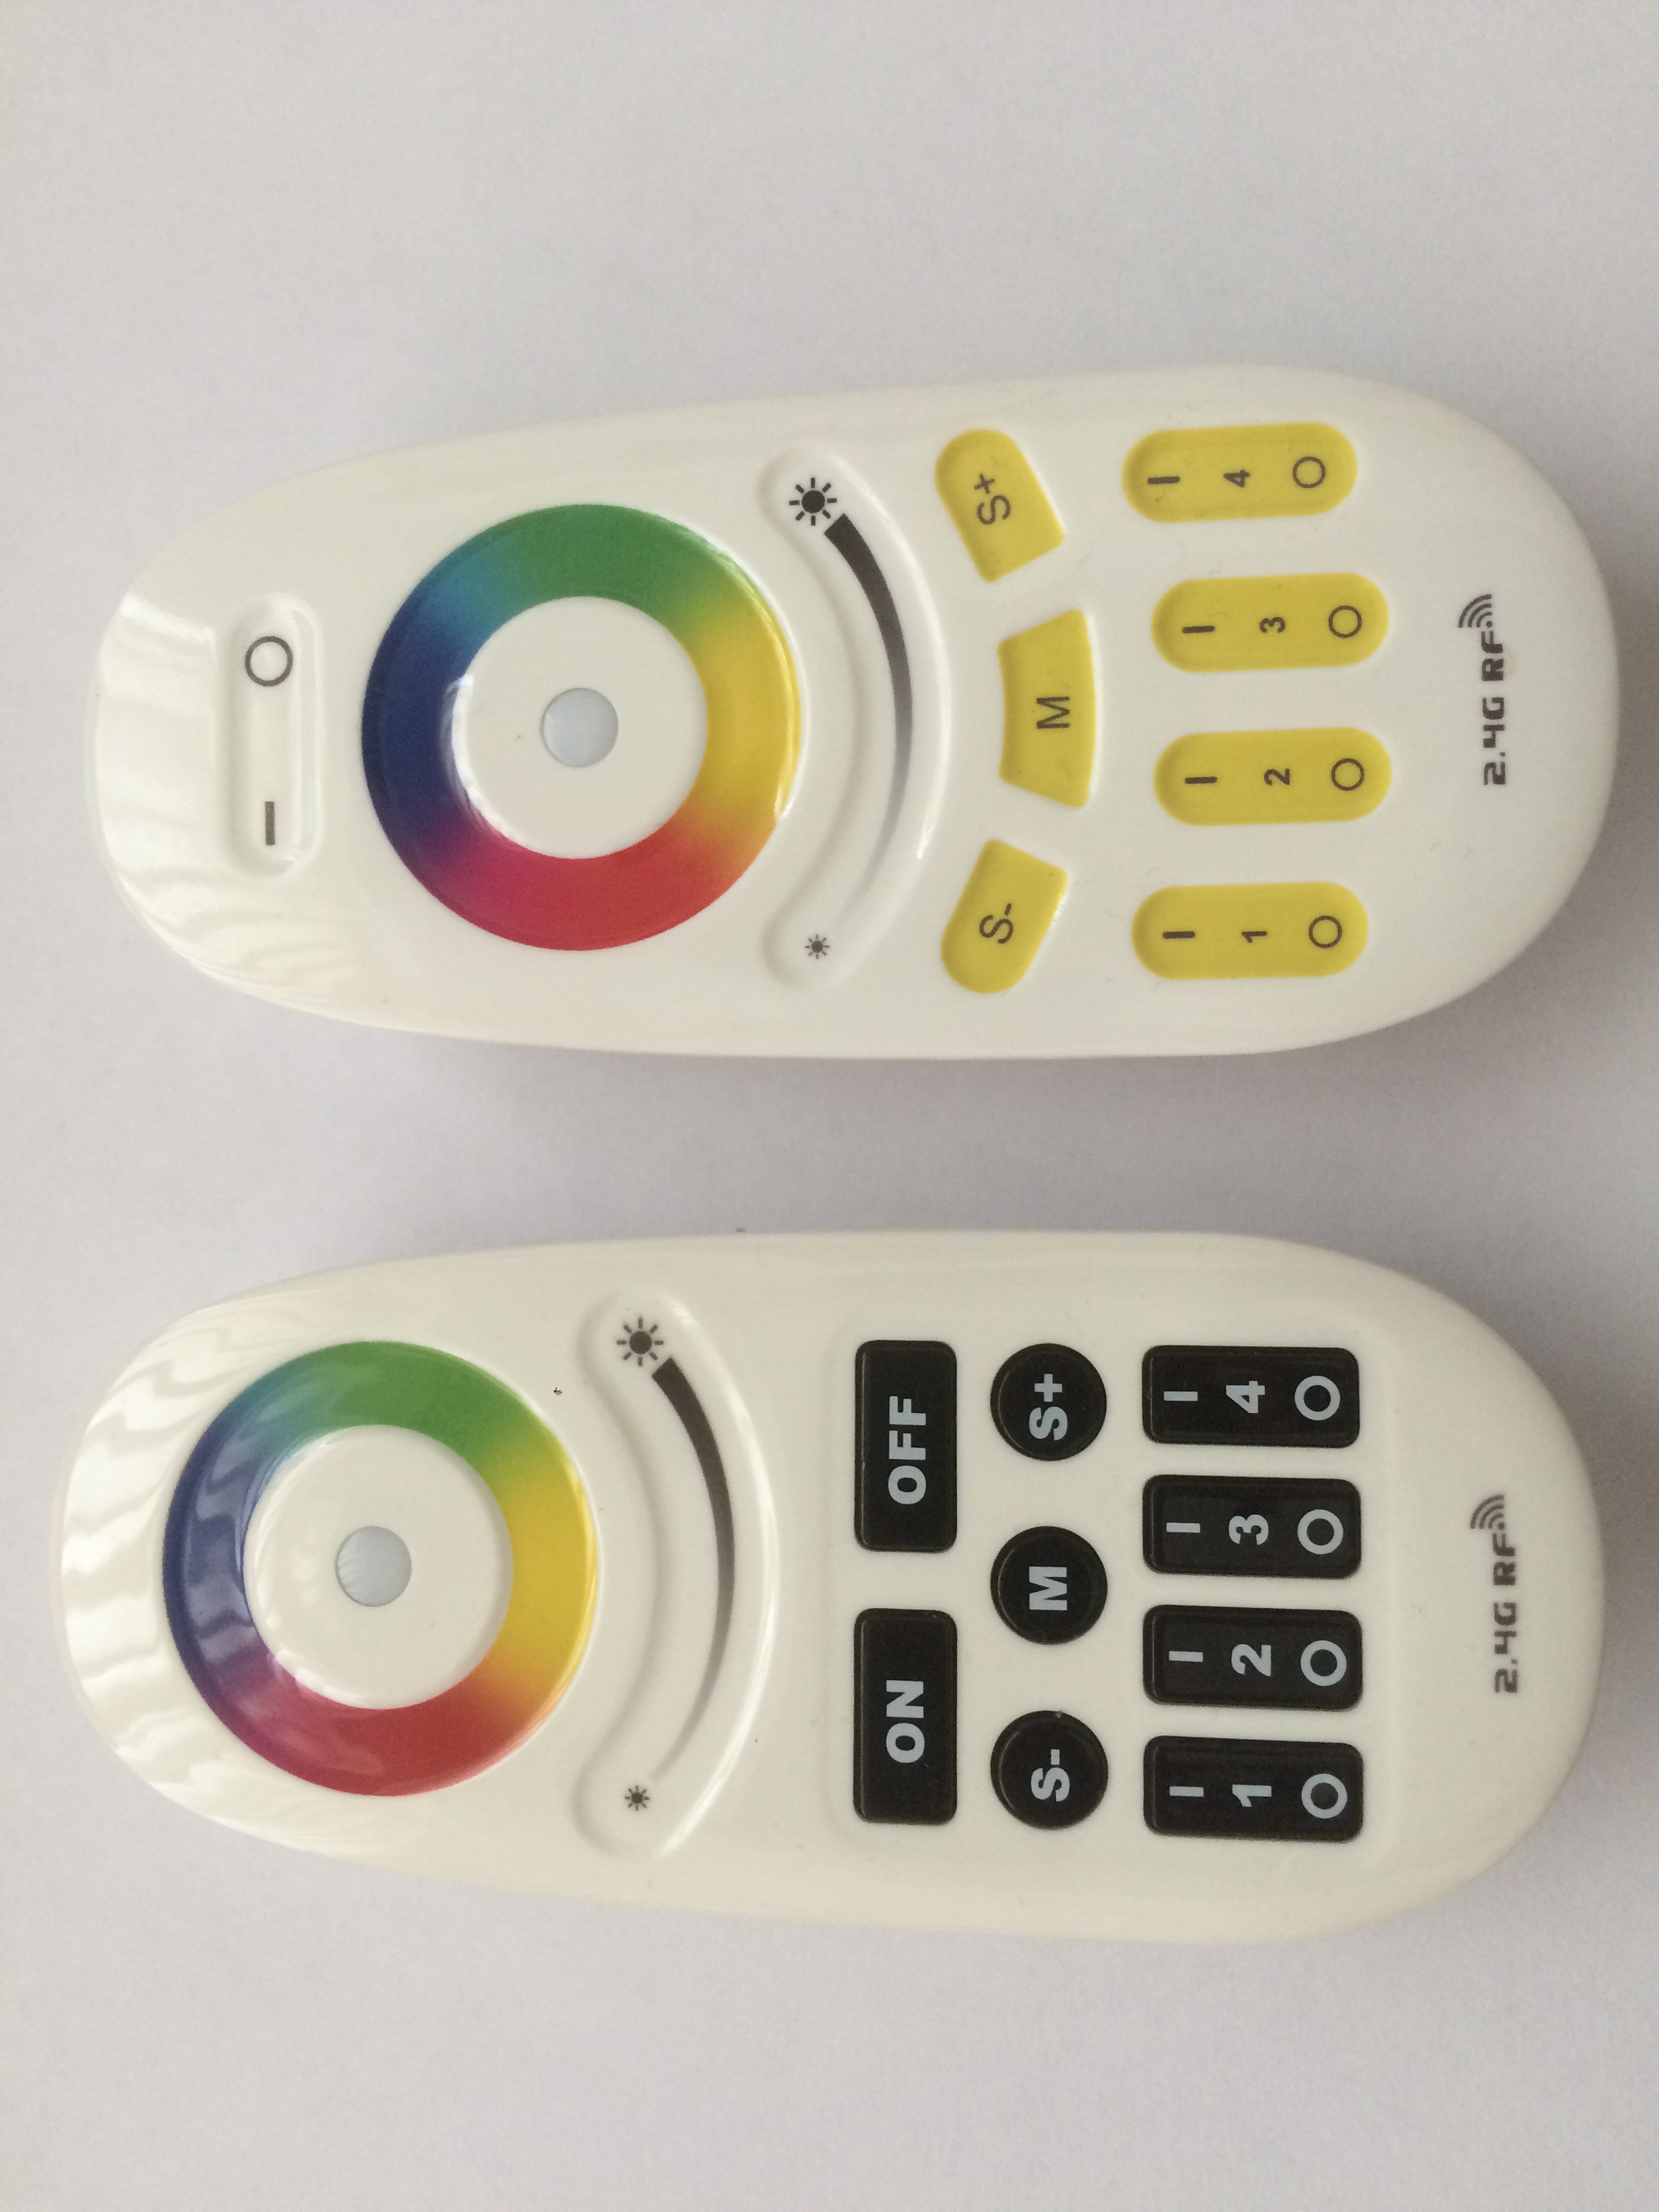
- Maximum of 256 Mi-Light RGB RF Remotes
- Unlimited amount of Atomik API Remotes ( for 3rd party integration )
- Unlimited amount of Device Zones
- Zones can include ANY mix of Devices and Remotes
- Unlimited amount of scheduled Zone Tasks
- WiFi and Ethernet connectivity
- Drop-in replacement for the Mi-Light WiFi Bridge
Compatible Bulbs & Remotes (LimitlessLED - MiLight - EasyBulb)
- 9.0 Watt ALL RGBCW & RGBWW Bulbs (Cool White/Warm White)
- 9.0 Watt ALL Dual White Bulbs
- 6.0 Watt ALL RGBCW & RGBWW Bulbs (Cool White/Warm White)
- 6.0 Watt ALL Dual White Bulbs
- 5.0 Watt E14 RGBWW & RGBWW Bulbs (Cool White/Warm White)
- 4.0 Watt GU10 RGBCW & RGBWW Bulbs (Cool White/Warm White)
- 4.0 Watt MR16 RGBWW Bulbs (Warm White)
- Not Fully Compatible With V6 WiFi Bridge Bulbs (Only Tested with 9 W Beam Bulbs)
- Compatible With All Mi-Light RGBWW & RGBCW Remotes
- Compatible With All IOS/Android Mi-Light SmartPhone Applications (Anything that communicates with the WiFi Bridge)
Atomik Controller Technical Details
Operating System:
- Raspbian (jessie)
Software Dependencies:
- RF24 Driver ( https://tmrh20.github.io/RF24/RPi.html )
- Node.js 4.0+ ( https://nodejs.org/en/download/ )
- Nginx
- PHP
- LibCurl
- JSONCPP
- MariaDB (MySQL Fork) - Cuz we all love Microseconds
- G++
- MySQL C++ Connector
Hardware Setup:

The Atomik API accepts JSON Commands on Port 4200 of the Atomik Controller to control the Atomik lighting Zones. Atomik API Remotes are setup, and applied to Zones from within the Atomik Controller web administration GUI. Atomik Api Remotes only have two types of commands, List and Issue. List will accept JSON that contains a valid username and password and return a JSON list of all the available zones and their current settings to the user. Issue will accept JSON that contains a valid username and password along with zone light settings, then it will update the light settings and return a JSON list of all the available zones along with the updates zone information from the Issued command. If command is not accepted or invalid credentials are passed to the Atomik API, an error JSON is returned.
All Commands are posted to 'http://192.168.1.100:4200/atomik' ( or the IP Address of the controller )
Here are some example commands:
List Command - JSON Request Example:
{"Command":"List","User":"rahimk","Password":"password"}
List Command - JSON Response:
{
 { "ZoneName":"Bedroom", "Configuration":{ "Channel":"0", "Status":"1", "ColorMode":"0", "Brightness":"100", "Color":"198", "WhiteTemp":"2700" }}
 { "ZoneName":"Living Room", "Configuration":{ "Channel":"1", "Status":"1", "ColorMode":"1", "Brightness":"100", "Color":"0", "WhiteTemp":"2700" }}
 { "ZoneName":"Hallway", "Configuration":{ "Channel":"2", "Status":"0", "ColorMode":"1", "Brightness":"100", "Color":"0", "WhiteTemp":"6500" }}
}
Issue Command - JSON Request Example:
{"Command":"Issue","User":"rahimk","Password":"password","Configuration":{"Channel":"1","Status":"1","Brightness":"65","ColorMode":"1","Color":"215","WhiteTemp":"6500"}}
Issue Command - JSON Response:
{
 {"ZoneName":"Bedroom", "Configuration":{"Channel":"0", "Status":"1", "ColorMode":"0", "Brightness":"96", "Color":"221", "WhiteTemp":"6500"}}
 {"ZoneName":"Living Room", "Configuration":{"Channel":"1", "Status":"1", "ColorMode":"1", "Brightness":"68", "Color":"215", "WhiteTemp":"6500"}}
 {"ZoneName":"Hallway", "Configuration":{"Channel":"2", "Status":"1", "ColorMode":"1", "Brightness":"18", "Color":"215", "WhiteTemp":"6500"}}
}
Invalid Request - JSON Error Response Example:
{"Error": "Invalid Username or Password"}
Notes on Atomik JSON Requests and Response:
- Channel can be any integer, but it is assigned by the controller....


 Stanislas Bertrand
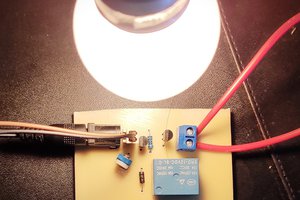
 electronicsworkshops
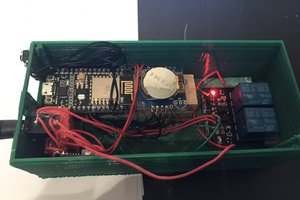
 Marcel Ochsendorf
 ethan.dicks
Someone get this working together with the homebridge-milight plugin?
https://github.com/dotsam/homebridge-milight