Close
0%
0%

Making your work social media ready

Some useful tips for taking photos and writing descriptions

Similar projects worth following
How can you be sure your project is ready for social media? Here are a few tips on taking good photos without a fancy camera of your electronics and hardware projects.

A good photo of your project is critical to not only your own personal documentation, but also in letting us share your work. Very often, amazing projects on hackaday.io or Tindie struggle to succeed on social media because we just can’t find a good photo. Even if we share or promote your project, its much harder for it to get the attention it deserves. 

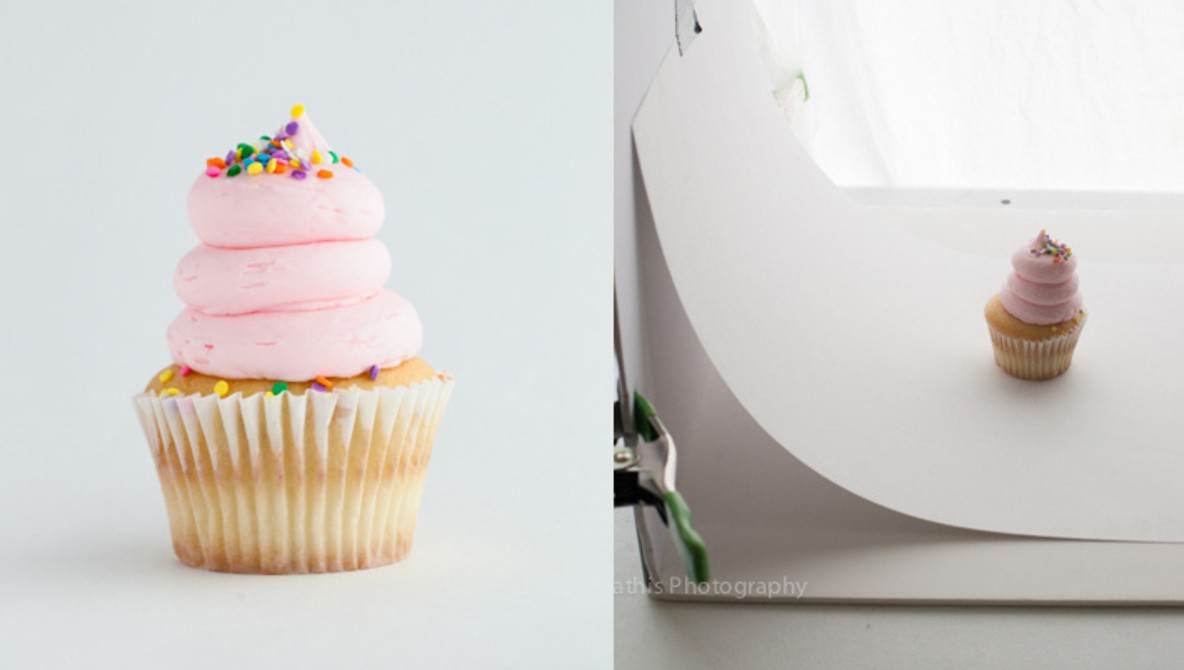
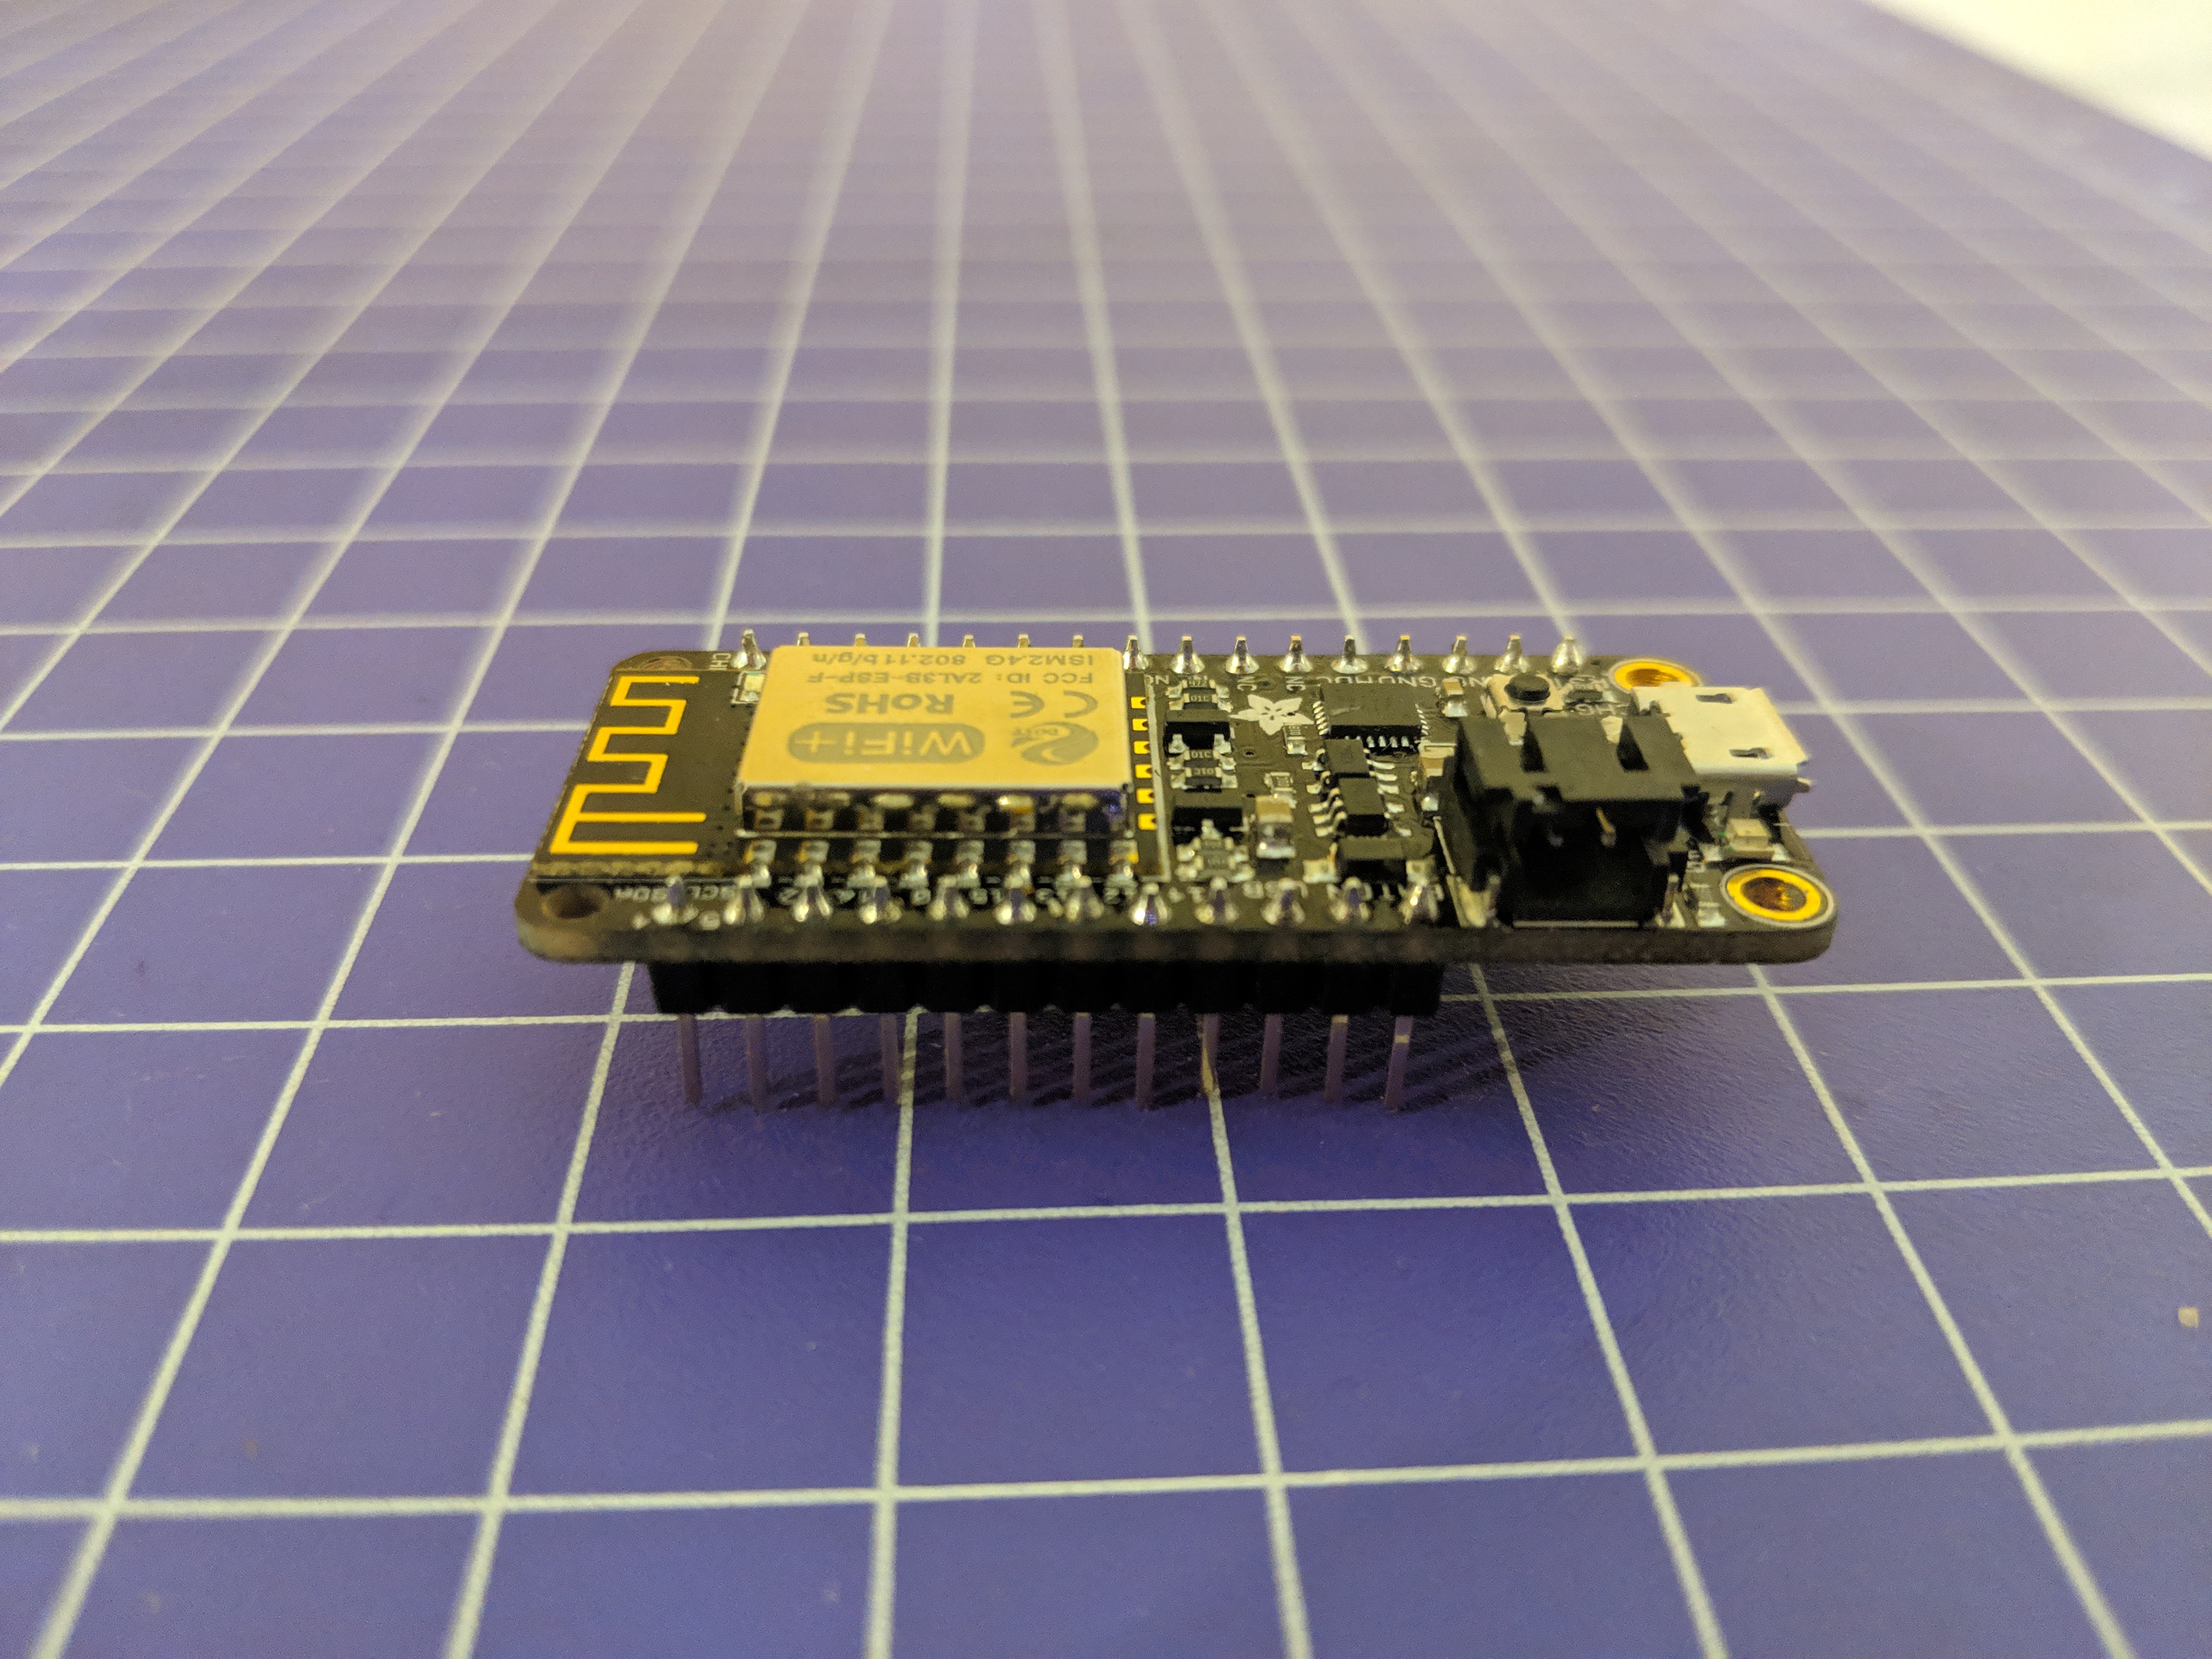
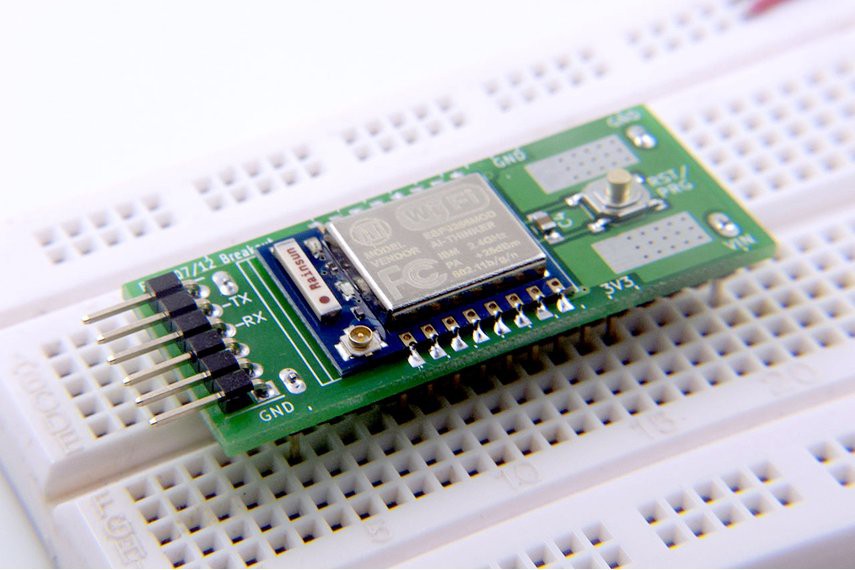
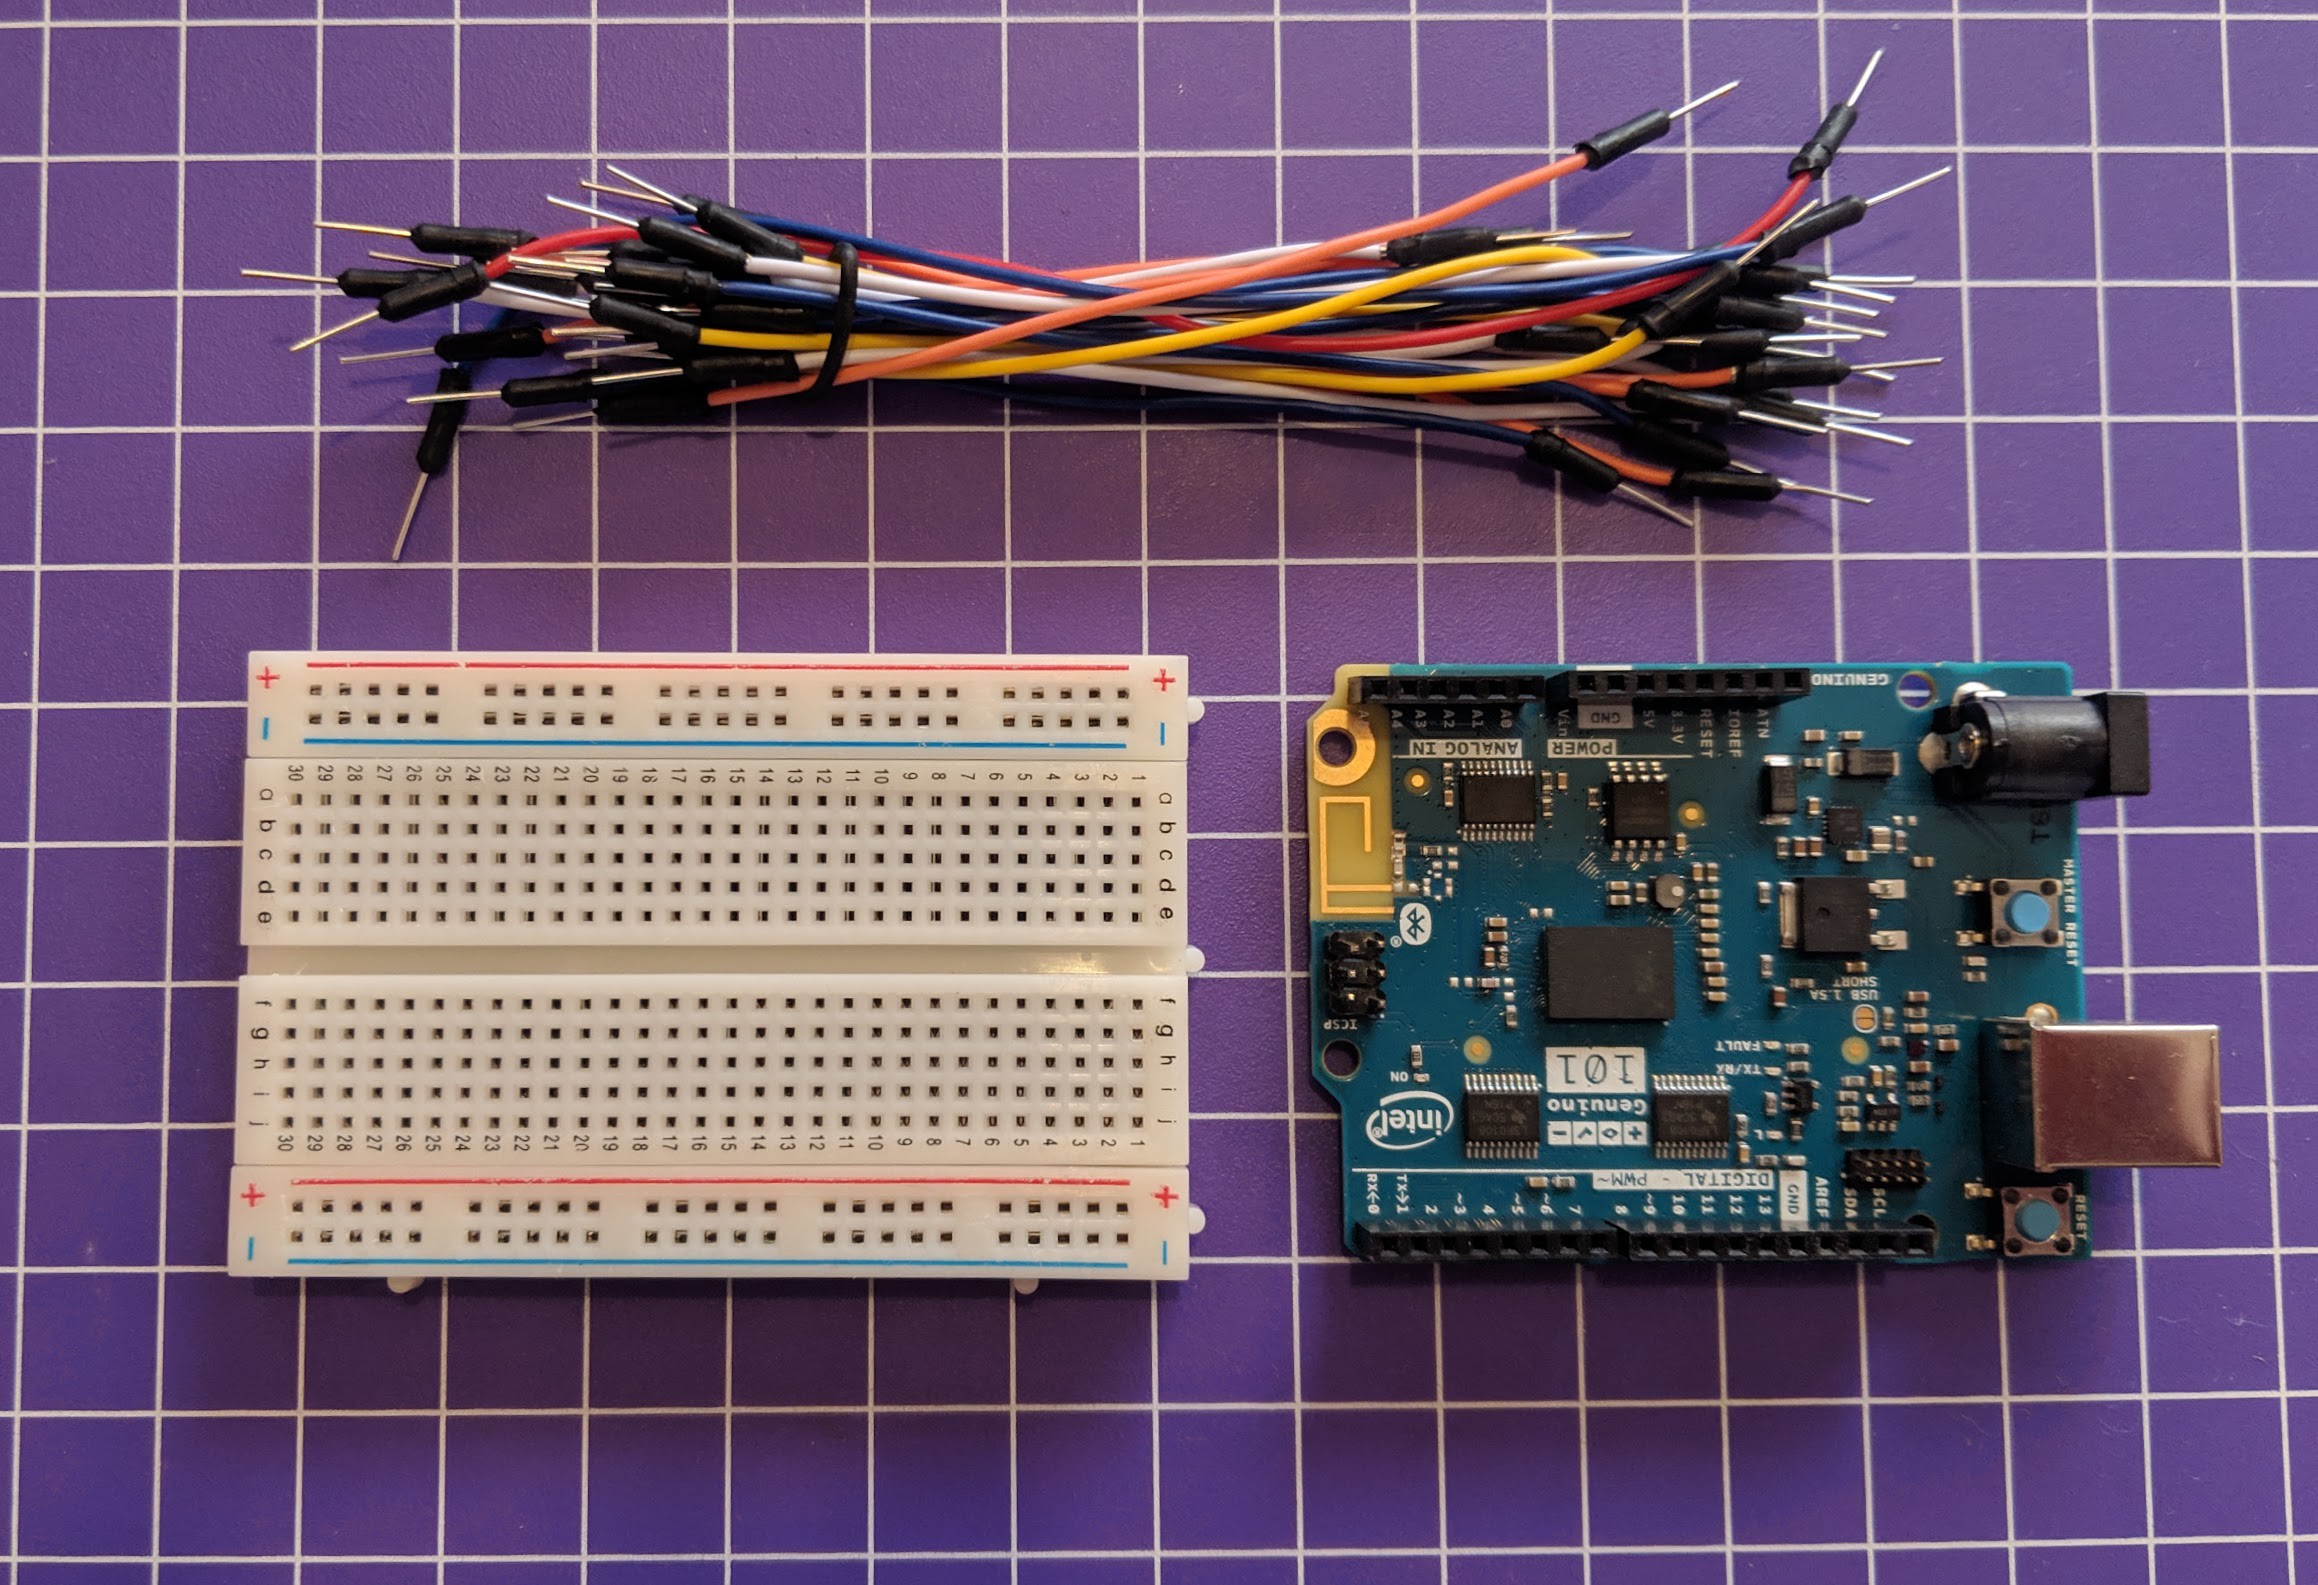
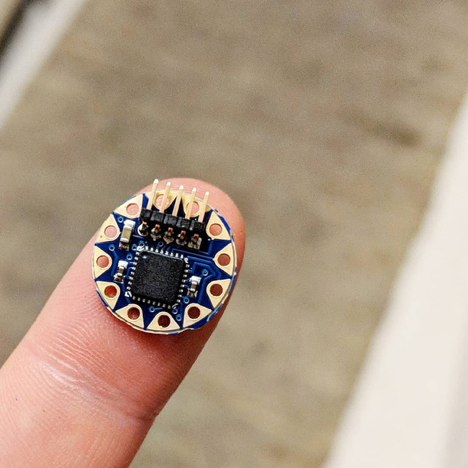
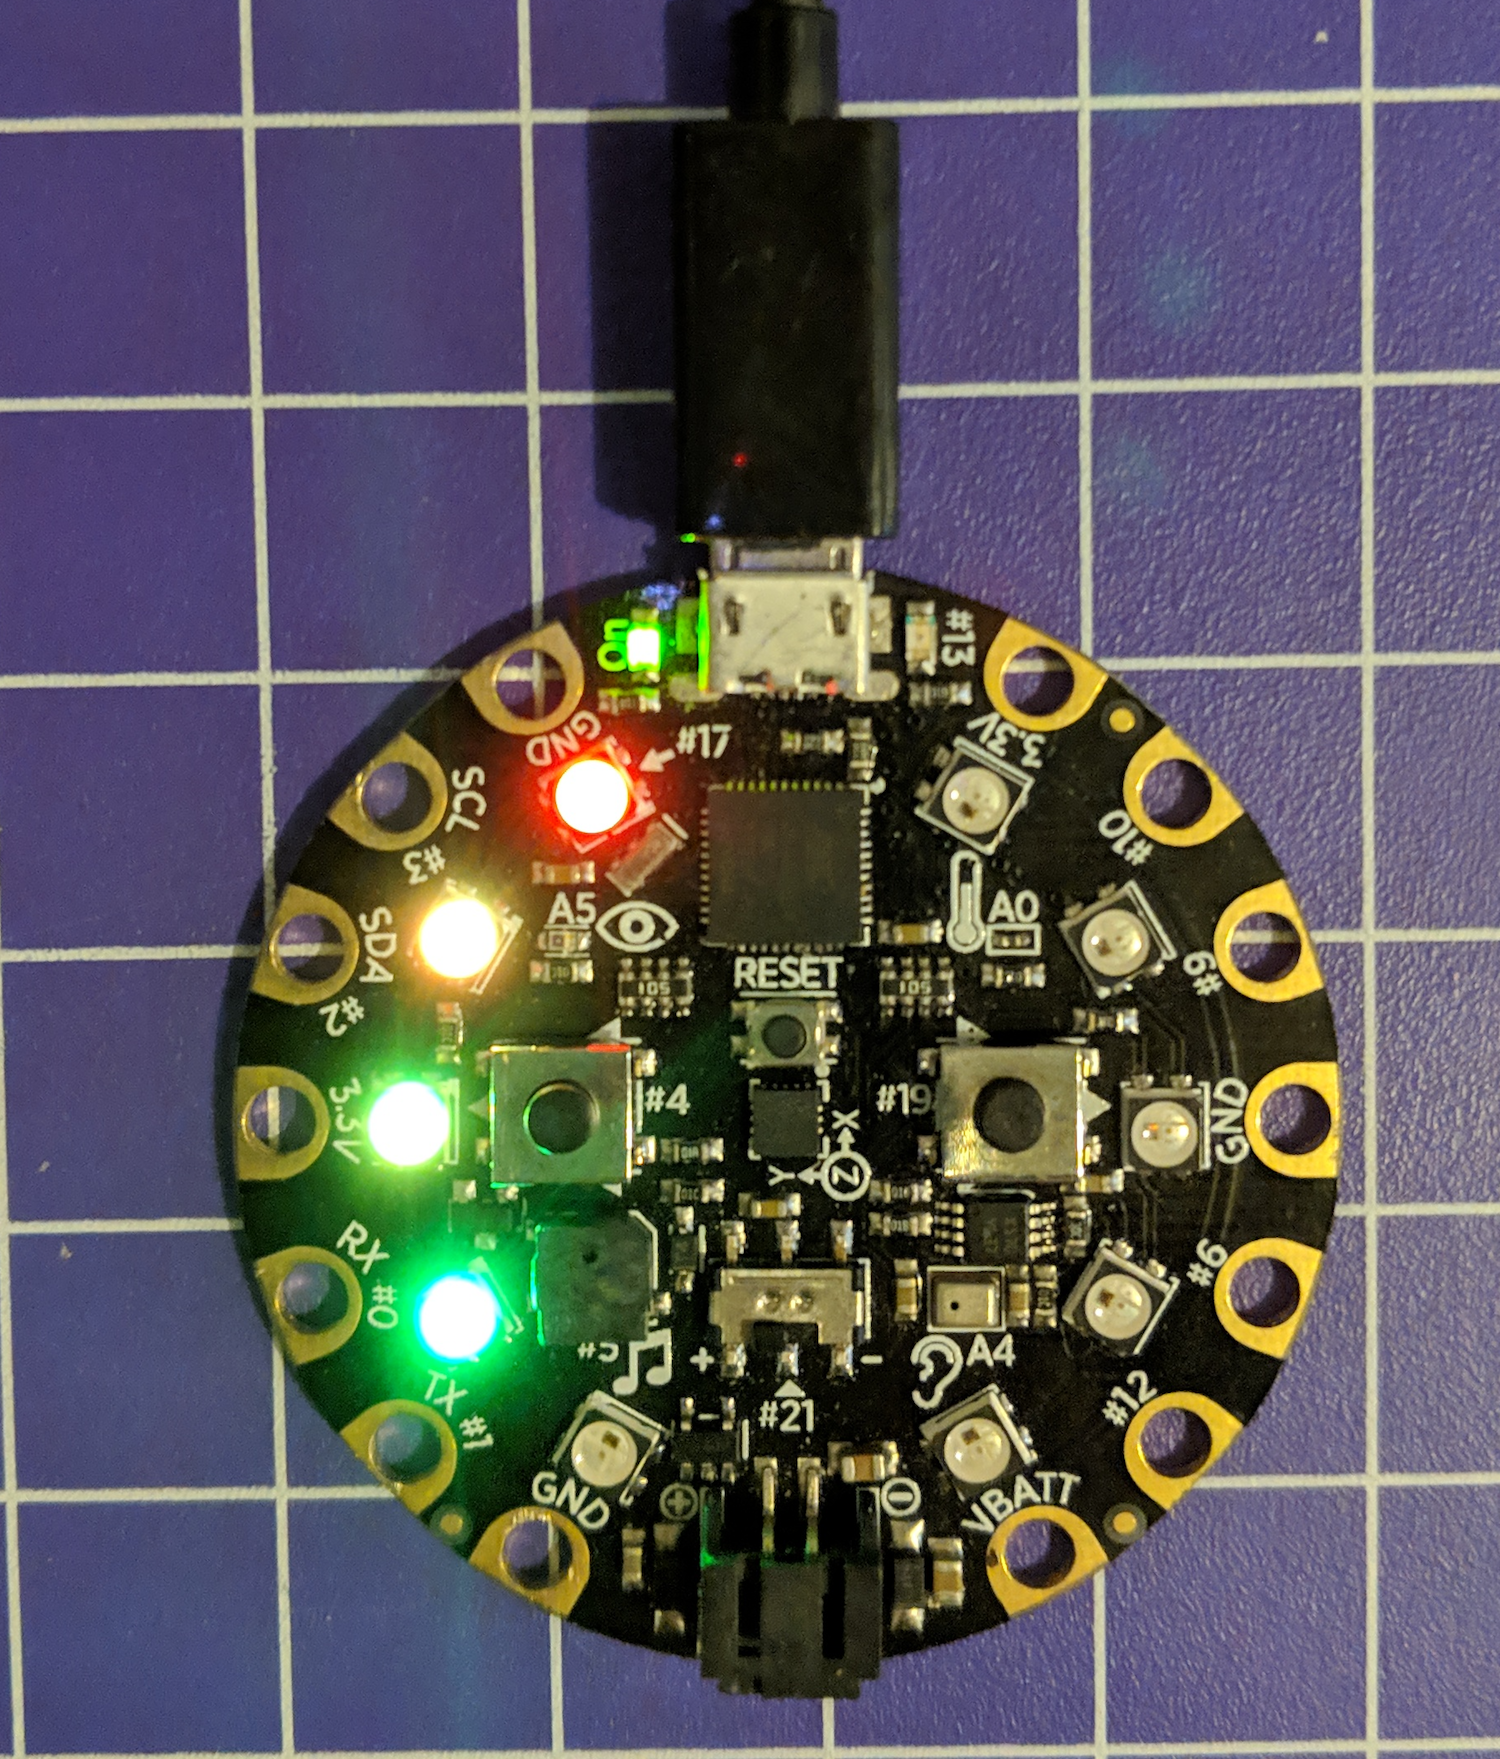
First, its important to know you’ll probably need more than one good photo to get your social media buzz. Multiple photos can help illustrate different aspects of your product or project. You don’t need a fancy camera to take these either, all of my sample photos here were taken with my Pixel 2, but with a bit of attention to detail, almost any phone can take quality social media photos.  Here, I’ll give a few general tips, and then focus on some specific types of photos you might want depending on your work. 

  • 1
    Basic tips and tools

    - Do not put graphics over your photos, or, make sure I can crop them out. I **WILL** tag you if the information is available, but I won't share your watermarked image. 

    - Clean your lens.  Especially if you're photographing LEDs or anything with indicator lights. Simply wiping down your lens will stop glare. 

    - Clean your desk and photography area. The only items in view should be carefully selected and not distracting. Take a moment to wipe down the display surface, or put down a piece of paper, cutting mat, or other backdrop. No keyboards, loose wires, or discarded snacks should be visible. 

    - Include multiple images. 

    - Take the time for photography, don't rush it at the end. Its well worth spending 15 minutes getting a good photo, so we can help share it with everyone! 

     - Simple gifs or animations of light patterns can be very helpful. Using an app like Boomerang for iPhone or Android can make this easy.  

     - Using "night mode" on your phone settings can be helpful for low light. For this, you may need a tripod or other method of holding your phone. You can use this 3D printed tripod design, this cheap tripod, and i've used wood clamps or bench vices (delicately) to hold my phone successfully. 

    - Do not use filters, but you can touch up the colour and contrast using apps like SnapSeed

    Seamless background: 

    A simple photography setup can use a "sweep" to create seamless backgrounds. This can be as basic as taping a piece of paper behind your work. Heres a brief tutorial.  You can also buy a portable lightbox.  


    Lighting: Lighting is the most important aspect of a good photo. I recommend if possible to take your photos using natural light, near to a window, but not with direct light.  Avoid direct lamps that cast hard shadows from a single direction. Direct light can also cause reflections on your board, which makes it hard to see. Check out this example of the same shot with a directional lamp and natural light.   I’ve put some tips on LED lighting below.  

    Focus: This might seem basic, but make sure your work is in focus. Sometimes blurring the background can also help bring attention to your piece if its a hype photo, this technique is called Bokeh - but be careful, this should only be done intentionally! For product or kit shots, everything should be evenly in focus. Its well worth the time to find a technique to stabilize your phone wile taking photos, either with a tripod or an ad-hoc system. 

    Background: The background of your photo should be carefully considered. If its a product or kit shot, keep it very simple. Making a white background with either a piece of paper can keep you clear of any distractions. You can also choose any consistent background, just make sure theres nothing distracting. The colours of your background shouldn’t over take your project. Avoid any shots that include your desk/keyboard/work station, unless carefully arranged. 

    Composition:  I’ve got more to say about composition below in each section, but a broad consideration is the platform you’ll be sharing this on. Make sure your entire piece is in at least one photo. Detailed photos can be included as well,  but make sure one aspect of  your work is  clear (A particular chip, connector, or LED?). These days, square images work really well for social media, so even if your image isn’t square, make sure I can crop it into one without missing any important parts.  Also, keep straight lines in mind. Make sure your photo is aligned properly, if there is a desk or a table, make sure it is haphazard. 


  • 2
    Product, kit, and hype photos


    Product Photos: 

     The goal of a product photo is to clearly show your work. These photos should be on a clean (often white) background, in full focus. There should be nothing in the photo that isn’t related to or included in your project. Top and side views may be helpful in documenting your product. These are important if its something you're trying to sell. 

    Kit or process Photos:

    These photos can help explain either a step of a process, or show the contents of a kit. They should be either on a plain white background, or consistent. You can use a ruler or straight edge to line up your pieces. Do not label or put any graphics over this image. A tip for kit photos, os to make sure your shadow isn’t in the picture. Avoid overhead lighting,

    Hype Photos:  

    Hype photos are impressive photos of your work that highlight sometime cool about it. Here, you can get creative with colour, composition, focus, and context! If you're board is small, take it next to something for scale. If you're board produces music or lights, take a picture of it in action. Here, you can also be creative! These photos are to grab people's attention, and they can look at product or kit photos after for details. 

  • 3
    Photographing LEDs

    If you've got LEDs in your project it can be difficult to document and will require extra work, but these can be some of the most impressive photos. Generally, for product photos featuring LEDs, try to not photograph them in complete darkness. If you're in total darkness, your LED will be the only source of light and obscure your work.  

    - Make sure to clean your lens. This is most important, especially if there are LEDs in focus.  Even a simple wipe down can make a huge difference.
      - If there are indicator LEDs on your board, get them in action! These shots can be in full light, and allow the viewer to see your project in action. 
    - Consider a secondary source of light.  This can be a lamp facing the opposite direction from your work that allows the room to have indirect light, or low level ambient light.
     - Simple gifs or animations of light patterns can be very helpful. Using an app like Boomerang for iPhone or Android can make this easy. 
    - Using "night mode" on your phone settings can be helpful. For this, you may need a tripod or other method of holding your phone. You can use this 3D printed tripod design, this cheap tripod, and i've used wood clamps or bench vices (delicately) to hold my phone successfully. 

    by @mle_makes 

View all 6 instructions

Enjoy this project?

Share

Discussions

Similar Projects

Does this project spark your interest?

Become a member to follow this project and never miss any updates