Close
0%
0%

QMRD3

Qualification Model Rover Demonstrator for Deep Drilling

Similar projects worth following
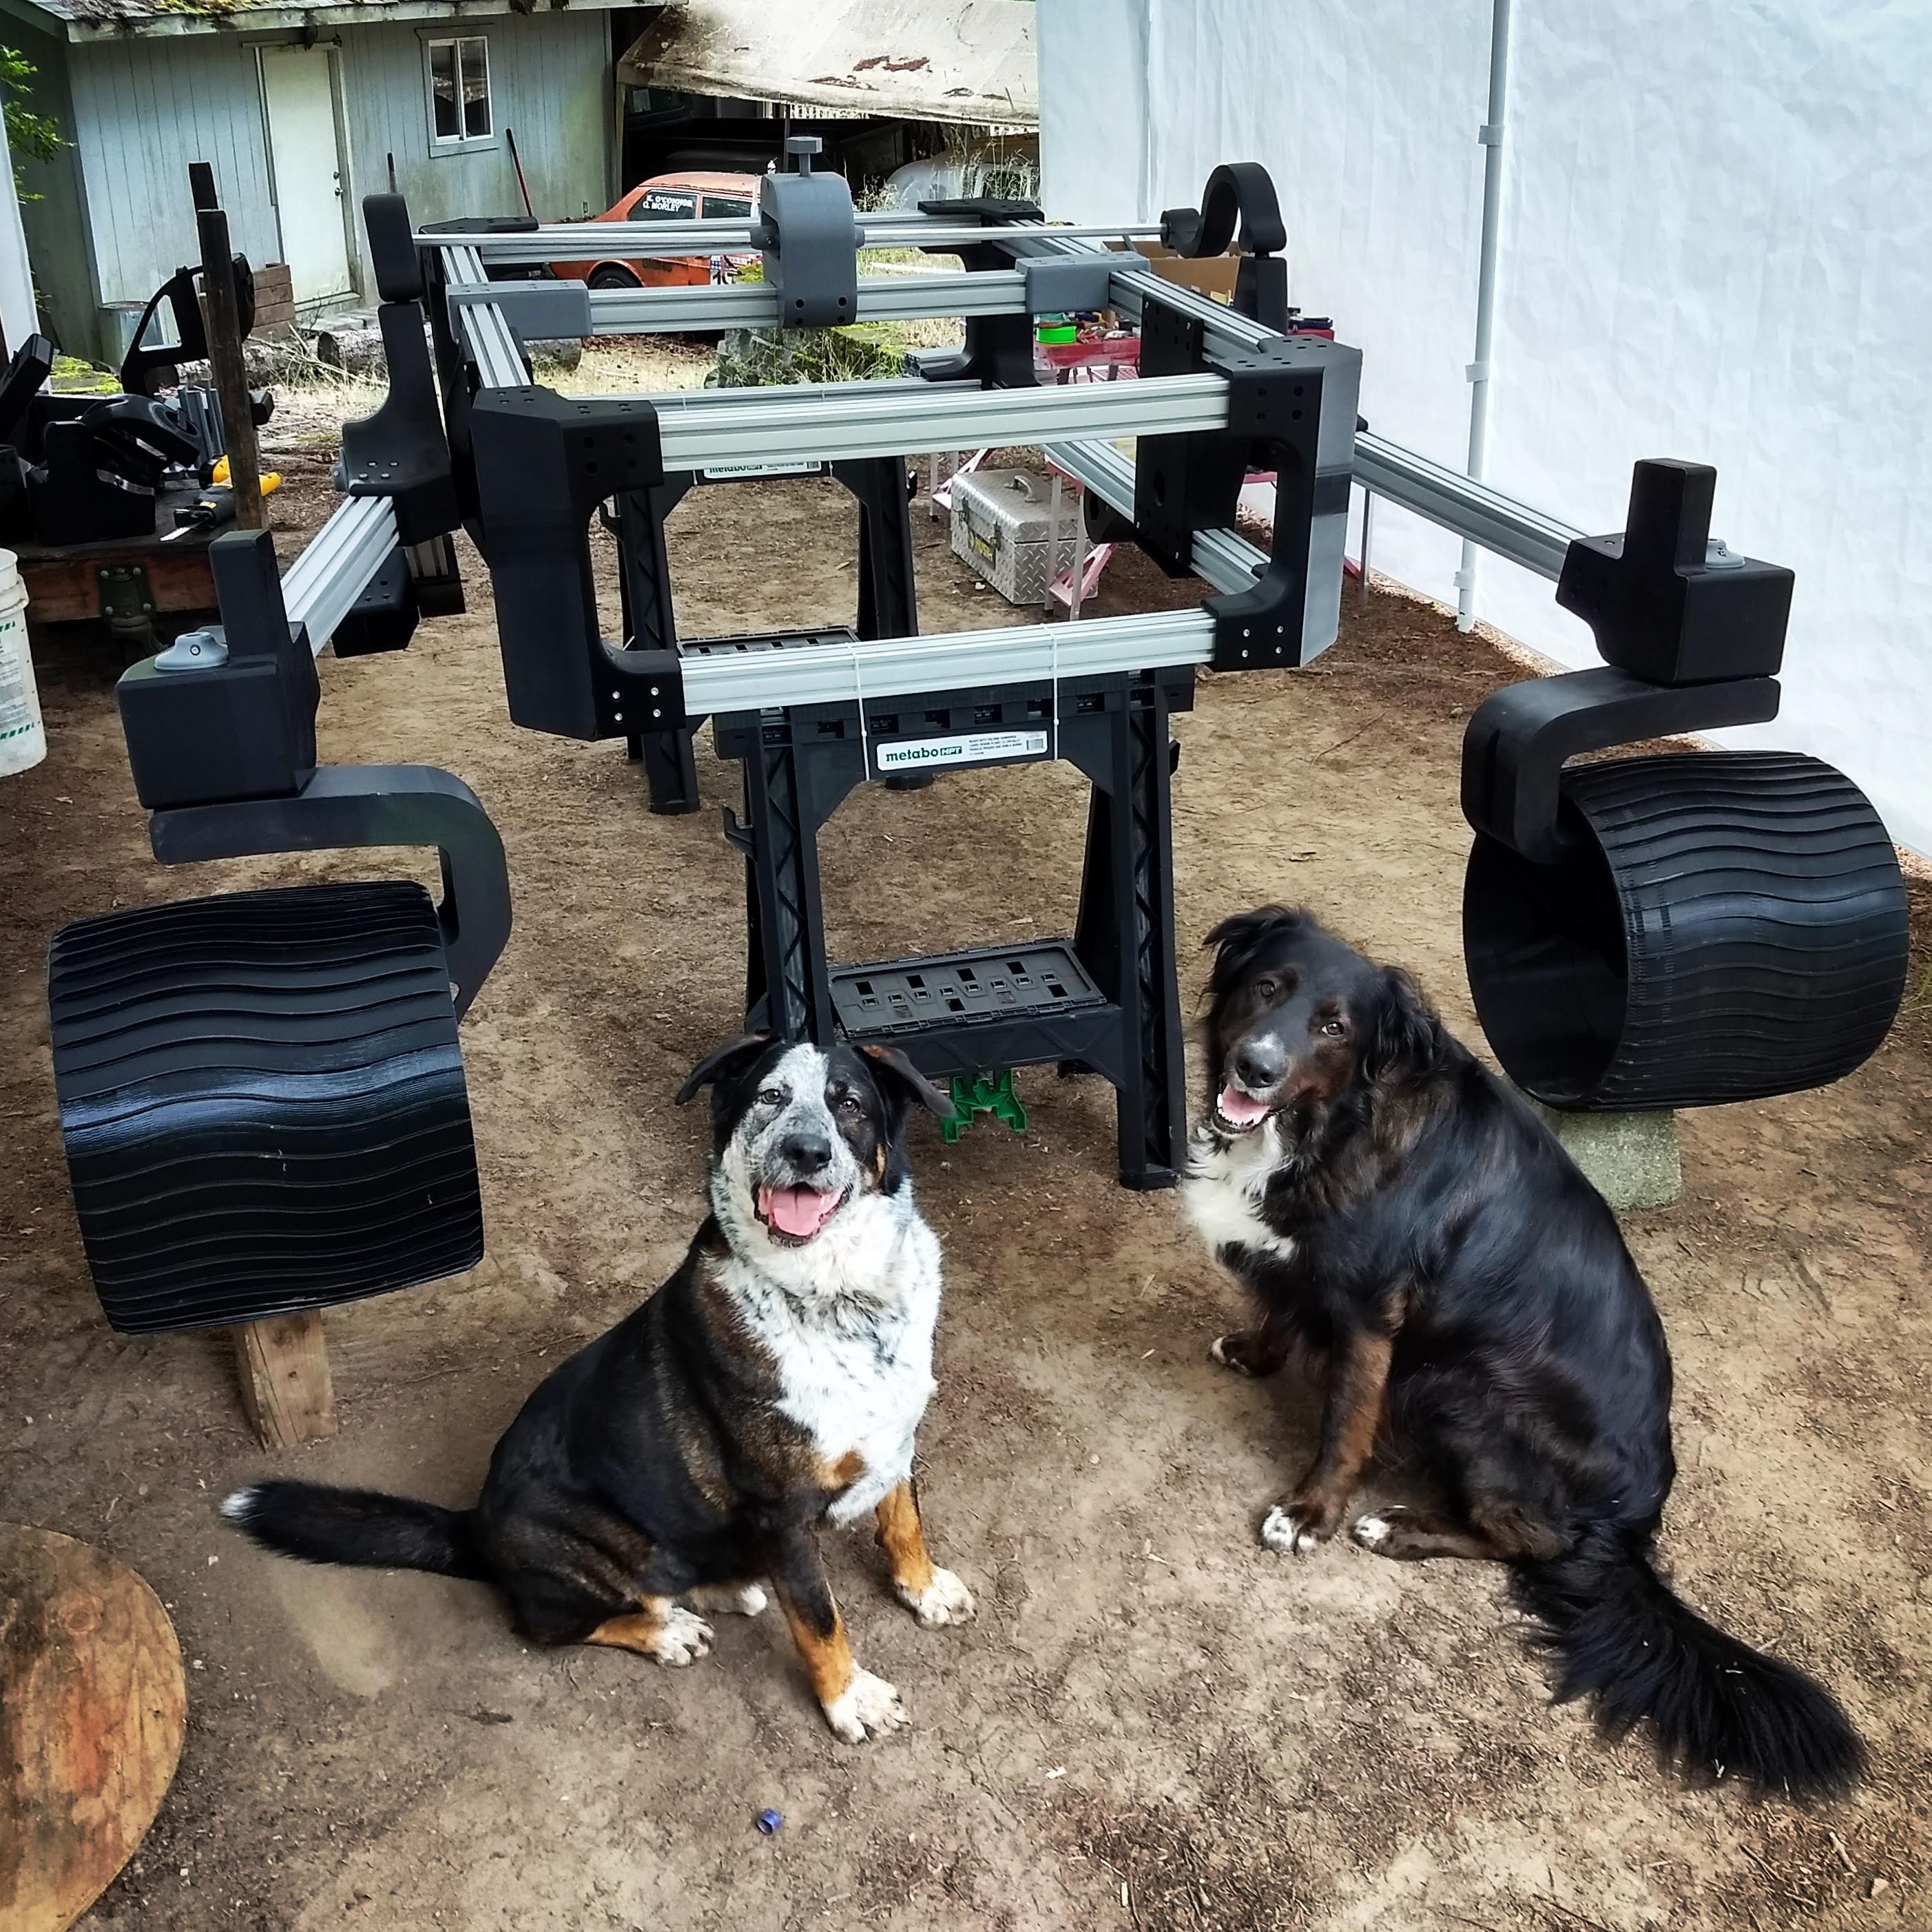
Qualification Model Rover Demonstrator for Deep Drilling or QMRD3, is a full size Curiosity / Mars 2020 Rover with a high percentage of 3d printed parts. The rover will serve as a testbed for the development of deep ice drilling technologies. The ultimate goal is to unlock access to liquid water under the Mars South Polar Ice Cap in the Planum Astrale regon of Mars.

This rover is a remix of Roger's Sawppy rover, which is a 1/4 scale rover that can be built for under $500.

This is the QMRD3 Rover (Qualification Model Rover Demonstrator for Deep Drilling). It is a 4x scale copy of the Sawppy rover designed by Roger. Due to the size difference, several changes (mainly relating to motors and power transmission) have been made and an entirely different motor strategy is required. You can find more about Roger's original Sawppy rover at https://hackaday.io/project/158208-sawppy-the-rover and https://github.com/Roger-random/Sawppy_Rover

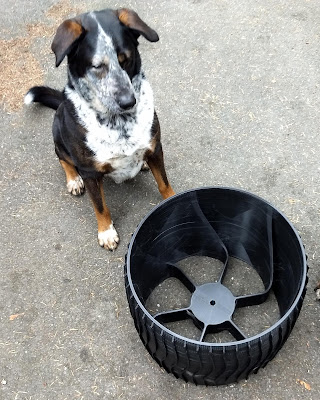
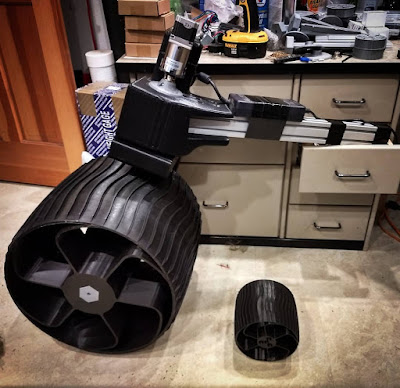
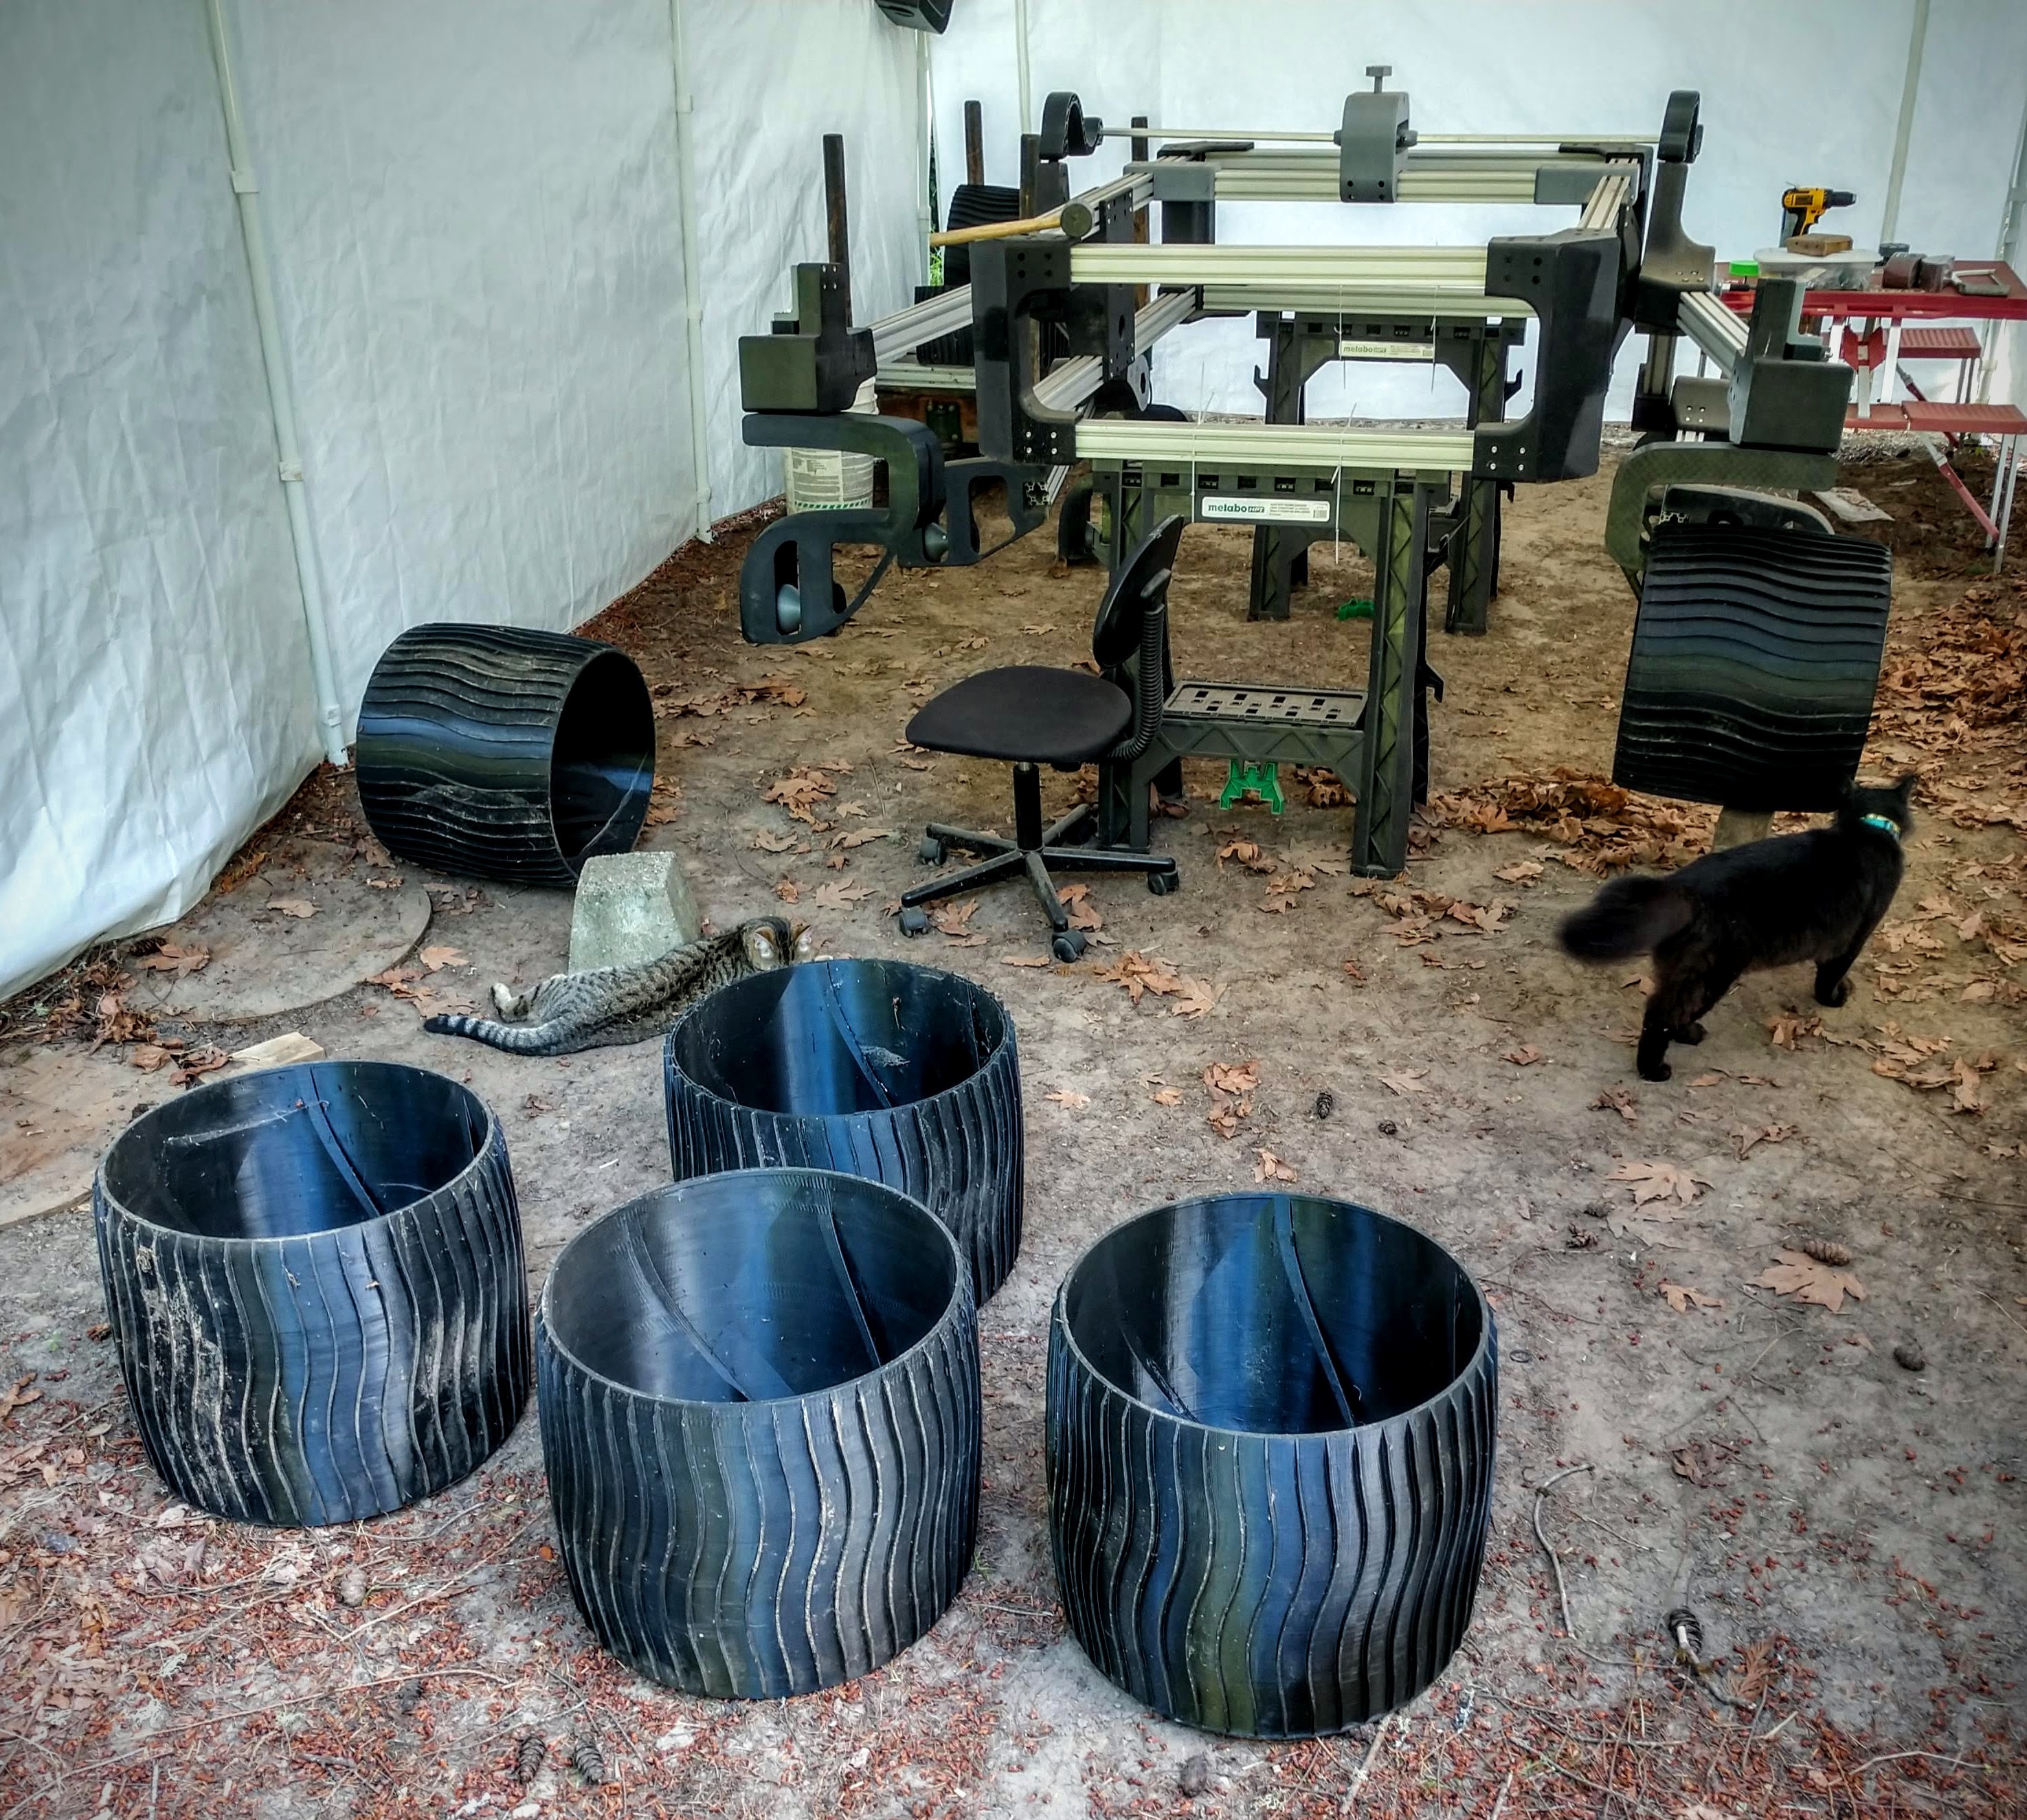
This rover was born out of the necessity for a mobile testbed with flexible mounting options, but is turning into quite a project, both in the amount of work involved as well in the many ways that it represents the bleeding edge of home-workshop additive manufacturing capability. For example, each wheel weighs 5kg and takes 4 days to print (0.8mm nozzle, 0.4mm layer height, 1.2mm extrusion width, single wall and 10% infill), with a material cost of ~$100. A screenshot with the details of the wheel print is below. If you are inclined to build a rover like this, the wheel should be your deciding factor. It is by far the most expensive and largest printed component.

The Rover Chassis has reached Version 1.02 and all components have been prepared for the larger size. A Github repository for QMRD3, containing STLs as well as the Fusion360 archive is available here: https://github.com/Shootquinn/QMRD3

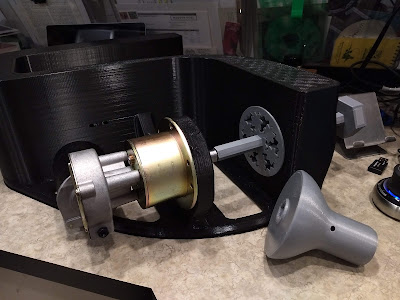
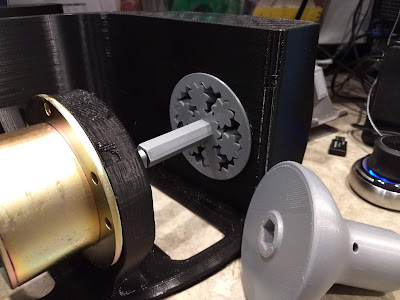
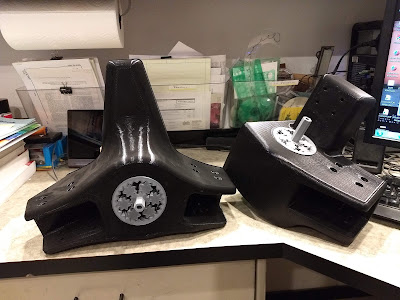
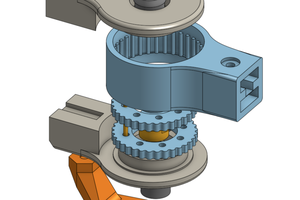
Also of note is the 22mm skateboard bearings used extensively on Roger's Sawppy rover have been replaced with 88mm 3D printed gear bearings. The bearings are licensed separately from the rest of the rover and the files can be found here: https://www.thingiverse.com/thing:3116838

The drive motors are from makermotor and are available at: https://makermotor.com/pn00113-6-6-rpm-gear-motor-12vdc-high-torque/ while the steering motors are from Amazon seller STEPPERONLINE and can be found by searching for the following listing: STEPPERONLINE 47:1 Planetary Gearbox Nema 23 Stepper Motor 2.8A. The mounting bracket for the stepper motor is required and will match up to the bolt pattern on the steering corners.

The Sawppy was designed with a $500 budget in mind, it appears that the budget moves linearly with the scale at this point, but the scrap costs from prototyping also do. If you want to build one of these I would plan on it costing around $5,000. Eventually the cost could be reduced to $2,000 from lessons learned, etc.

  • Weight on Wheels

    Quinn Morley07/23/2020 at 18:10 3 comments

    I've had the rover put together twice, and experienced challenges both times. In all cases I haven't put a single motor on yet.

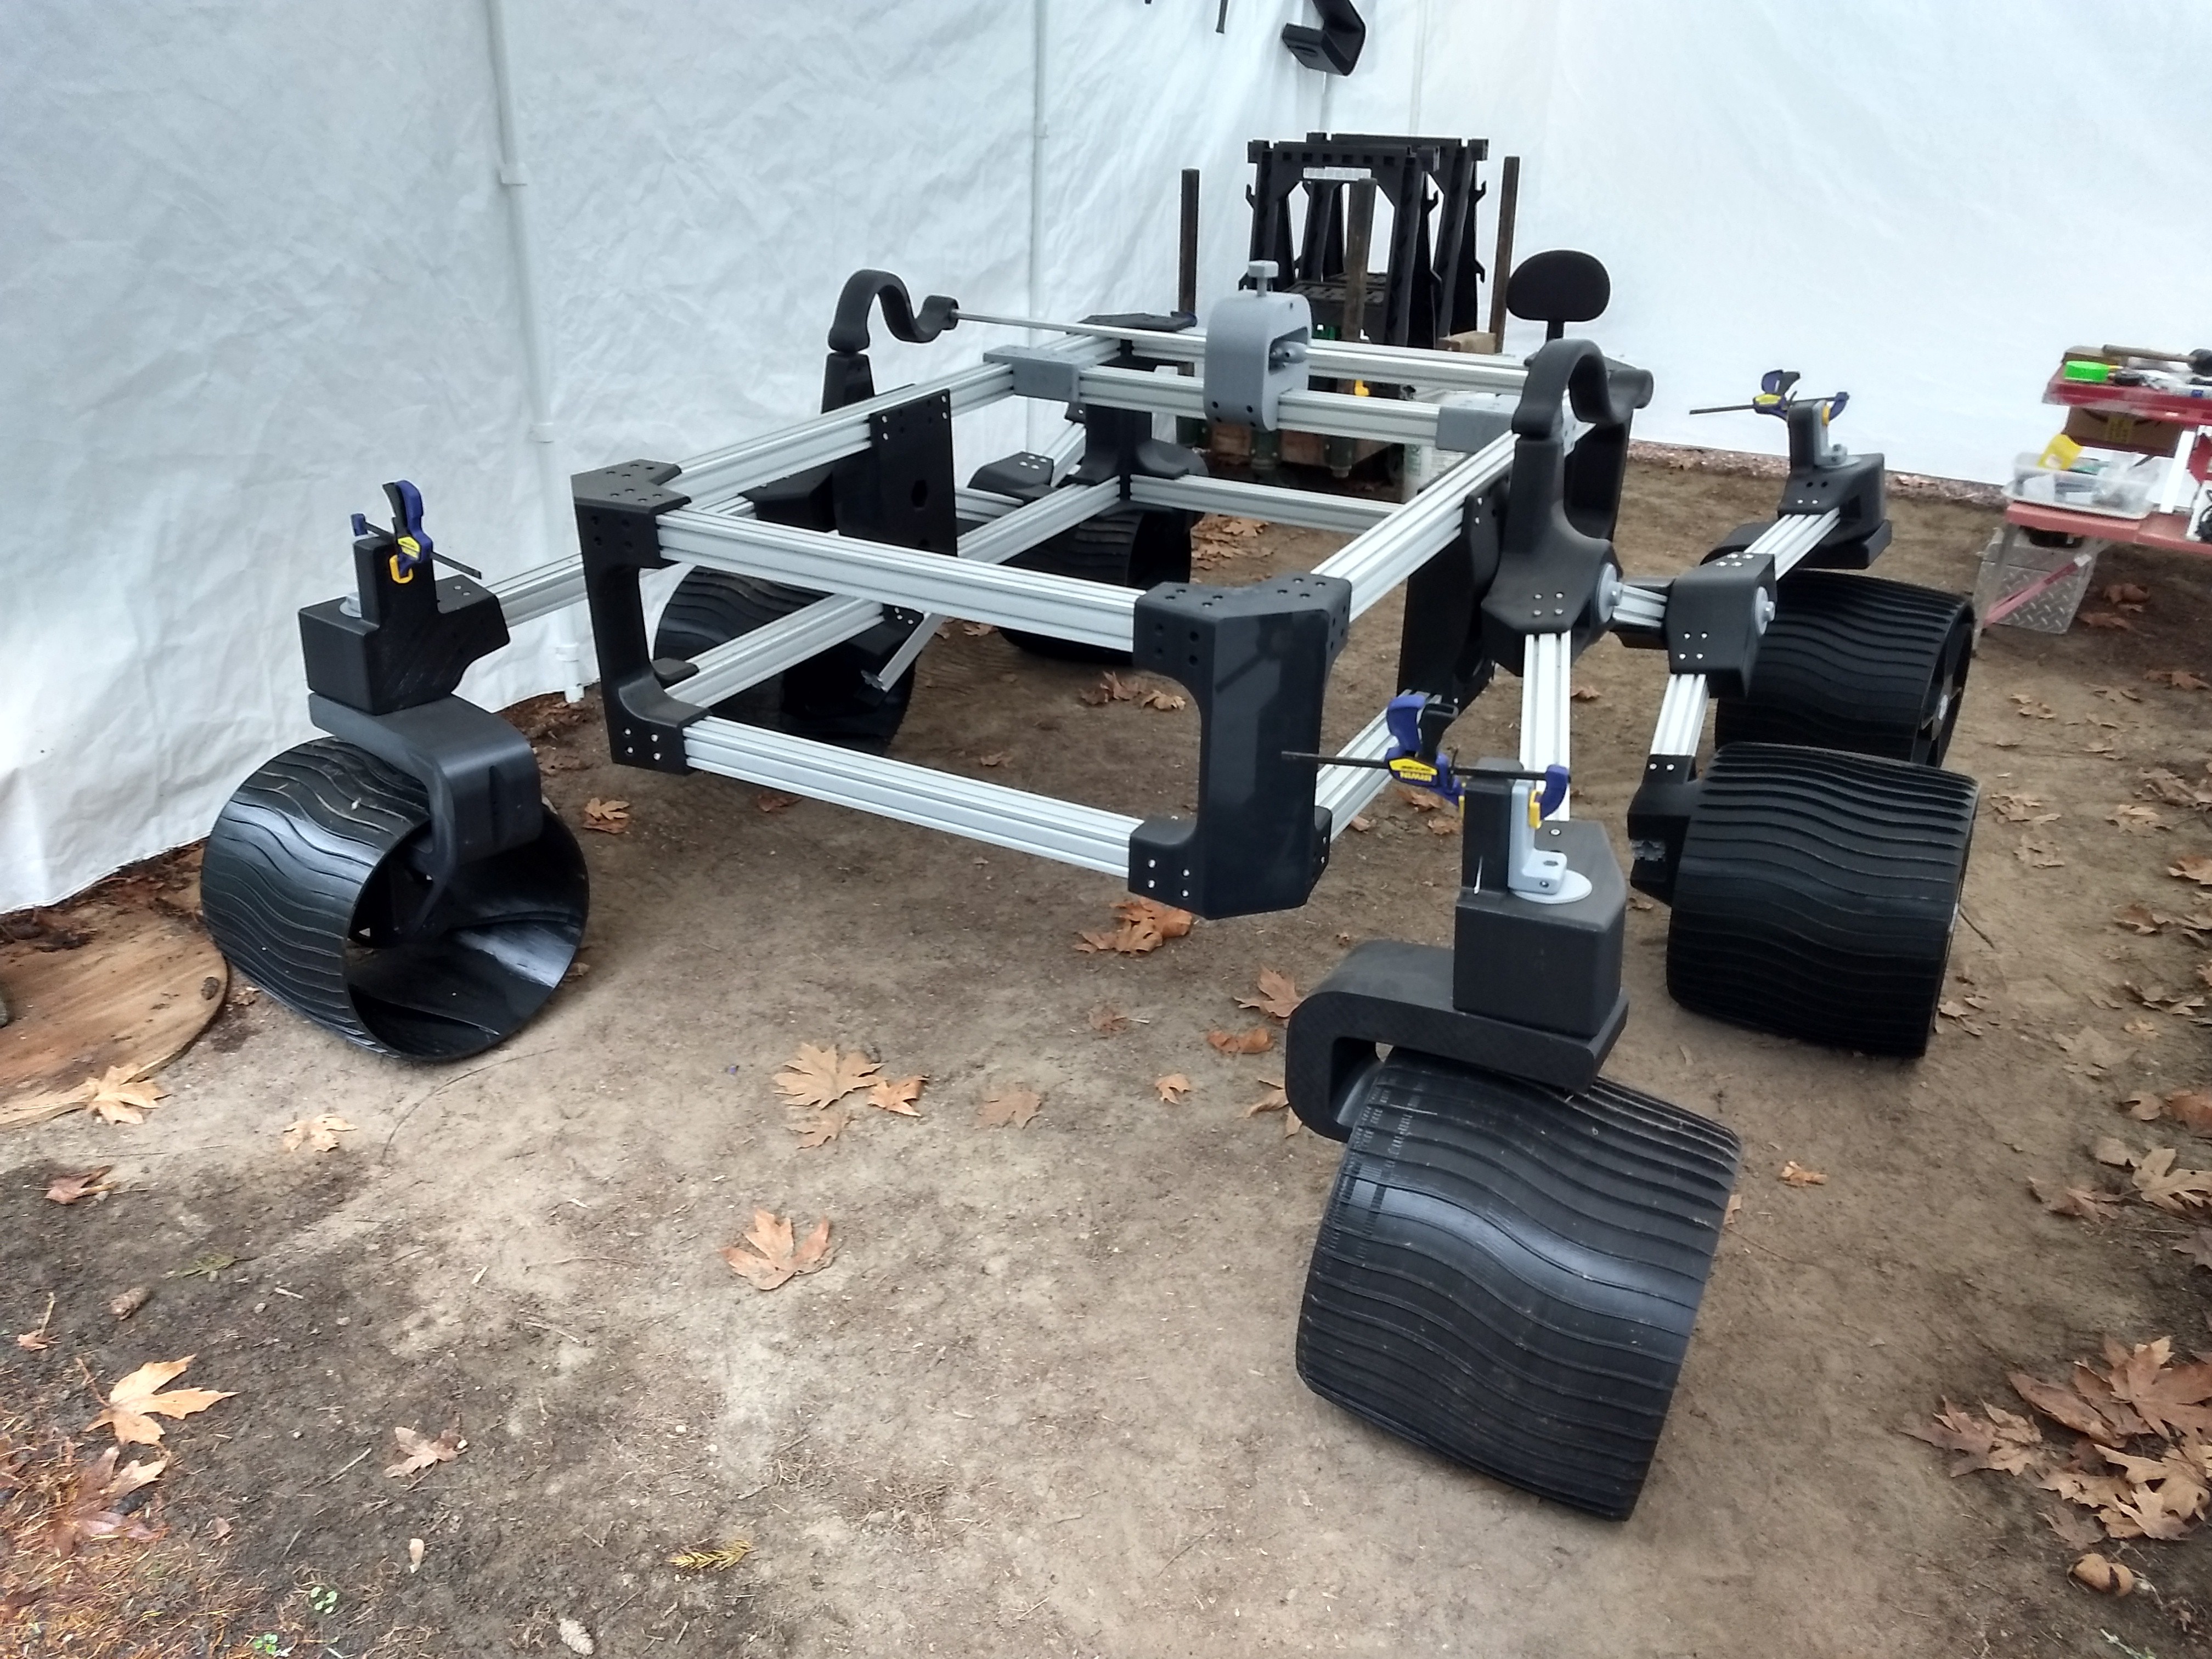
    In the above picture, the rover has its weight on the wheels for the first time, but with plastic axles that deteriorated quickly. The differential failed under this static load after about two weeks time, due to the creep of PLA under high stress. The differential holds the body level, so the forward weight of the body is held up via the differential. I have adjusted the body pivot point to minimize this static load, but it is surprisingly easy to "load up" the differential. Given the length of all of the moment arms, this force can get significant rather easily.

    All of the axles are now aluminum hex bar, and the differential mechanism has been strengthened (via print settings, not geometry). The differential may need to be redesigned so a one piece hex bar can be used, instead of having the joint in the middle. 

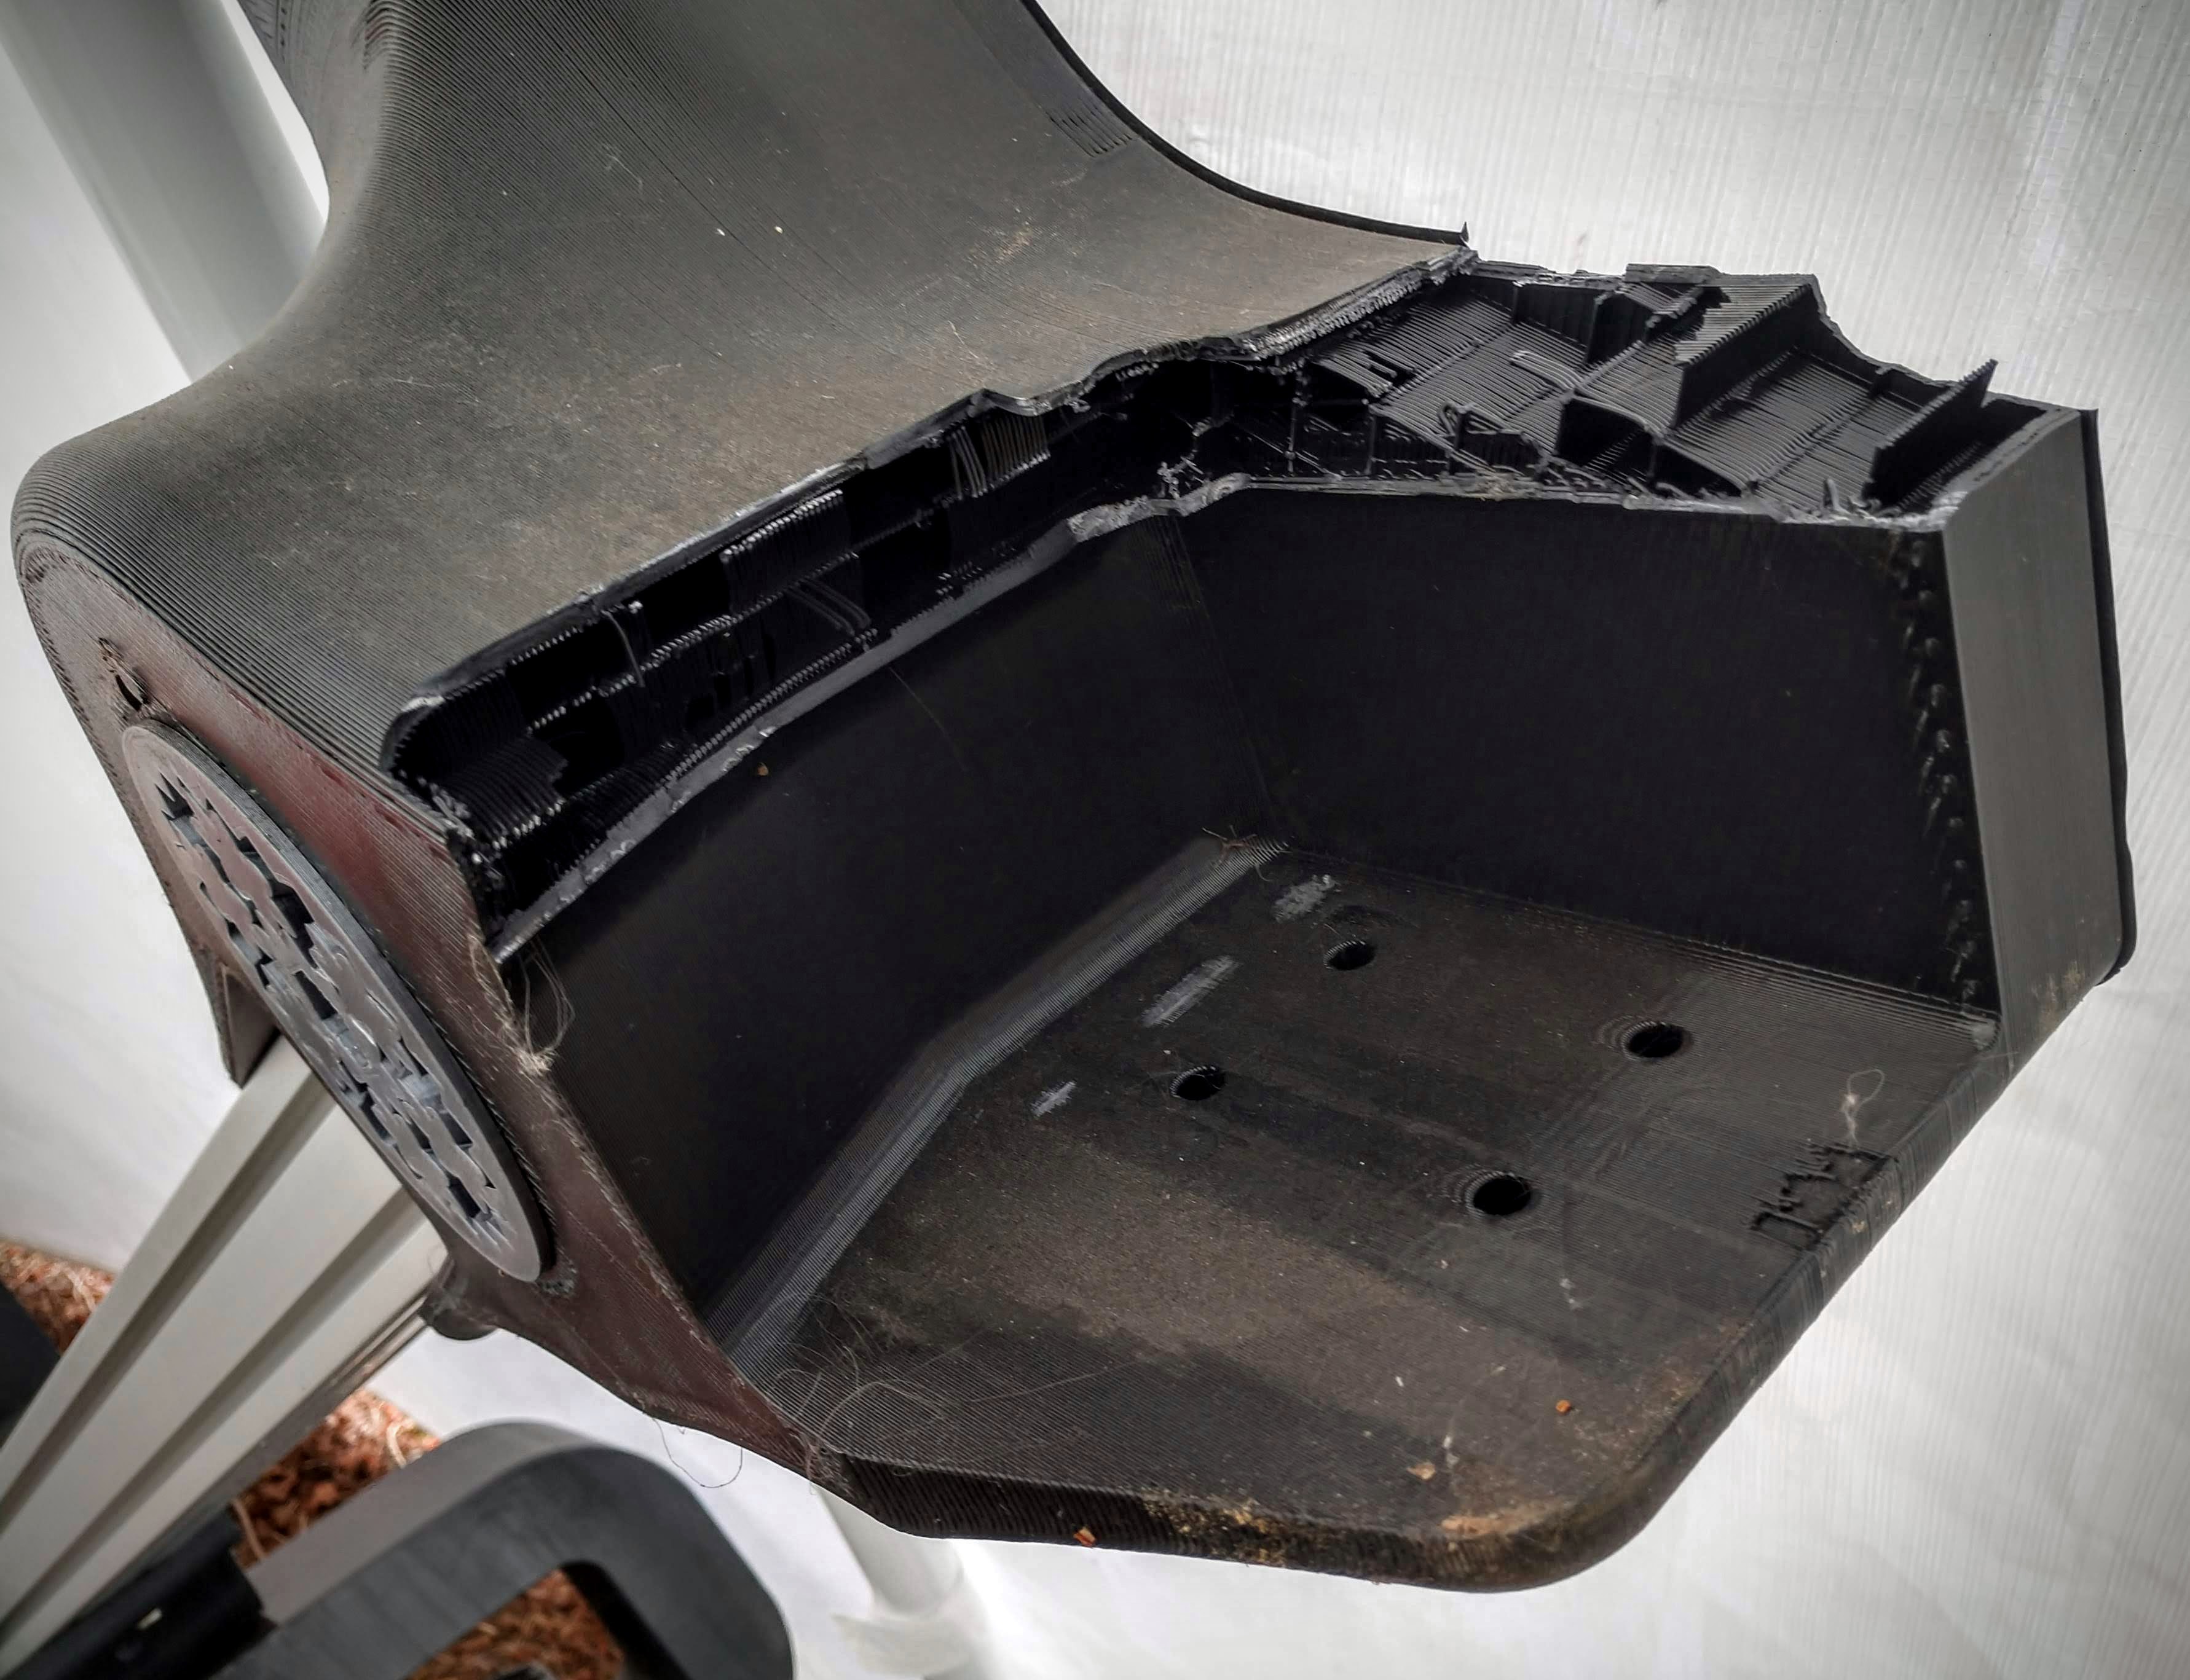
    The left-hand main rocker broke recently, so both rockers need to be reprinted with more perimeters. The "diff links" (curvey parts that hook the rocker to the long hex bar of the diff) also need to be printed again. It is difficult to get the diff links to both flex and be strong enough. If they can flex a little, it can help reduce the high loads on the differential itself (the hex bar also flexes a lot, which is great). 

    Unfortunately I didn't get pictures of the whole rover before the rocker broke (I was rolling it outside to wash it and take pictures at the time). The quick clamps have been replaced with a better "steering lockout" system until the steering motors can be installed (may be quite a while, I hope to use tank steering at first for powered driving). Hopefully I can get my "fresh wash" picture before the end of the summer. 

  • Front wheels on, Rocker Test

    Quinn Morley09/16/2019 at 02:00 0 comments

    The front wheels are on! I need to get all the wheels on and locked in the straight-ahead position because I will be using tank steering at first. I'm eventually going to modify Roger's Ackerman control method from Sawppy, but my motor strategy is different so it will take some time.

    Also with the rockers set up, before I mounted the wheels, I tested the articulation. In my opinion this needs some work and may be the weakest part of the whole contraption. We'll see how it works when everything is on the ground under it's own weight. 

    Here is another shot with the front wheels on:

View all 2 project logs

Enjoy this project?

Share

Discussions

Carter Brown wrote 11/02/2020 at 04:58 point

Very good idea.

And recommend a stepper motor web I bought. Mtiongoo is a stepper motor manufacturer with good quality.

Recommend a stepper motor suitable for AGV wheel drive:

23HT22S4280-PG47

https://www.motiongoo.com/nema-23-gearbox-stepper-motor-56mm-28a-gear-ratio-47-planetary-2328047s1

  Are you sure? yes | no

Ed wrote 07/23/2020 at 17:07 point

Wow!!! Great project. Congrats.
Curious to see more updates. 

  Are you sure? yes | no

Quinn Morley wrote 07/23/2020 at 17:30 point

I took it out to wash it the other day and snapped one of the main rockers in half. Funny thing about this thing is it is difficult to intuitively know where the high-load locations are. It turns out, the out-of-plane forces on the suspension are significant at this size. 

  Are you sure? yes | no

Ed wrote 07/23/2020 at 17:43 point

I guess PETG is not strong enough for the junctions :) 

Have you shared the finished version of the Rover somewhere? 

  Are you sure? yes | no

Quinn Morley wrote 07/23/2020 at 18:35 point

I don't have any good pictures of it "finished." Thanks for motivating me to post a new project log, though! I also updated the gallery. BTW, everything is PLA. My big printer wouldn't be able to handle PETG for things like the wheels, but maybe MAYBE I could do PETG for the rockers. The small differential piece fits on the Prusa Mk3 so I can make that out of Polycarbonate if I need to.

  Are you sure? yes | no

Quinn Morley wrote 09/18/2019 at 07:59 point

I have a backyard full of cars, I wish you brought this up sooner!

  Are you sure? yes | no

Quinn Morley wrote 09/18/2019 at 08:04 point

How much torque, do you know? Moving these 20 inch wheels is no easy task. 

  Are you sure? yes | no

Kyle Brinkerhoff wrote 09/18/2019 at 09:11 point

enough to break hands! 

they are worm drive so coasting is a no go, but that probably works out in your favor anyways. also the better ones like this come off of old american cars like buicks and pontiacs, the drive spline is huge and a gorilla glued 3d printed coupler adapts to the needed application, id recommend heat sinks too if your gonna run these for more than 30 min at a time, also try to find ones with metal bodies, they hold up better 

  Are you sure? yes | no

Quinn Morley wrote 09/18/2019 at 17:36 point

I bought 6 of these rotisserie motors already, the torque is pretty insane. 21 Nm.

  Are you sure? yes | no

Similar Projects

Does this project spark your interest?

Become a member to follow this project and never miss any updates