The basic idea is to move the 8mm film frame by frame with a stepper motor and take a picture of it. Afterwards putting the images together to a film.
The frames are quite small (abt 5x4mm) and in order to have a smooth playback of the film, the positioning and cropping of the images is critical.
After initial tests, I decided to use OpenCV for positioning and cropping.
First comparisons between a "professional copy" and the built here looks promising, but I believe that especially the camera settings still can be improved a lot.
Here a short video made with the scanner: (original from 1976)
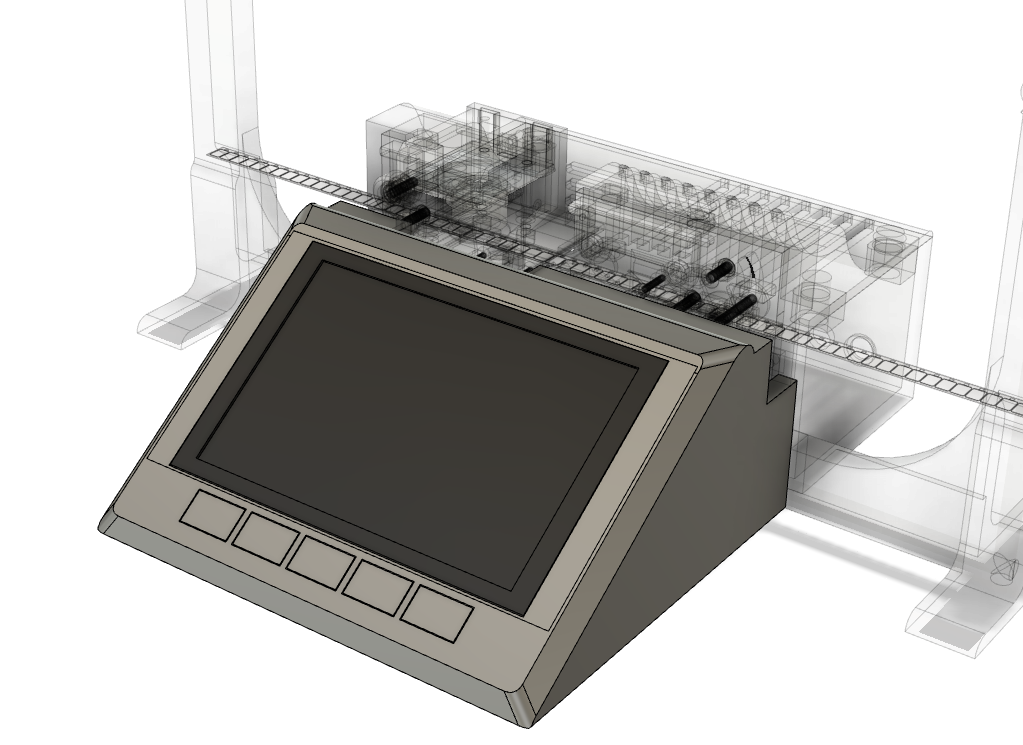
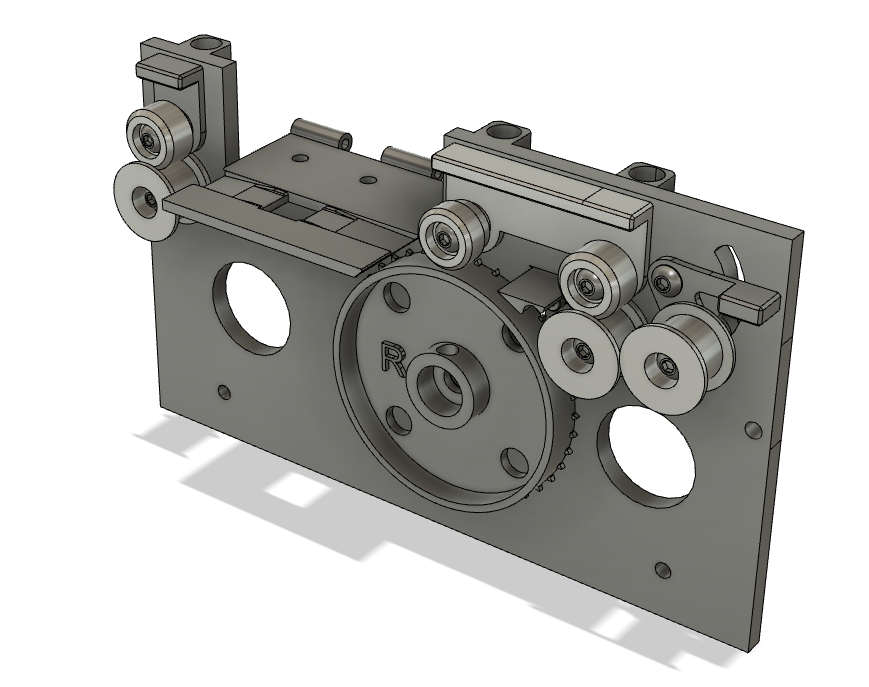
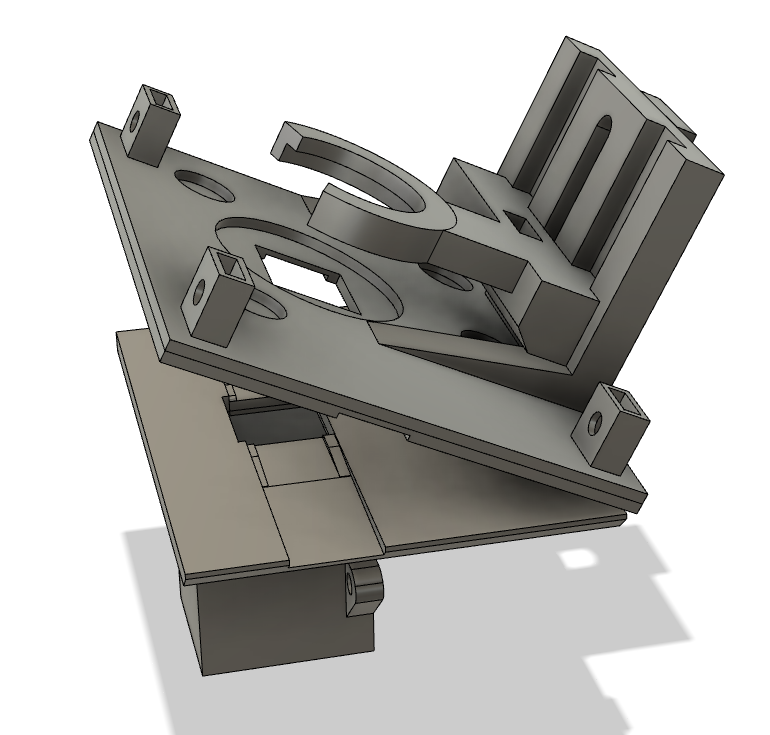
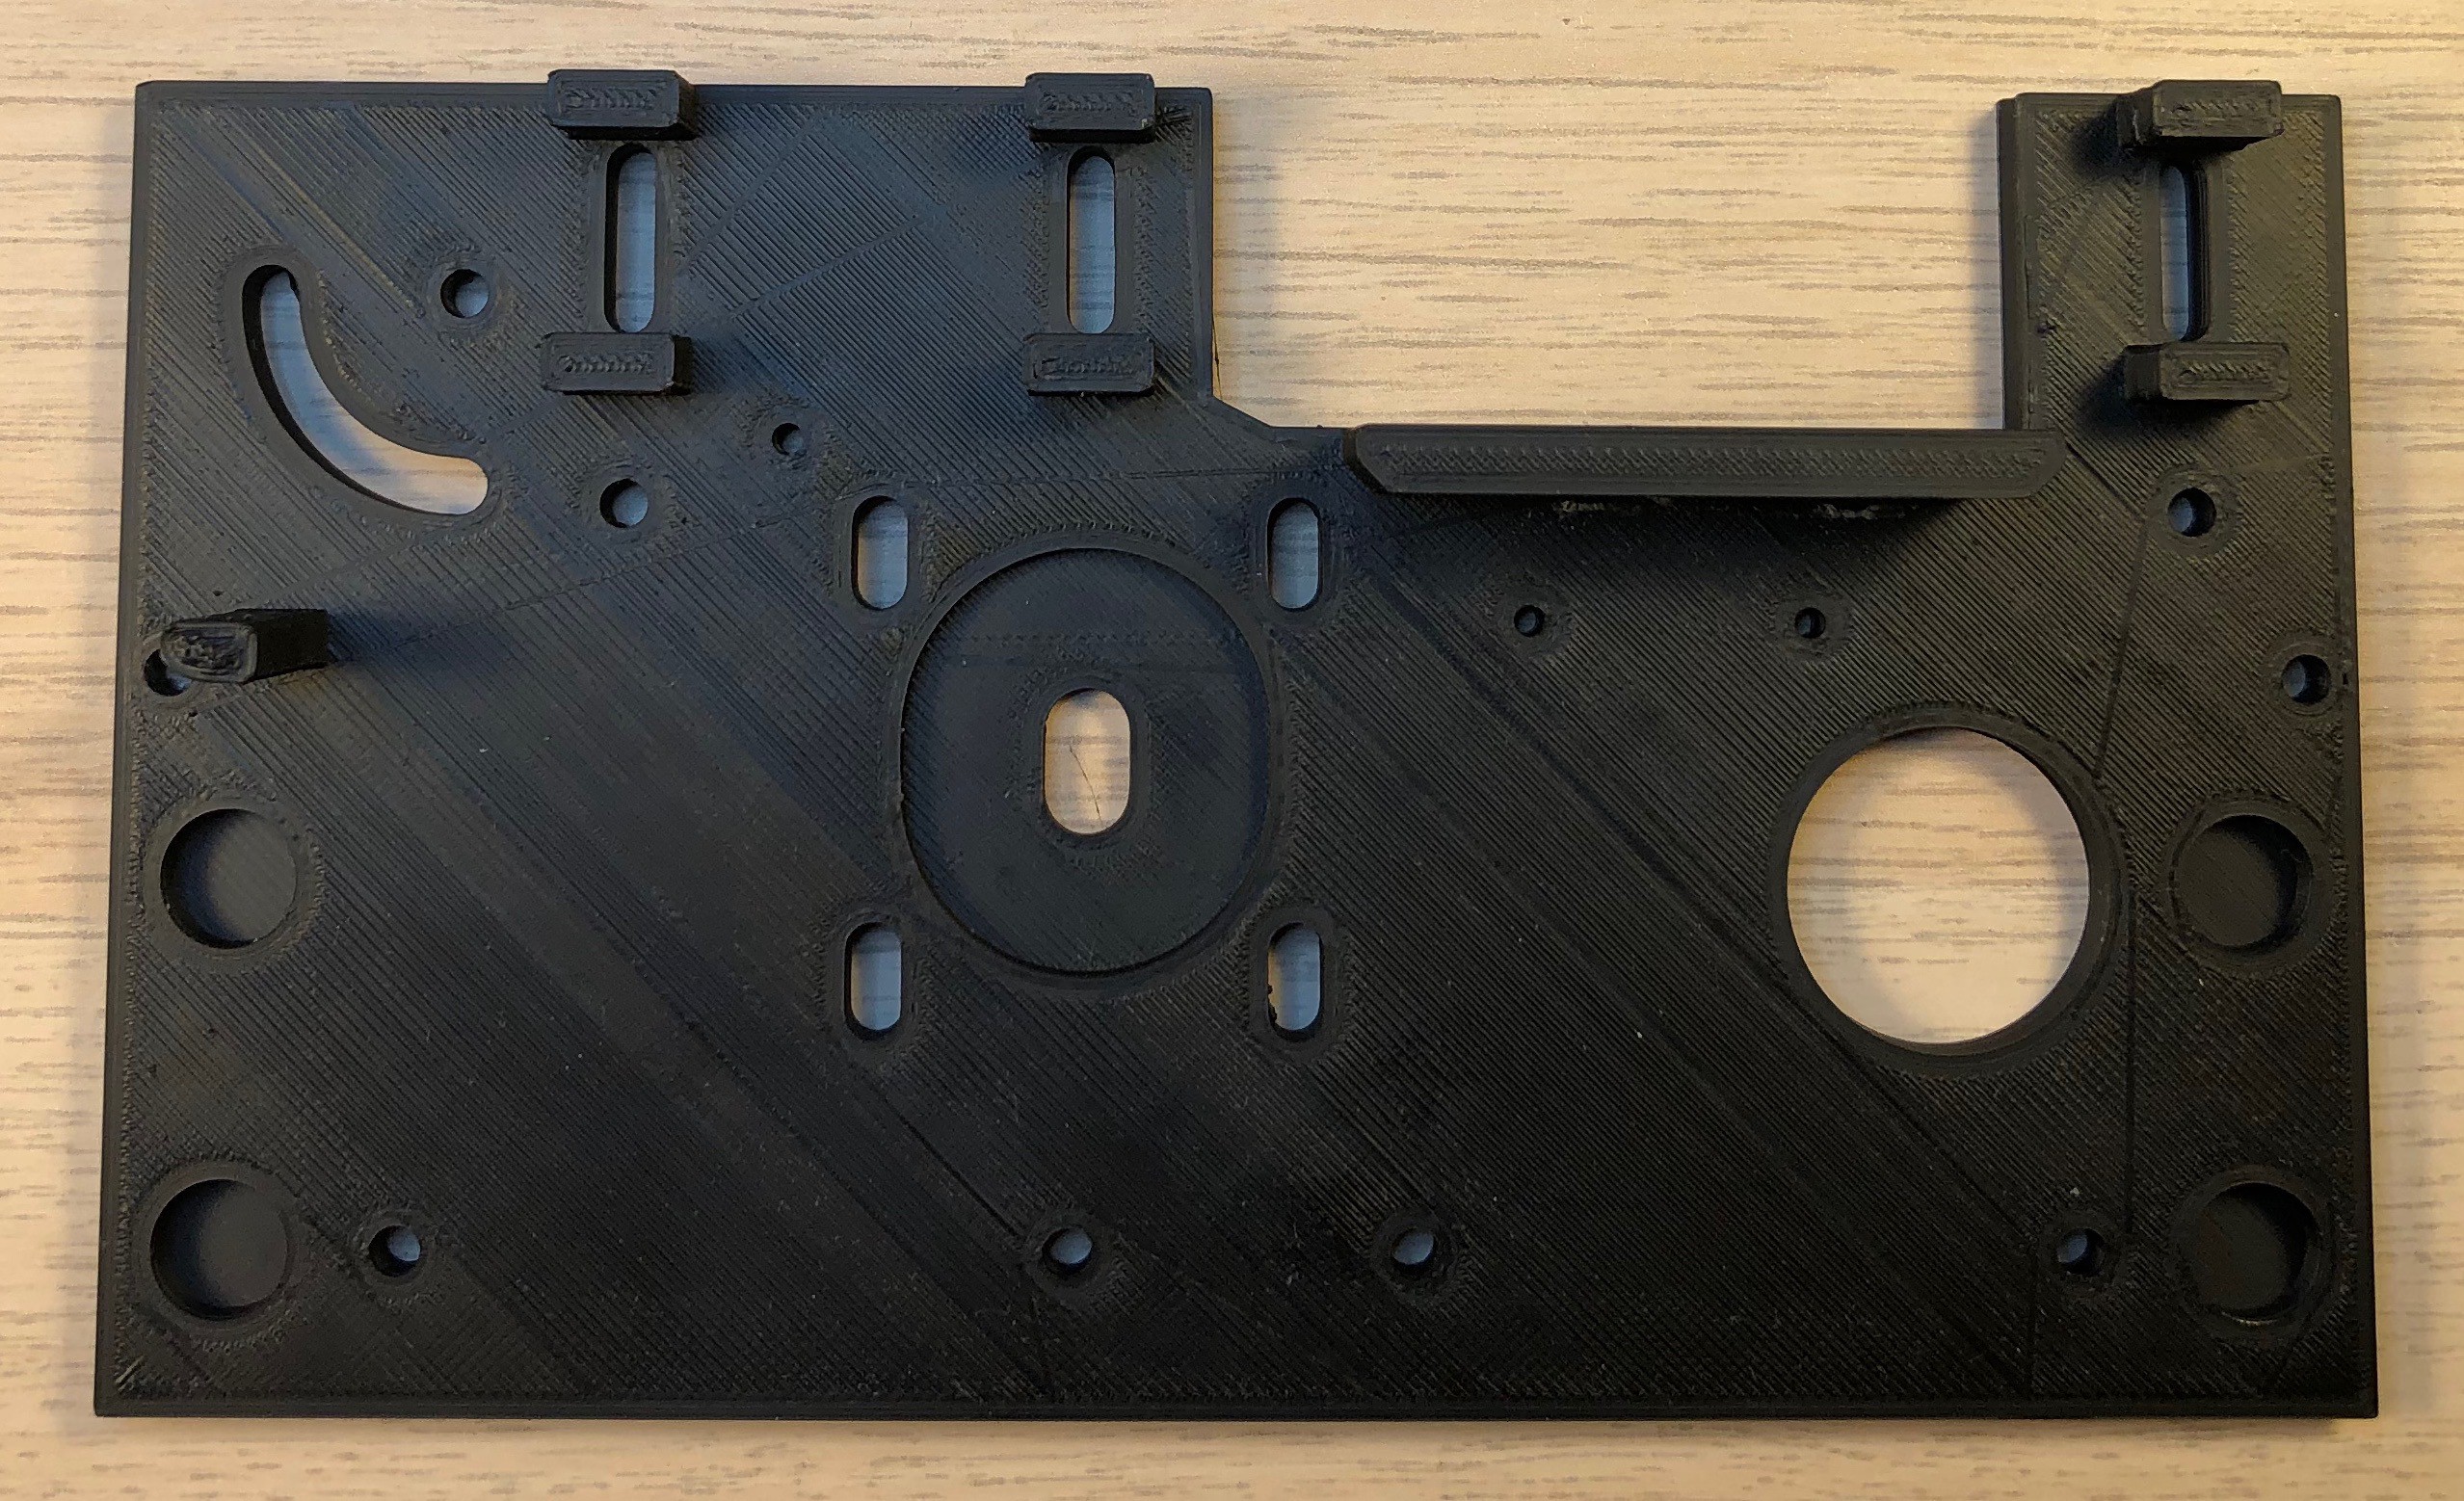
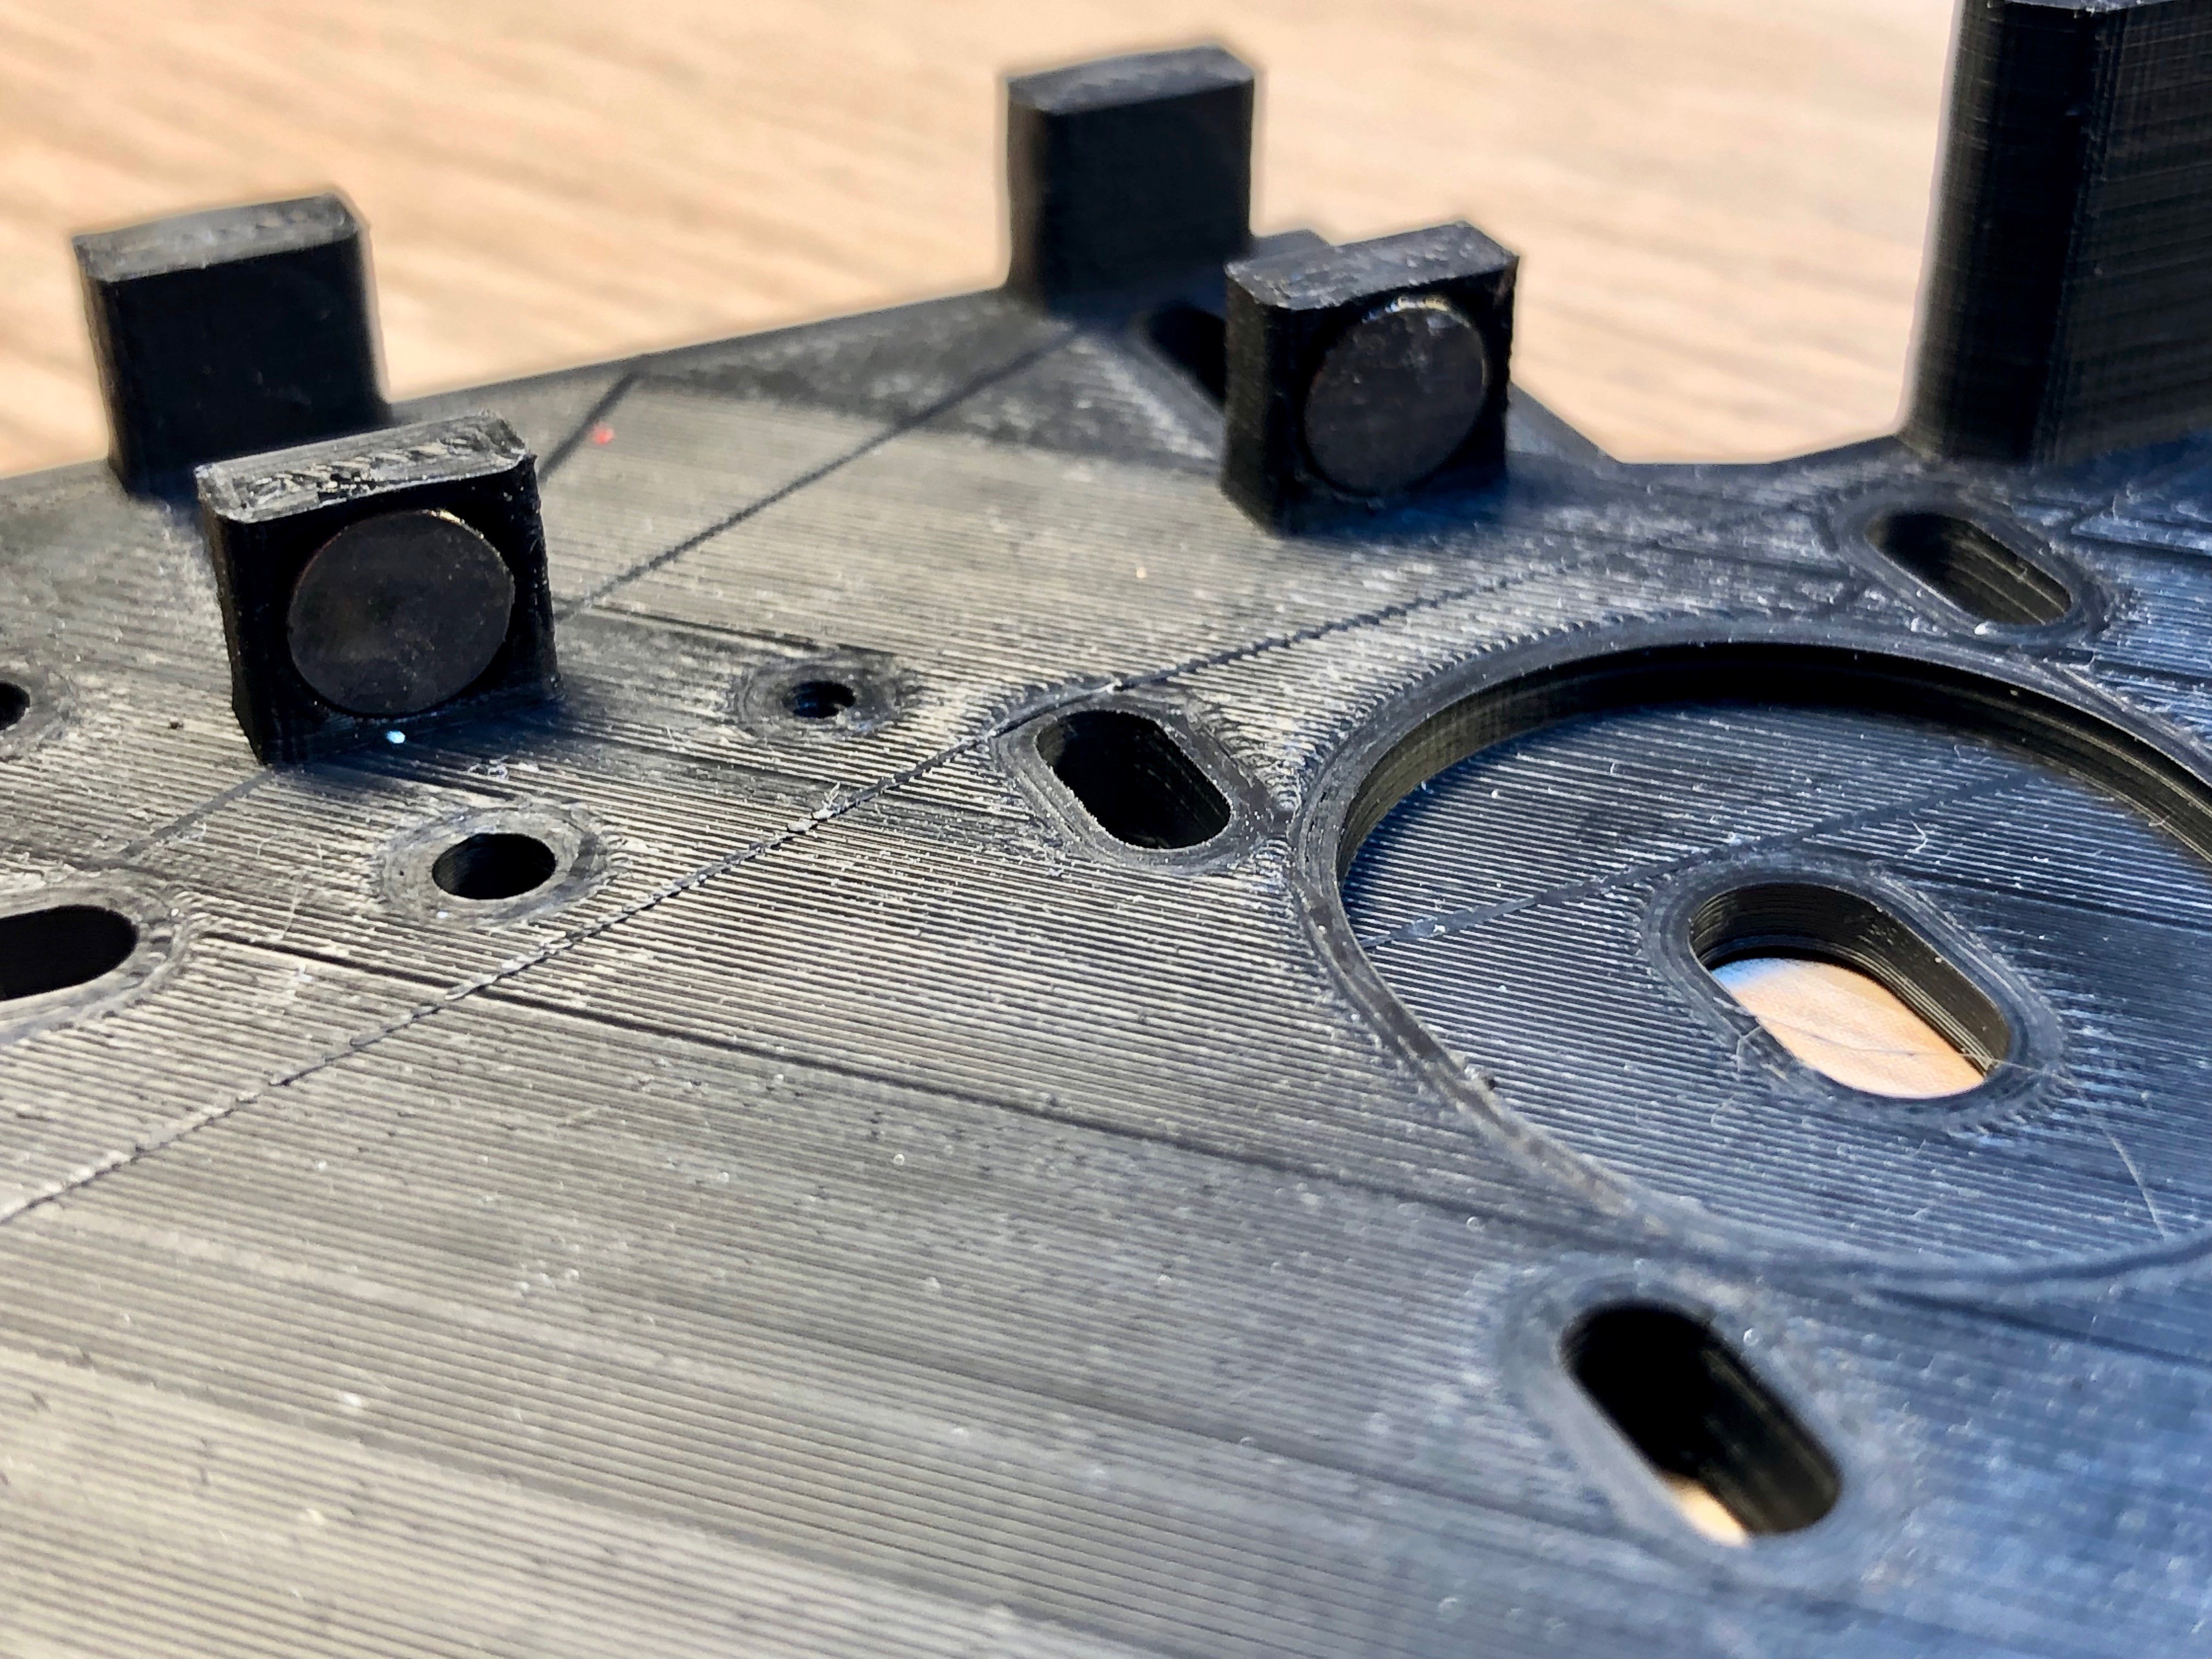
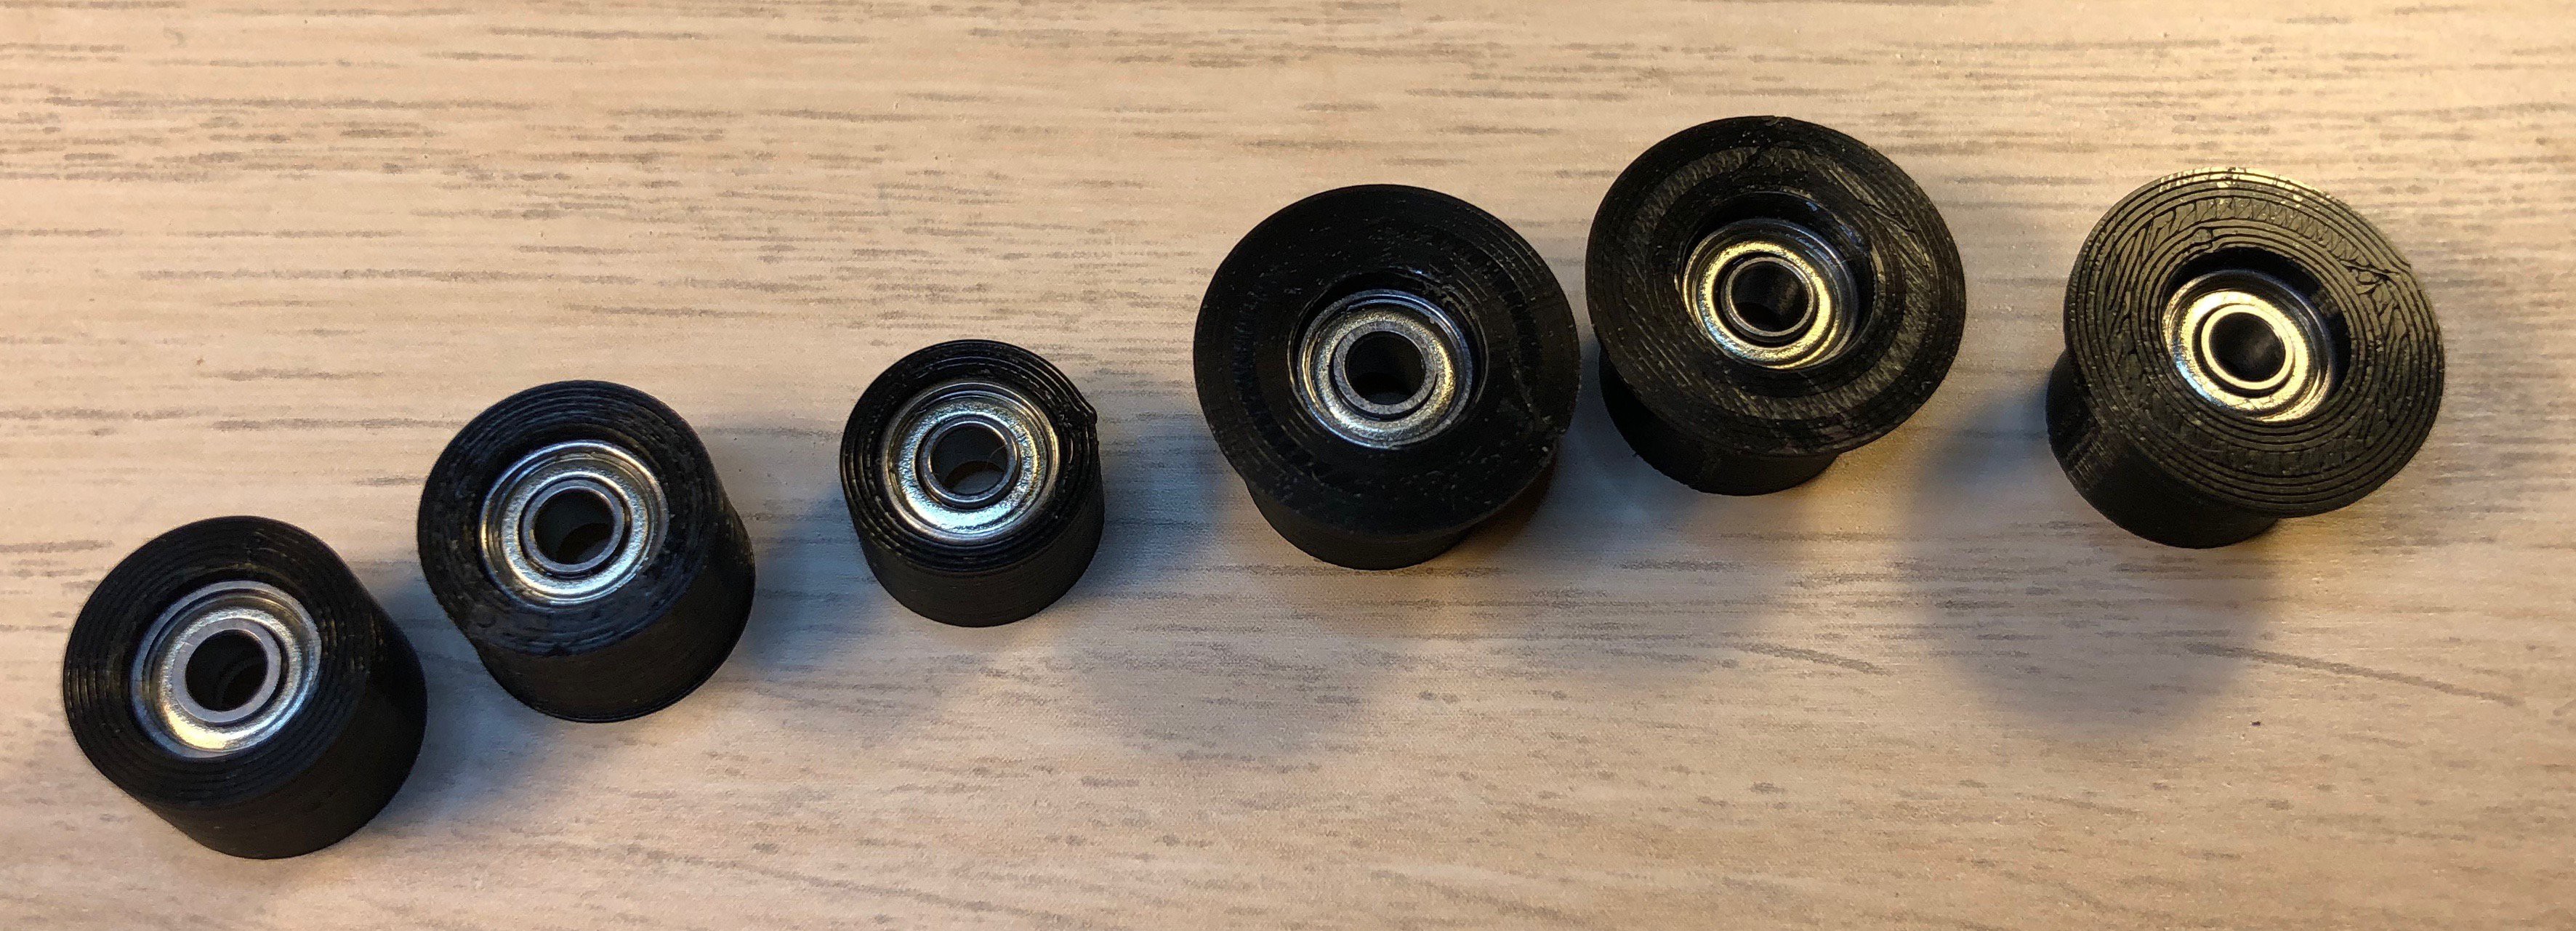
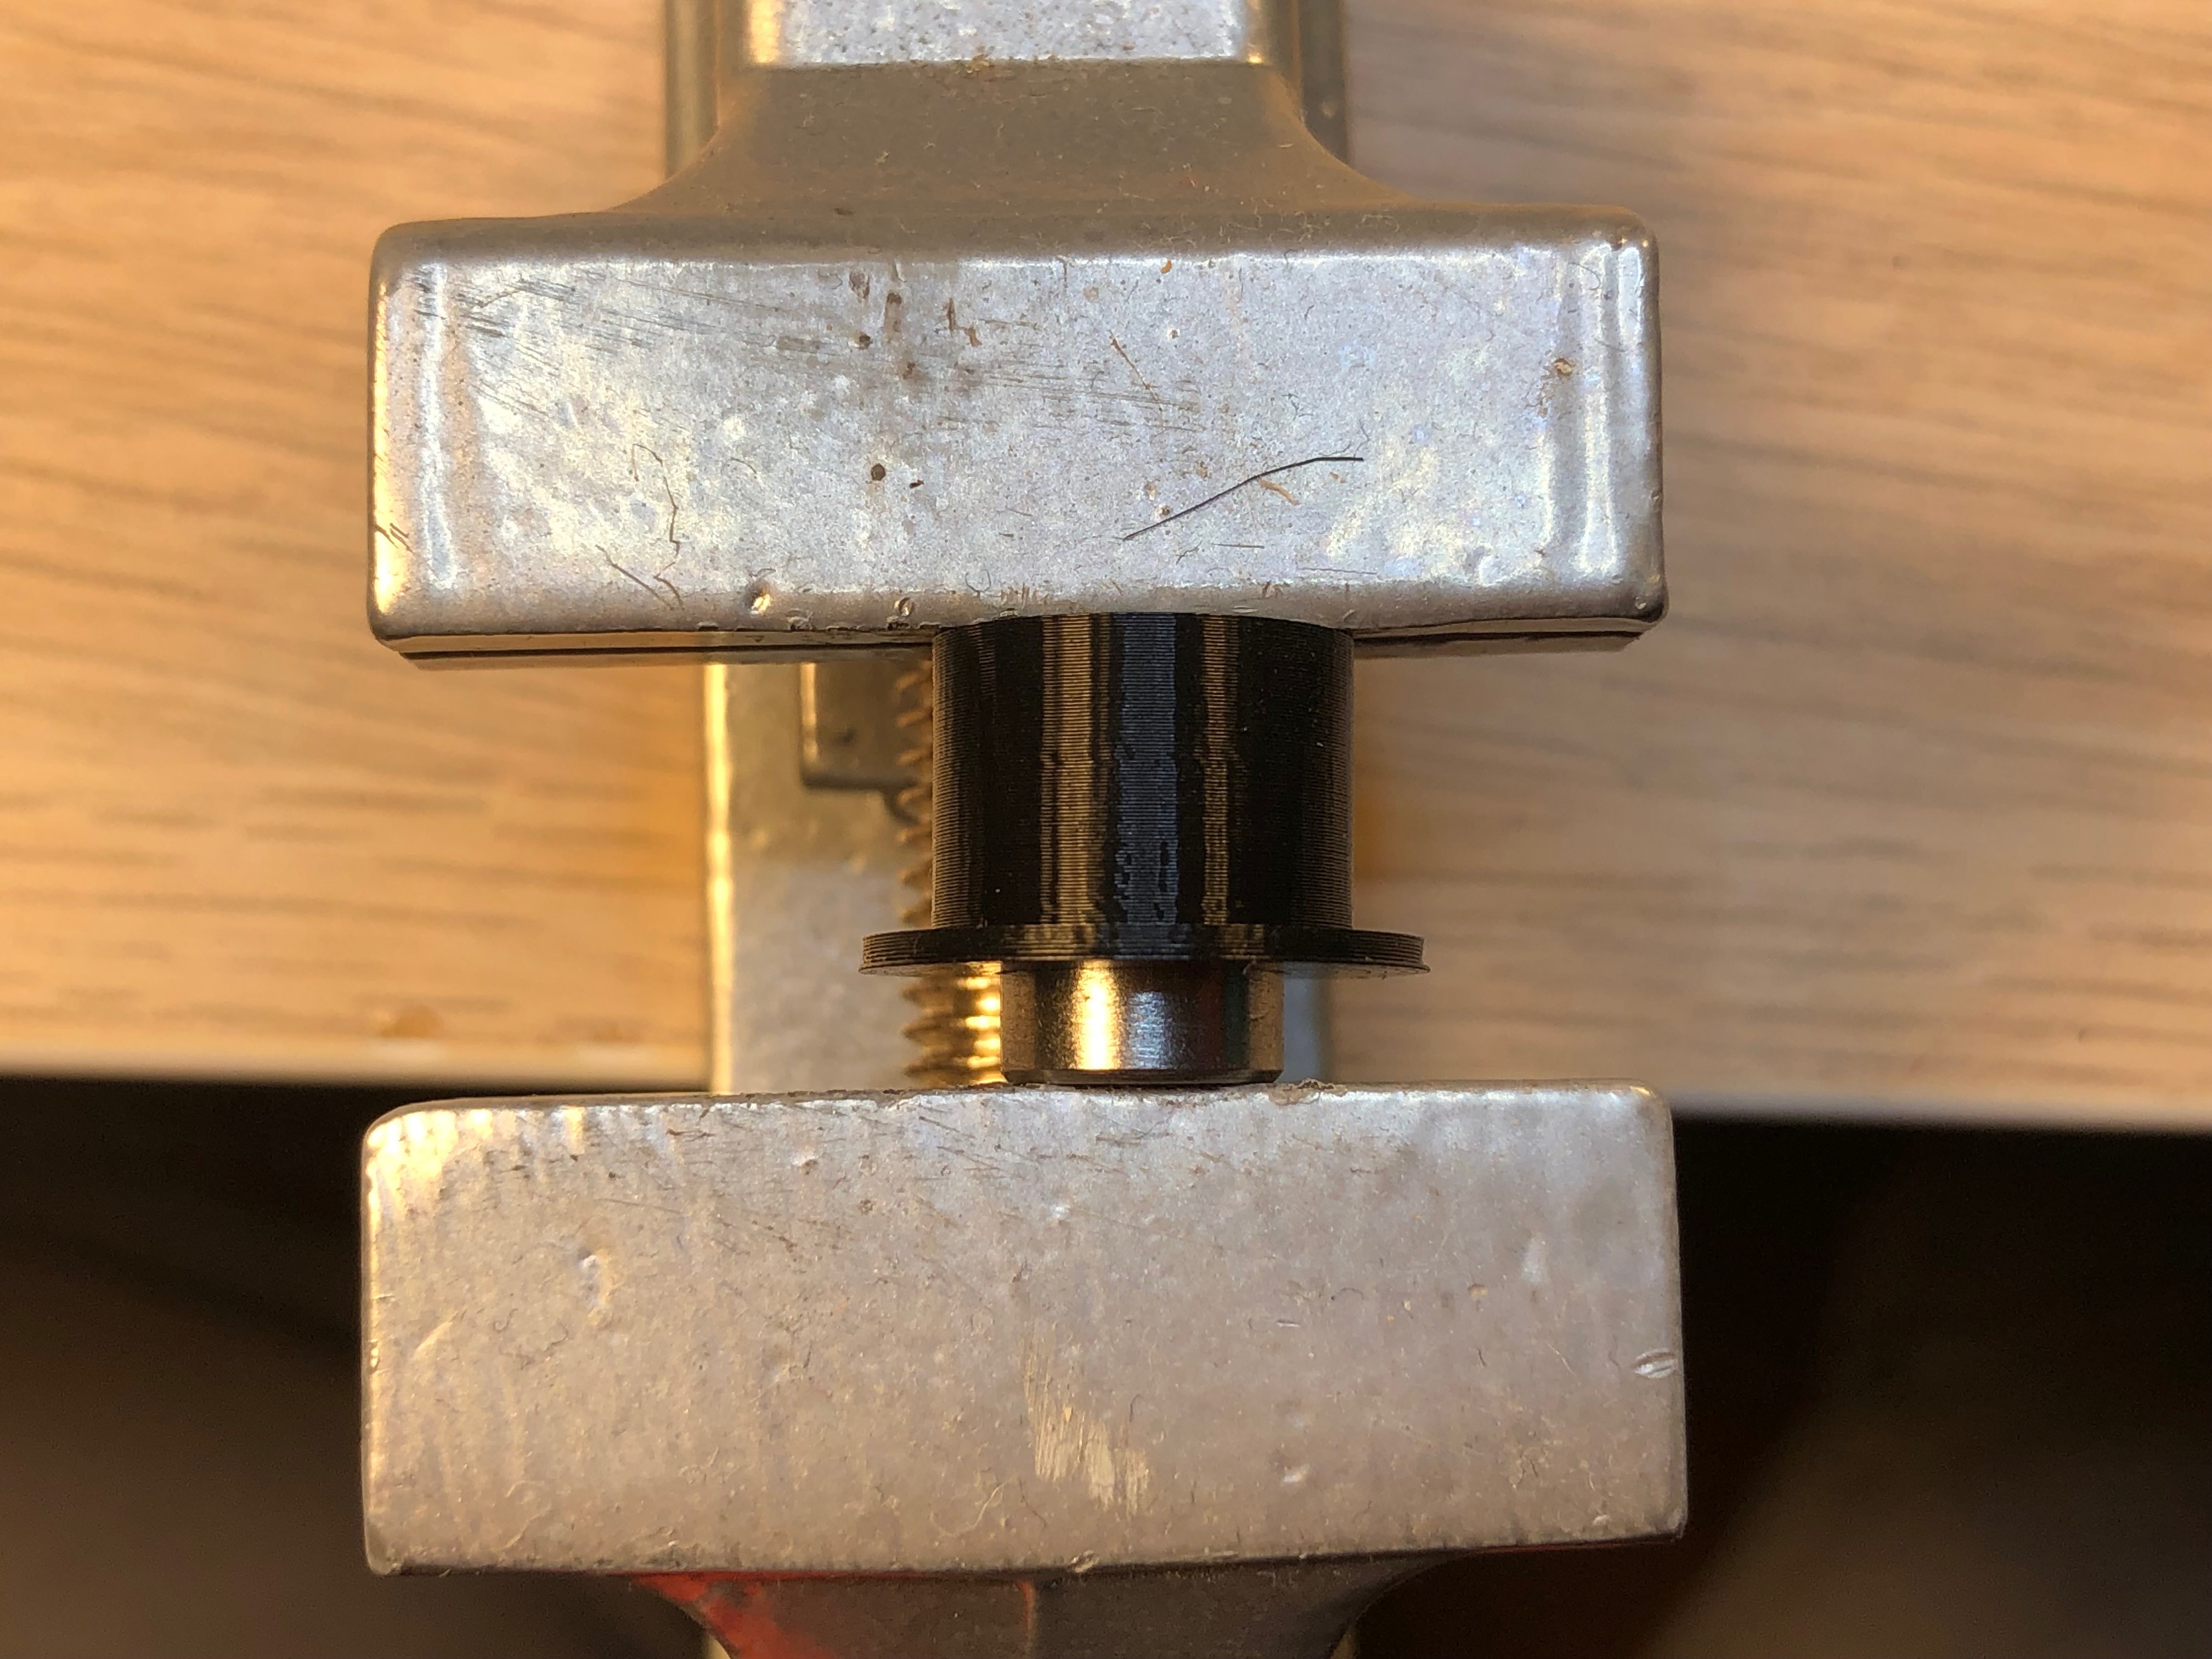
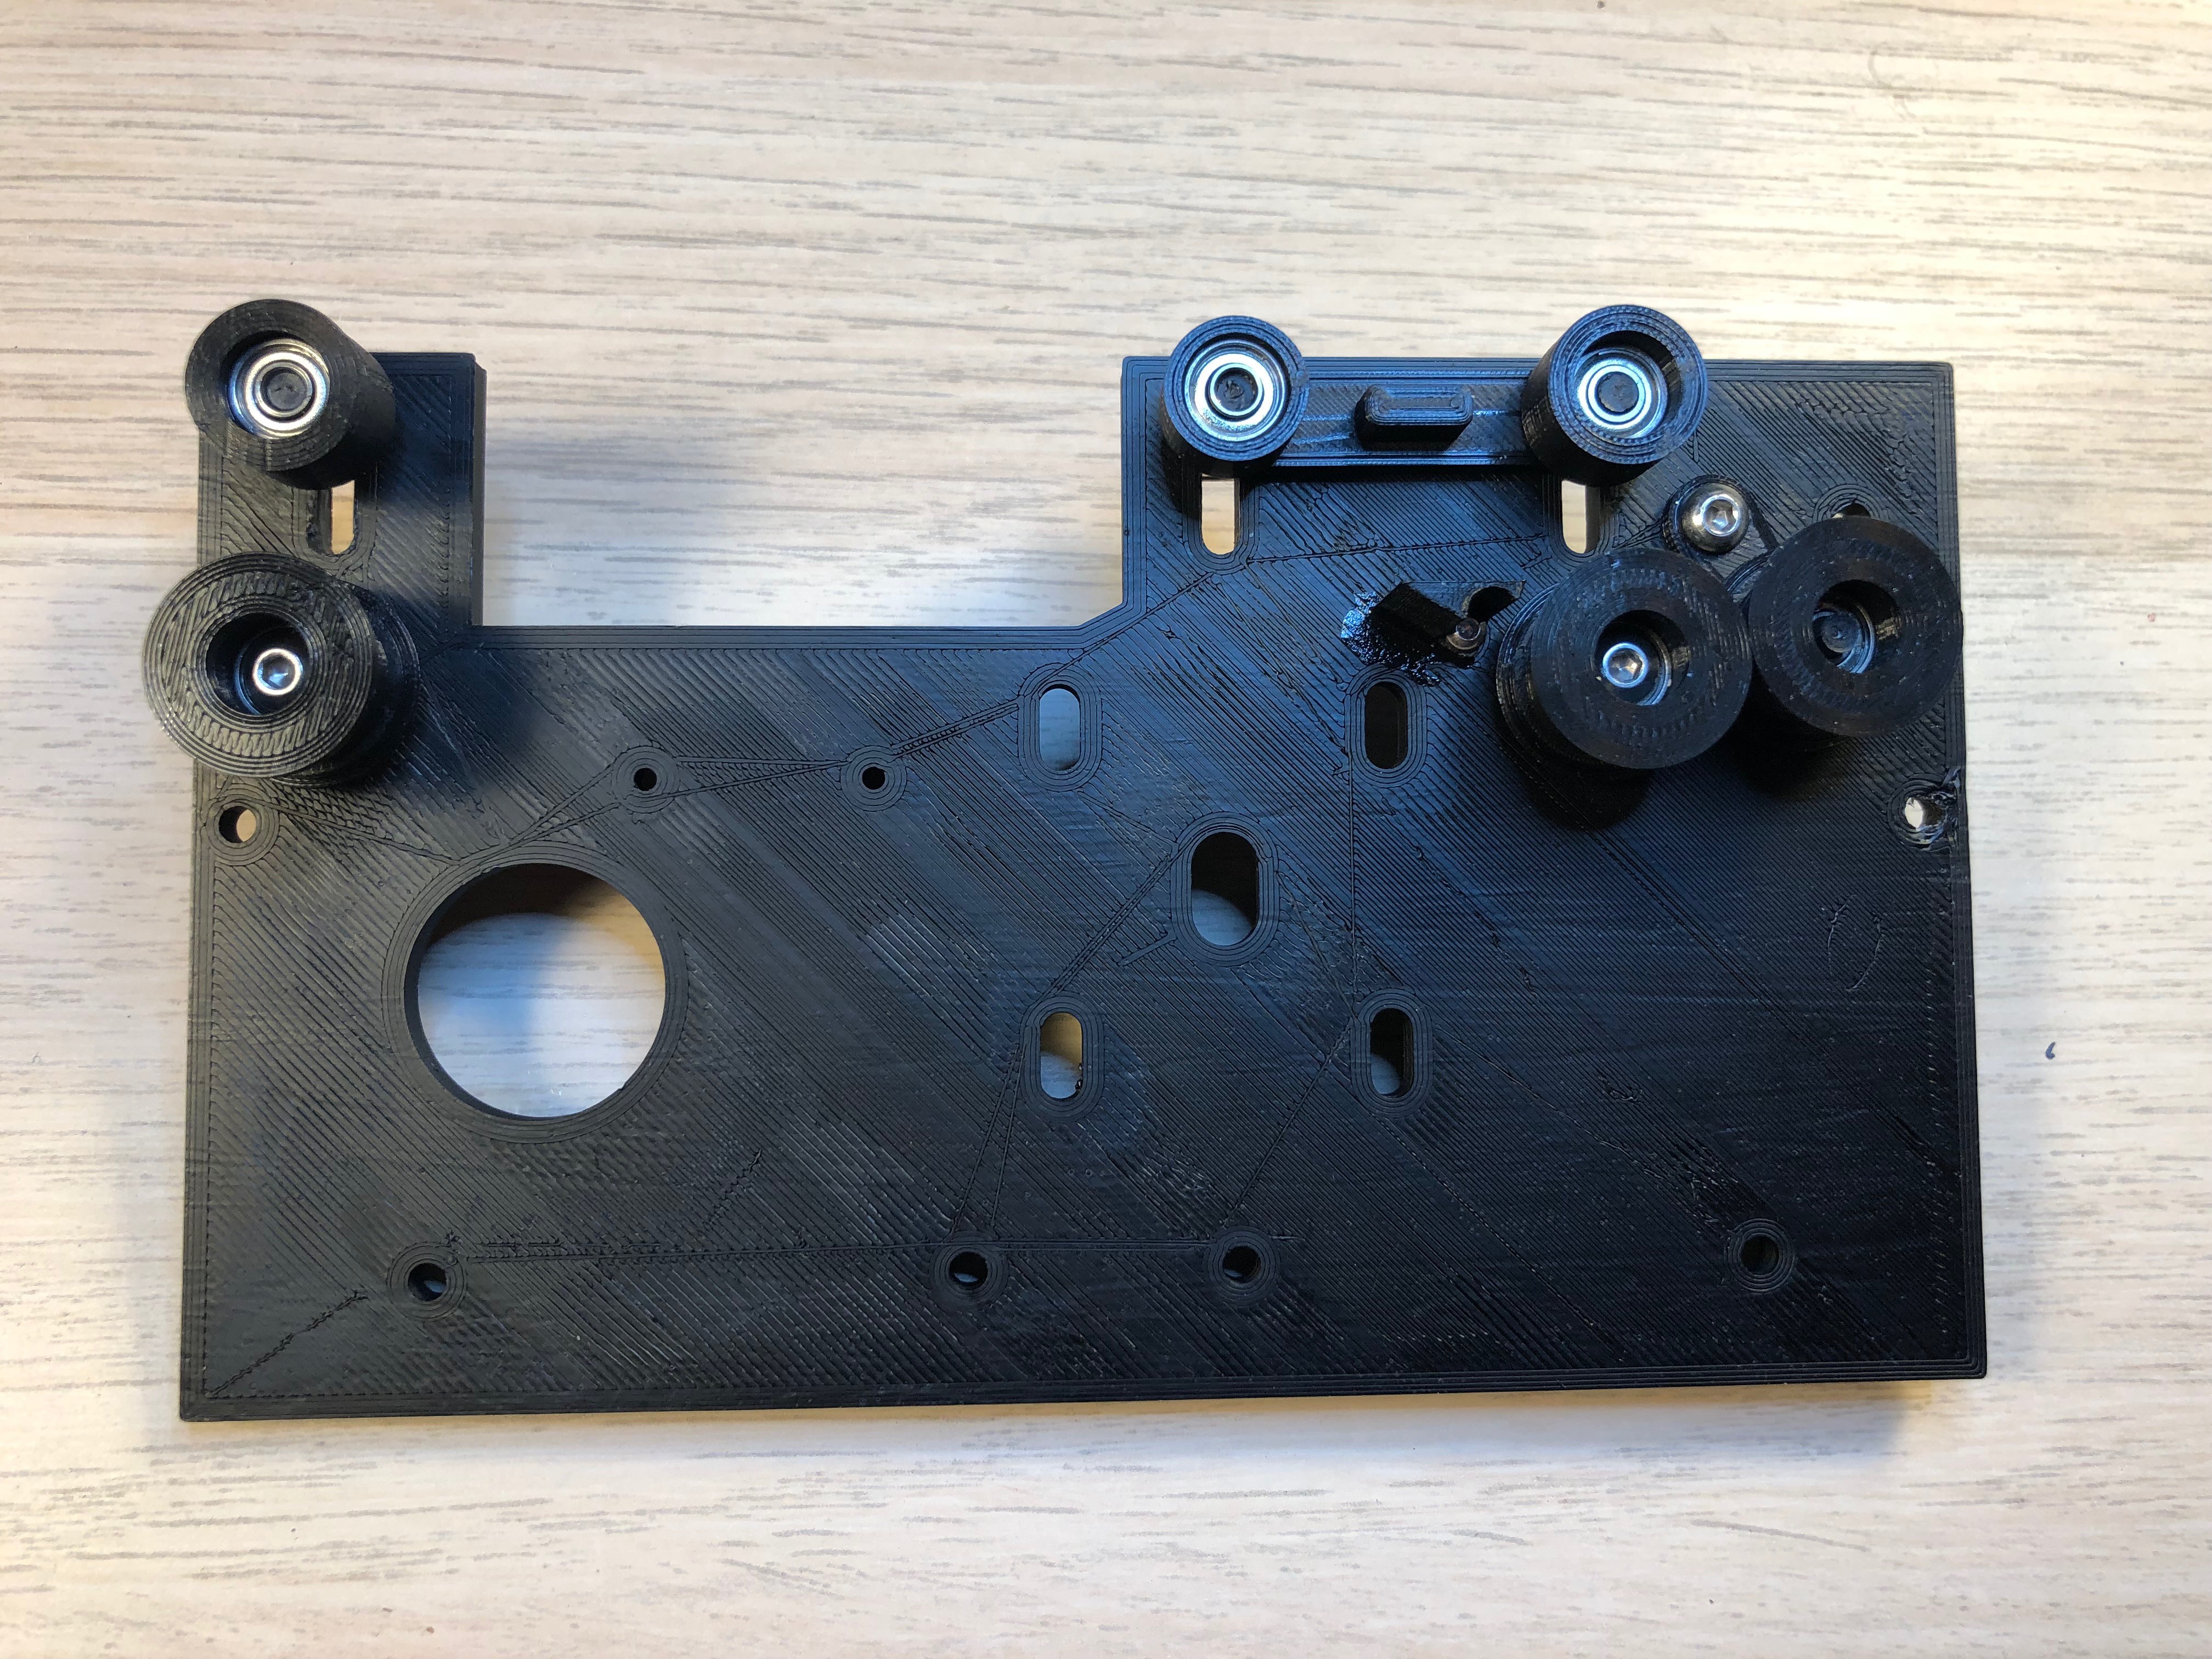
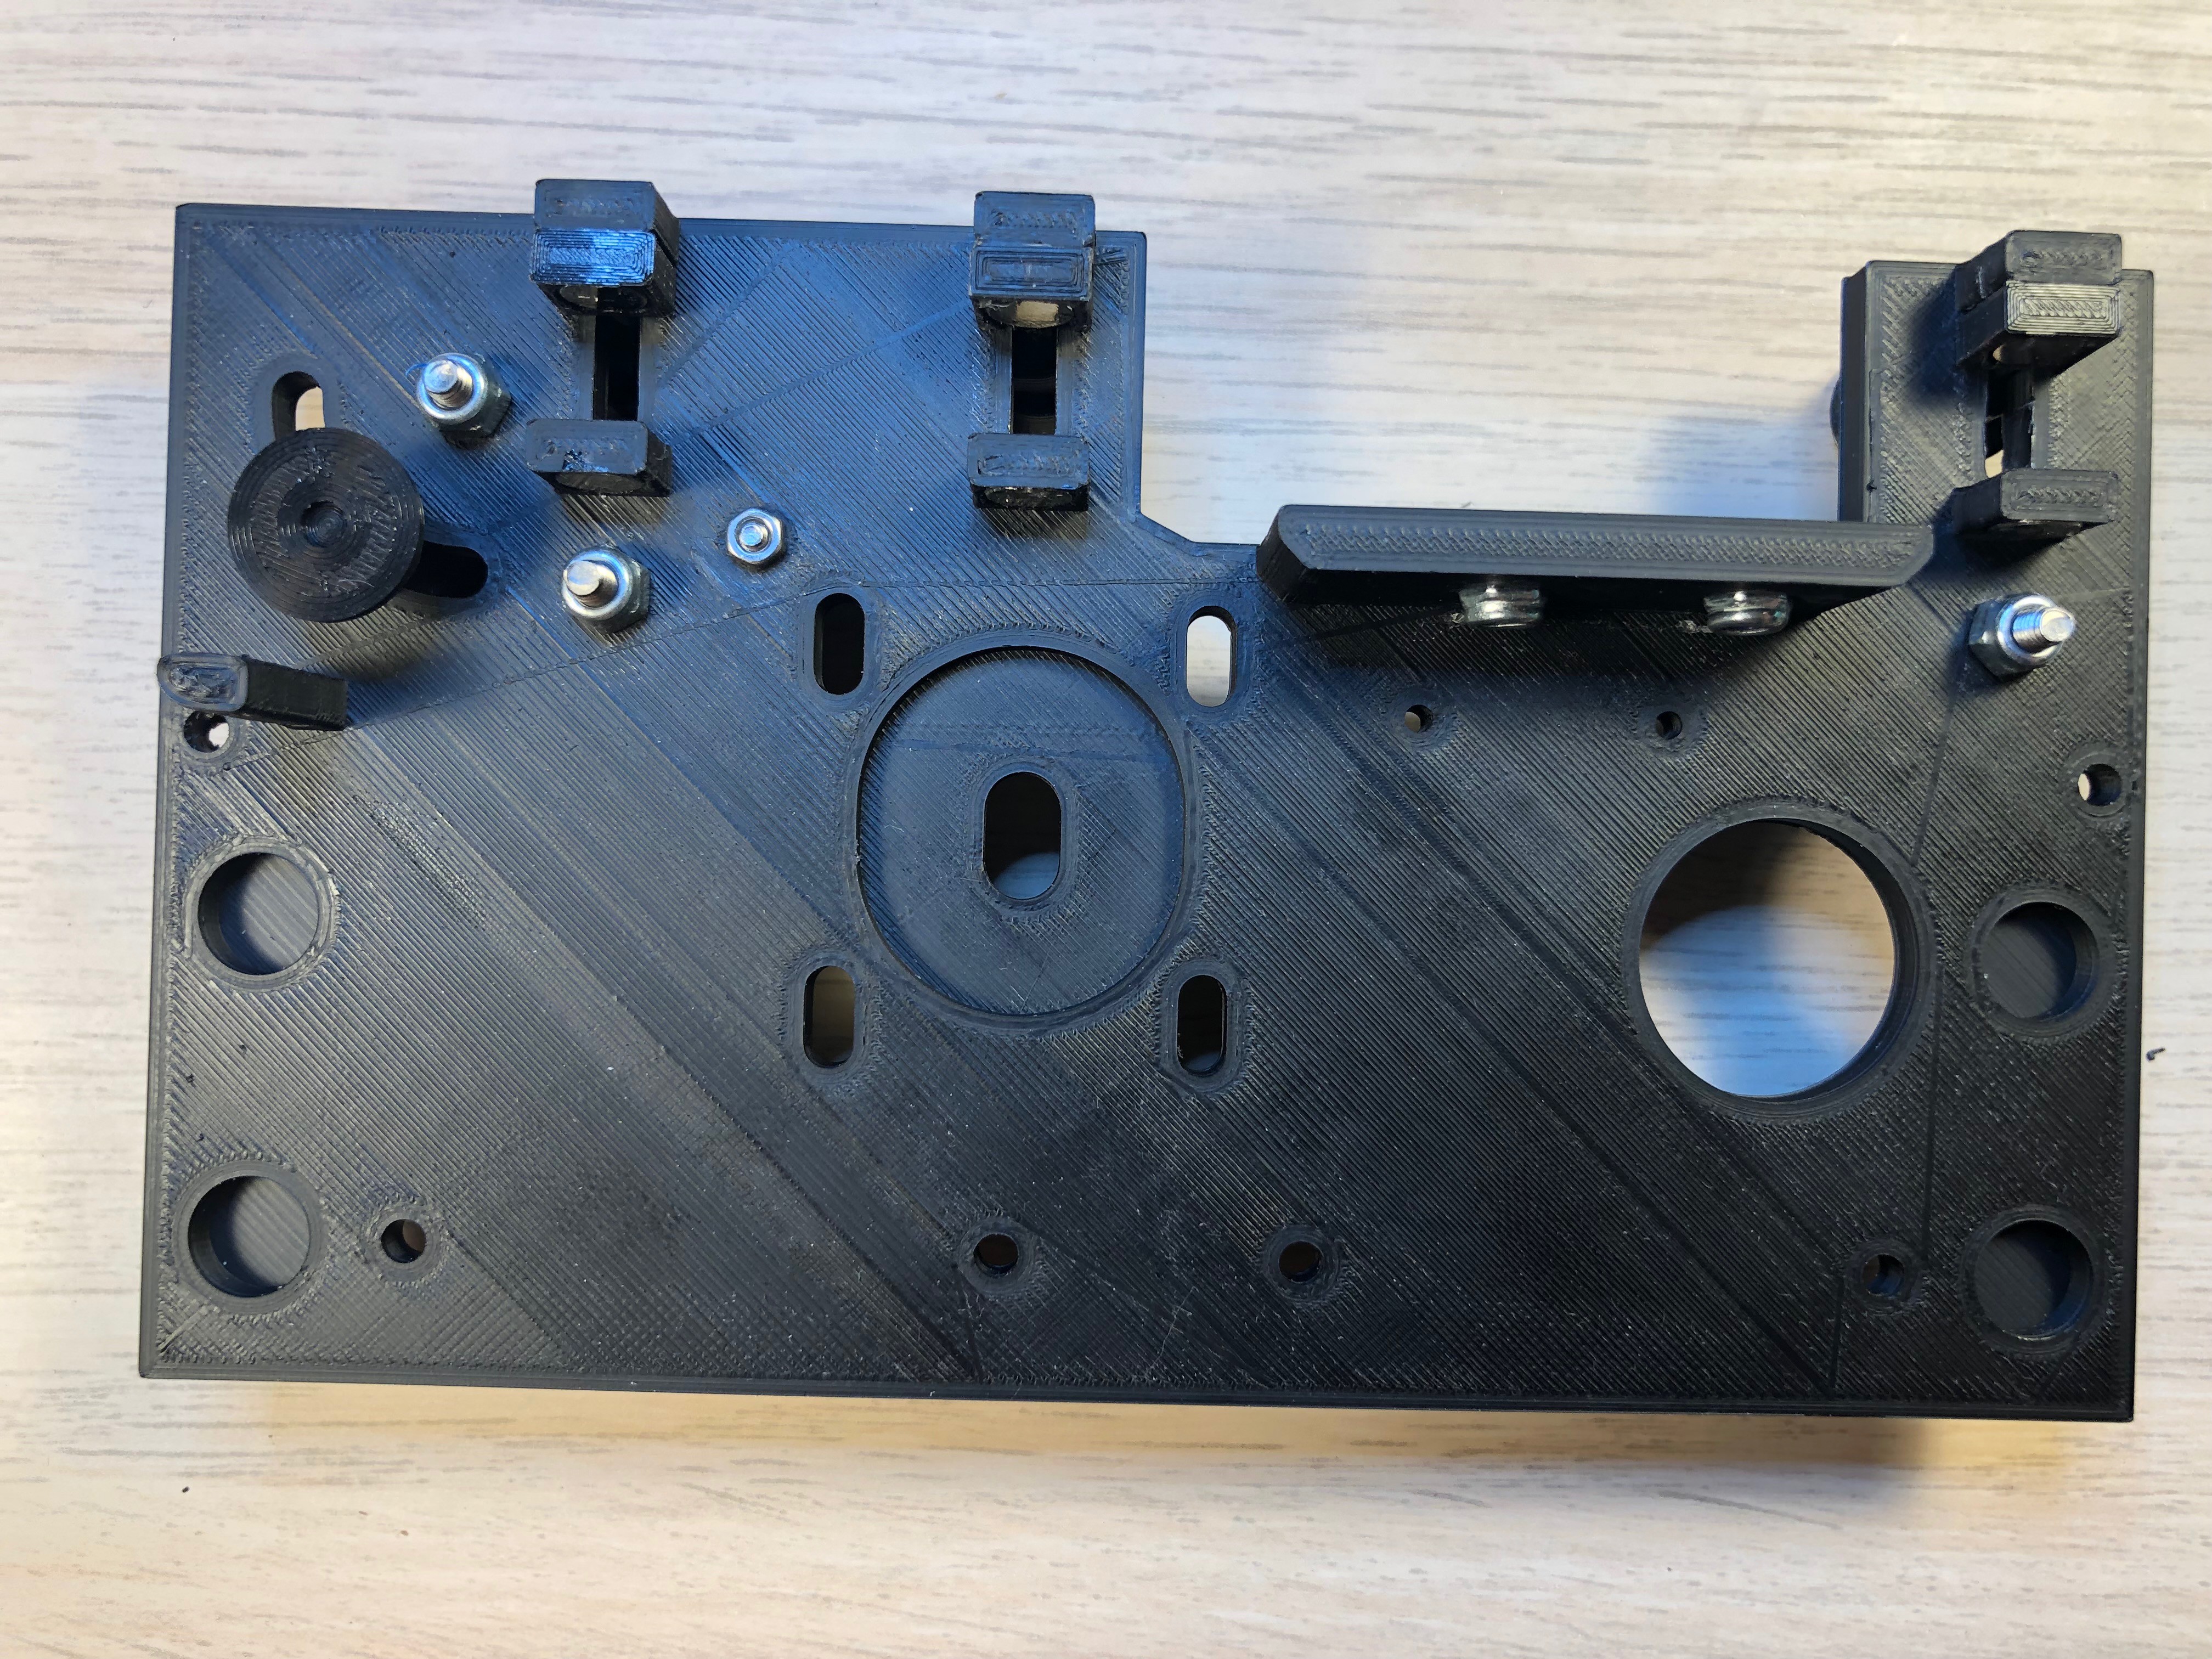
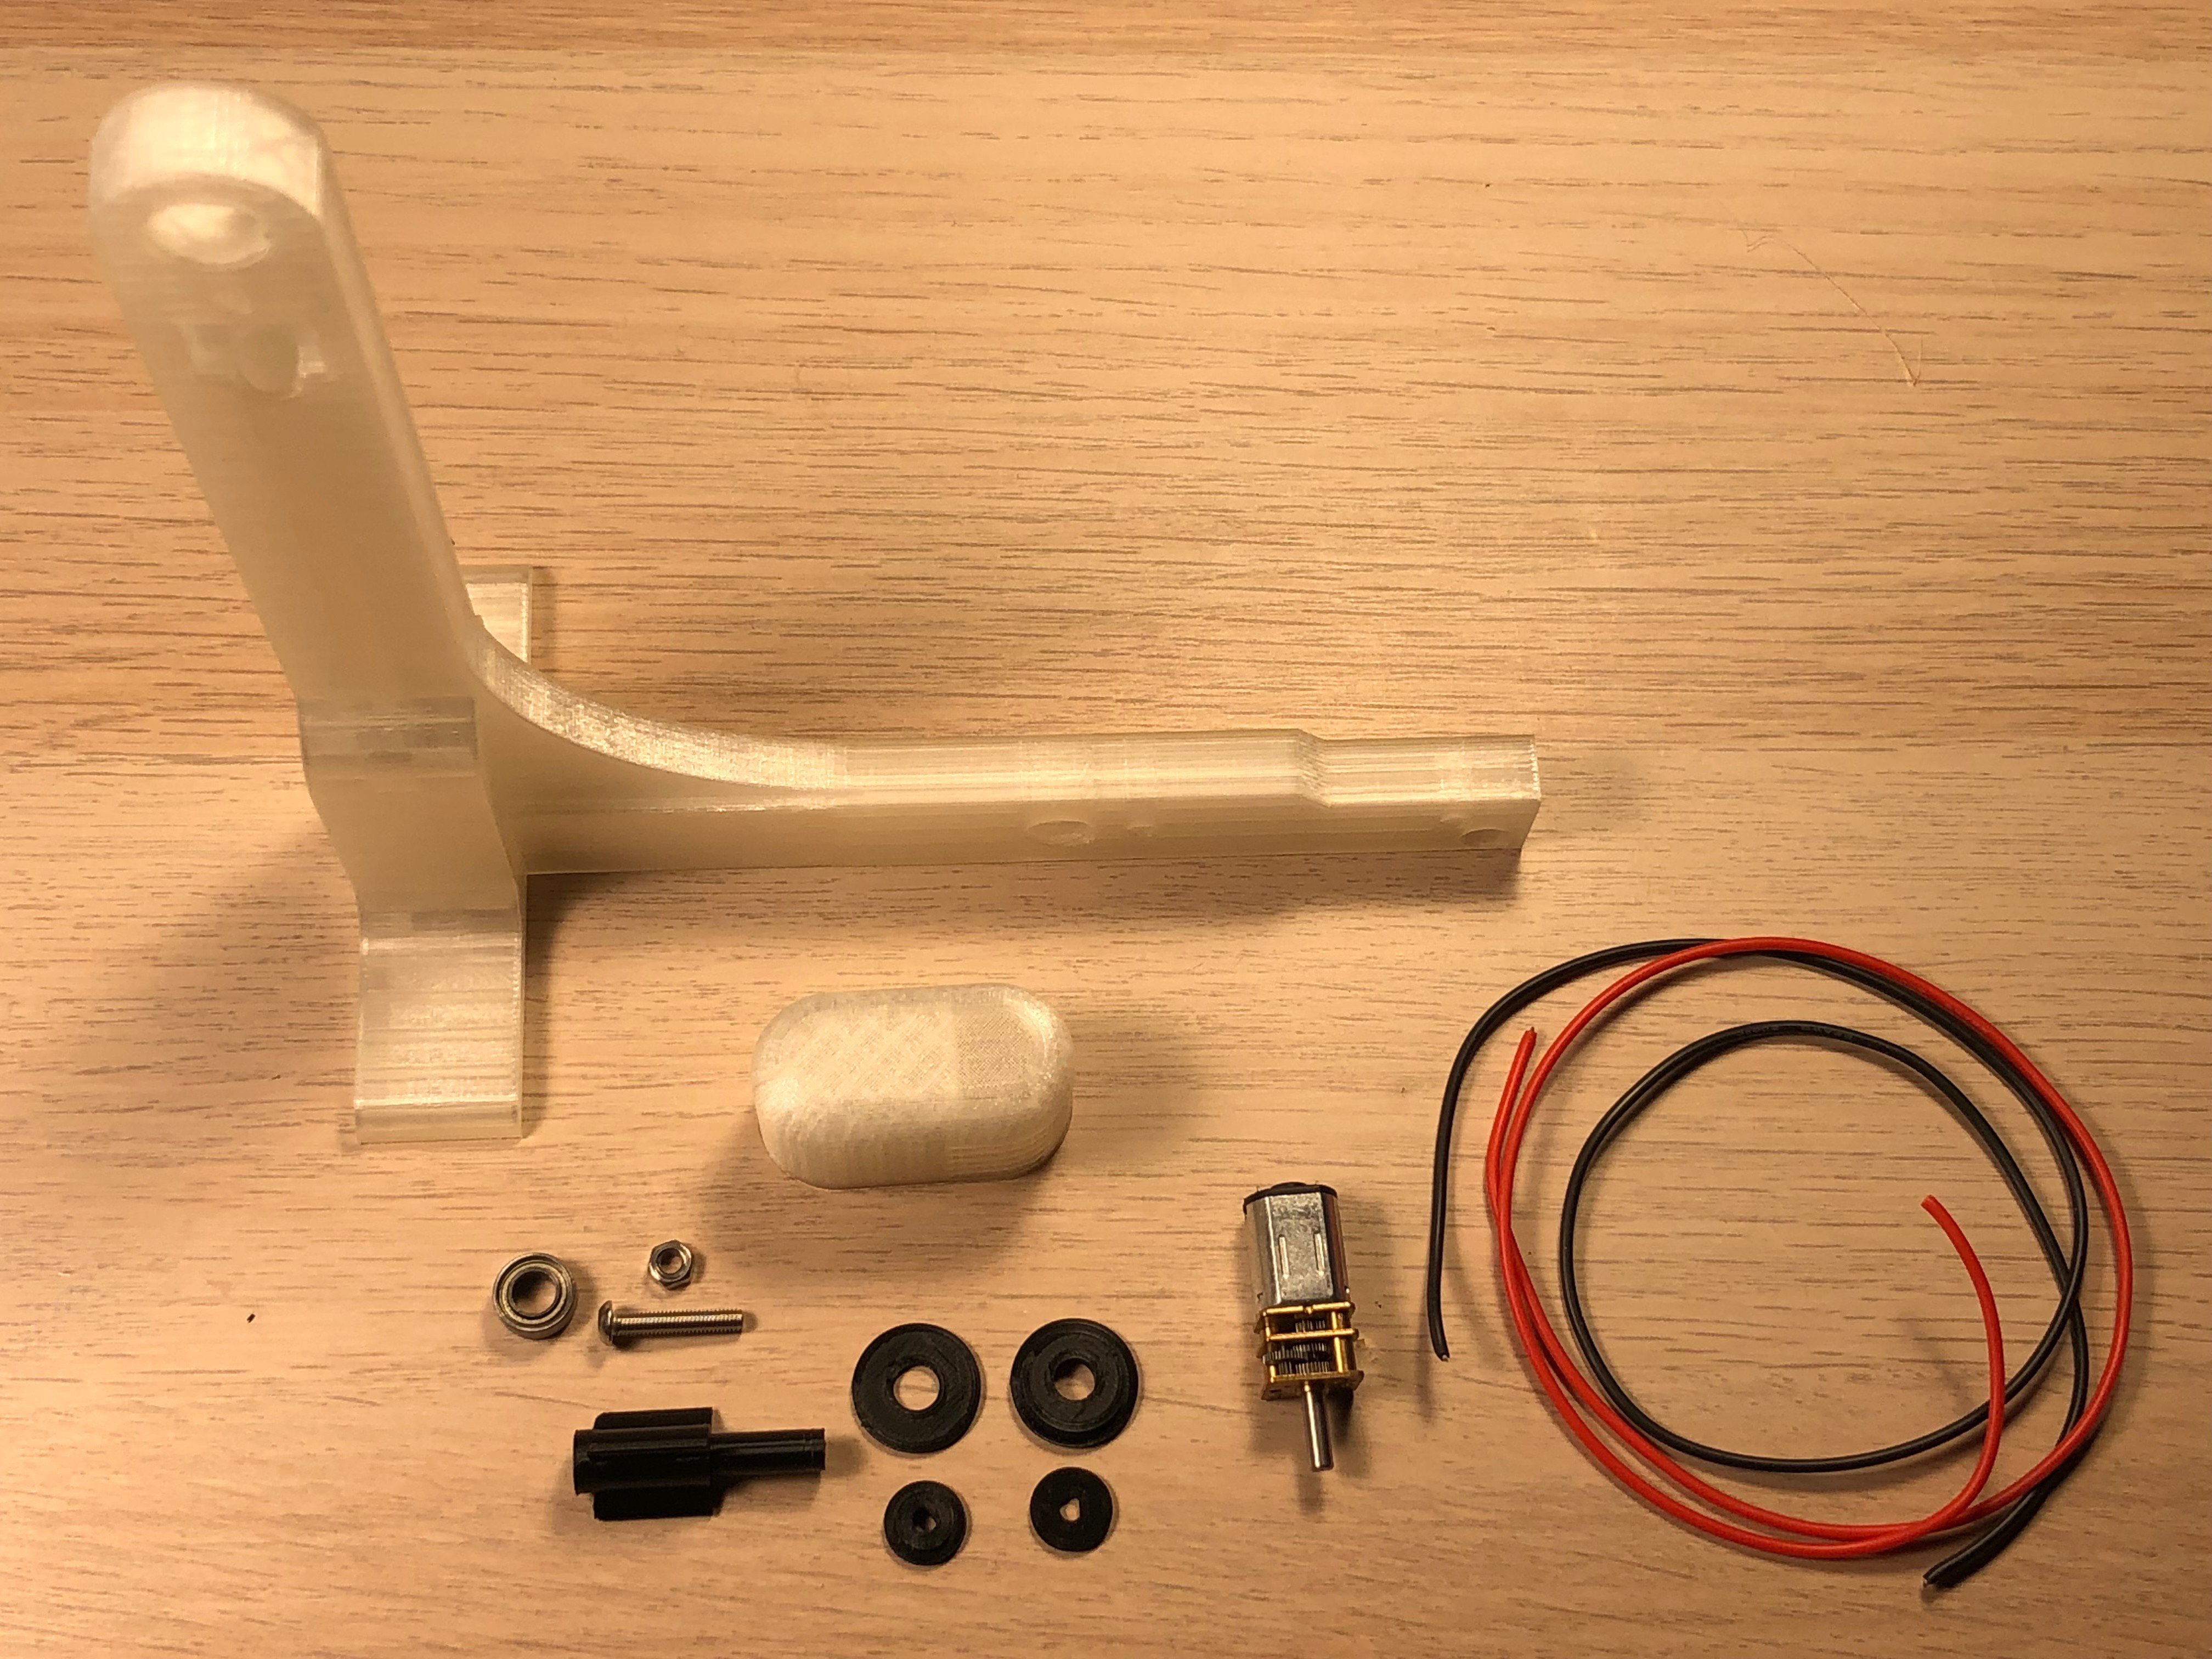
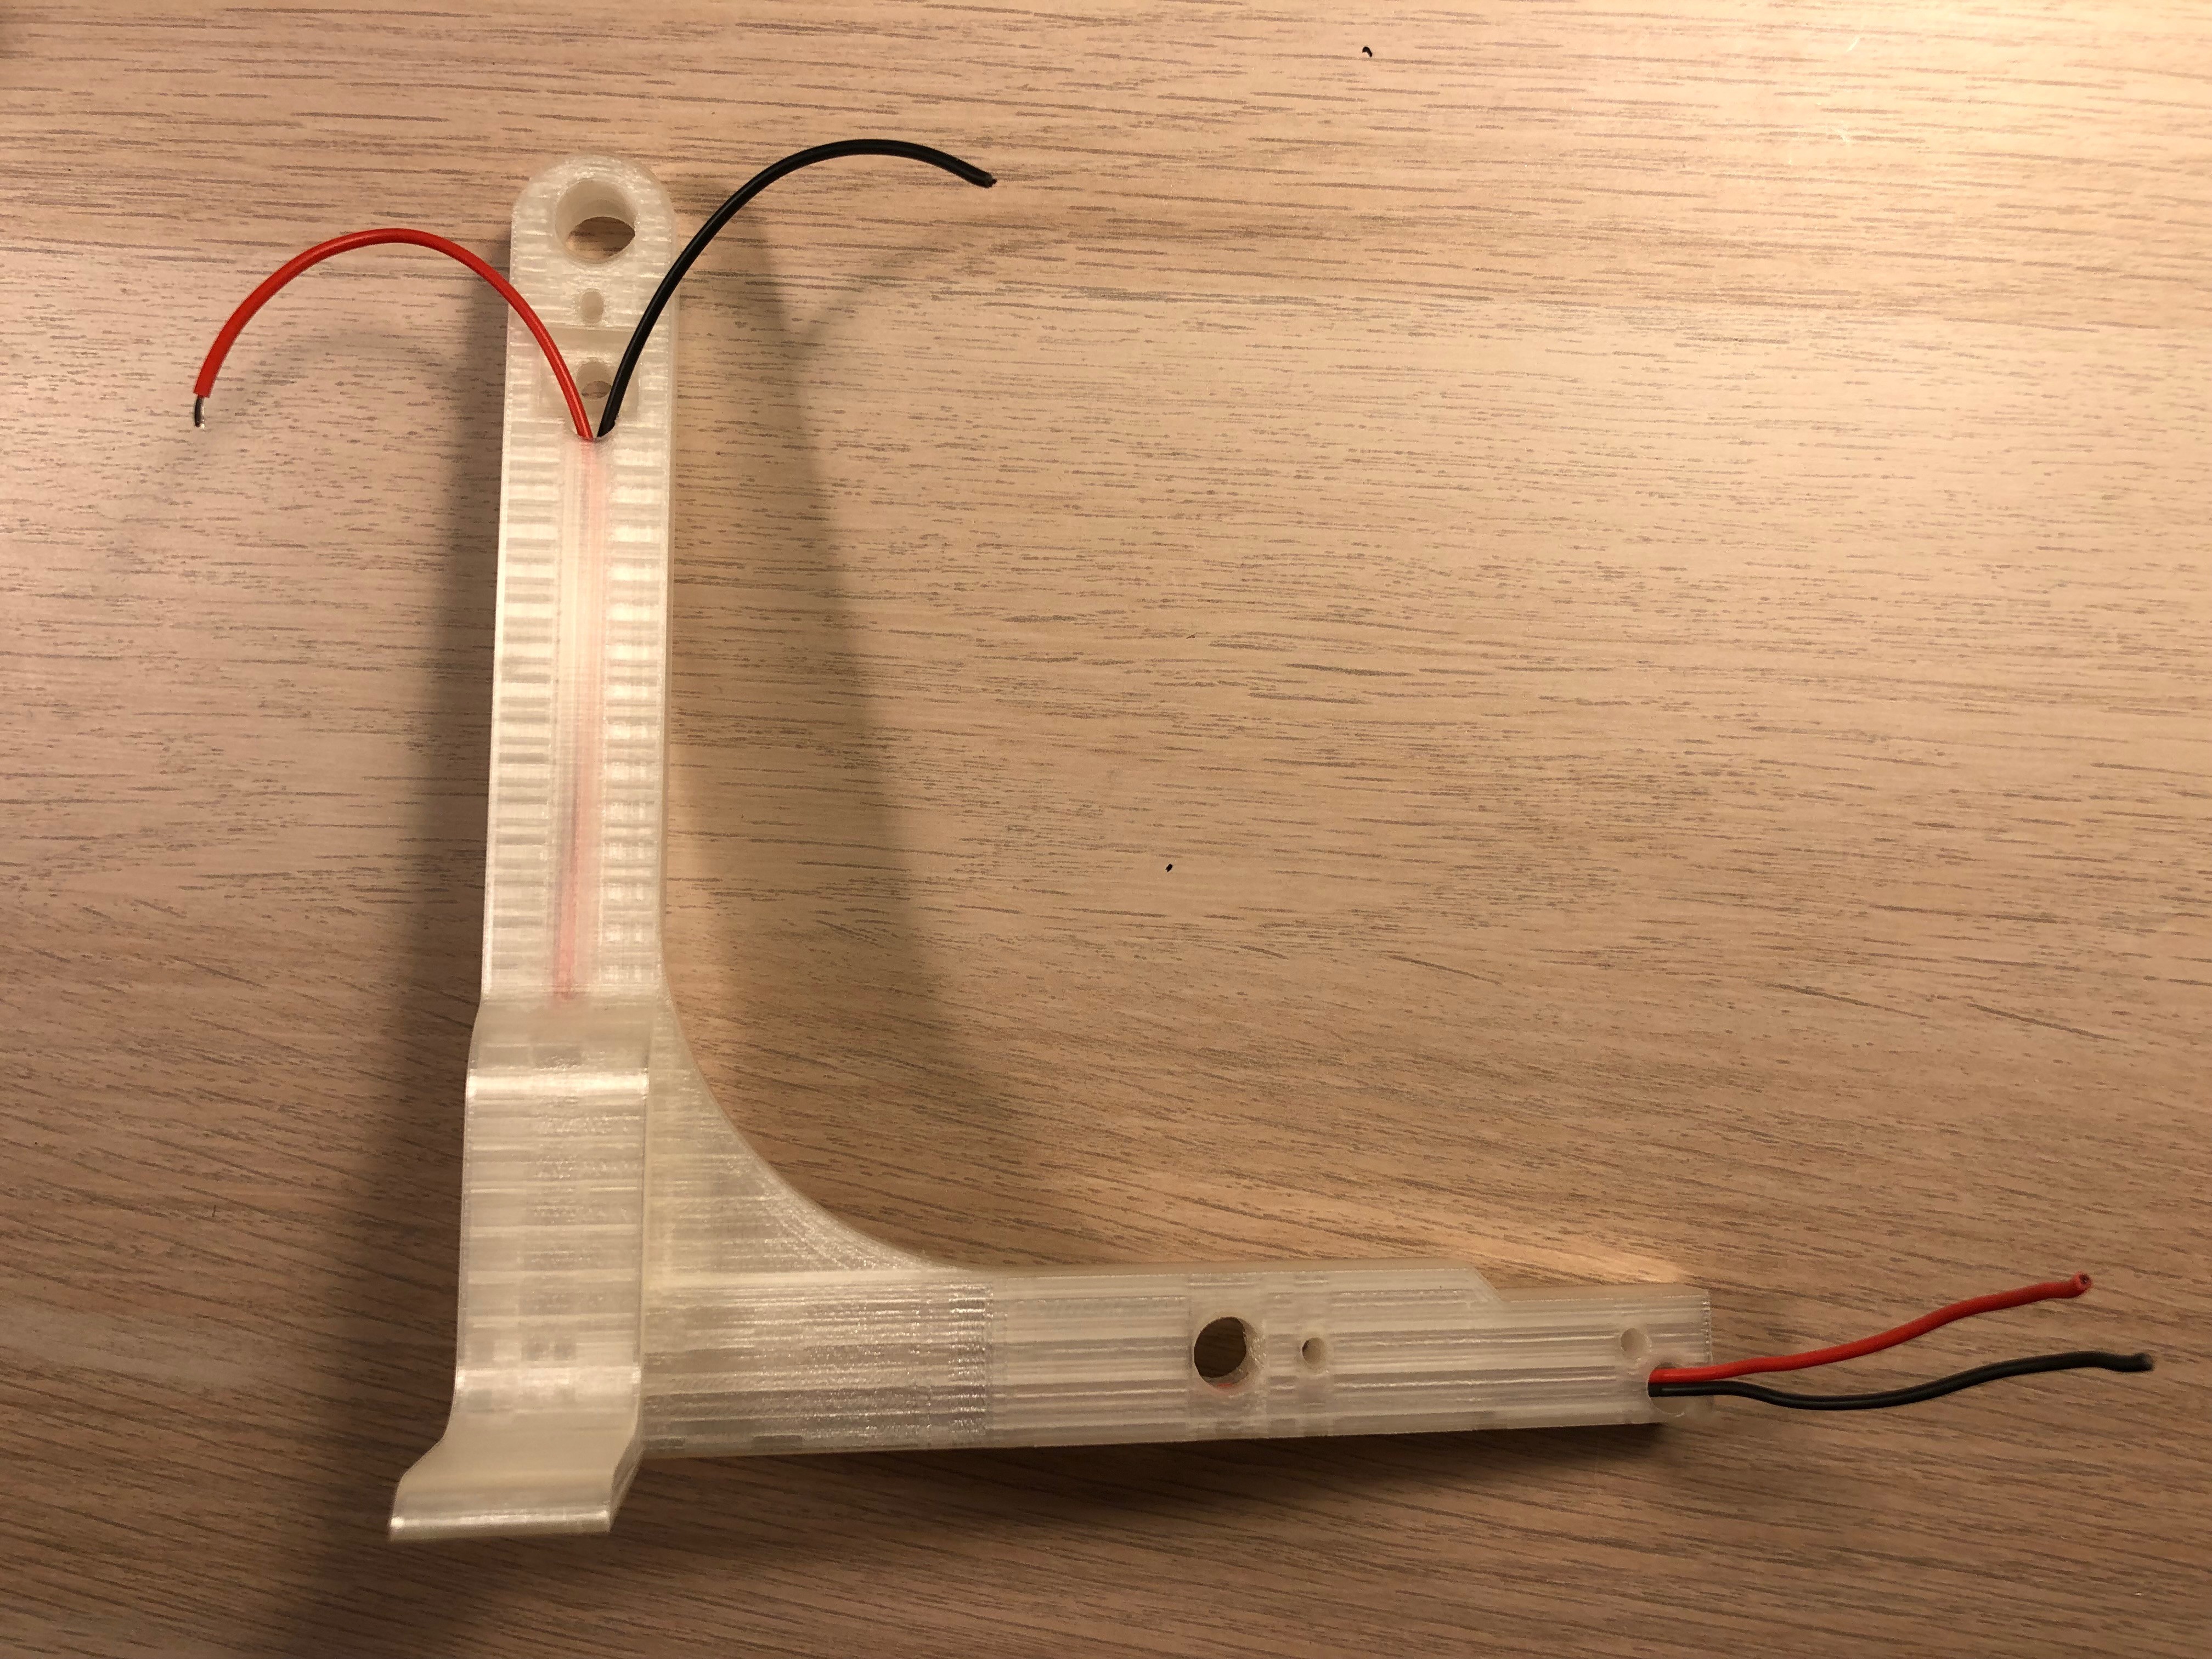
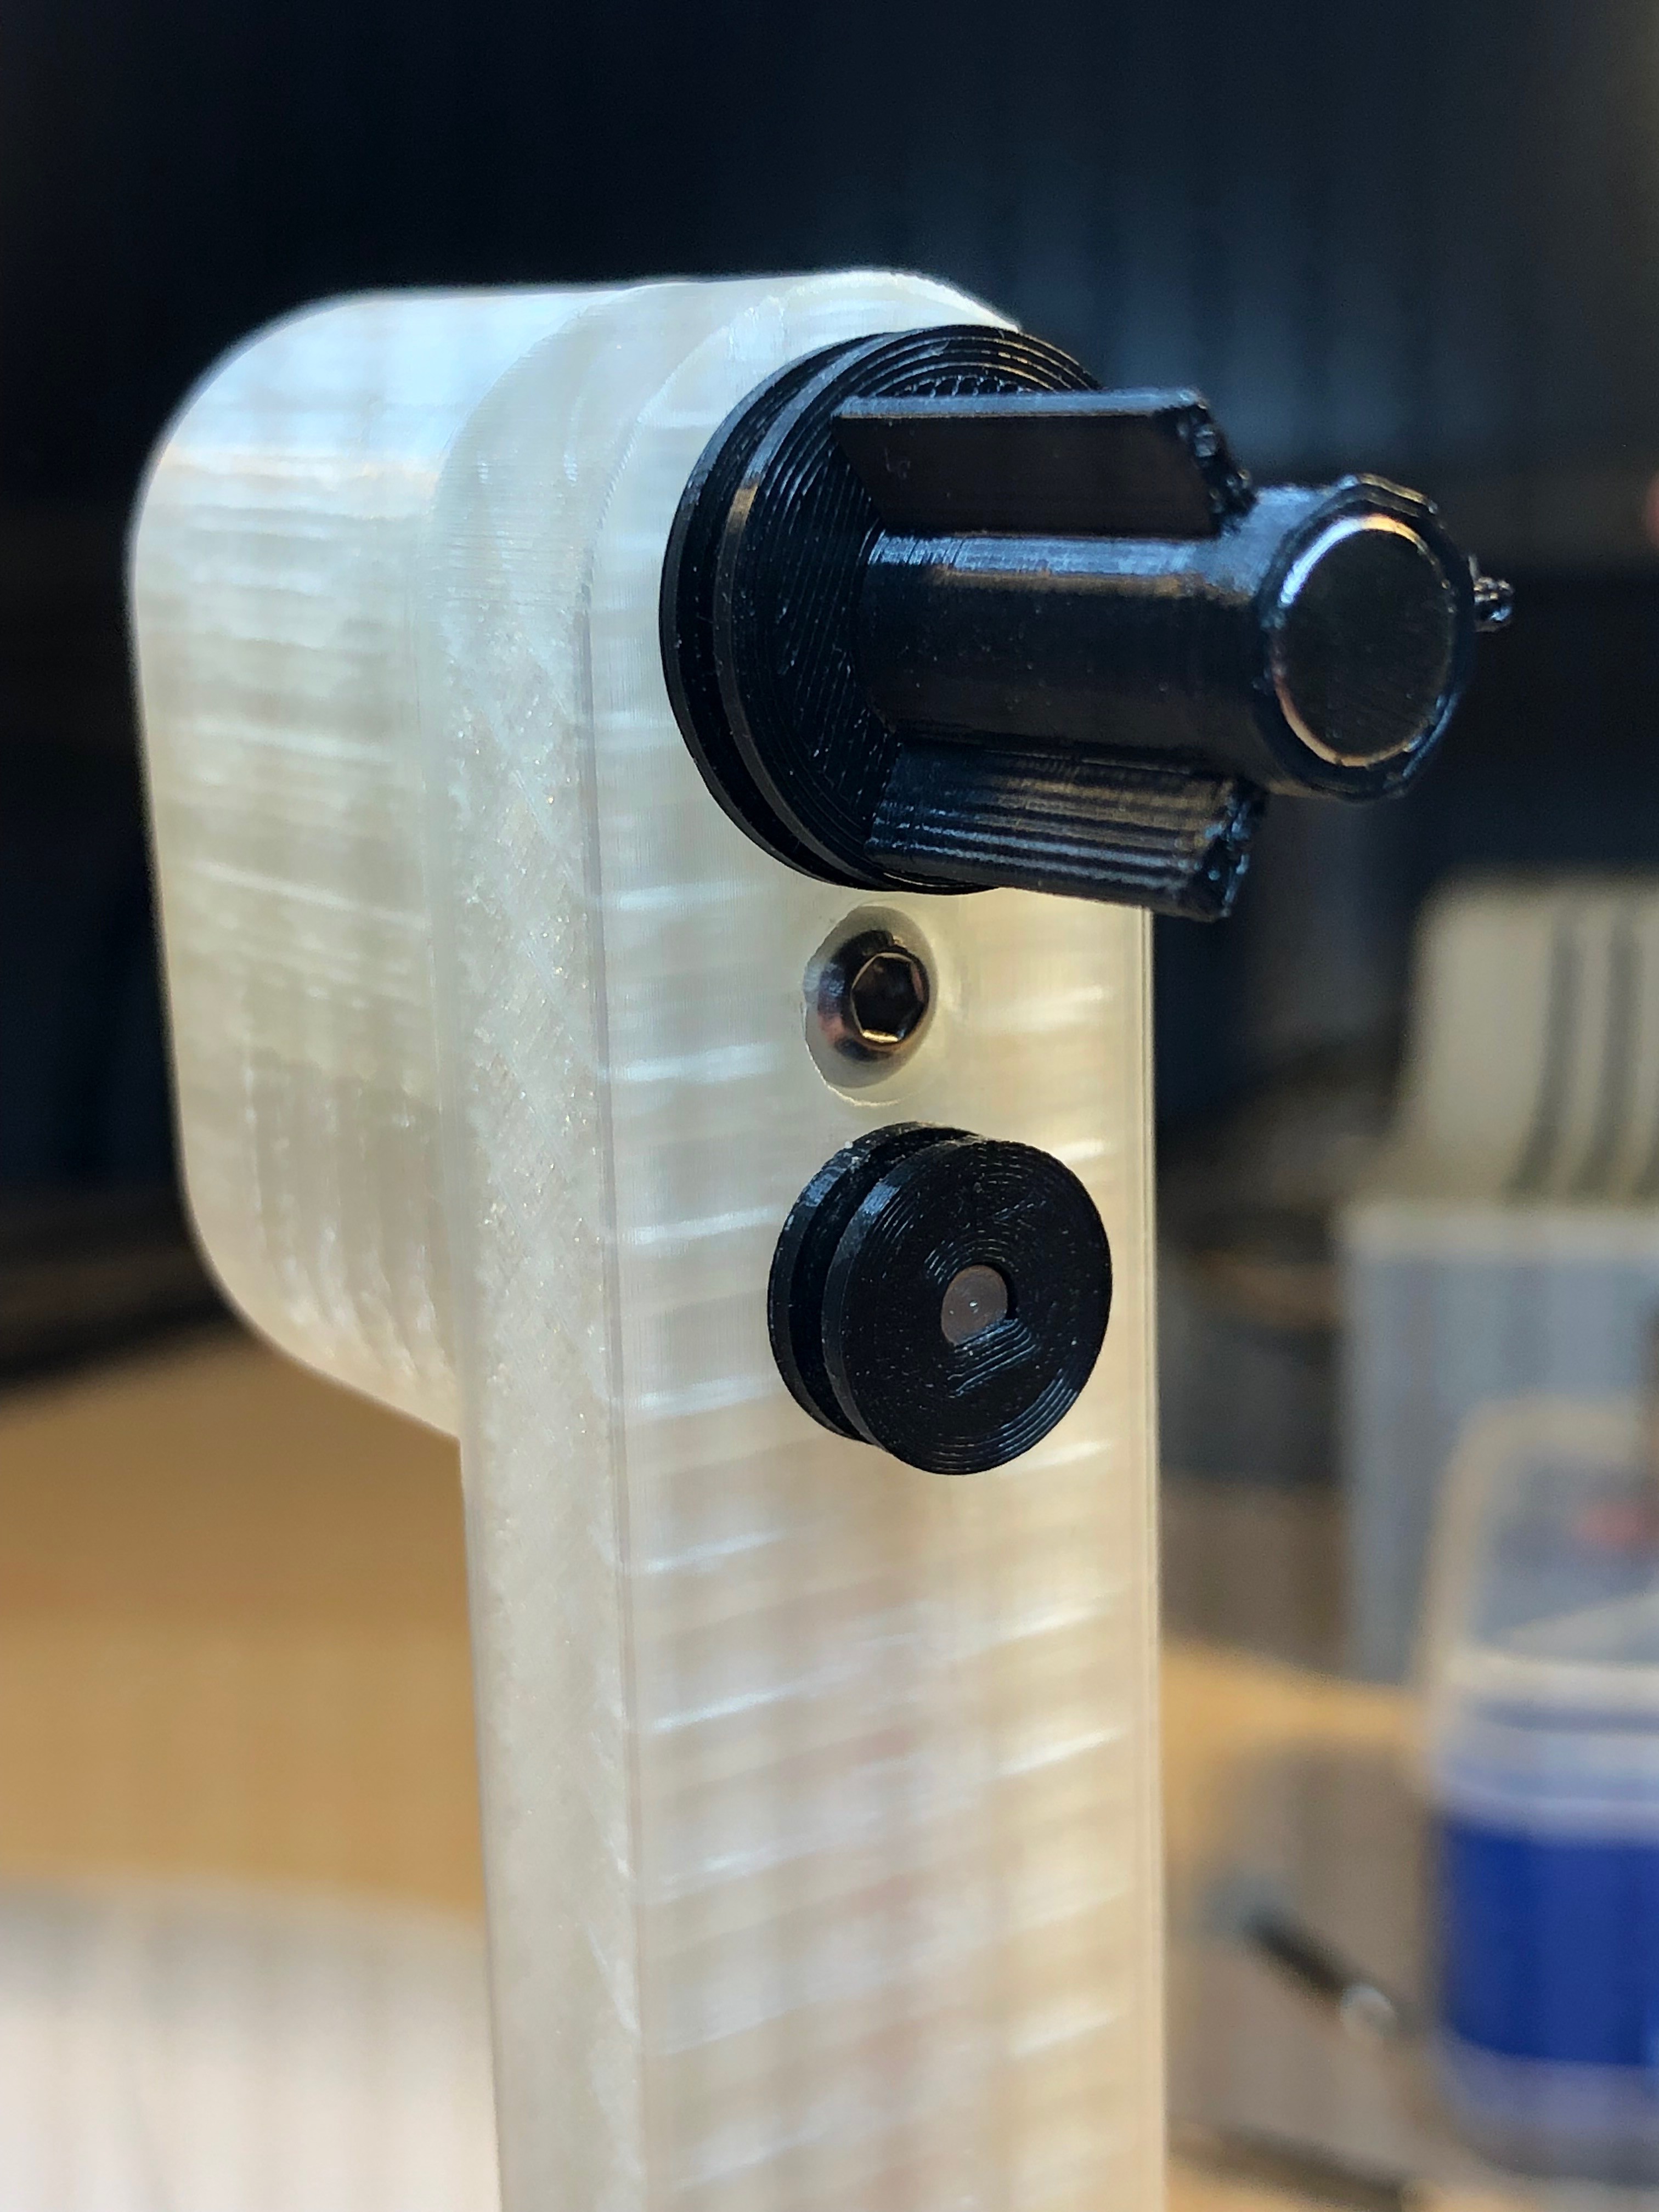
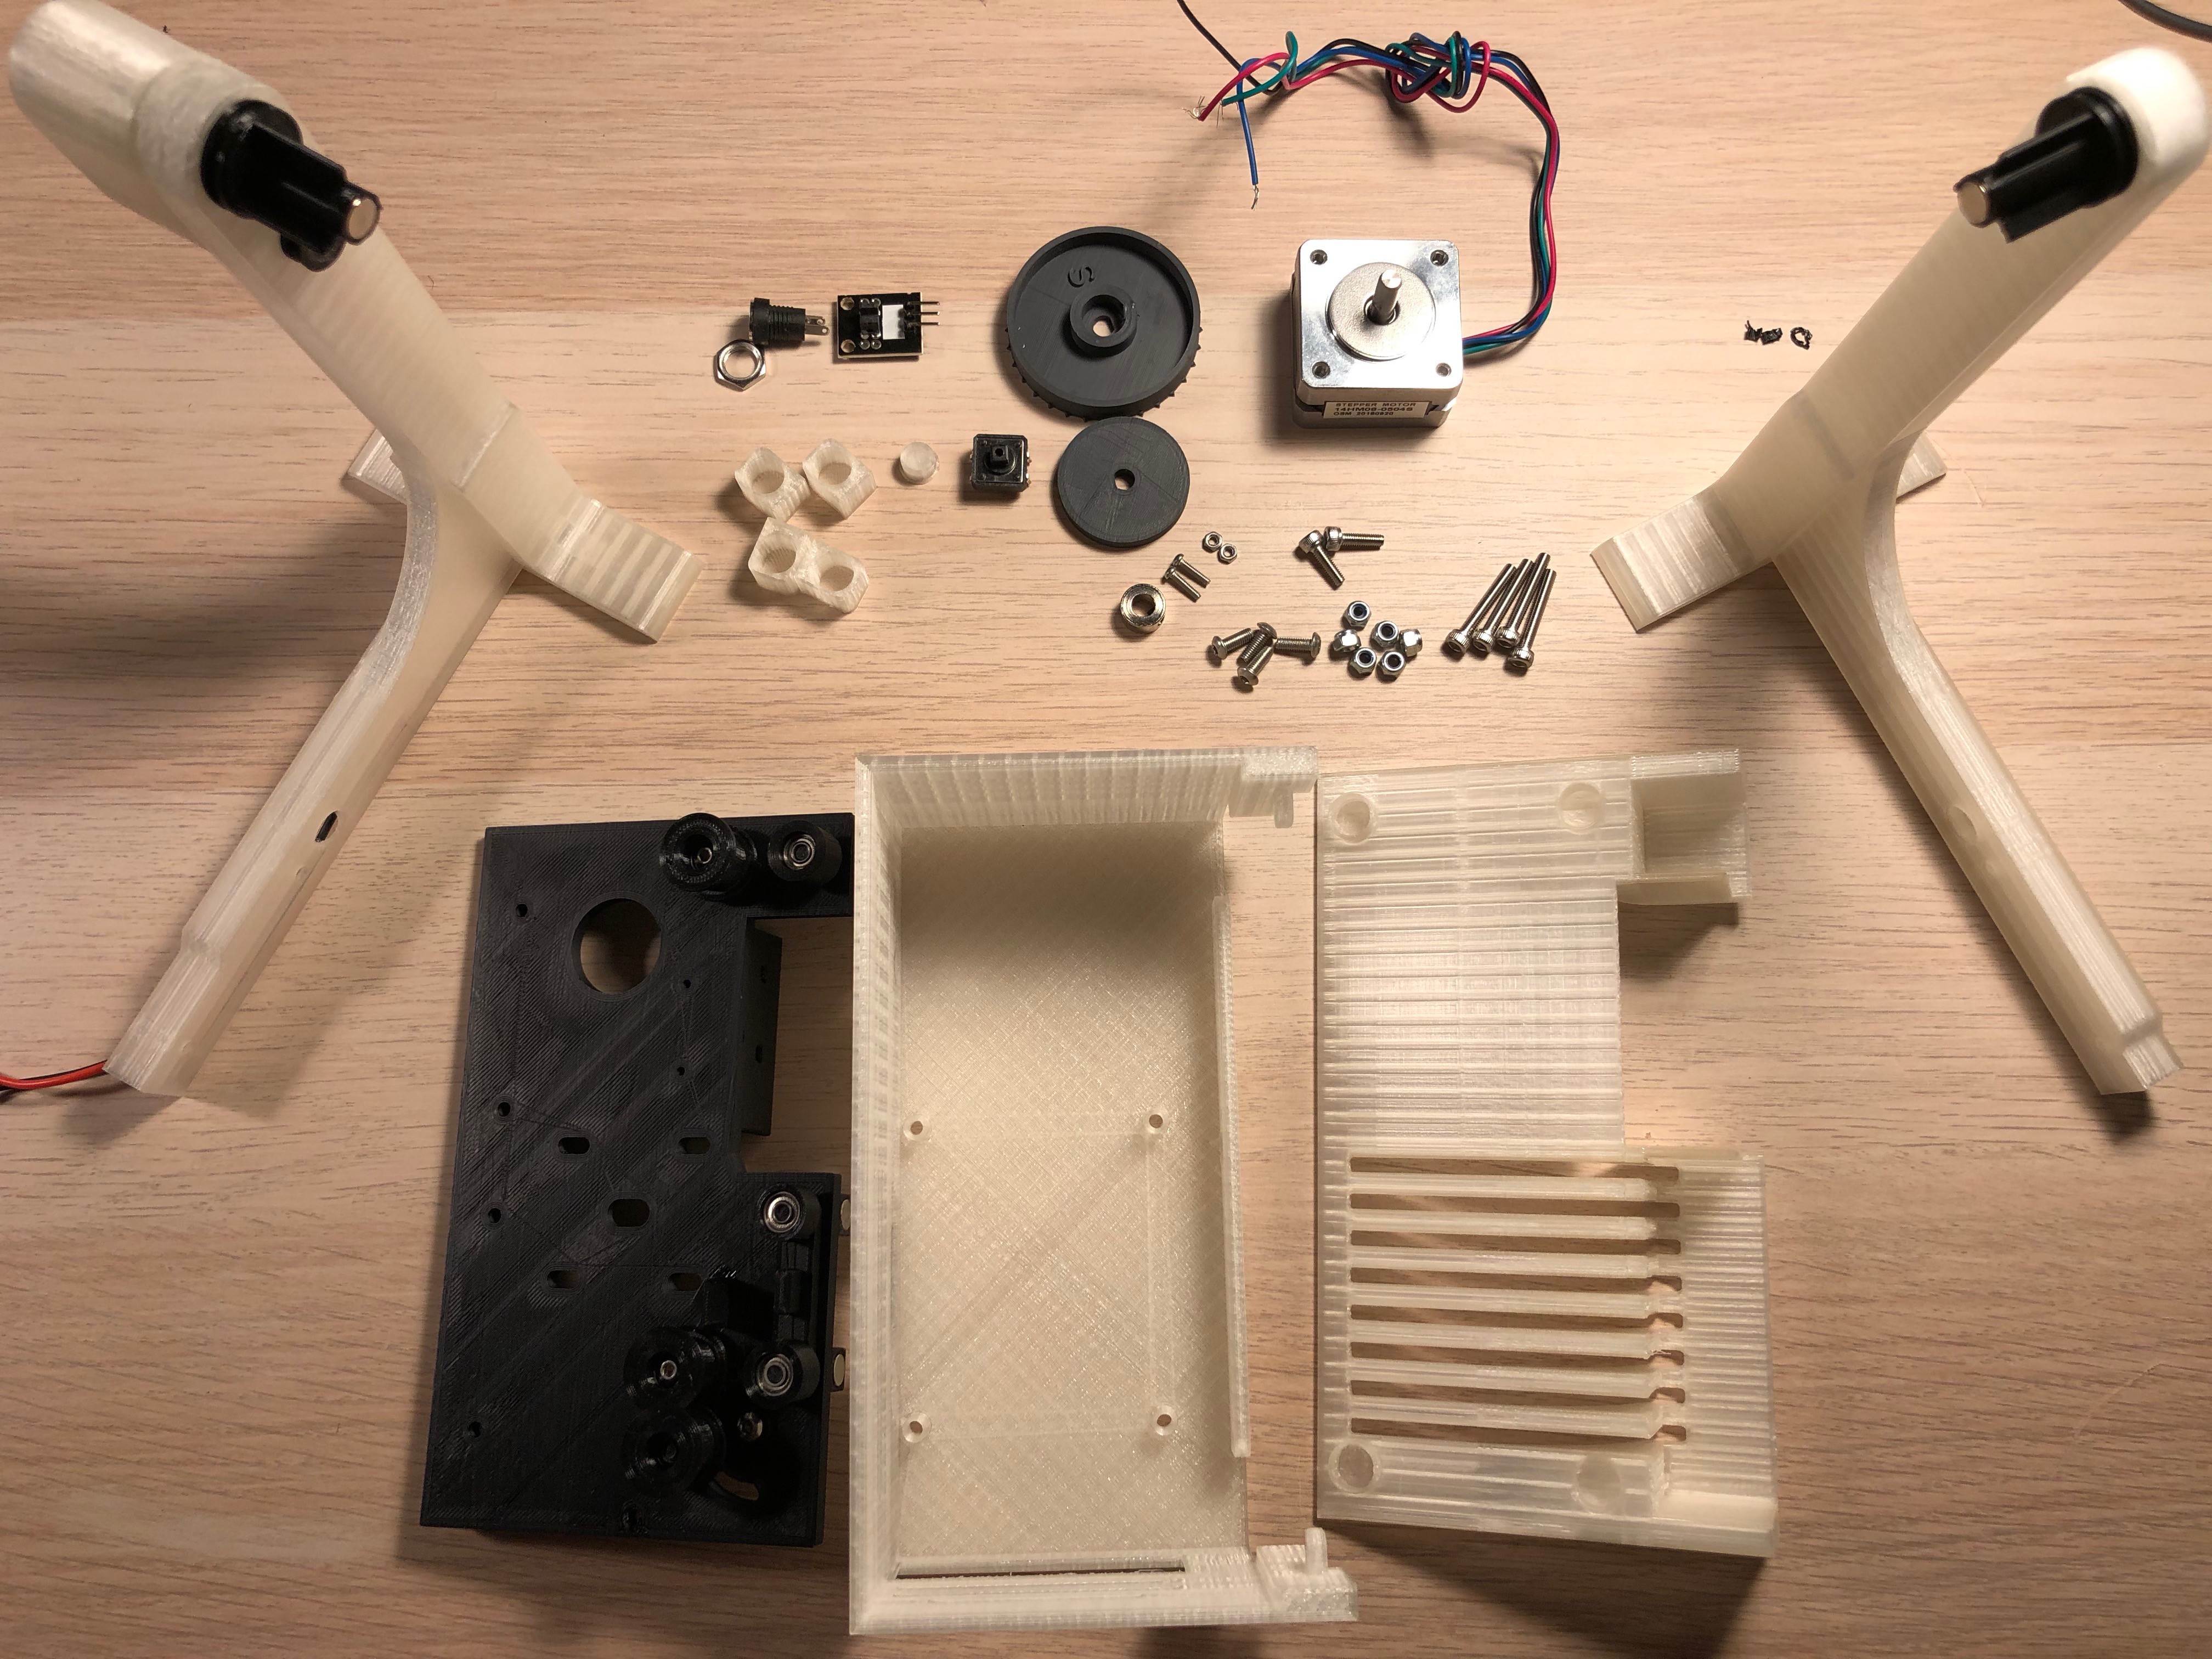
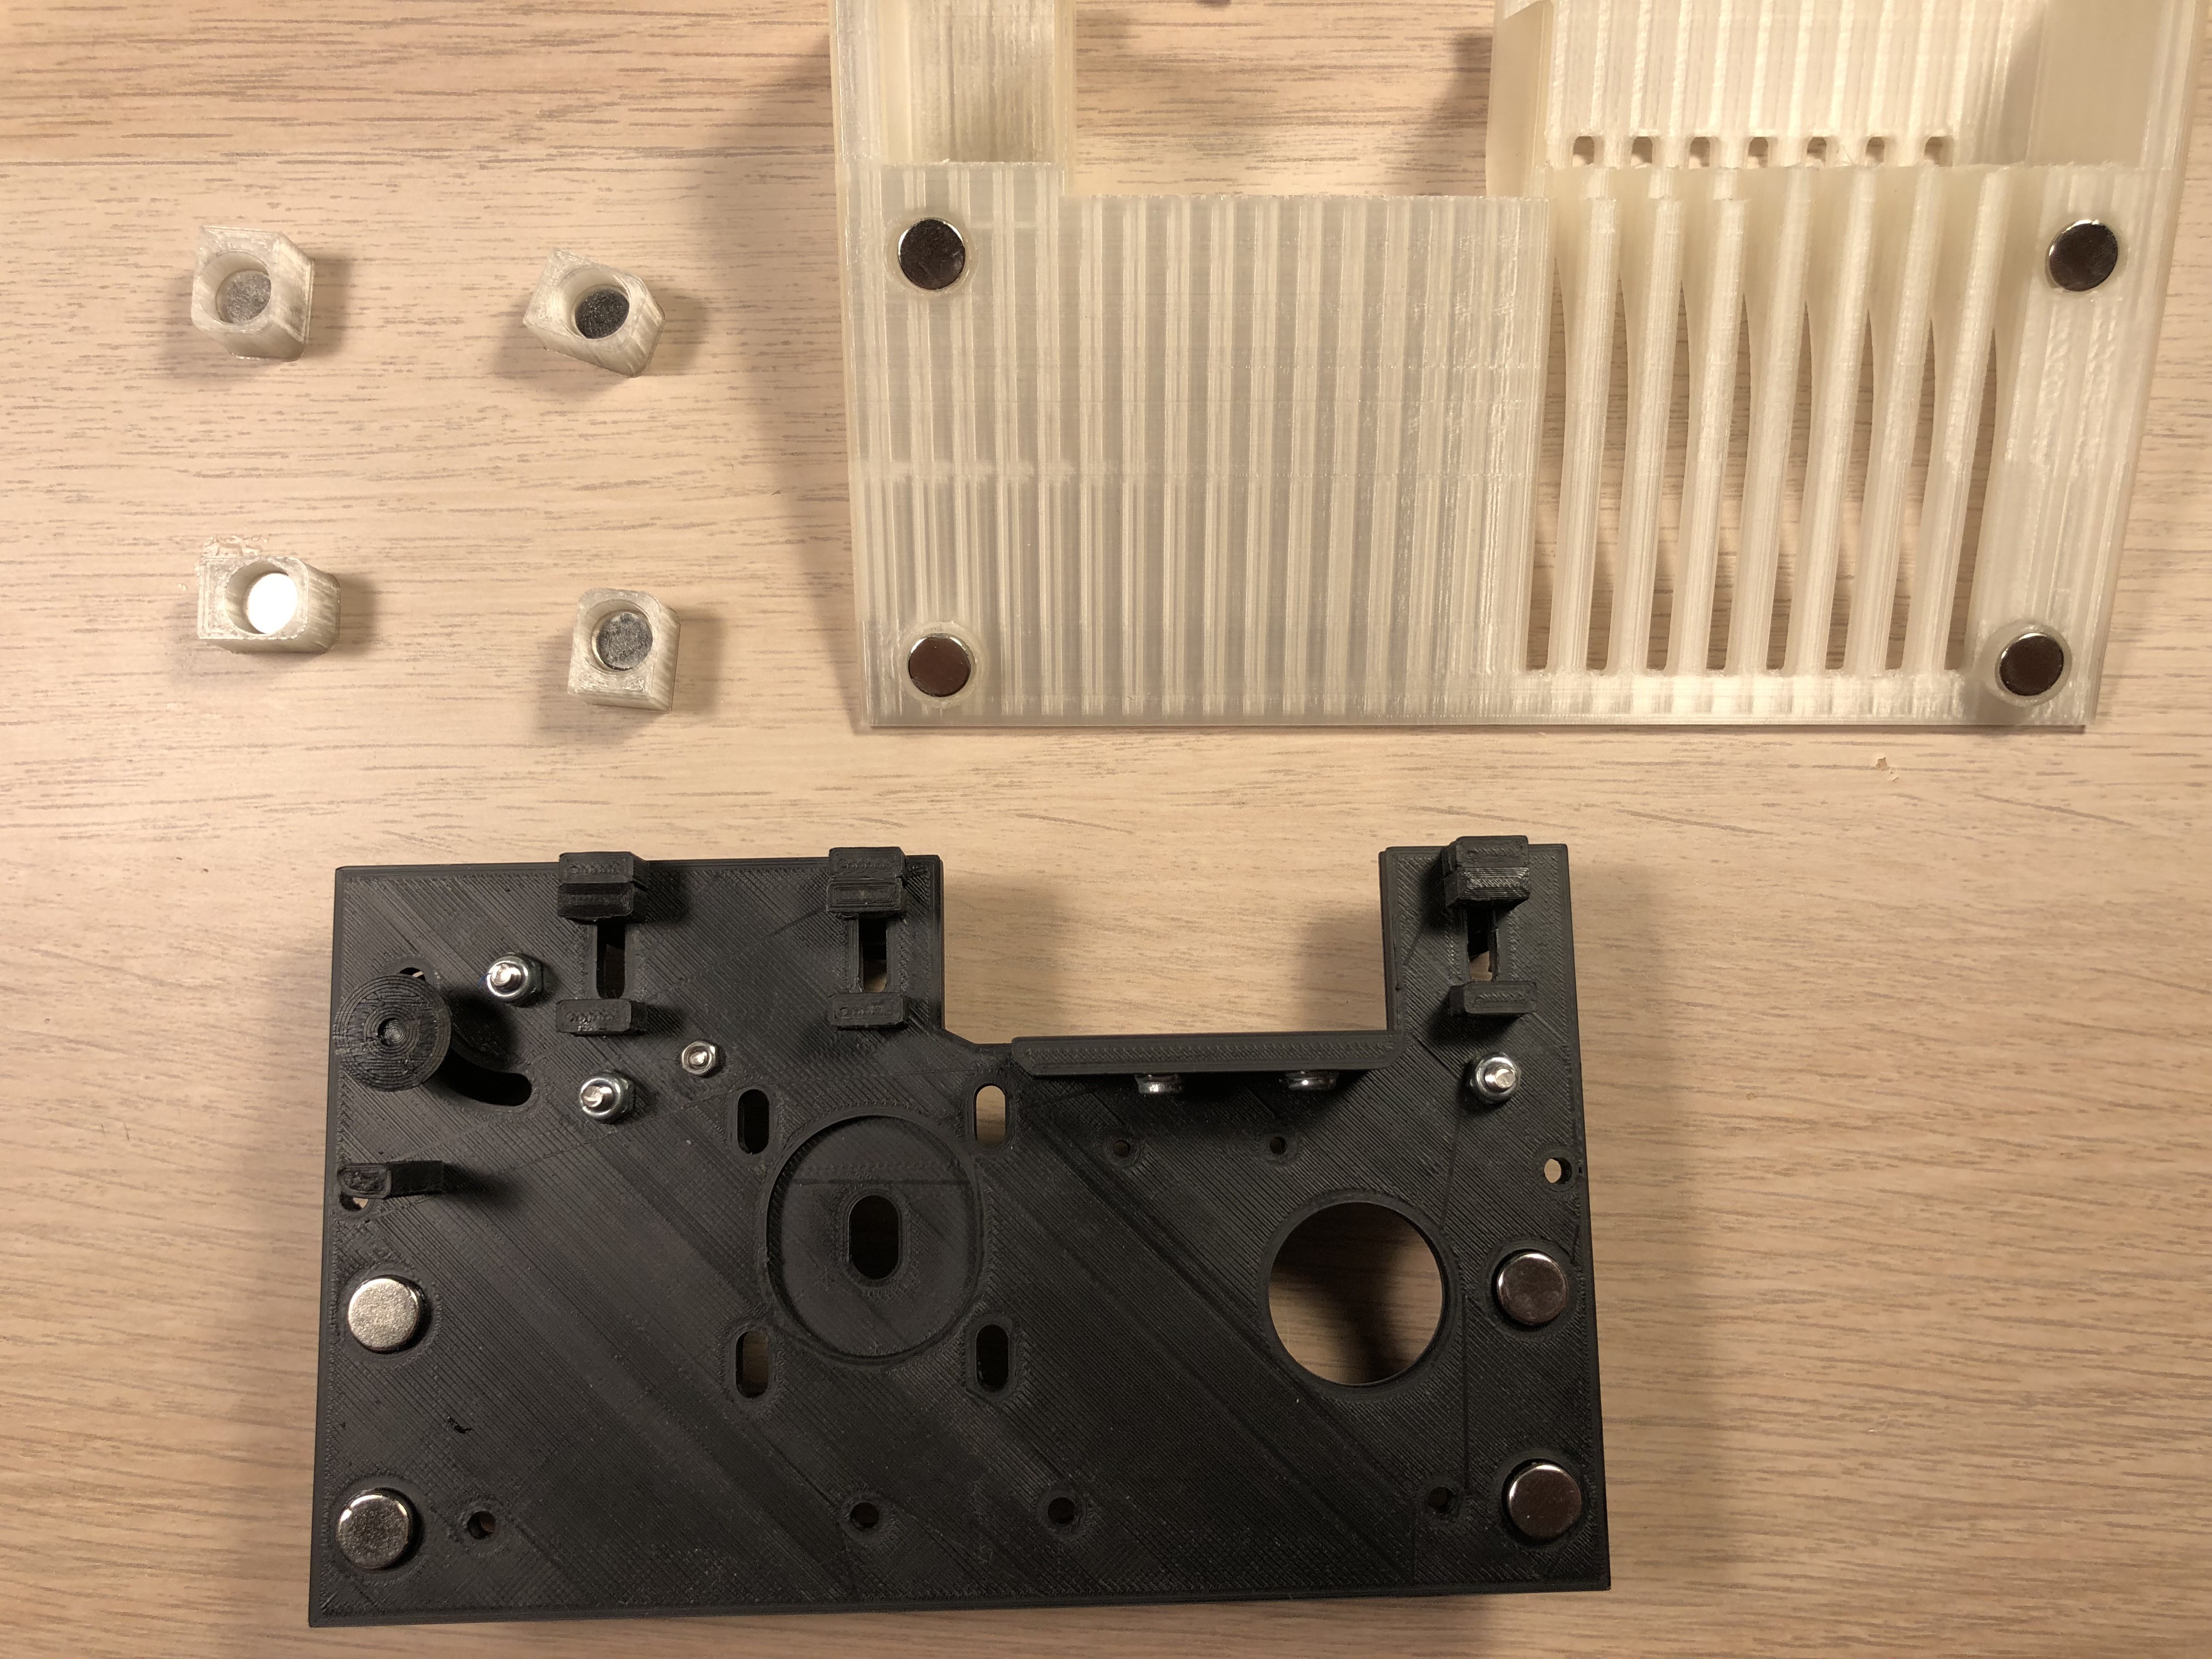
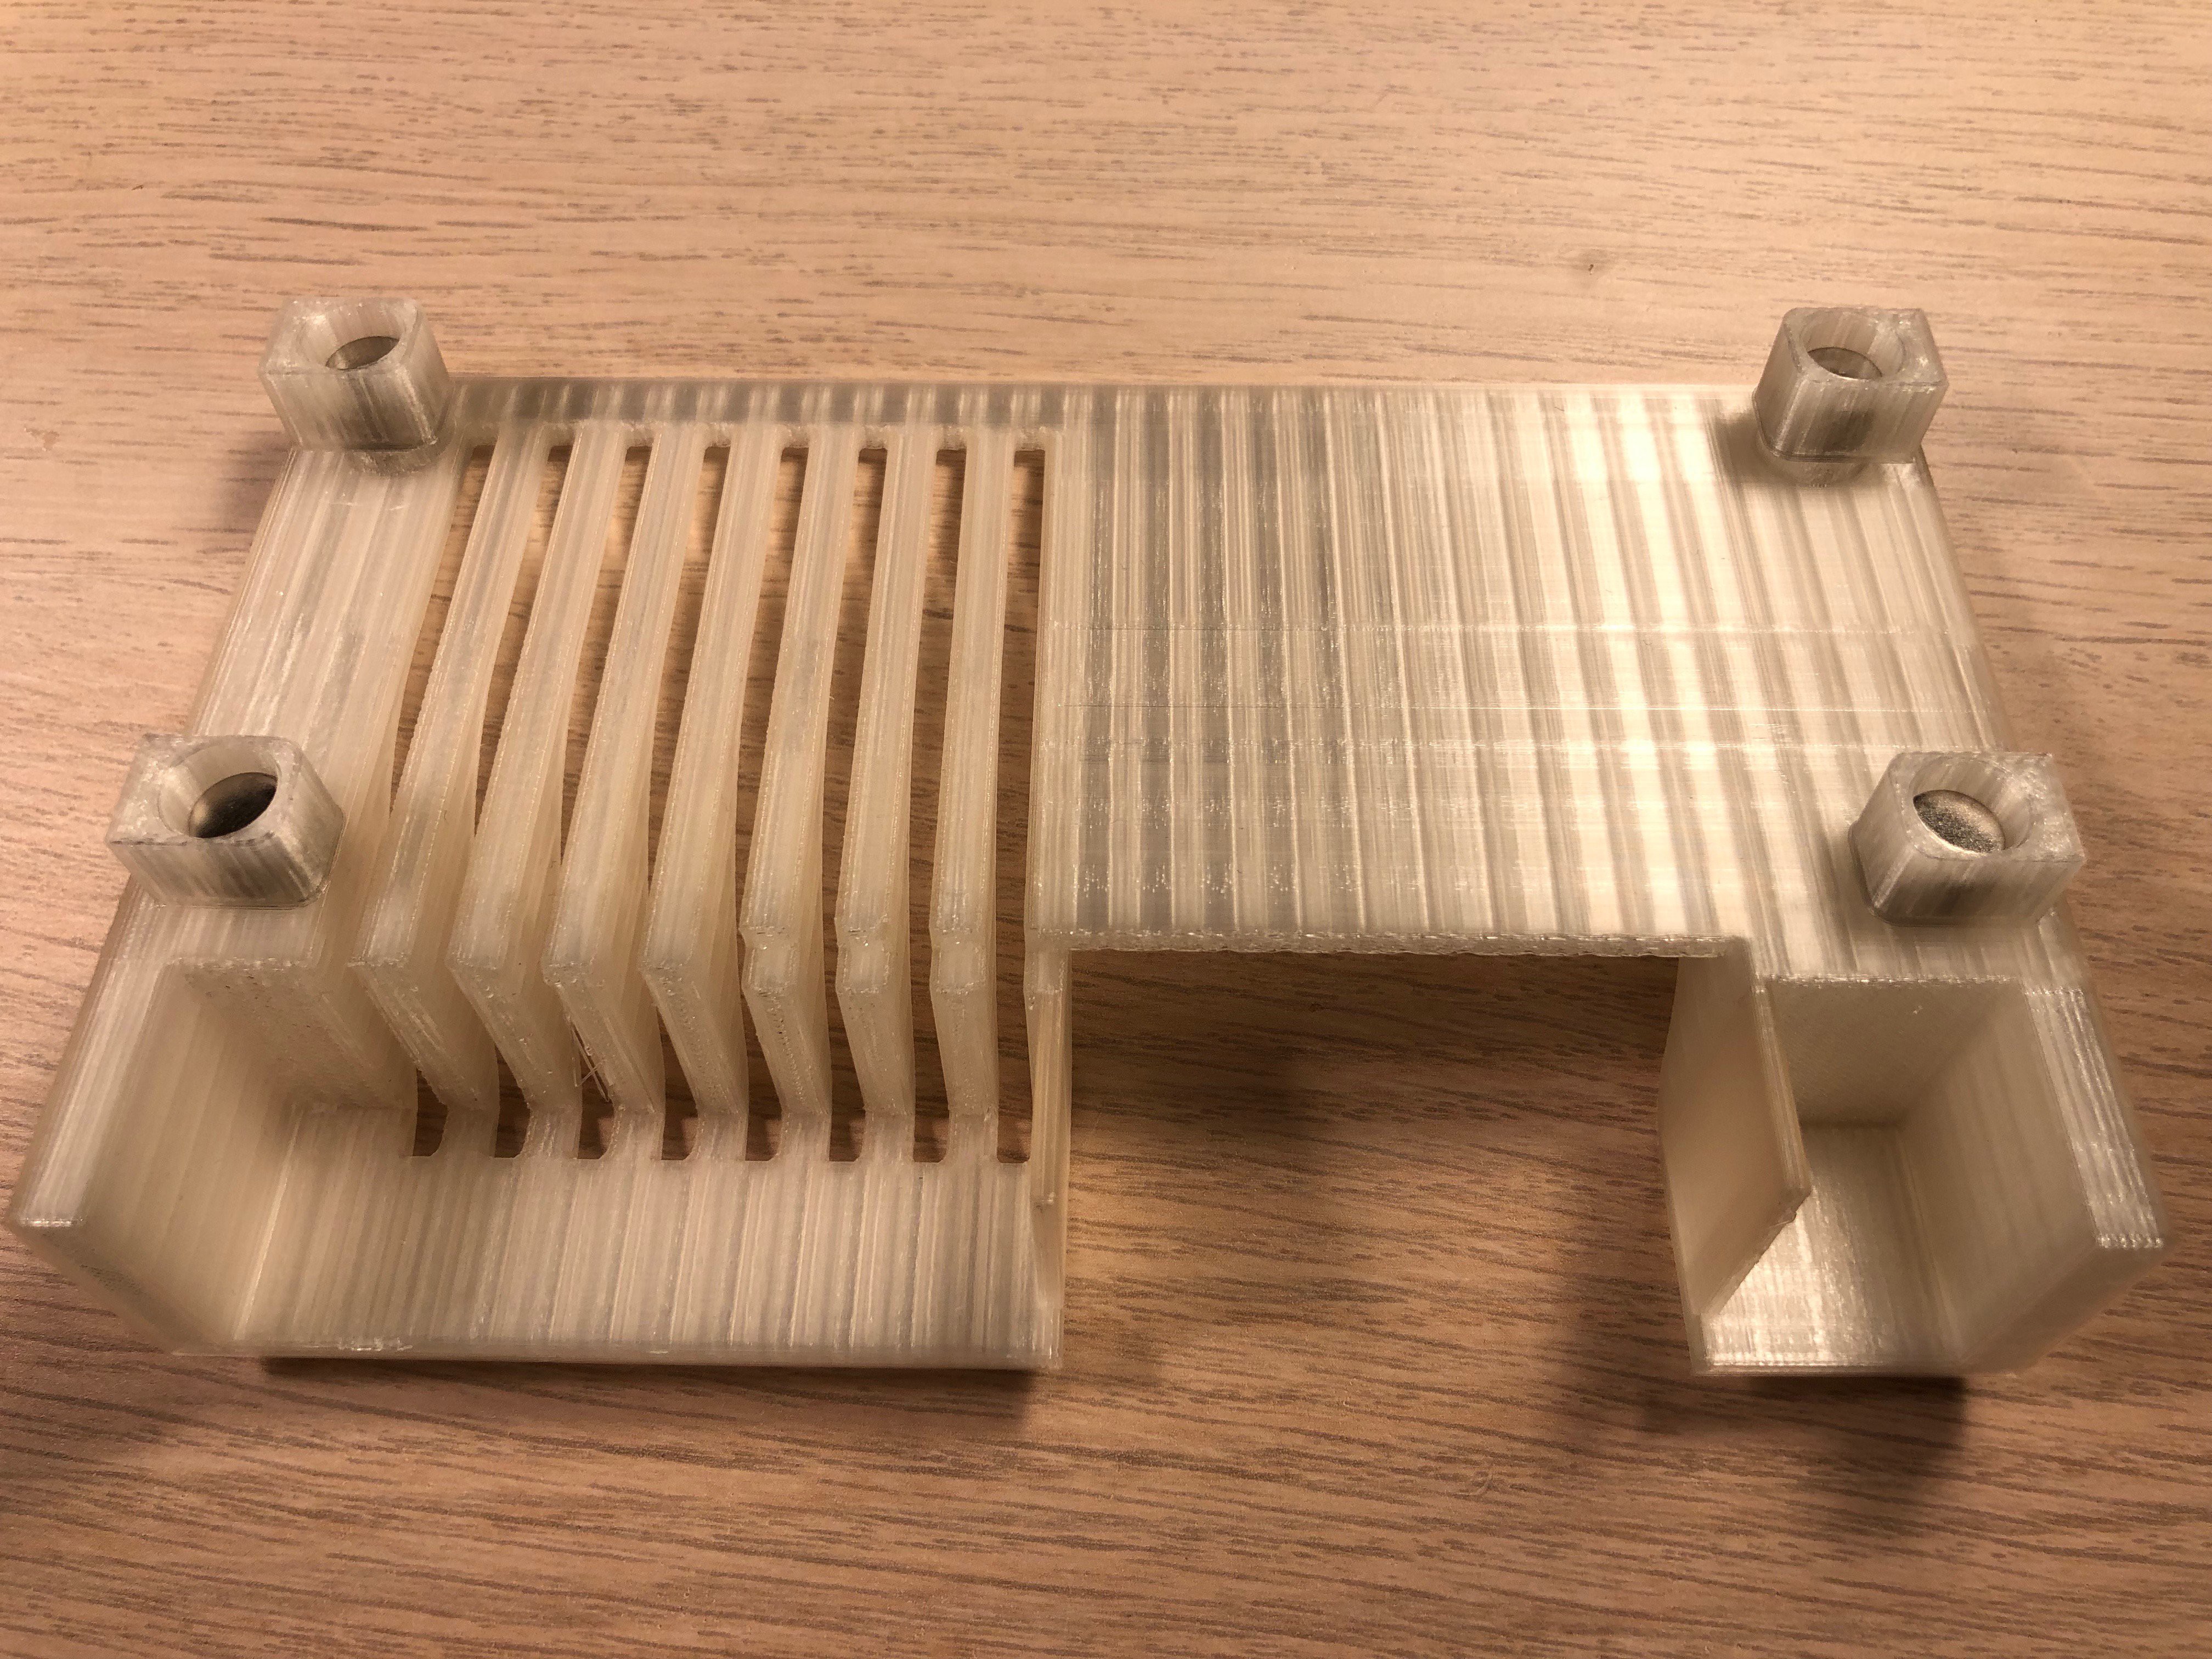
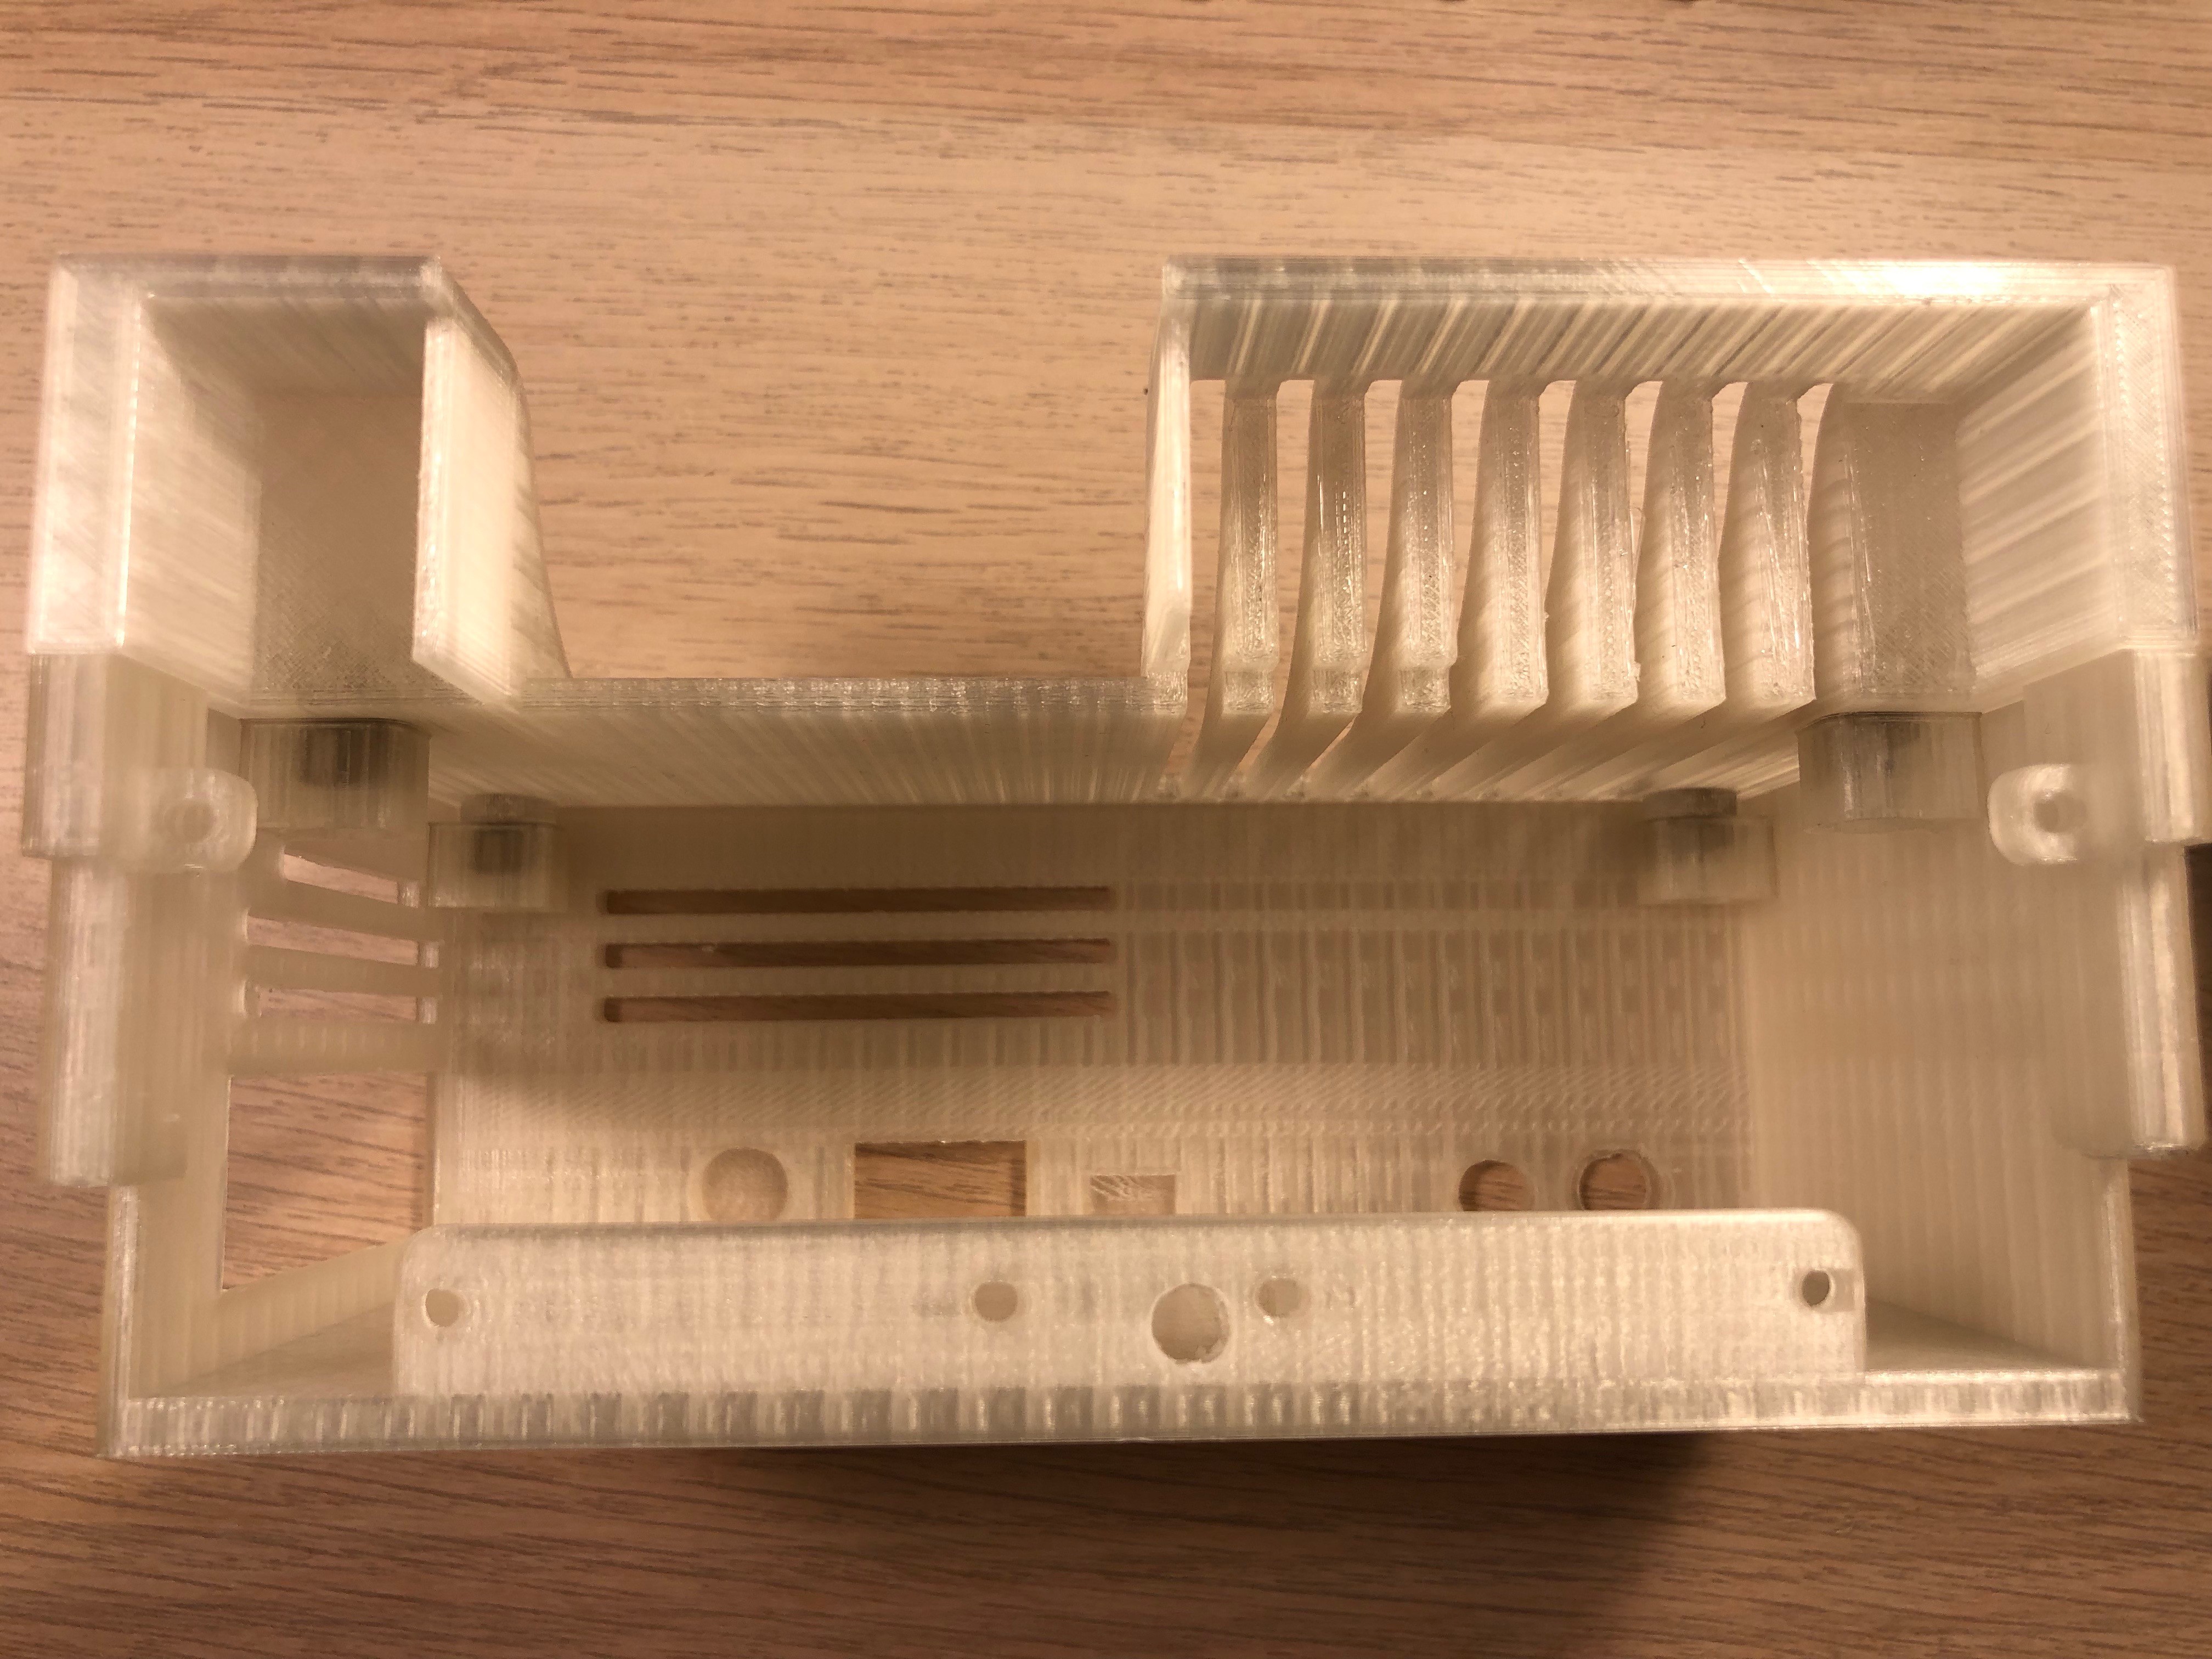
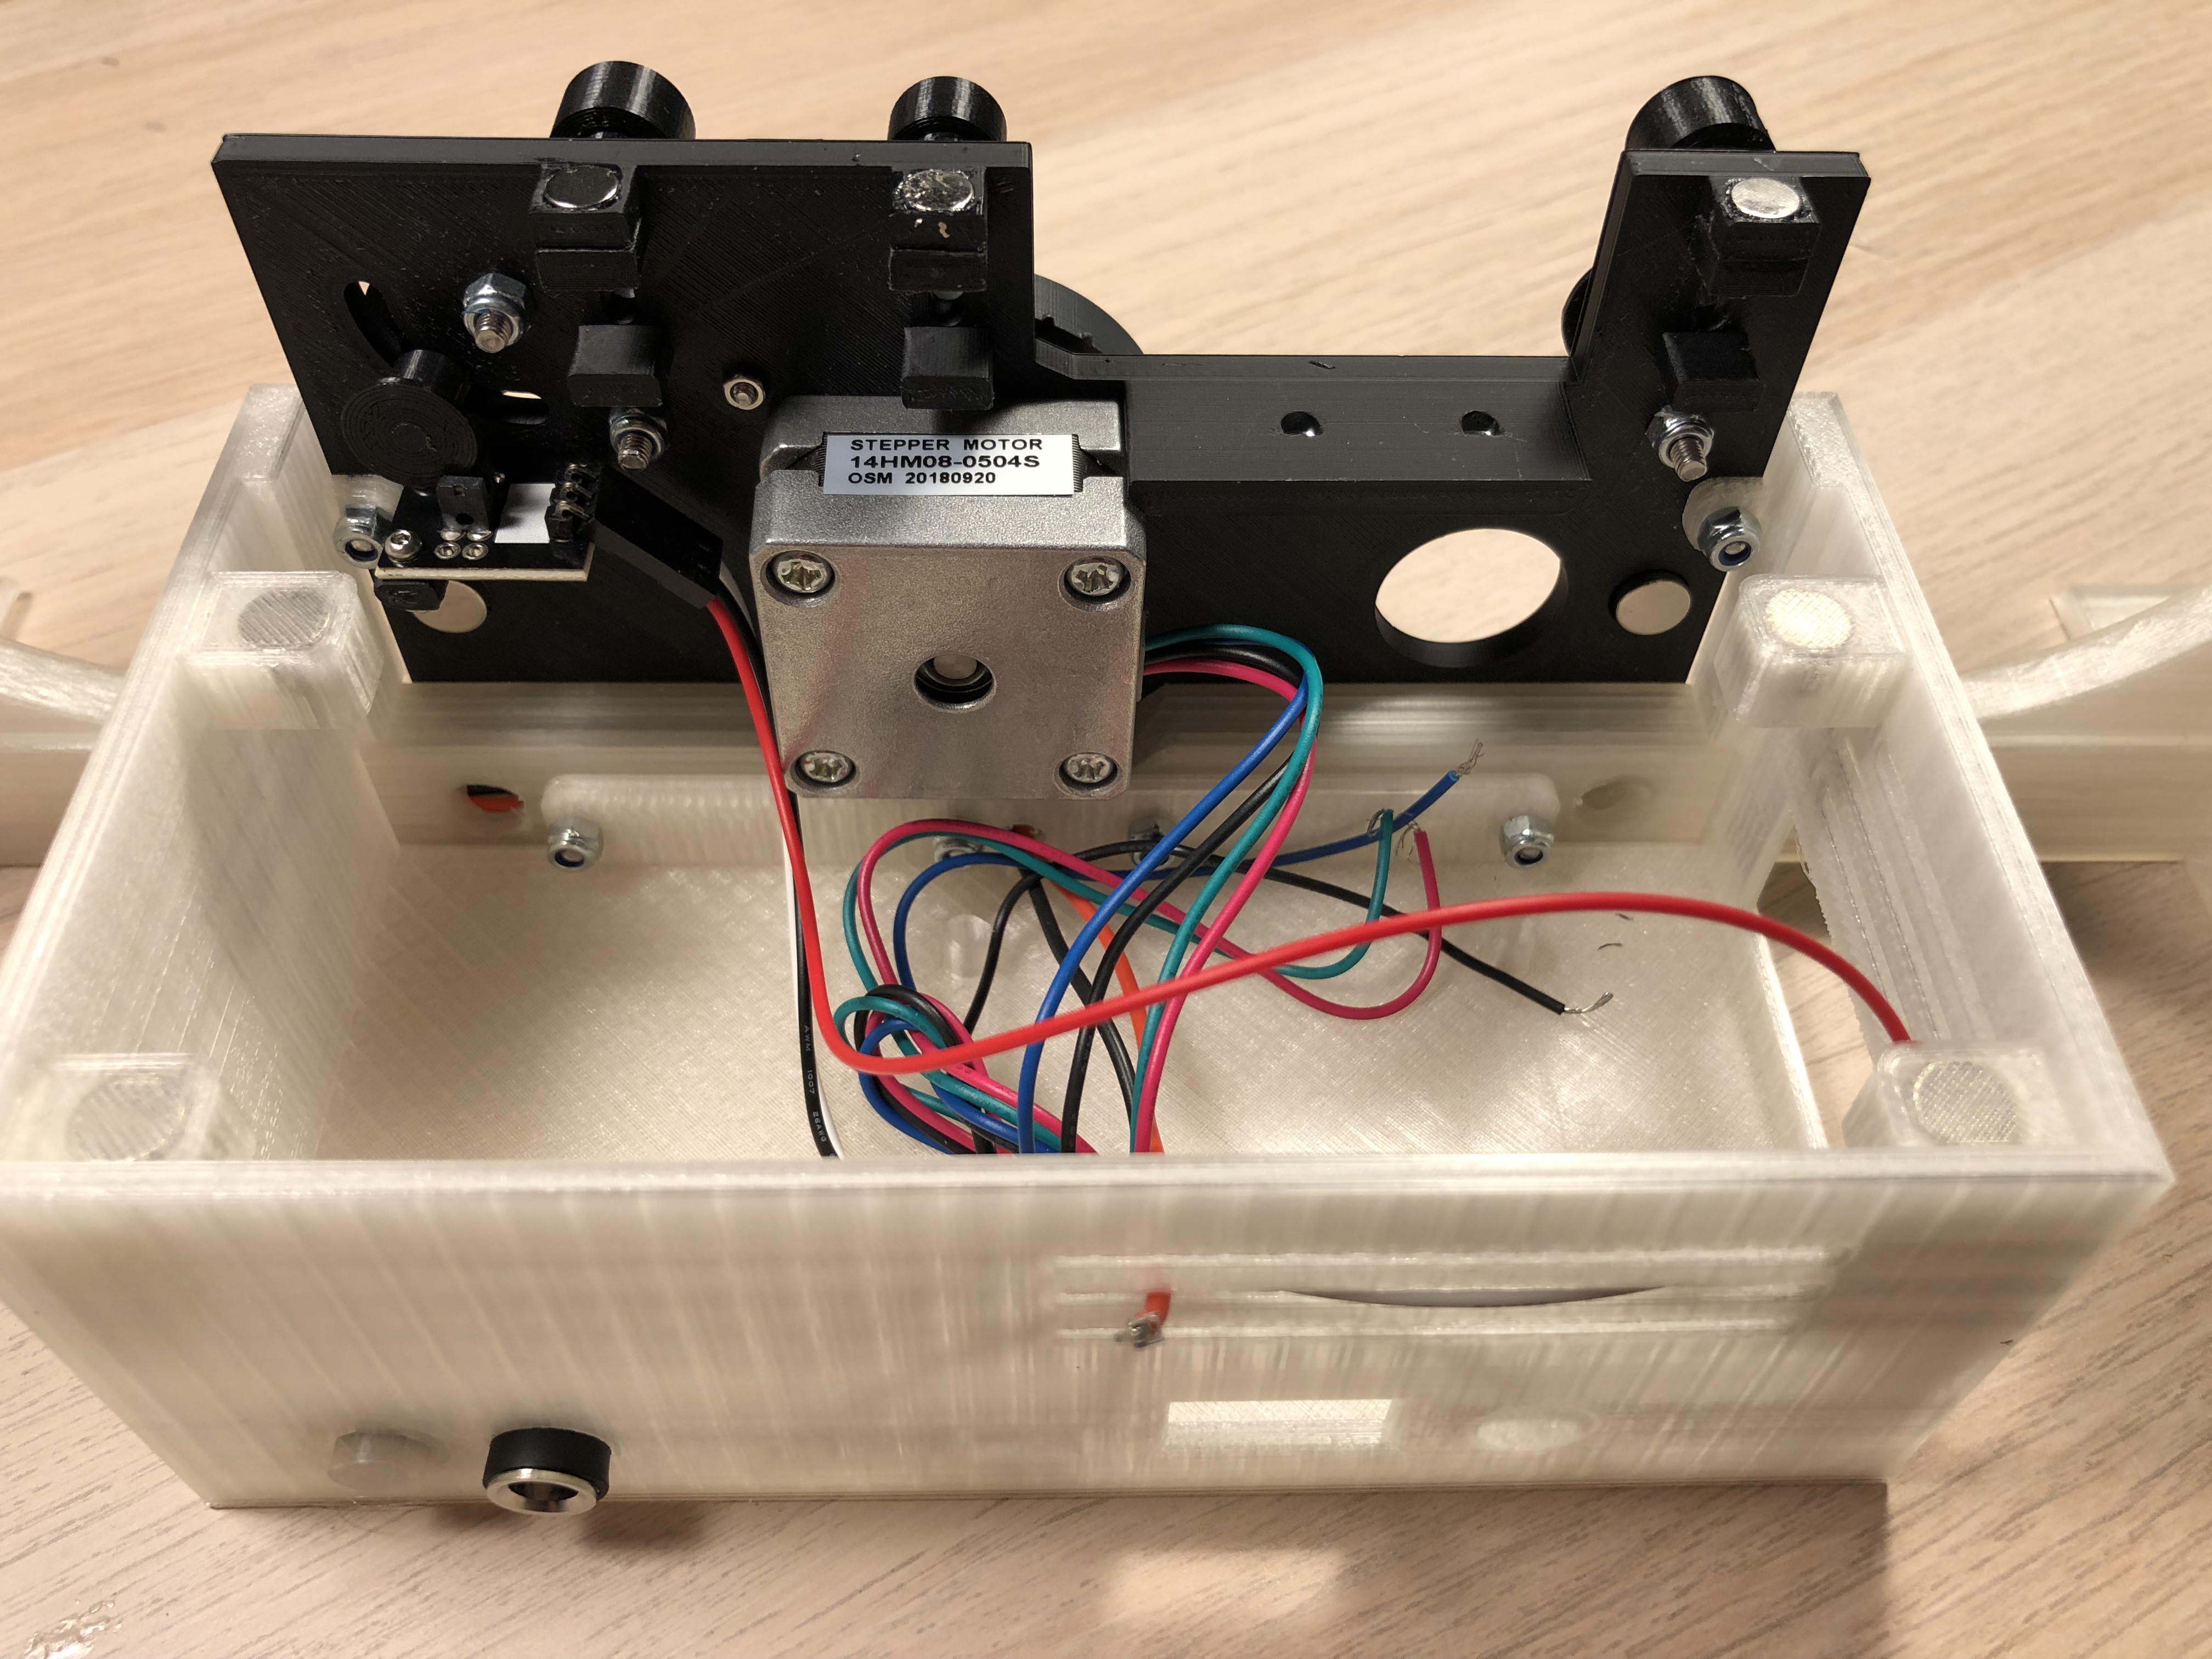
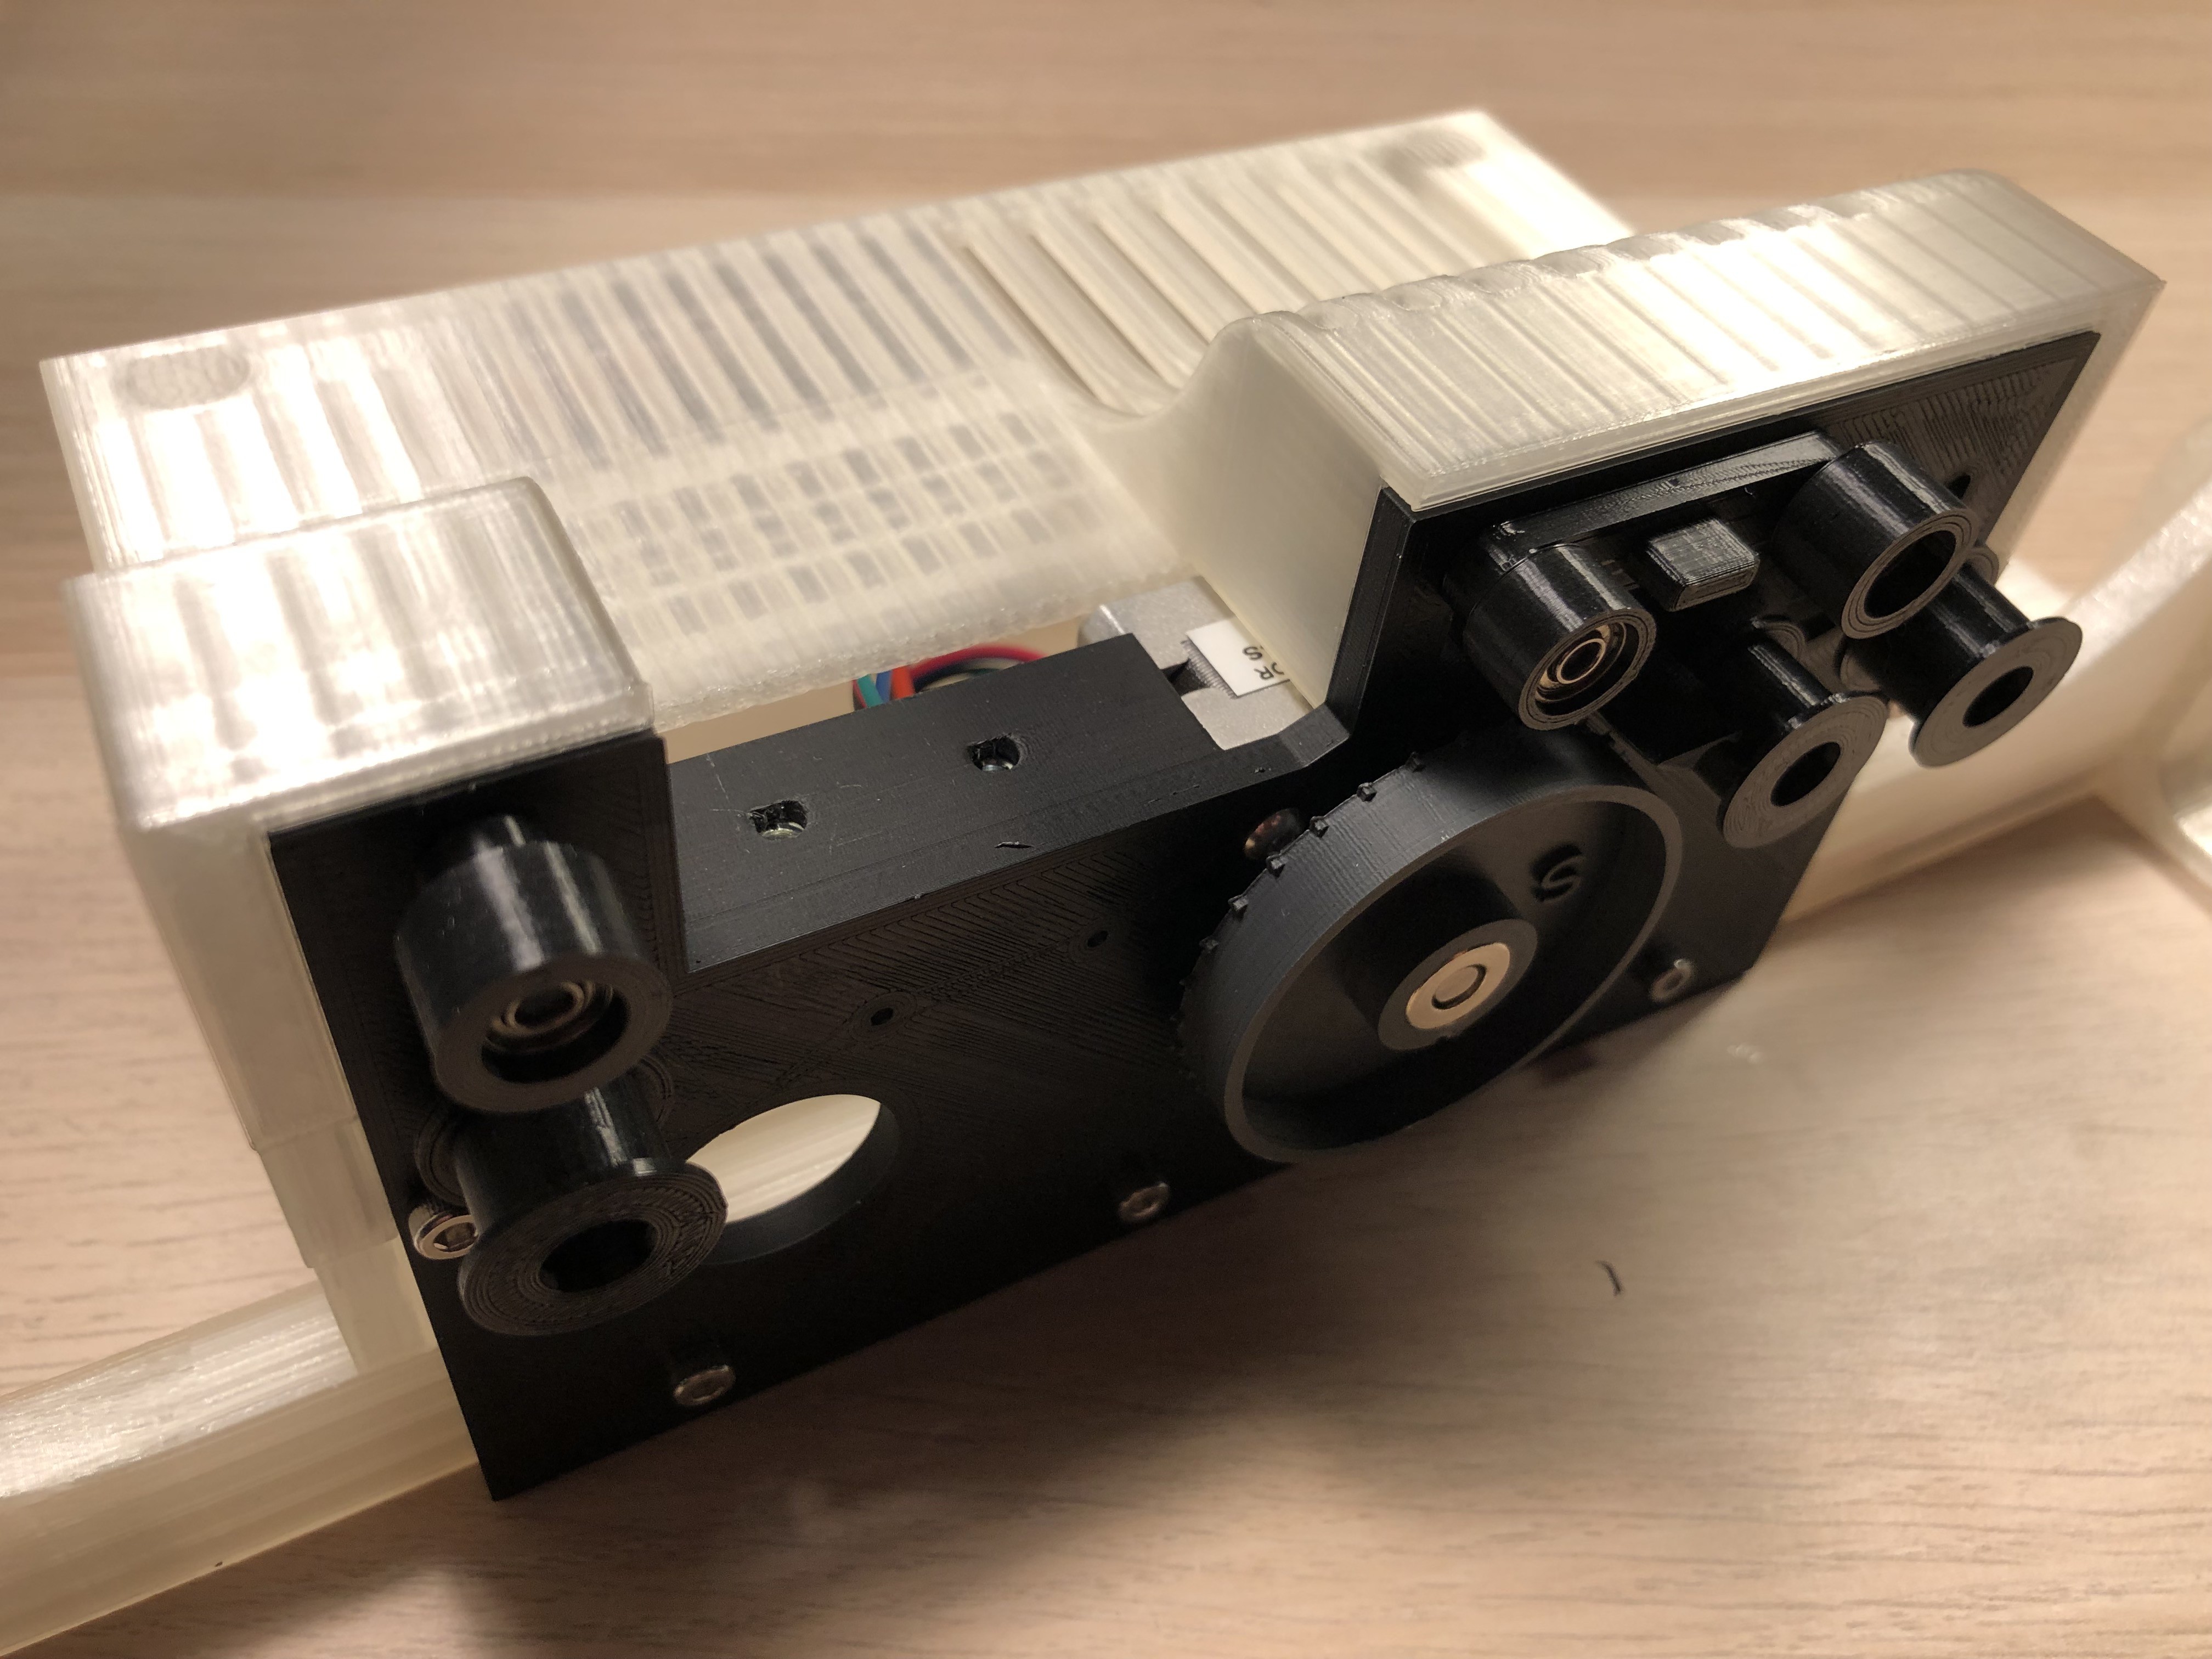
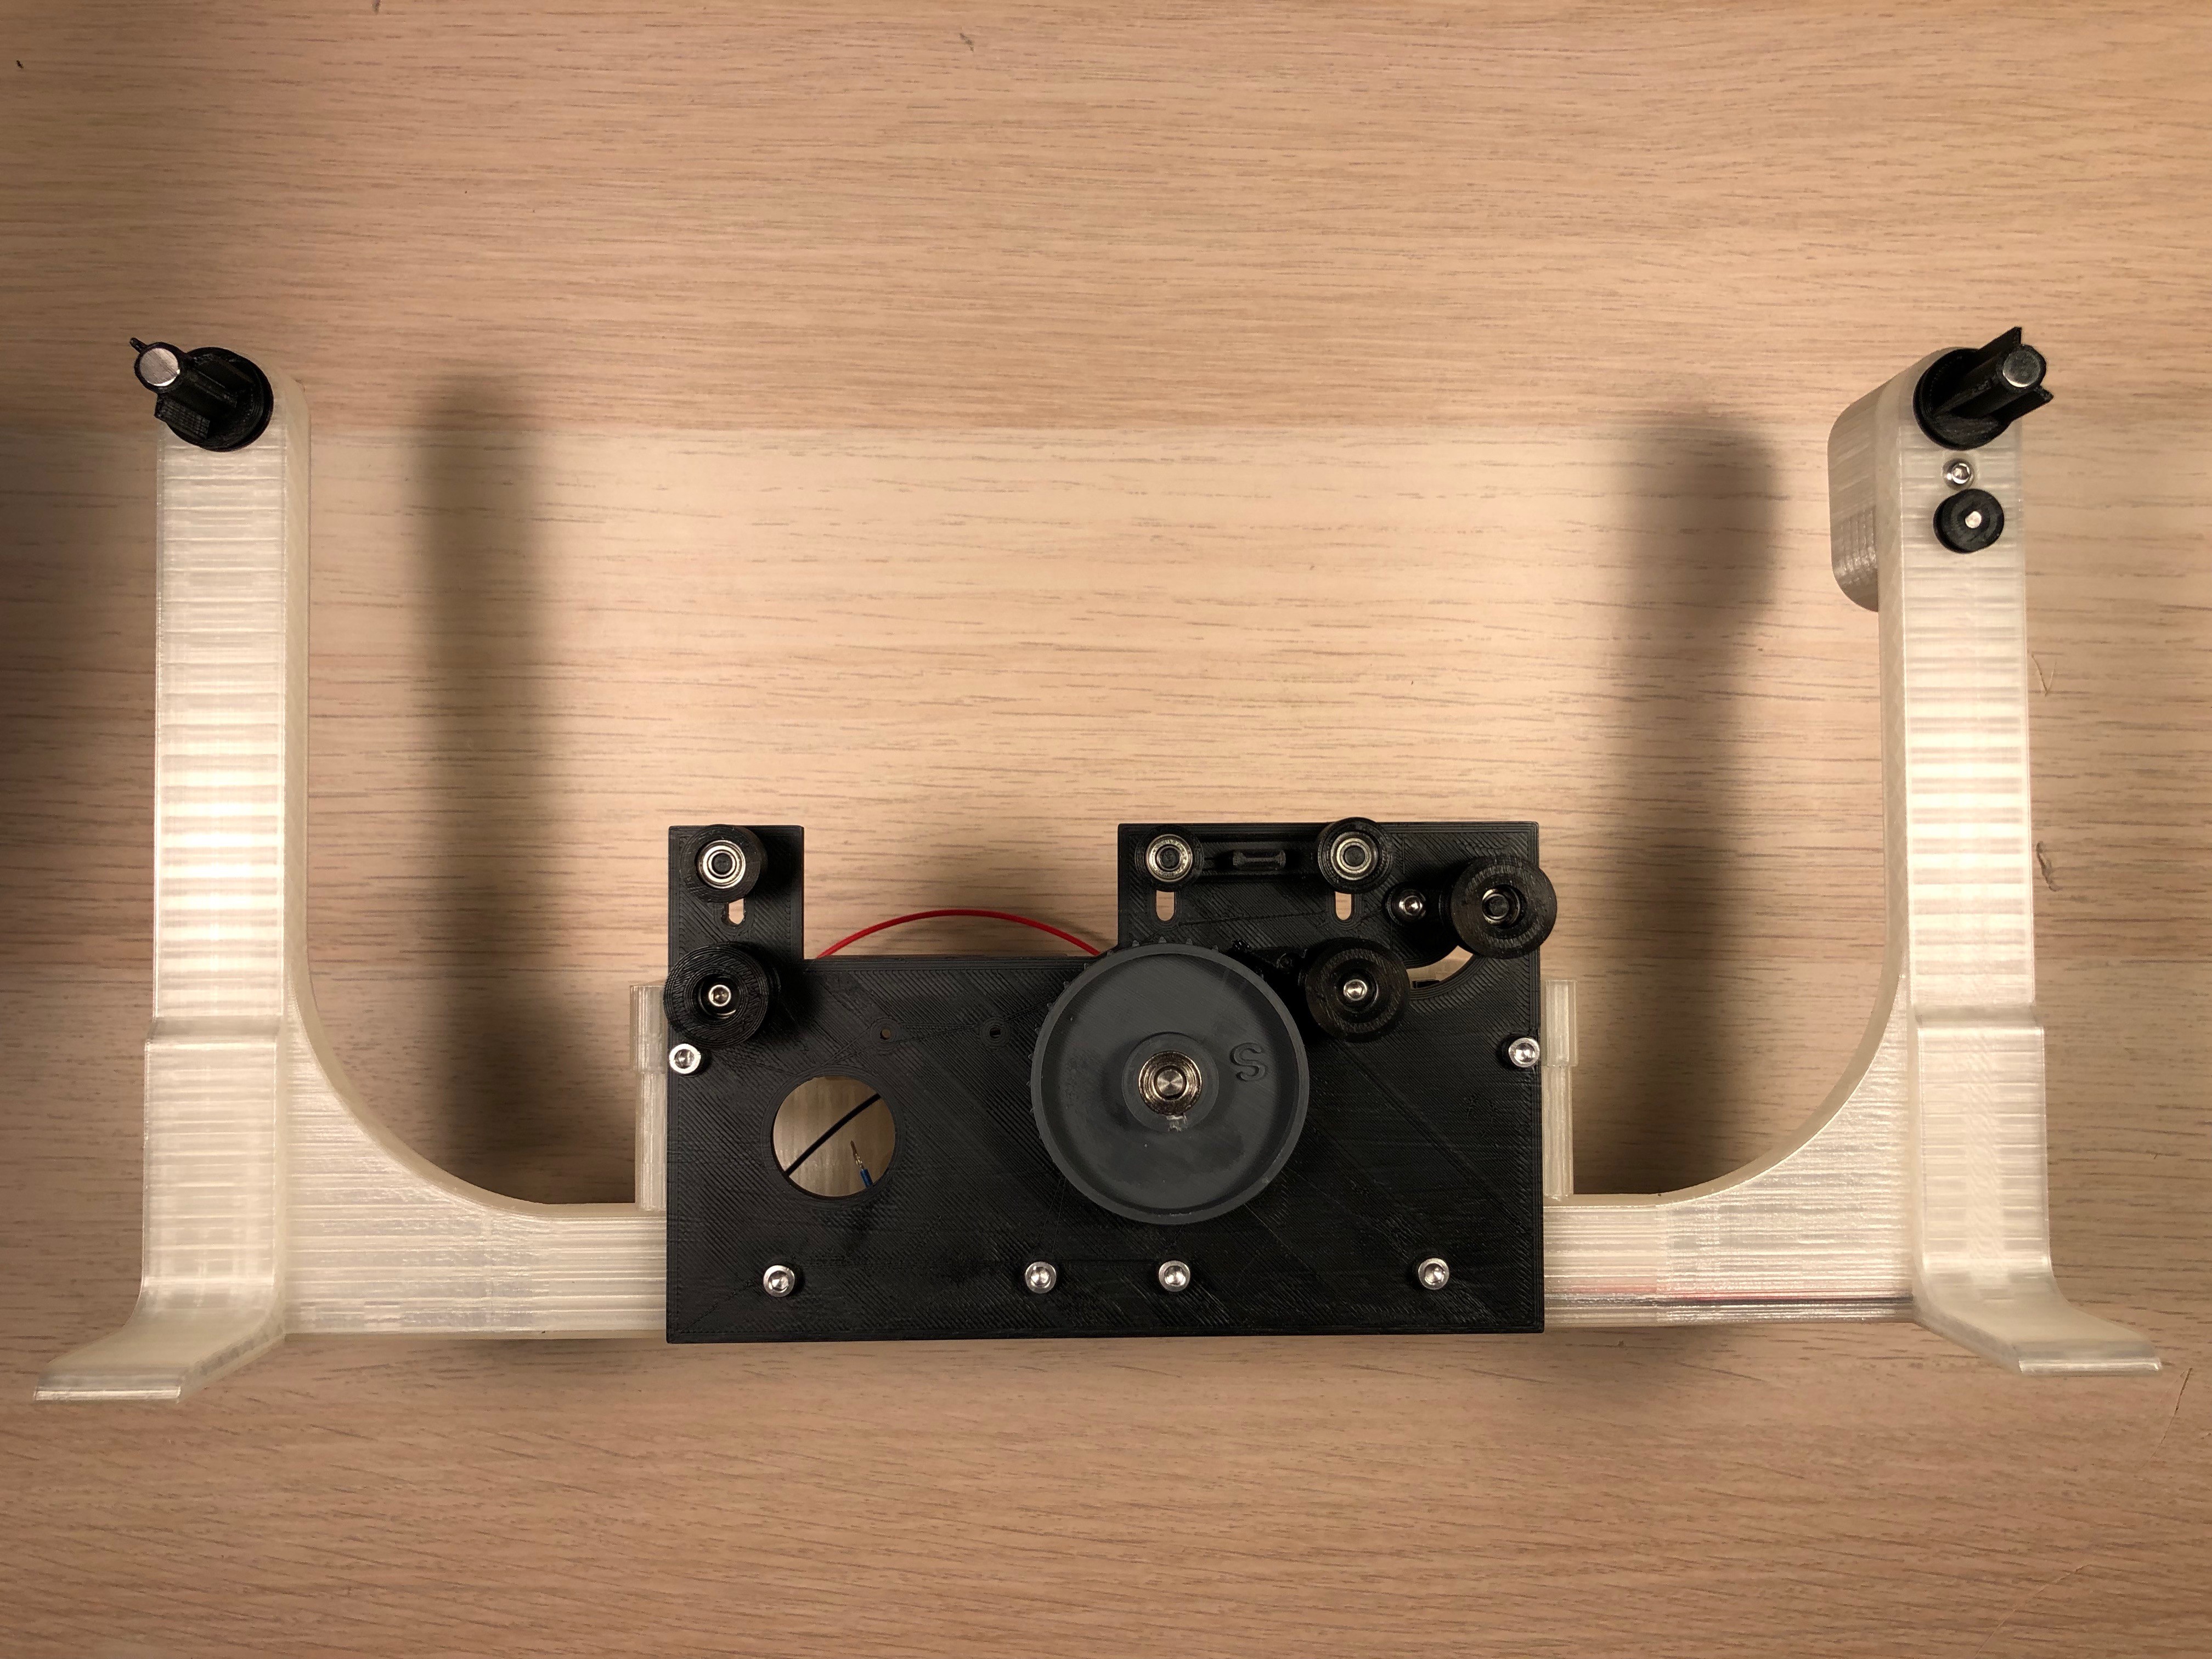
The 3D print:
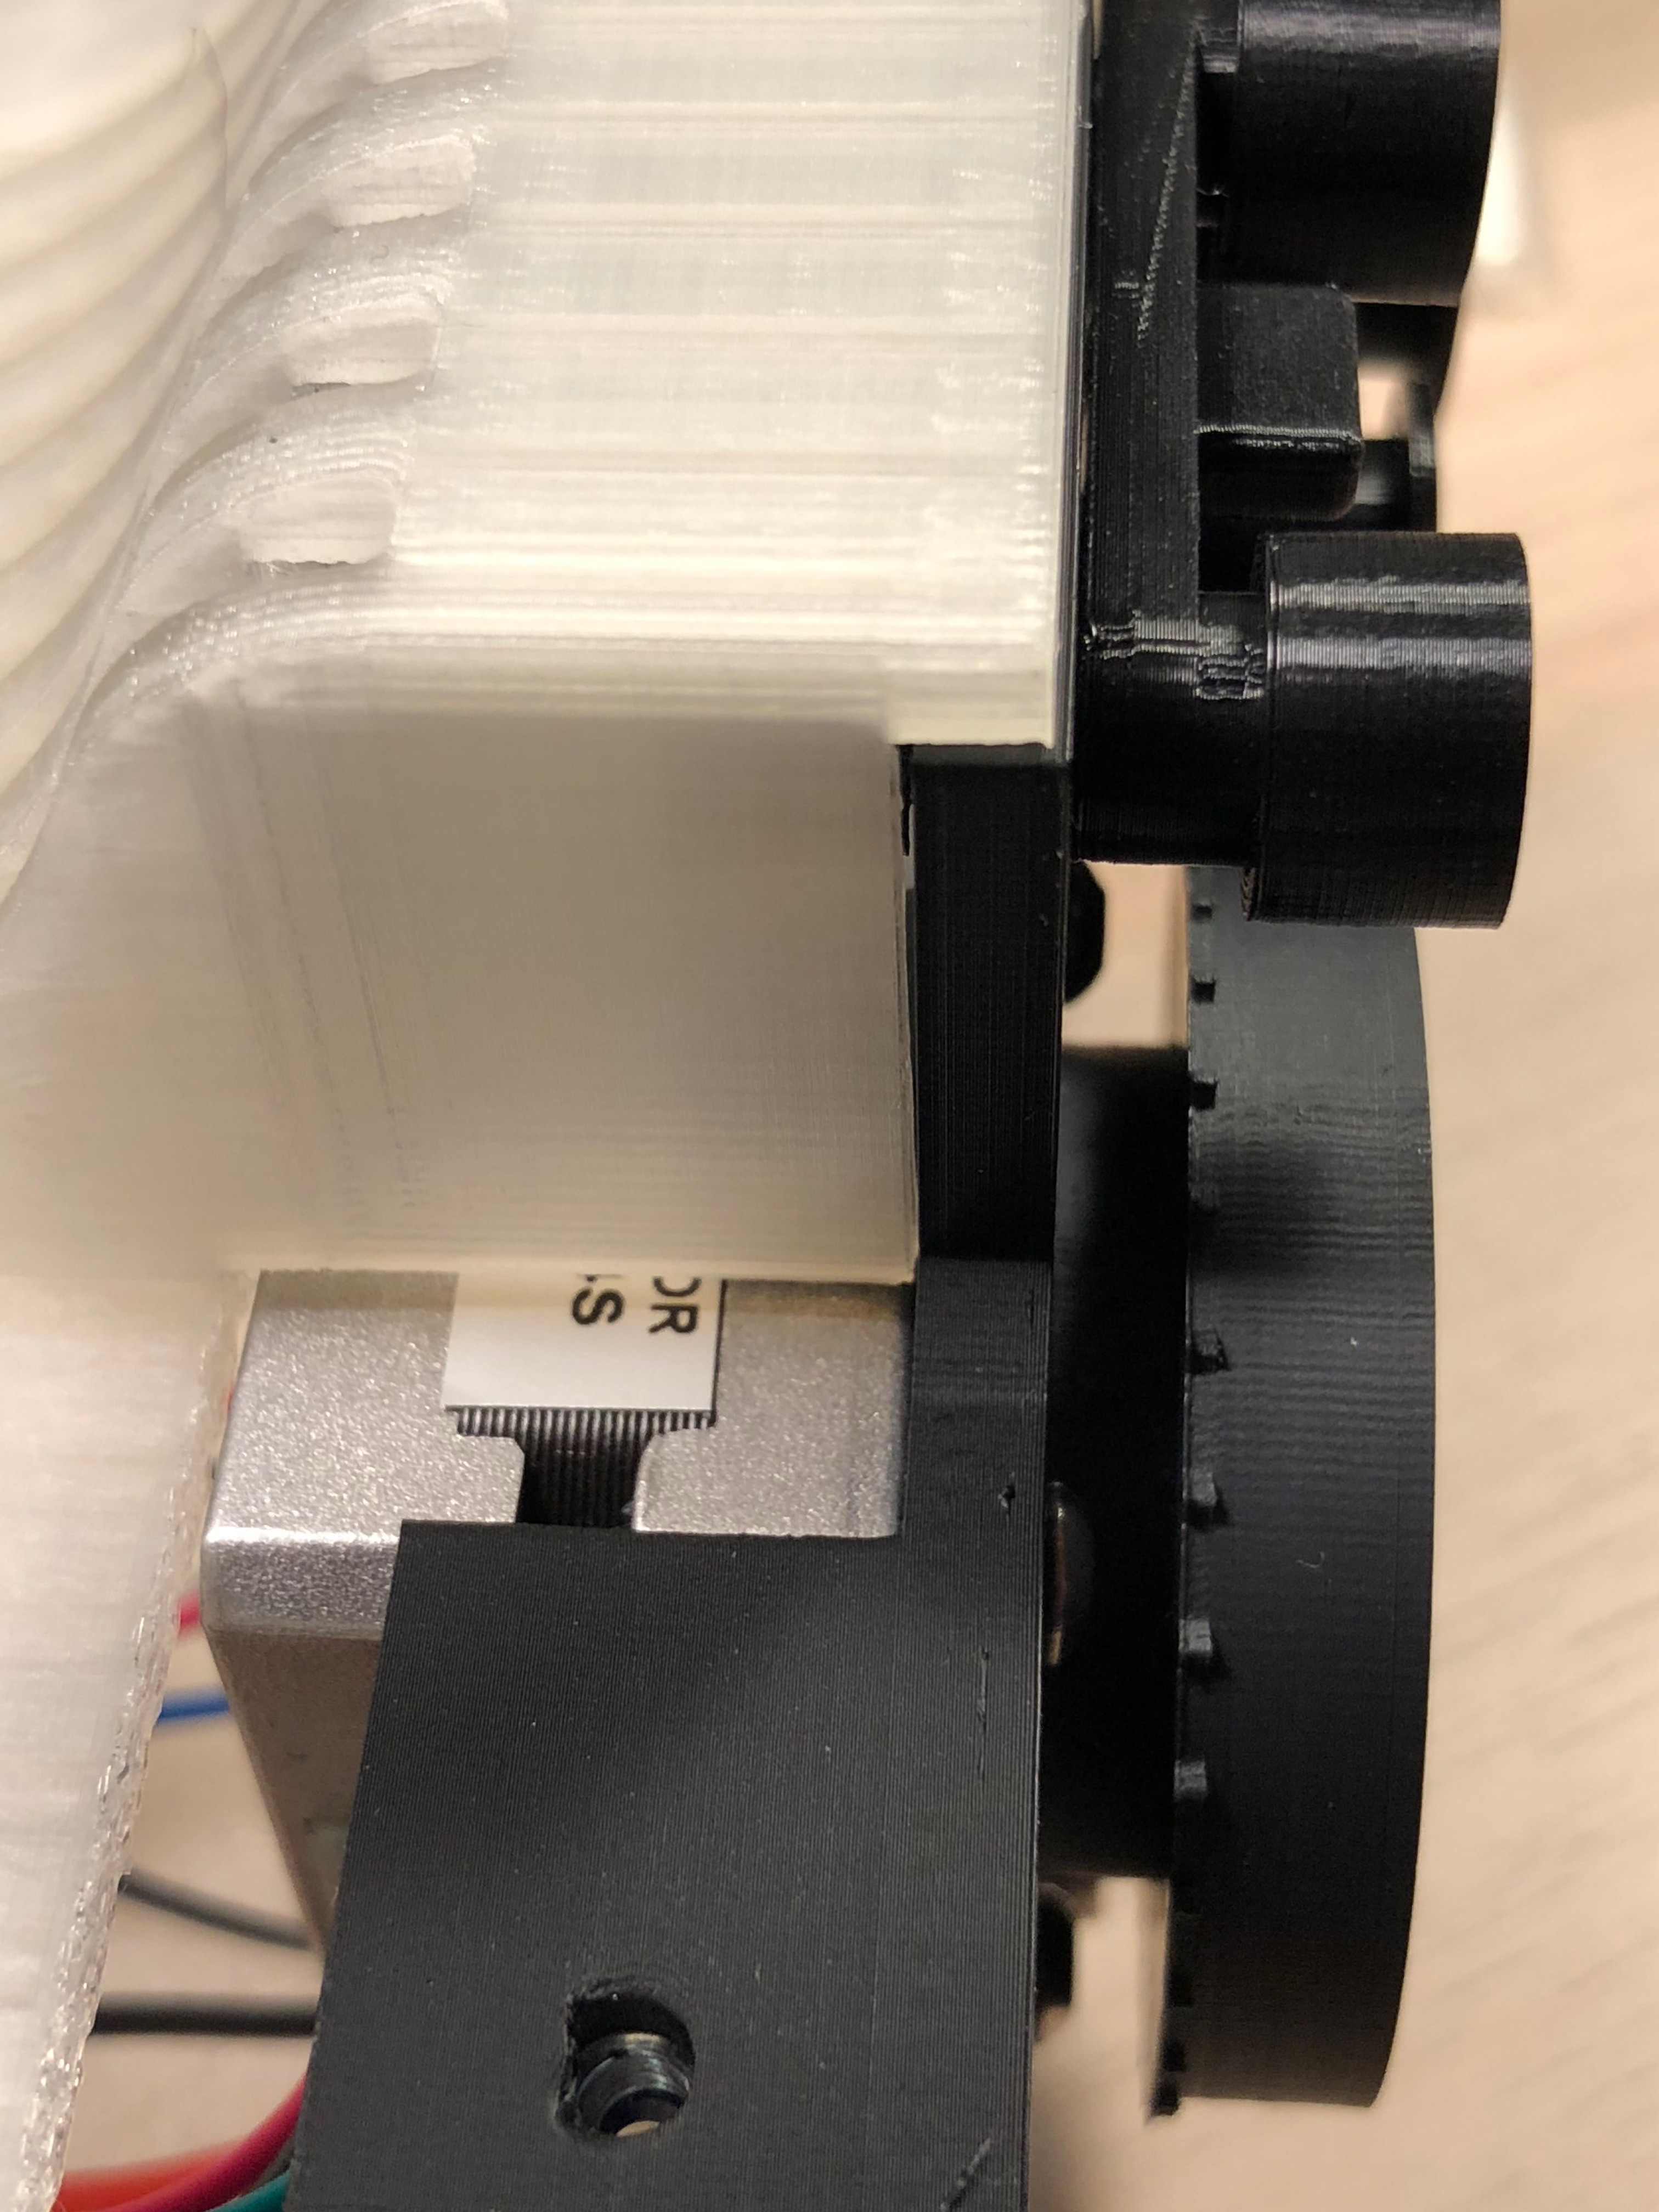
Originally I printed everything in PLA. But after several hours of scanning I realised that the temperature of the stepper gets too high and some parts started deforming.
I printed the parts near the motor with ABS and that works just fine. (the stl files are sorted by material used)
OpenCV:
Even that the 0.9 degree stepper usually positions the frames very precise, there are variations especially when glued parts of the film, which are thicker, pass by.
To ensure that the frames are always positioned in the middle of the cameras focus, I search for the contour on the left side - the sprocket hole in the film.
If that goes out of a certain tolerance, the stepper will readjust the frame.
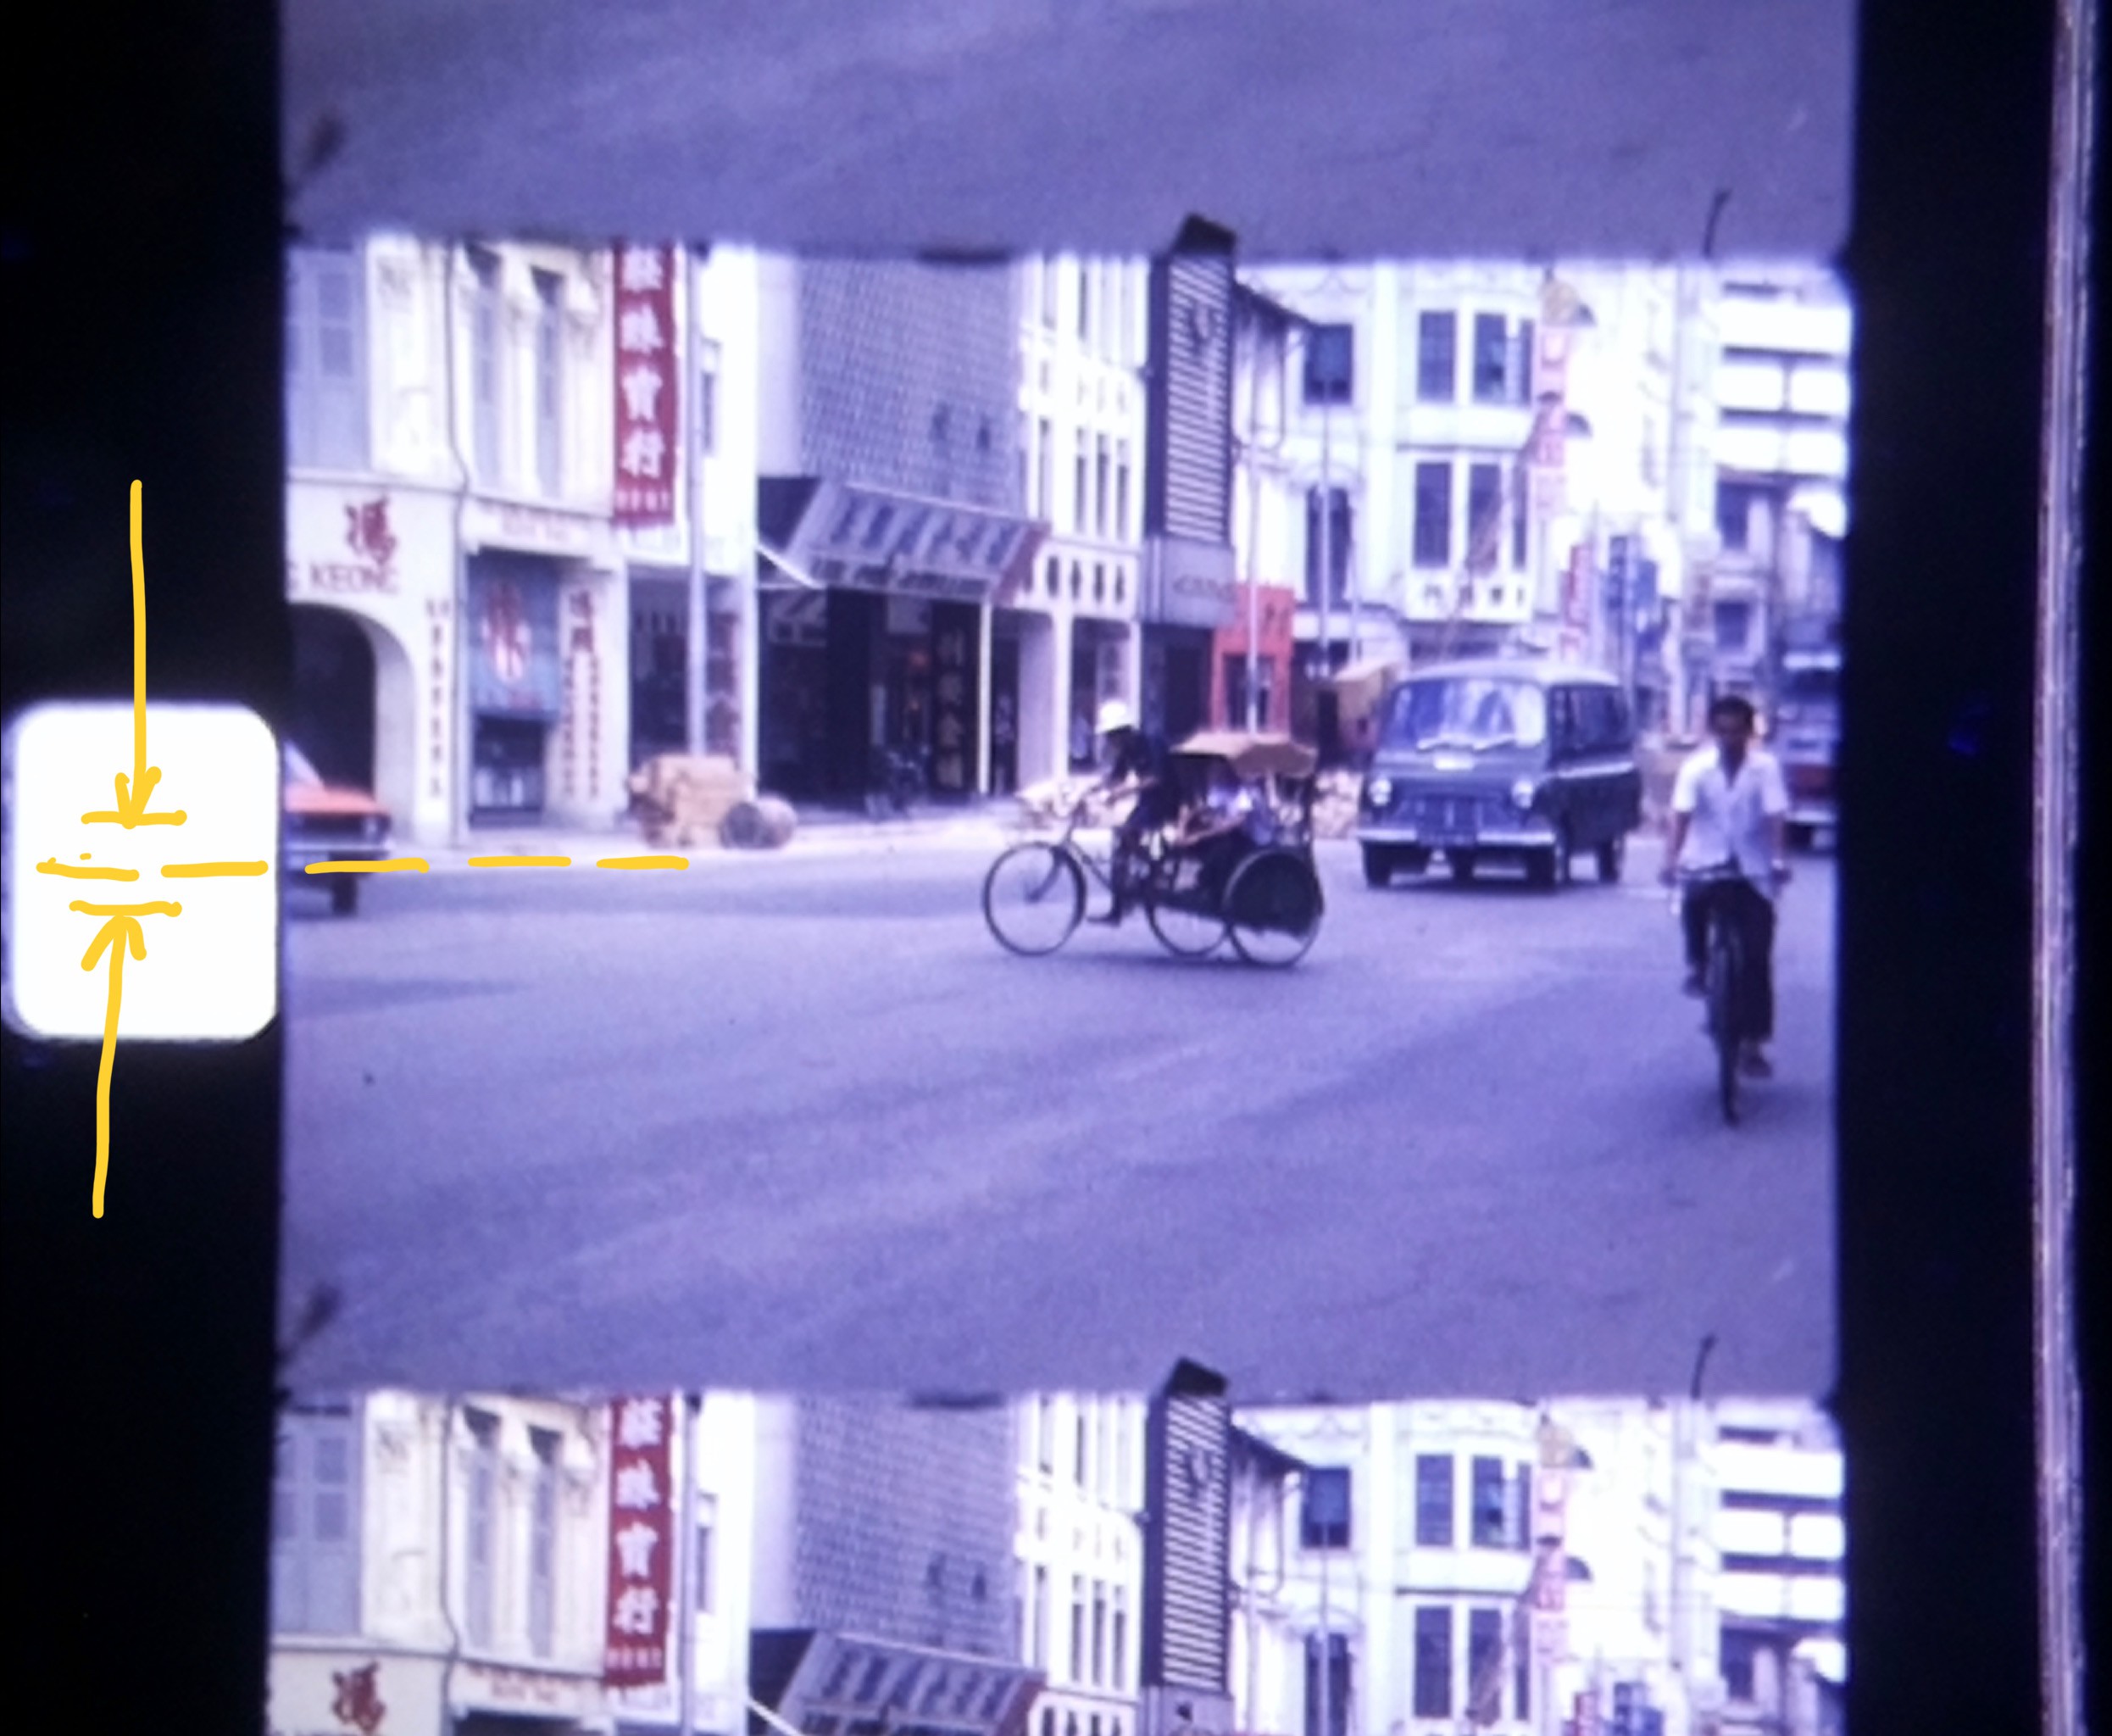
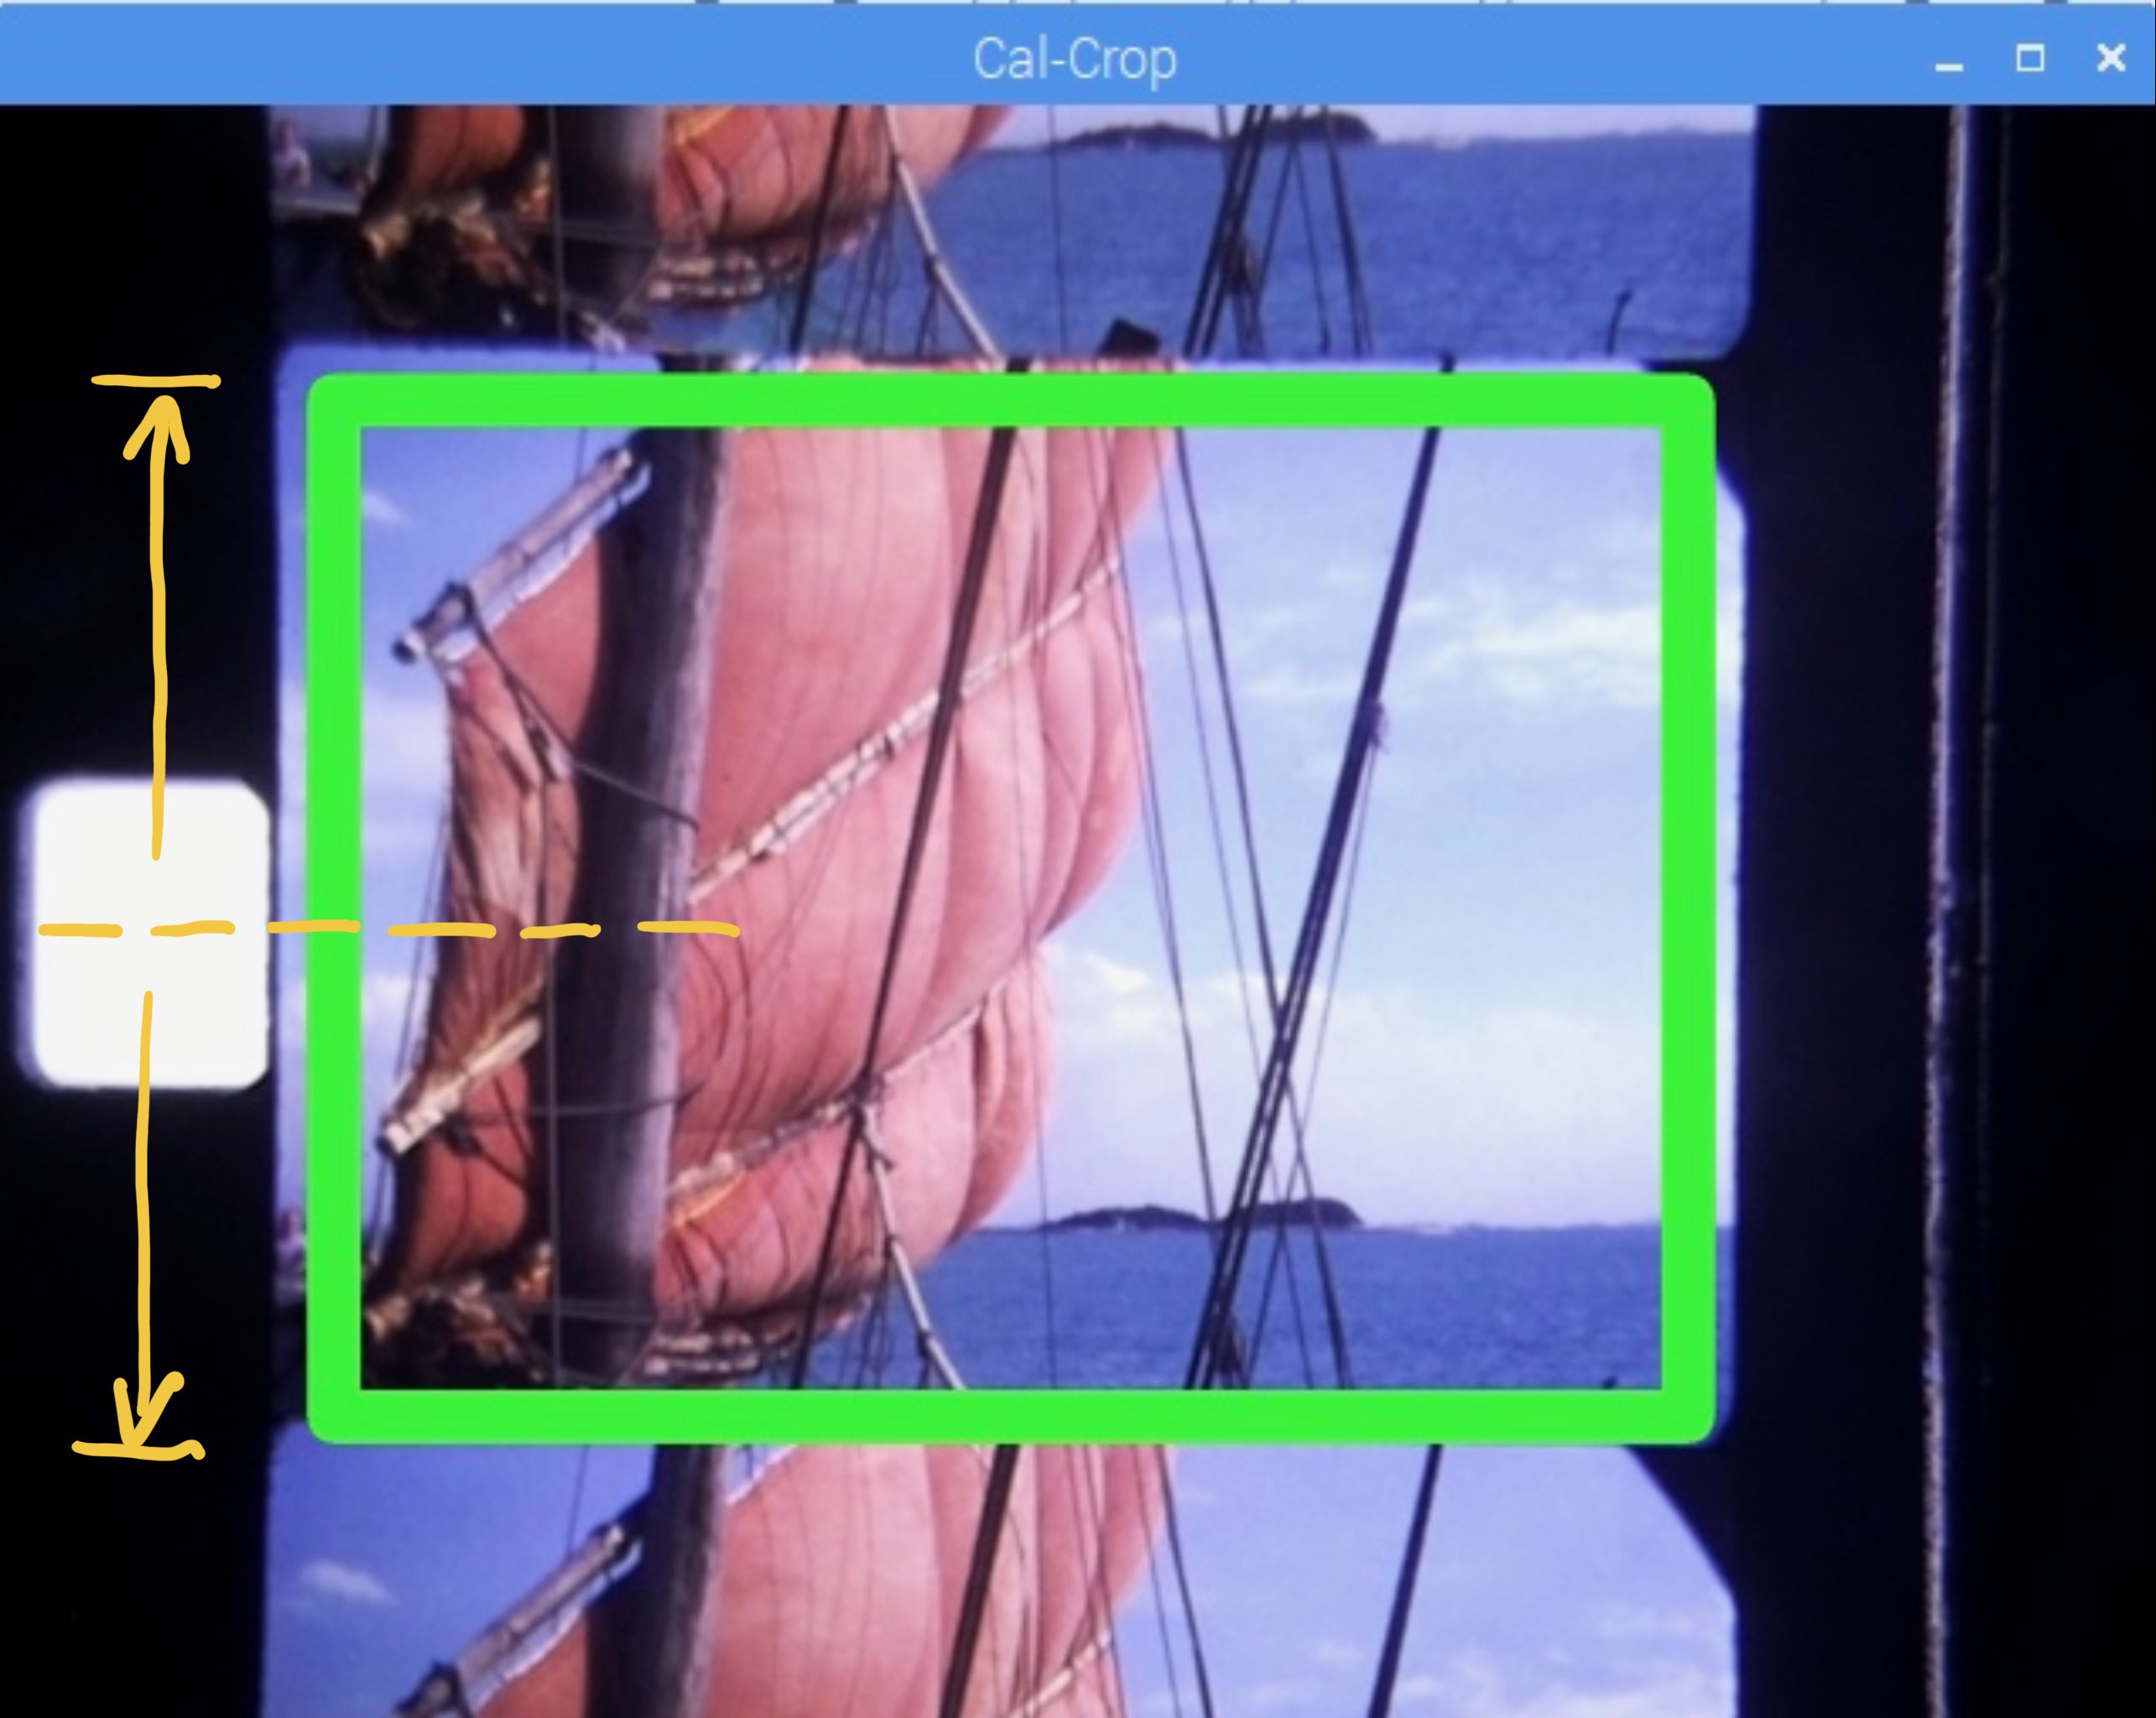
After scanning all the frames, the software goes in another mode - calibration and crop.
A rectangular frame (the green one) is moved to the desired part of the frame. This is necessary because the frame position relative to the sprocket hole is camera specific.
After checking the right position of the rectangle with some random frames, the cropping is started with the push of a button. The frames are now cut out precisely and once done, they are put together with ffmpeg to a film.
 Anton
Anton











 andreynech
 PengxiangXu
 Jacob David C Cunningham
Anton - I came across your project last year after I had started on my own journey to build a Super 8 scanner. Your design is very impressive, and after spending a number of months playing with a Geneva Wheel drive I have also decided to go with a stepper motor drive. It would help me considerably to understand your design if you could describe the film path through the various rollers etc. I think I can see what happens, but I'm not sure what the item you label "Wheelmover large" does. I suspect it's to manage tension on the film. Can you please explain? Regards