 oneohm
Project Log Direct Links:
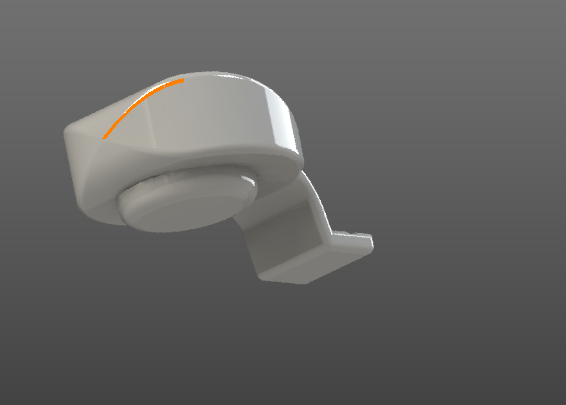
- FreeCAD Sensor Design
- Navigation Sensor Stackup
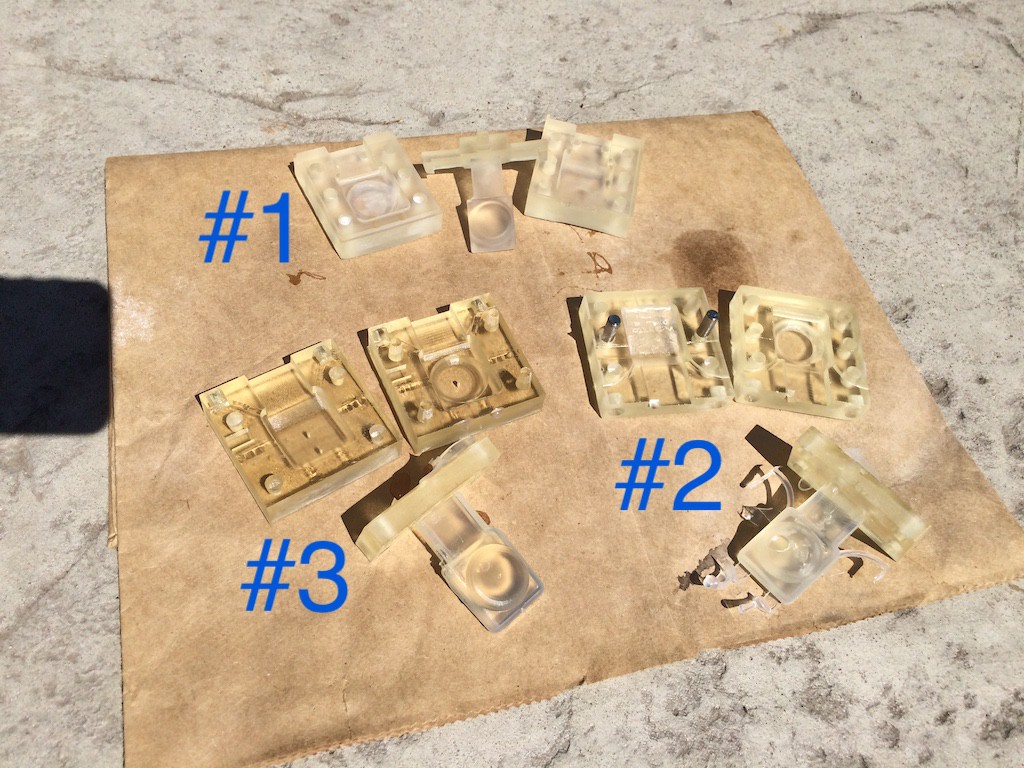
- Design Process - Evolution!
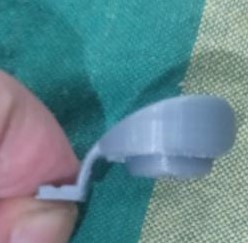
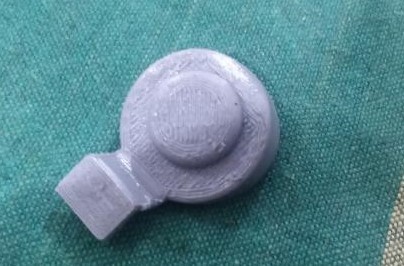
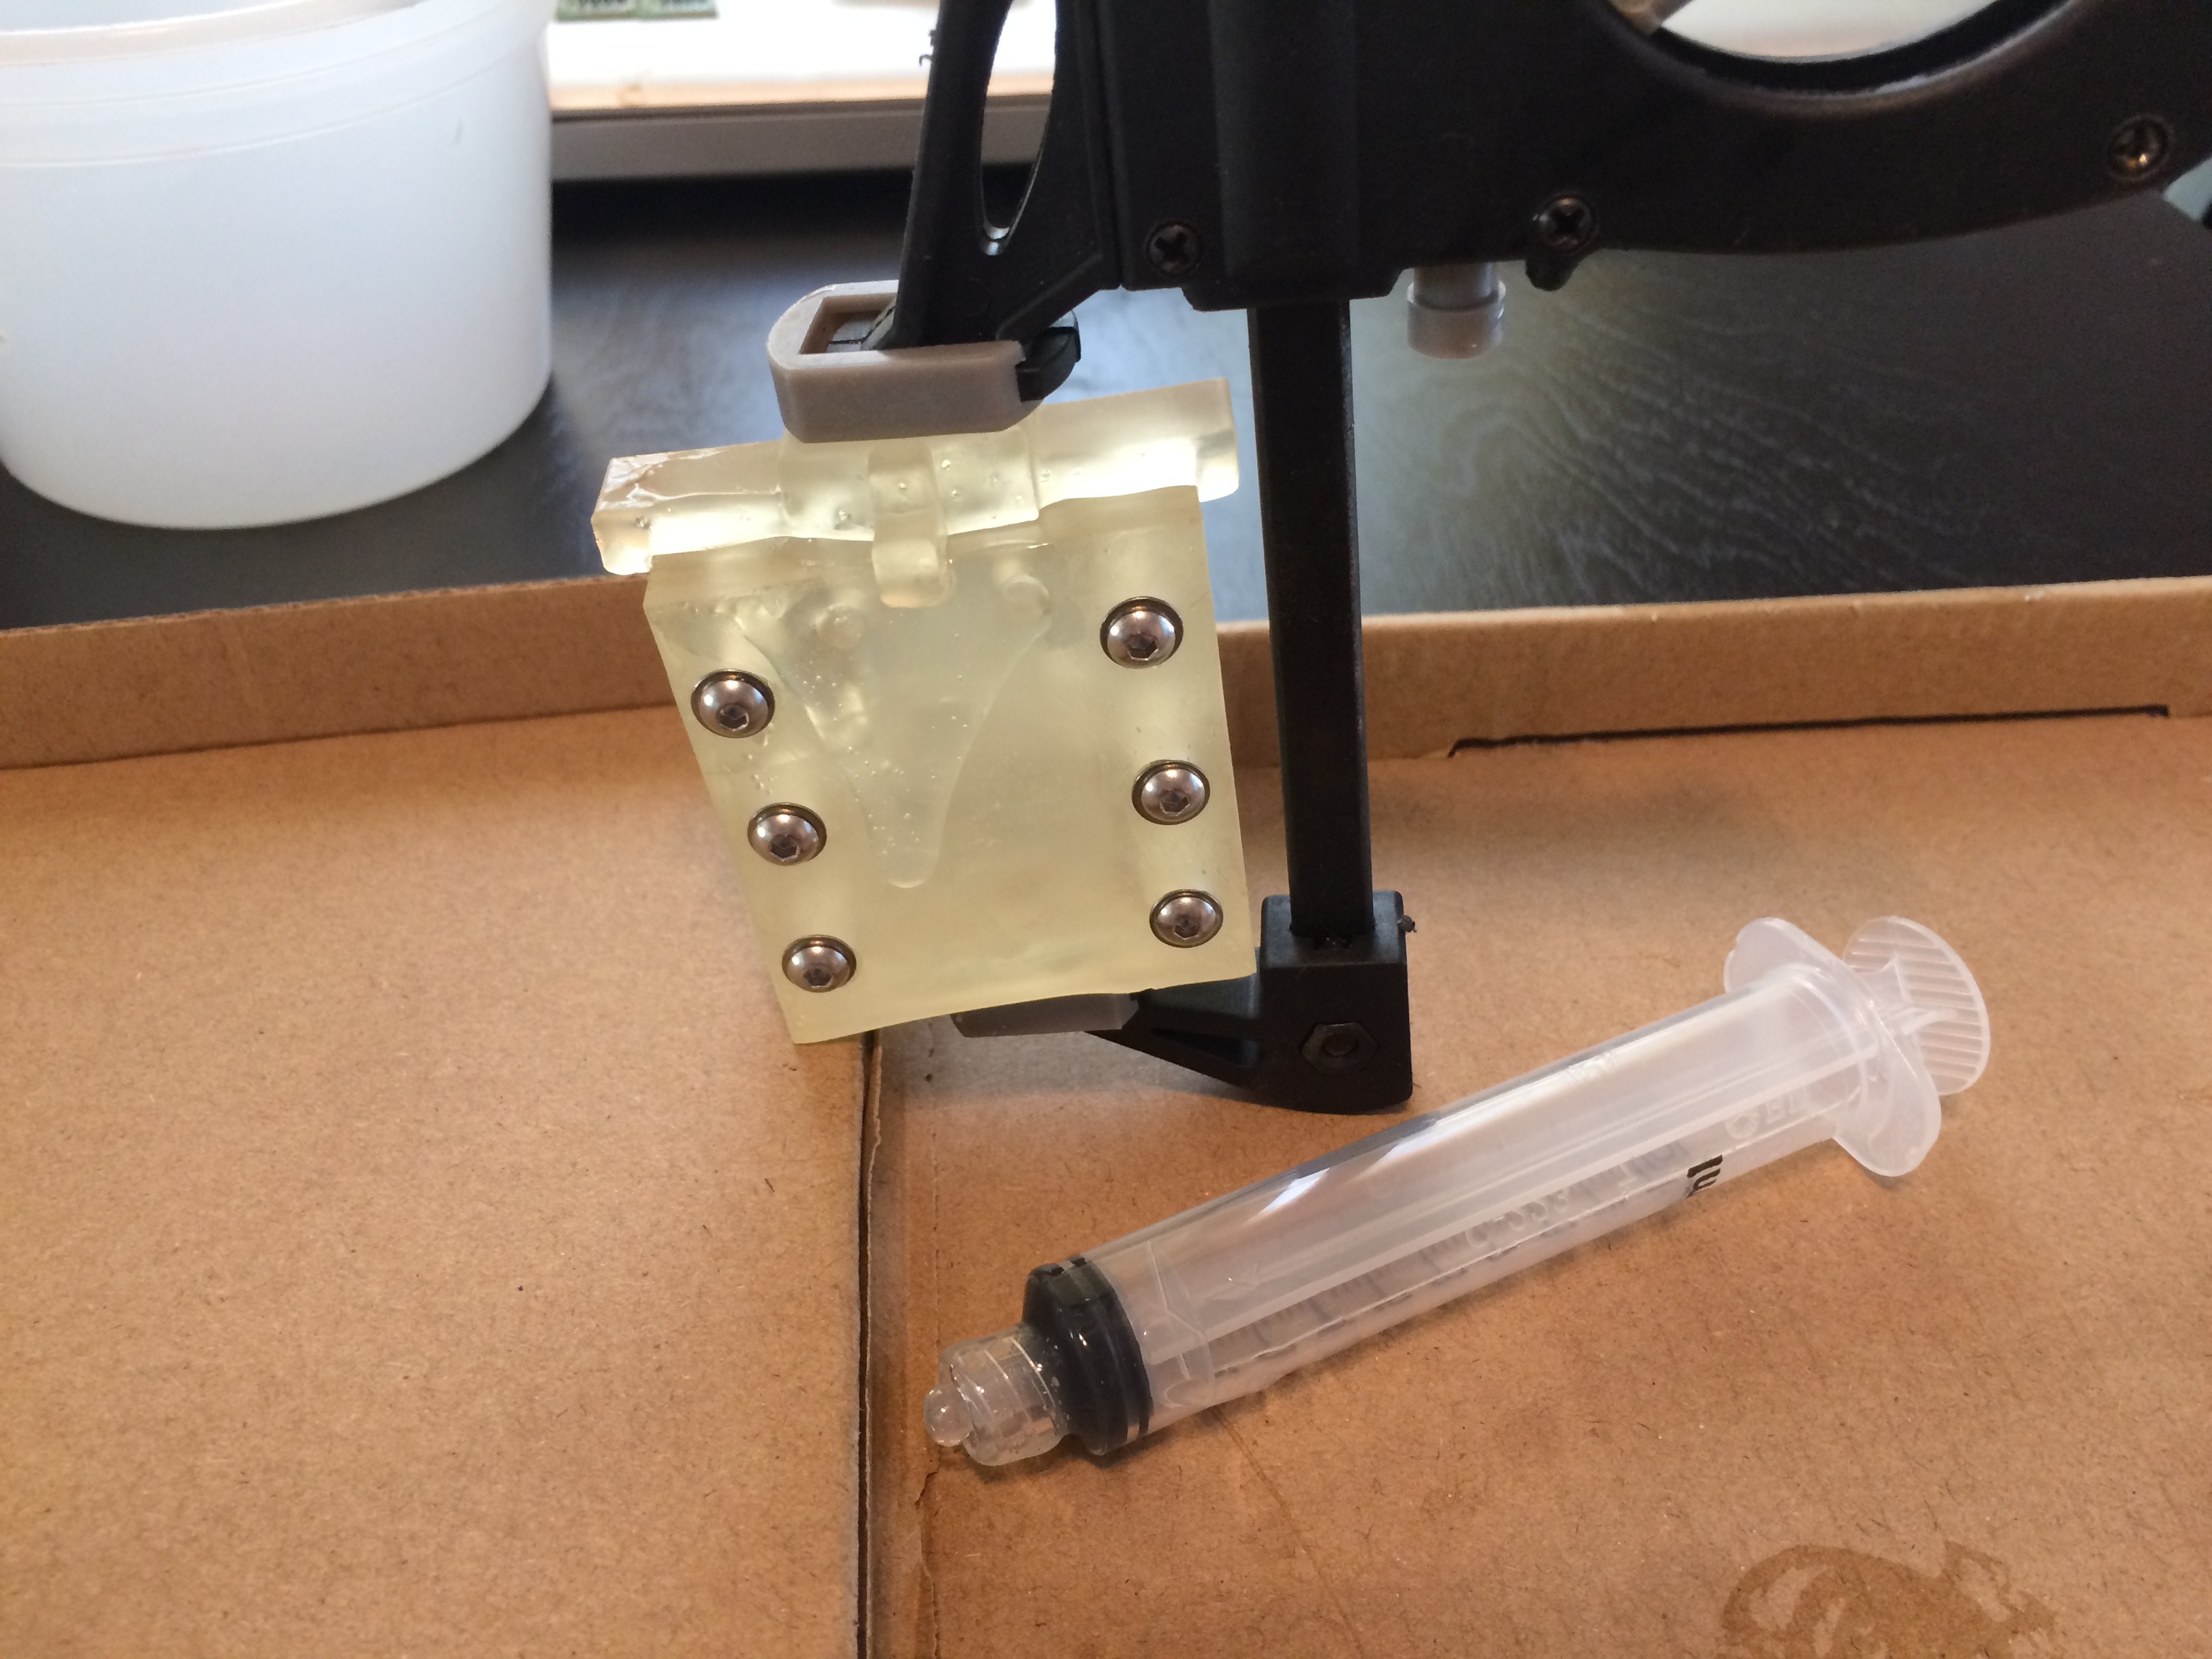
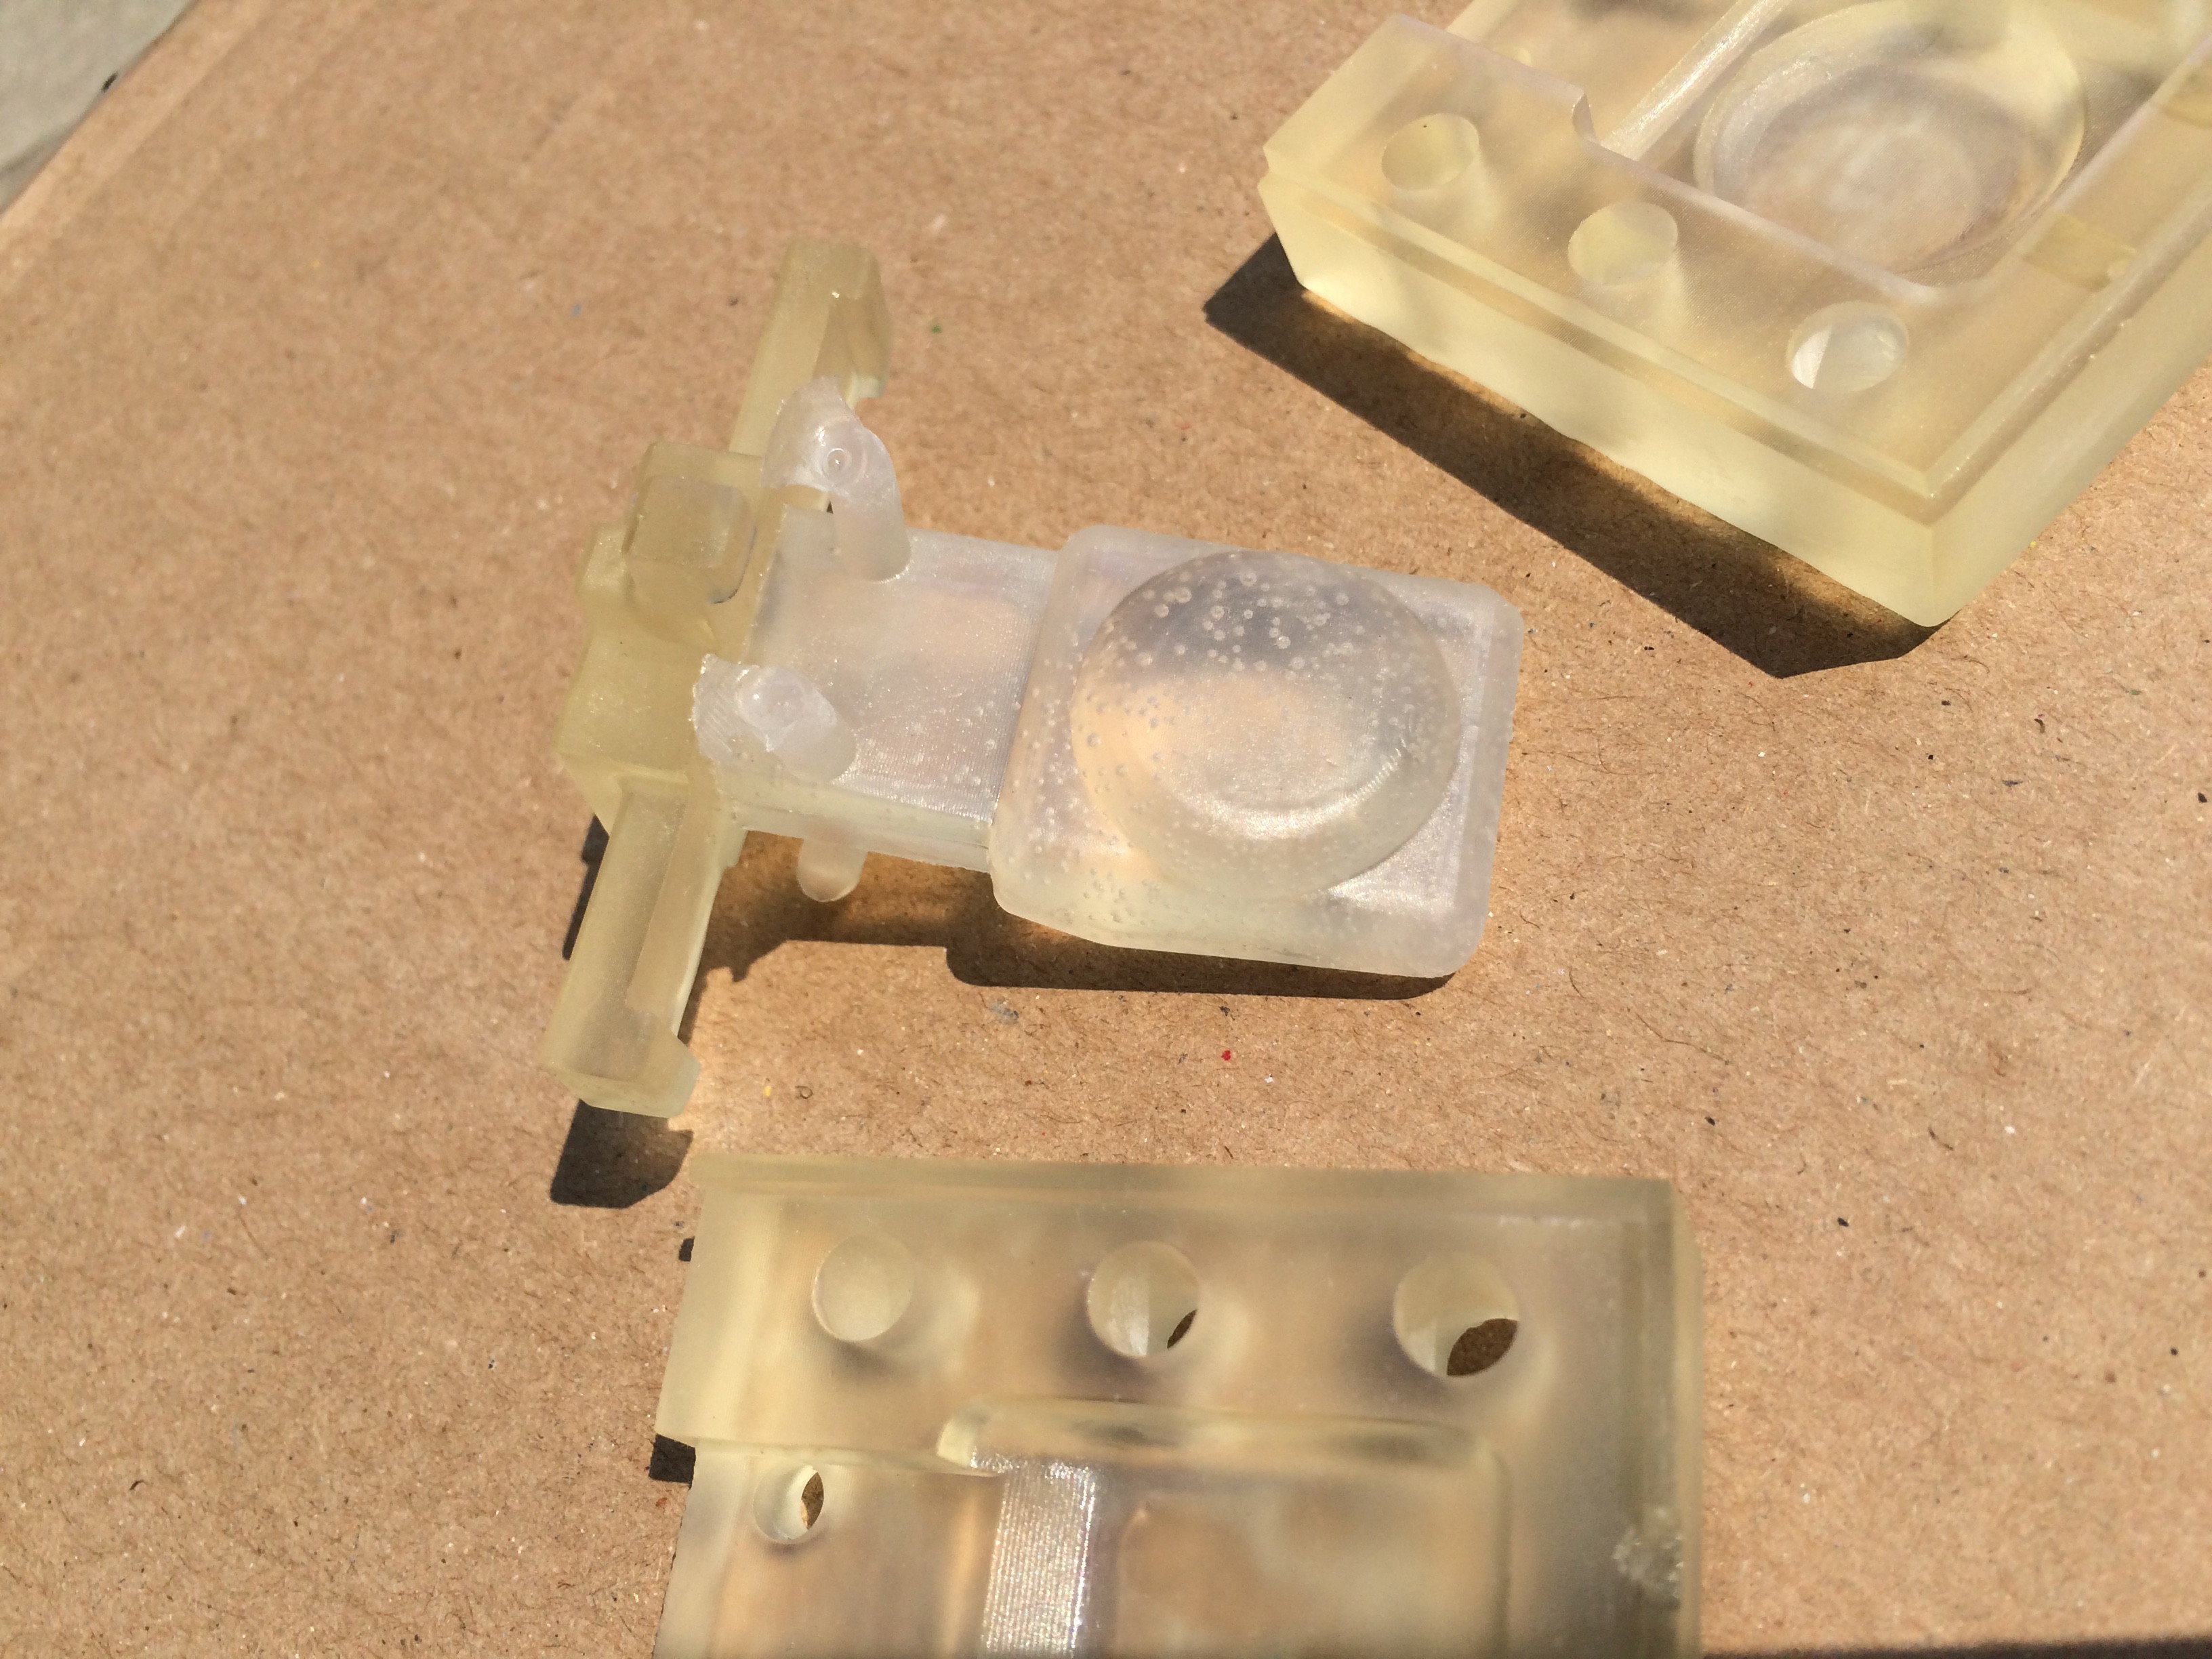
- Prototyping -> Manufacturing
- Assembly Process
- Controller Details
- Advantages of Force Control
- Currently Available Solutions
- Prototype and Production Cost Estimates
- The Logic of Tongue Control
- Functional Block Diagram
- Full System Schematics
- Testing Procedure
- Summary of Contest Criteria
Overview Video
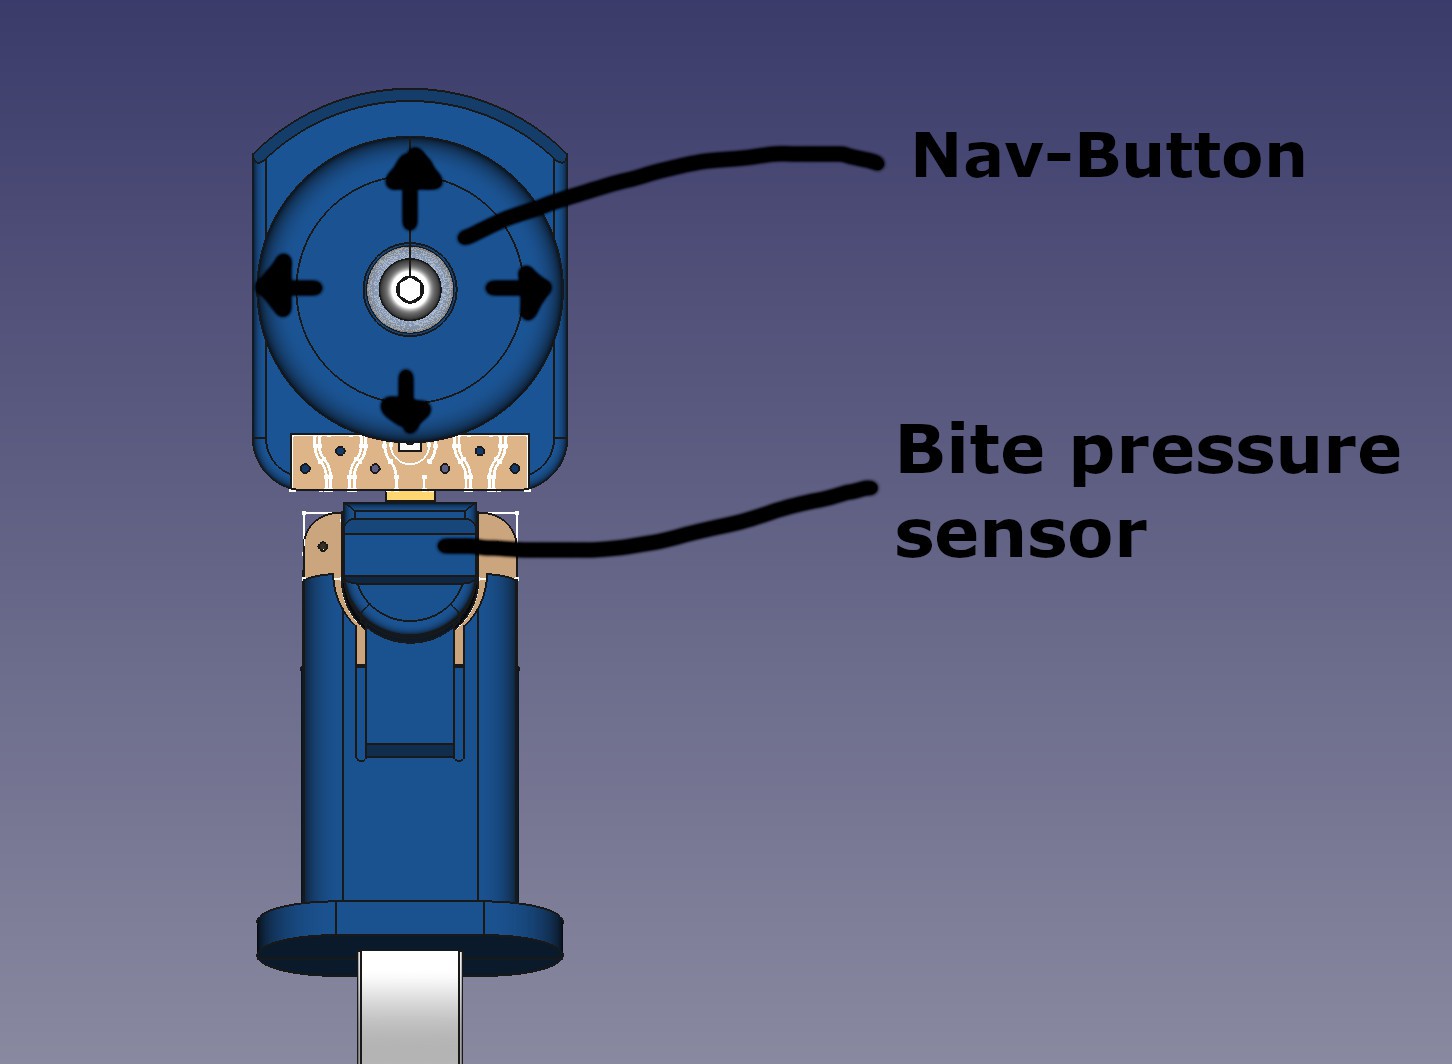
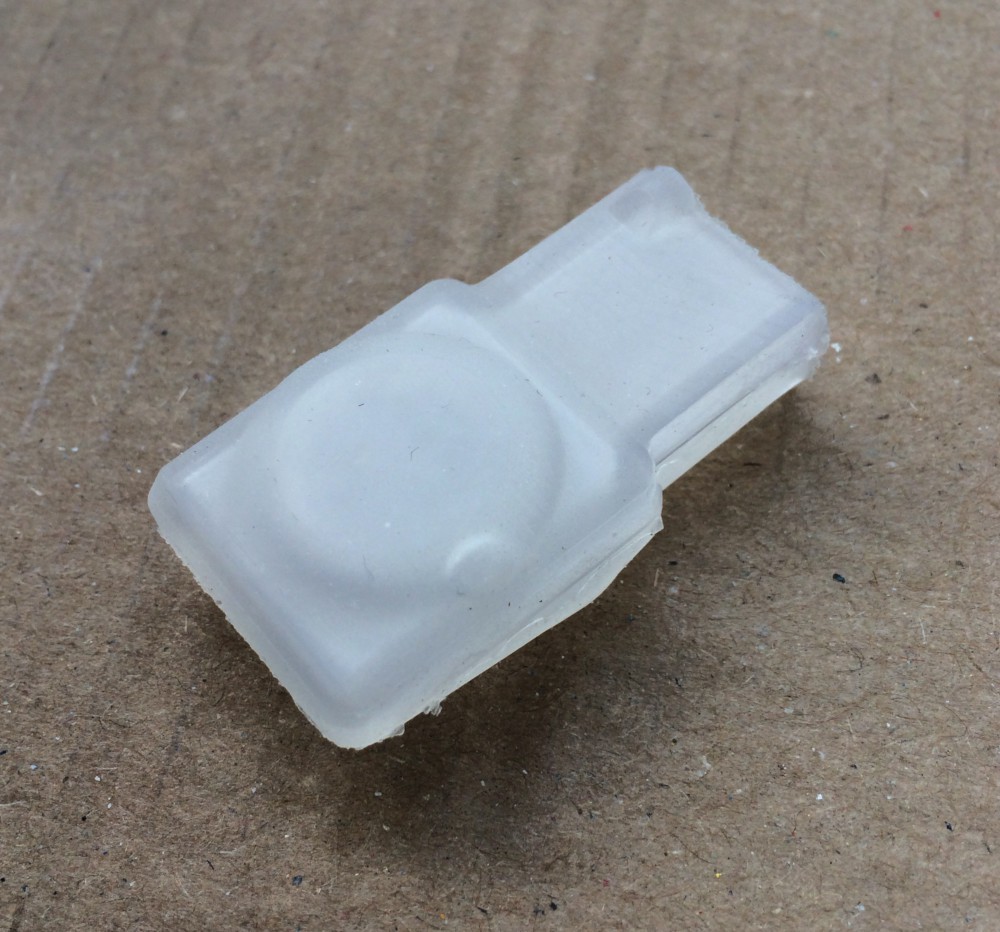
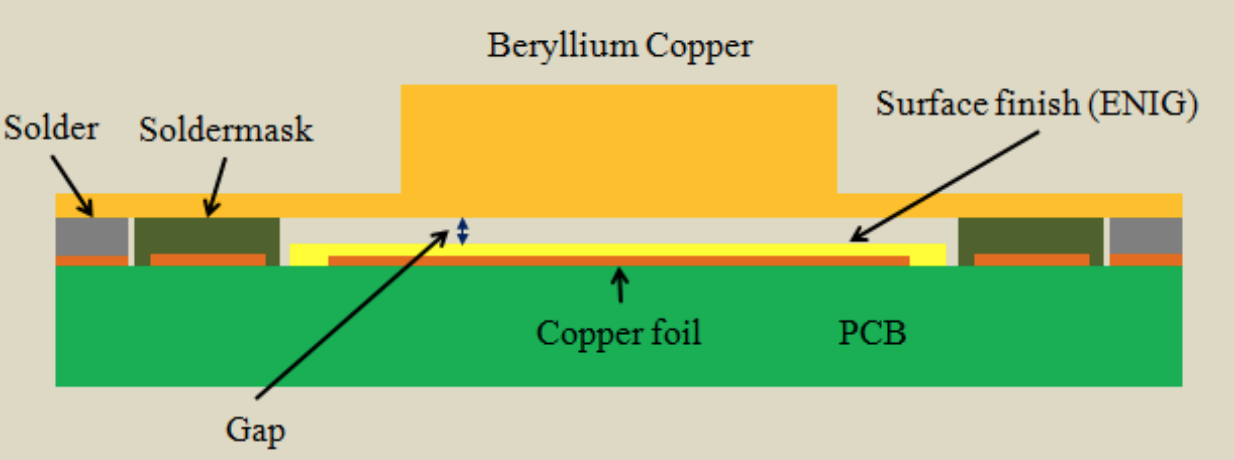
Sensor Overview
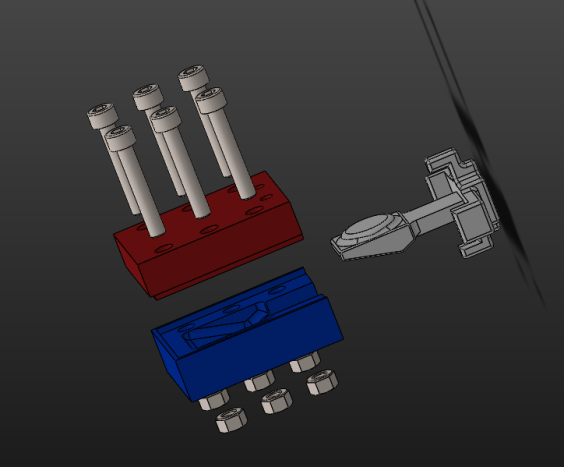
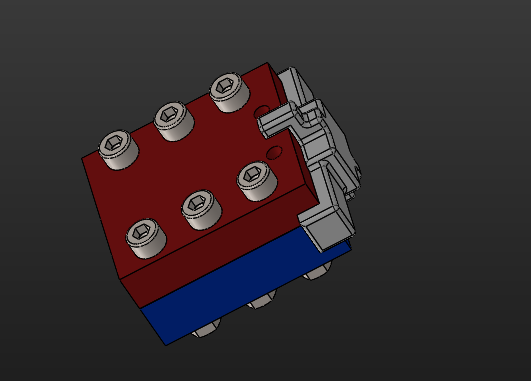
A durable sensor package is encased with food safe silicone rubber.
The stem portion contains a shunt-mode force sensitive resistor. It is held between the teeth to stabilize the BYTE while measuring the applied bite force.
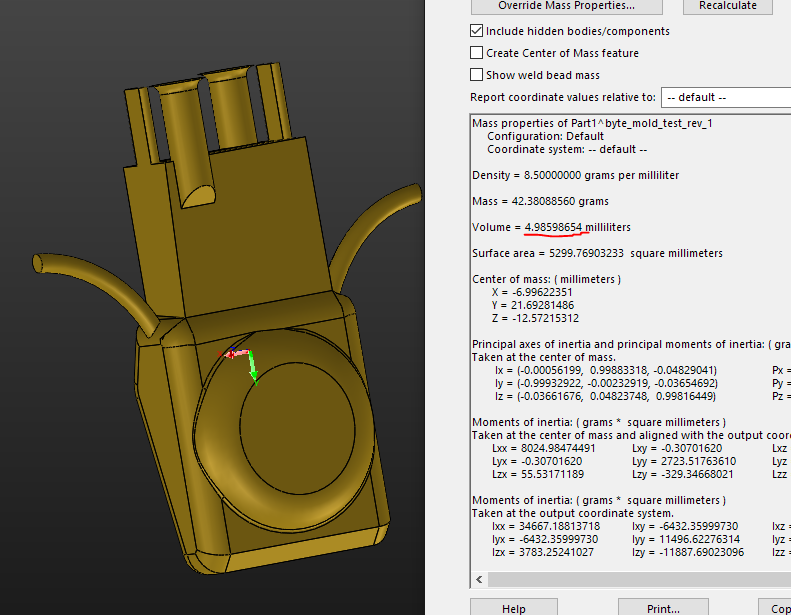
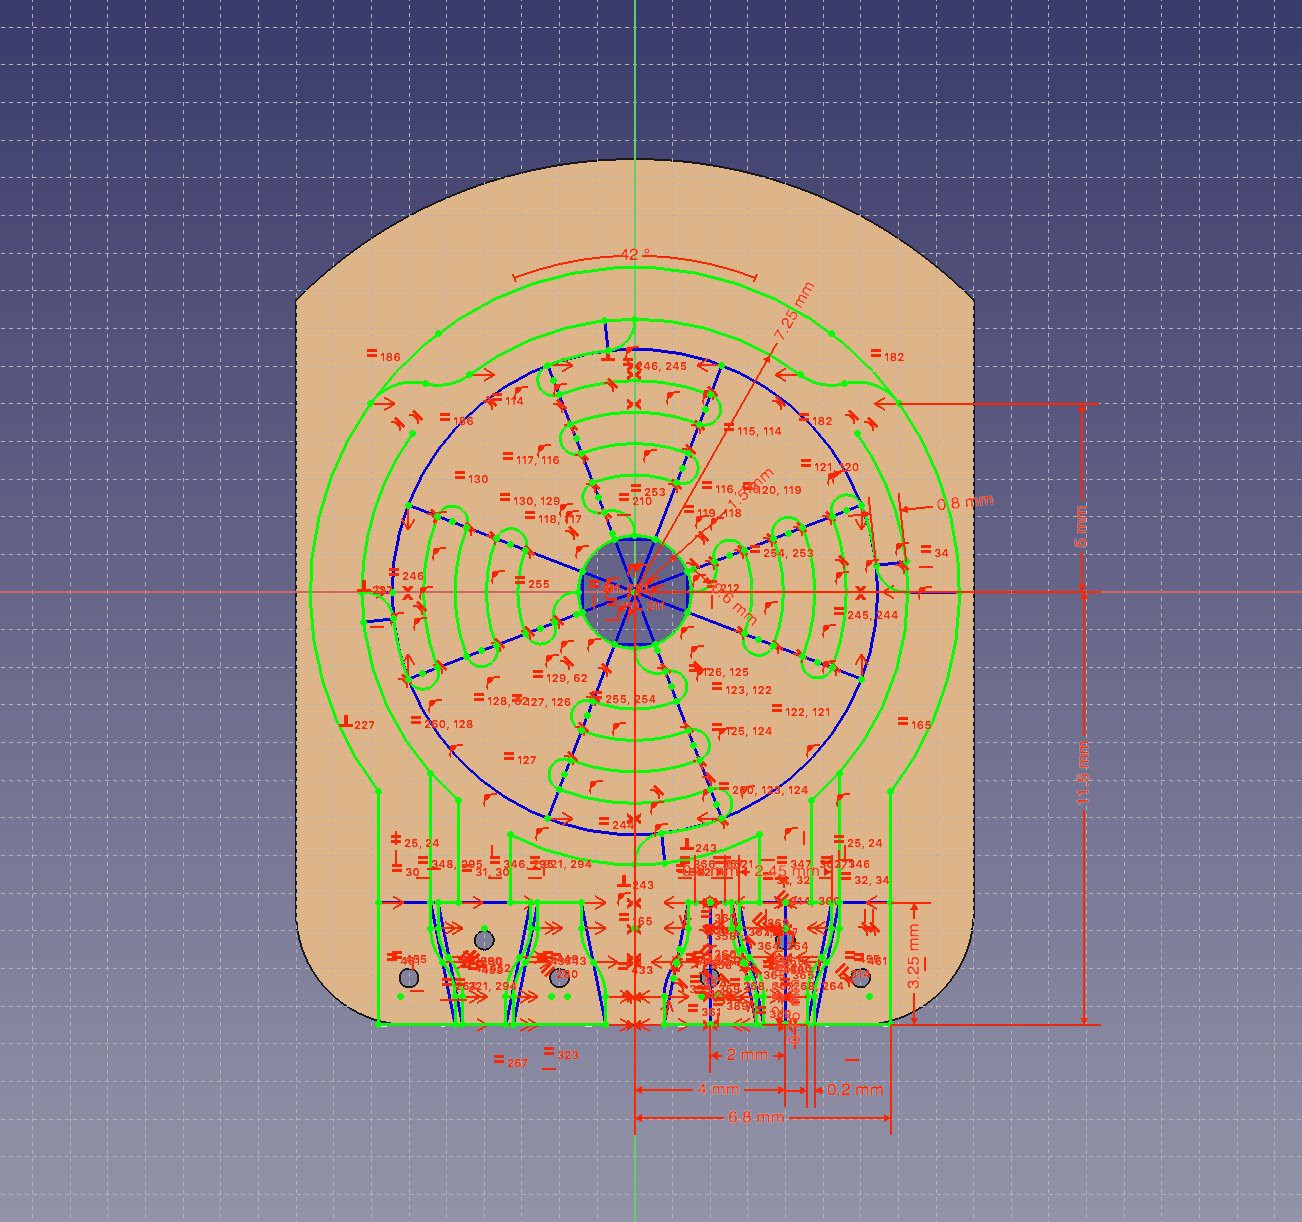
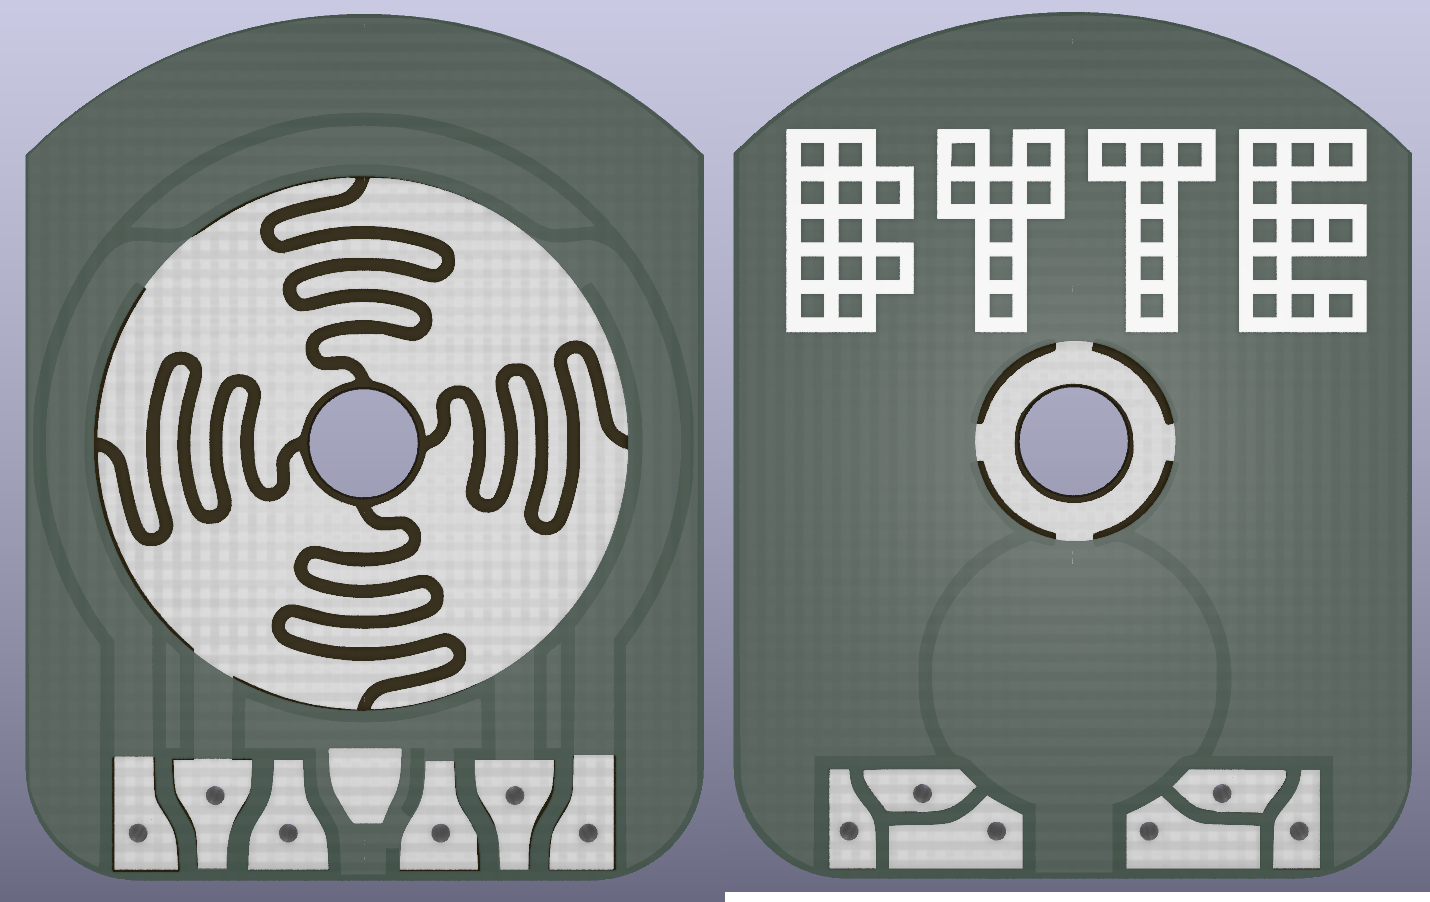
Beneath the tongue-operated navigation button is an intertwined array of four thru-mode force sensitive resistors. These are measured 125 times per second to determine the pointer speed and direction.
One important change from earlier prototypes is that all of the digital interface electronics have been moved from the sensor pack to a separate controller module. This approach has dramatically reduced the cost and complexity of the sensor assembly, to the point that it can nearly be considered a disposable item.
Basic Operation
Light bite pressure enables mouse movement and triggers a small haptic vibration.
Firm bite pressure is applied for clicking. Clicks are confirmed with a slightly more intense haptic indication.
Longer clicks are also detected and can trigger any desired function.
Evenly pressing the whole navigation button at once triggers yet another click type, the "press click" and again can be mapped to any desired action. Examples include opening specific programs, running macros, and triggering discrete outputs for control of other devices.
Scrolling is done by pressing forward or back while applying no bite pressure.
Regardless of the default behavior, any particular motion, pressure combination, sequence of actions, etc. may be re-mapped to any desirable output - be it IR for TV controls, or complex WiFi/Bluetooth commands to water plants, activate coffee makers, or update social media.
Per-User Calibration
On first use, and whenever else it is desired, the BYTE can be re-calibrated to match the user's ability and preference for the minimum and maximum pressure they are comfortable applying to each of the sensors.
The calibration routine takes advantage of the keyboard emulation function of the controller. It automatically opens a new text document and guides the user through the different calibration steps, typing out the instructions and providing feedback along the way.
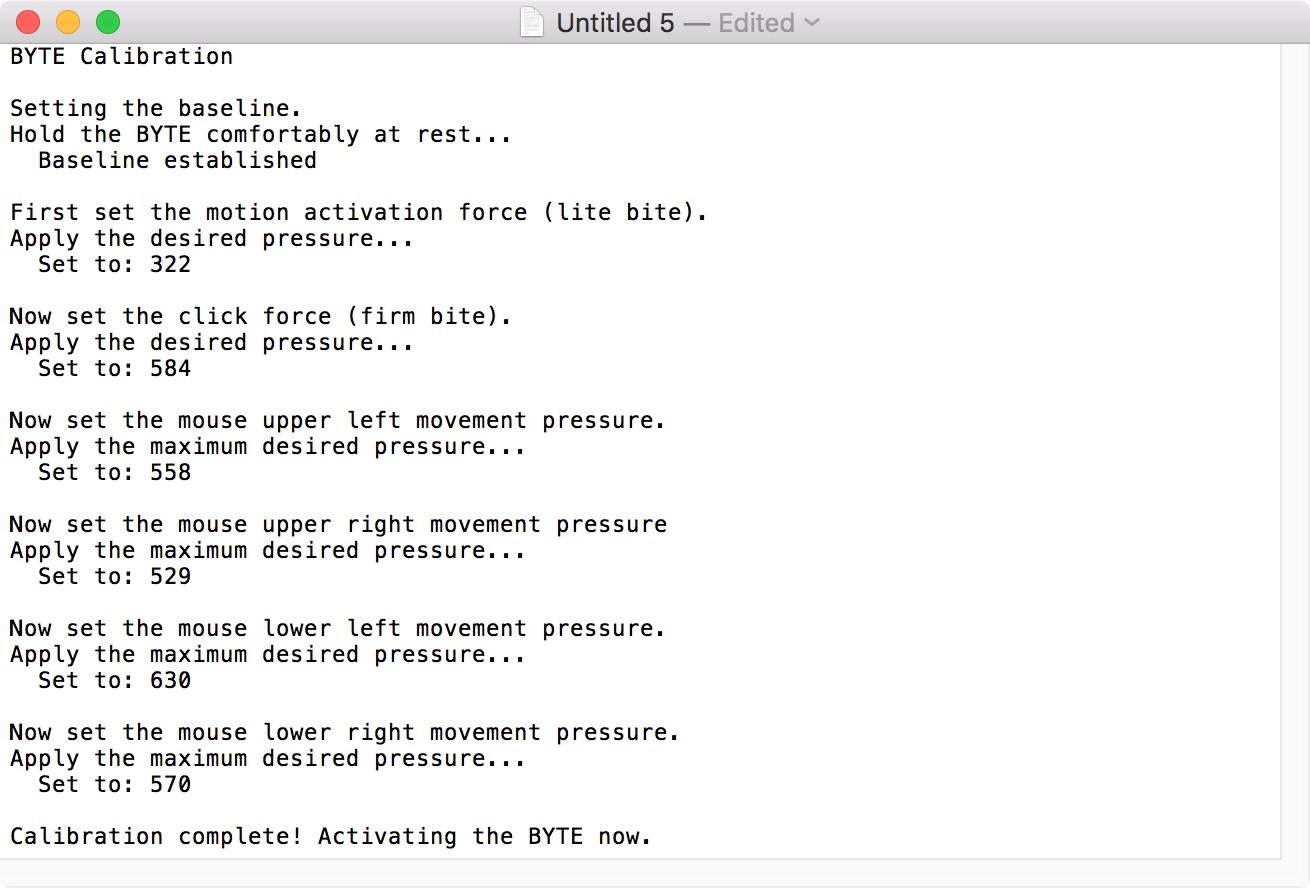
There is no need to install an app or otherwise change settings on the host.
Controller
The controller emulates a regular USB mouse and keyboard, allowing it to work seamlessly with nearly any computer or tablet. A Bluetooth version is in the works for even wider compatibility.
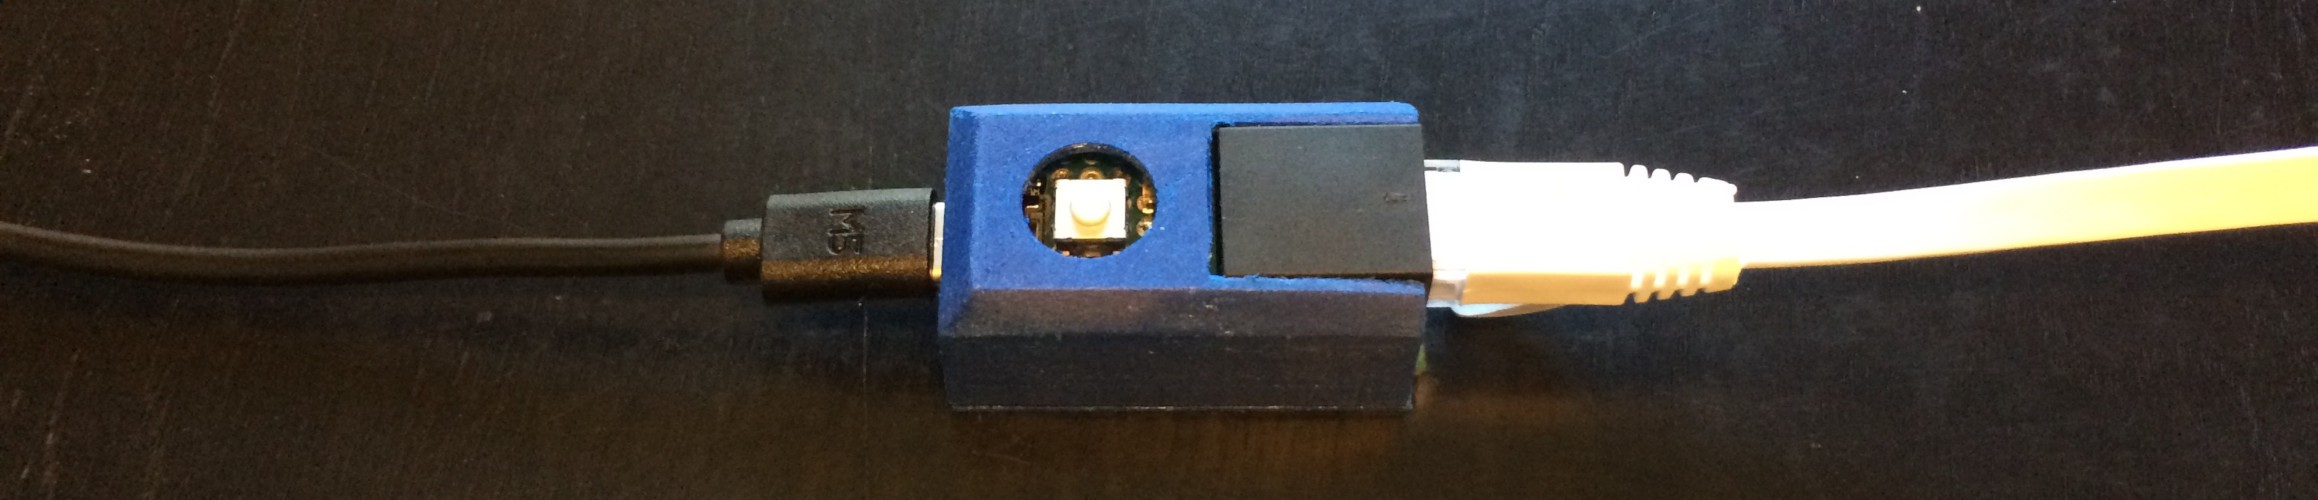
I chose a standard RJ45 jack (or more accurately an 8P8C modular connector) to connect the sensor package to the control board. This provides a reliable, latching attachment and has enough conductors for all of the required functions.
A Fresh Take:
The BYTE supersedes my previous project, The Bit. The BYTE is a complete overhaul and redesign, and re-uses none of the electronics or code. It approaches the same problem in a radically and substantially different way and has undergone many, many revisions - the 3D model is beyond version 100!

 Here is a link to the paper:
  Also available in the Github repository here:


 jaromir.sukuba
 Vaibhav Chhabra
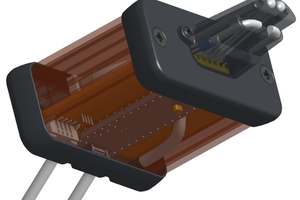
 Chris Graham
Has any third party successfully built one of these? I'd like to try, but it is a little complicated for me...