 Fabian
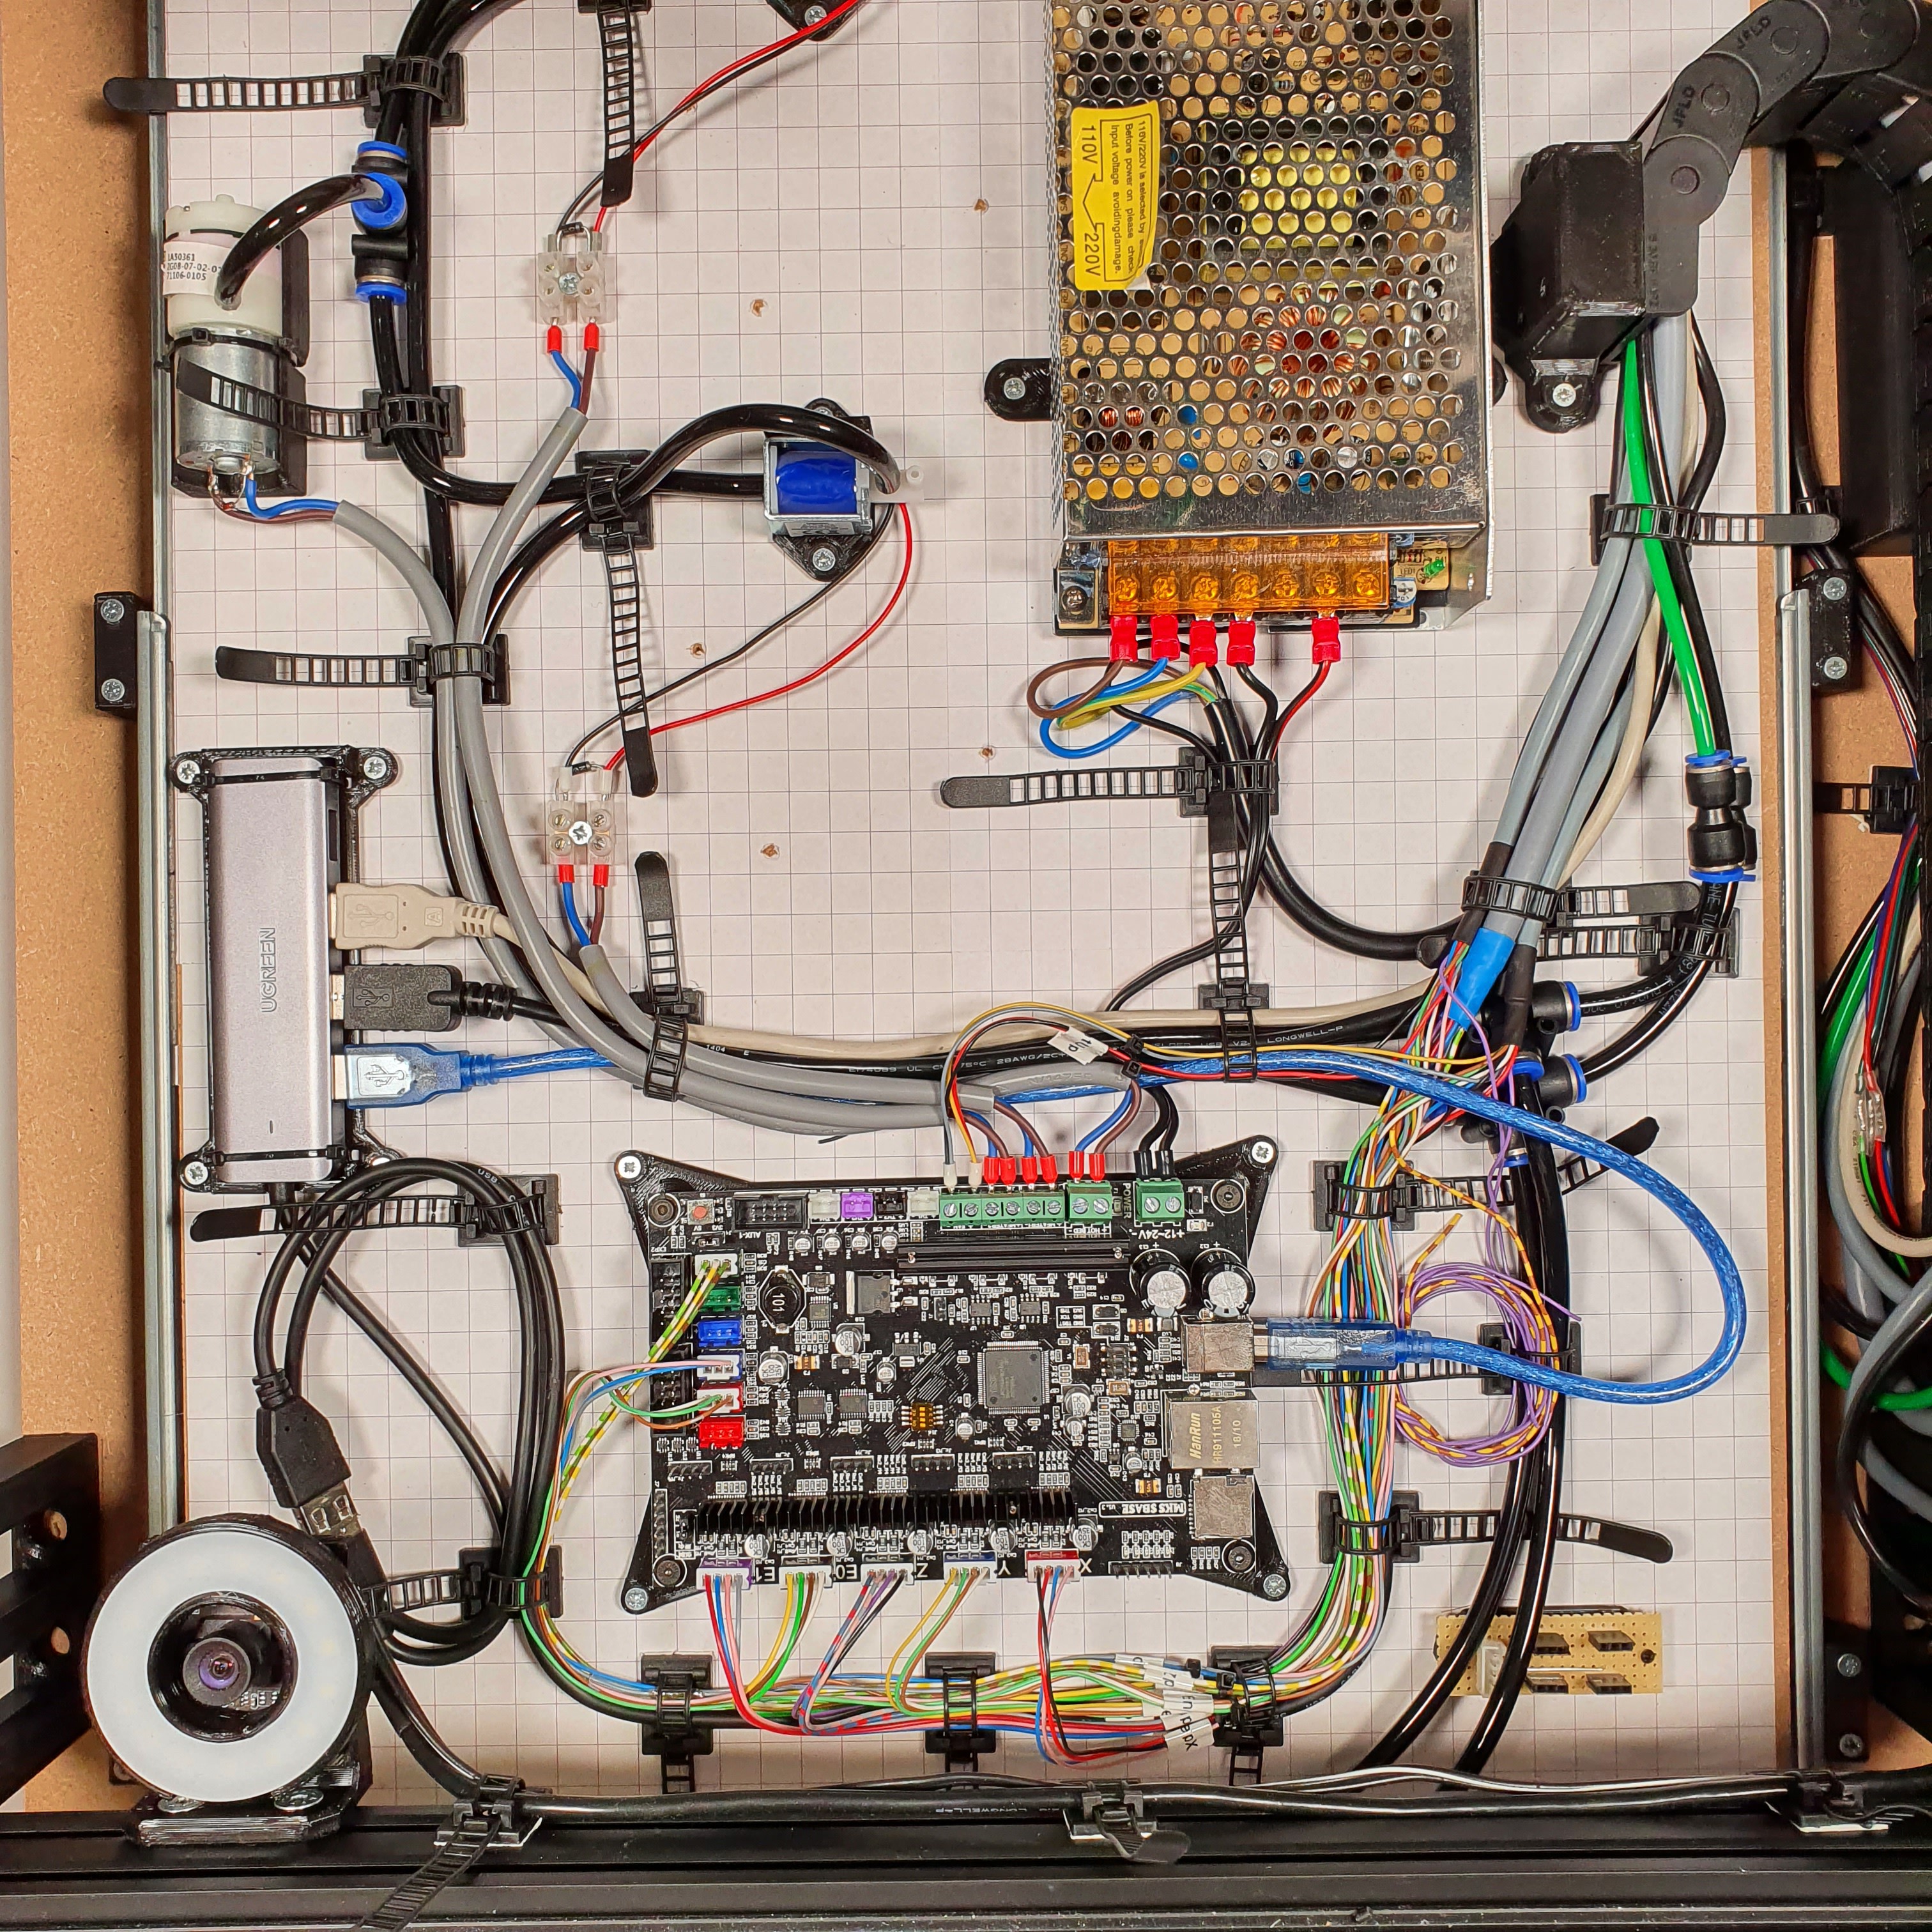
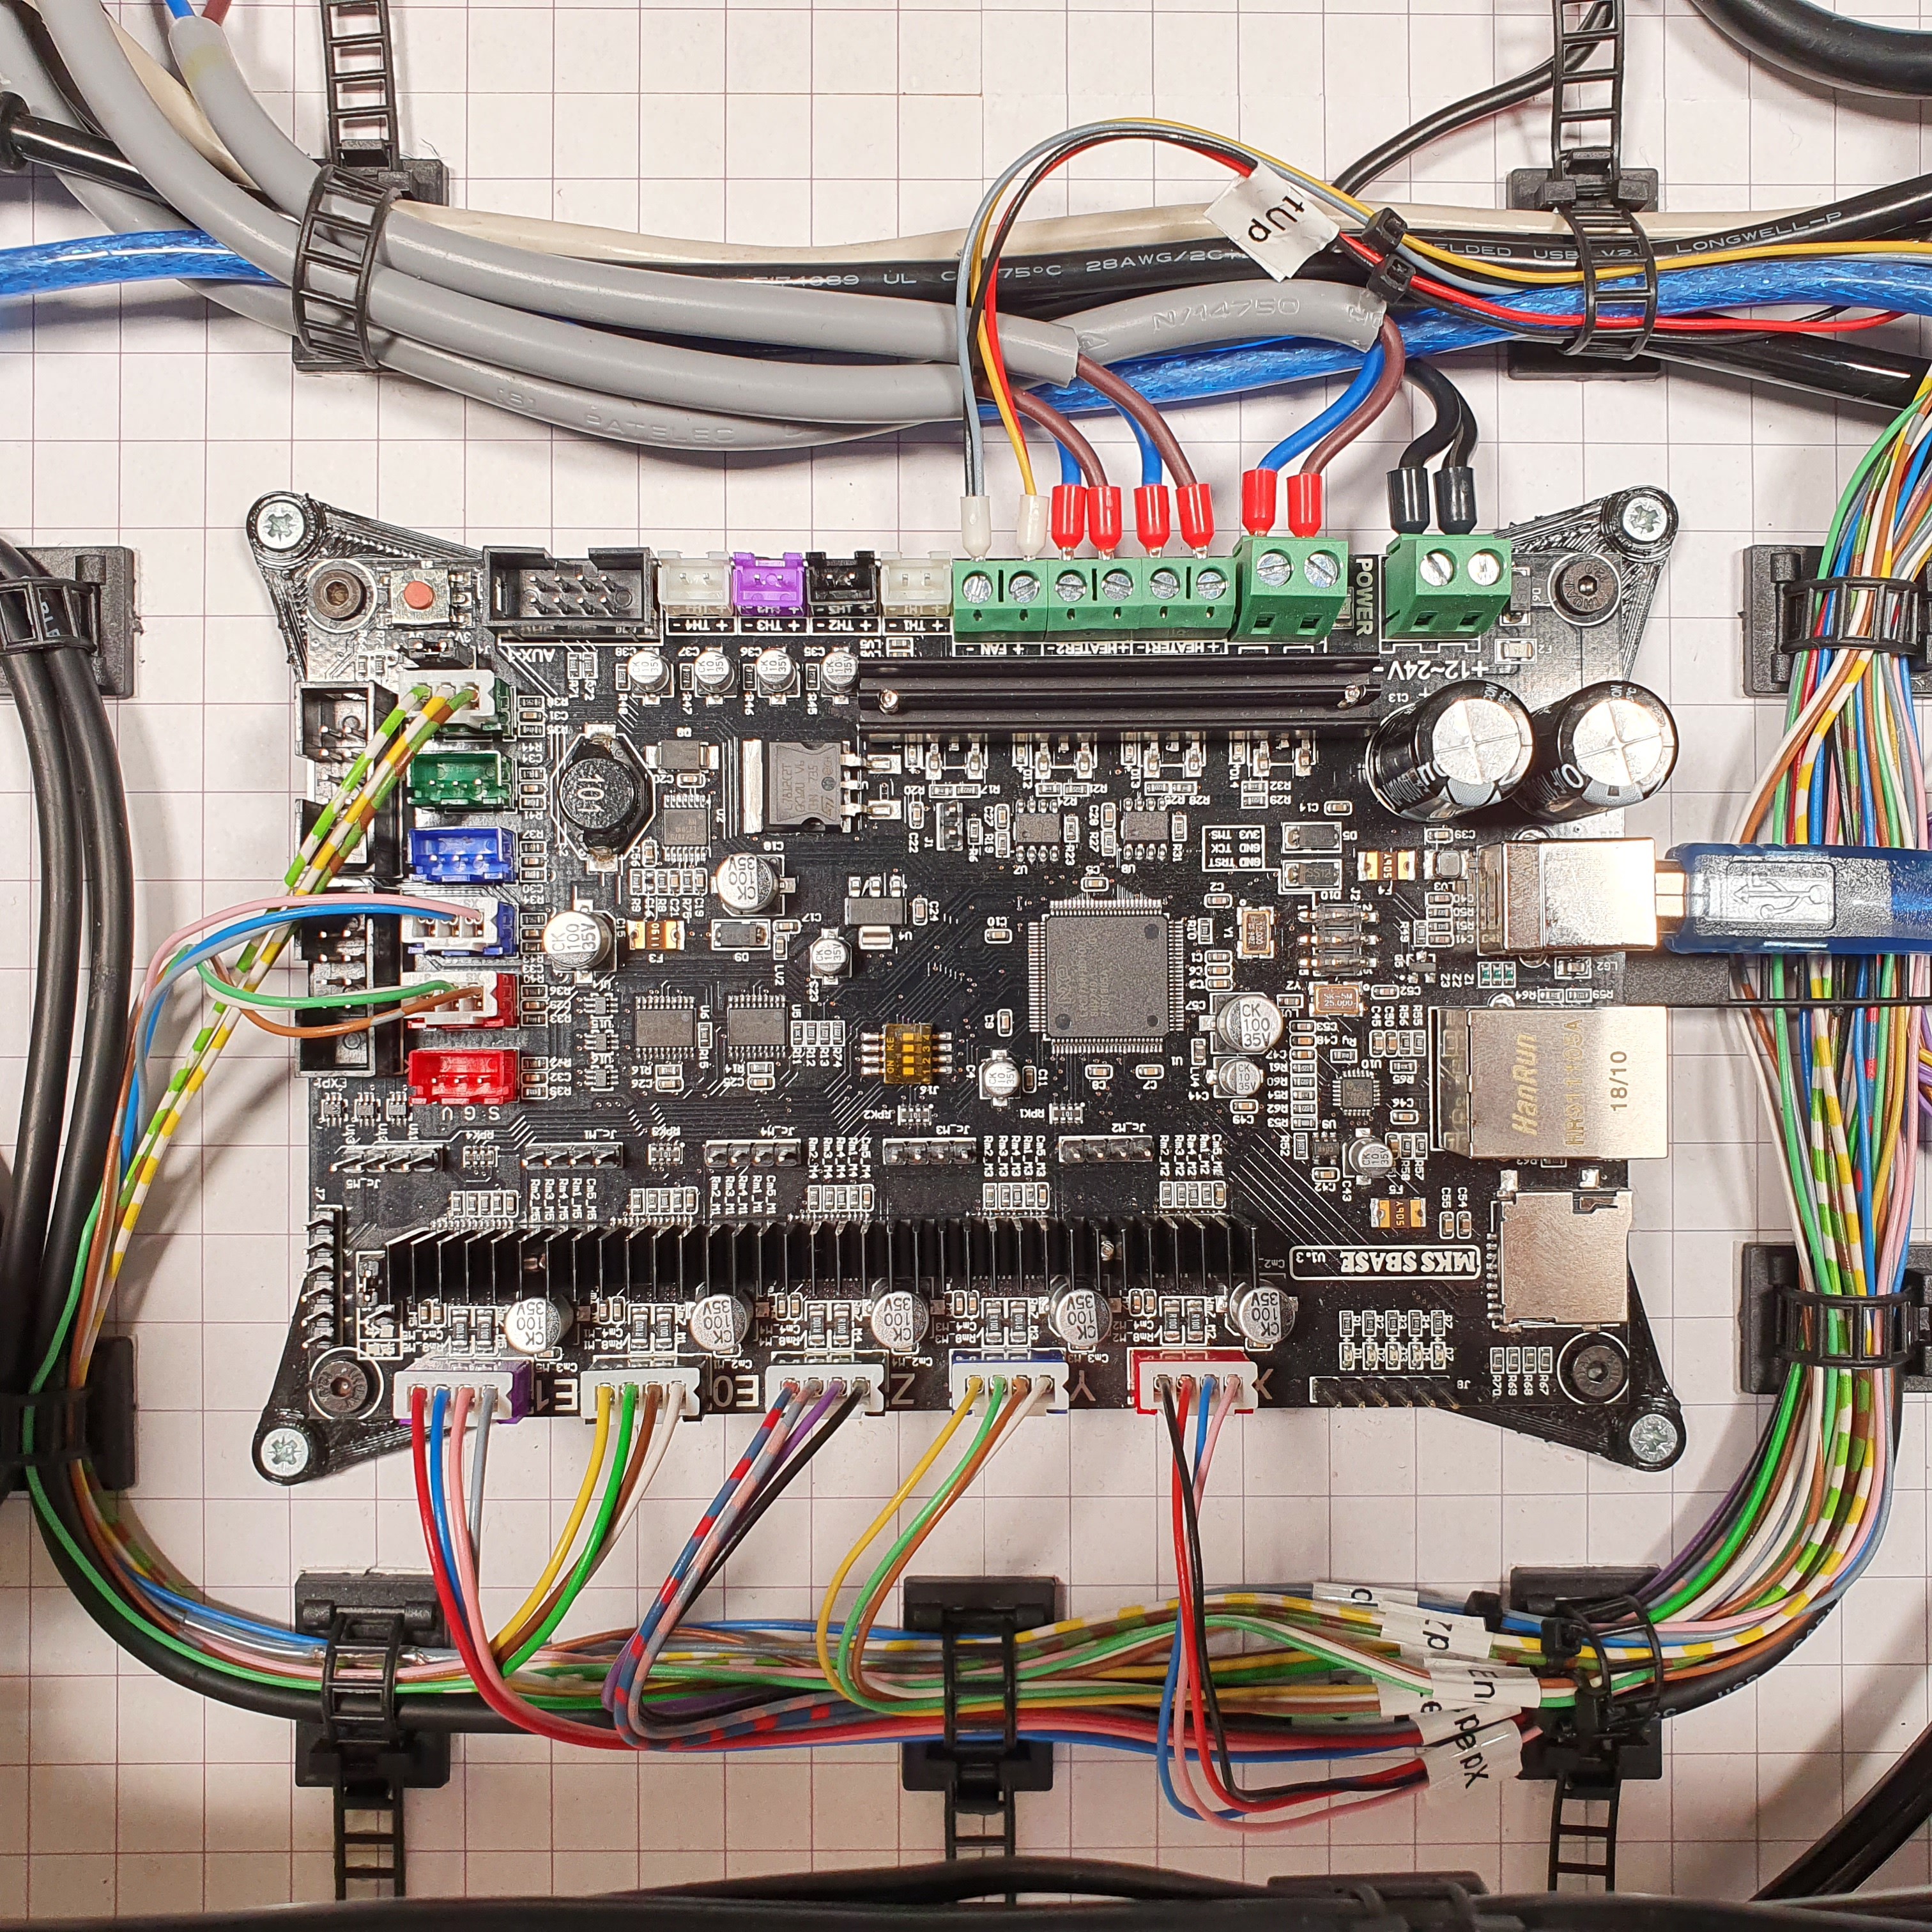
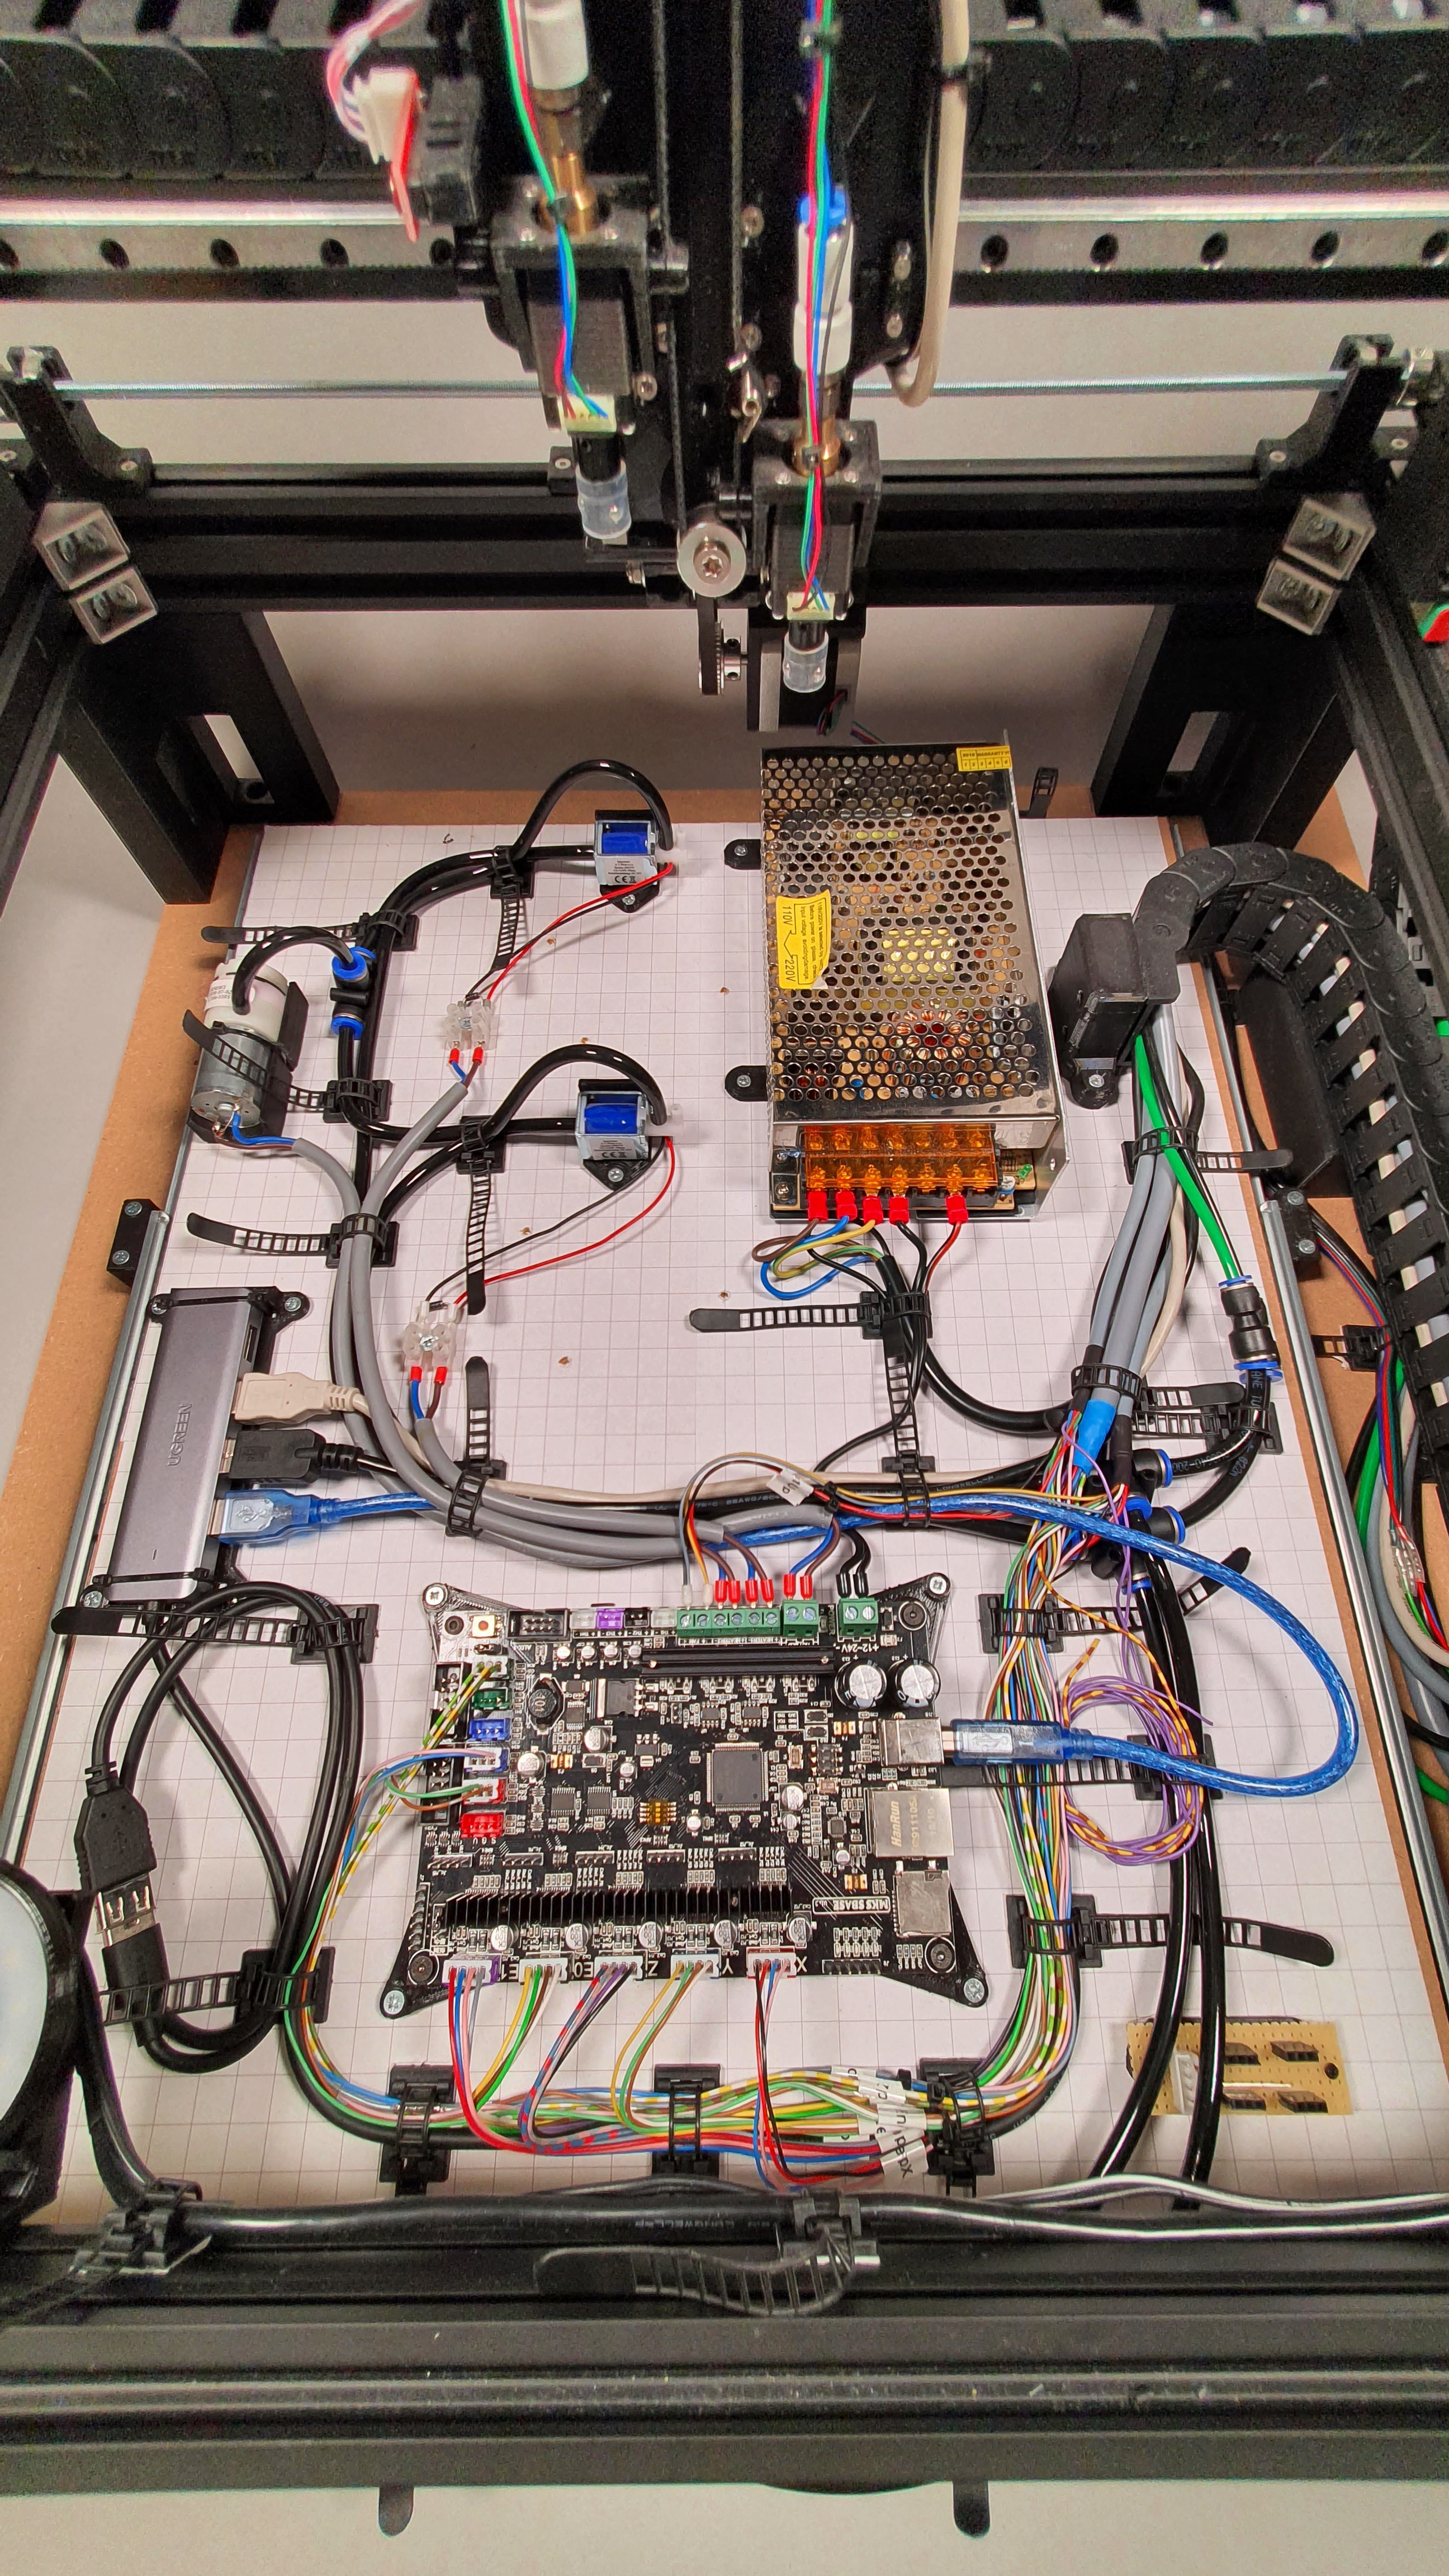
First overview of the installed components.
The main components are installed on a slidabble baseplate. This way It's possible to access the components under the main "pick and place"-plate.
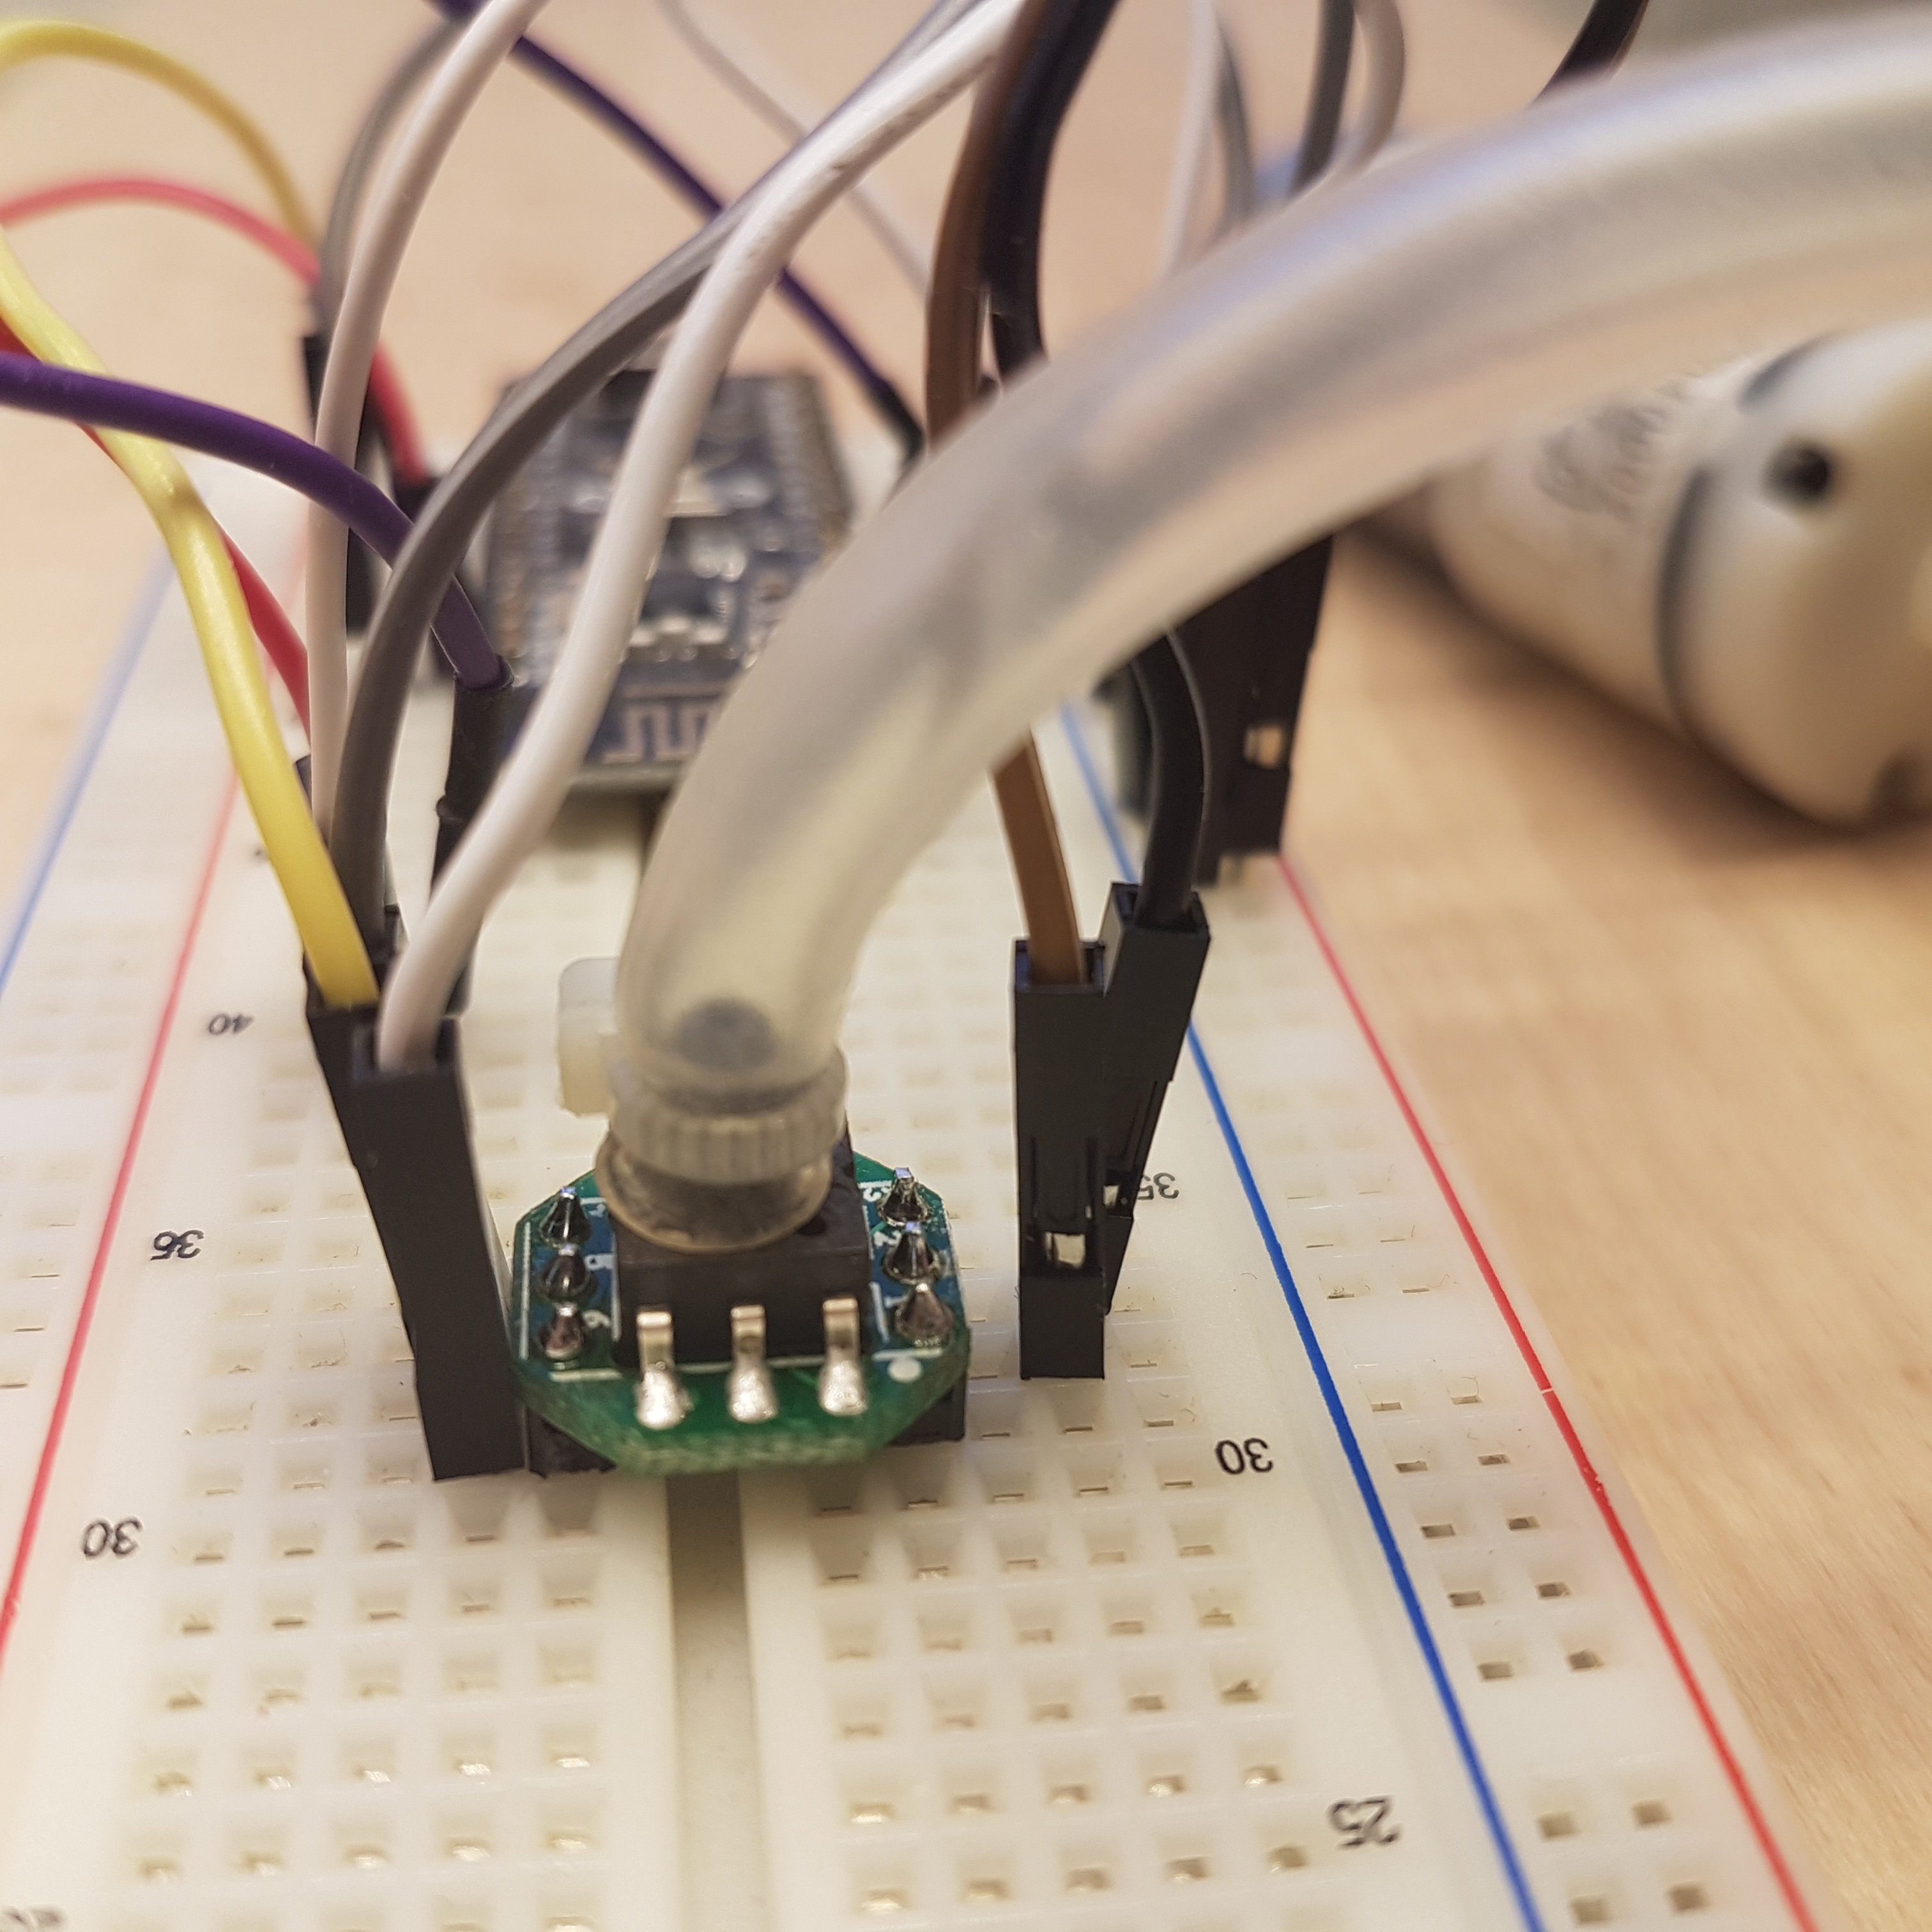
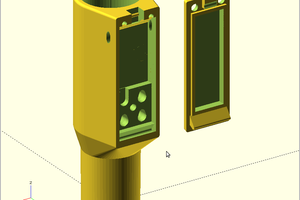
Assembly of the NEMA 8 stepper that is used for rotating the picked components.
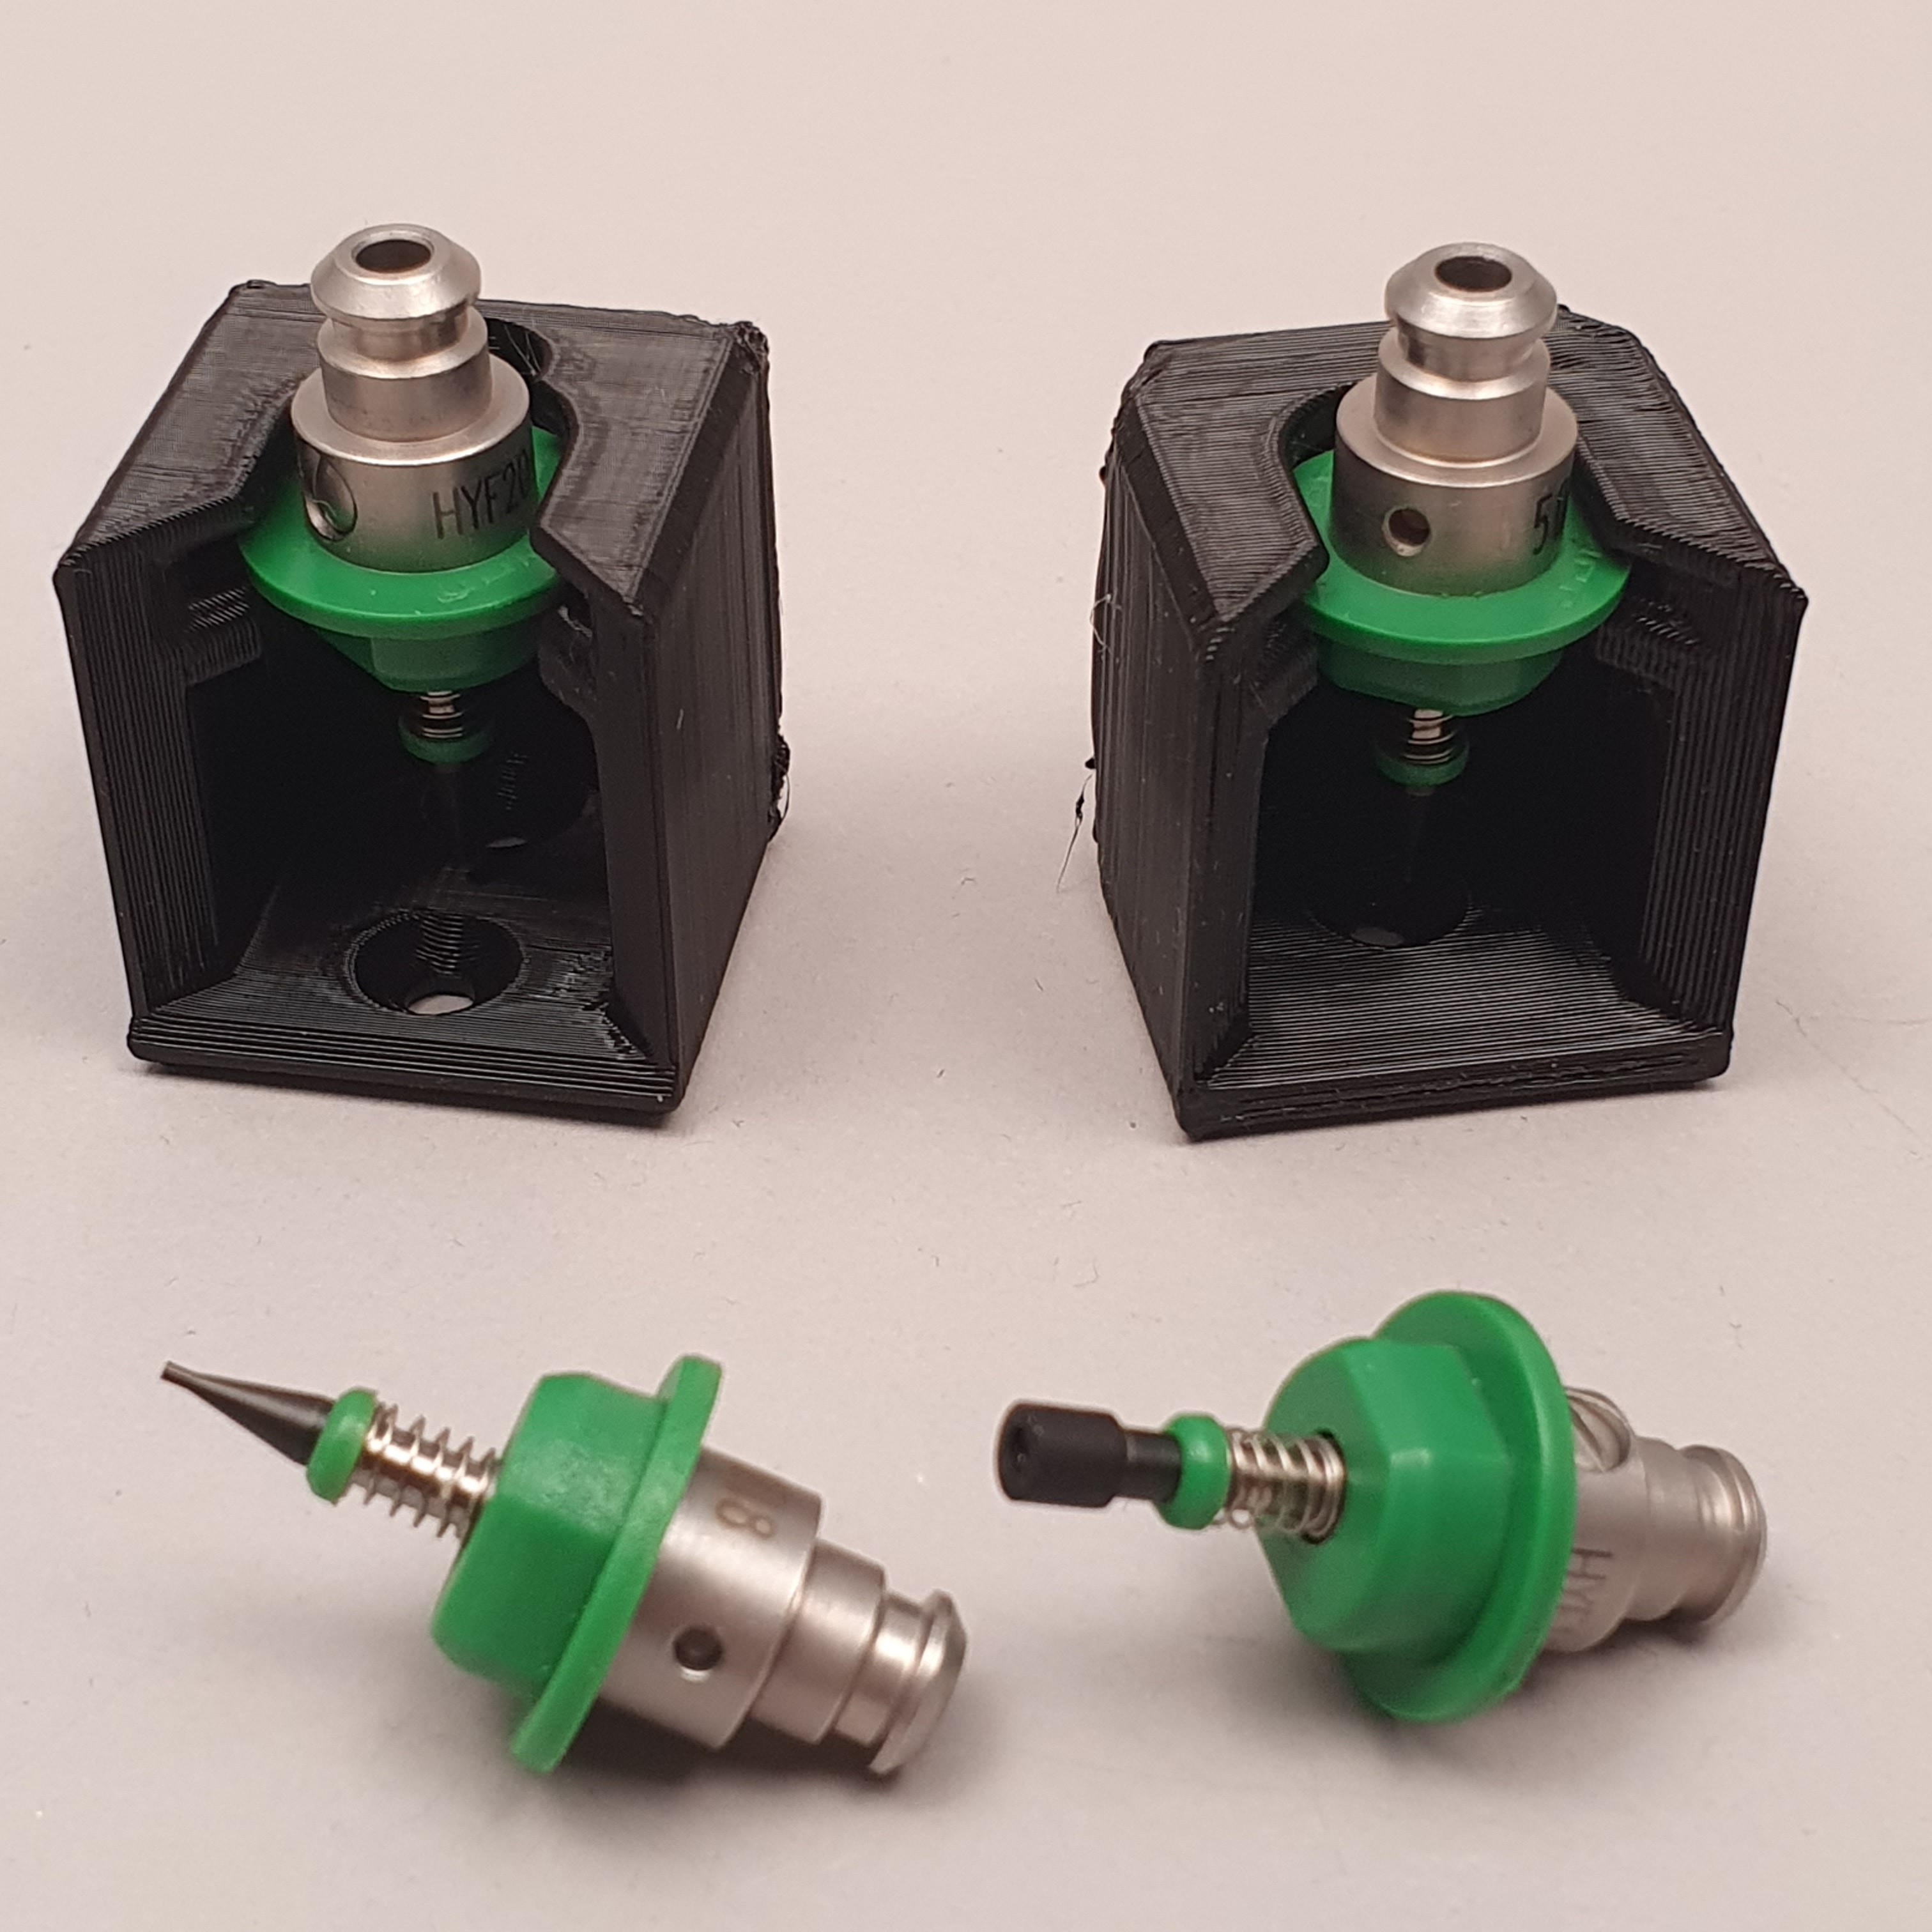
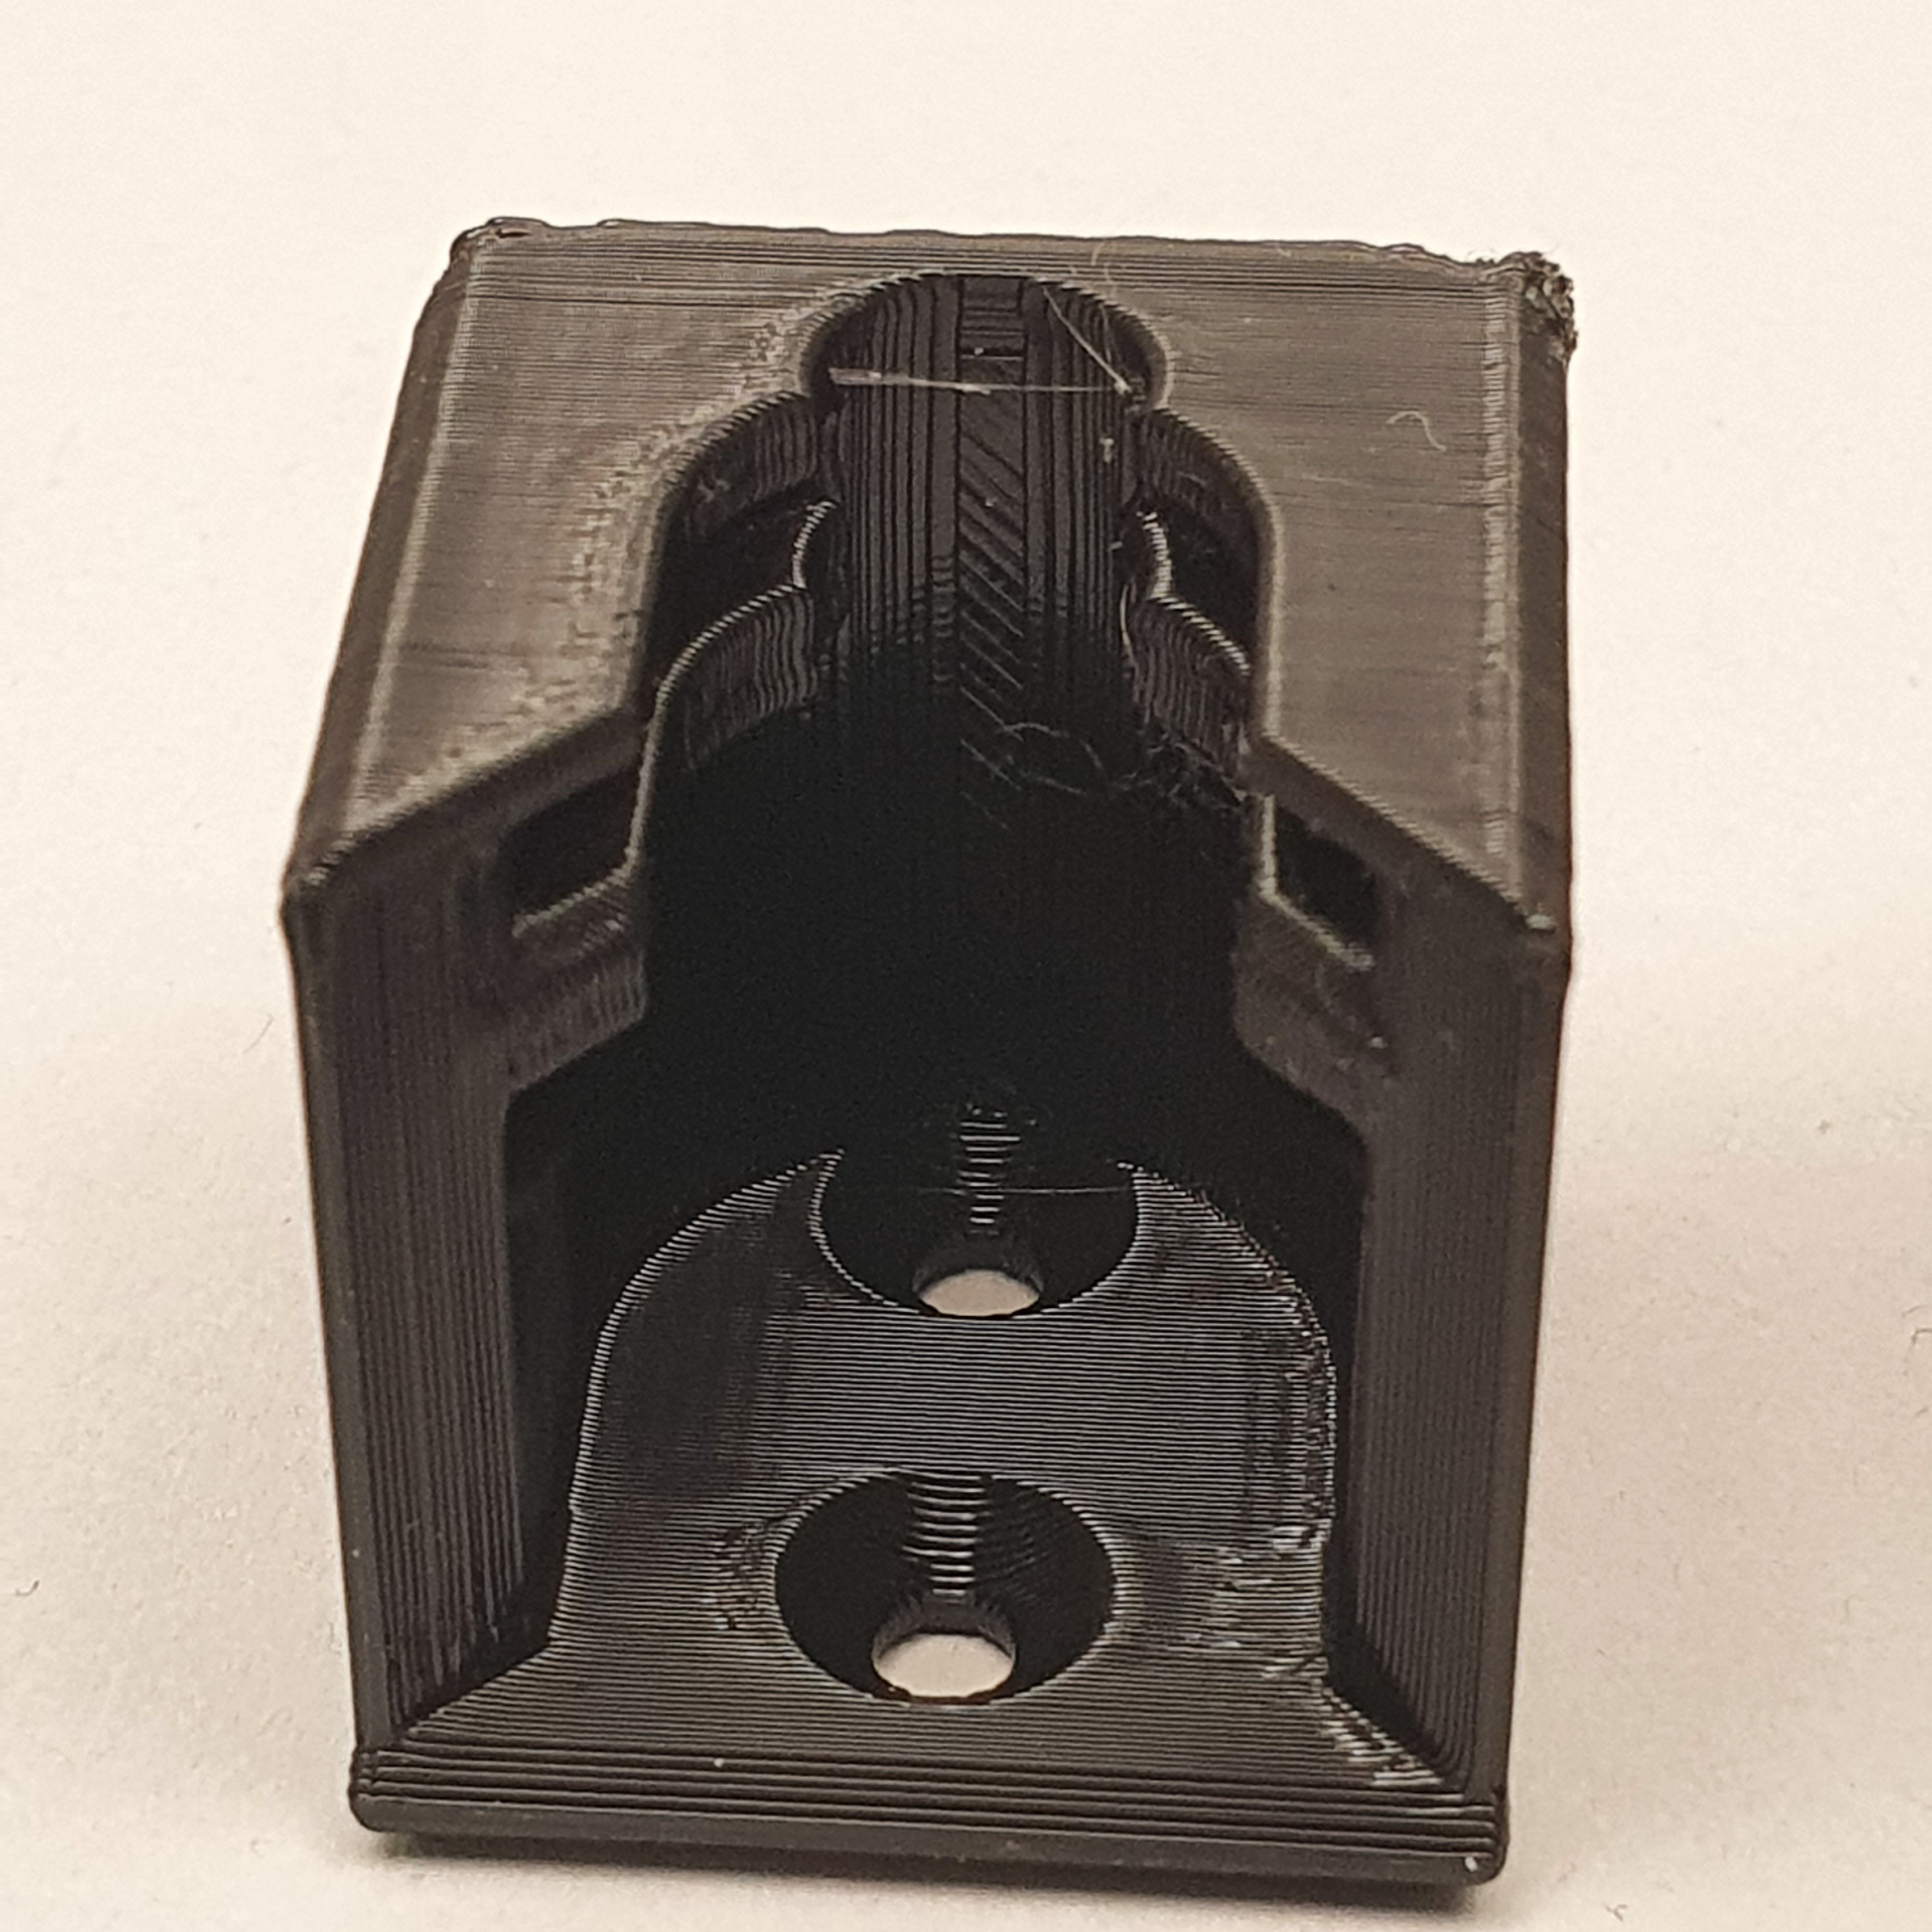
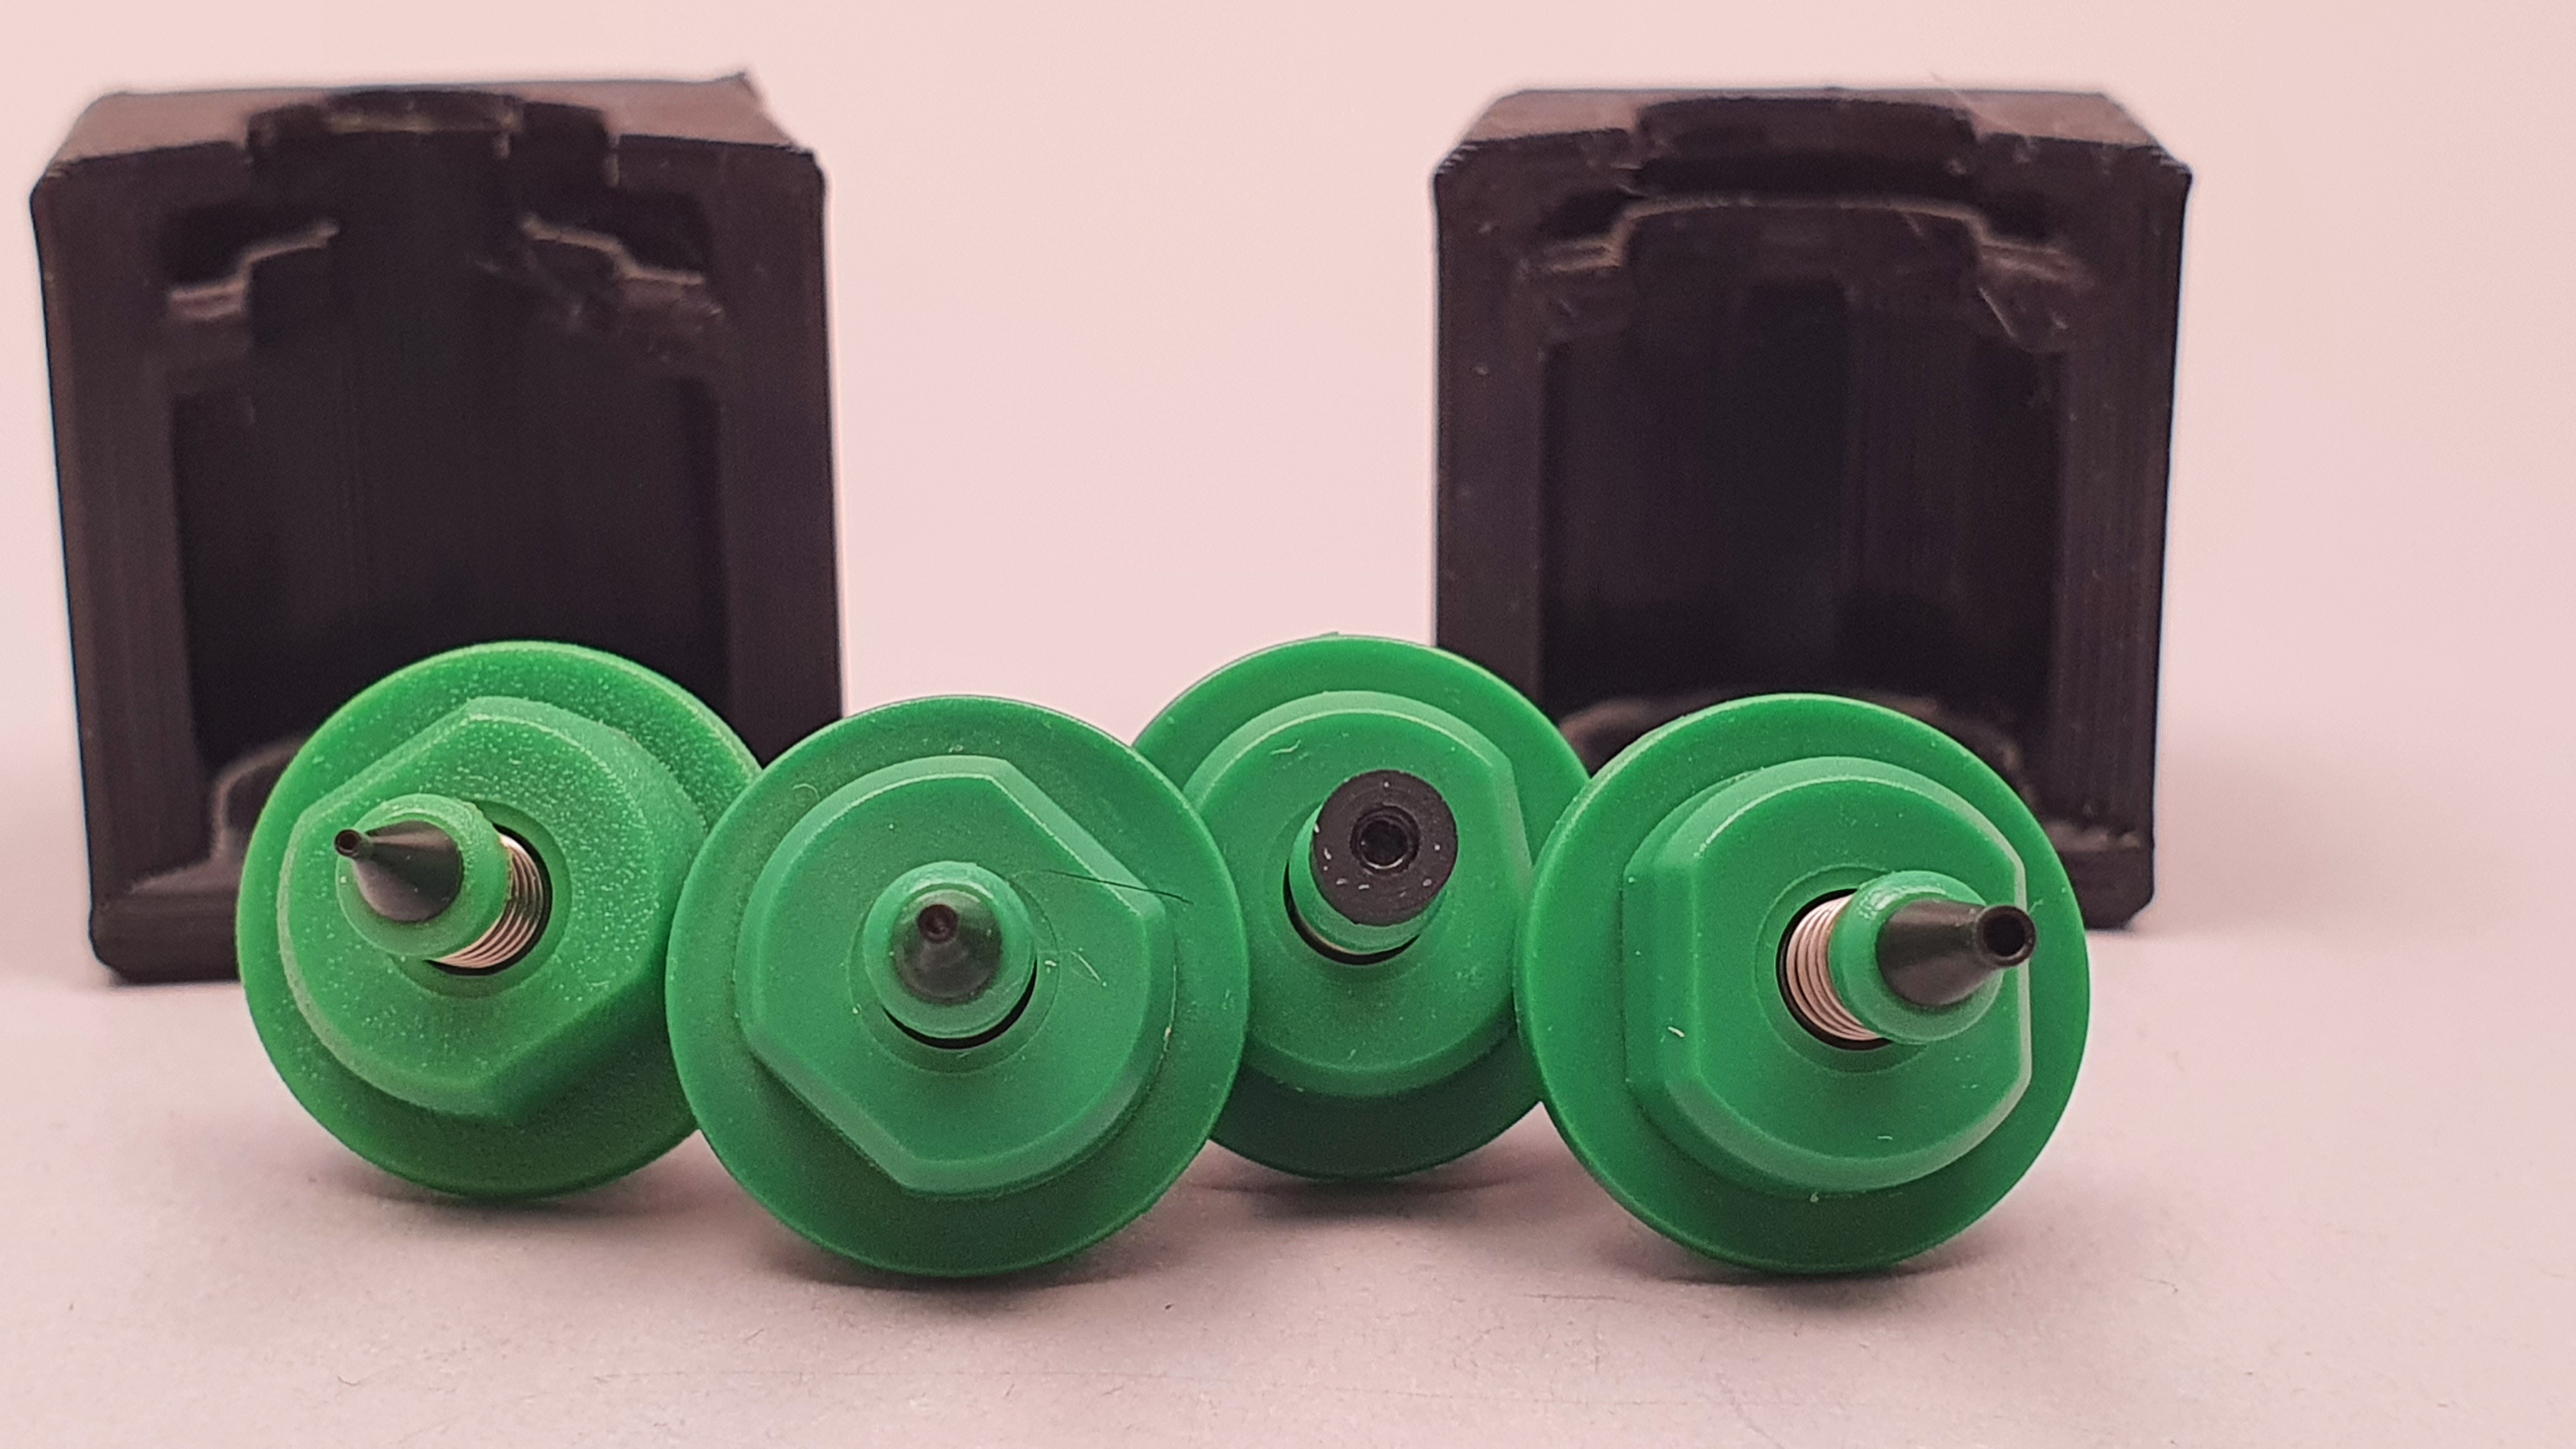
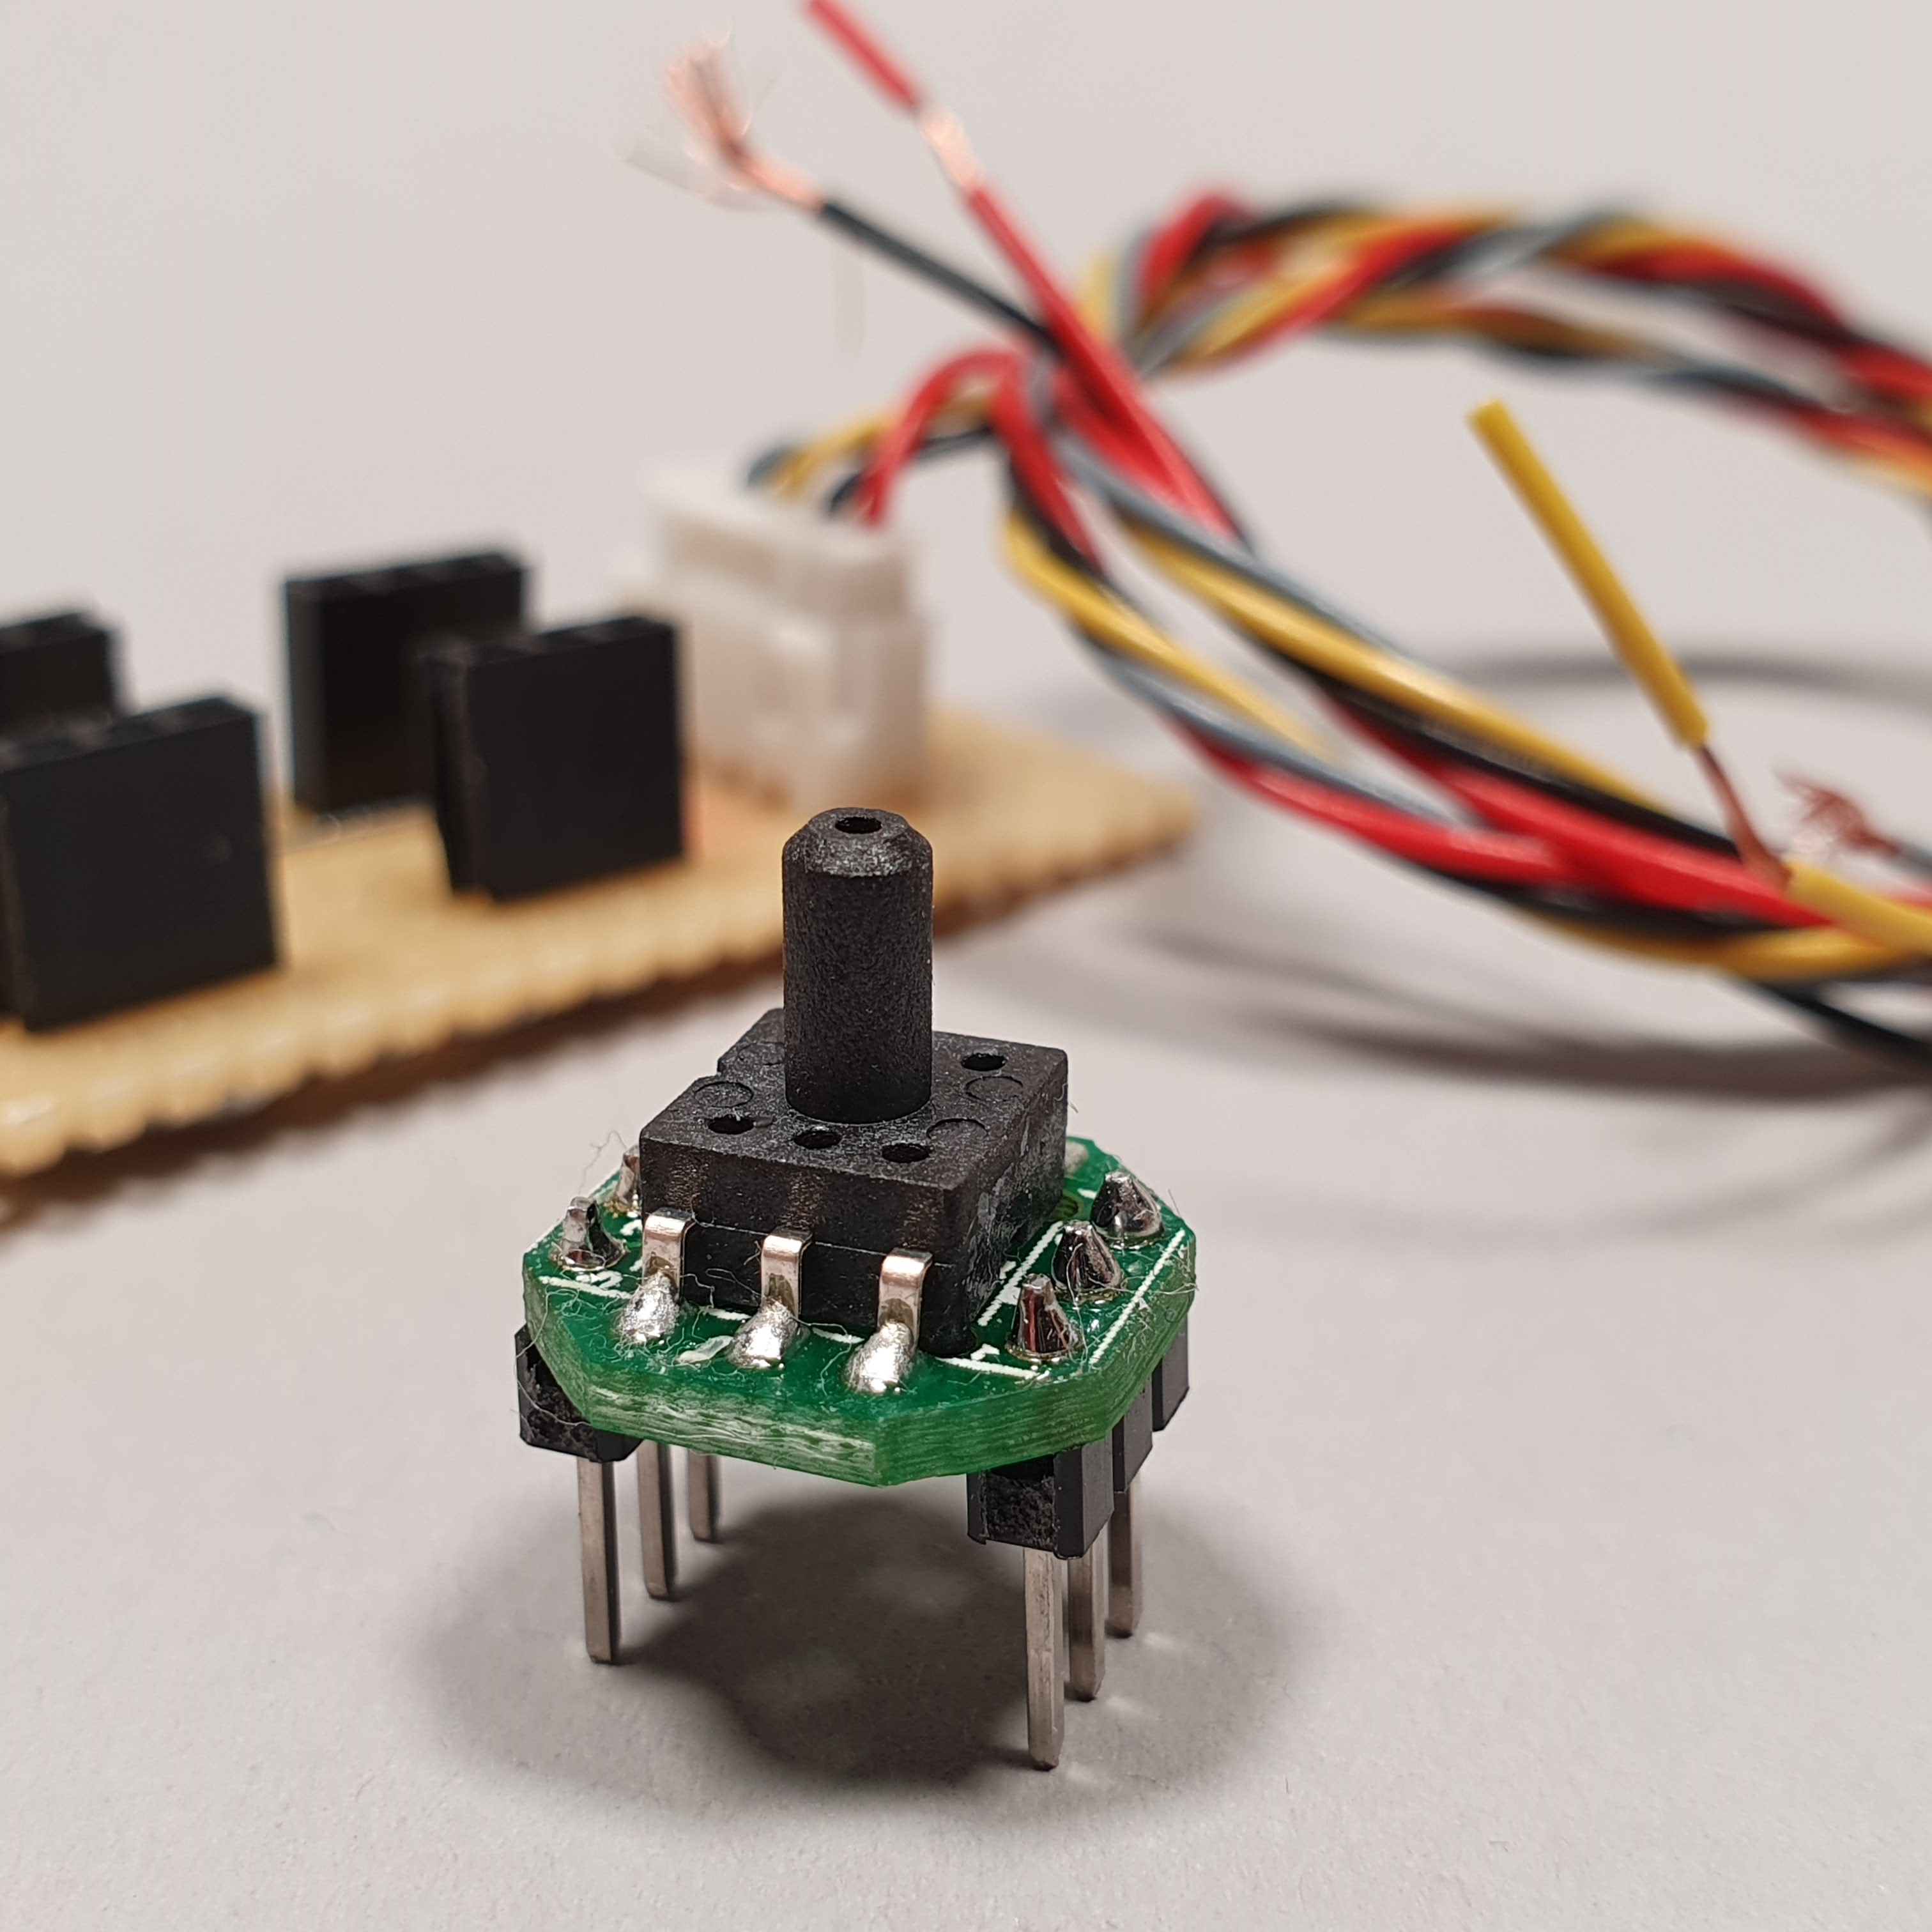
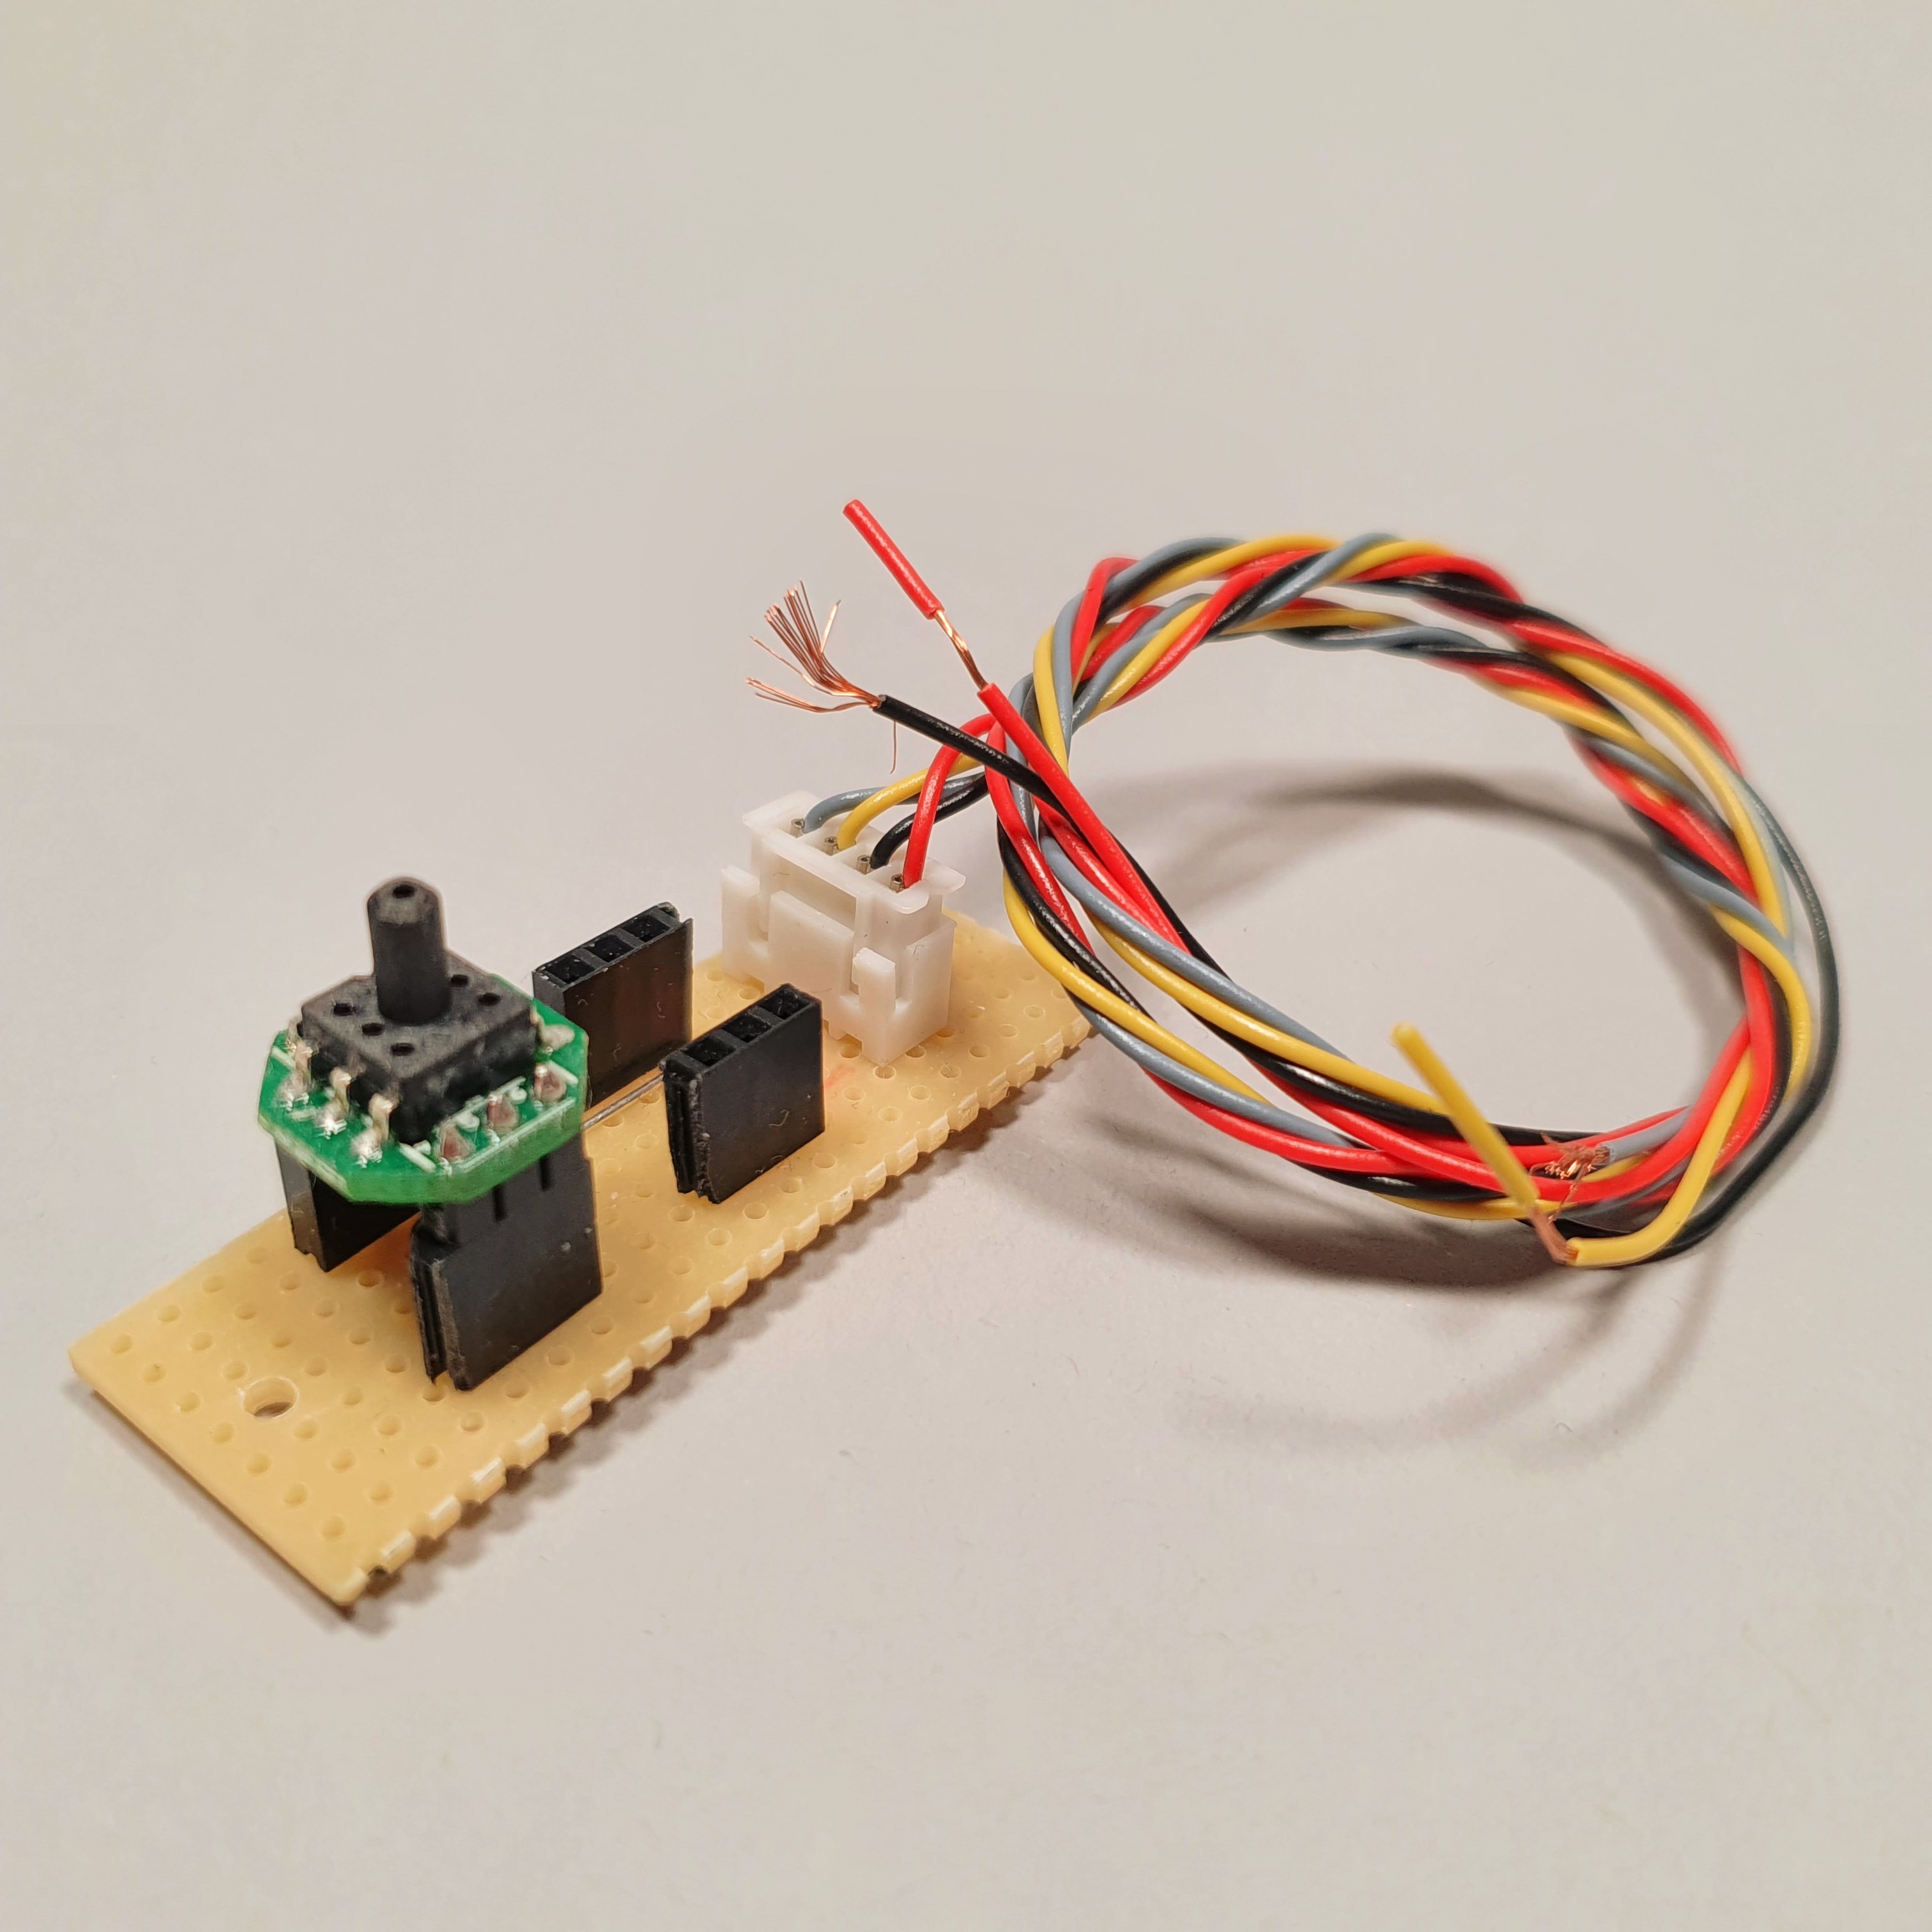
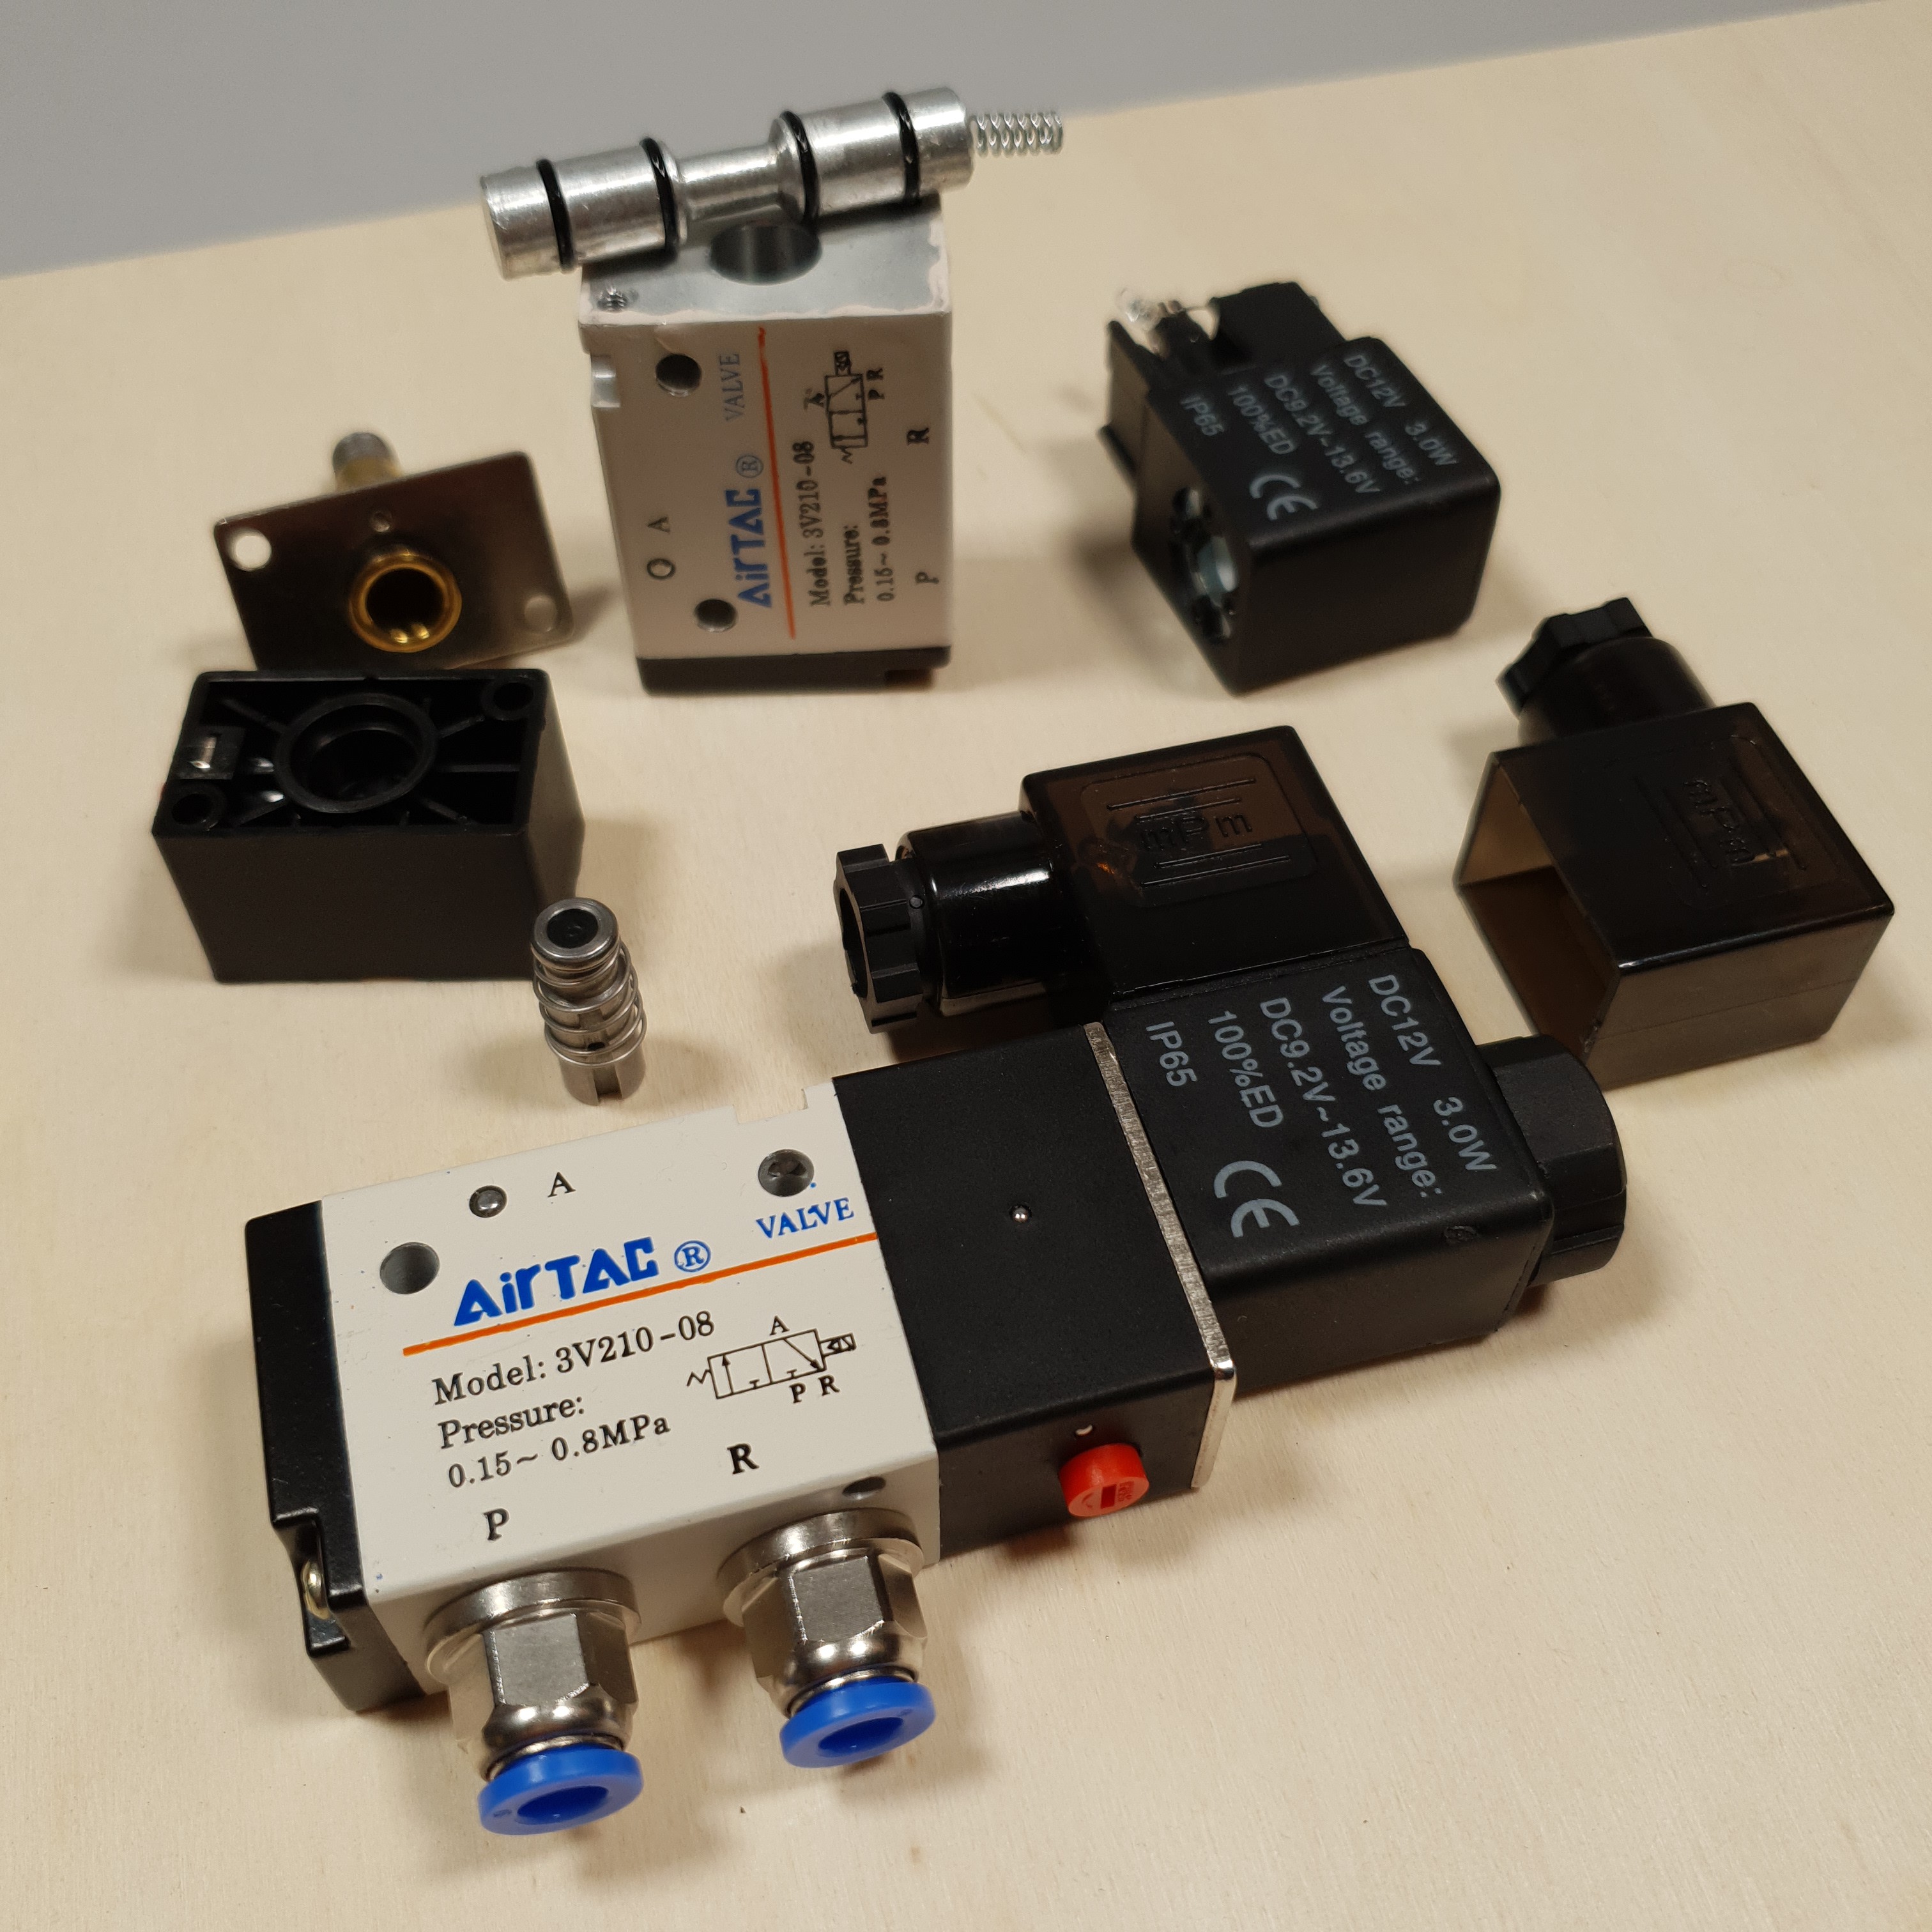
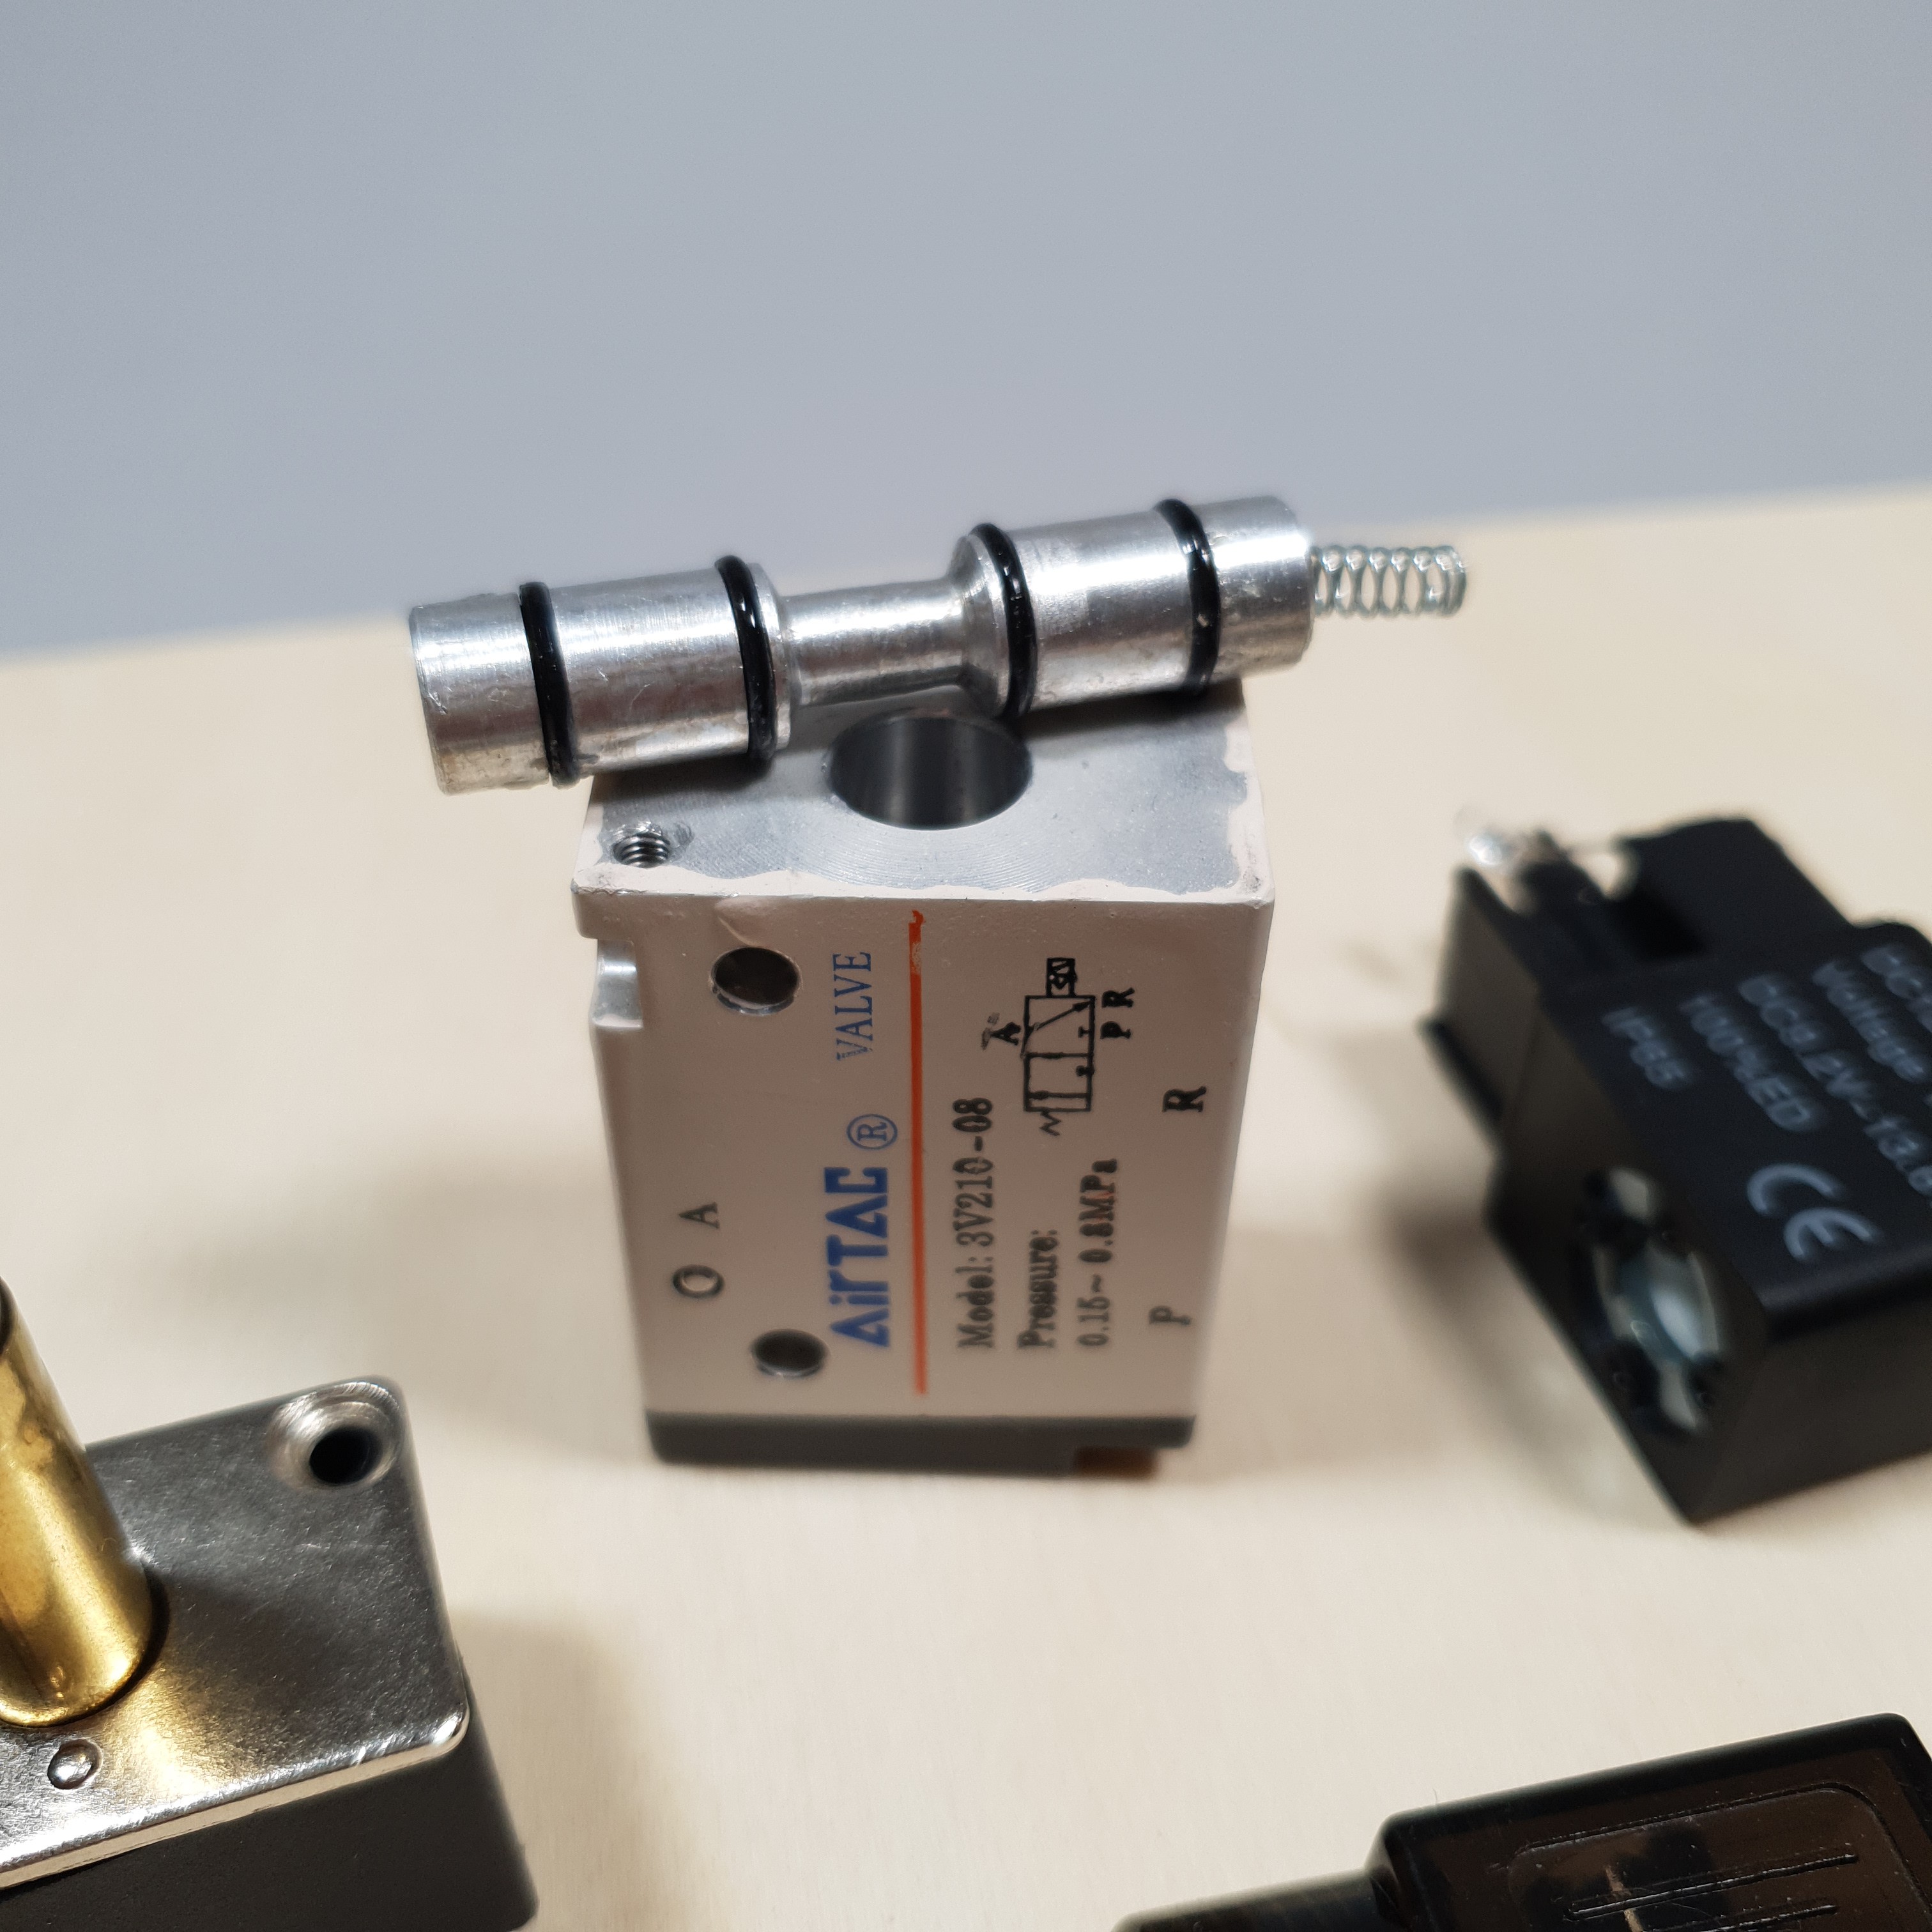
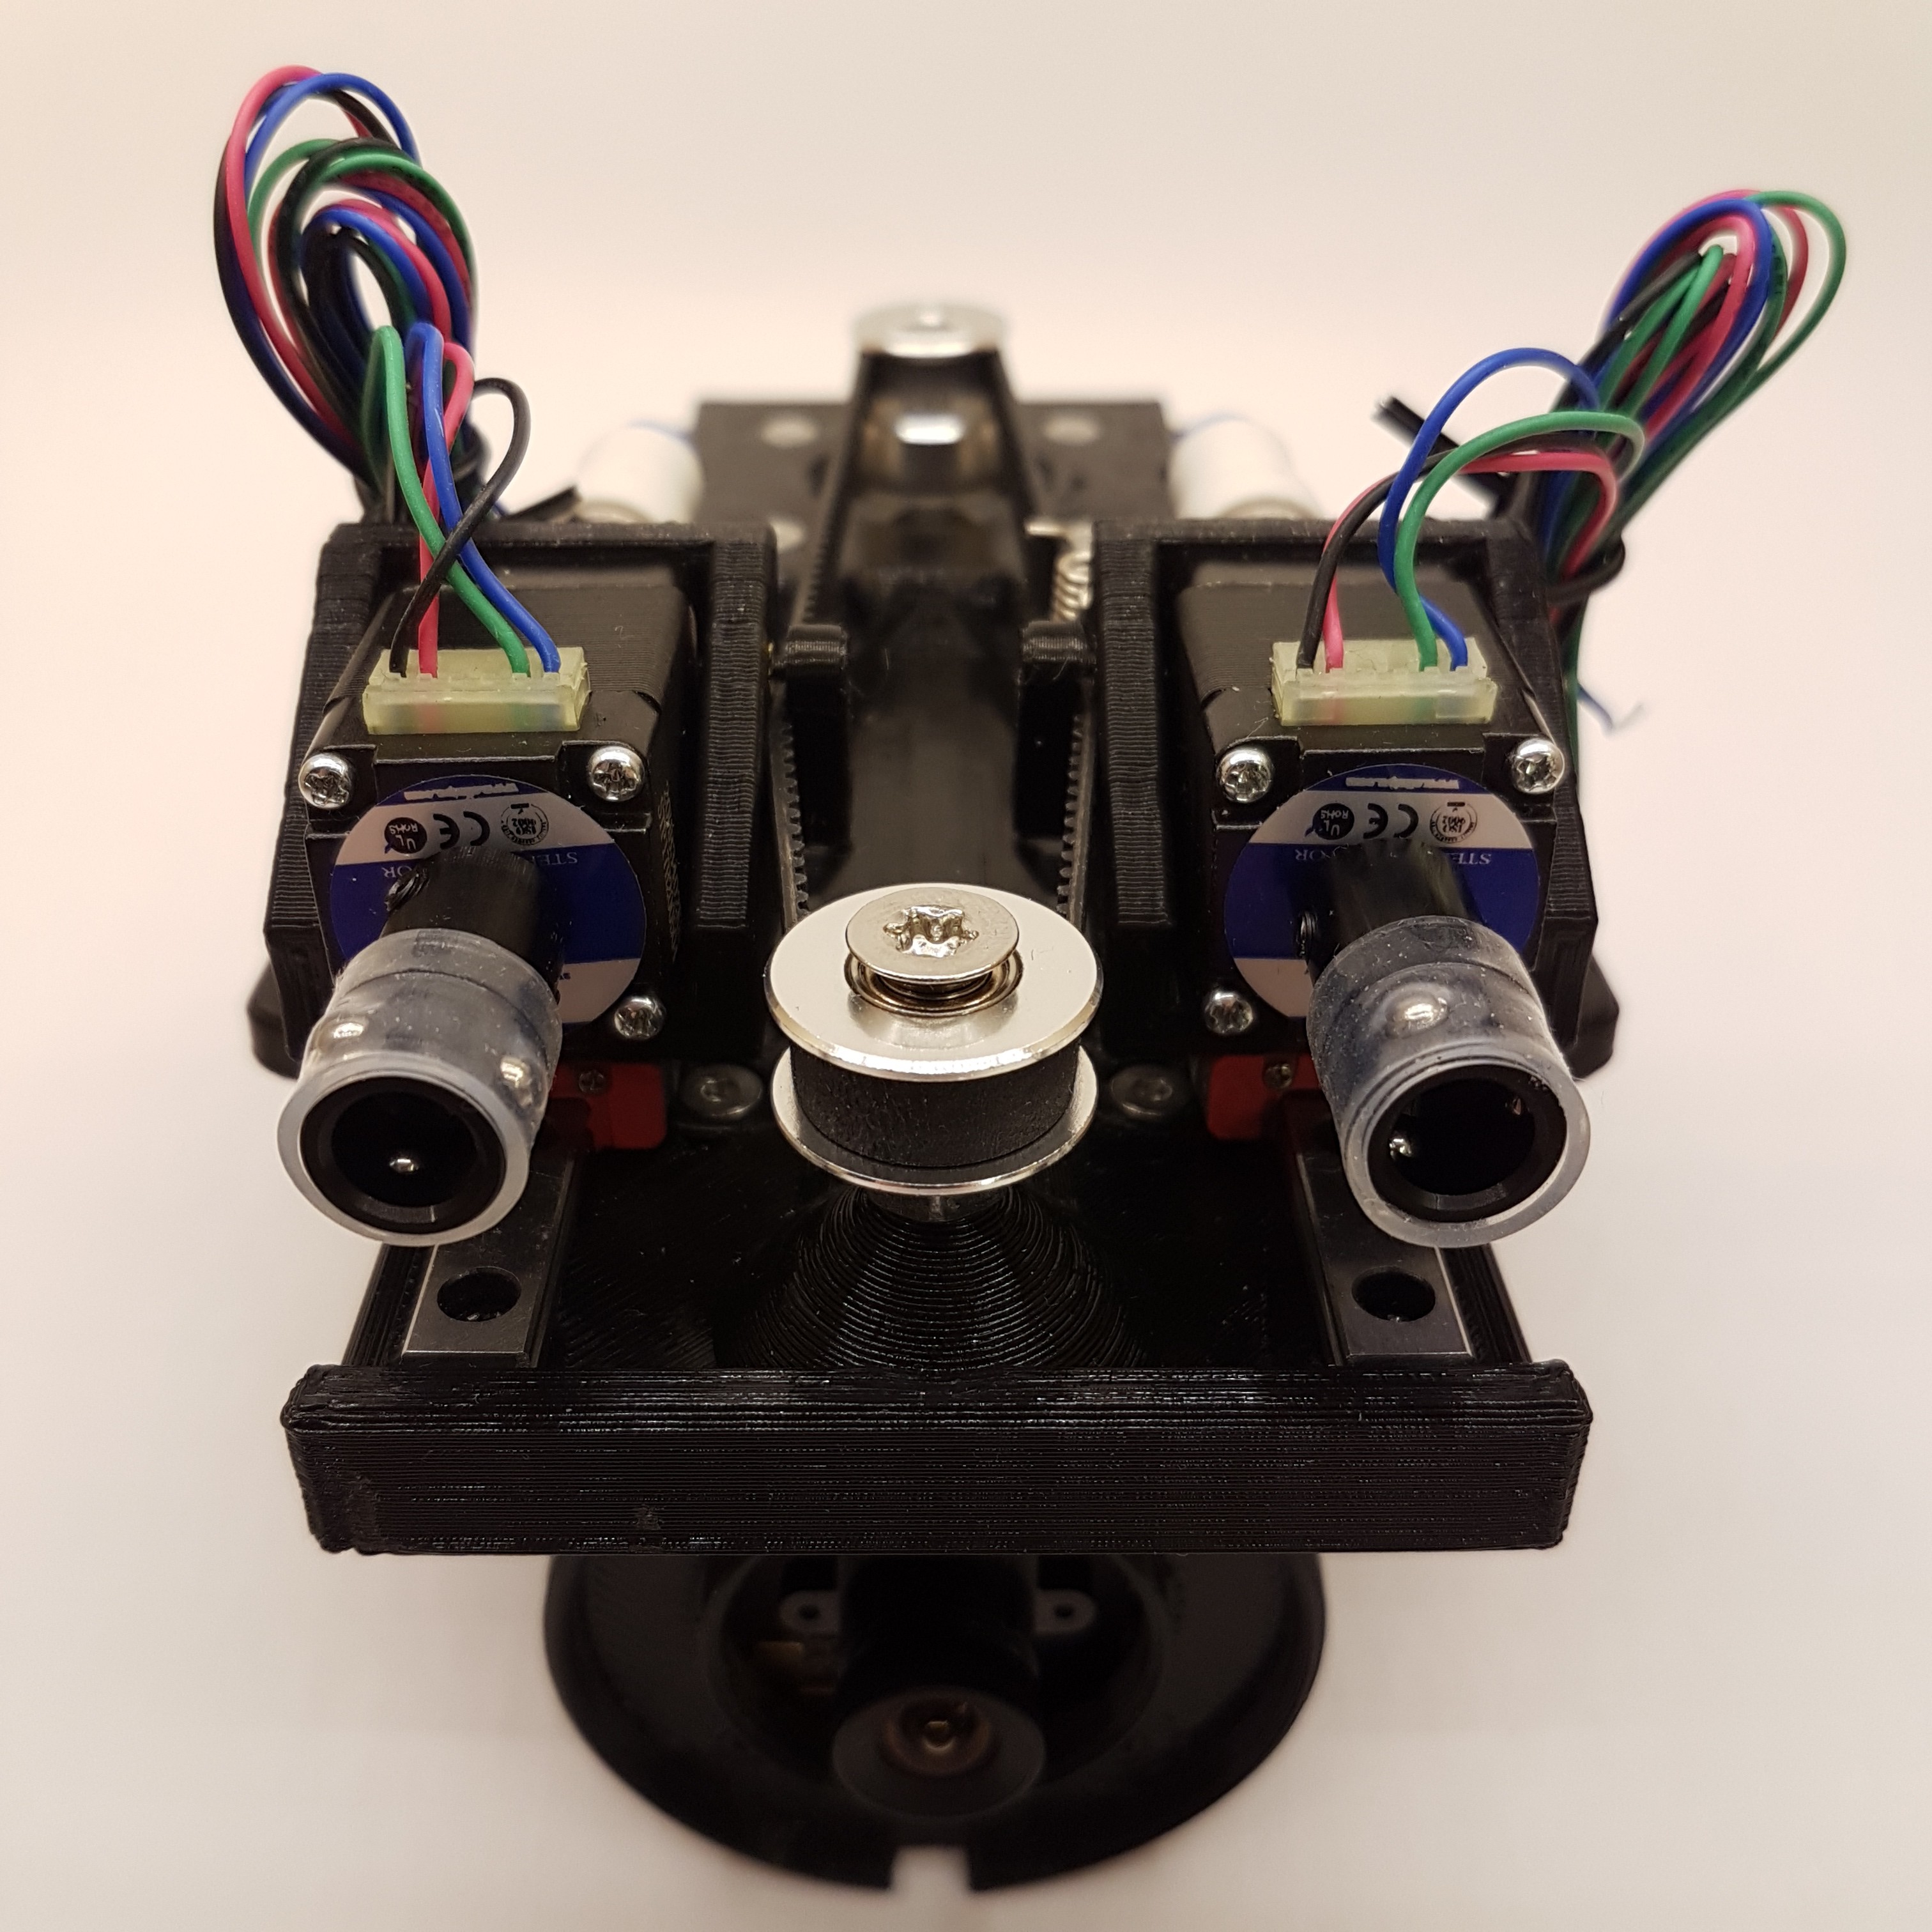
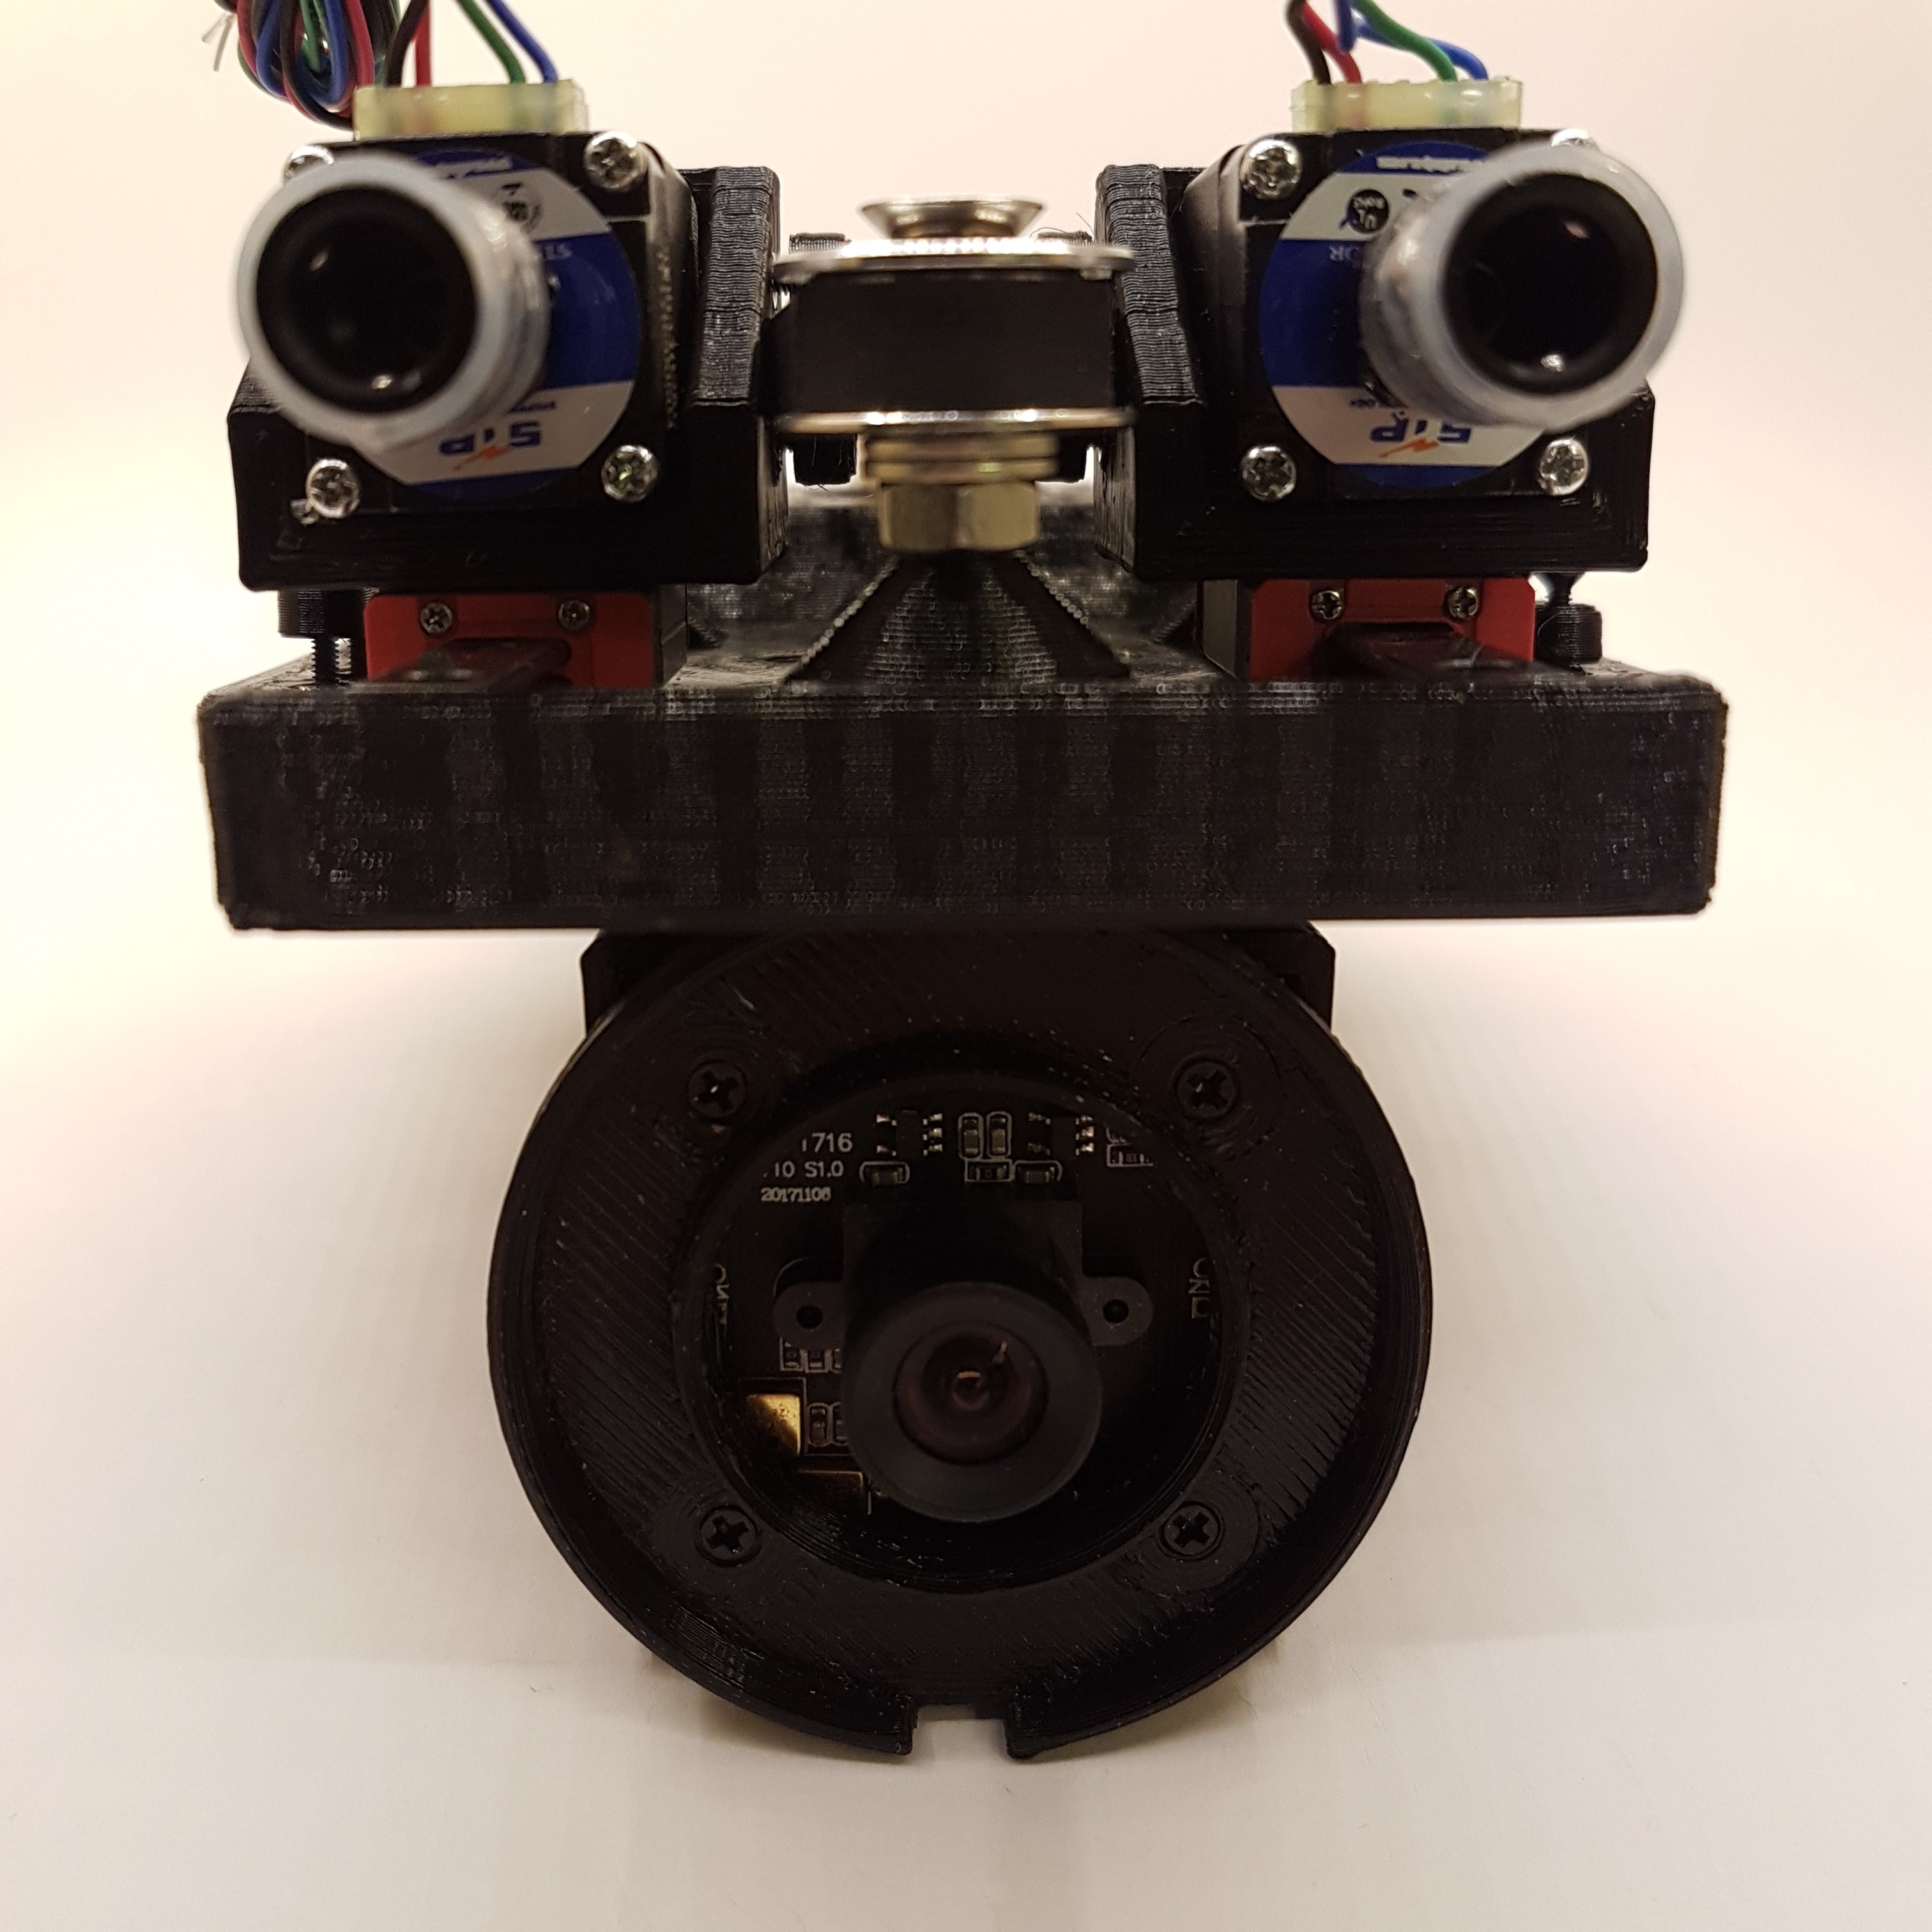
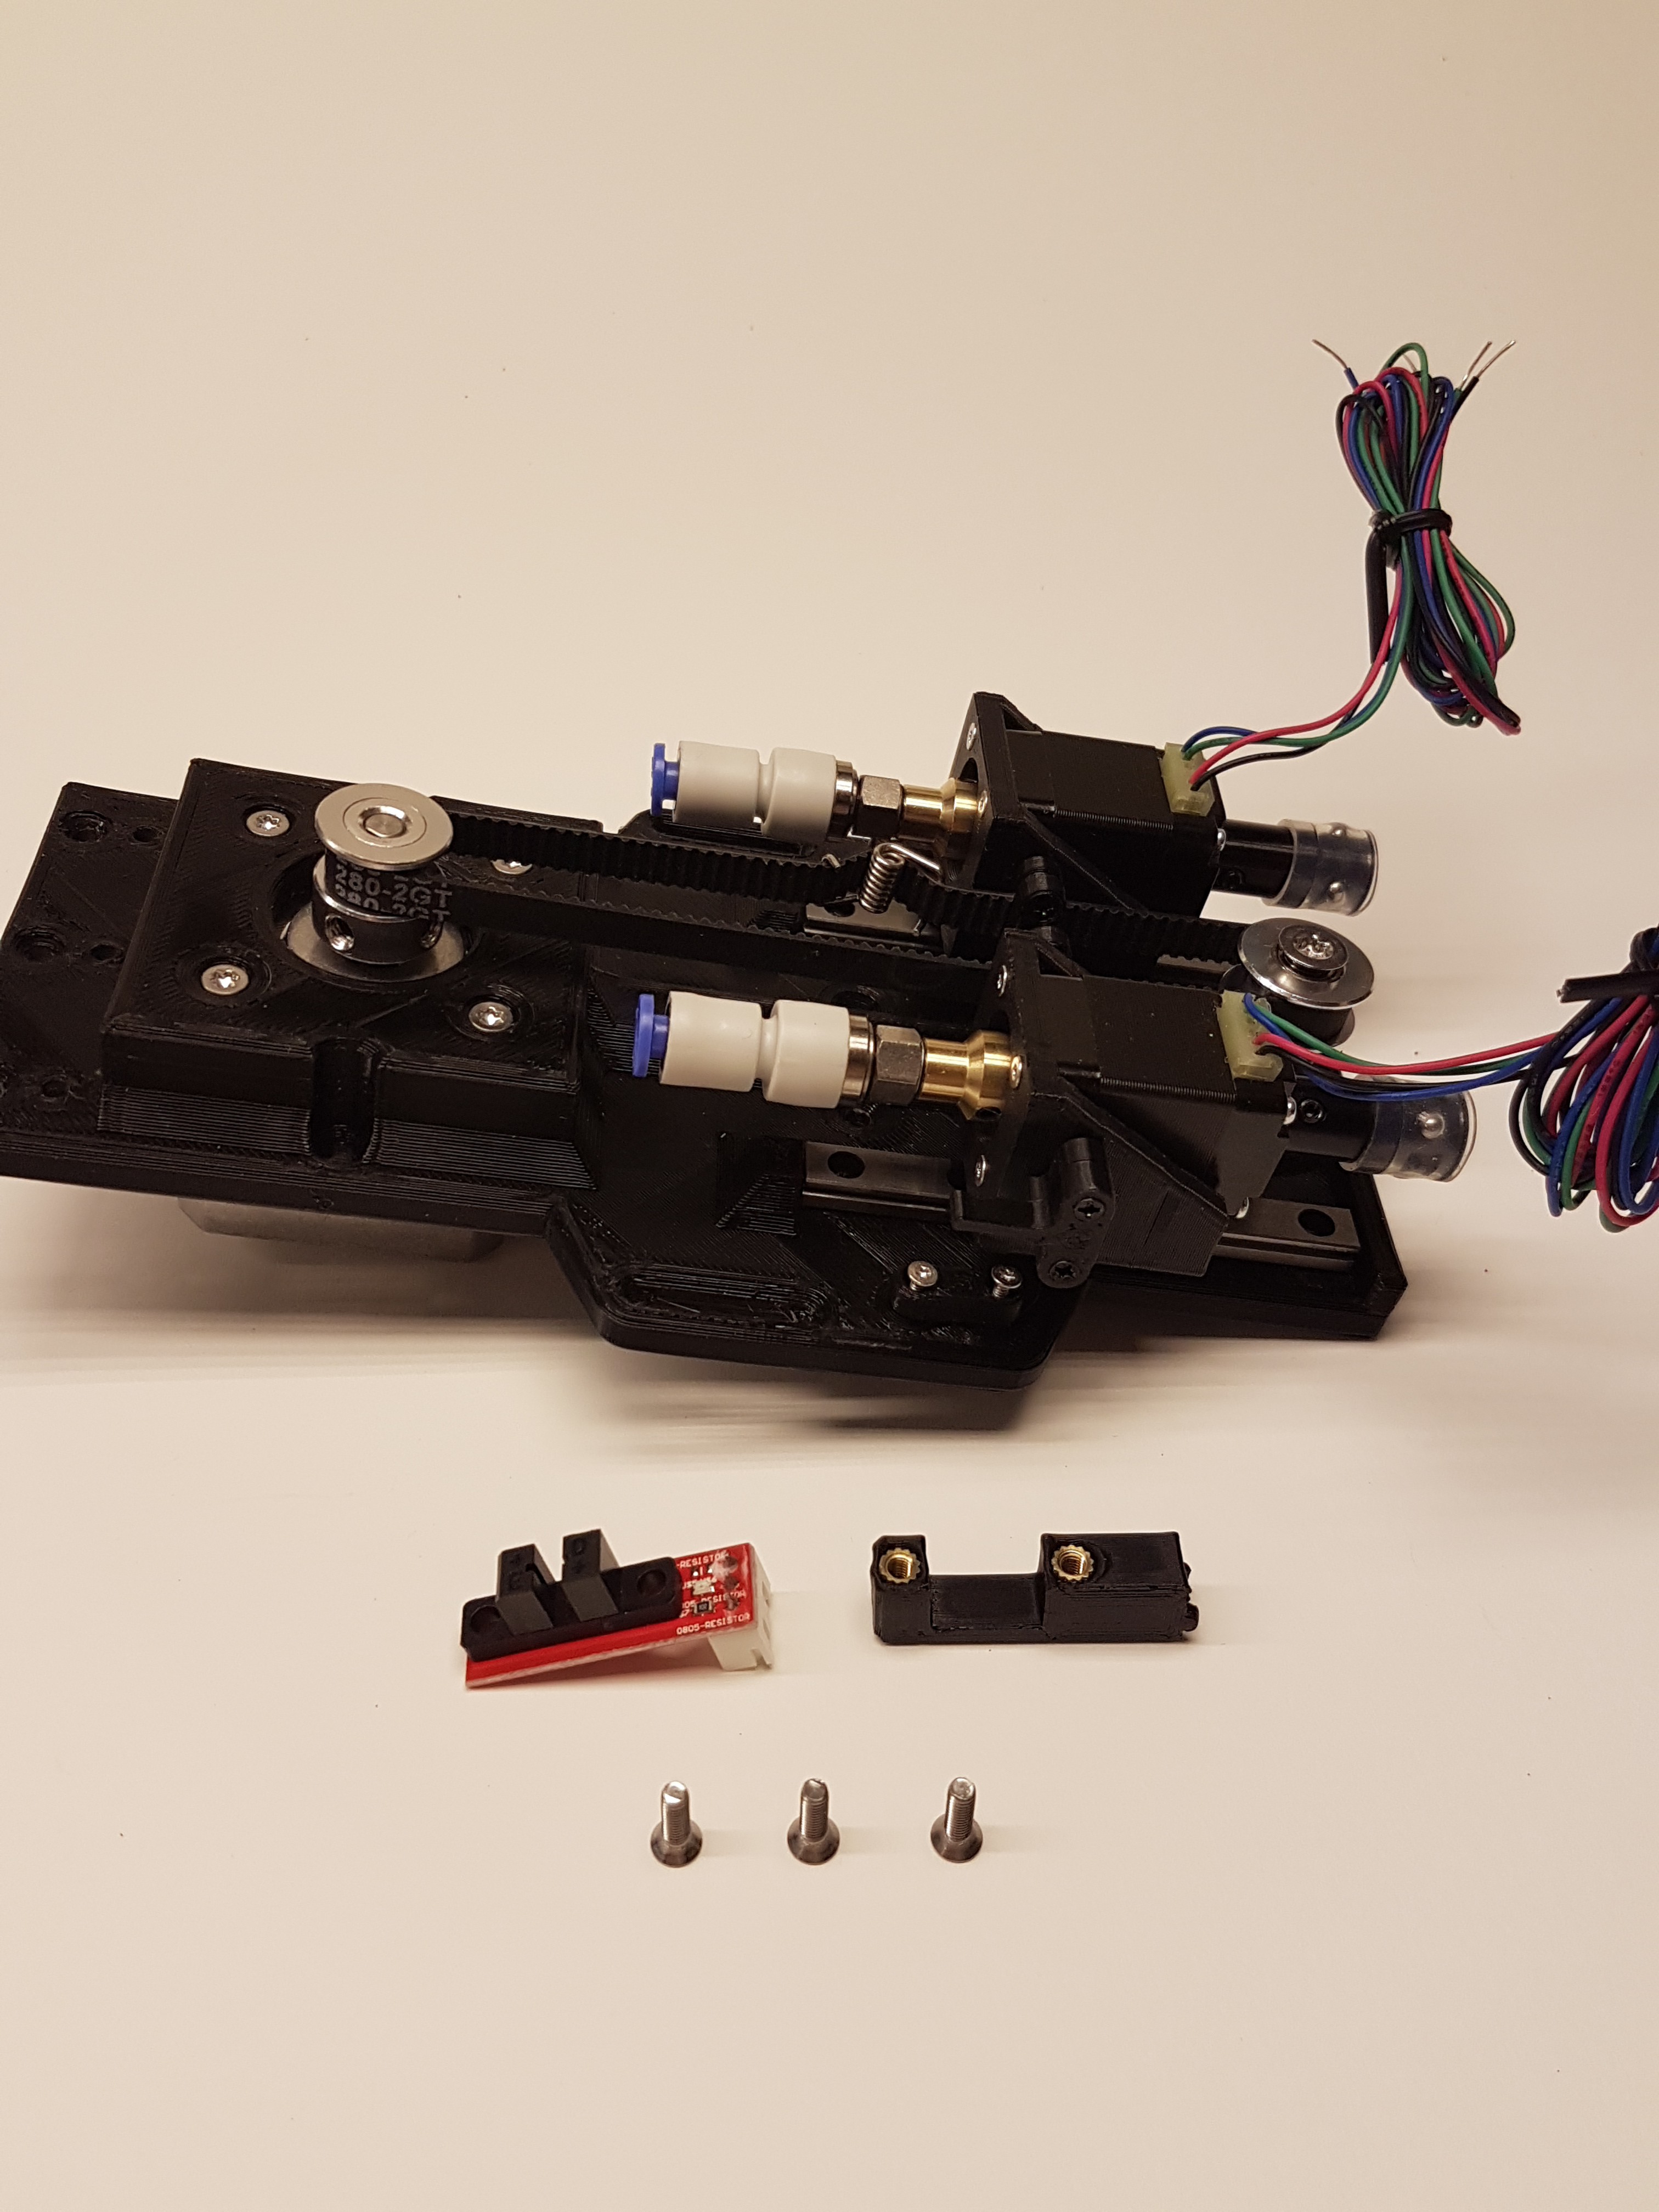
Pick head components "knolling":
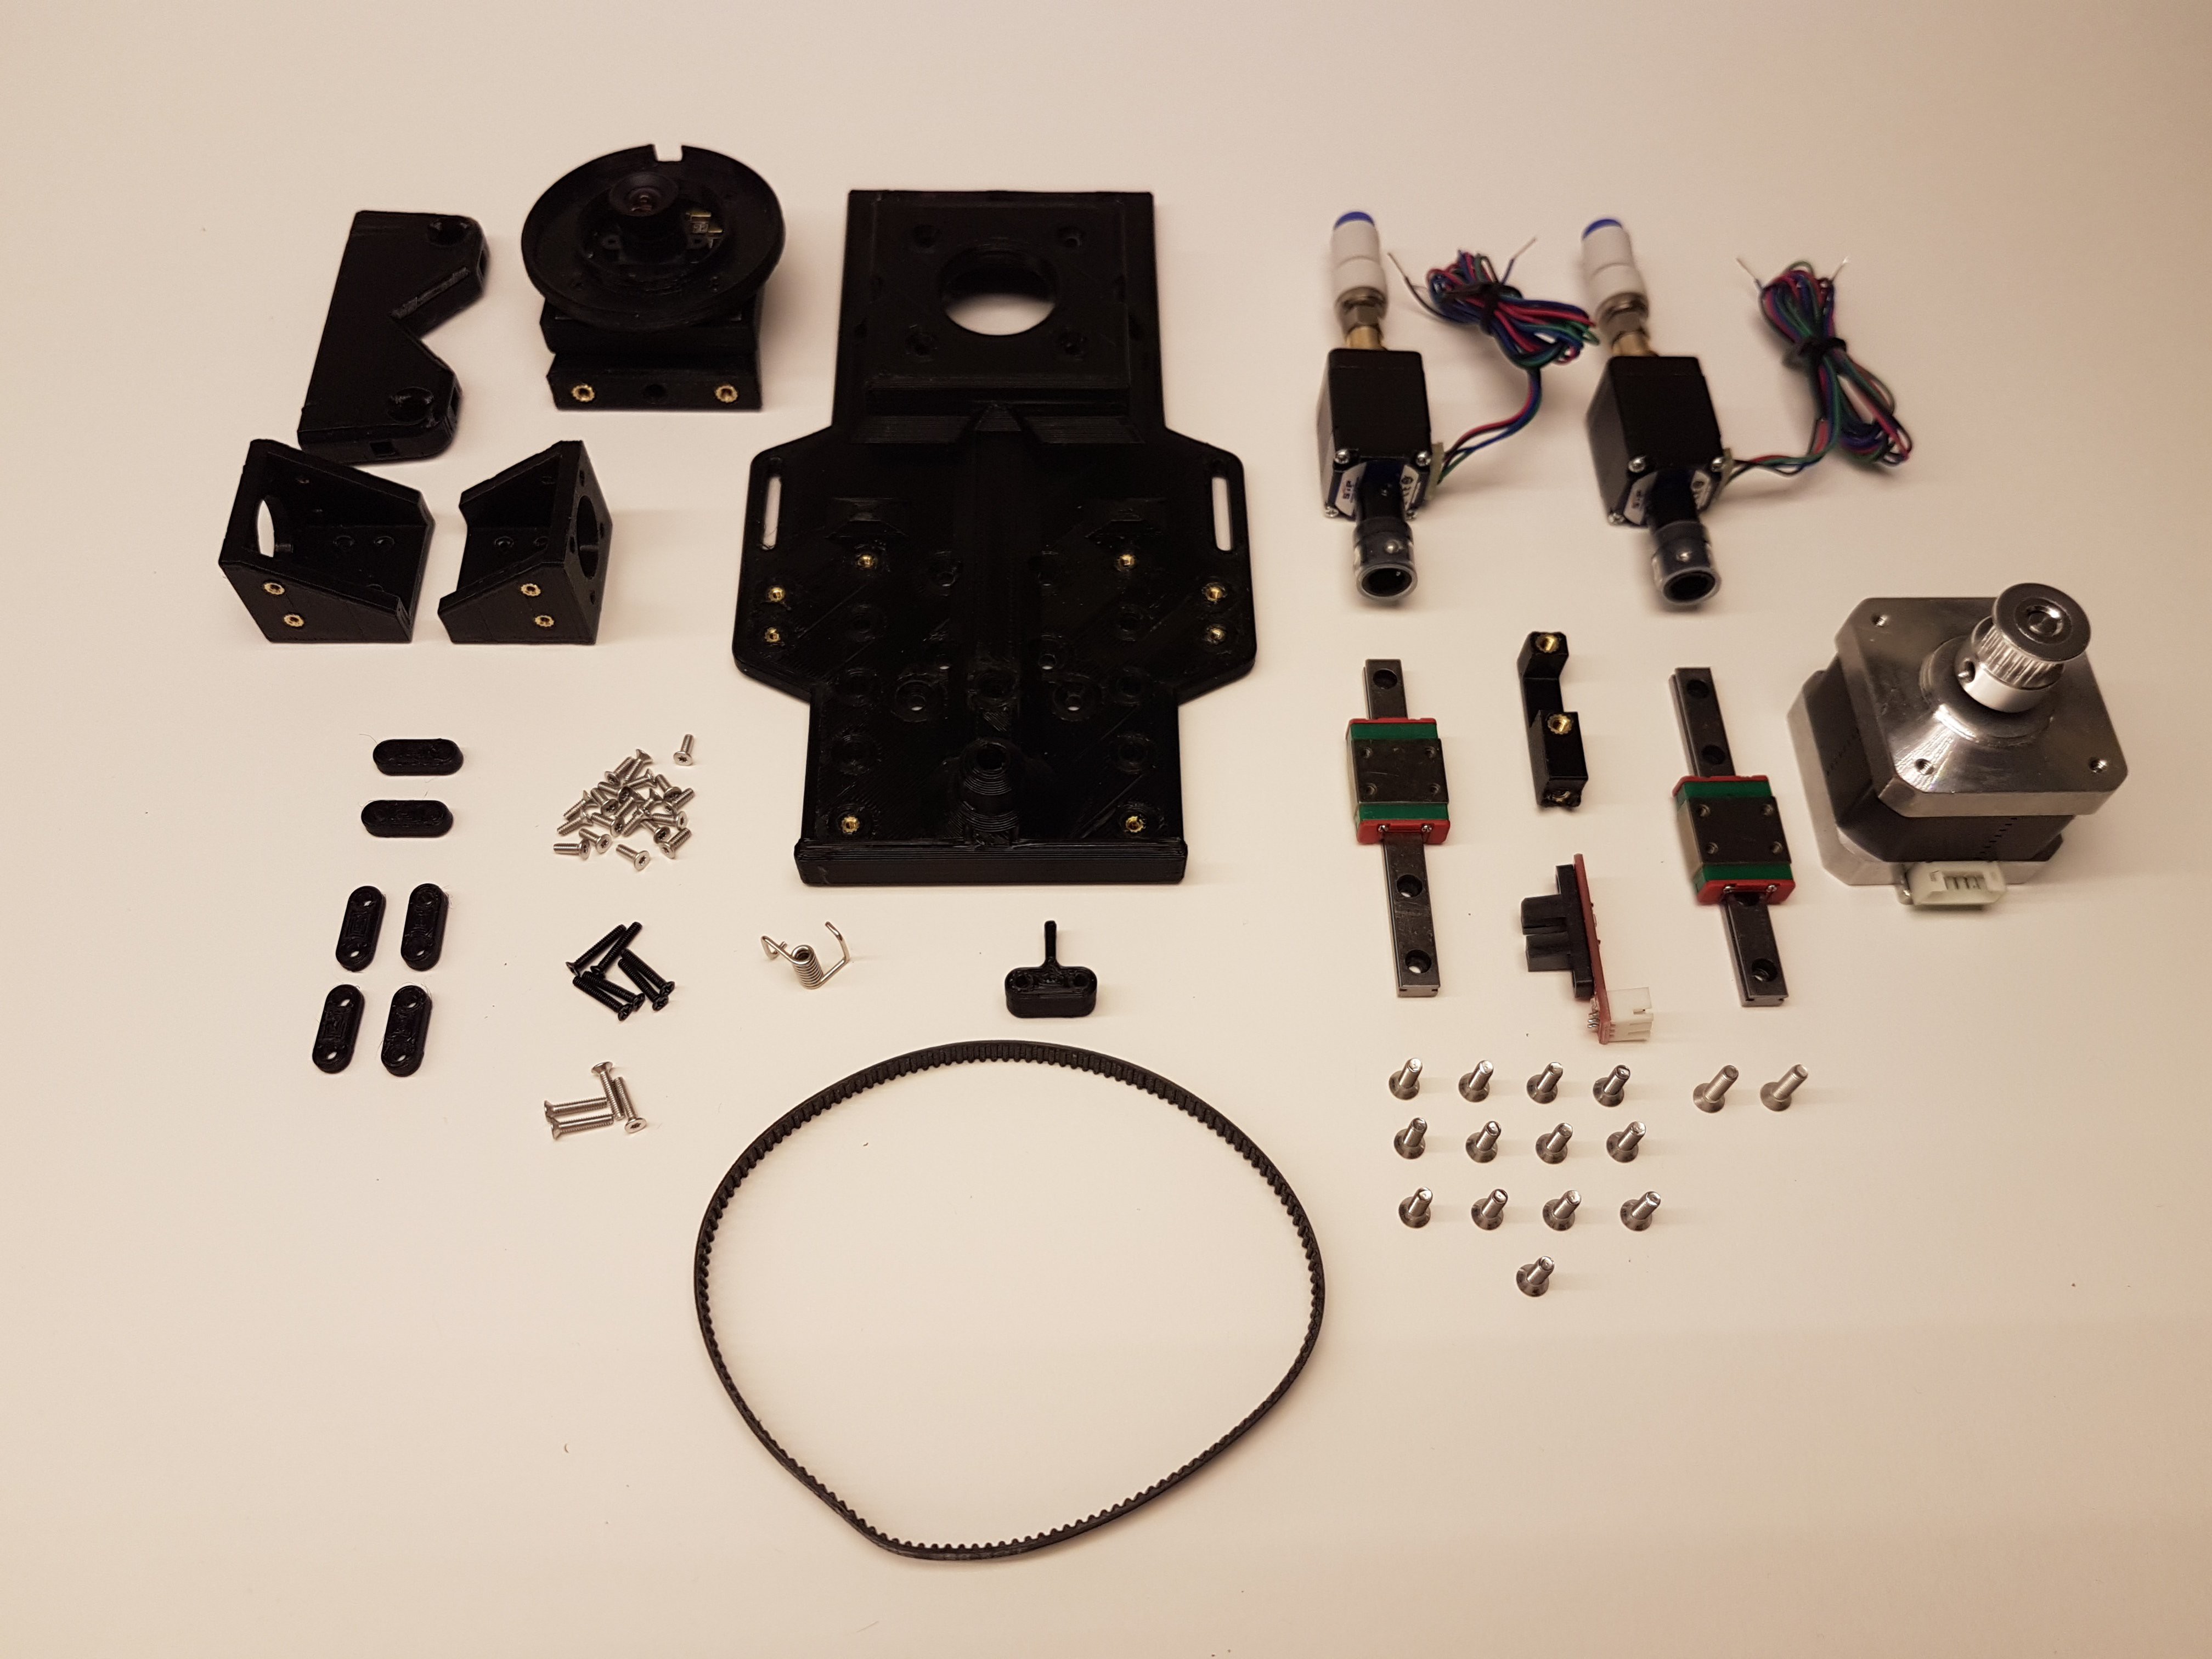
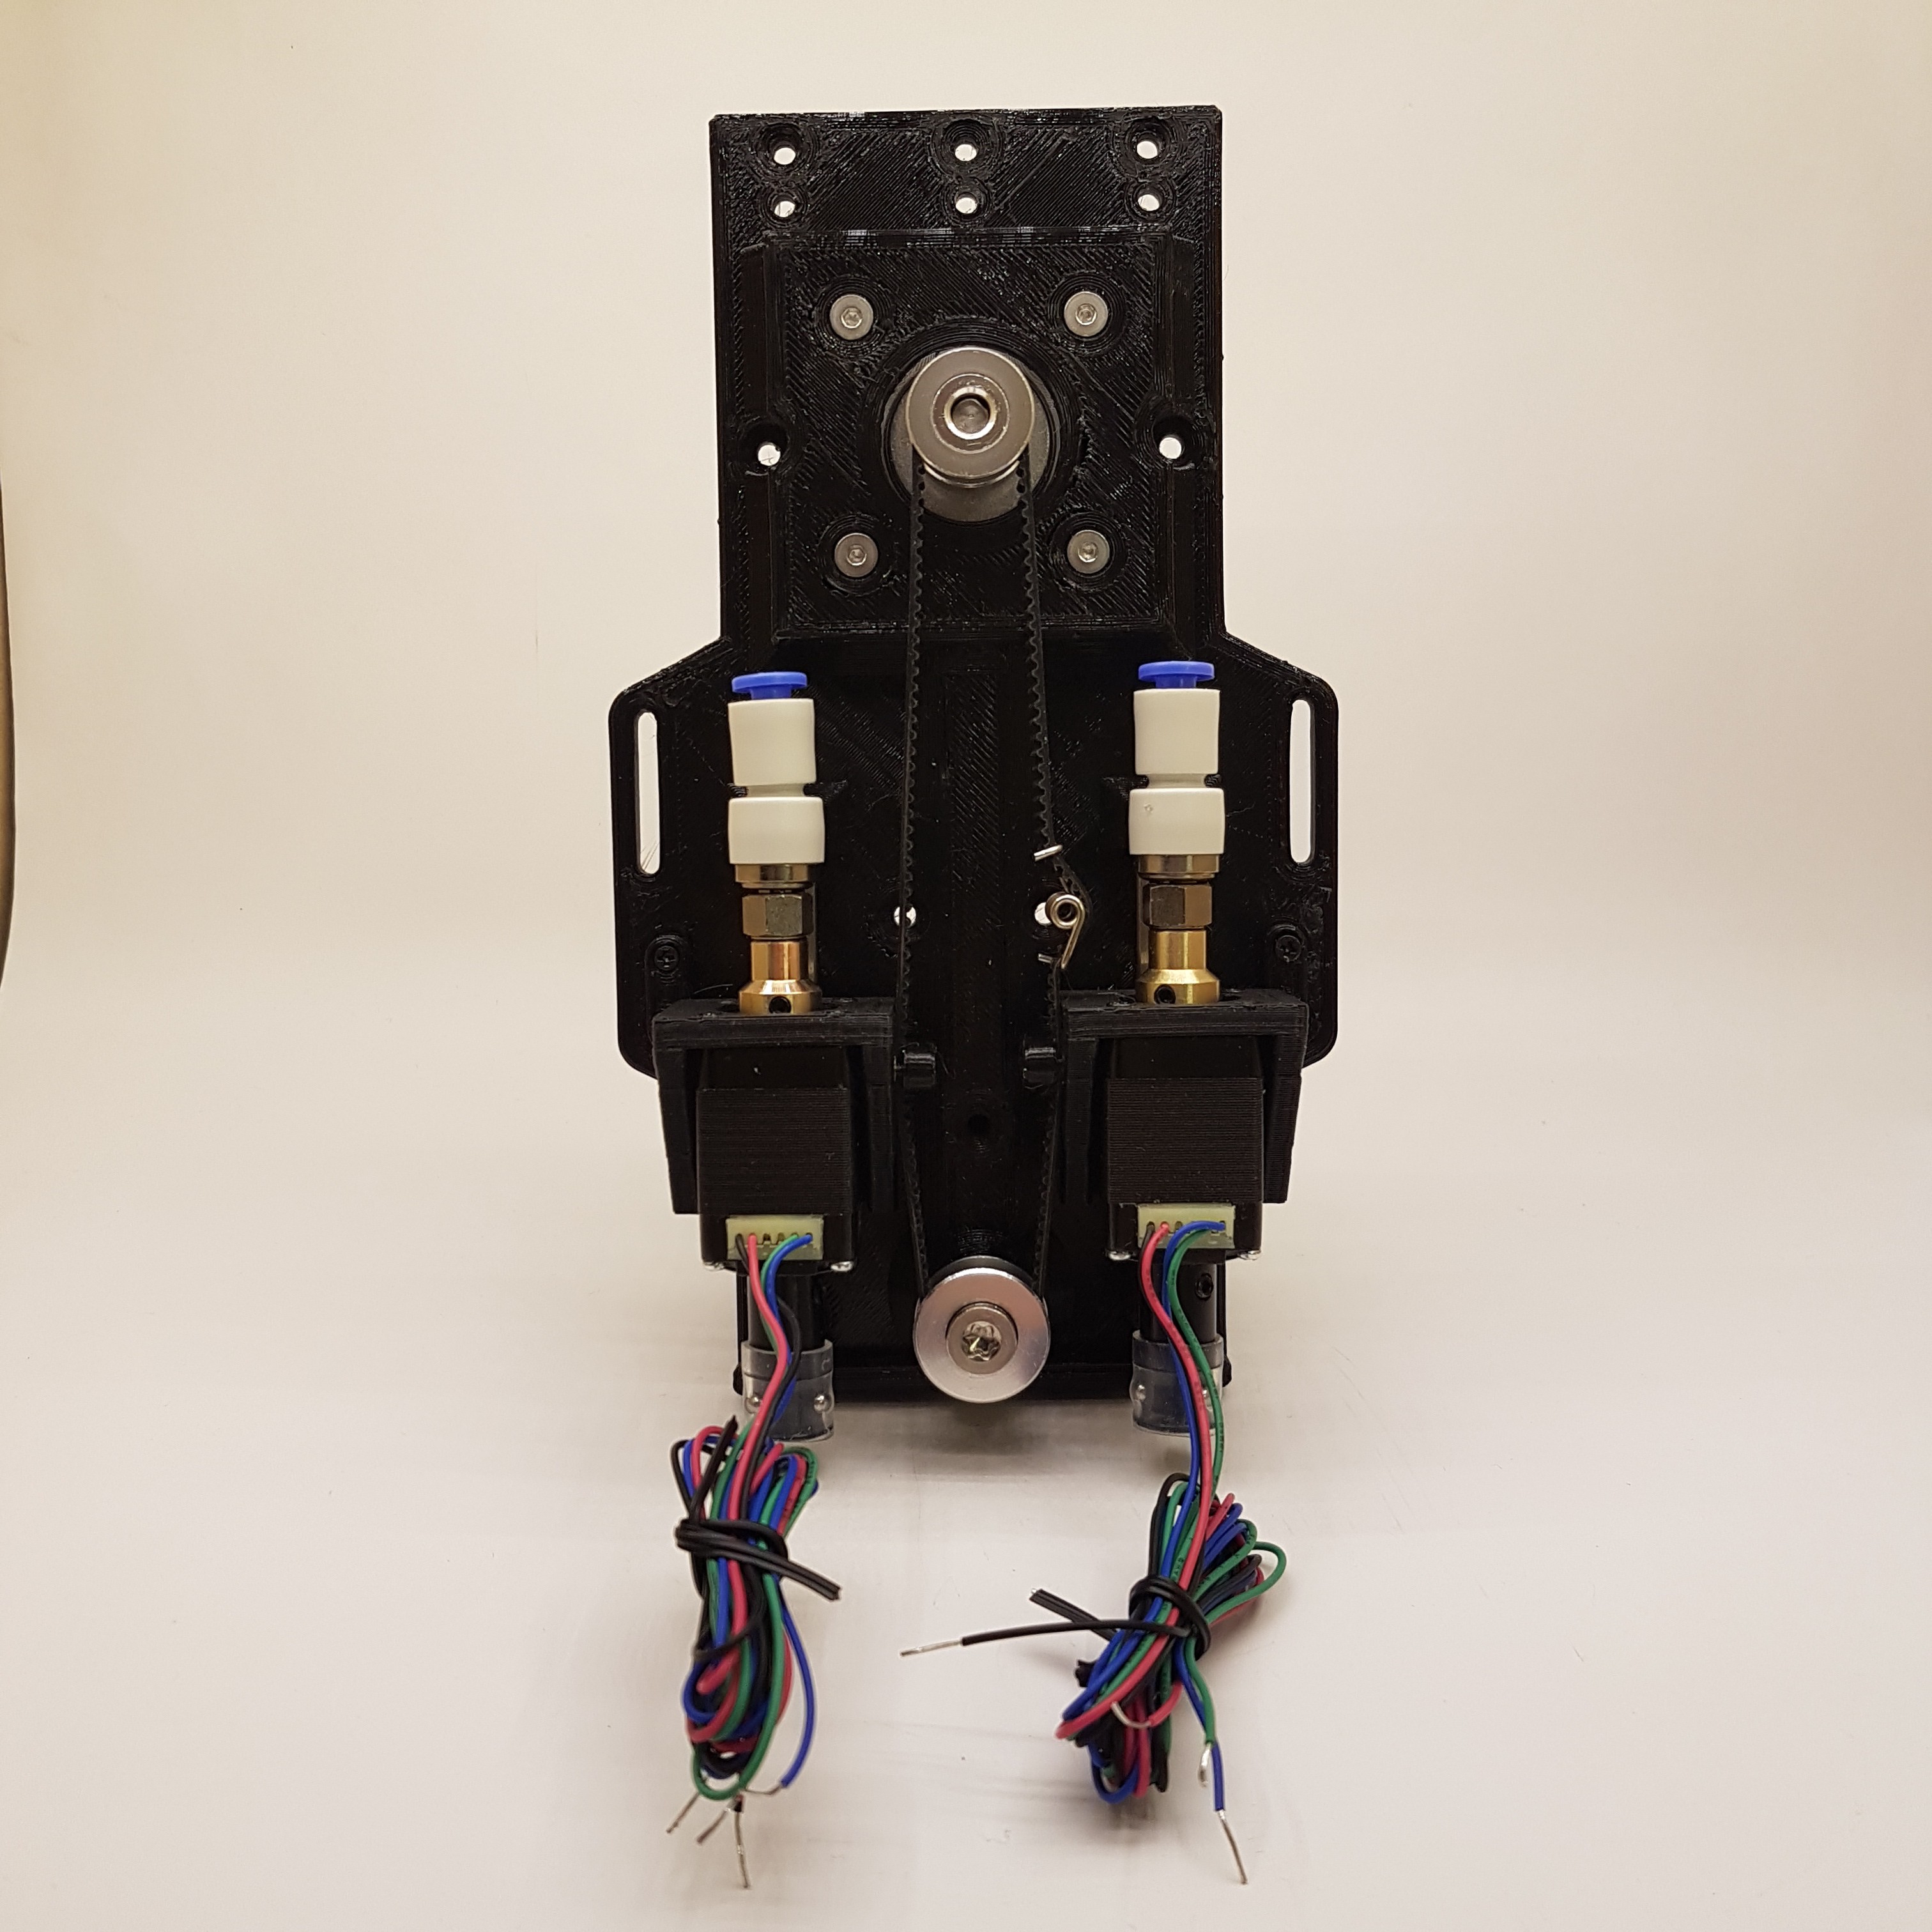
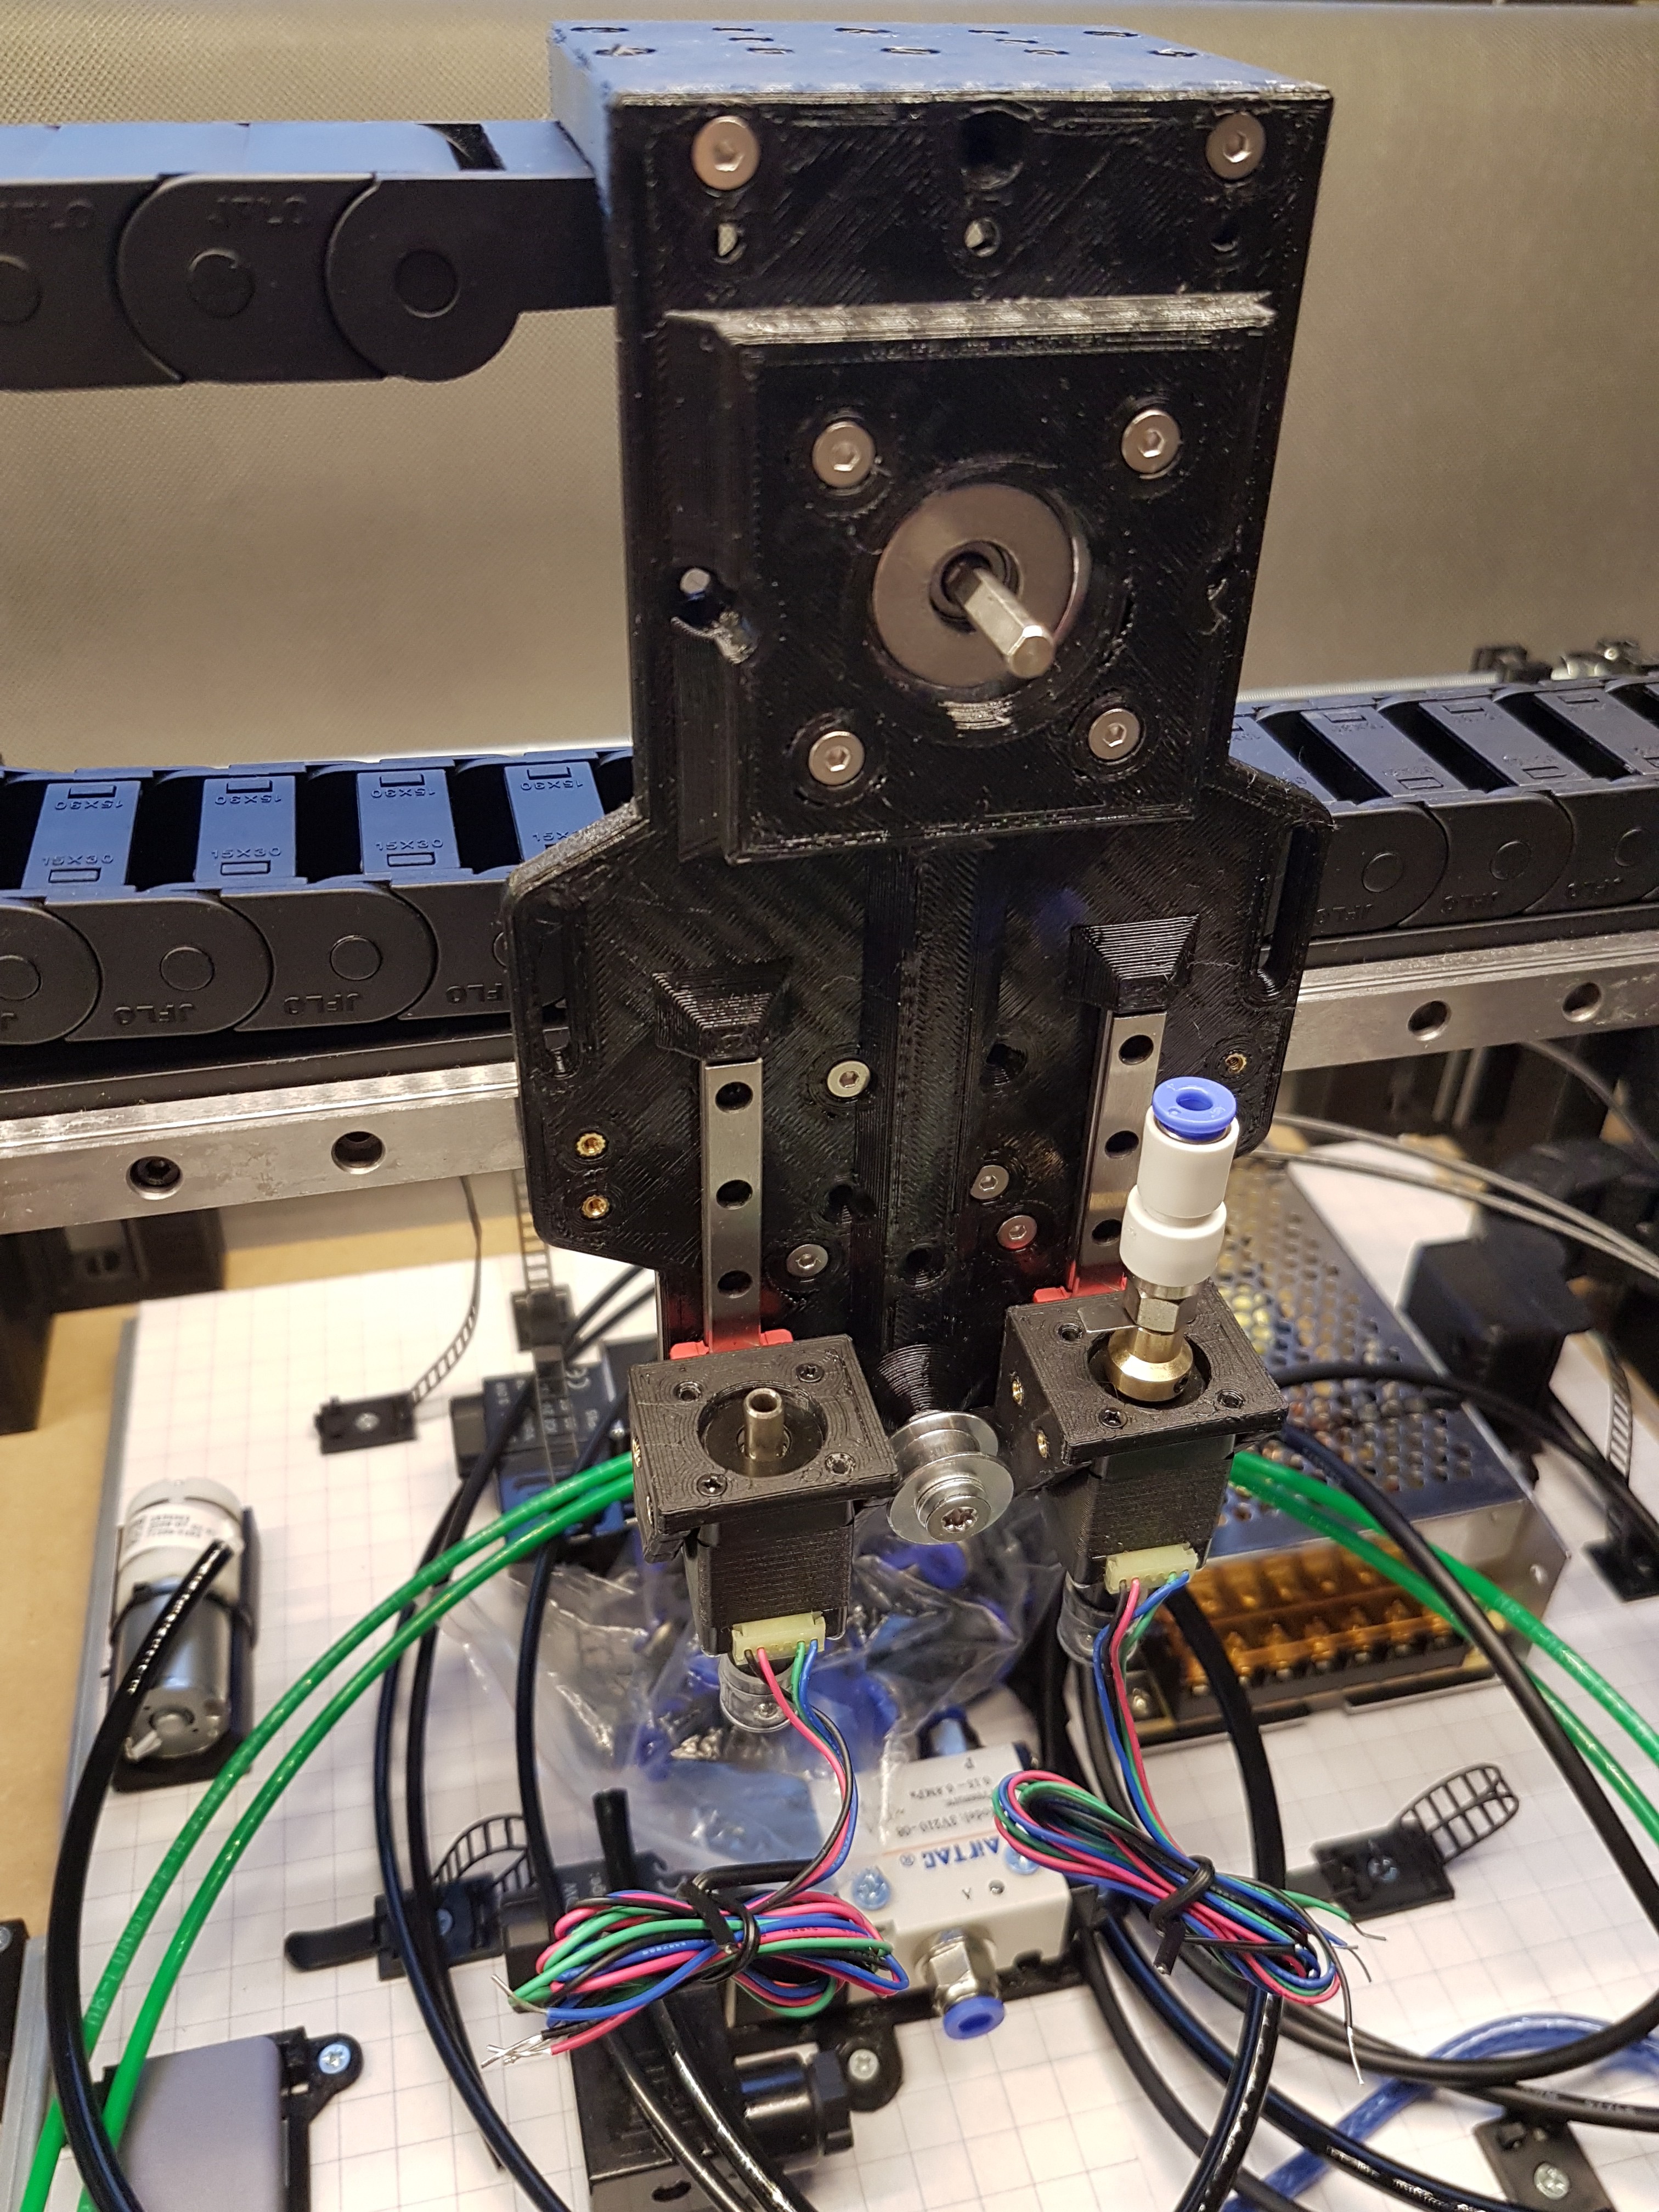
Most of the mechanical parts finished (15.01.2021):
Support:
If you want to support me, you can do so by a like this project page, on Instagram or by donating a coffee. :)


 Daren Schwenke
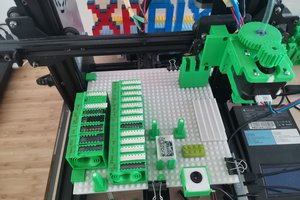
 xpDIY
xpDIY
 Les Hall
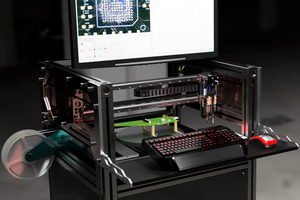
 Mika Heikkinen