0%
0%
USB 5.25-inch Floppy Disk Drive
An attempt to create a USB-connected 5.25-inch floppy drive
 Jacob Hahn
Become a Hackaday.io member
Already have an account? Log in.
Just one more thing
To make the experience fit your profile, pick a username and tell us what interests you.
Pick an awesome username
hackaday.io/
Your profile's URL: hackaday.io/username. Max 25 alphanumeric characters.
Pick a few interests
Projects that share your interests
People that share your interests


 ajlitt
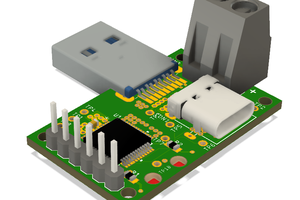
 Jakob Faltisek
 CentyLab
 Rasmus L.
I have looked at the idea of making a 5.25" floppy from scratch, using 3d printed parts and some machined elements. The use of of RP Pico as the interface glue is also part of the projected idea. I hope you reopen this project, otherwise I will certainly look at designing it myself. Regards.