 J Gleyzes
This project is the continuation of this link
Will we run out of water?
There is water almost everywhere on earth but when we talk about fresh water, there is only 2.5% on our planet. Too many people on this planet do not have access to potable water. We have to optimize usage of water in all sectors.
According to WWF: “Agriculture uses 70% of the world’s accessible freshwater, but some 60% of this is wasted due to leaky irrigation systems, inefficient application methods as well as the cultivation of crops that are too thirsty for the environment in which they are grown. This wasteful use of water is drying out rivers, lakes and underground aquifers. Many countries that produce large amounts of food—including India, China, Australia, Spain and the United States—have reached or are close to reaching their water resource limits. Added to these thirsty crops are the fact that agriculture also generates considerable freshwater pollution – both through fertilizers as well as pesticides – all of which affect both humans and other species.”
Full article here: https://www.worldwildlife.org/threats/water-scarcity
Mankind faces several problems:
- Cities will continue to grow, thus moving away from the fields, which require more transportation to bring food to towns.
- Global warming will cause major disruptions and make the weather unpredictable for farmers
- Population growth will exacerbate stress on water supplies
- Other sectors depend on fresh water such as the energy sectors that have become necessary for our civilizations.
Could we make a cultivation system to optimize the consumption of this precious water?
Could we propose a system to allow local scale production of vegetables?
Could we make a system automated enough to run in a "forget it mode"?
Specifications:
The system must meet a few criteria:
- Closed water circuit: this way, water is reused and contamination of the water table is avoided
- The least noise possible: this system must be able to works in the apartments of the big cities (those that do not have a garden)
- Optimization of electricity: energy also depends on water
- Cheap as possible: accessible to the greatest number
- Put the most plants in the smallest space
- Completely automatic
Hydroponics corresponds to almost all the criteria mentioned above but why did you choose ultraponic?
Why ultraponics?
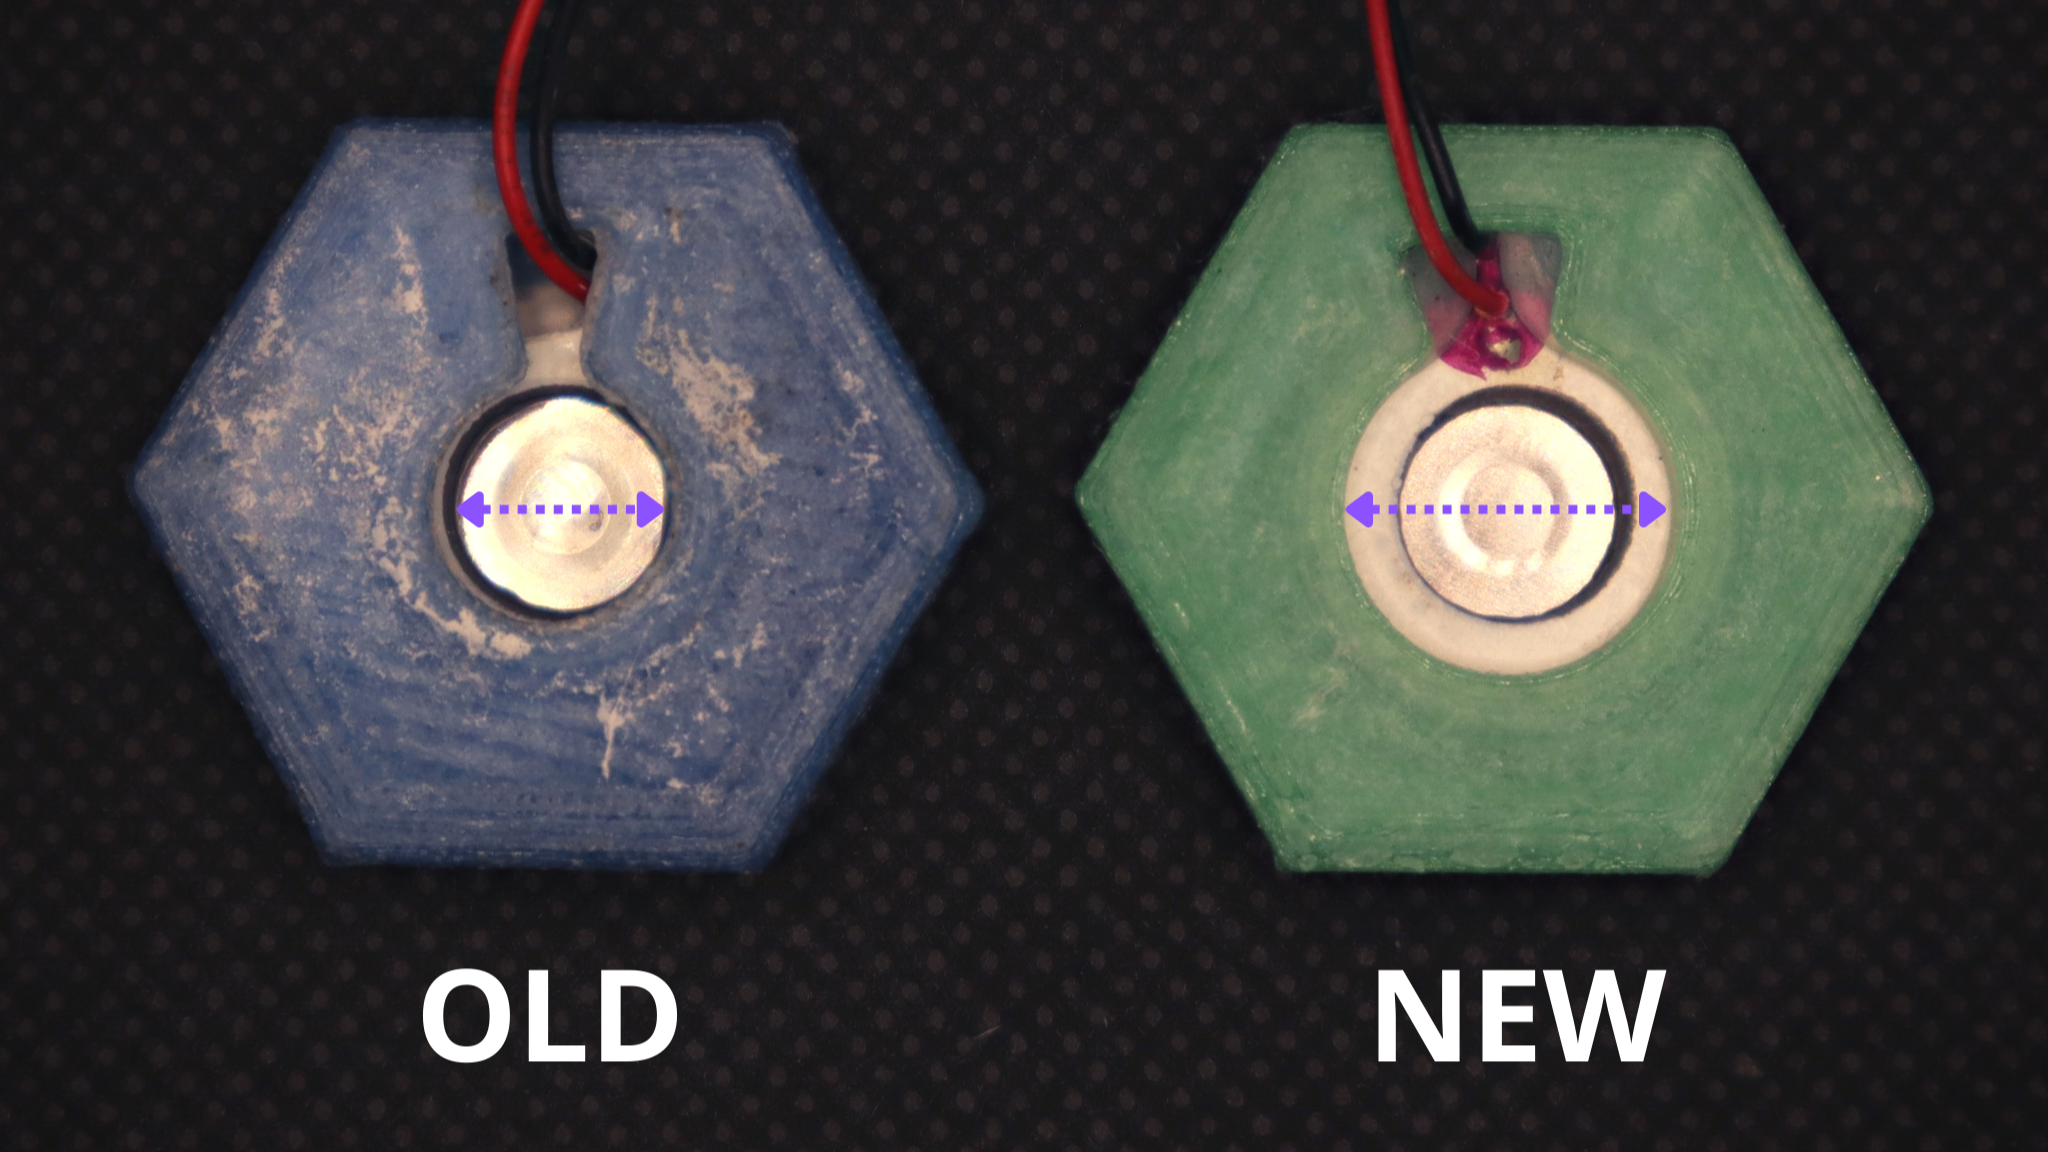
On paper it is the most efficient technology (with aeroponics) to grow plants. Indeed, the roots receive the minerals through a mist composed of water droplets between 10 microns and 20 microns, thus simplifying the absorption of nutrients by the plant. Ceramic discs that are vibrated at their resonance frequency create this mist. The discs, contrary to aeroponics, are very quiet, allowing the use of this system in an apartment. Real aeroponic systems with high pressure also consume a lot of energy.
Difference between aeroponic and ultraponic system in this log.
You will say that there are several discs with different frequencies! You are right, so which one did we choose?
Different technologies of disks:
We can differentiate the various disks according to their resonance frequencies.
We have on one side the 110 kHz disks and on the other the 1.7 MHz disks.

The temperature of the water is very important for growing plants so we have discarded the 1.7 MHz disks, which heat up the water after prolonged use.
Explanation in this log.
Now that we have chosen the right disk, we can focus our attention on the tower!
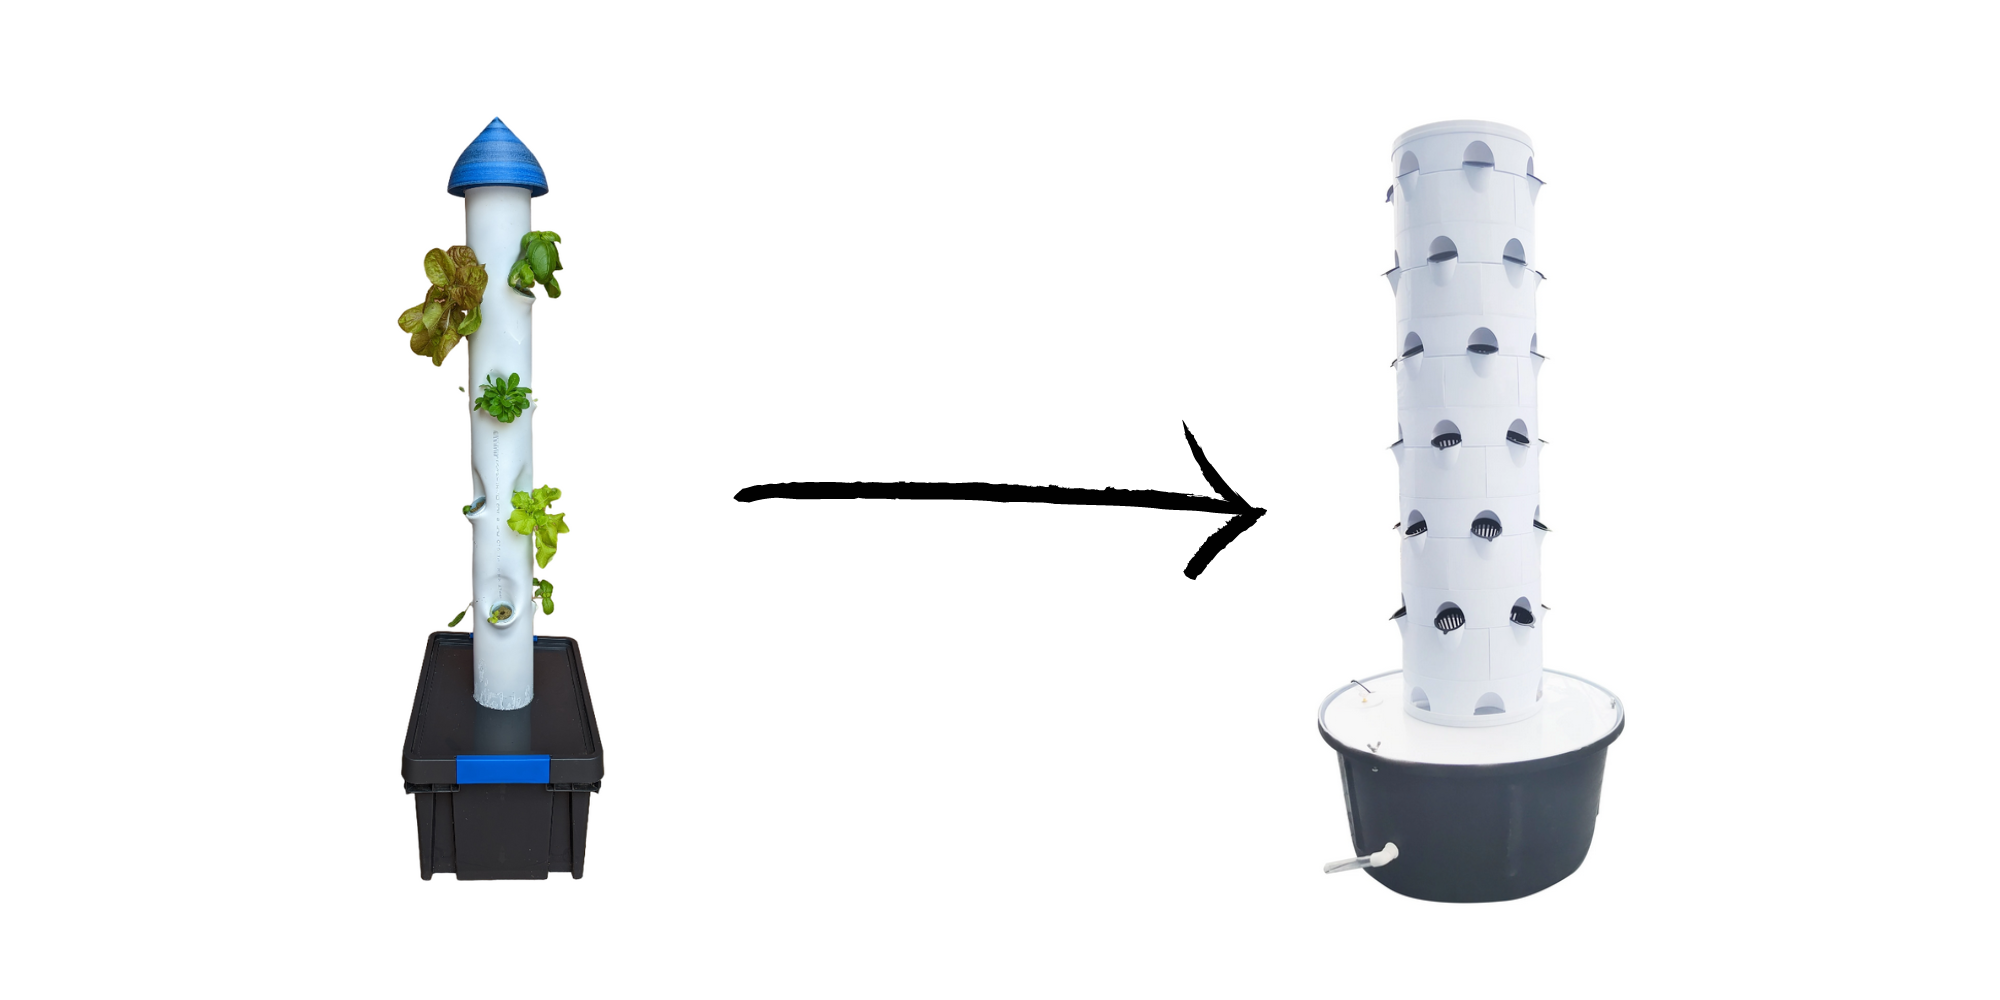
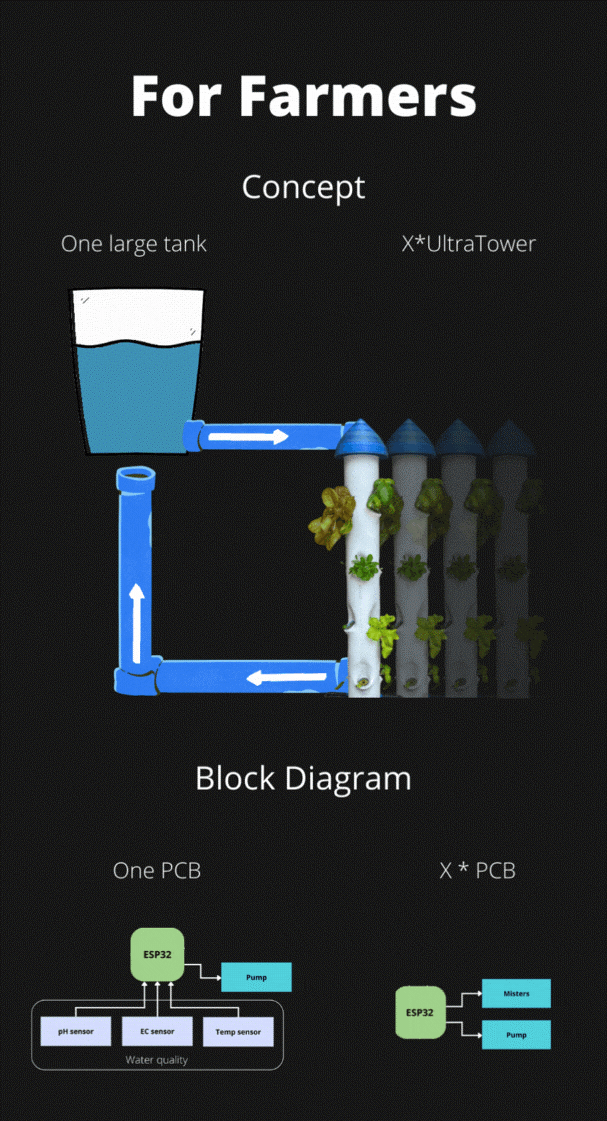
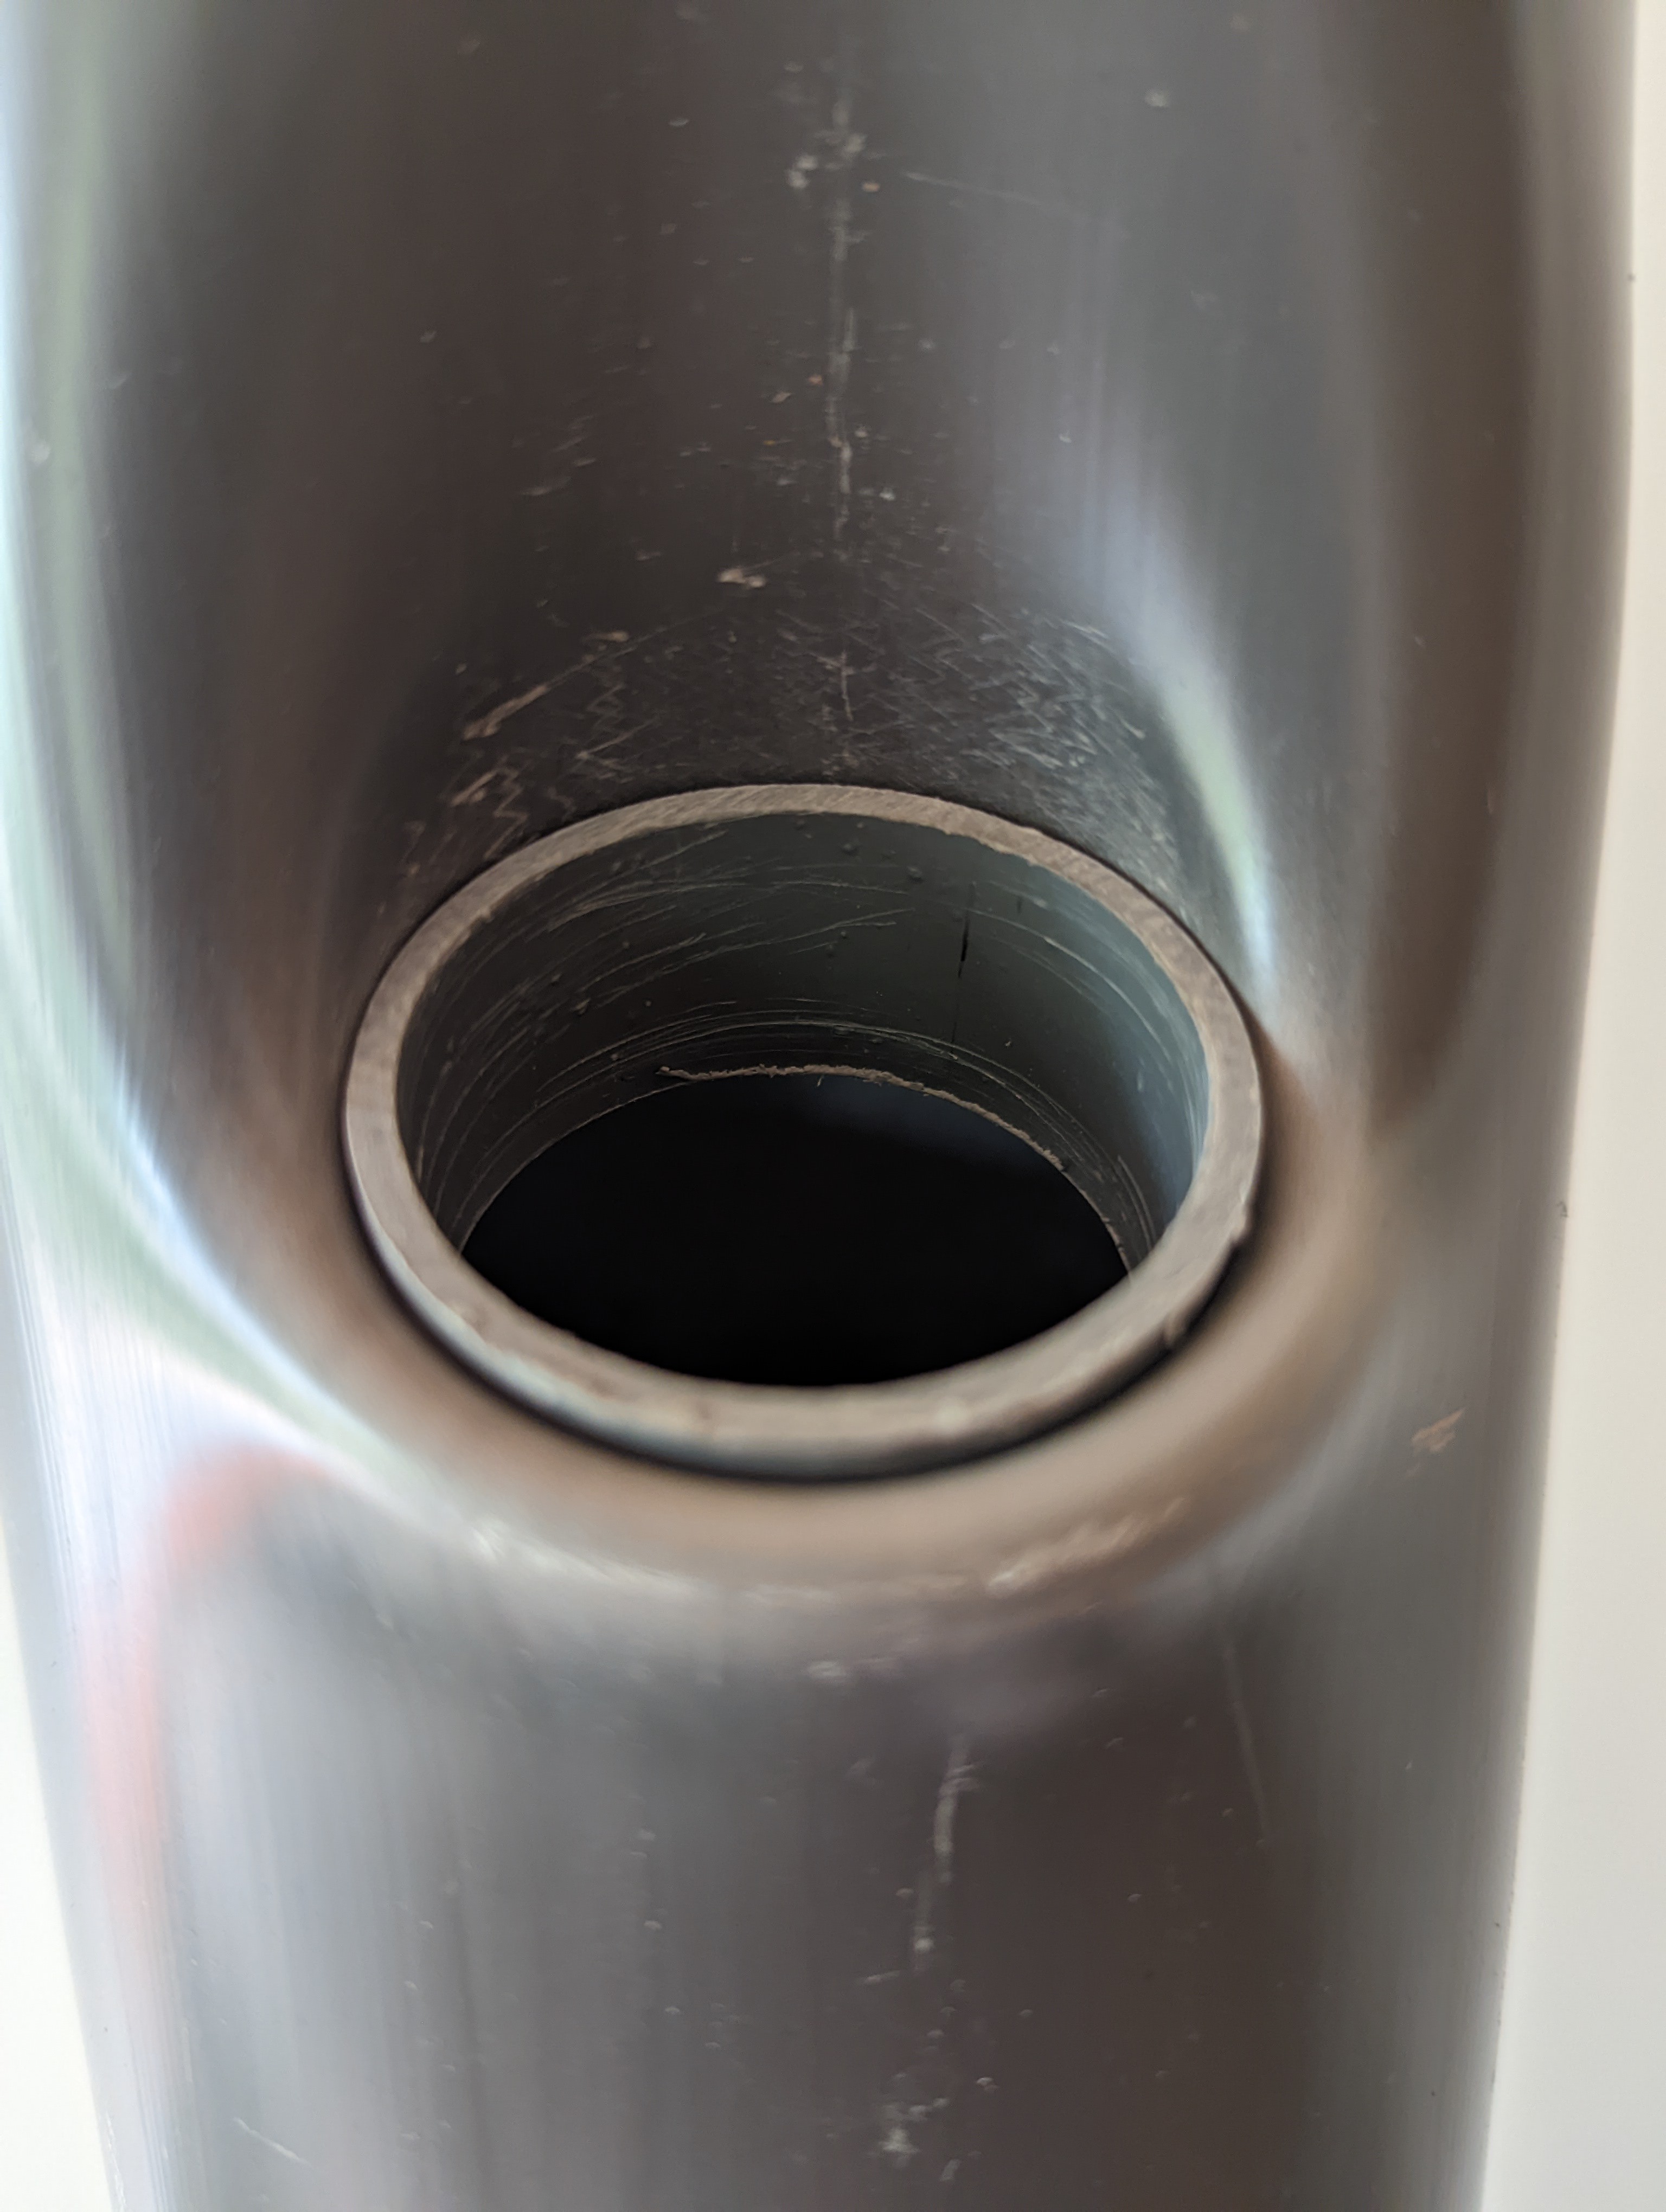
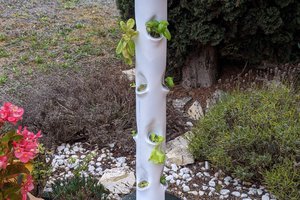
The ultraponic tower:
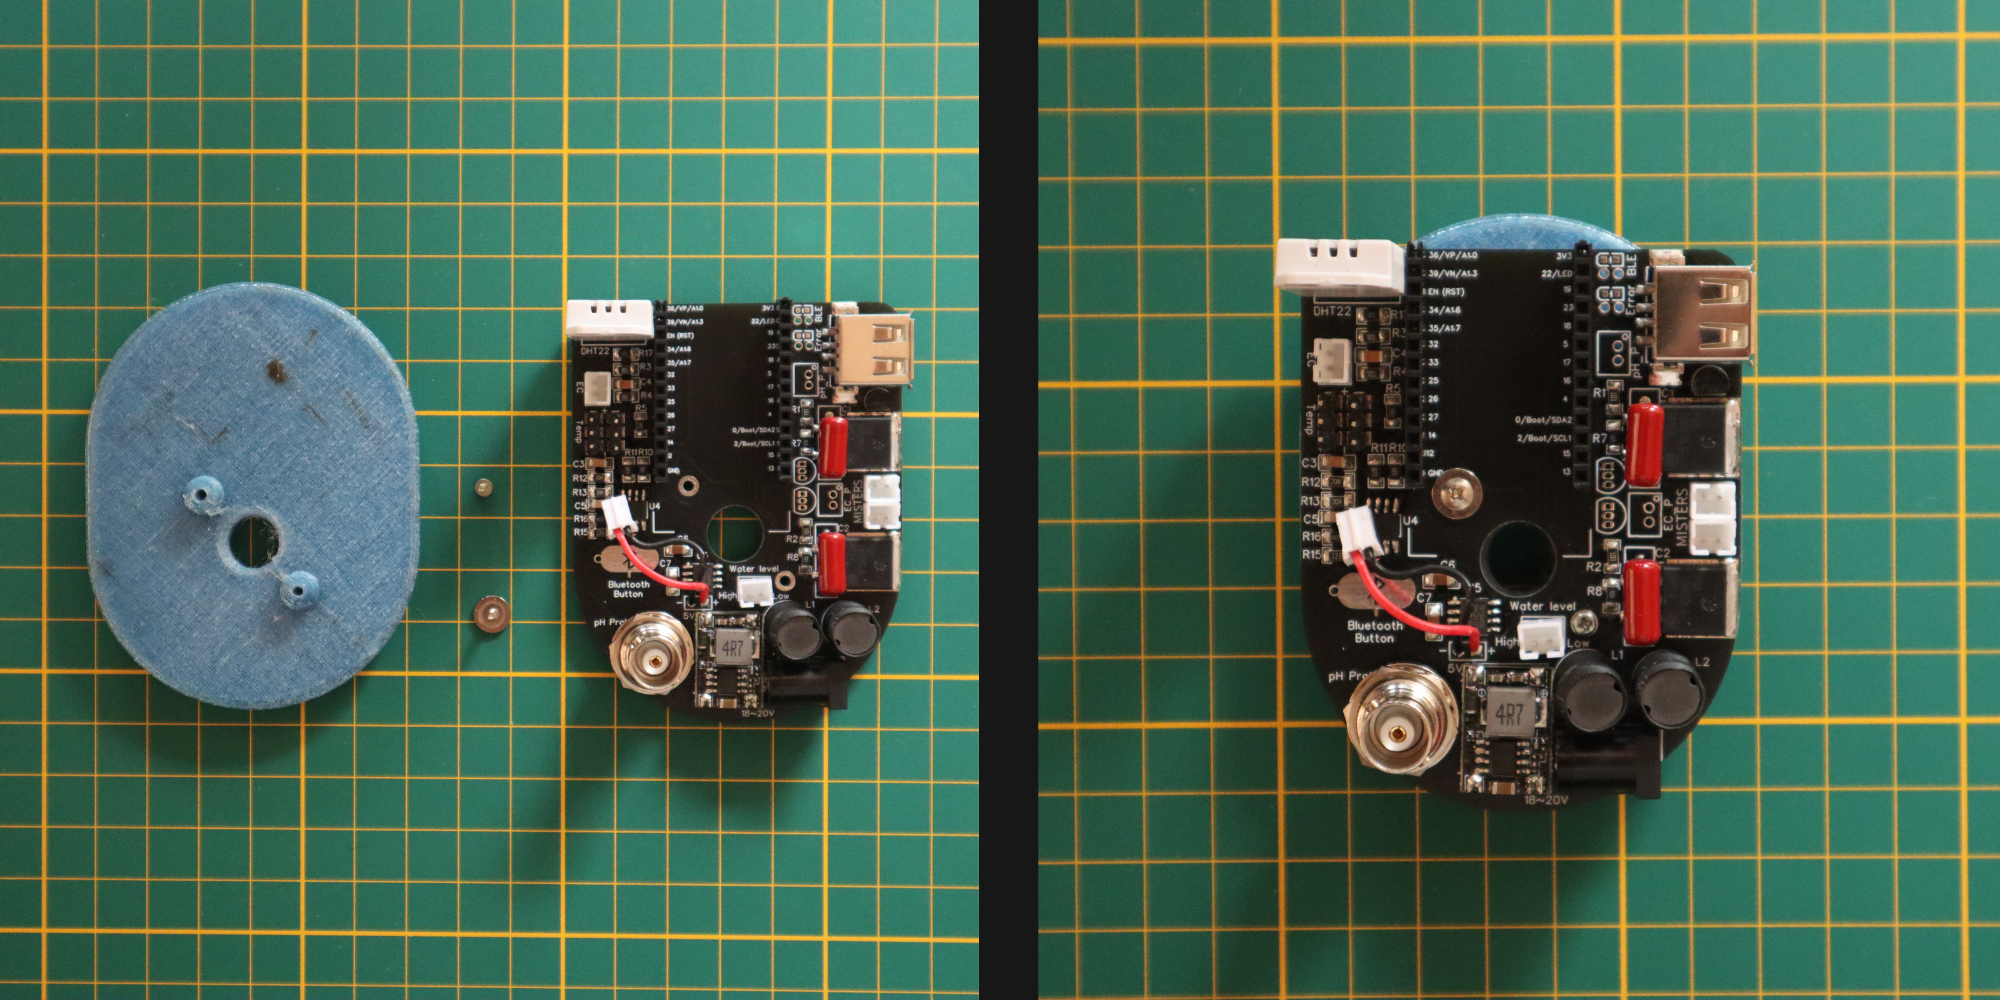
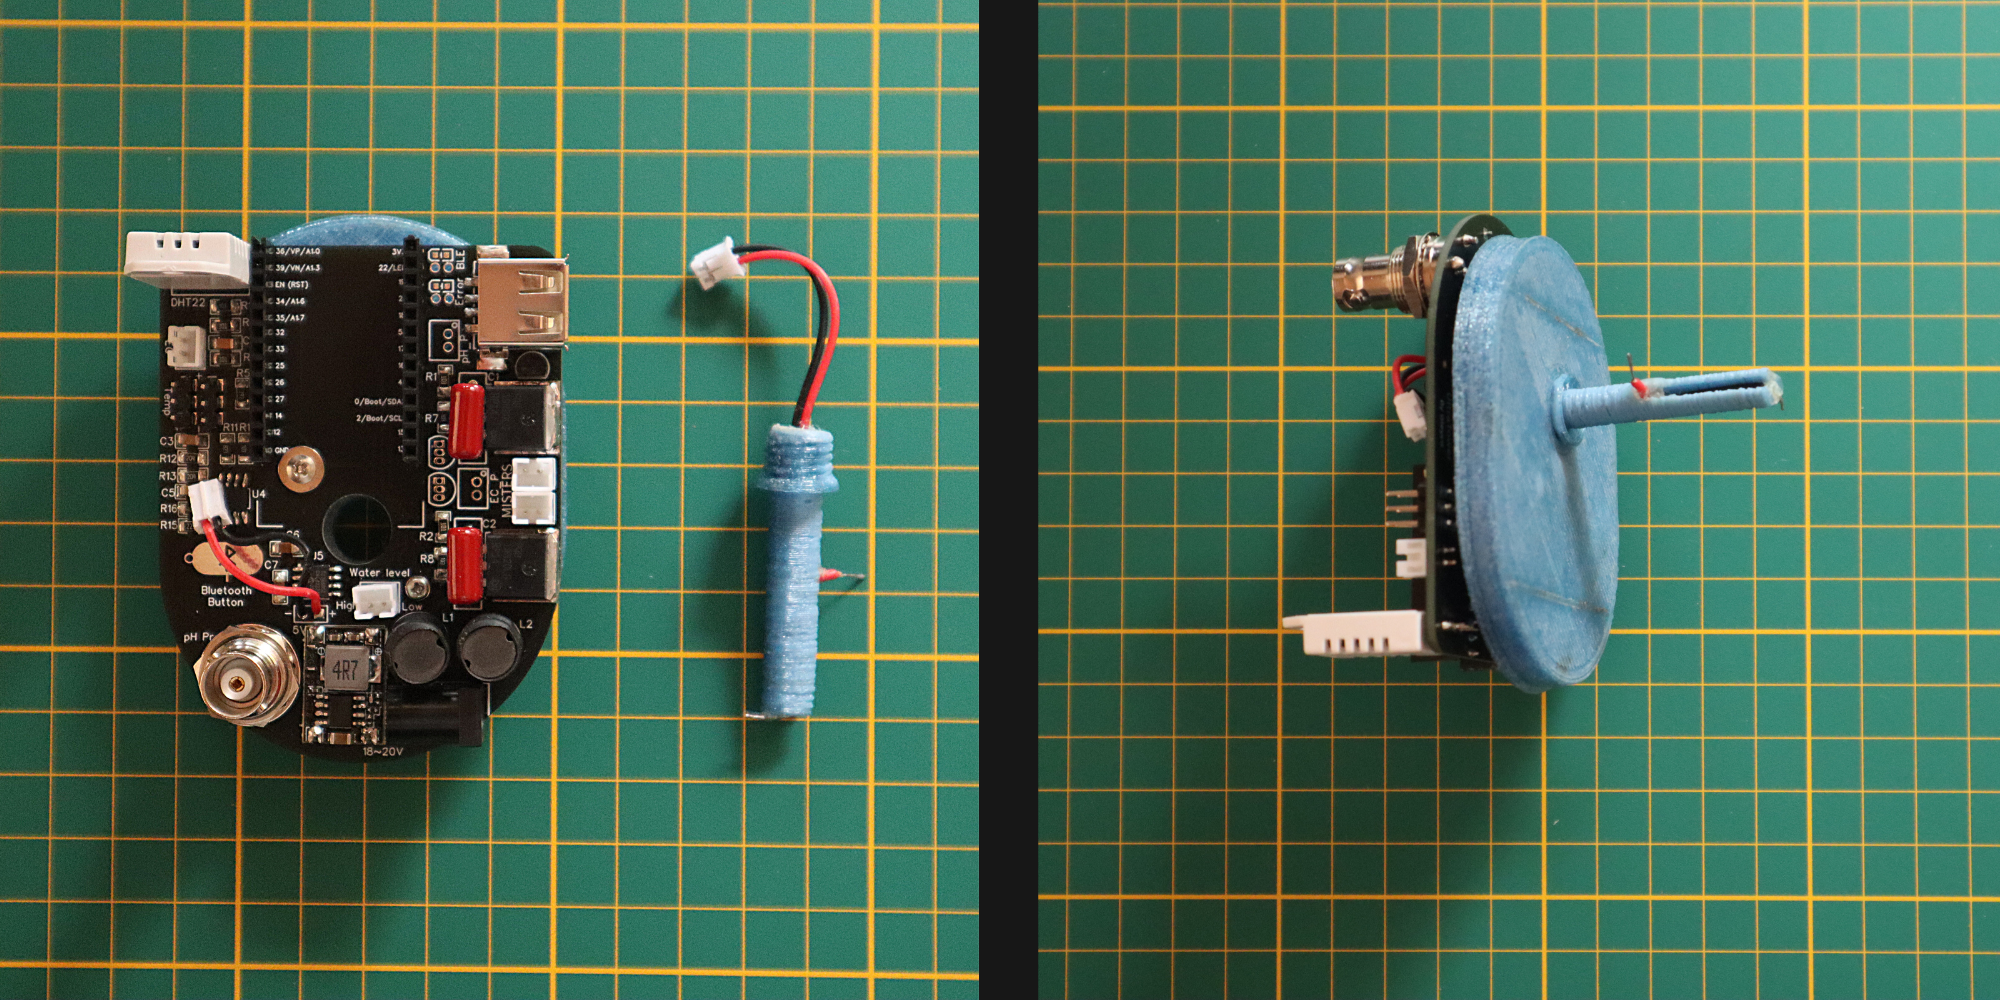
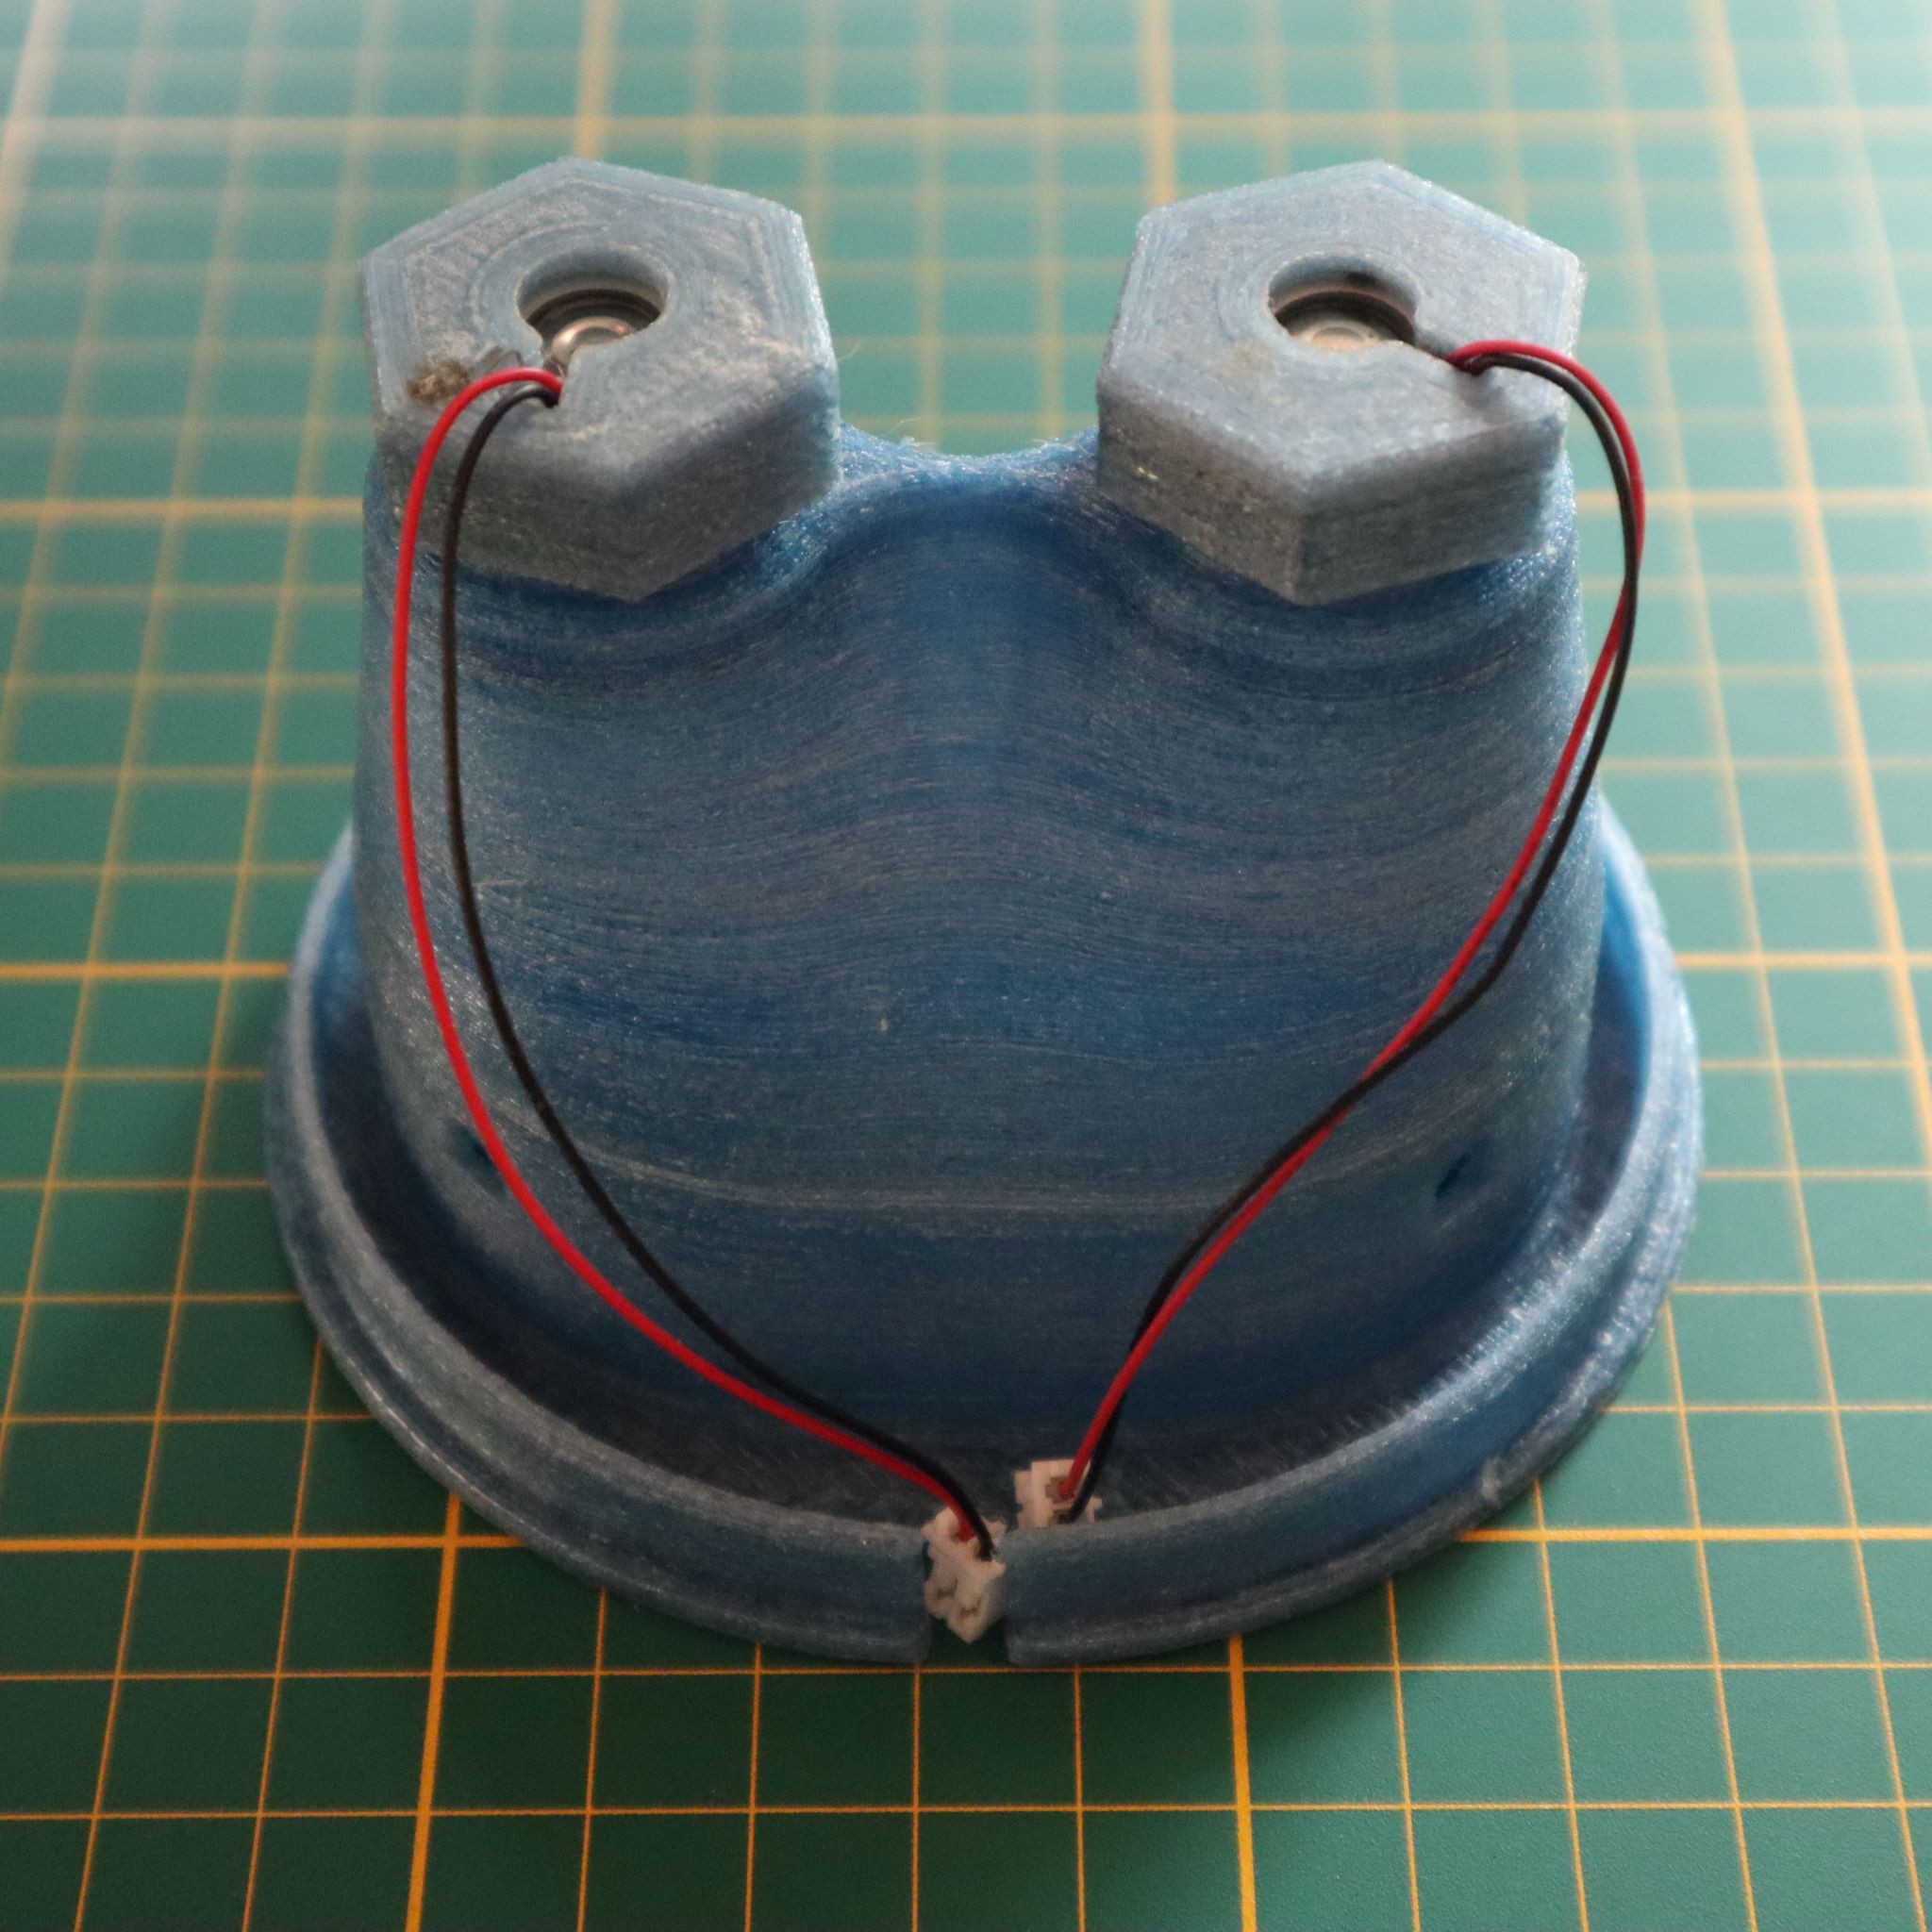
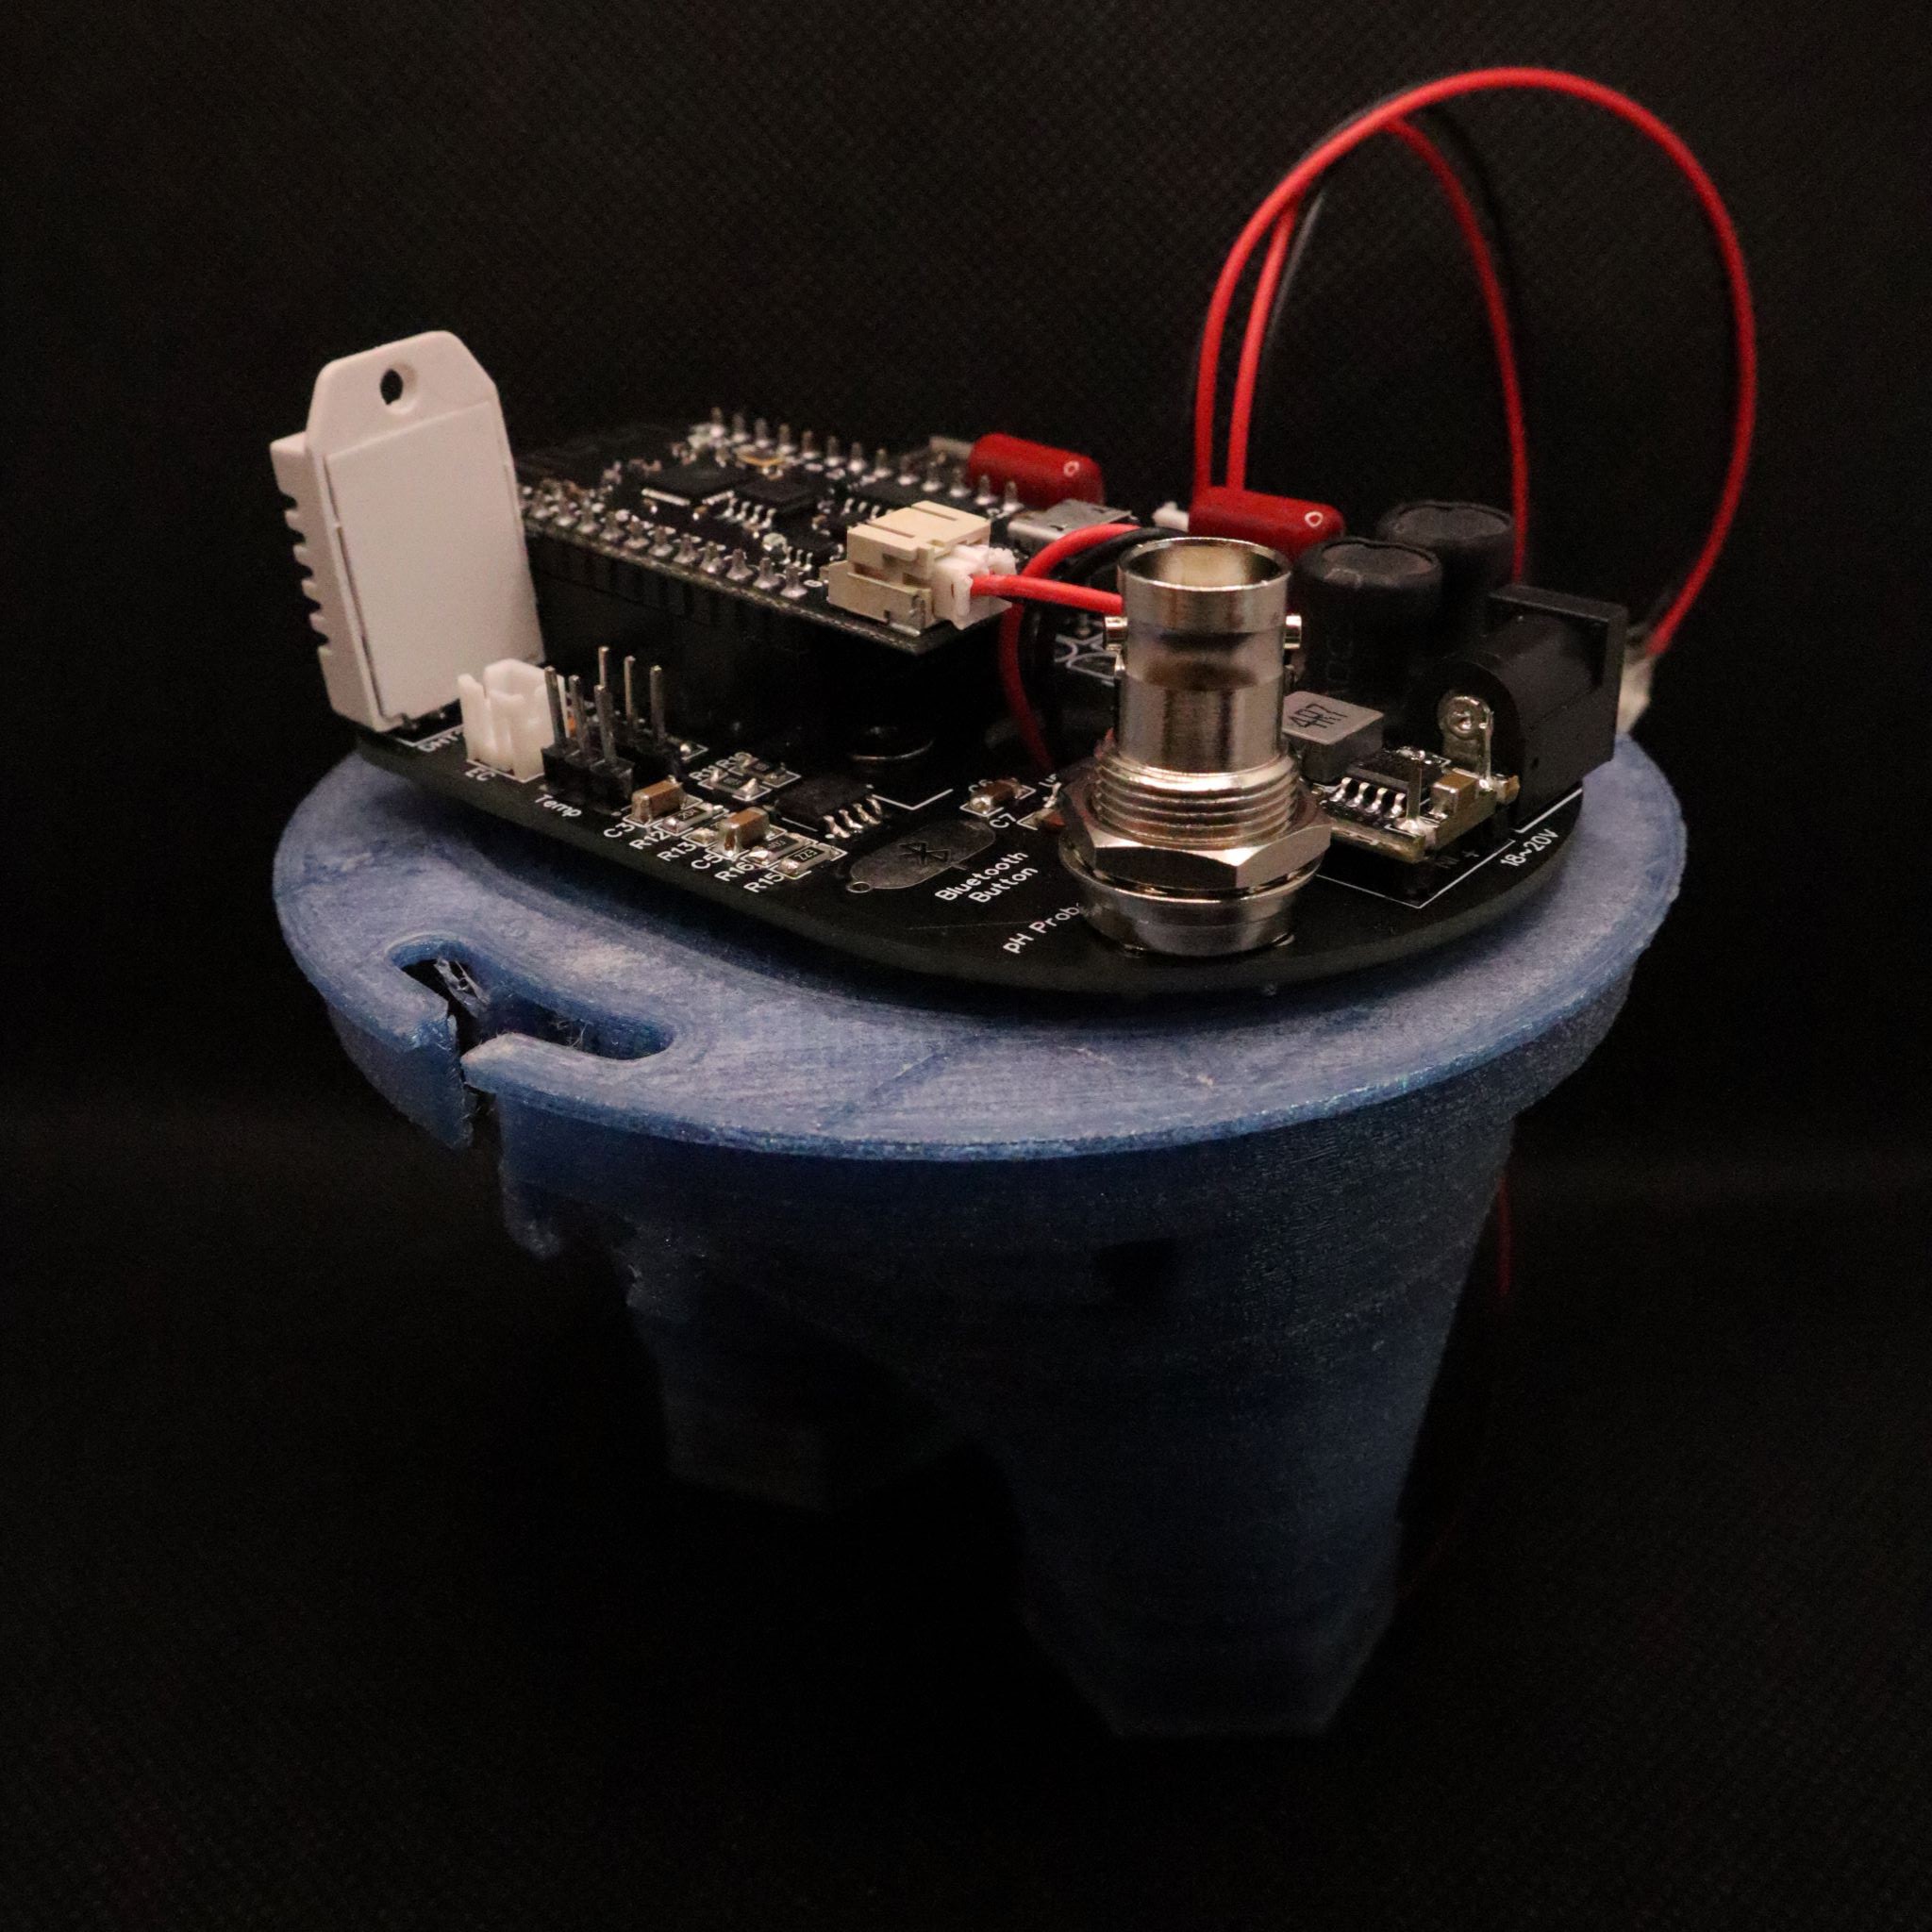
The tower consists in a main reservoir (a plastic box) at the bottom that contains most of the water and recovers it after the watering cycles. The 100mm PVC pipe acts as a root chamber, which can accommodate 12 plants. At the top of this pipe there is a small tank that contains two piezoelectric disks that create the mist. The electronics are at the top of the tower on the small tank,...
Read more »


 Lithium ION
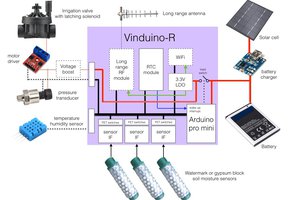
 Reinier van der Lee