 Bram Peirs @ FW2W
A printer for the people that want to print BIG objects at industrial quality levels with a 200EUR household 3D-printer.
0%
0%
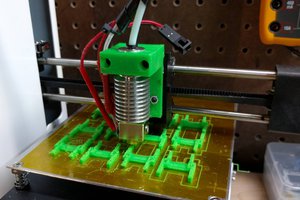
XL Long bed 3D-printer conversion
This how-to will show how to fit a longer bed on any flashable 3D-printer. We use the long bed ourselves to print windturbine blades.
Become a Hackaday.io member
Already have an account? Log in.
Just one more thing
To make the experience fit your profile, pick a username and tell us what interests you.
Pick an awesome username
hackaday.io/
Your profile's URL: hackaday.io/username. Max 25 alphanumeric characters.
Pick a few interests
Projects that share your interests
People that share your interests

 Benchoff
 Mateo Miličević
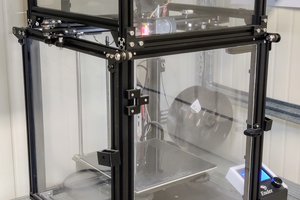
 Federico Virdia
 Gorky
Gorky