 Scott G
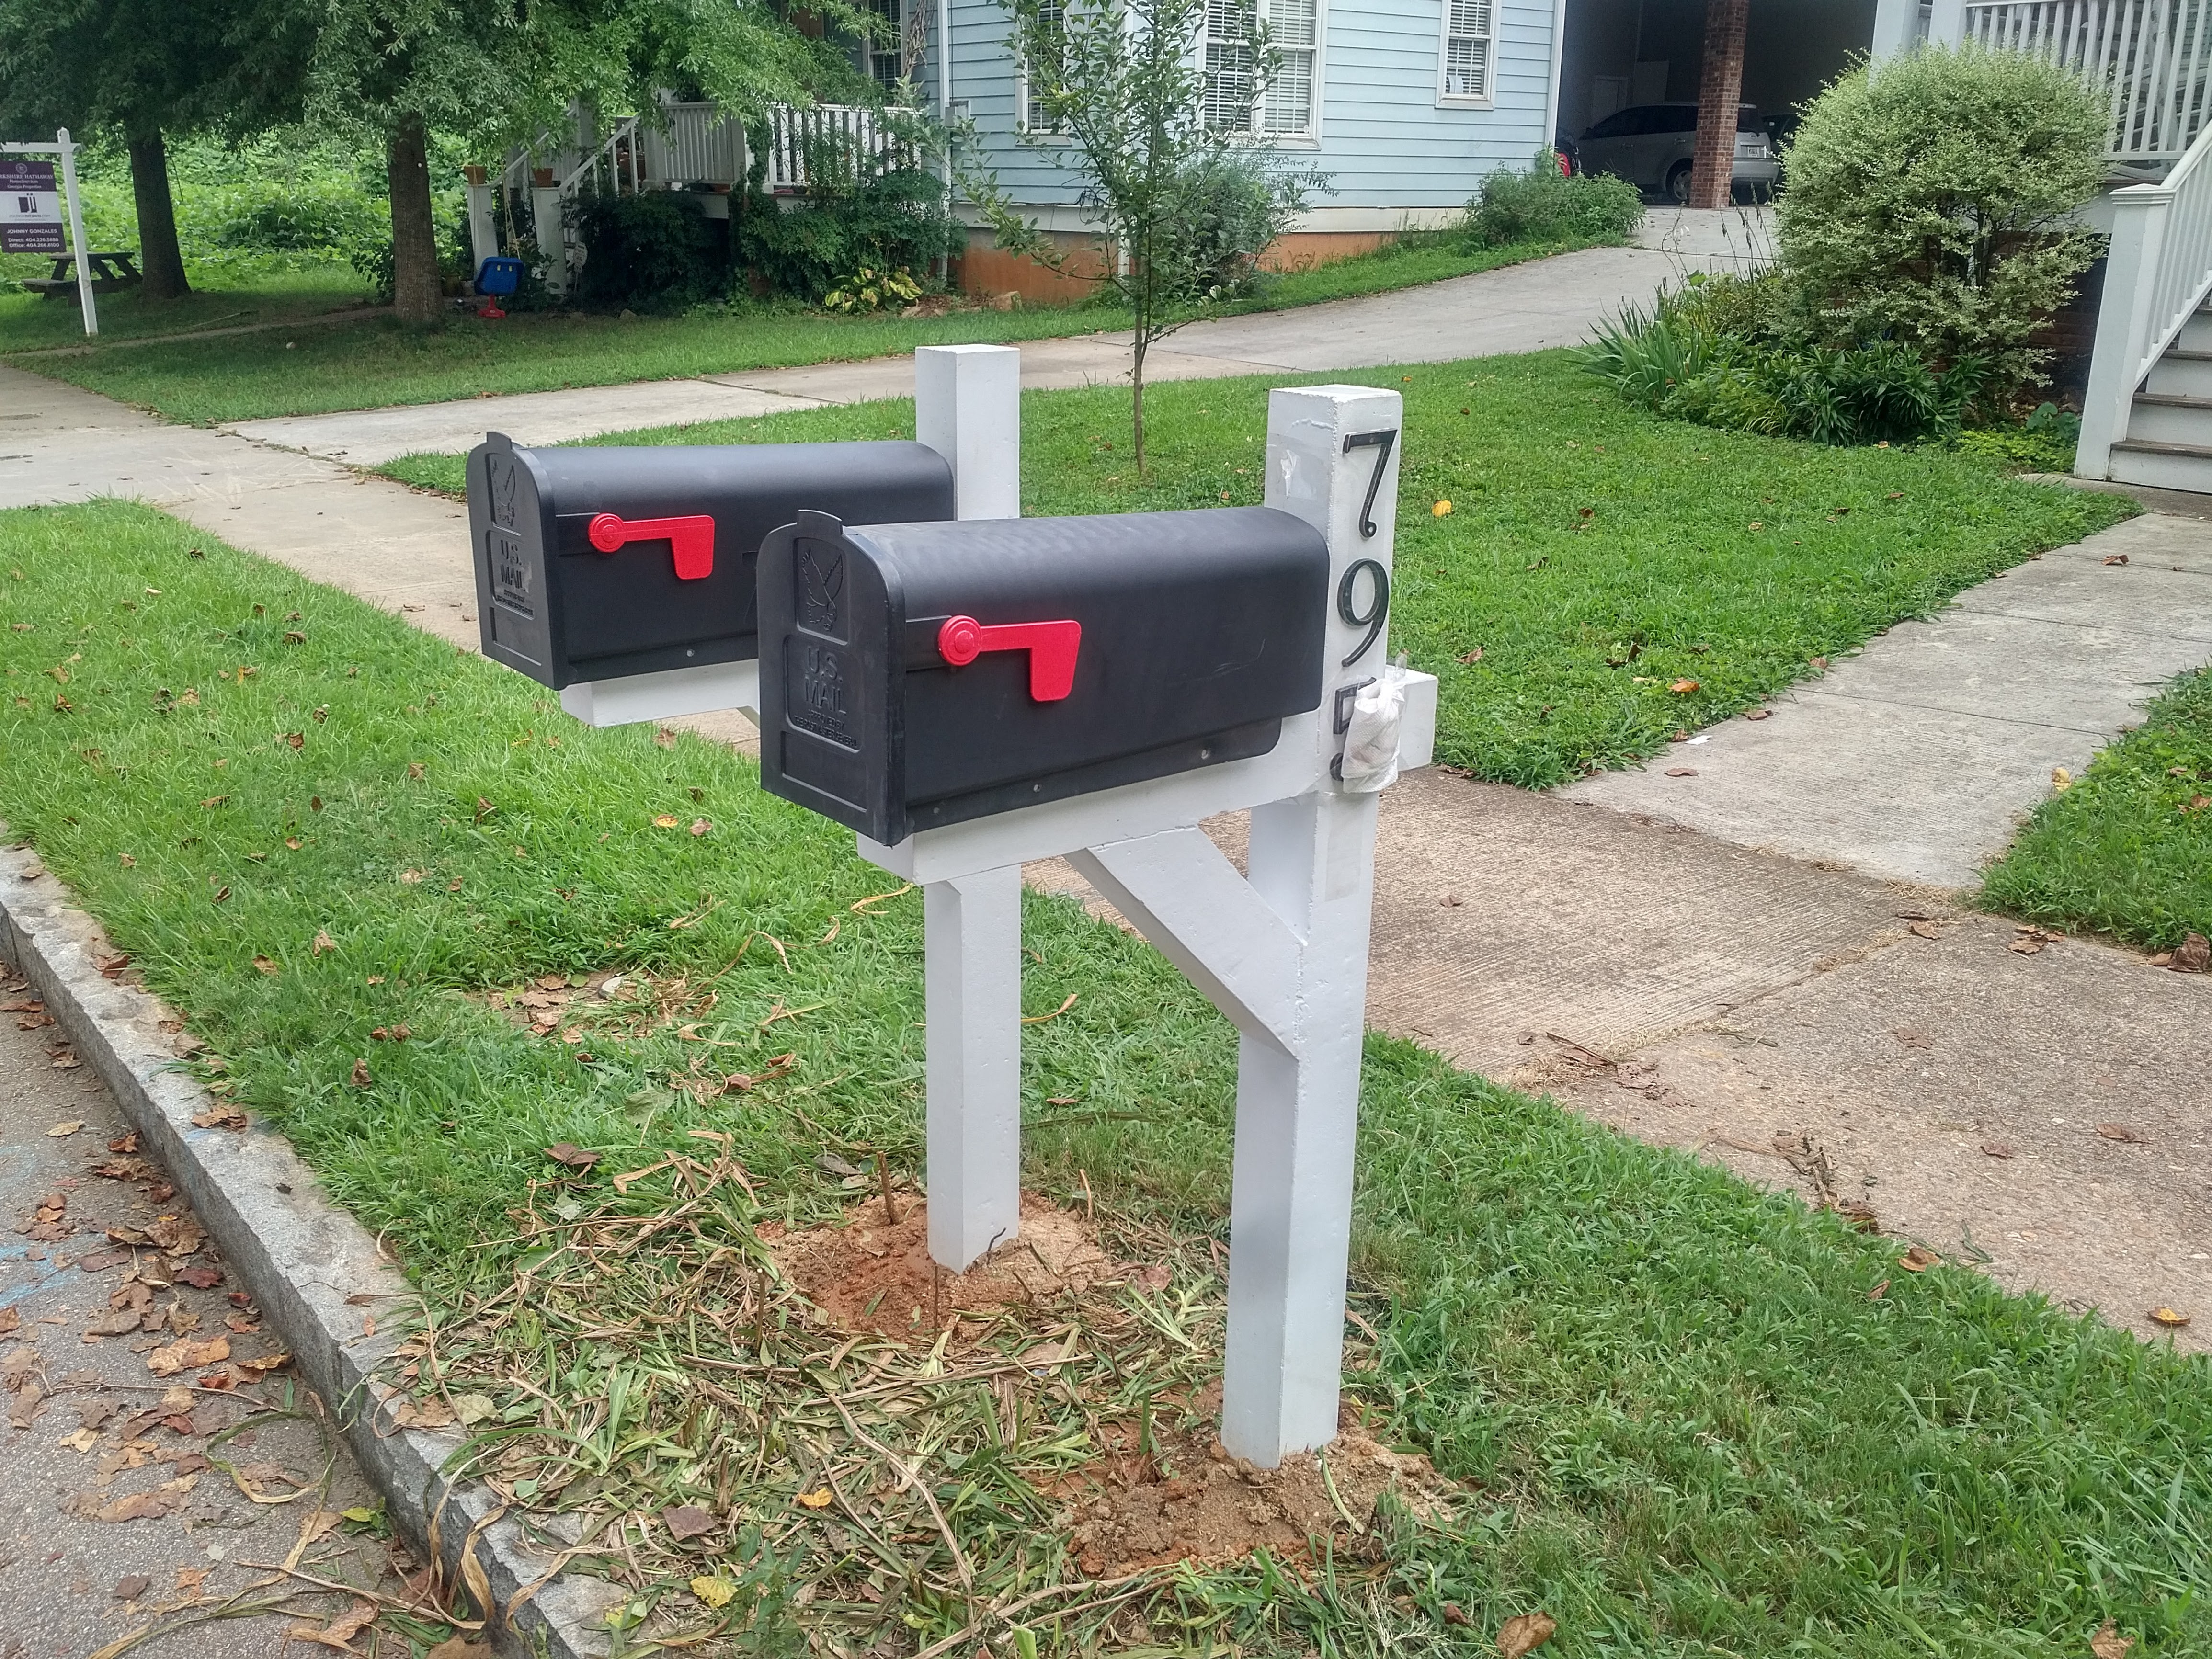
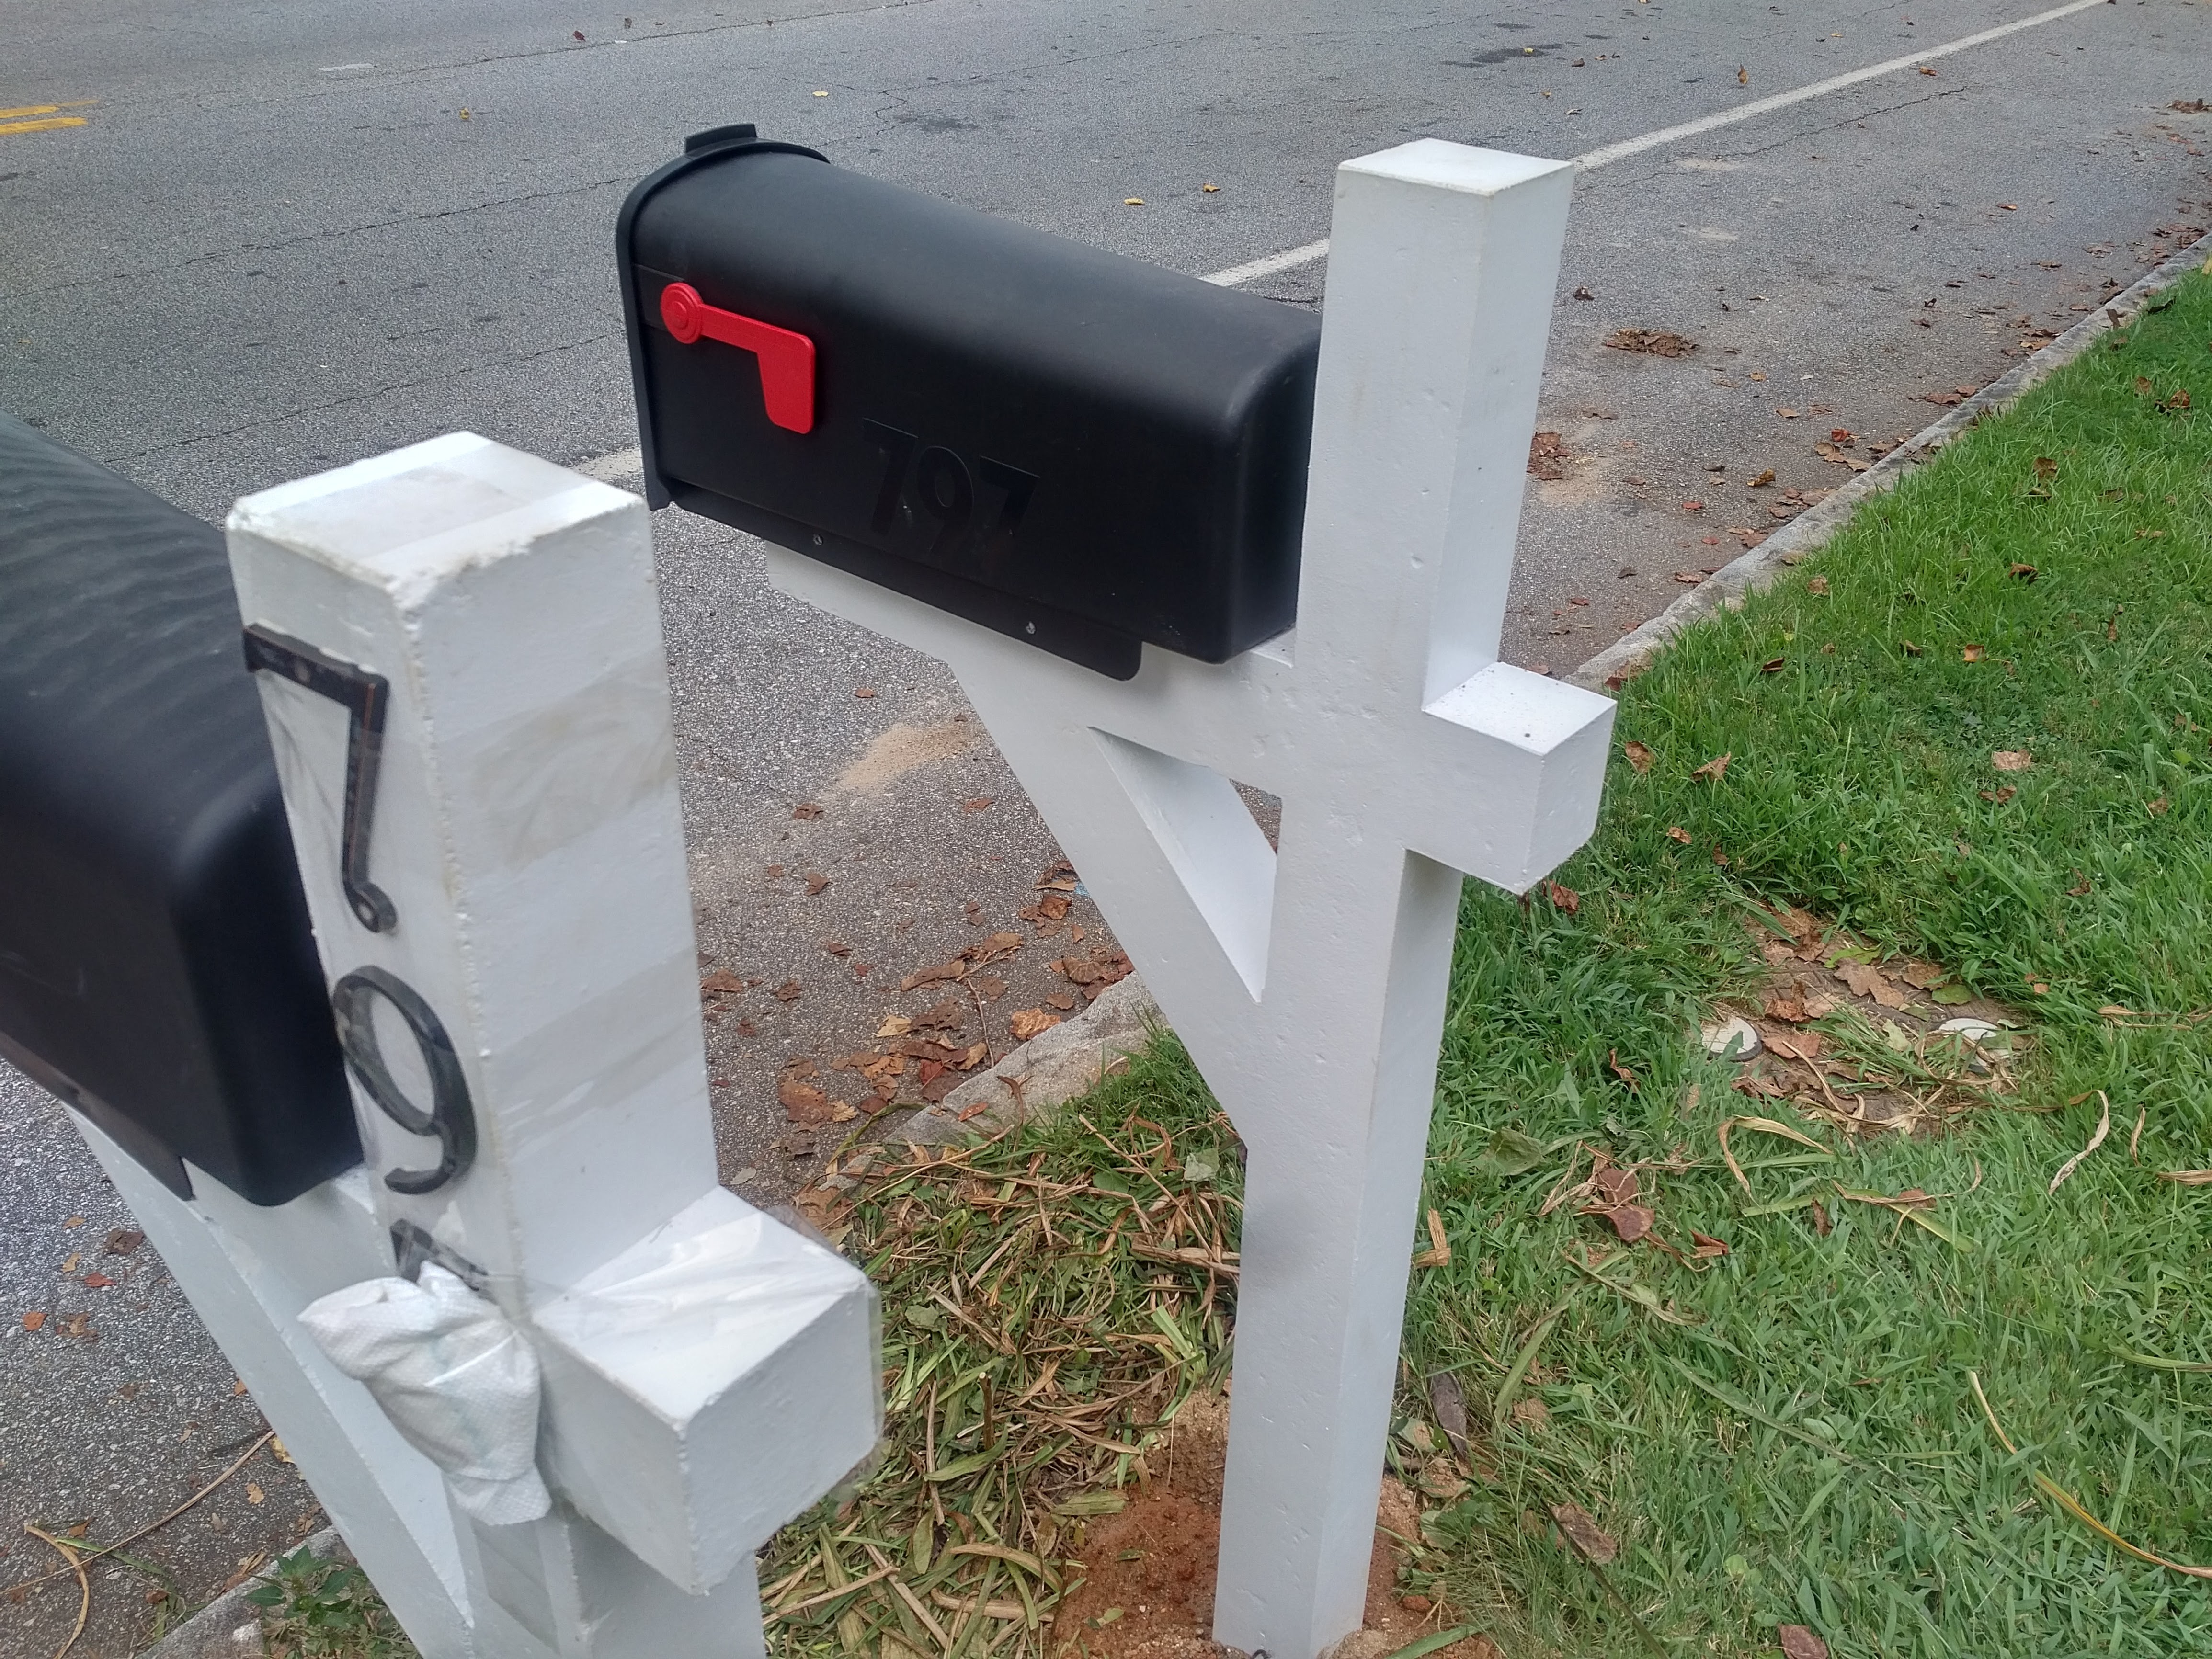
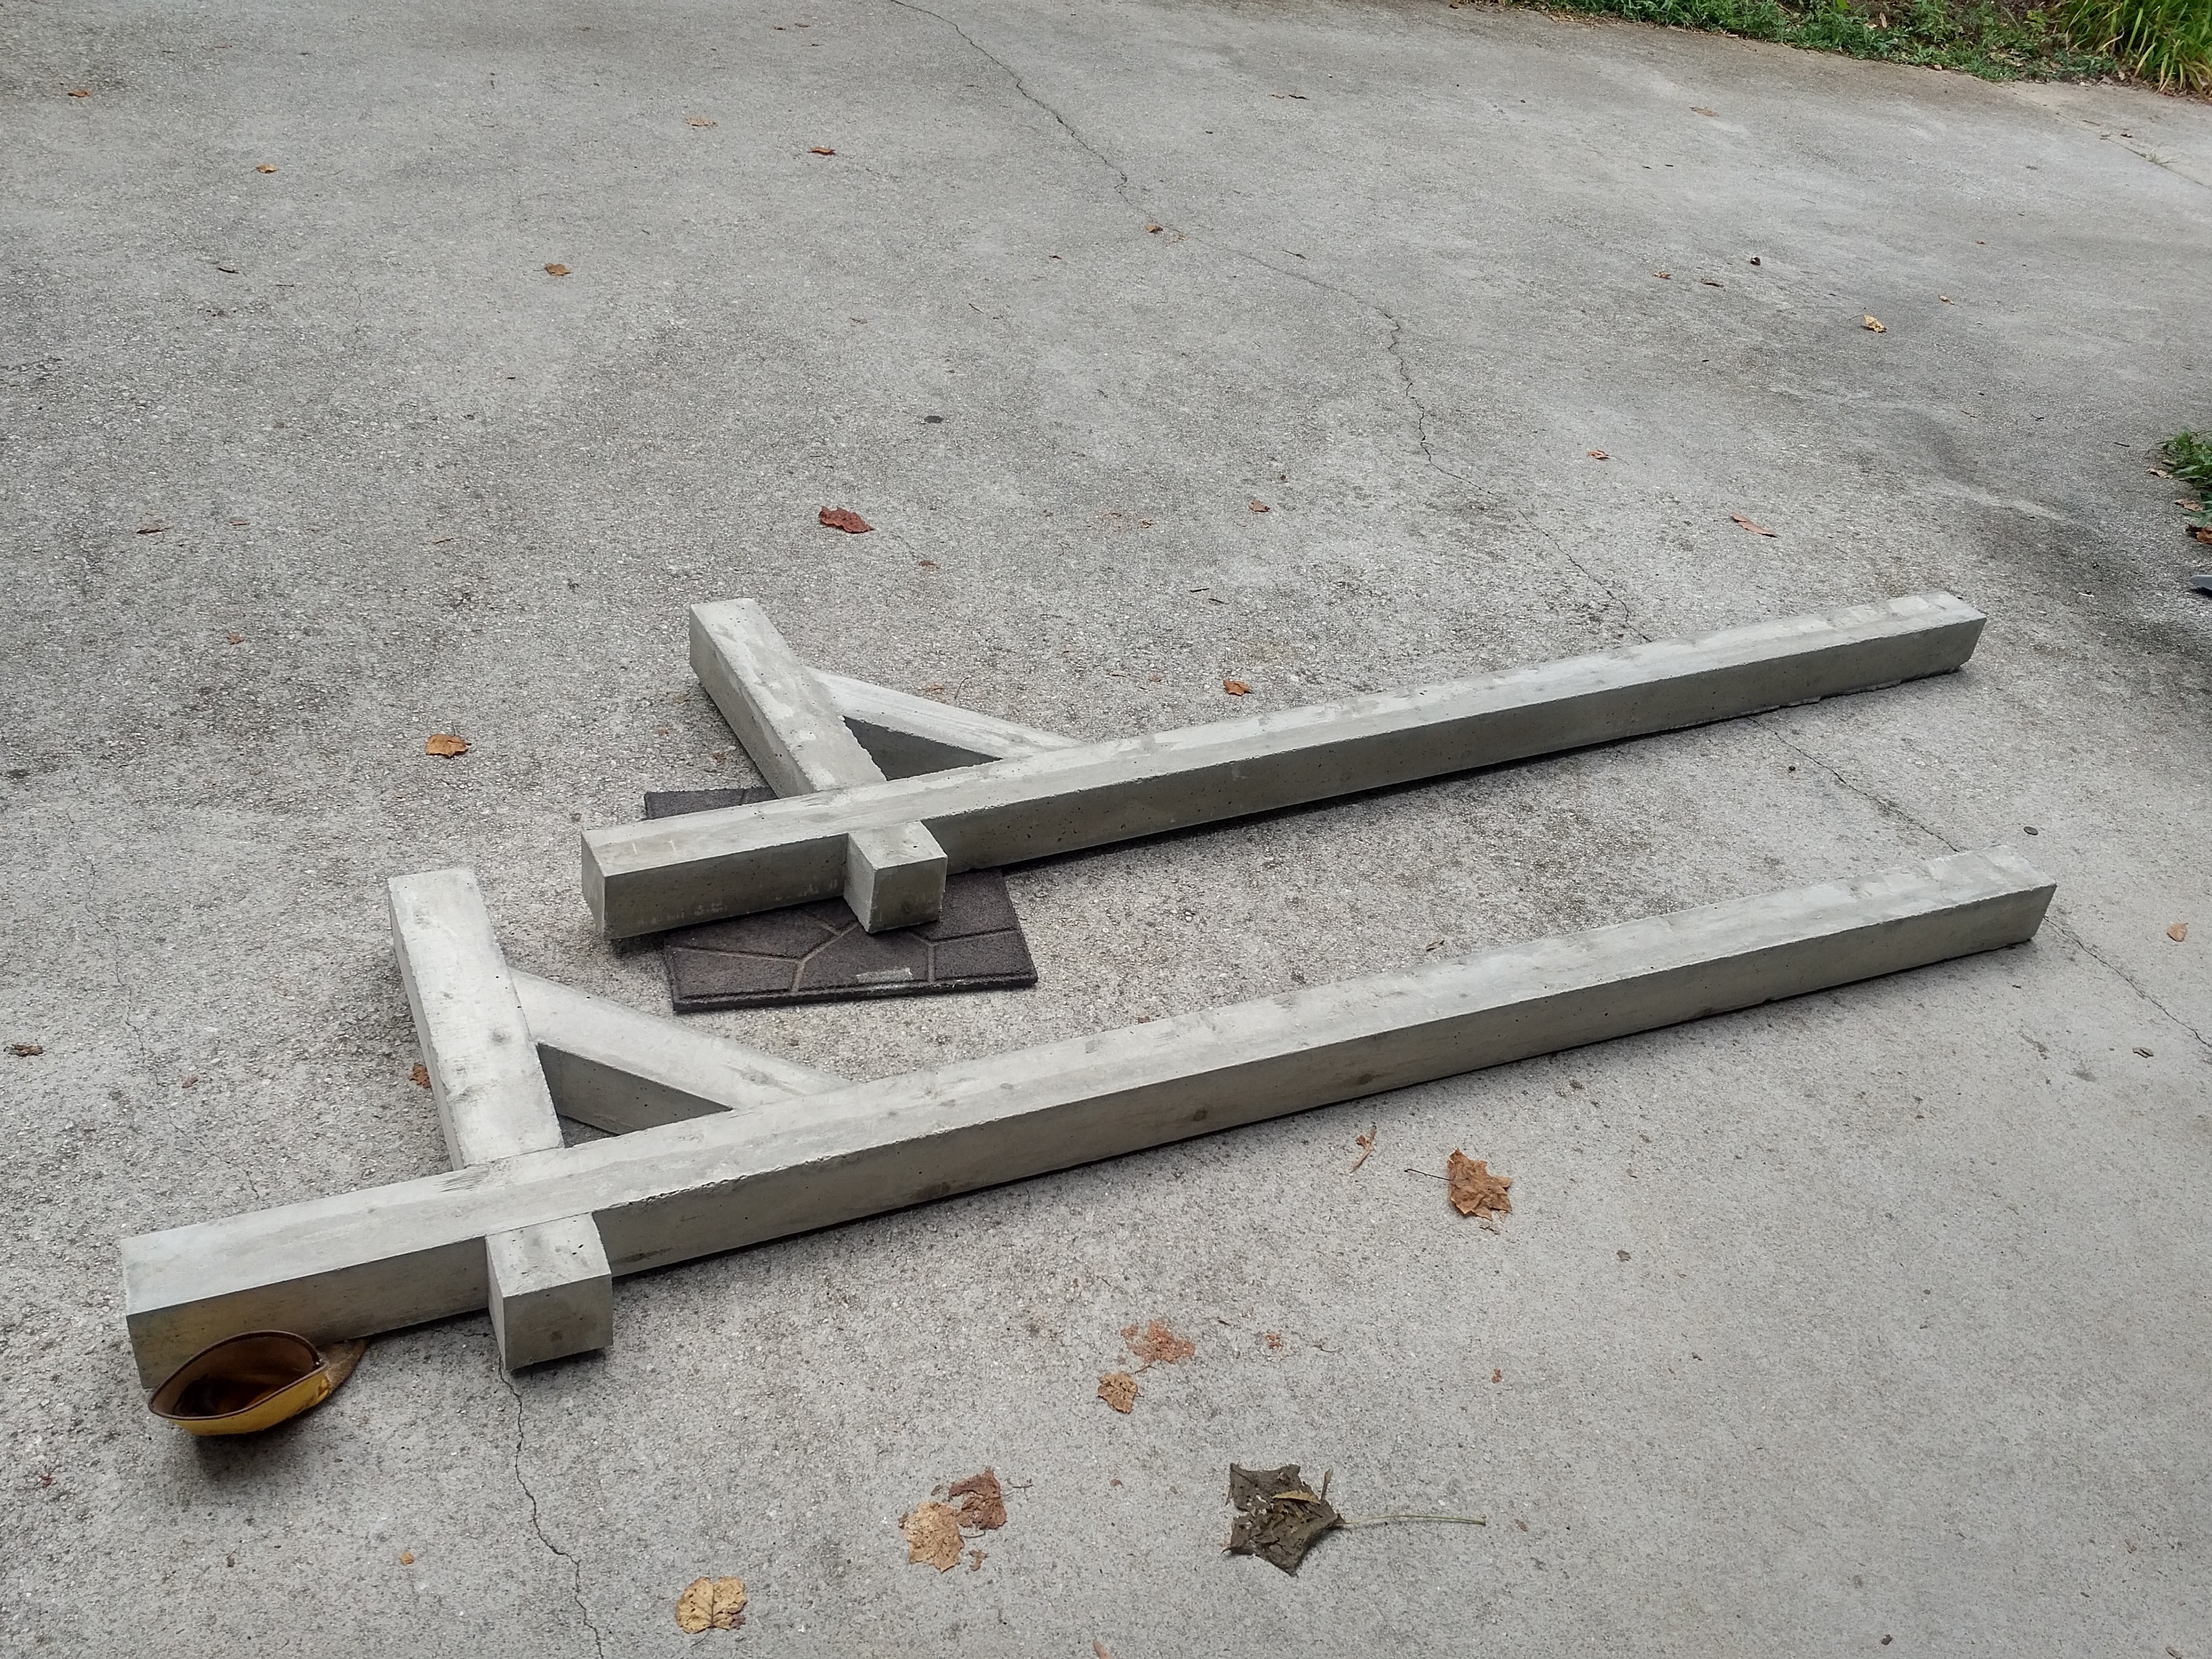
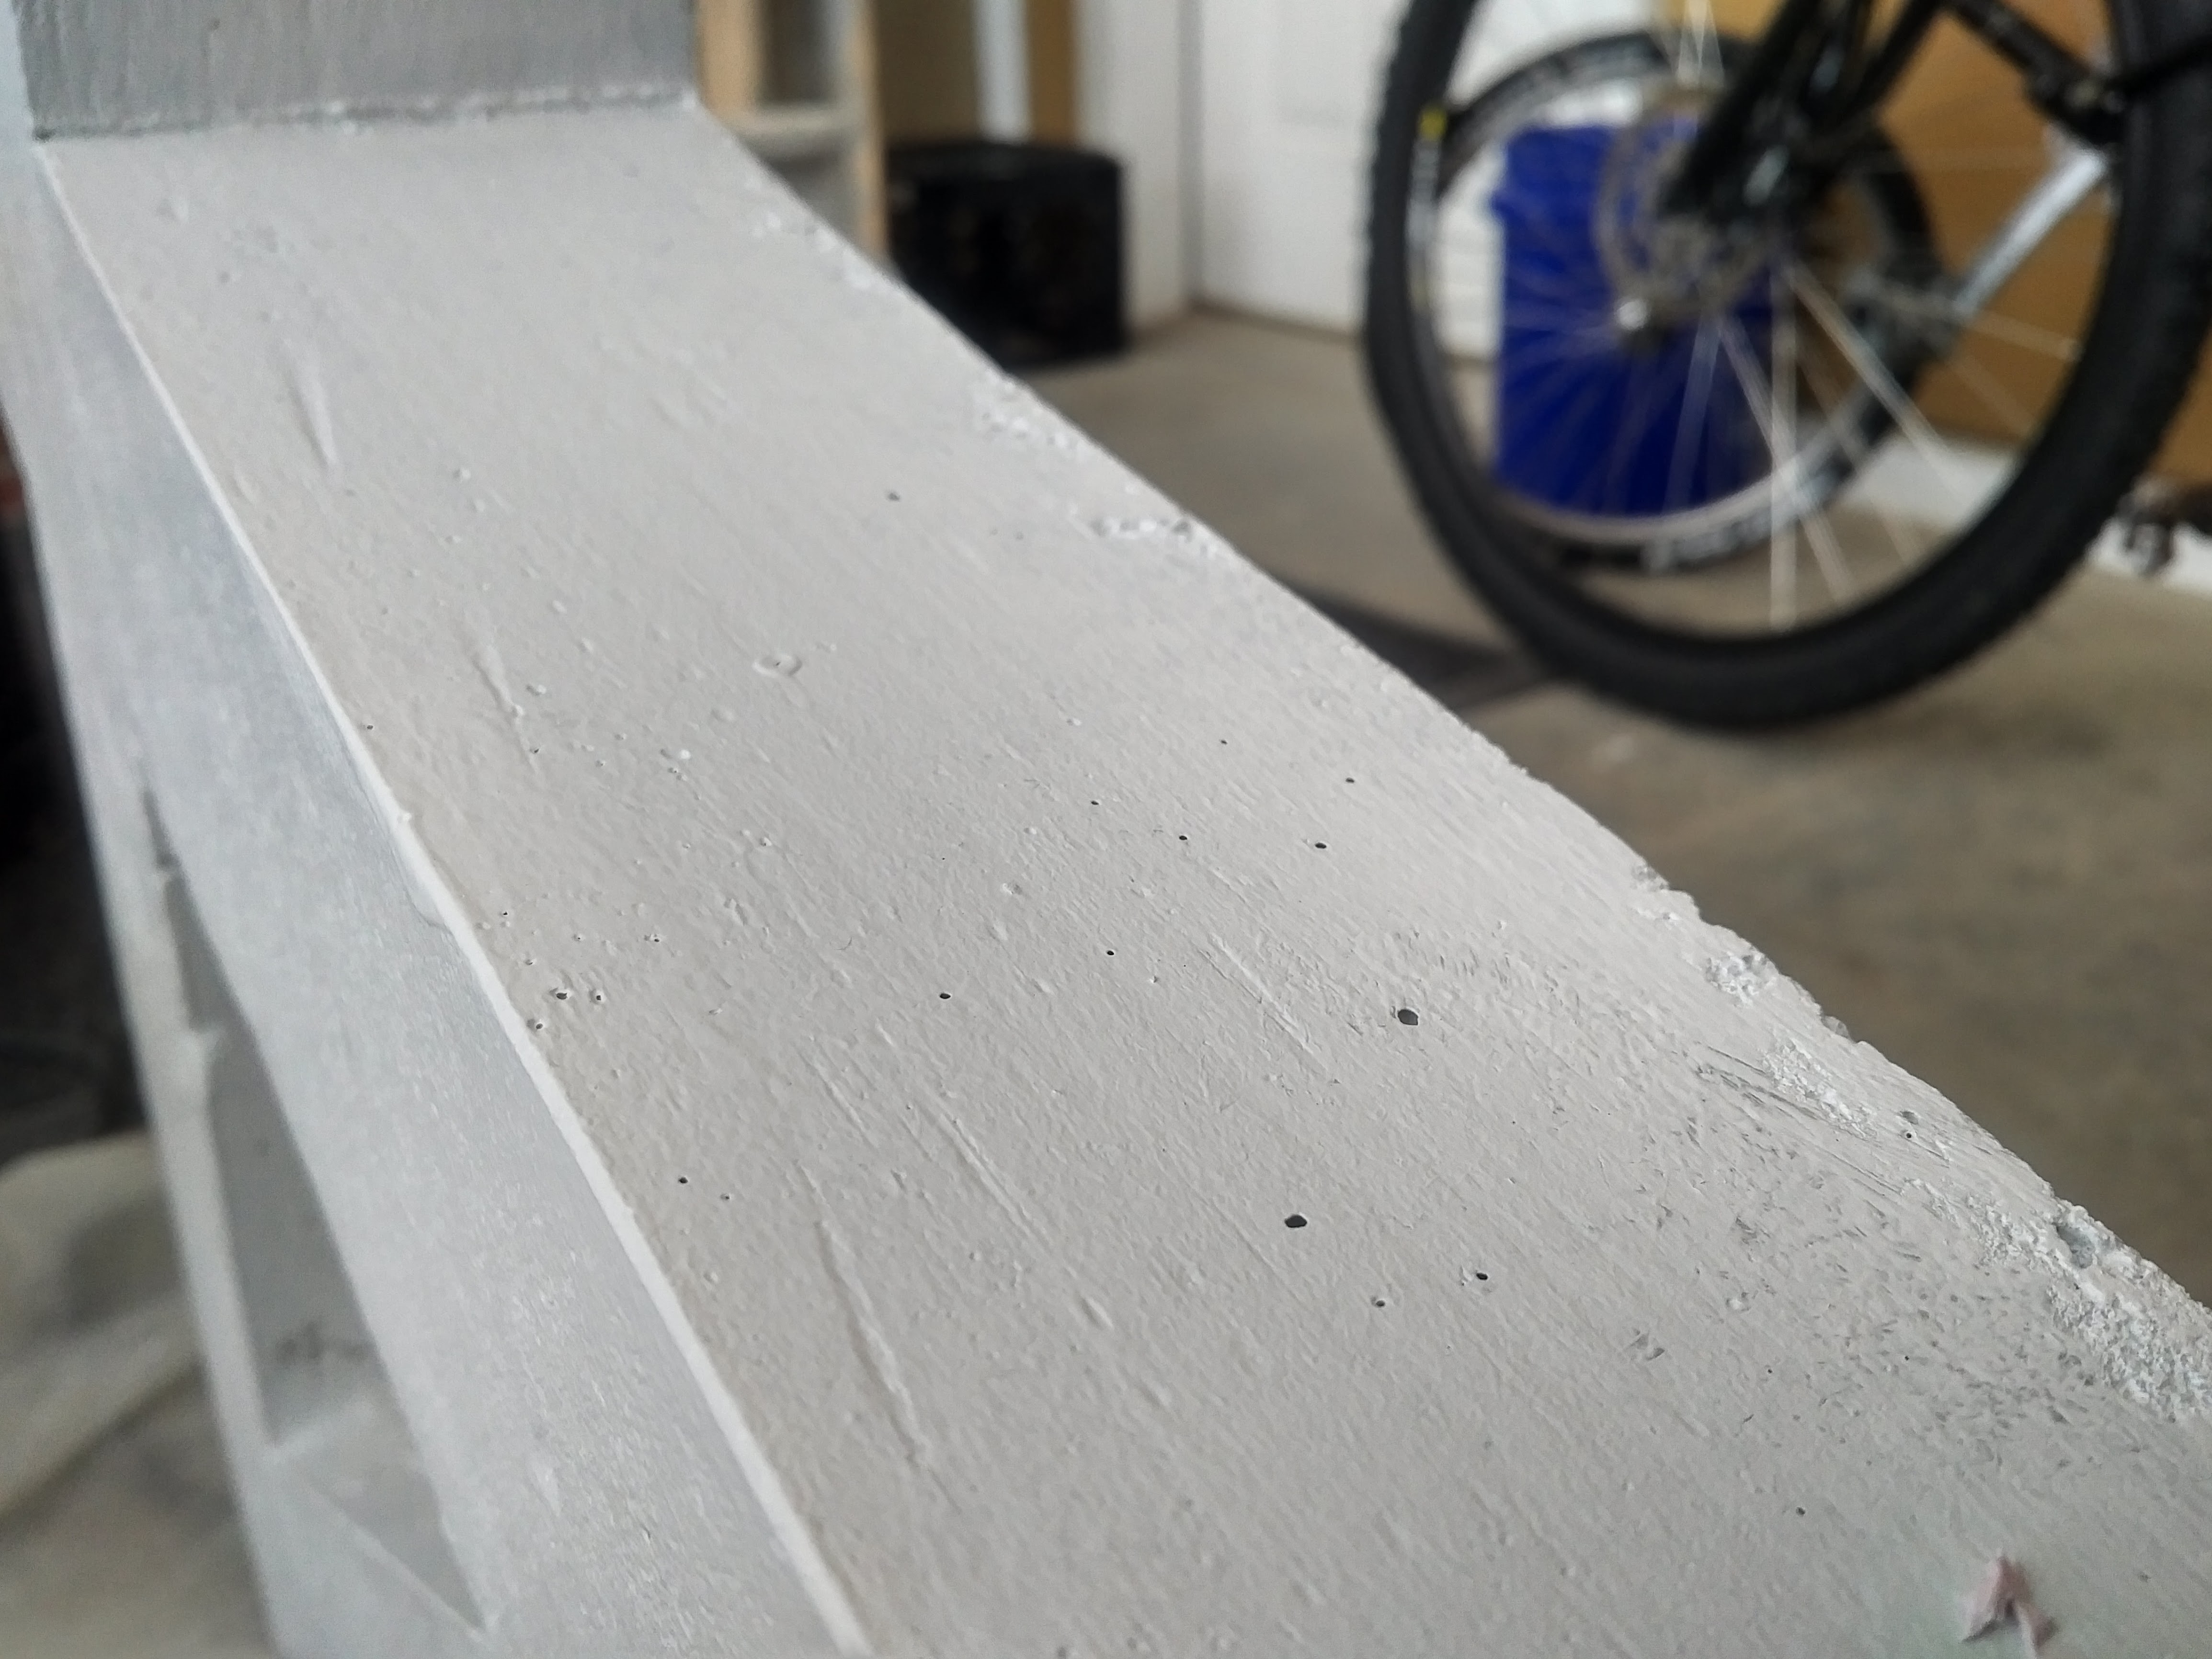
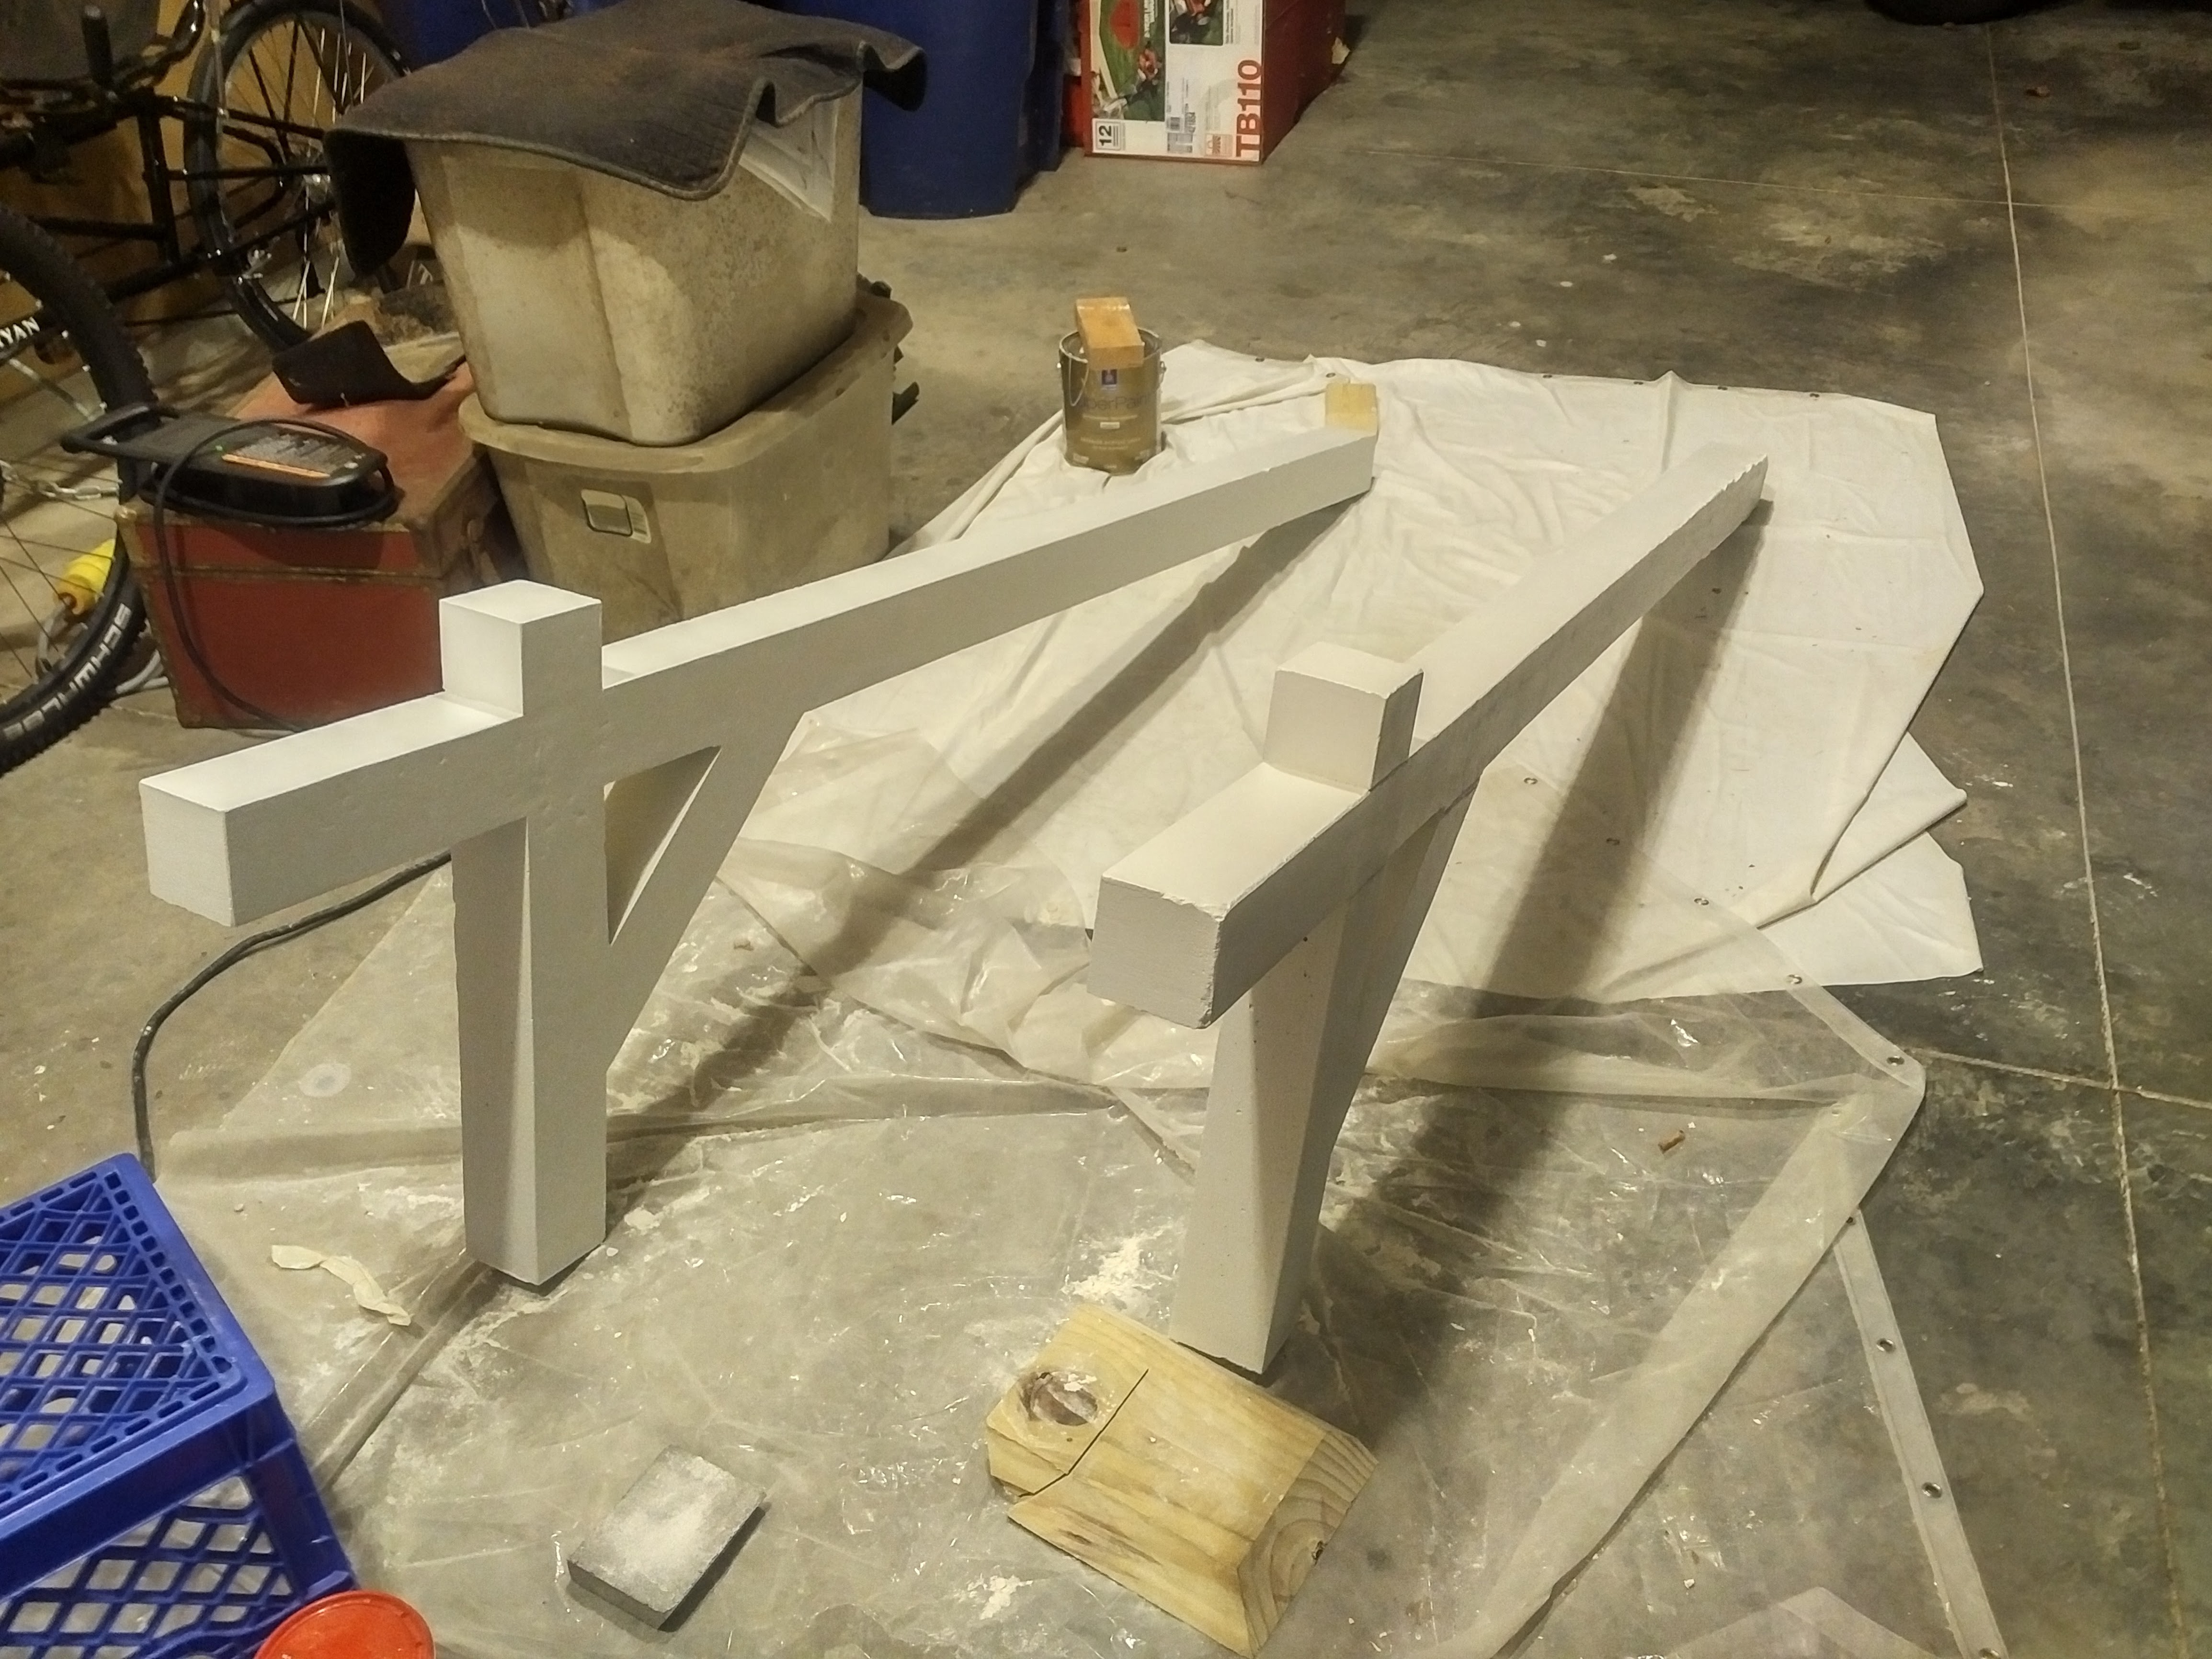
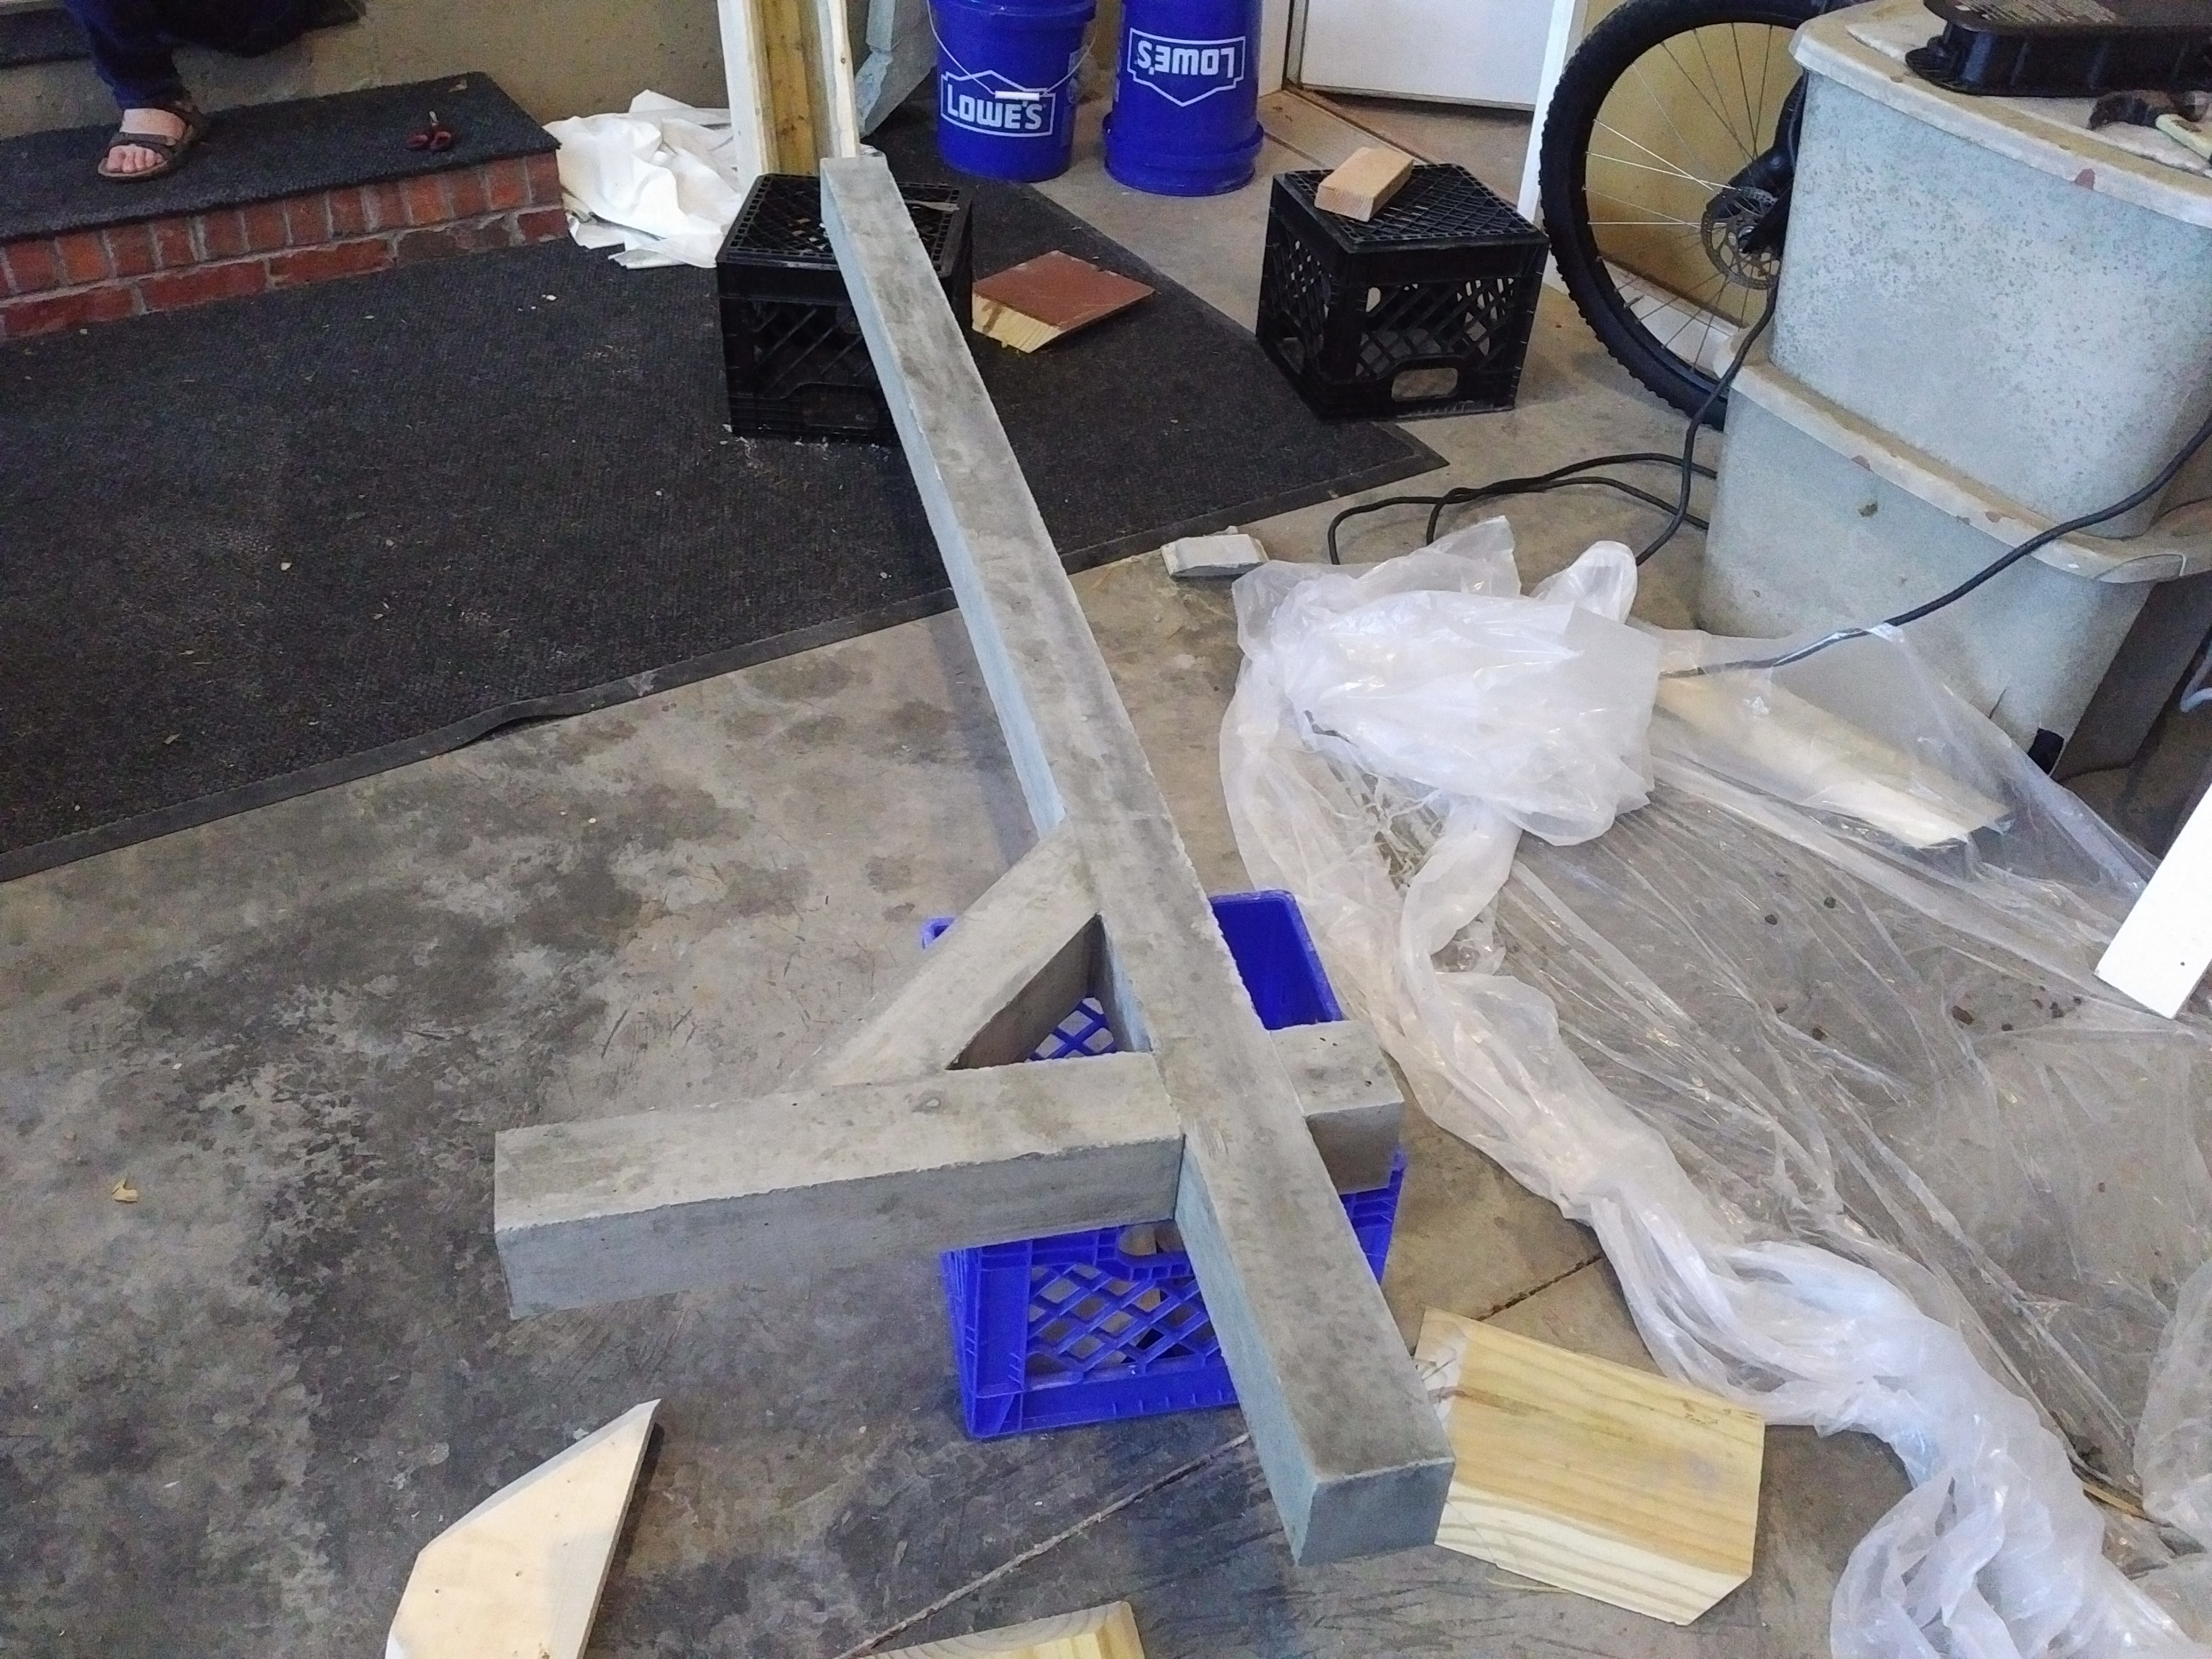
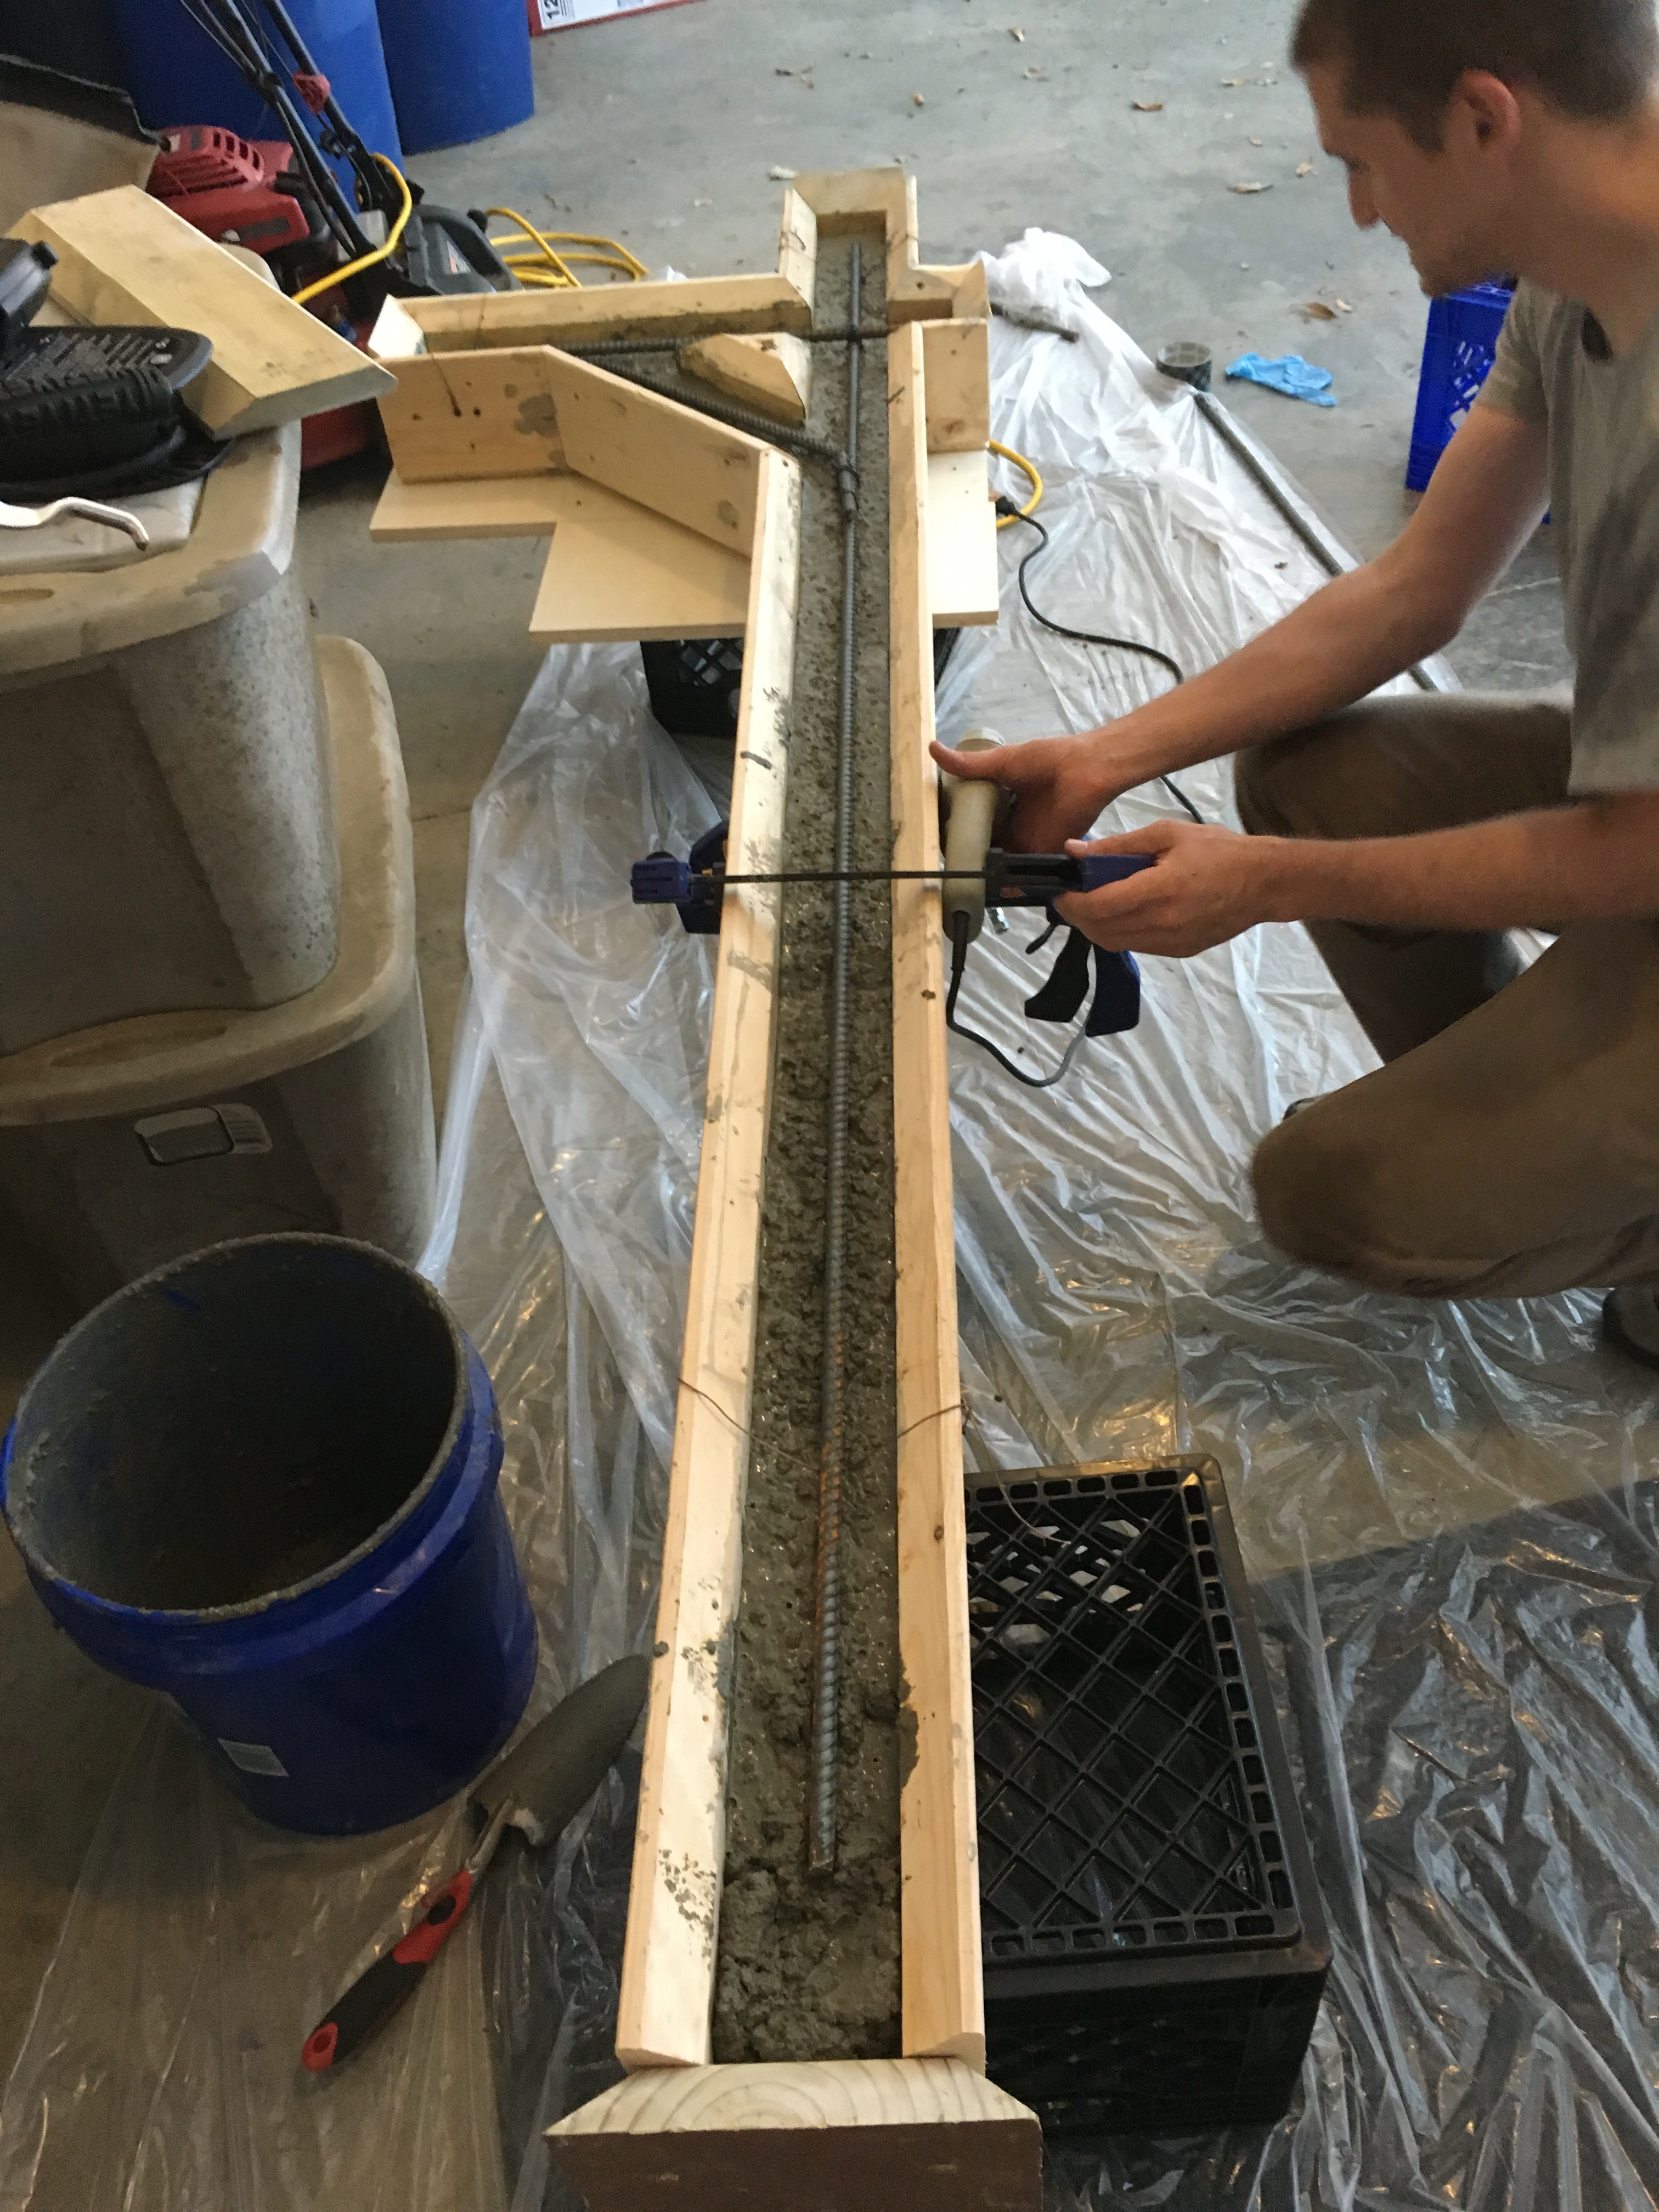
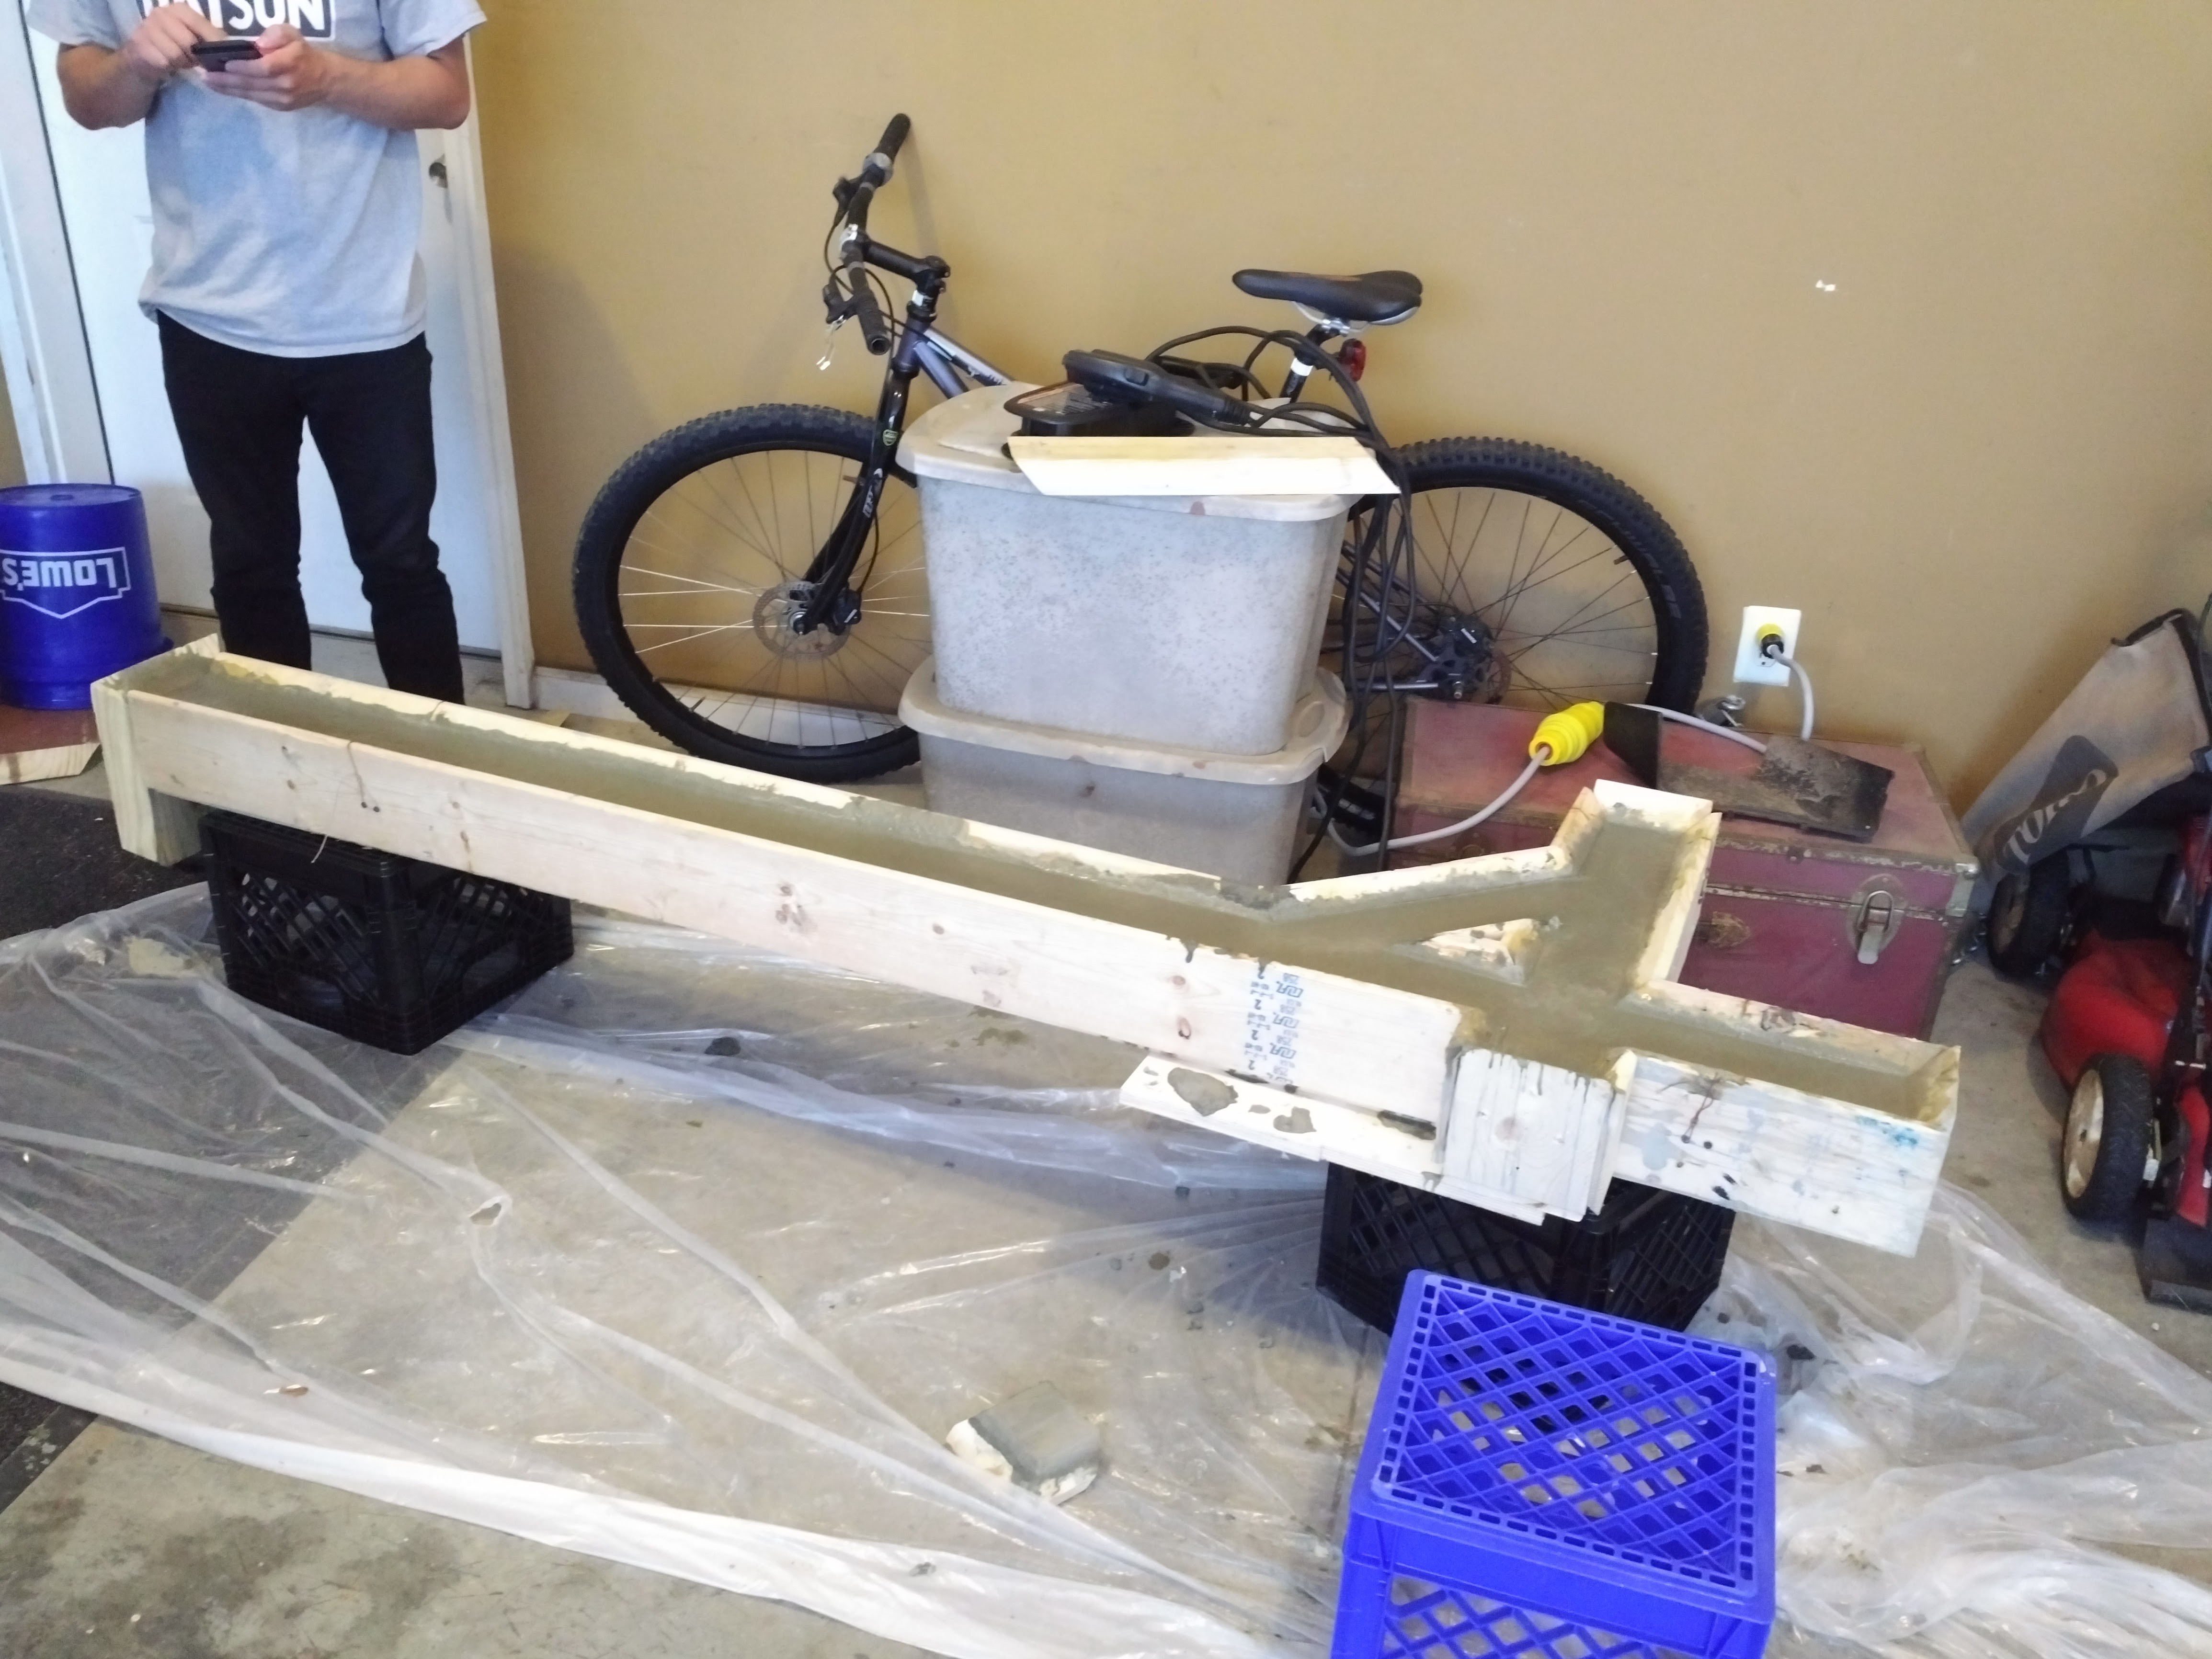
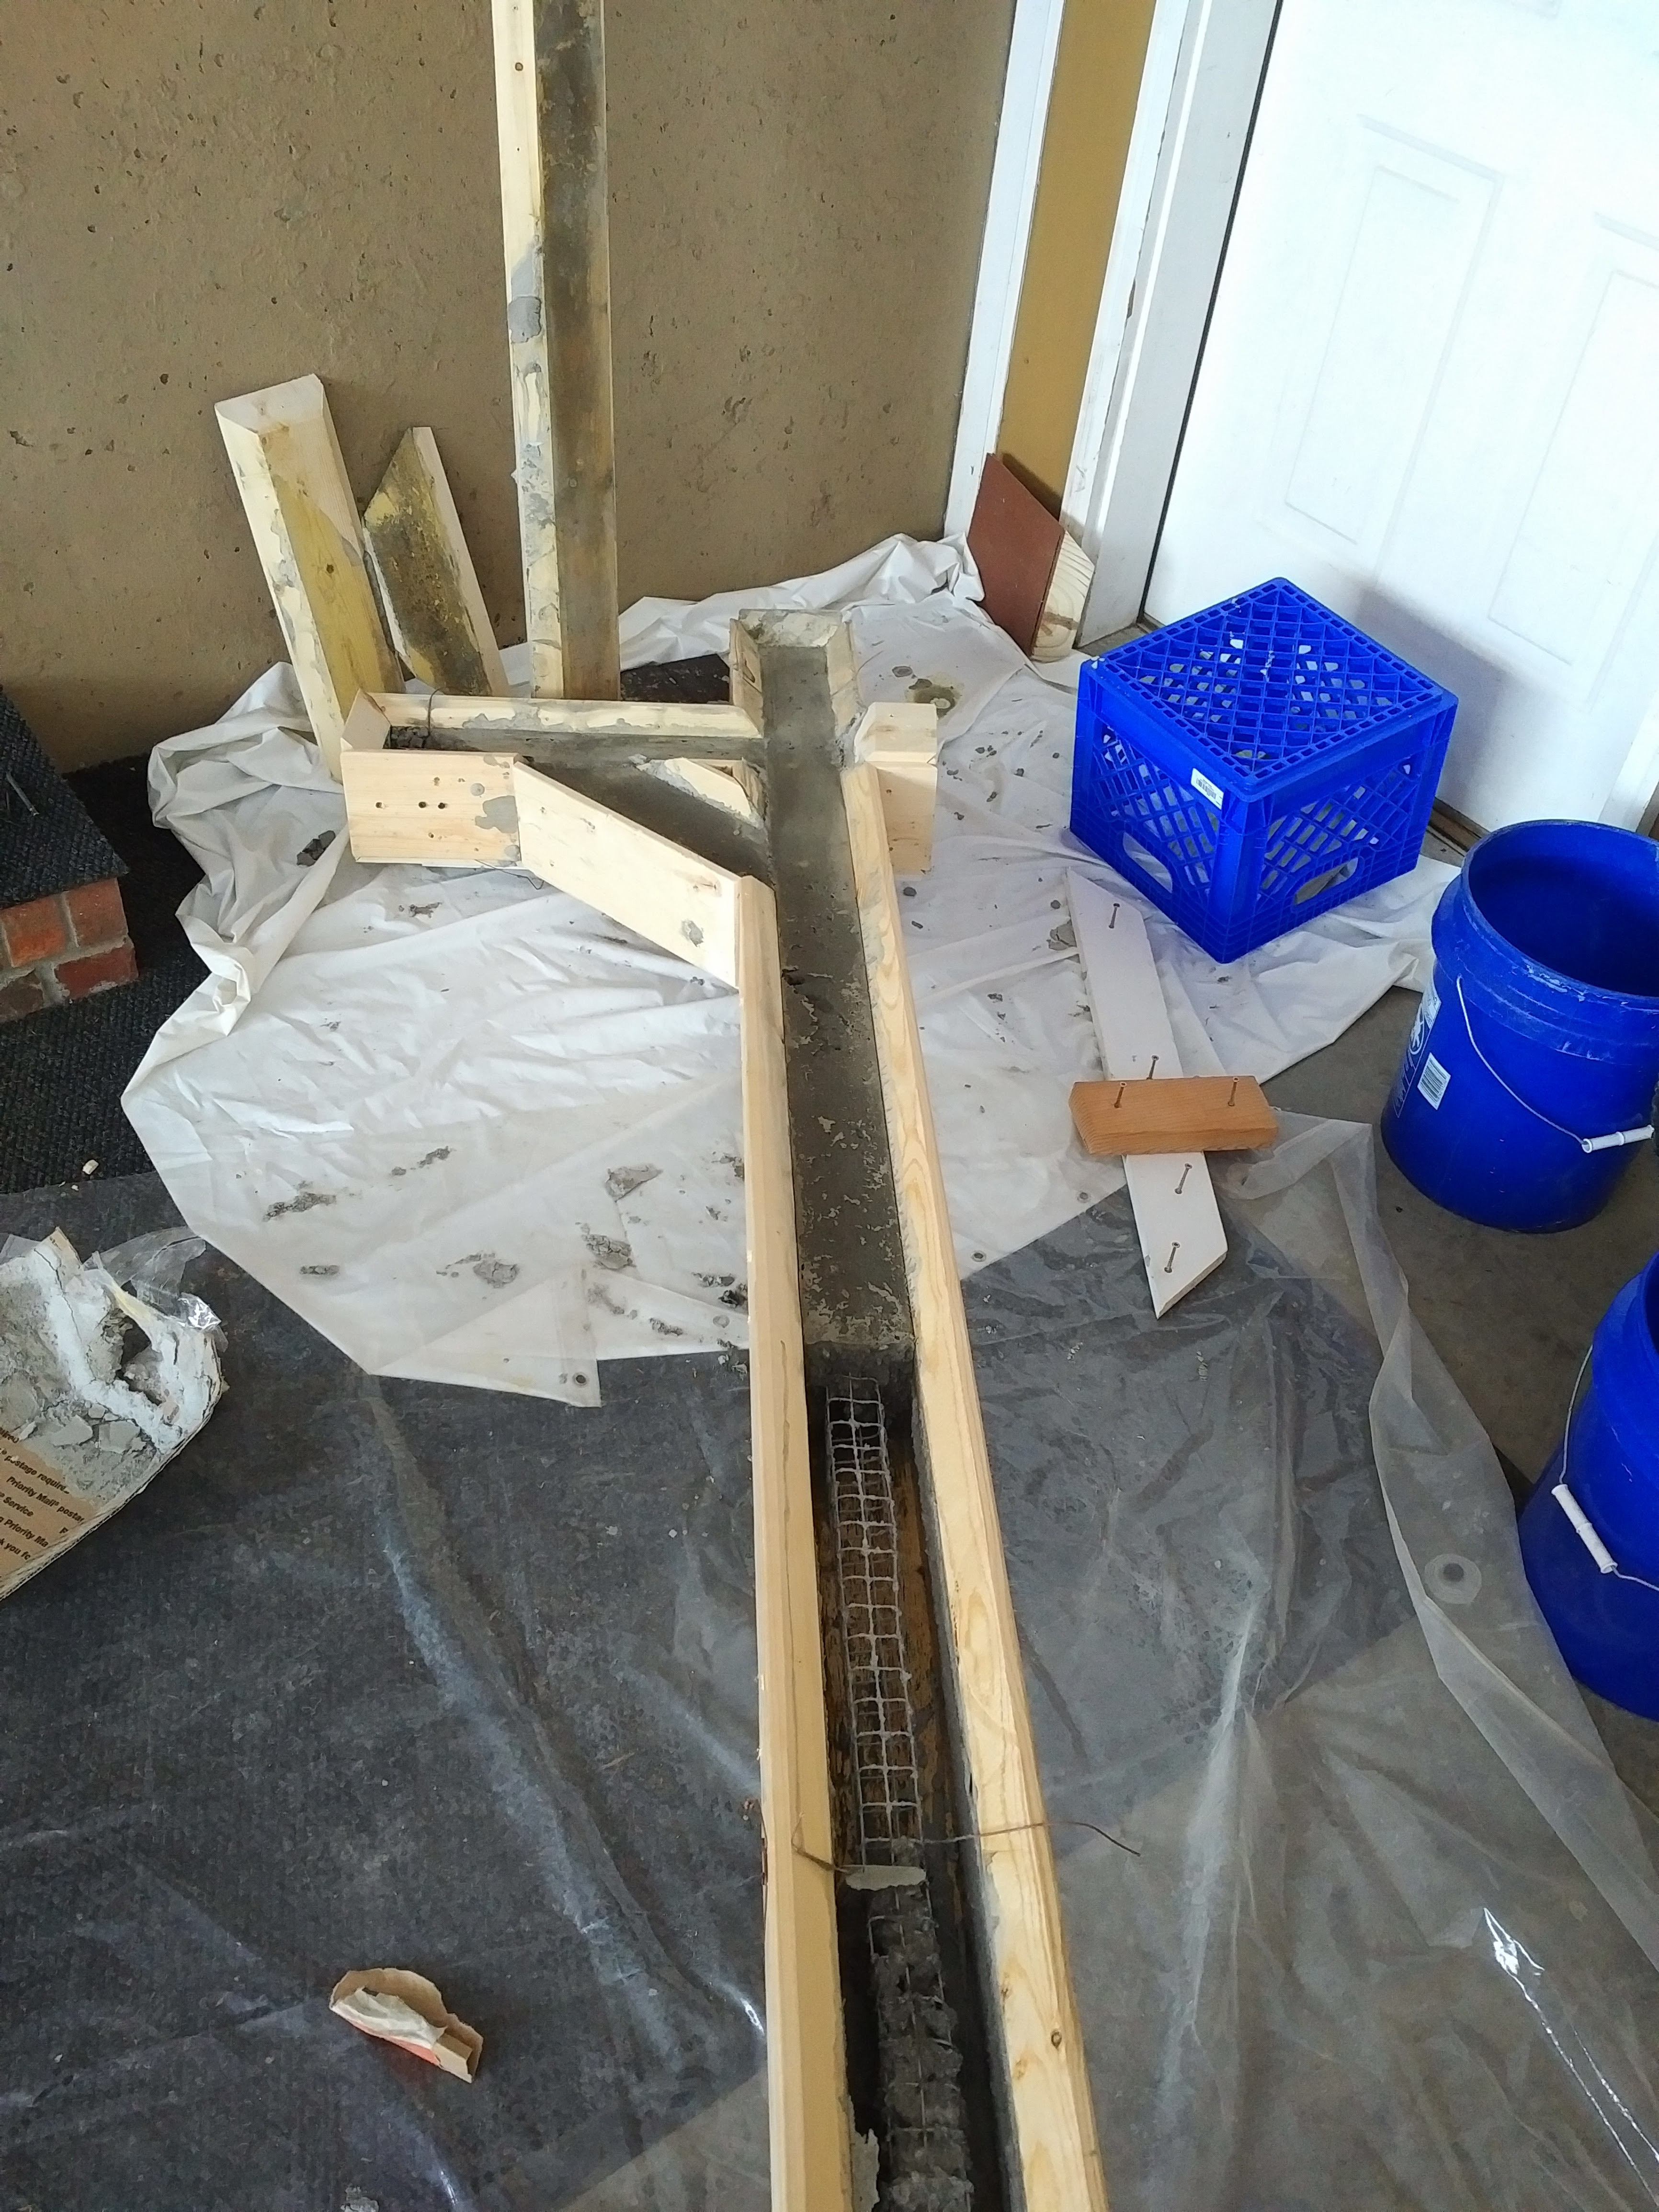
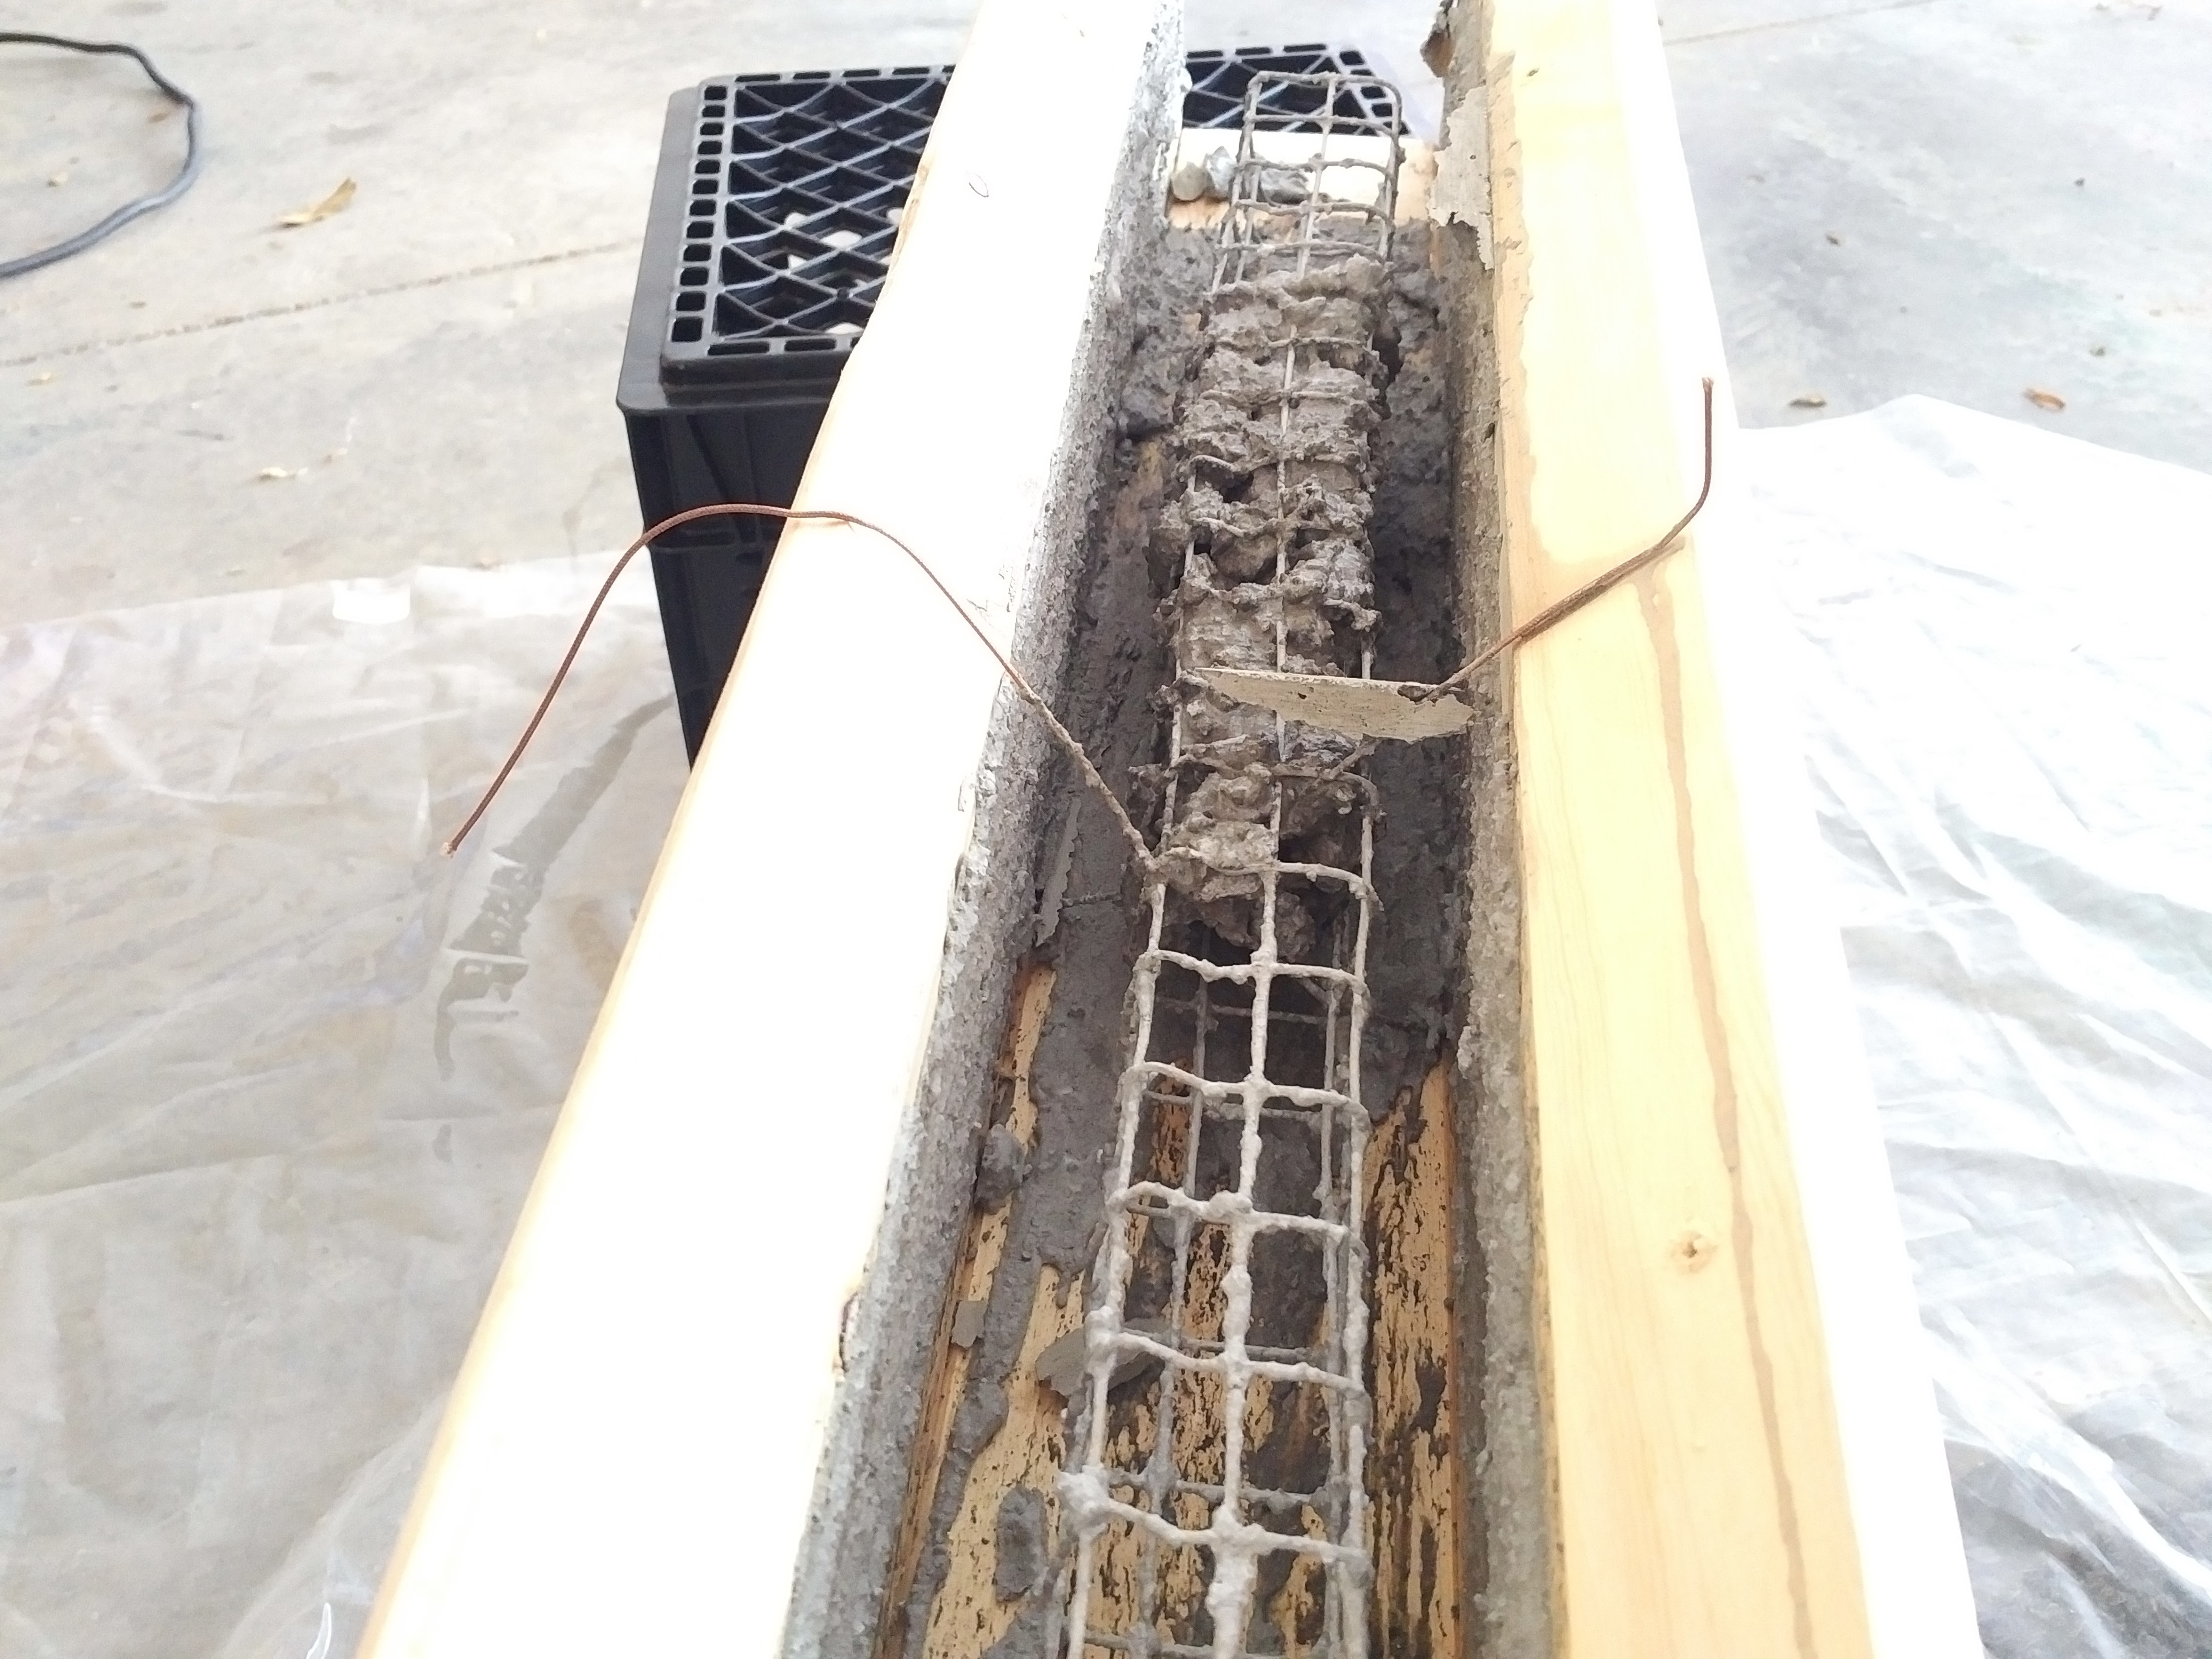
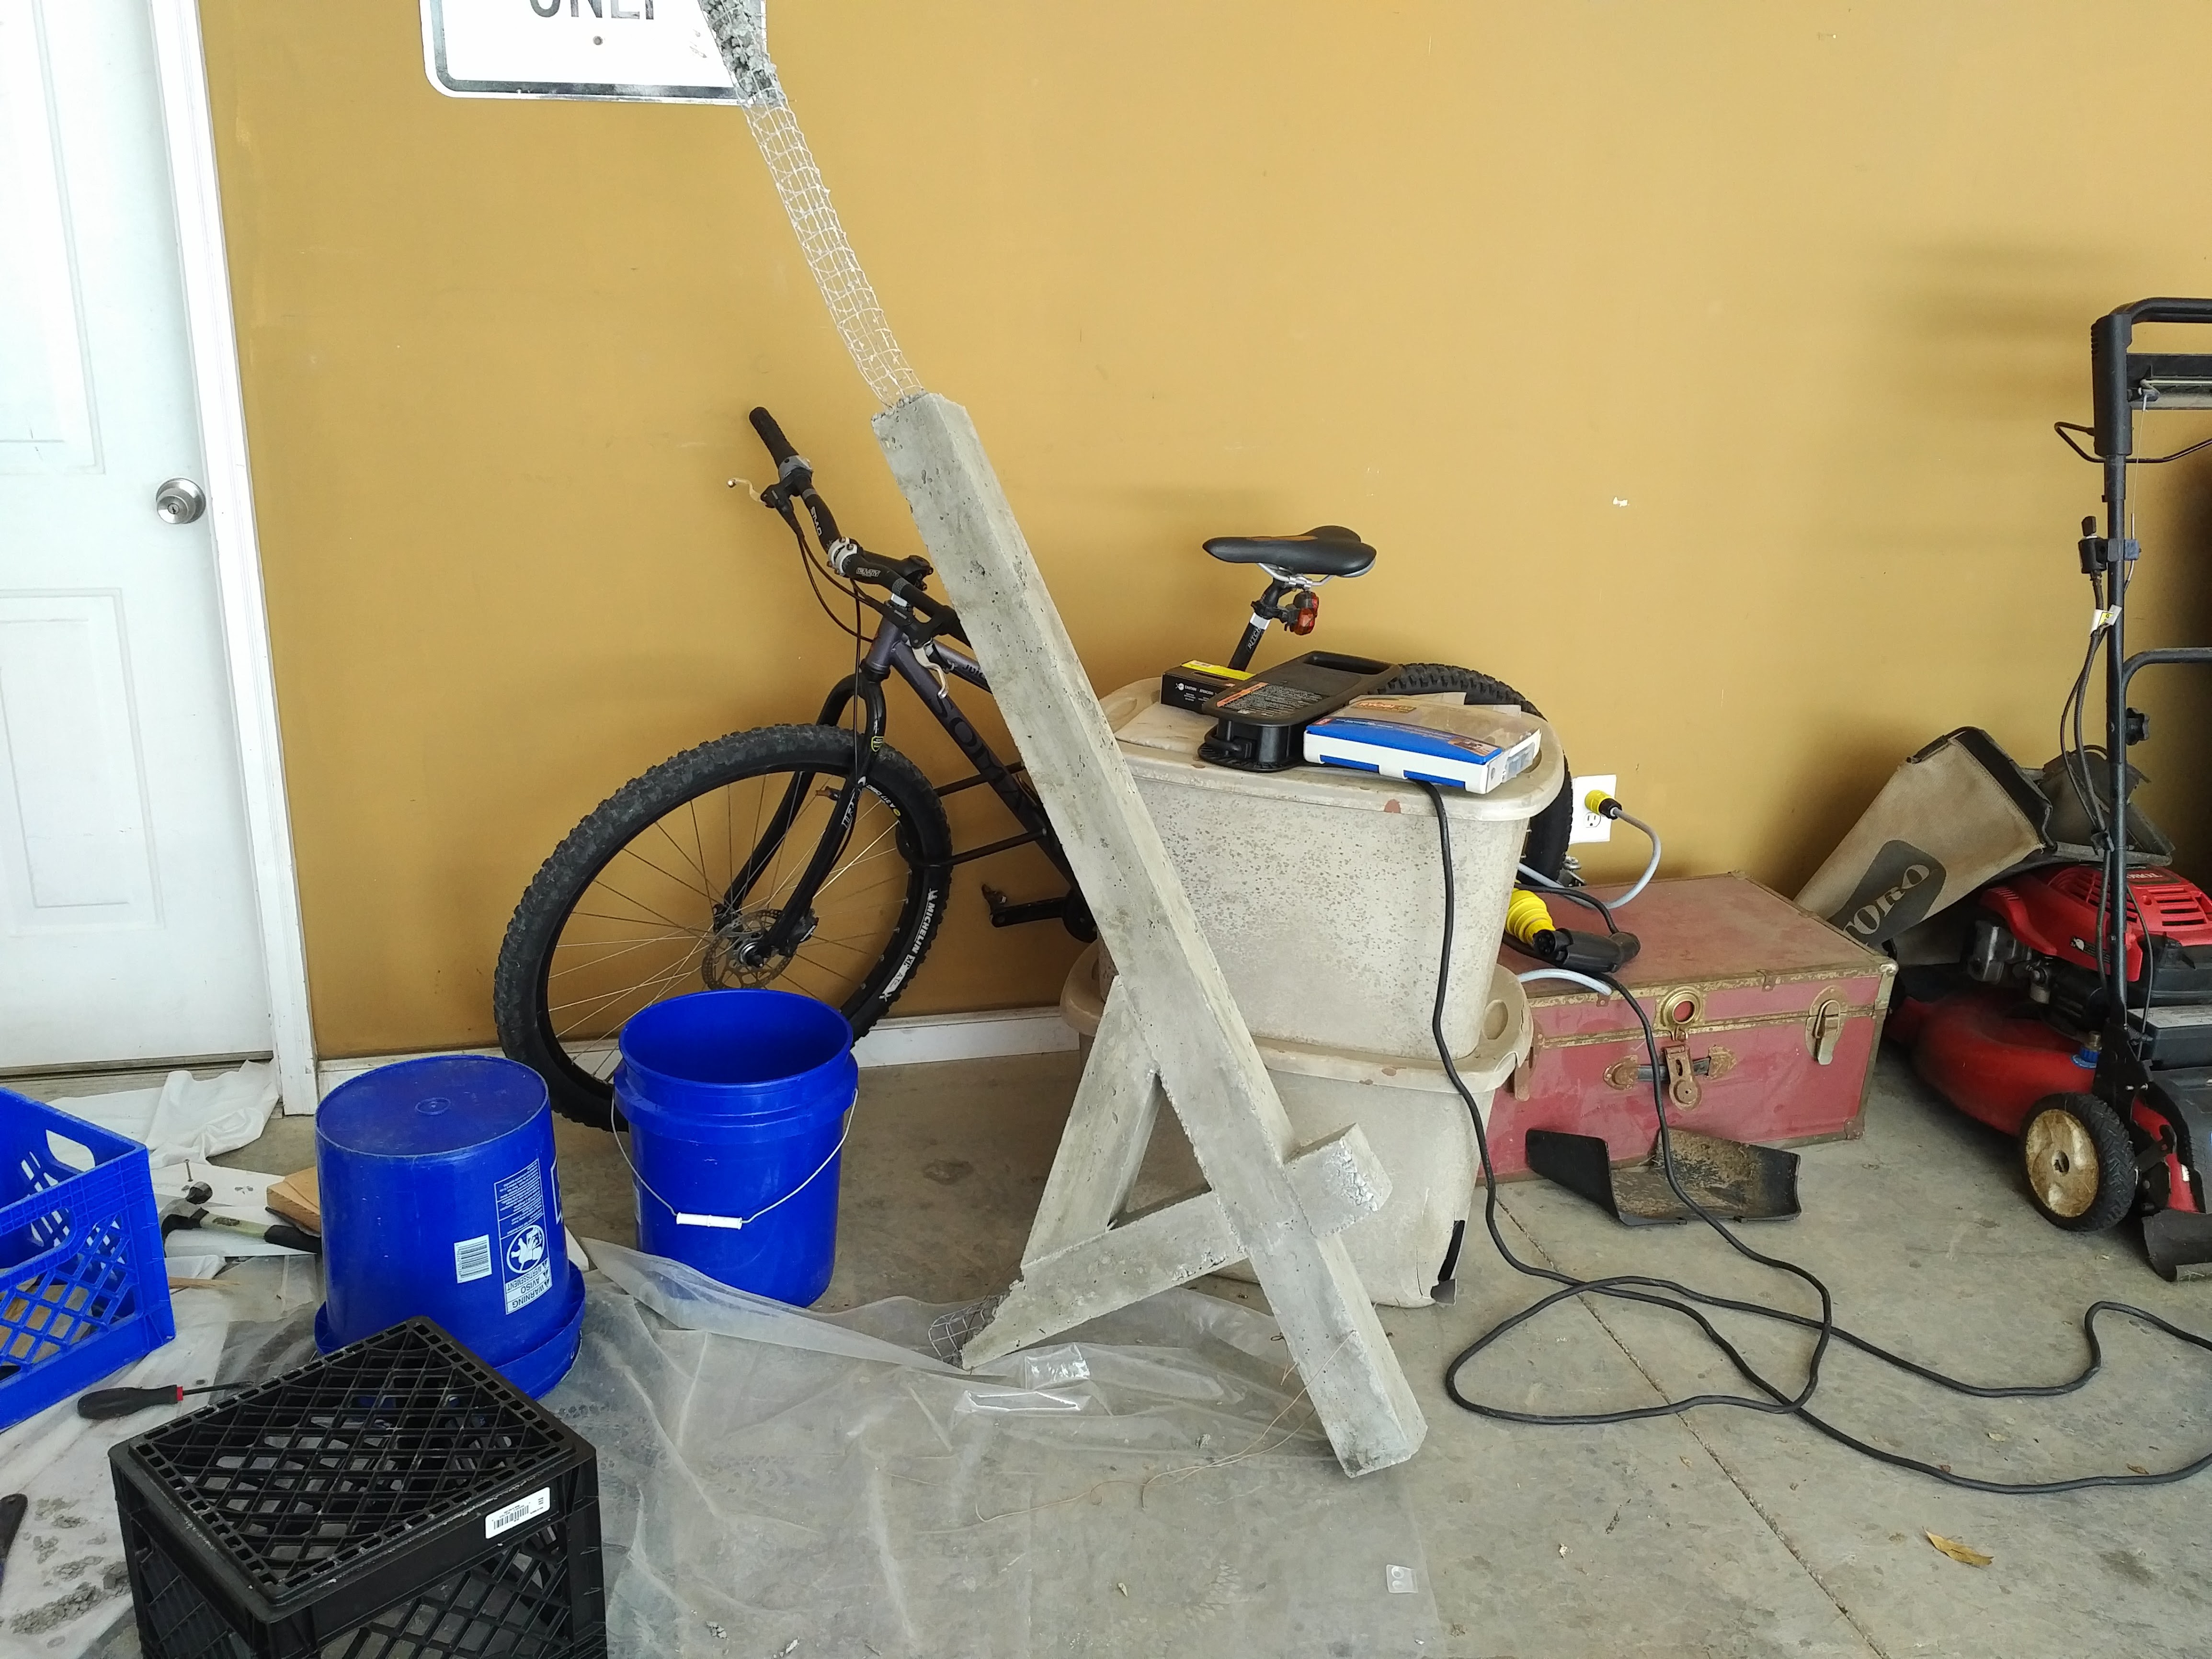
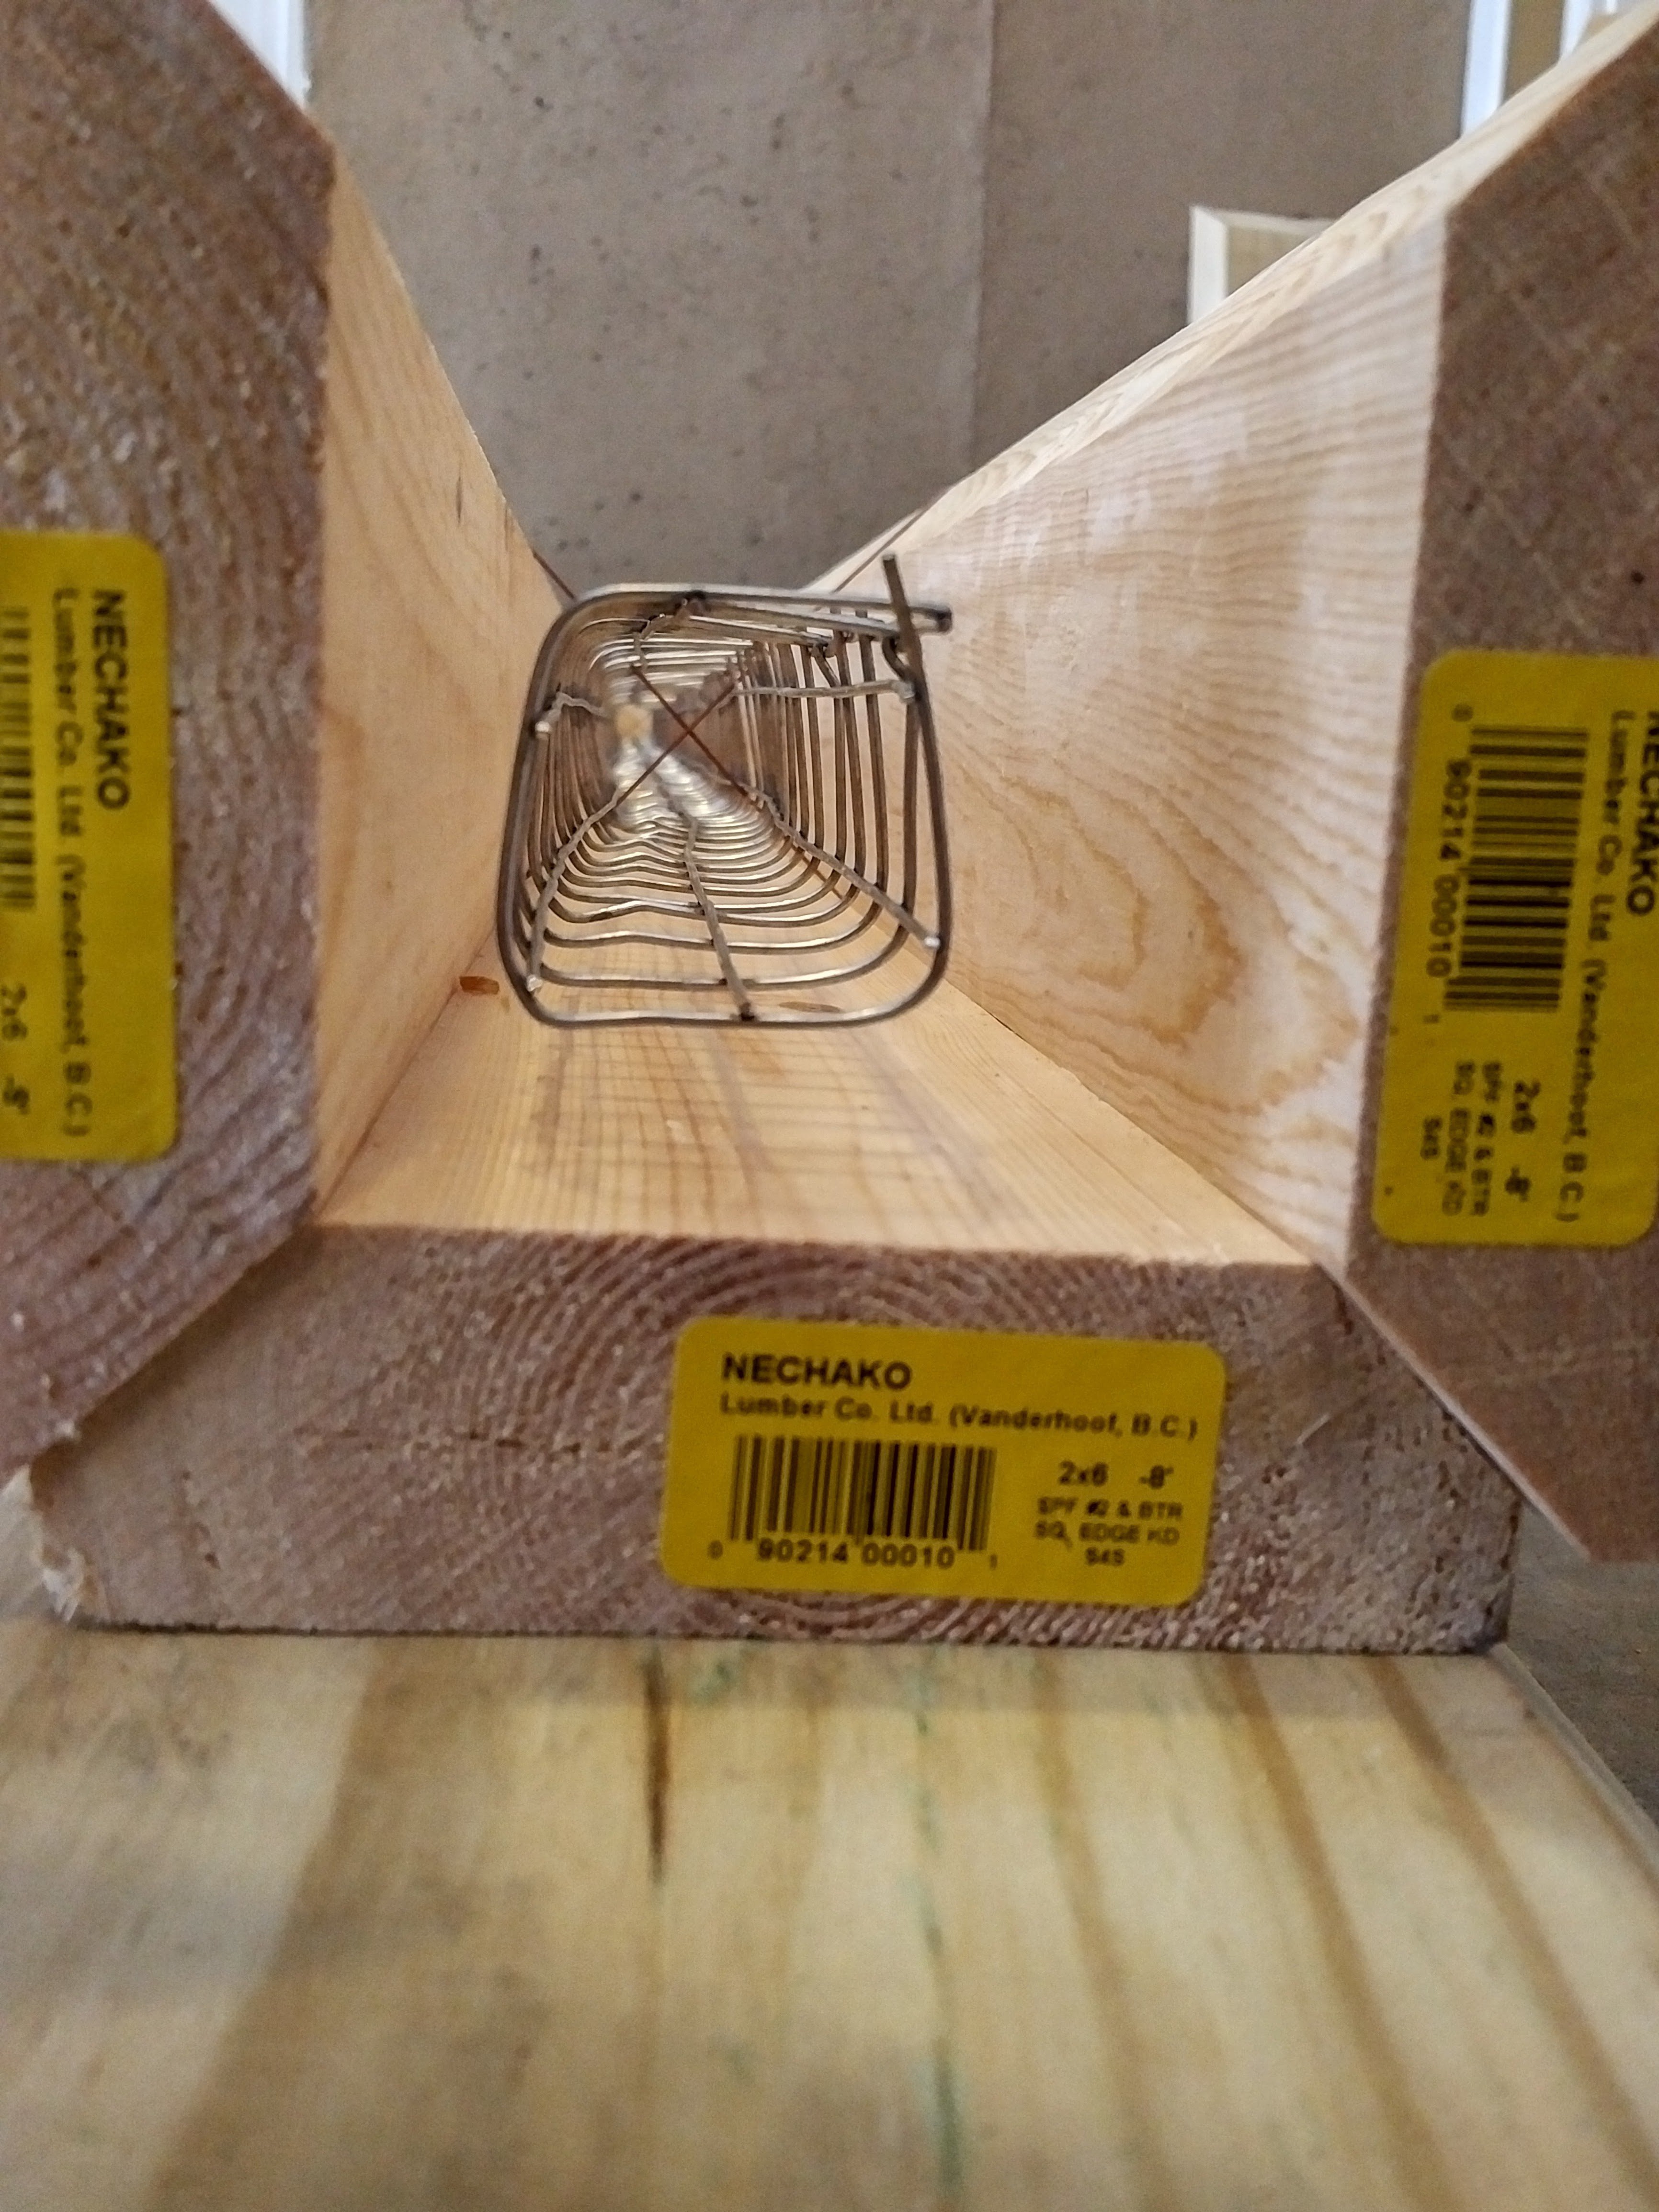
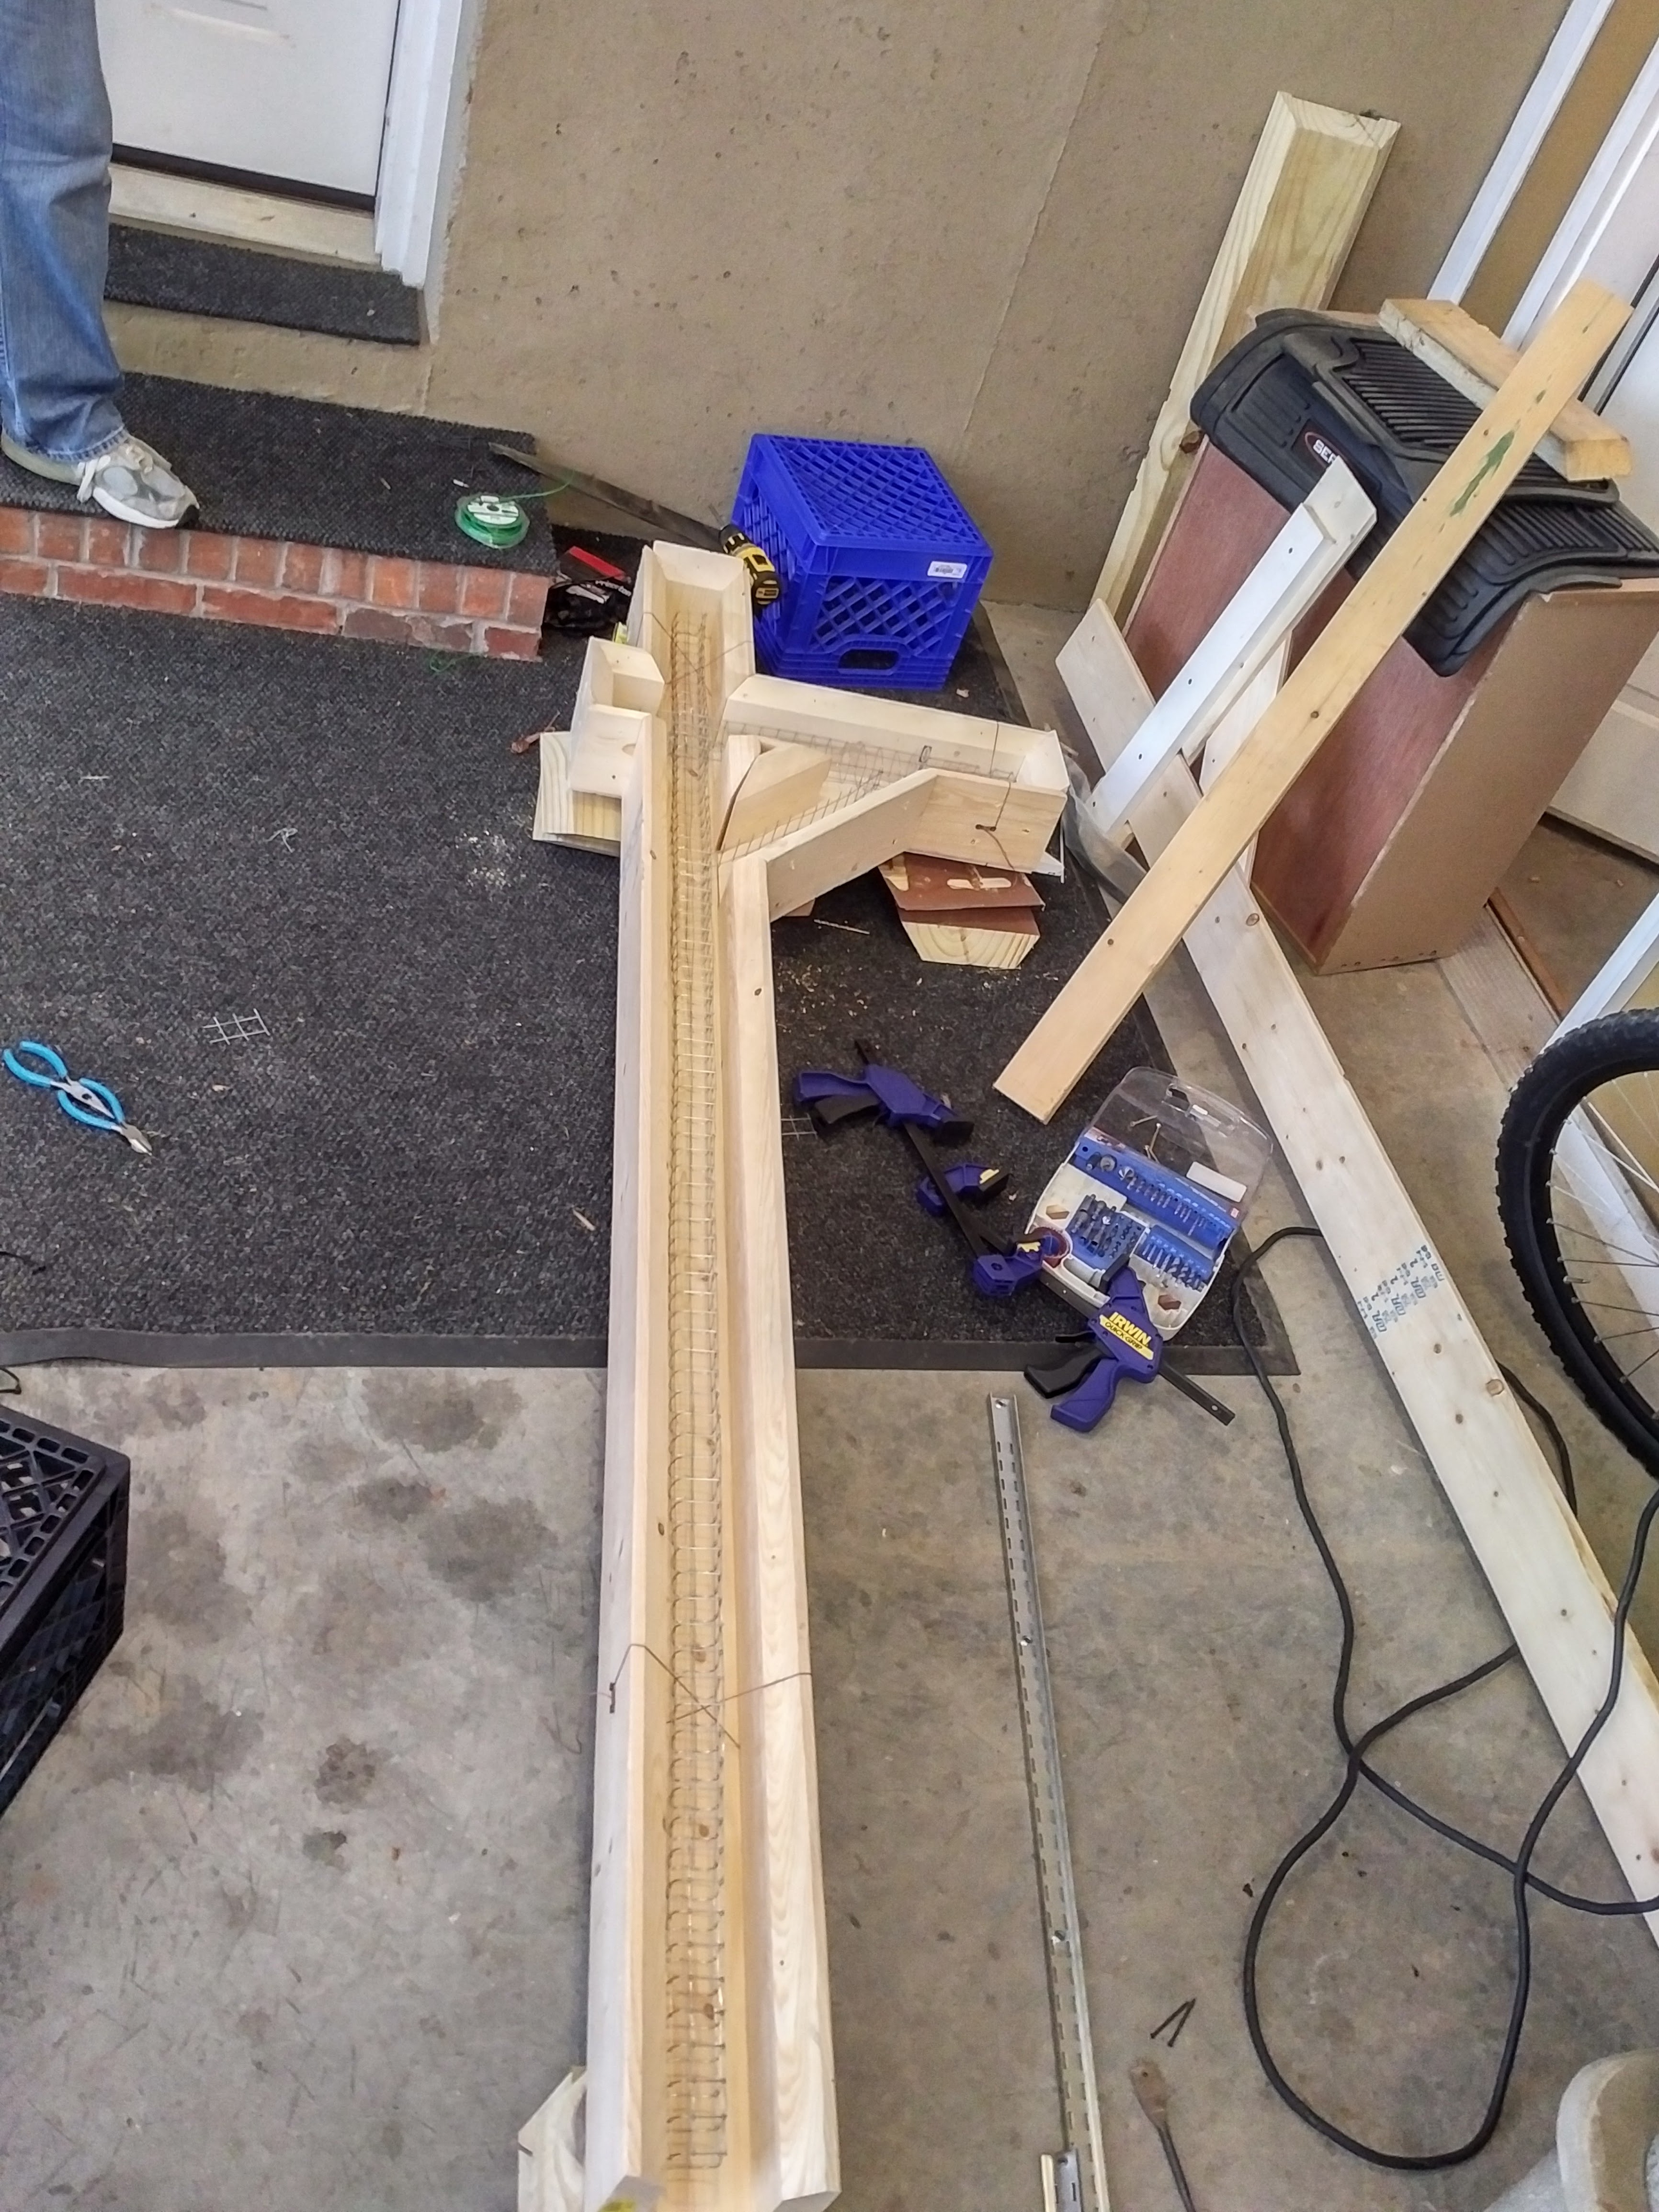
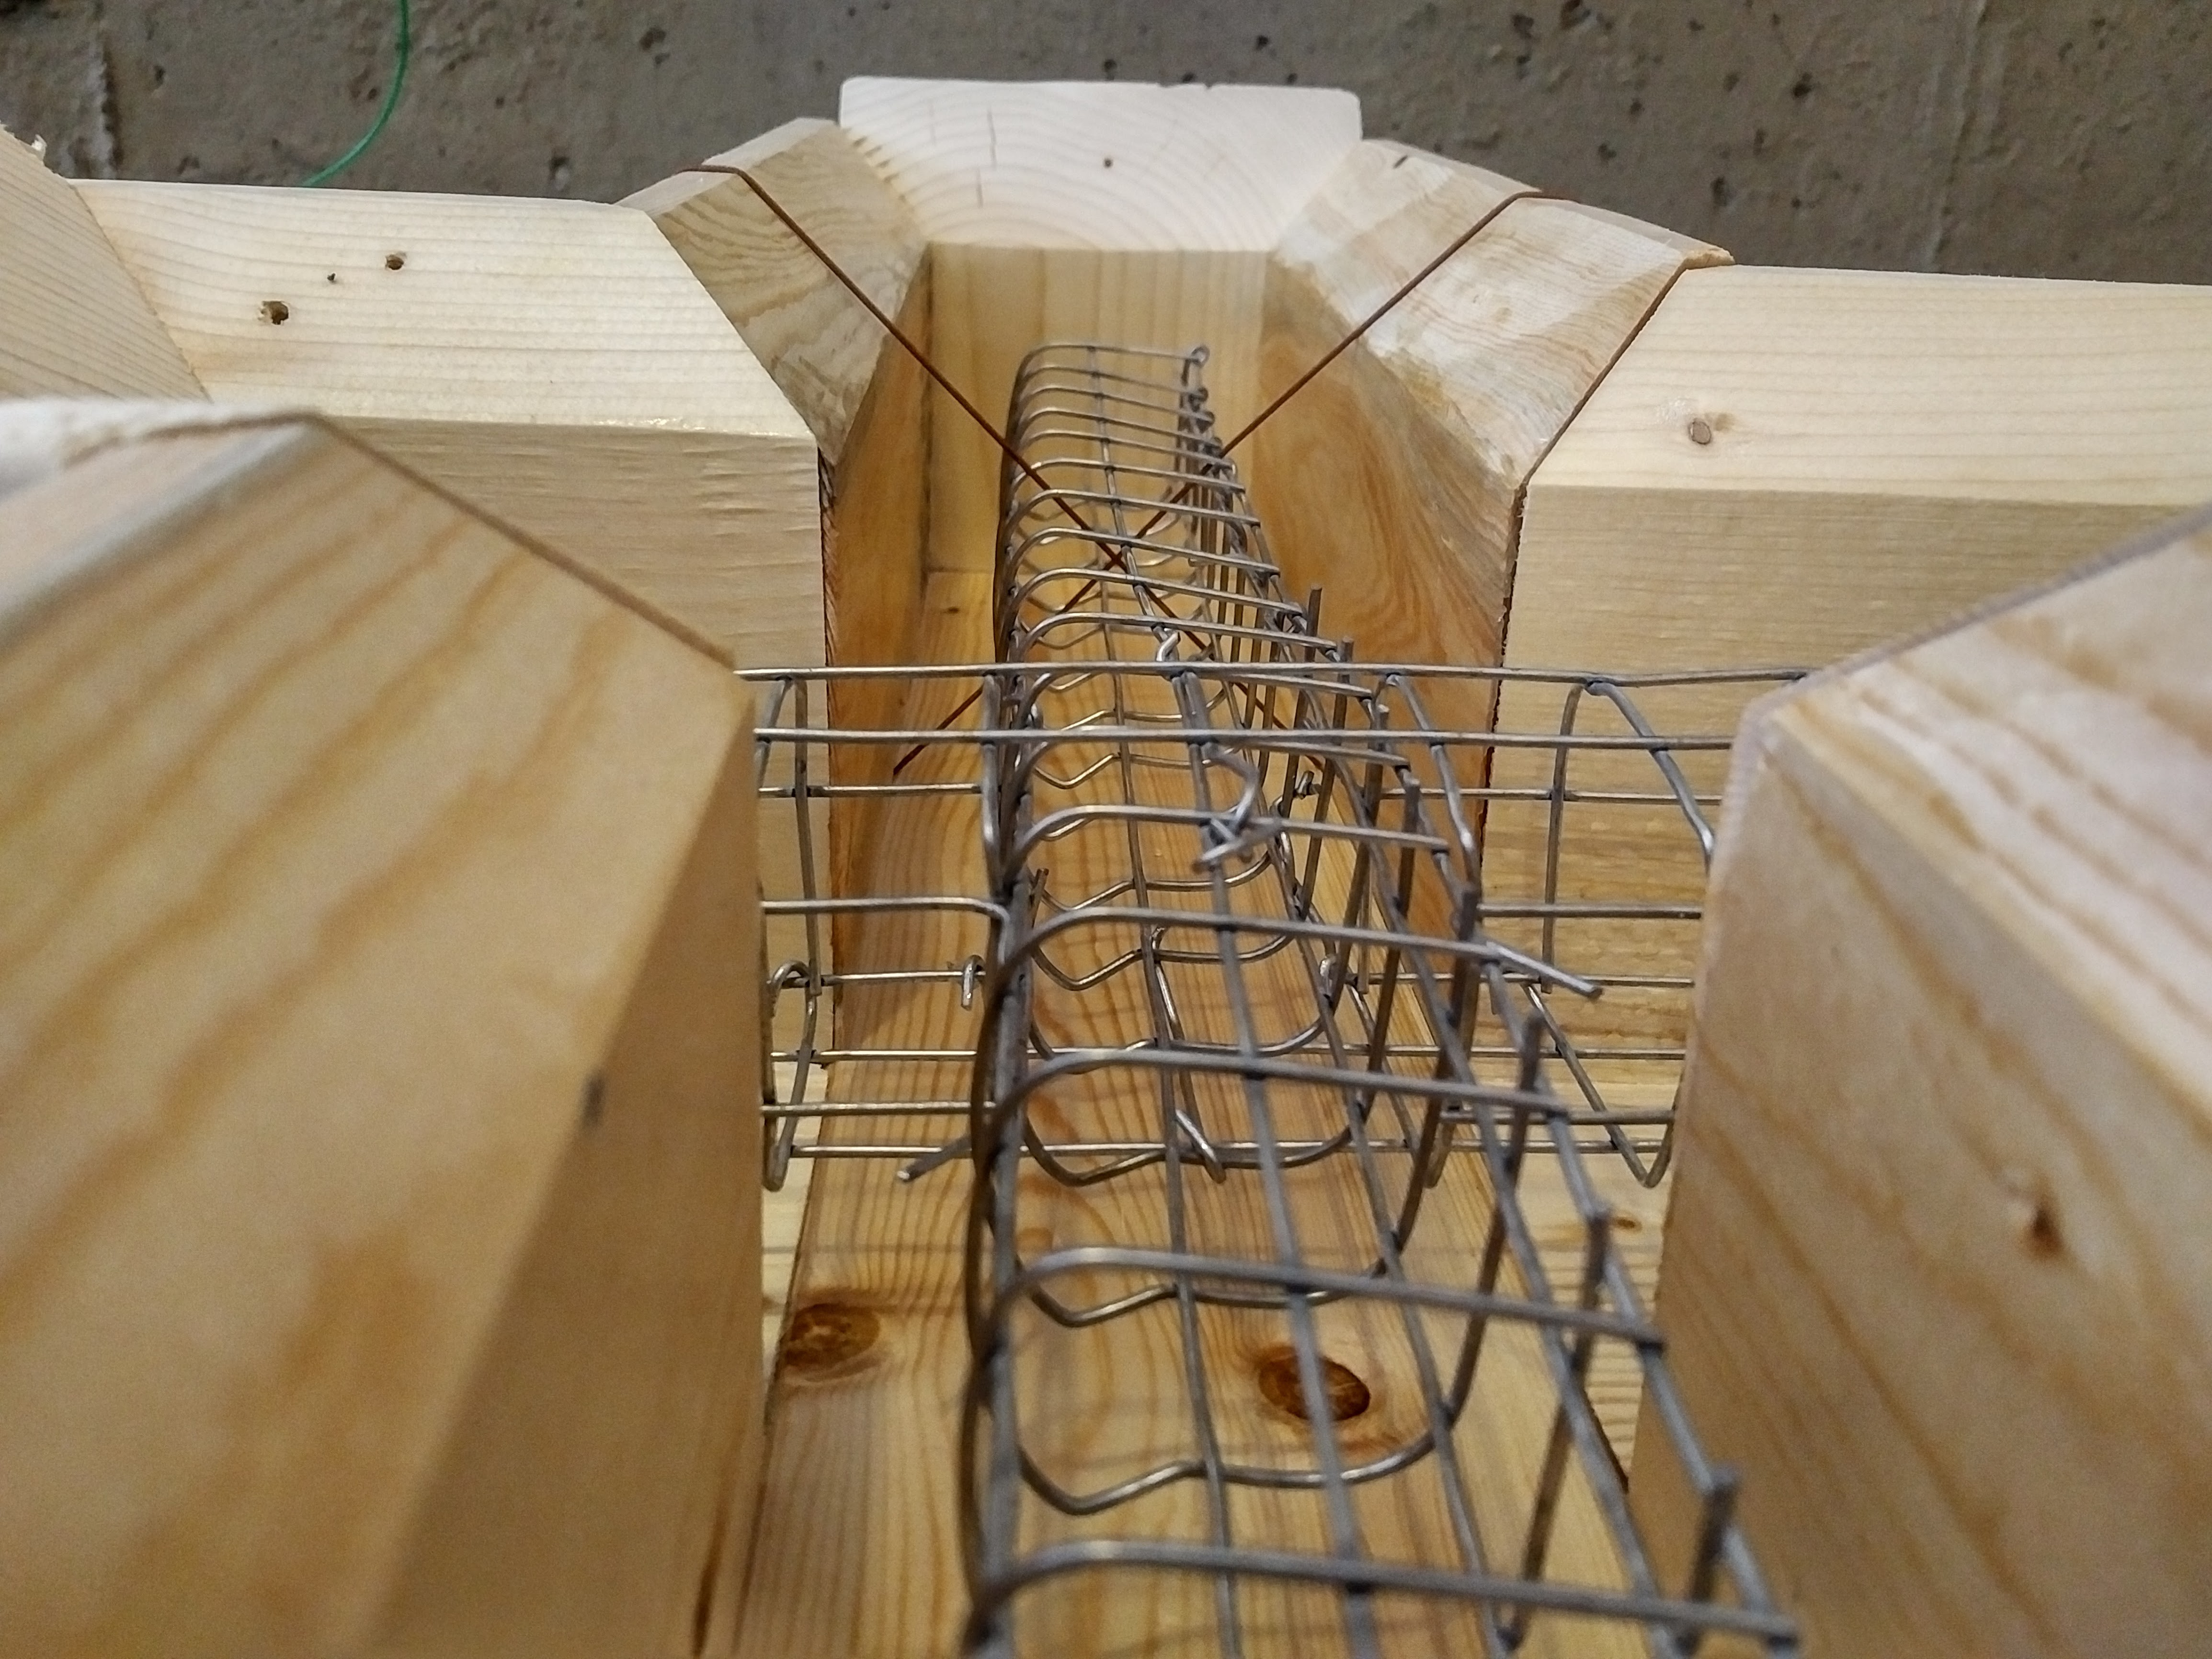
My old mailbox posts were just untreated wood, and they were starting to rot out and splinter from exposure to weather. Planning to replace them, I wanted to make them from something that would last longer than wood, so I tried my hand at casting concrete. Because I'm crazy, I wanted to see if I could make them a traditional 4x4 post style mailbox, making the entire project a little more interesting. It also makes these mailbox posts blend in nicely with the others on the street.
0%
0%
Concrete Mailbox Posts
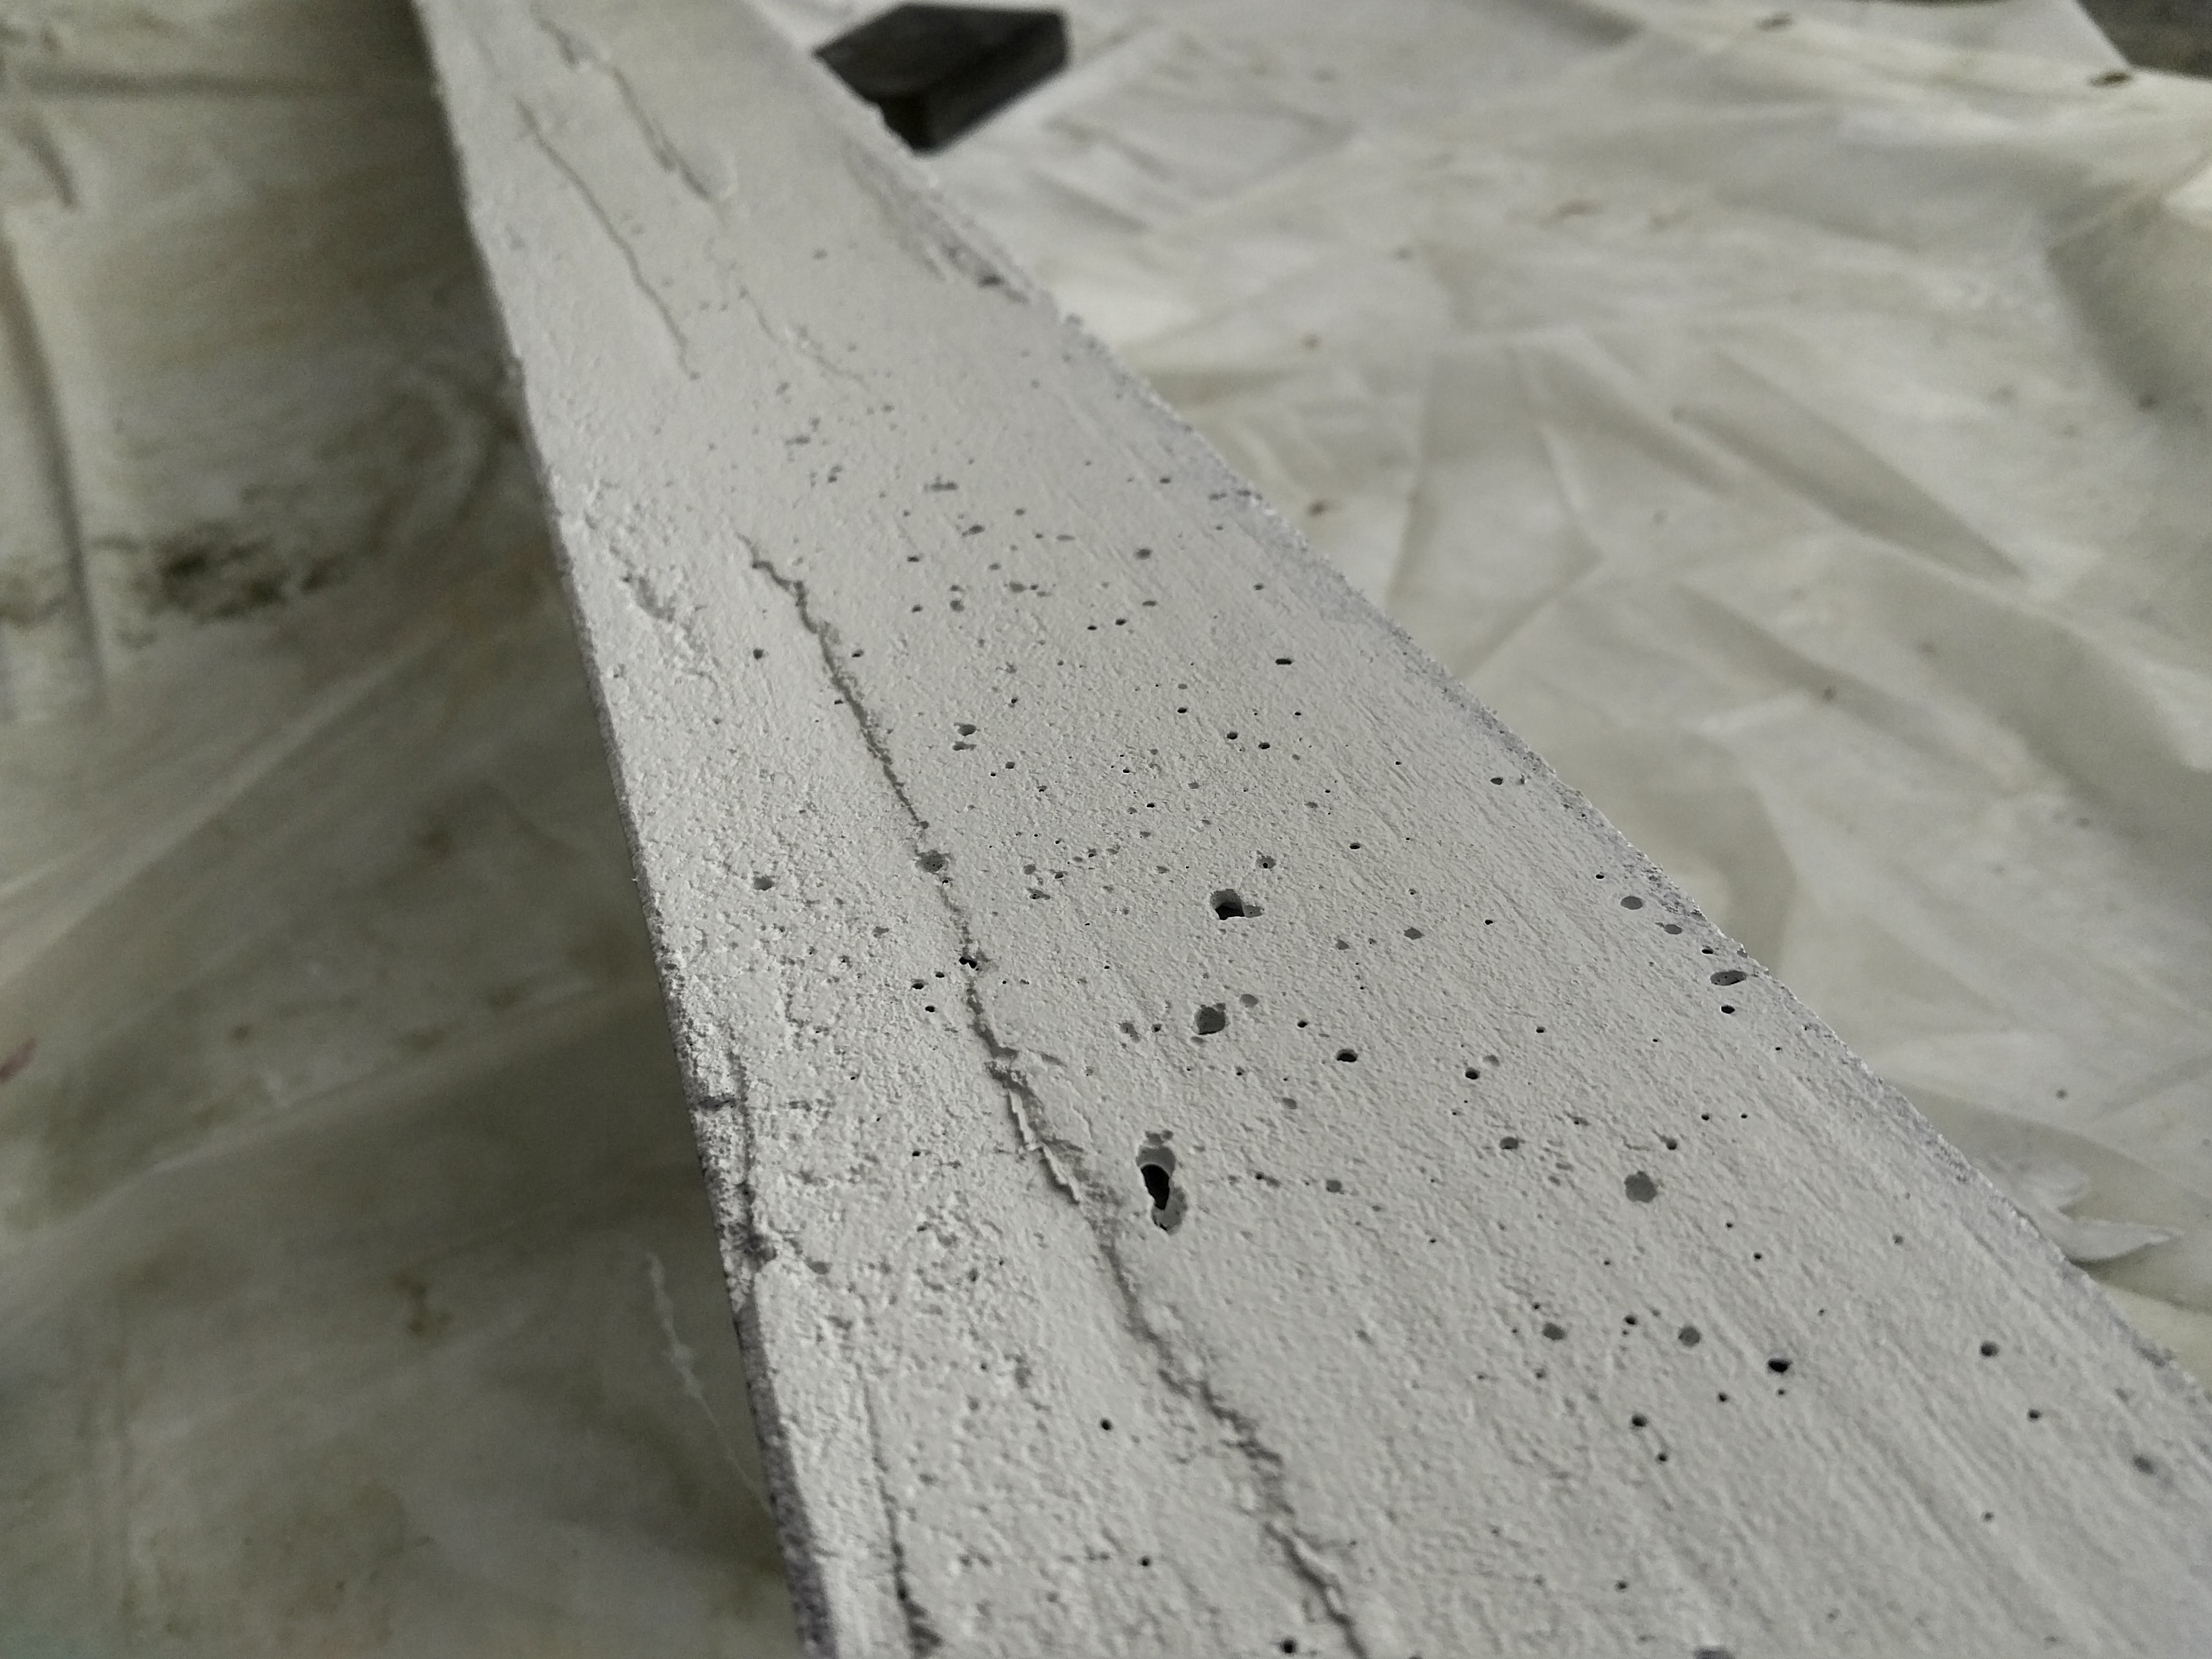
Making a concrete mailbox posts, and learning about concrete at the same time
Become a Hackaday.io member
Already have an account? Log in.
Just one more thing
To make the experience fit your profile, pick a username and tell us what interests you.
Pick an awesome username
hackaday.io/
Your profile's URL: hackaday.io/username. Max 25 alphanumeric characters.
Pick a few interests
Projects that share your interests
People that share your interests


 Kate Reed
 WJCarpenter
 Daren Schwenke
 matthewkleinmann
Nice! I will be making one of these soon. "Termites be damned", I live in SW Florida, termite paradise. LOL