0%
0%
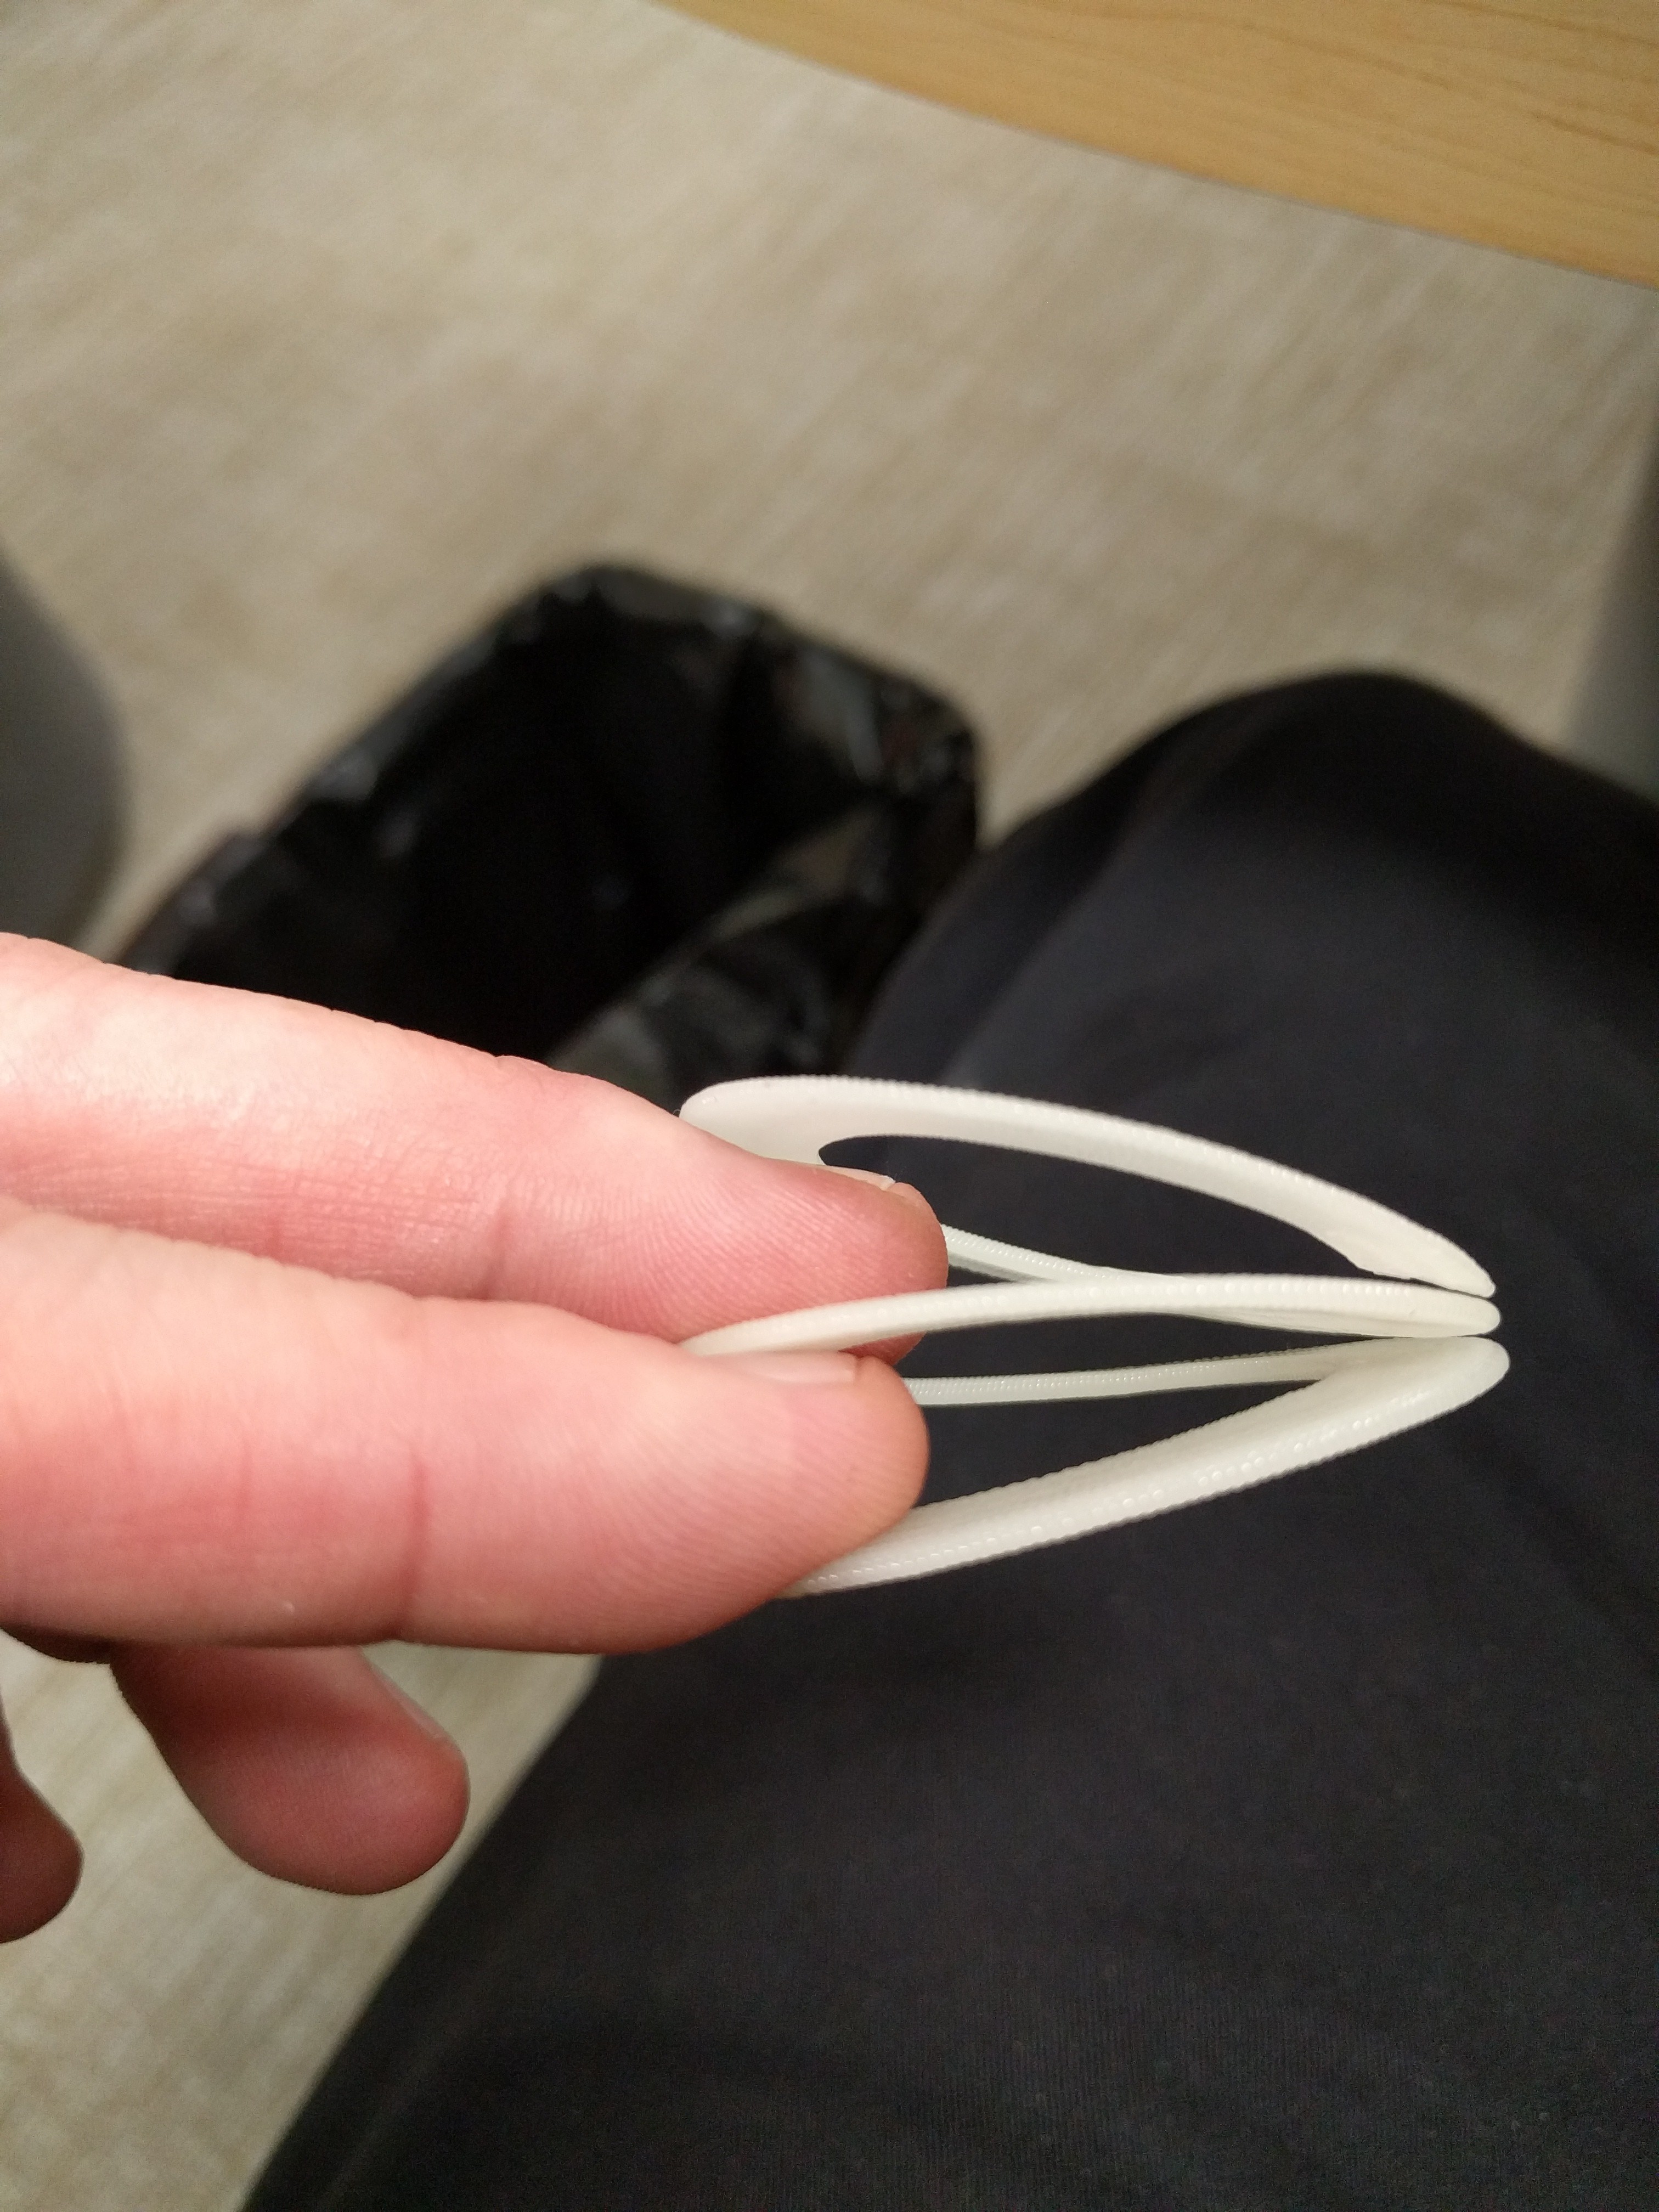
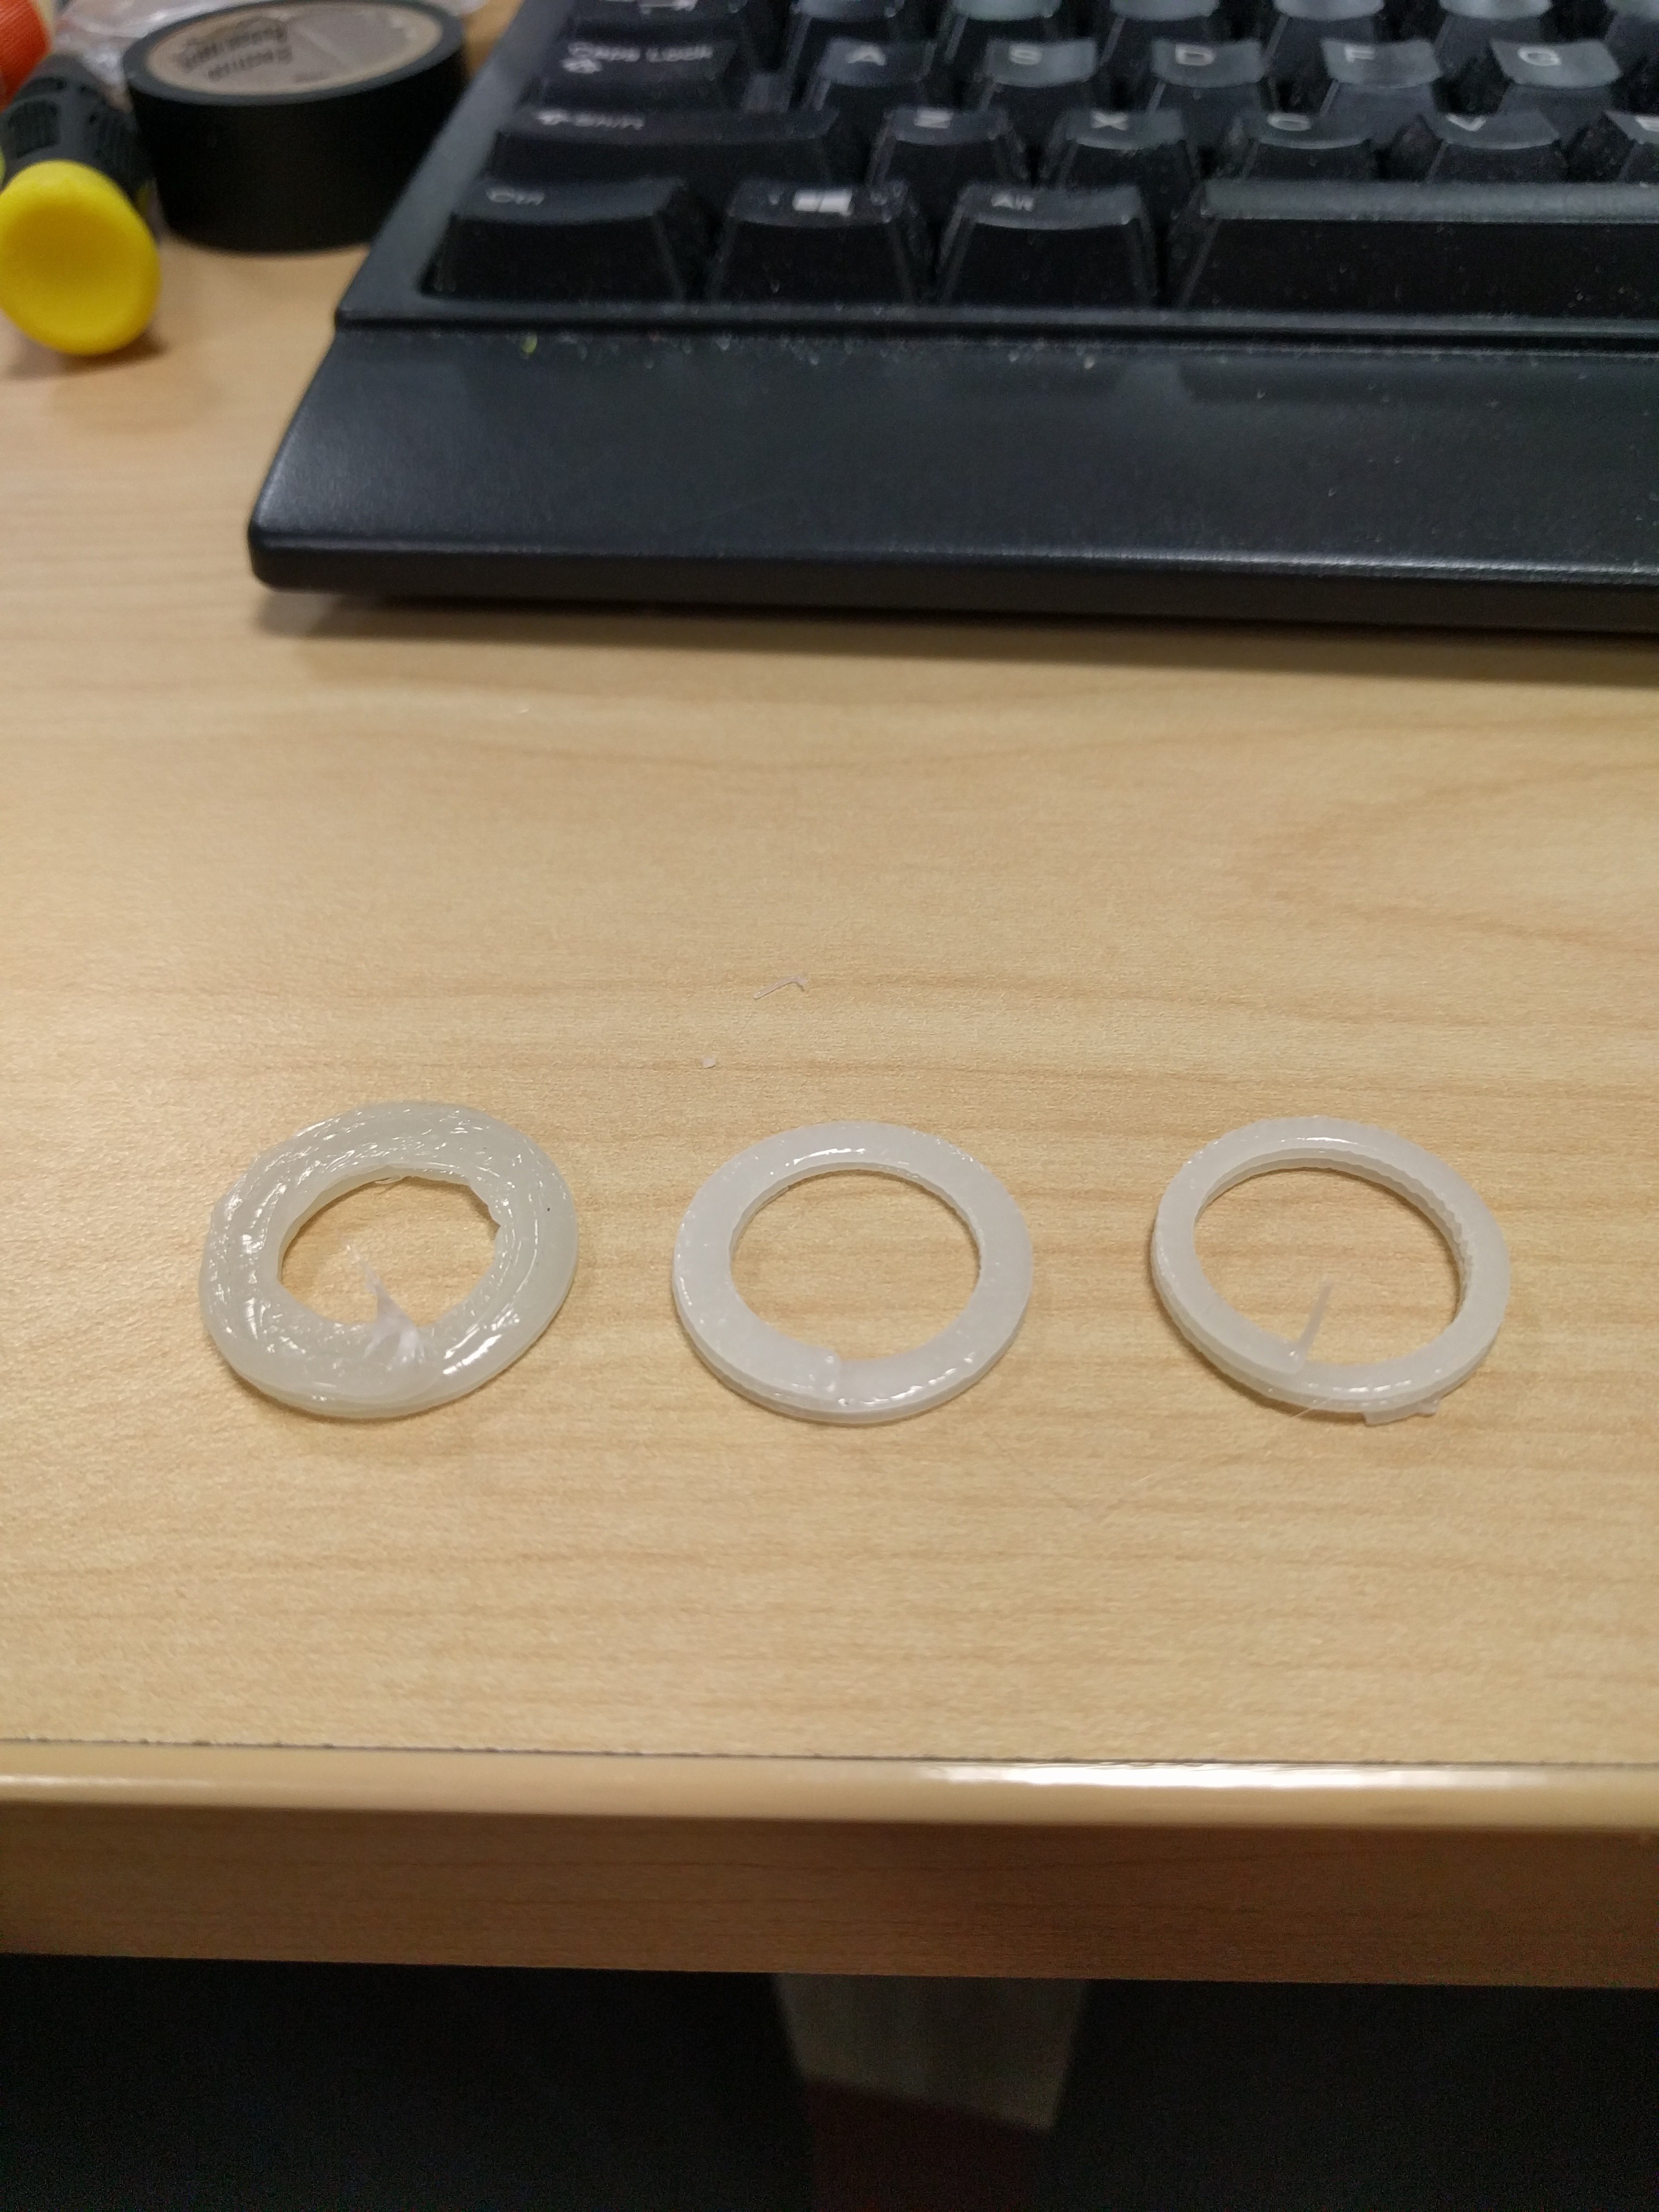
3D printed "Magic Spring"
I made a "Magic Spring"(slinky) on a 3d printer.
Become a Hackaday.io member
Already have an account? Log in.
Just one more thing
To make the experience fit your profile, pick a username and tell us what interests you.
Pick an awesome username
hackaday.io/
Your profile's URL: hackaday.io/username. Max 25 alphanumeric characters.
Pick a few interests
Projects that share your interests
People that share your interests


 Chris Mitchell
 Mike Szczys
 Peter McCloud
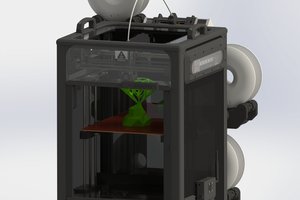
 Michal Wojciechowski
will this work with bed levelling kits like the CR-Touch?