Close
0%
0%

Arcus-3D-M2 - Ceramic Heated Bed

Low cost, large build diameter heated bed made from a floor tile.

Similar projects worth following
Build your own 380mm diameter, 120v heated bed.
This is the bed currently used on the Arcus-3D-M2 - Mixed material filament printer.

I split the original after I failed to save the Z offset when re-calibrating (Nema 23 steppers can generate a fair amount of force), so I'm building it again and this time I get to document it properly.

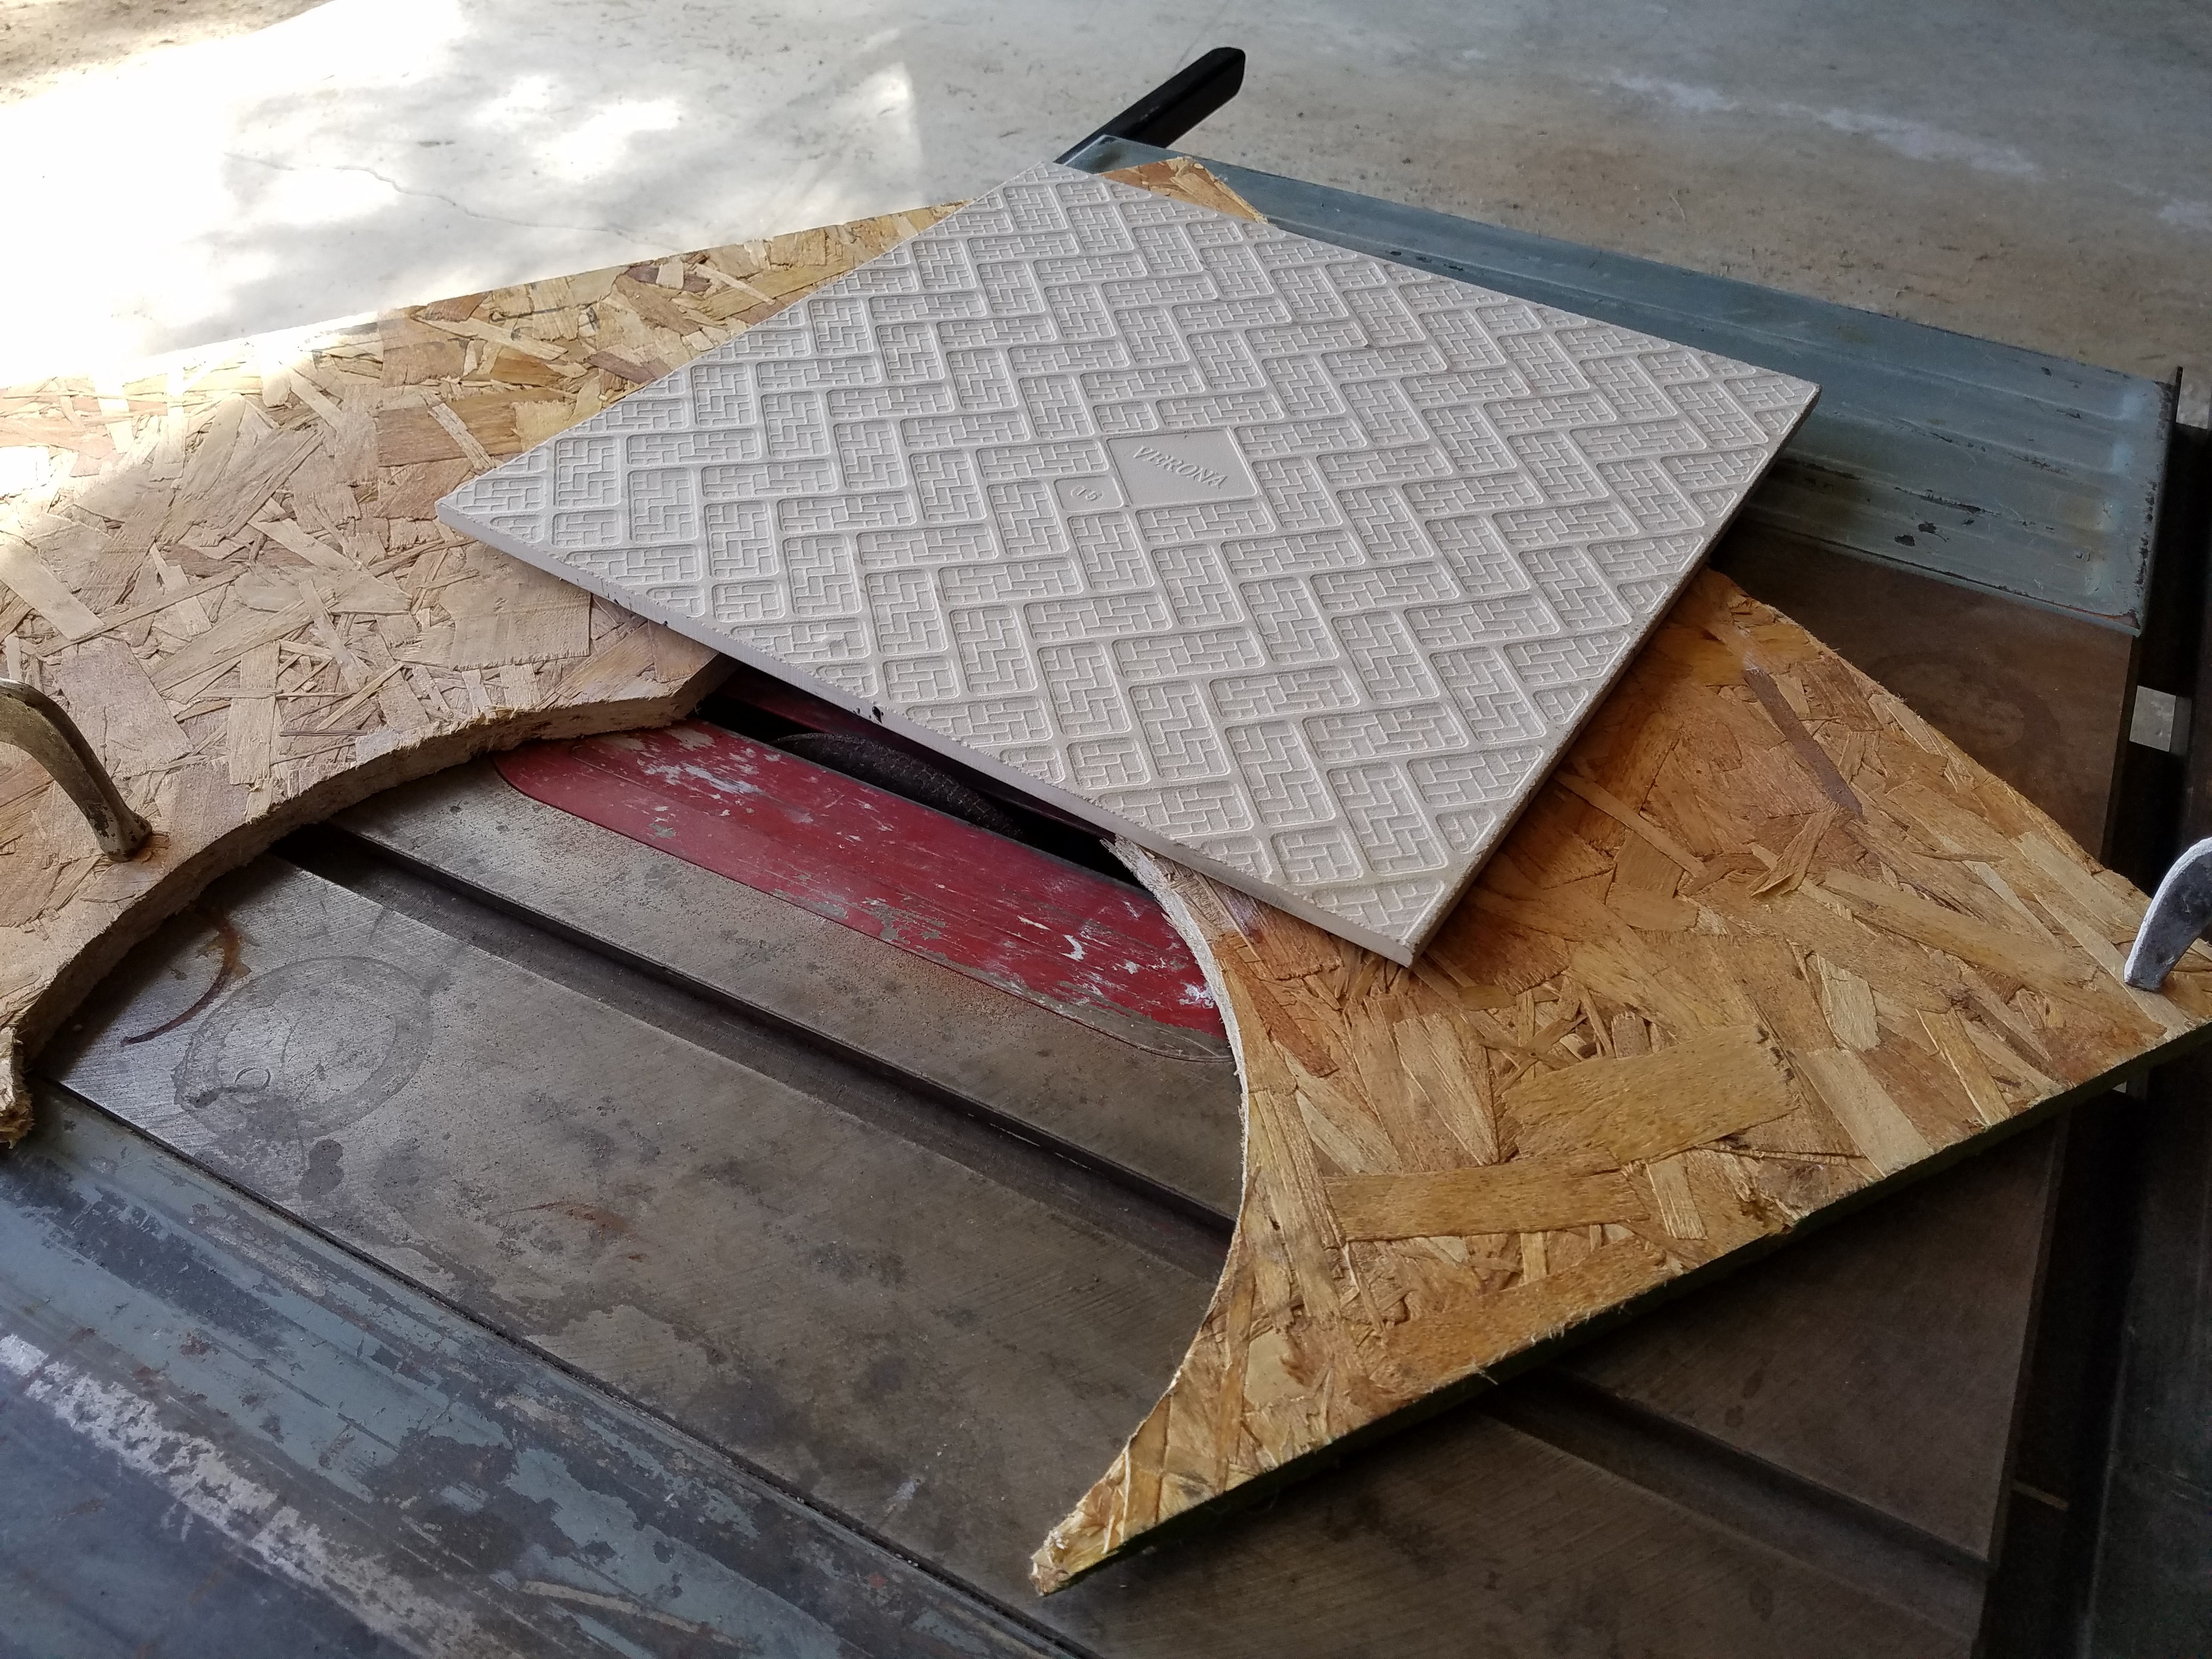
This project involves high voltages (which can kill you quickly), dangerous dust (which can kill you slowly), and any number of other ways you can hurt yourself. Please be careful and don't say I didn't warn you.

That being said, it works pretty well as is much cheaper than the commercial equivalent.

  • Fire it up

    Daren Schwenke04/10/2017 at 19:19 0 comments

    Got to try the new heated bed out today and got some stats.

    It took about 5 minutes to heat to 90C, starting from 25C.

    Surface temp was pretty even. It was about 3 degrees cooler near the edges, and varied by about 1 degree otherwise across the surface. Where I had attached the feed wires, it was about 5 degrees cooler.

    Good enough.

    Fire It Up

View project log

  • 1
    Step 1

    Probably the most important part of this project, is to pick a good tile. The majority have rounded edges and are not flat.

    The fake marble ones looked really good.

    Find something with fine detail or better yet, parallel lines and look at the reflection in the tile. Not distorted? You got a winner.

  • 2
    Step 2

    Find a pin of some sort in your scrap box, and a washer which fits relatively tightly to it. In my case I had a scrap AL disc from the hole saw which was perfect.

    Mark the center on the top of the tile. Super glue the washer to it, right in the center. This will give you your pivot point for cutting it.

    We are gluing to the top so your cut starts on the top. Although it's ultimately simpler to just glue it to the bottom once instead of moving it from the top to the bottom, I was not happy with the edges when I started from the bottom. When the blade ultimately breaks though the other side while cutting, it will invariably chip that surface. Now that surface is the bottom.

  • 3
    Step 3

    Mount your pin in some scrap plywood, big enough to span your table saw. I just drilled a hole slightly under size and hammered it in.

    Put a masonry blade on your saw. Mine was actually made for a circular saw, but it fit the table saw arbor just fine.

    Raise the blade until it would just impact the tile, and then position your pin at a 90 degree angle from the center of the top of the blade. It's important to set the height first, as the blade will move forward and back as you raise/lower it.

    Lower the blade and get suited up to get blasted by toxic dust. The dust that comes from dry cutting ceramic tiles, if it gets in your lungs, will basically never leave and can cause you life long issues. Wear a respirator!

    I found putting a fan behind me and slightly off angle aimed out of the garage worked pretty well at keeping the majority of it off of me.

View all 16 instructions

Enjoy this project?

Share

Discussions

Similar Projects

Does this project spark your interest?

Become a member to follow this project and never miss any updates