 Juan Albanell
Hardware
shelºF Sense
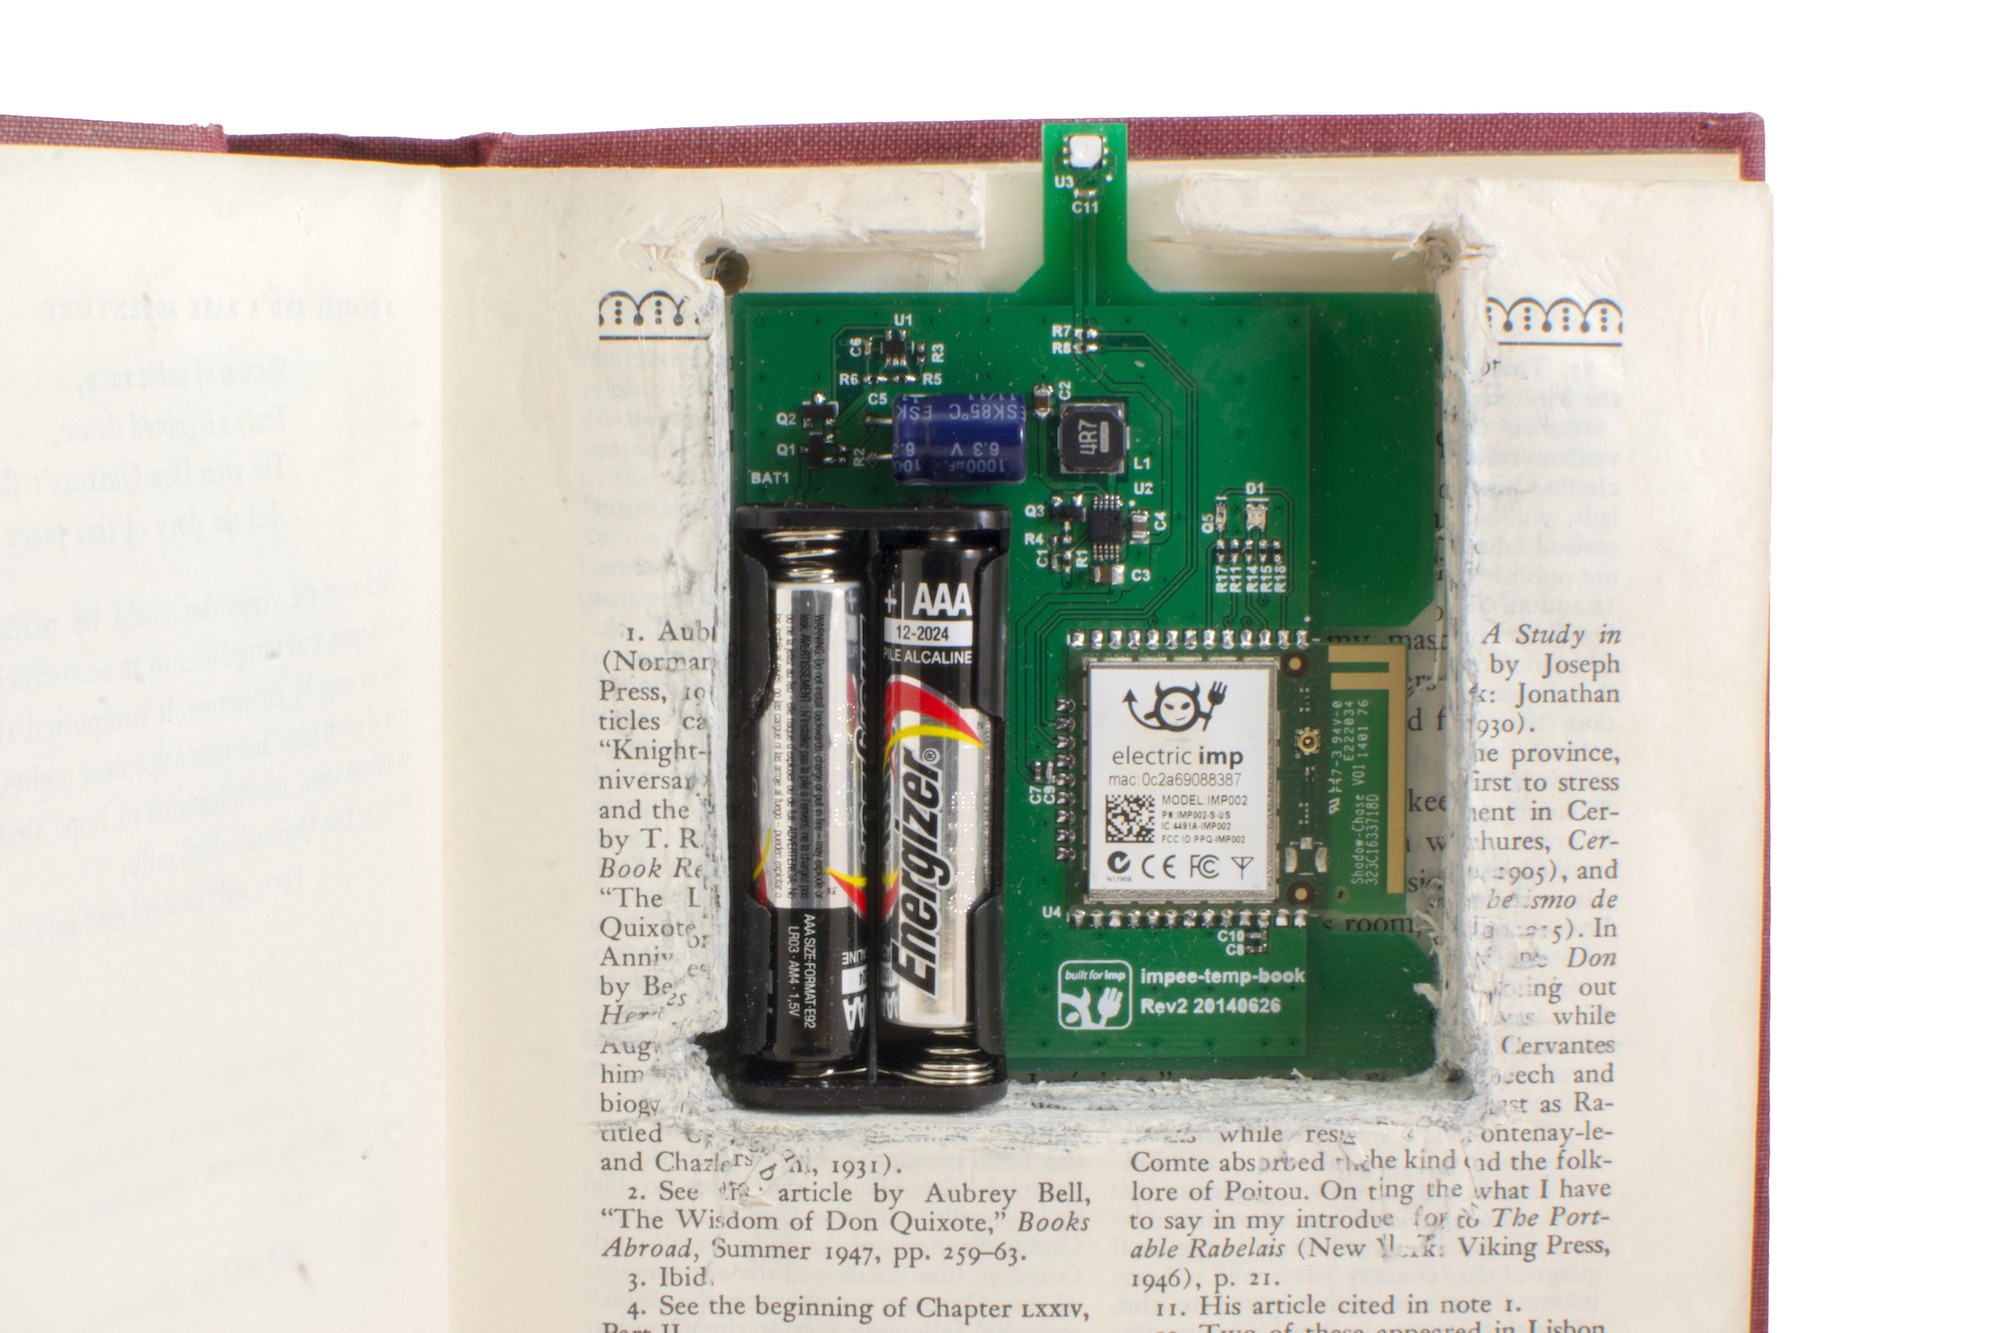
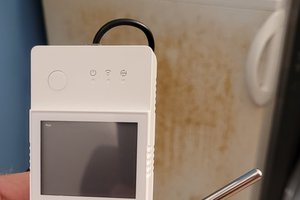
The first shelºF Sense device, the TempBook, is a small, simple board that is made up of an Electric Imp, a temperature sensor and a power supply.
The Electric Imp imp002 module is a great fit for this device since it has the ability to function in three states: sleep, shallow wake and wake. Sleep is when the imp is not performing any function and goes into a very low power mode (5uA) that it wakes up from after a set amount of time. Shallow wake is when the imp is performing typical microcontroller functions without connecting to the Internet, which is where a lot of the power consumption comes from (40mA). And wake is when the imp is connected to the Internet and ready to send/receive data (80mA). For a device that just measures temperature the imp is ideal since it only needs to be awake to quickly measuring temperature, which results in no battery waste.
The temperature sensor chosen for this device was the Si7021 temperature and humidity sensor. This IC was chosen because it is cheap, small and has a very simple I2C protocol that allows for quick setup. The board is powered by two AAA batteries that offer 3V and up to 1200mAh which was all that was needed for this low power application. This power source is then fed through a reverse voltage protection and under-voltage lockout circuit to ensure the safety of the board as a whole. This is then fed through the Torex XC9128 to produce the necessary 3V for the imp, which was chosen due to its efficiency and ability to save power when the imp is off.
shelºF Act
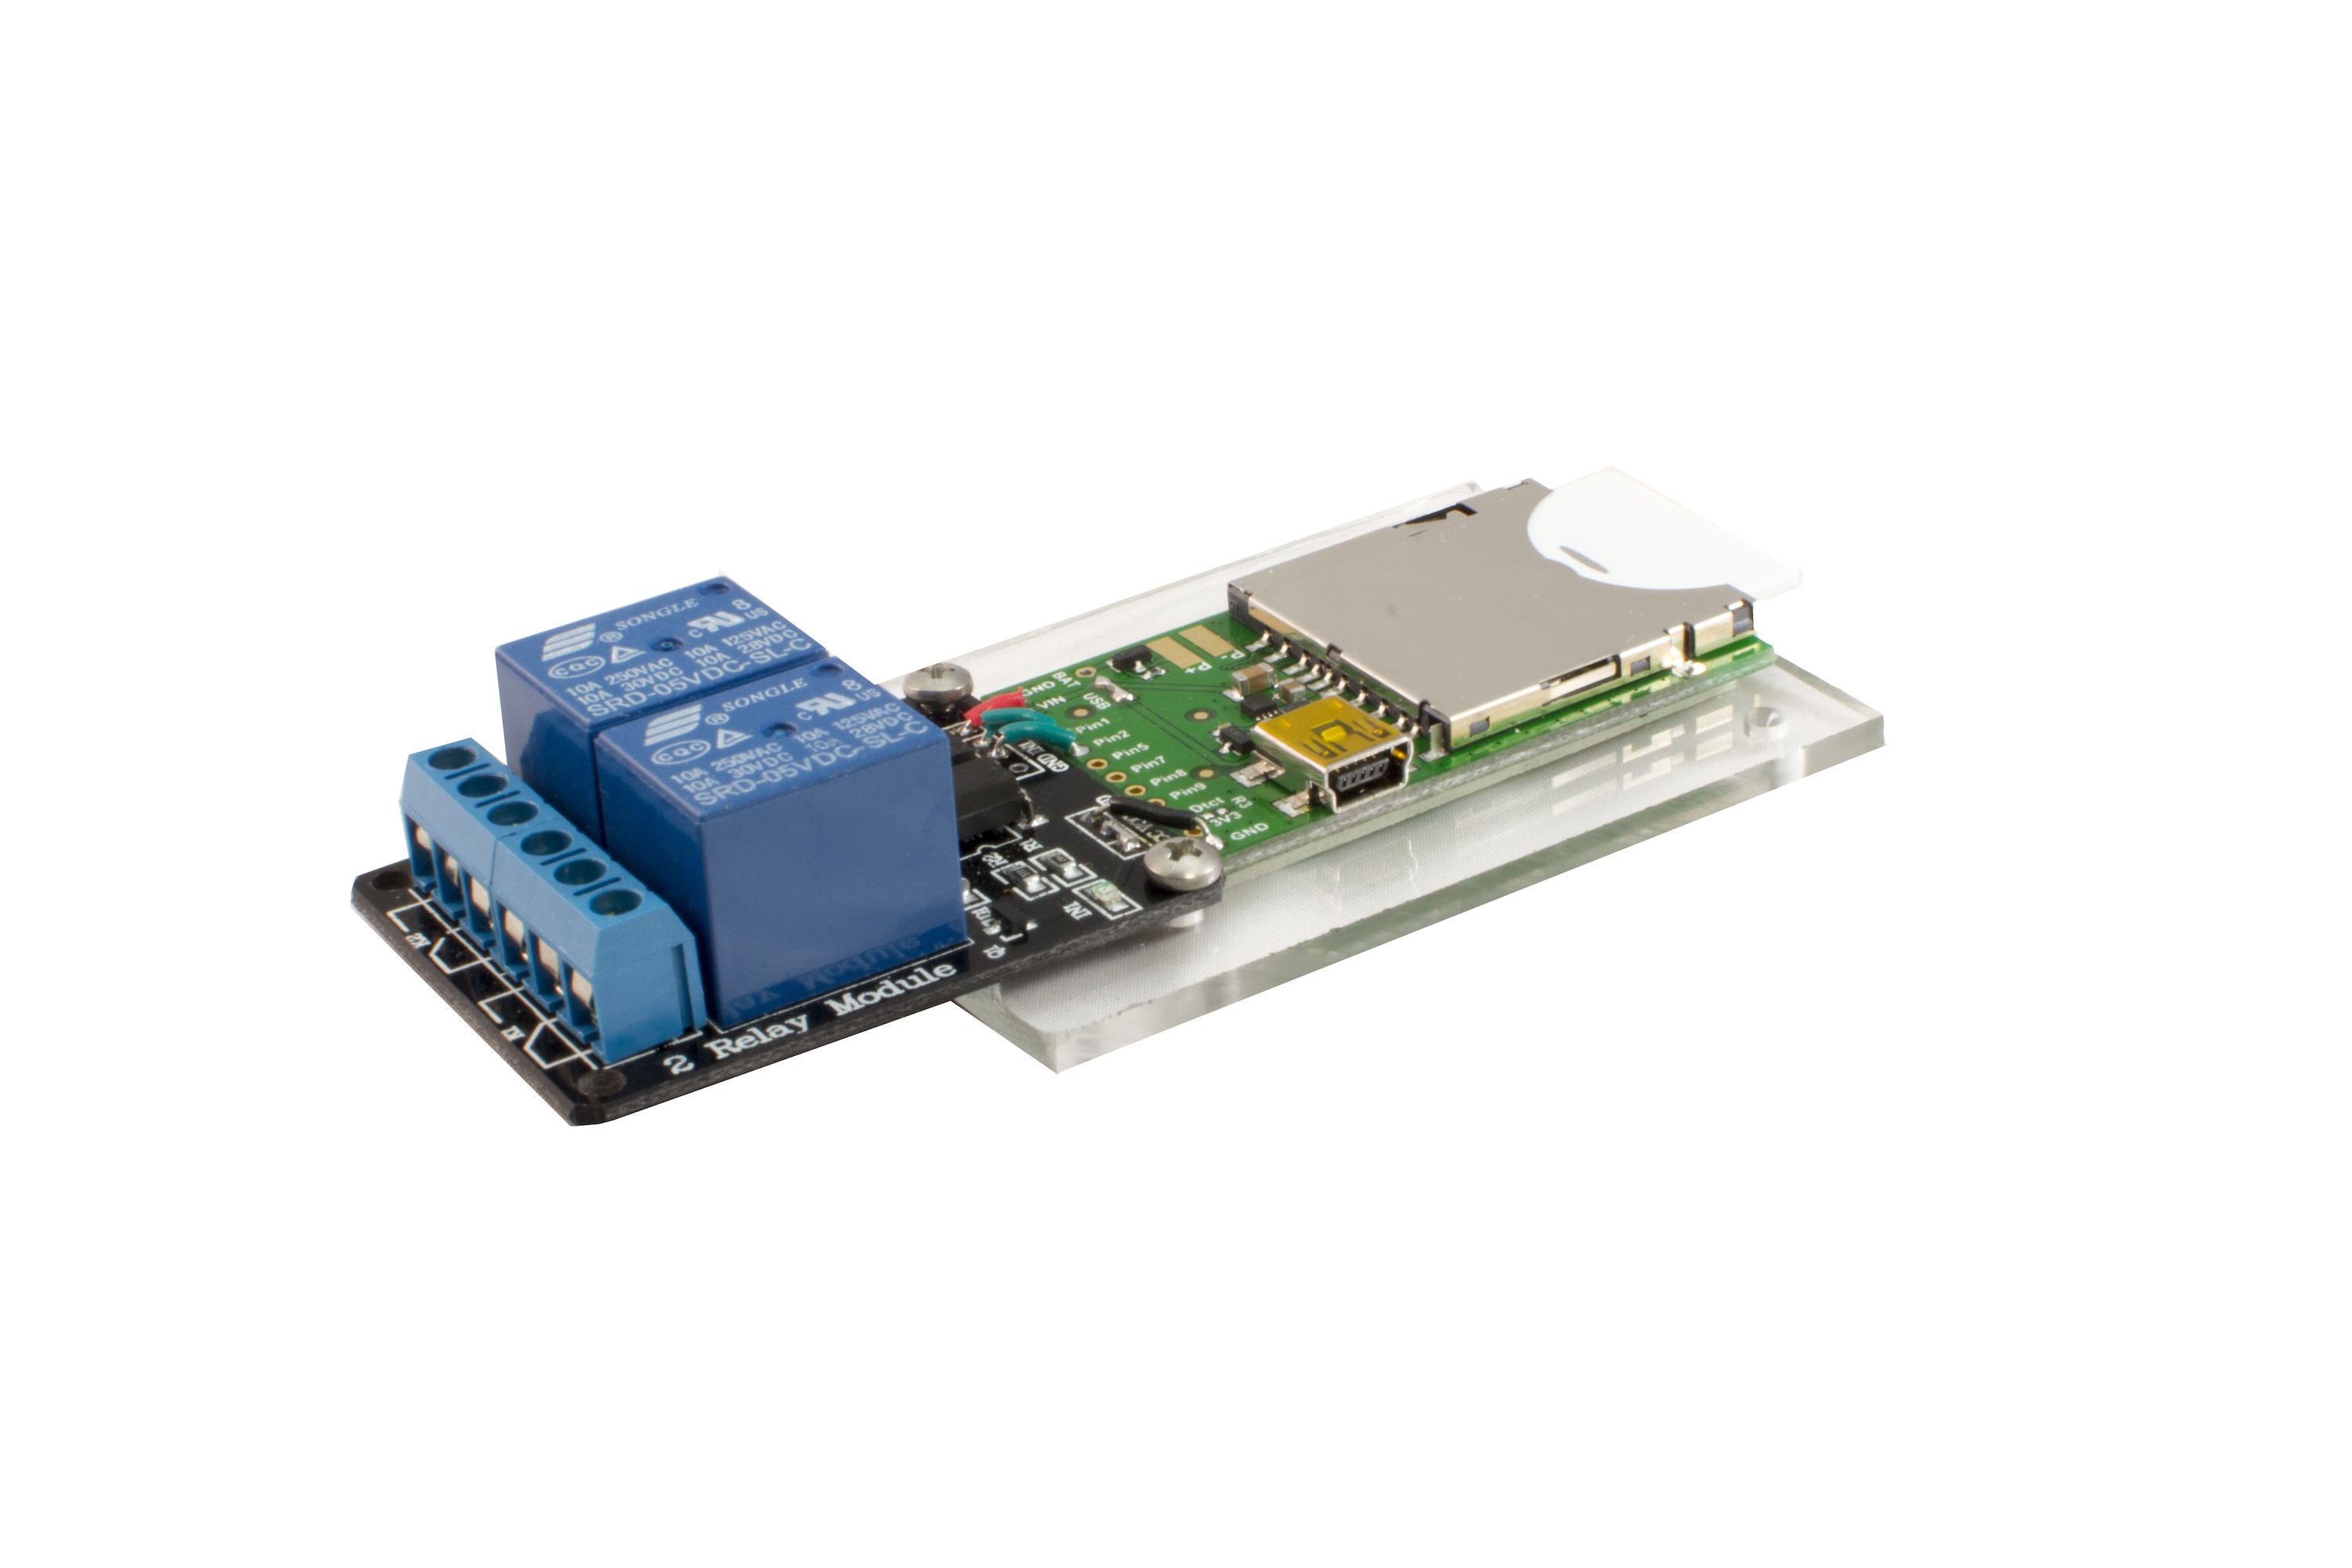
Most thermostats are designed to connect to four wires, one common wire and one each to control the fan, cooling and heating. Each mode is activated by connecting the common wire to the desired function or functions. Since the first iteration of shel°F is designed only for heating, it has one relay for the fan and one for the heater. I selected the 2-Channel Relay Module by SainSmart which has all the FETS and diodes necessary to drive the relays from the Imp. It is sold by many retailers and can be found for under $3. This module is then just connected to the Electric Imp April Board with 4 wires and the shelºF Act hardware is complete and connected to the Internet. The Electric Imp April Board is a great solution to connect to the Internet since anyone can go online and purchase it, and it works right out of the box with no complex soldering. This simple purchase and setup is very important to convince potential customers that this is not a task for an Electrical Engineer, but anyone who would feel comfortable setting up a normal thermostat.
Software
Model
A wireless thermostat system needs software for sensing, actuating, control and a server to connect everything together. It is clear to see that the first three components are controlled by the shelºF, but the main advantage of using the Electric Imp platform is that there is no need for an external server for the last component. Each device has an agent that it can communicate with, which in turn acts as a small server that can store data and take requests.The system model outlined below shows the connections between the app and the two imp devices. The App gets all of the necessary information from the Master Agent using http requests, never talking to the Sensor Agent. The Master Agent then gets all of the sensors’ states from data pushed by the Sensor Agents, and stores it in a table. Based on the sensor state and the targets set by the app the Agent then switches the relays accordingly.

shelºF Sense
The agent code for Sense is quite simple. When the system is configured it is passed the URL of the Master Agent. Whenever it receives a reading from the device it sends the temperature to the Master Agent via a HTTPS Post.
The Imp device code performs temperature/humidity measurement using the Si7021 sensor class and sends this information and its battery level to it's agent. In order to save battery, it attempts to deep...
Read more »
 Sebastian
 Jasper Sikken
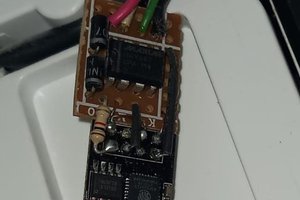
 Román
Román