0%
0%
Lasercut, UV laser PCB printer
Couldn't fit another laser into the name
 JLAM
JLAMBecome a Hackaday.io member
Already have an account? Log in.
Just one more thing
To make the experience fit your profile, pick a username and tell us what interests you.
Pick an awesome username
hackaday.io/
Your profile's URL: hackaday.io/username. Max 25 alphanumeric characters.
Pick a few interests
Projects that share your interests
People that share your interests
 The fit is spot on into the printer and it is much sturdier. It has a rigid metal frame and plenty of room to mount everything.
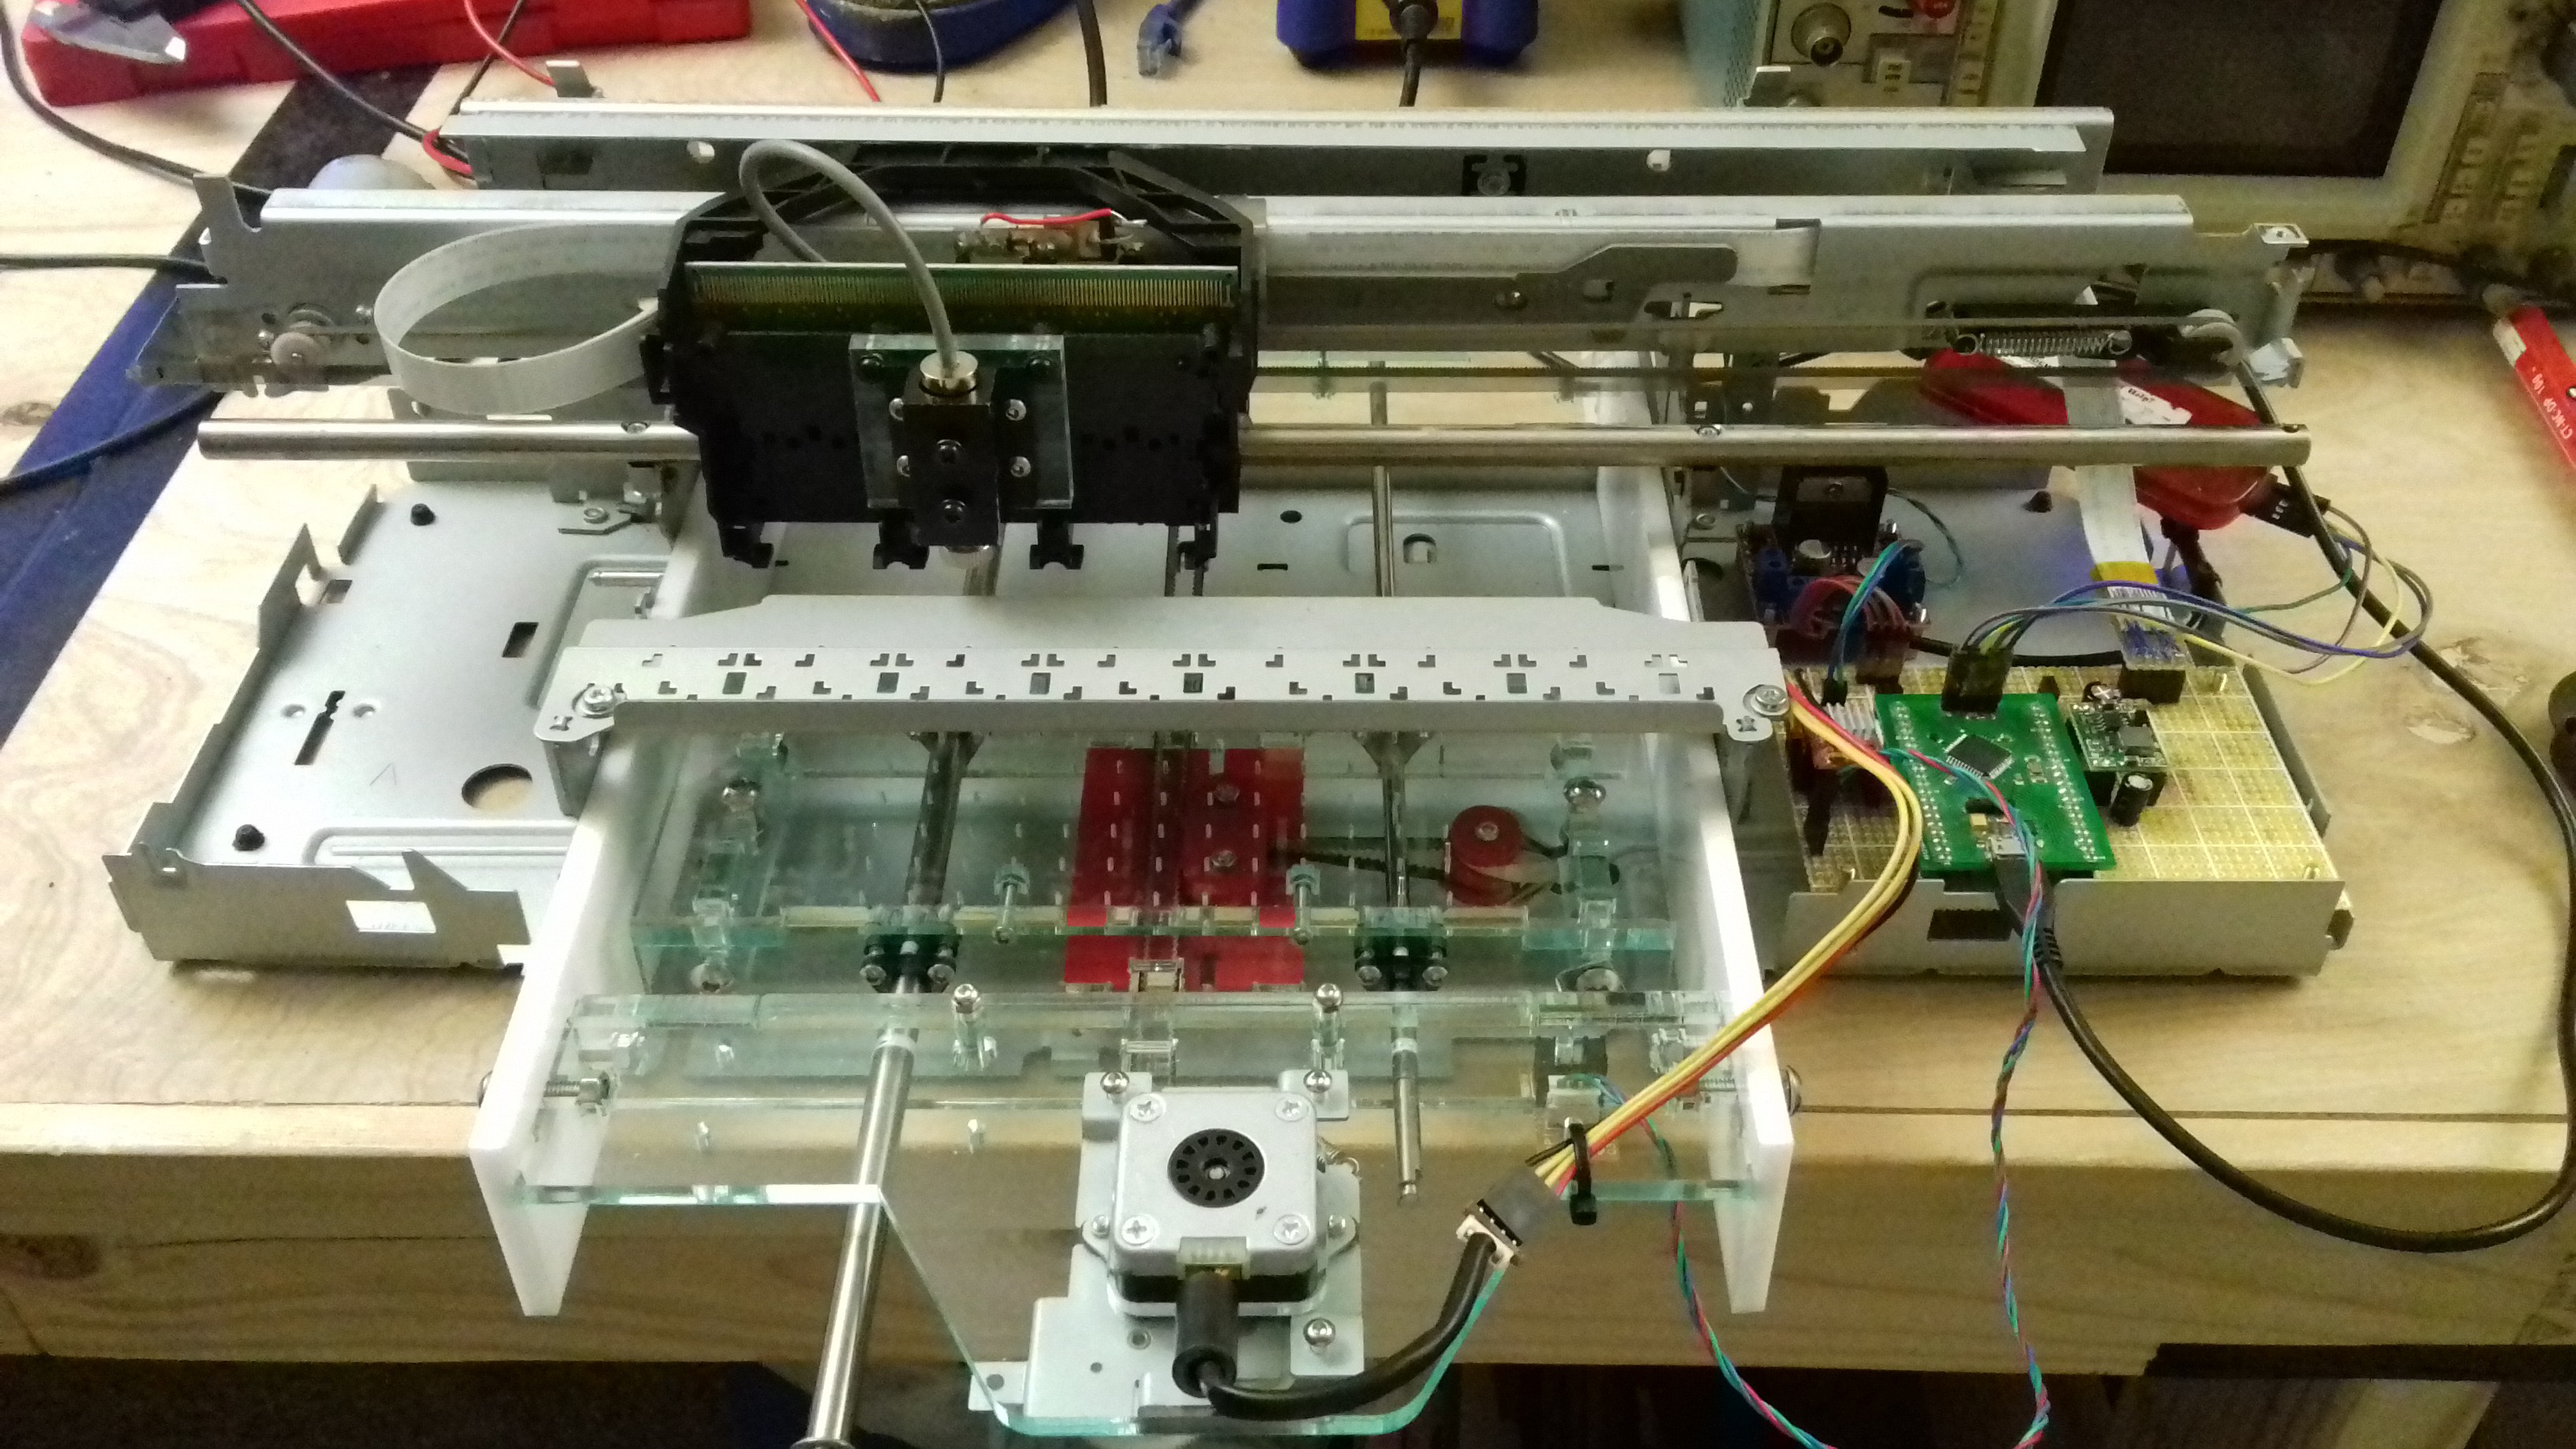 The electronics have tidied up and mounted with standoffs. Data to and from the print head uses the original flex cables. The laser driver is implanted in the print head to eliminate high current pulses going down the flex cable. There is room left for an SD card holder and a screen.
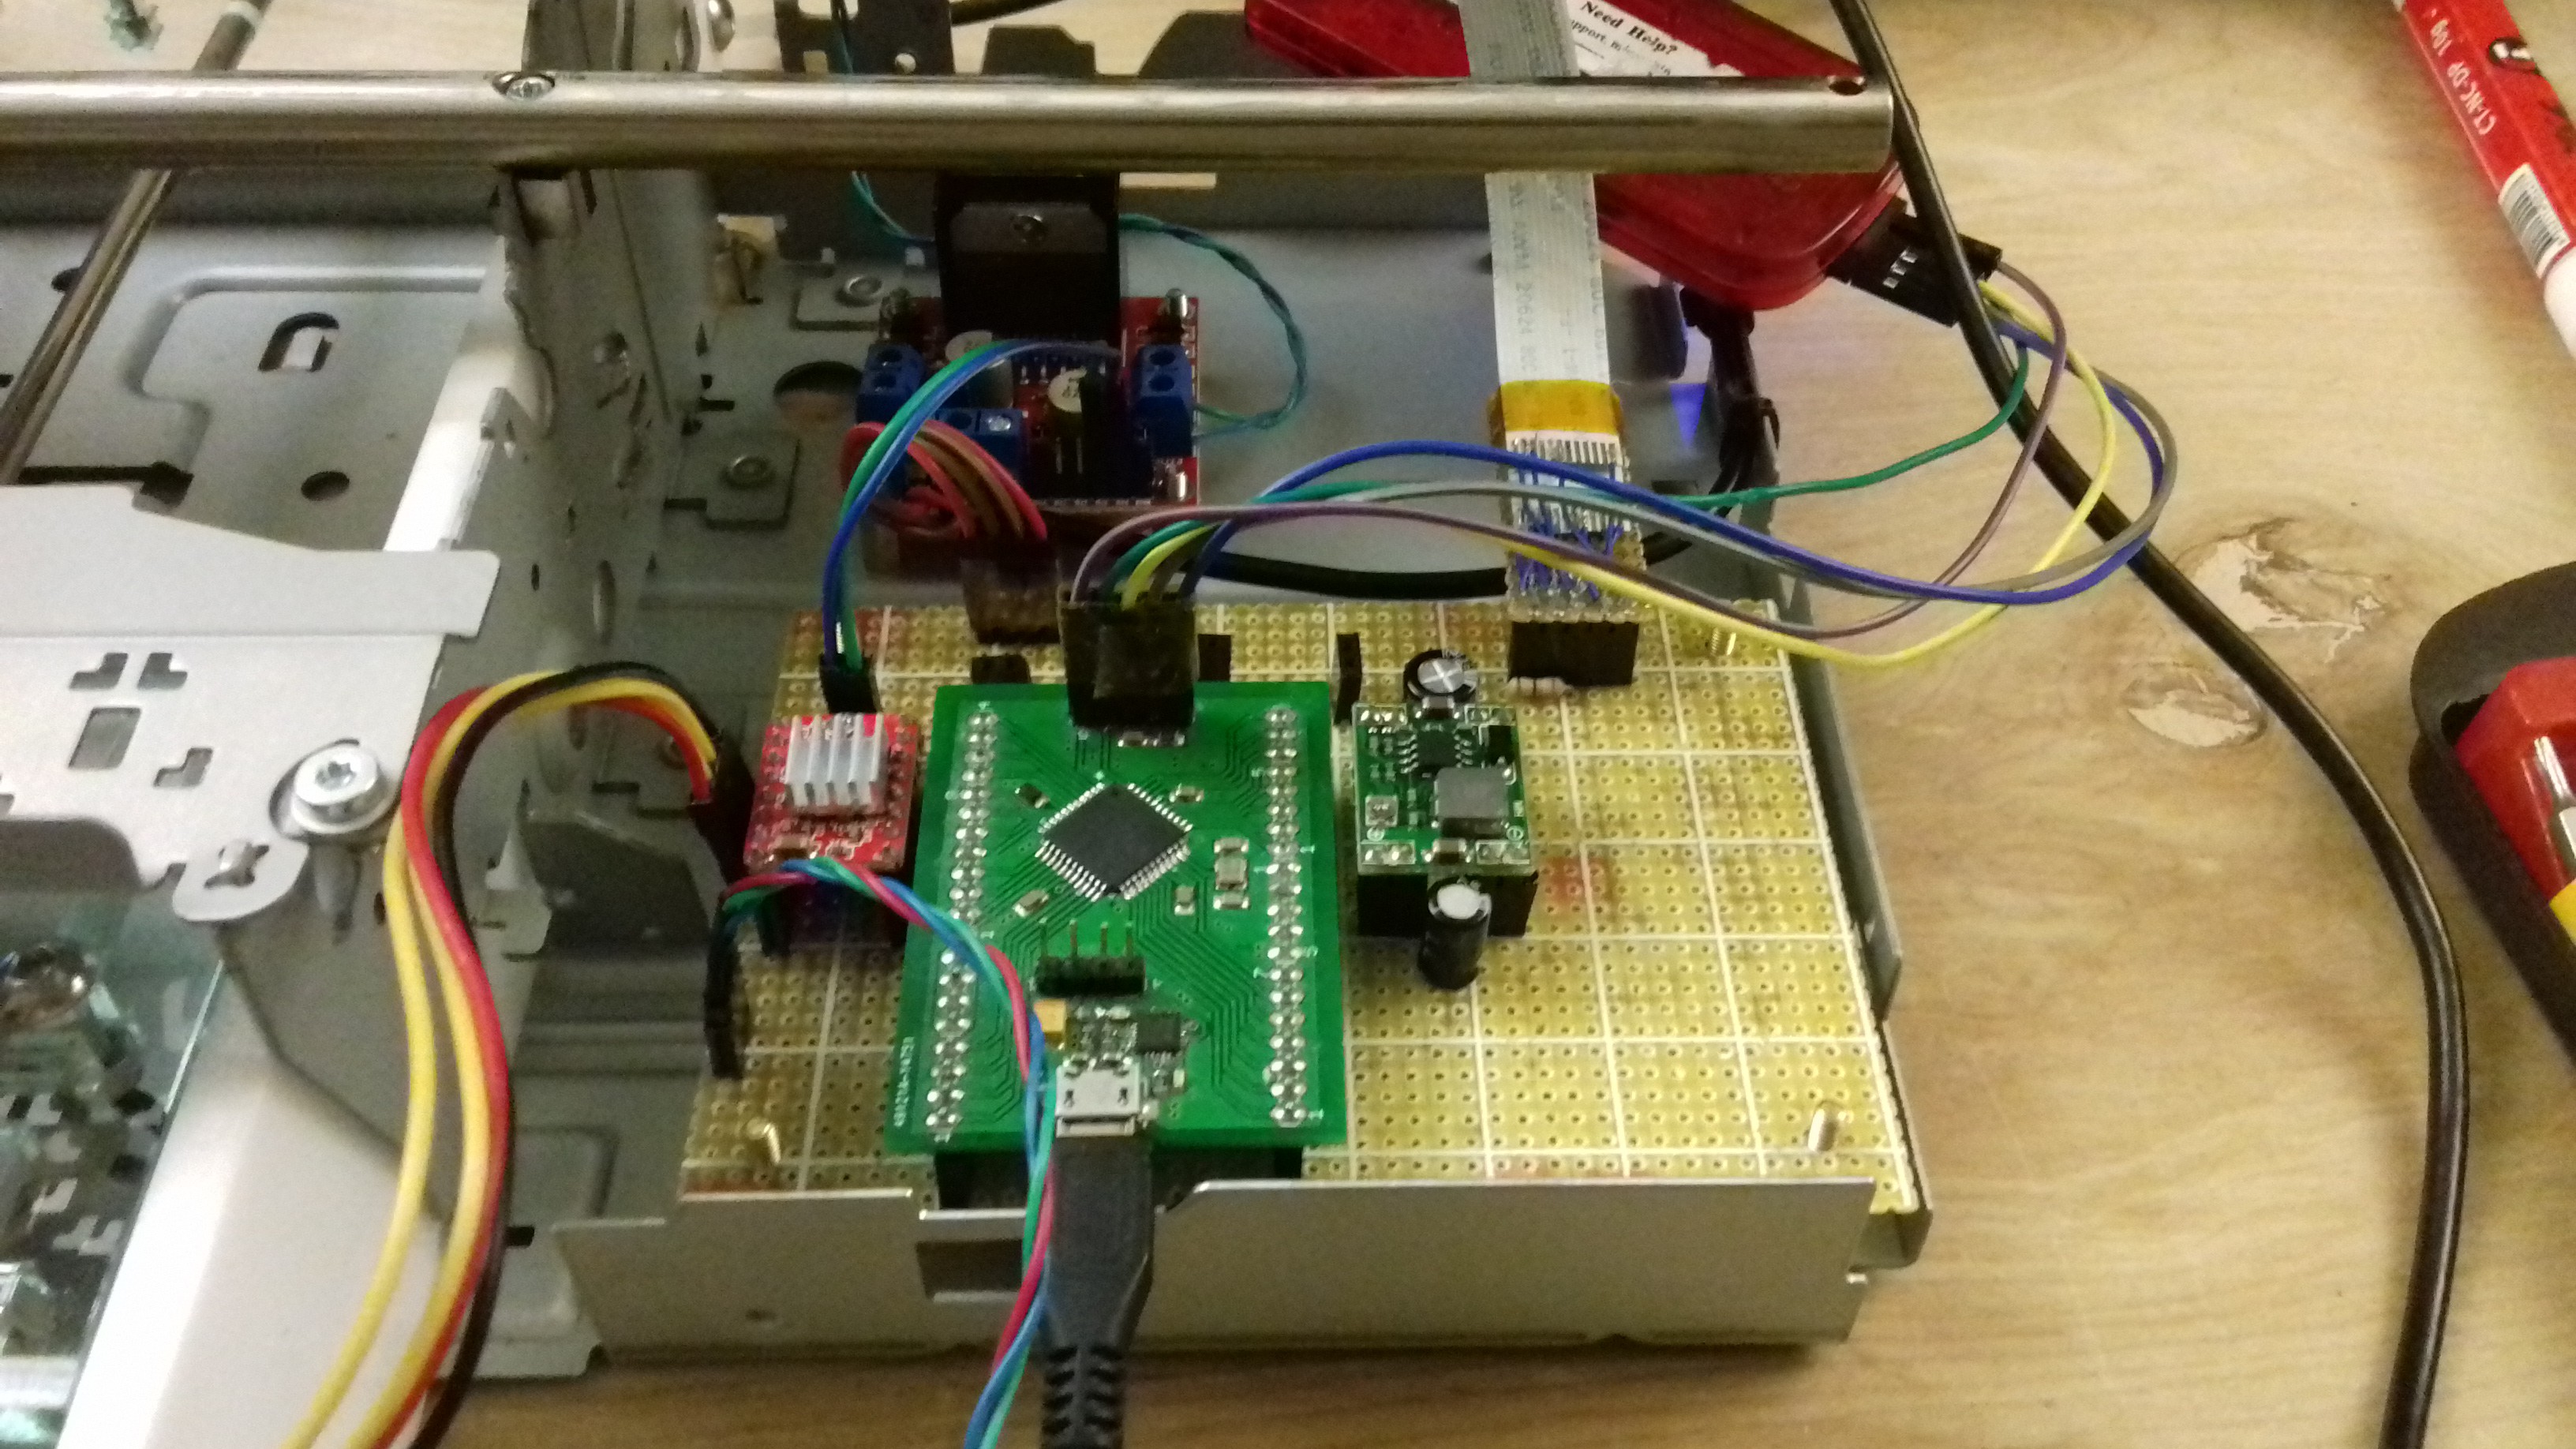

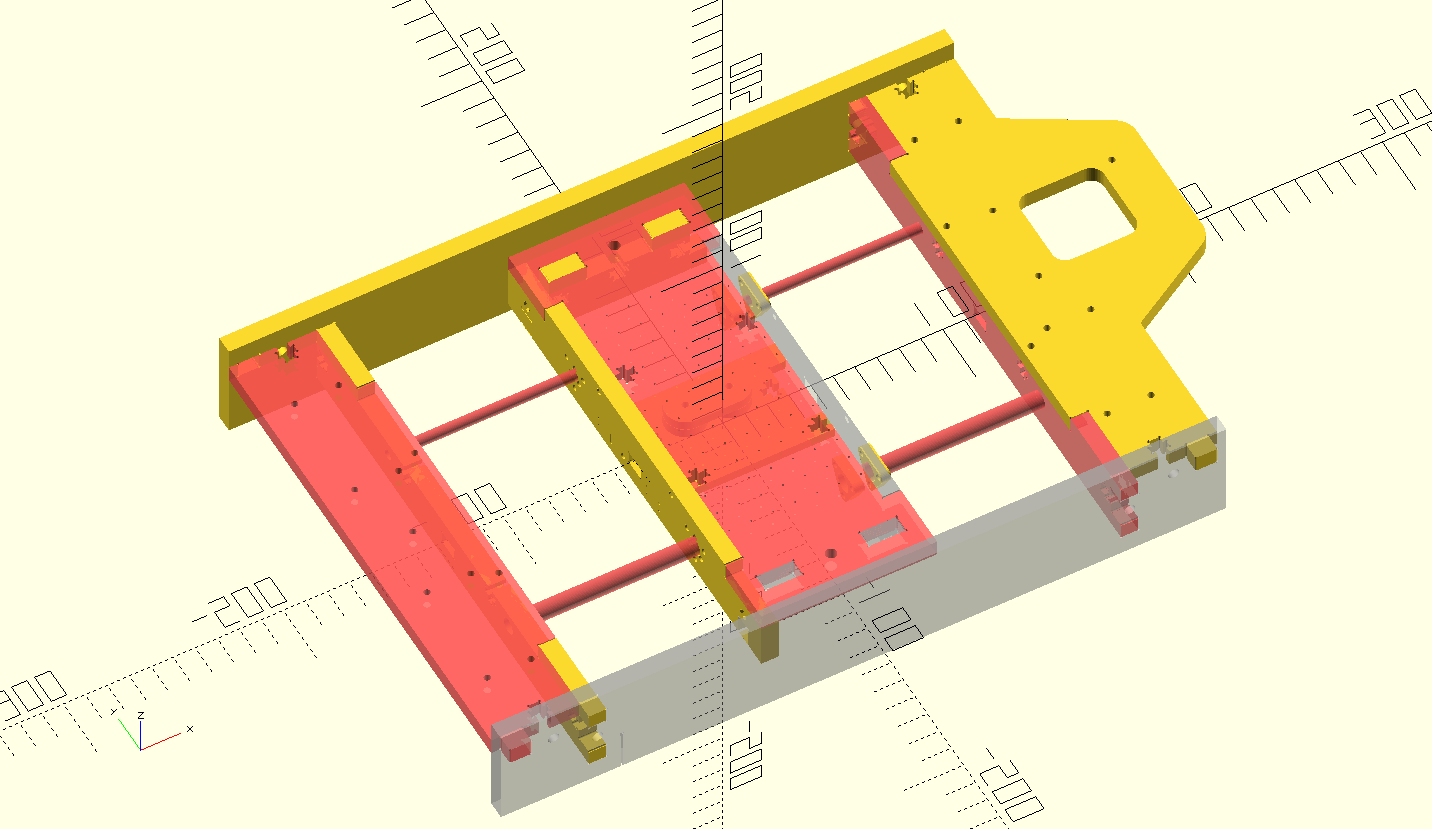
 A few hours later, it is evident that the old design is going to need to change. The linear axis of the printer was built into the chassis. So the whole laser printer is now going to be remodeled into the printer carcass. On the plus side, there is now plenty of room for the electronics.
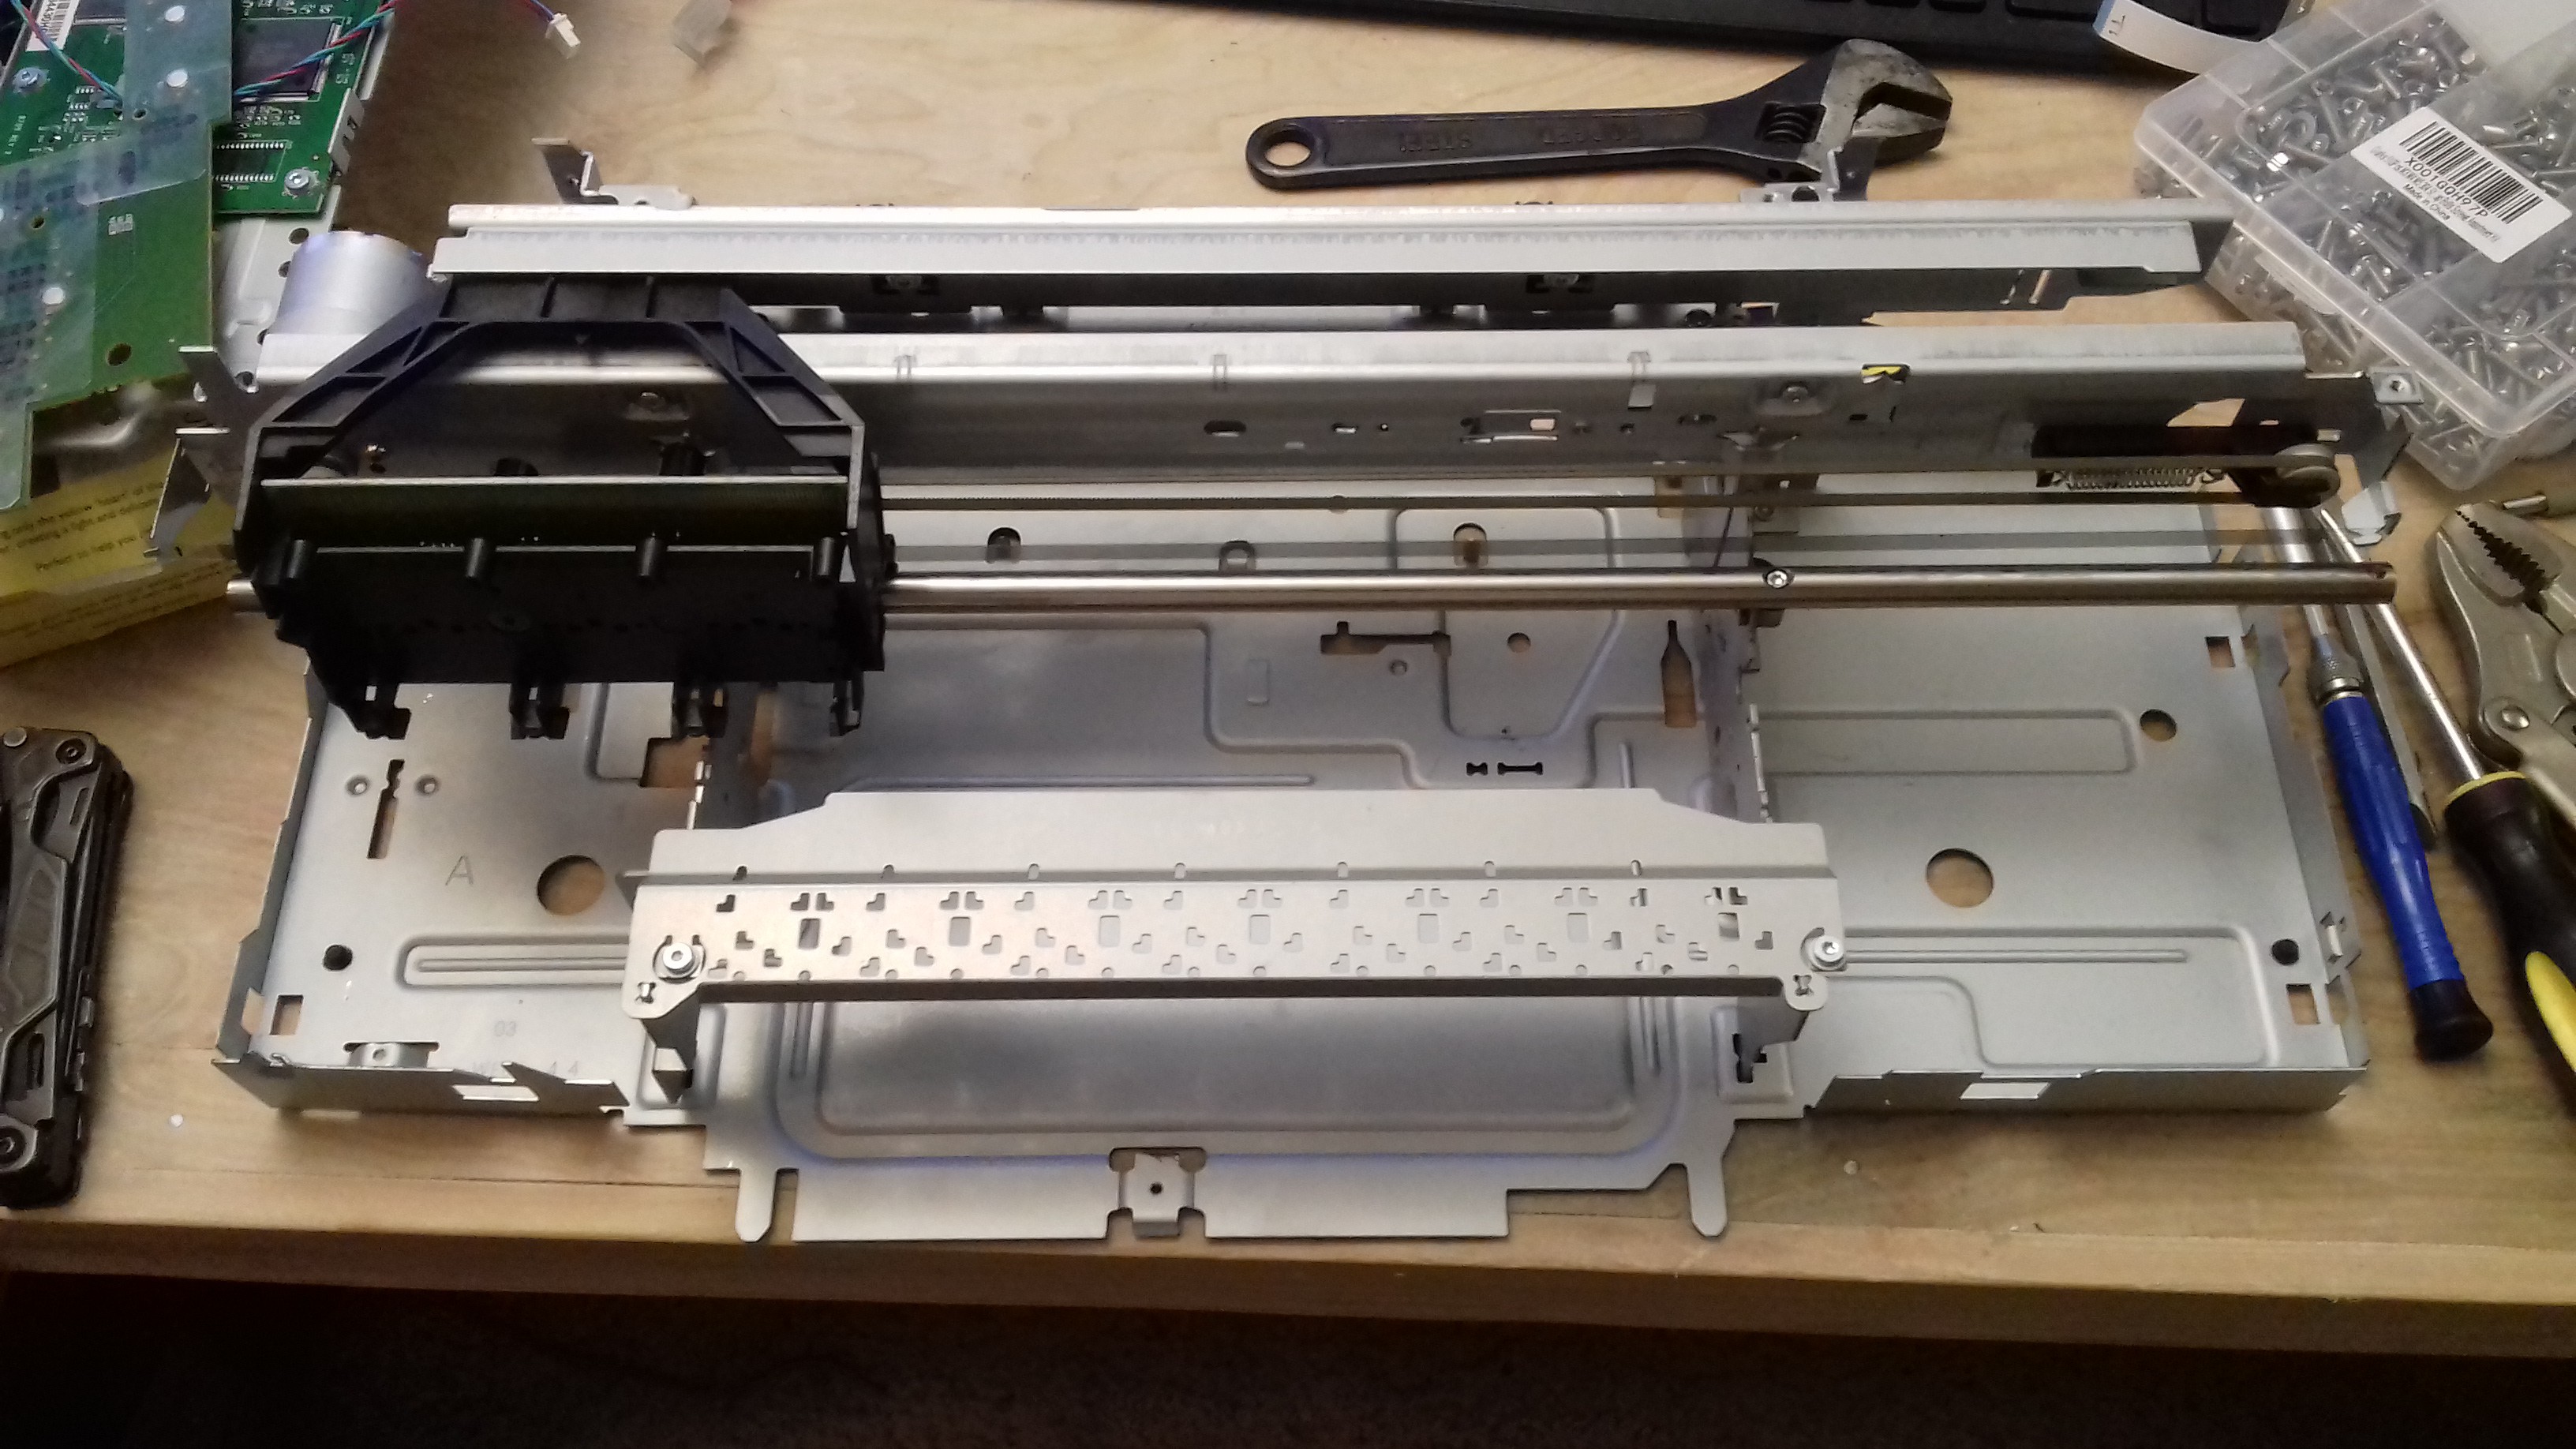

 Shane Hooper
 AVR
AVR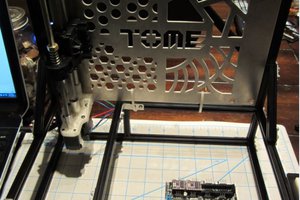
 Philip Ian Haasnoot