 Peter Wasilewski
Project
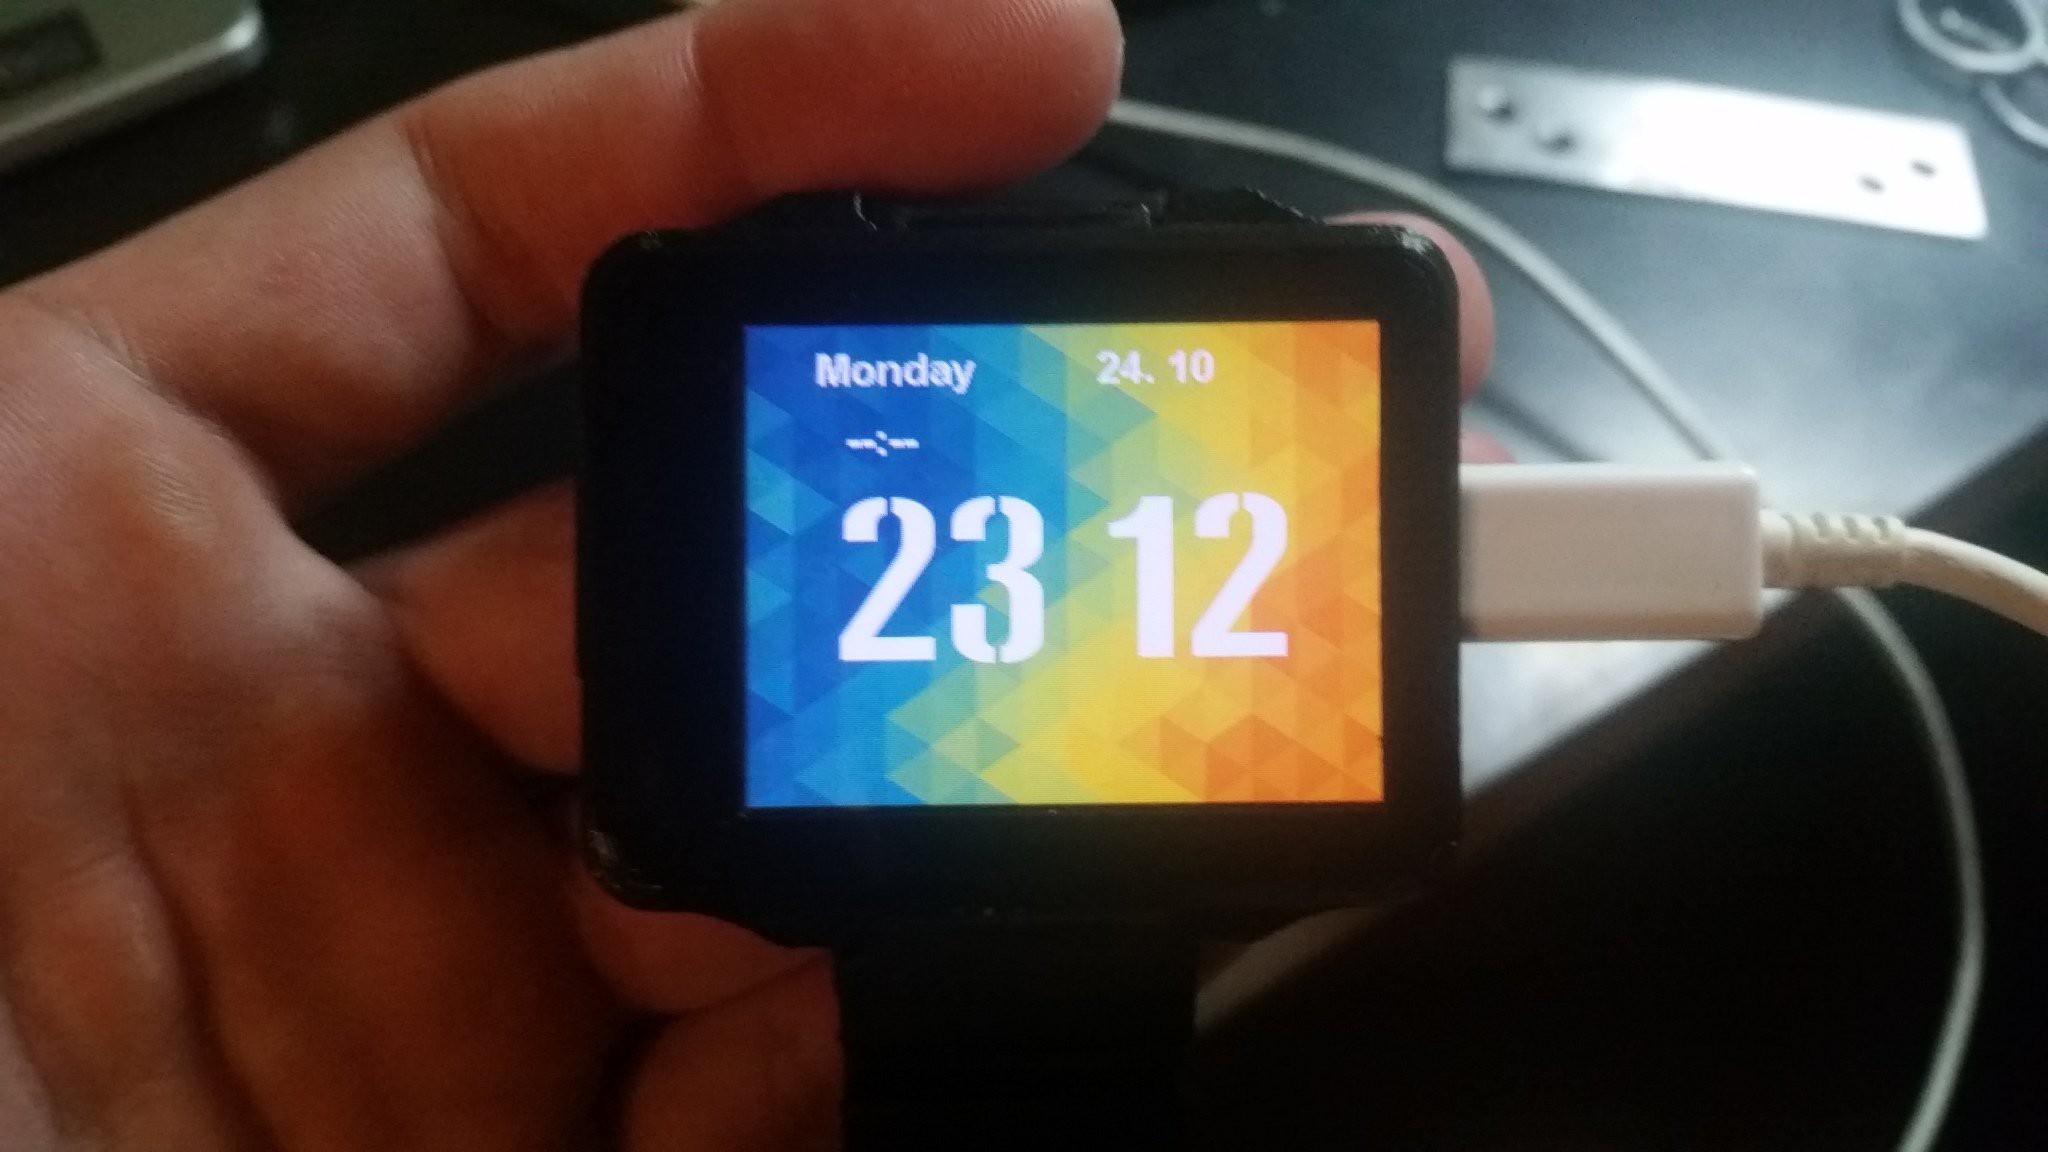
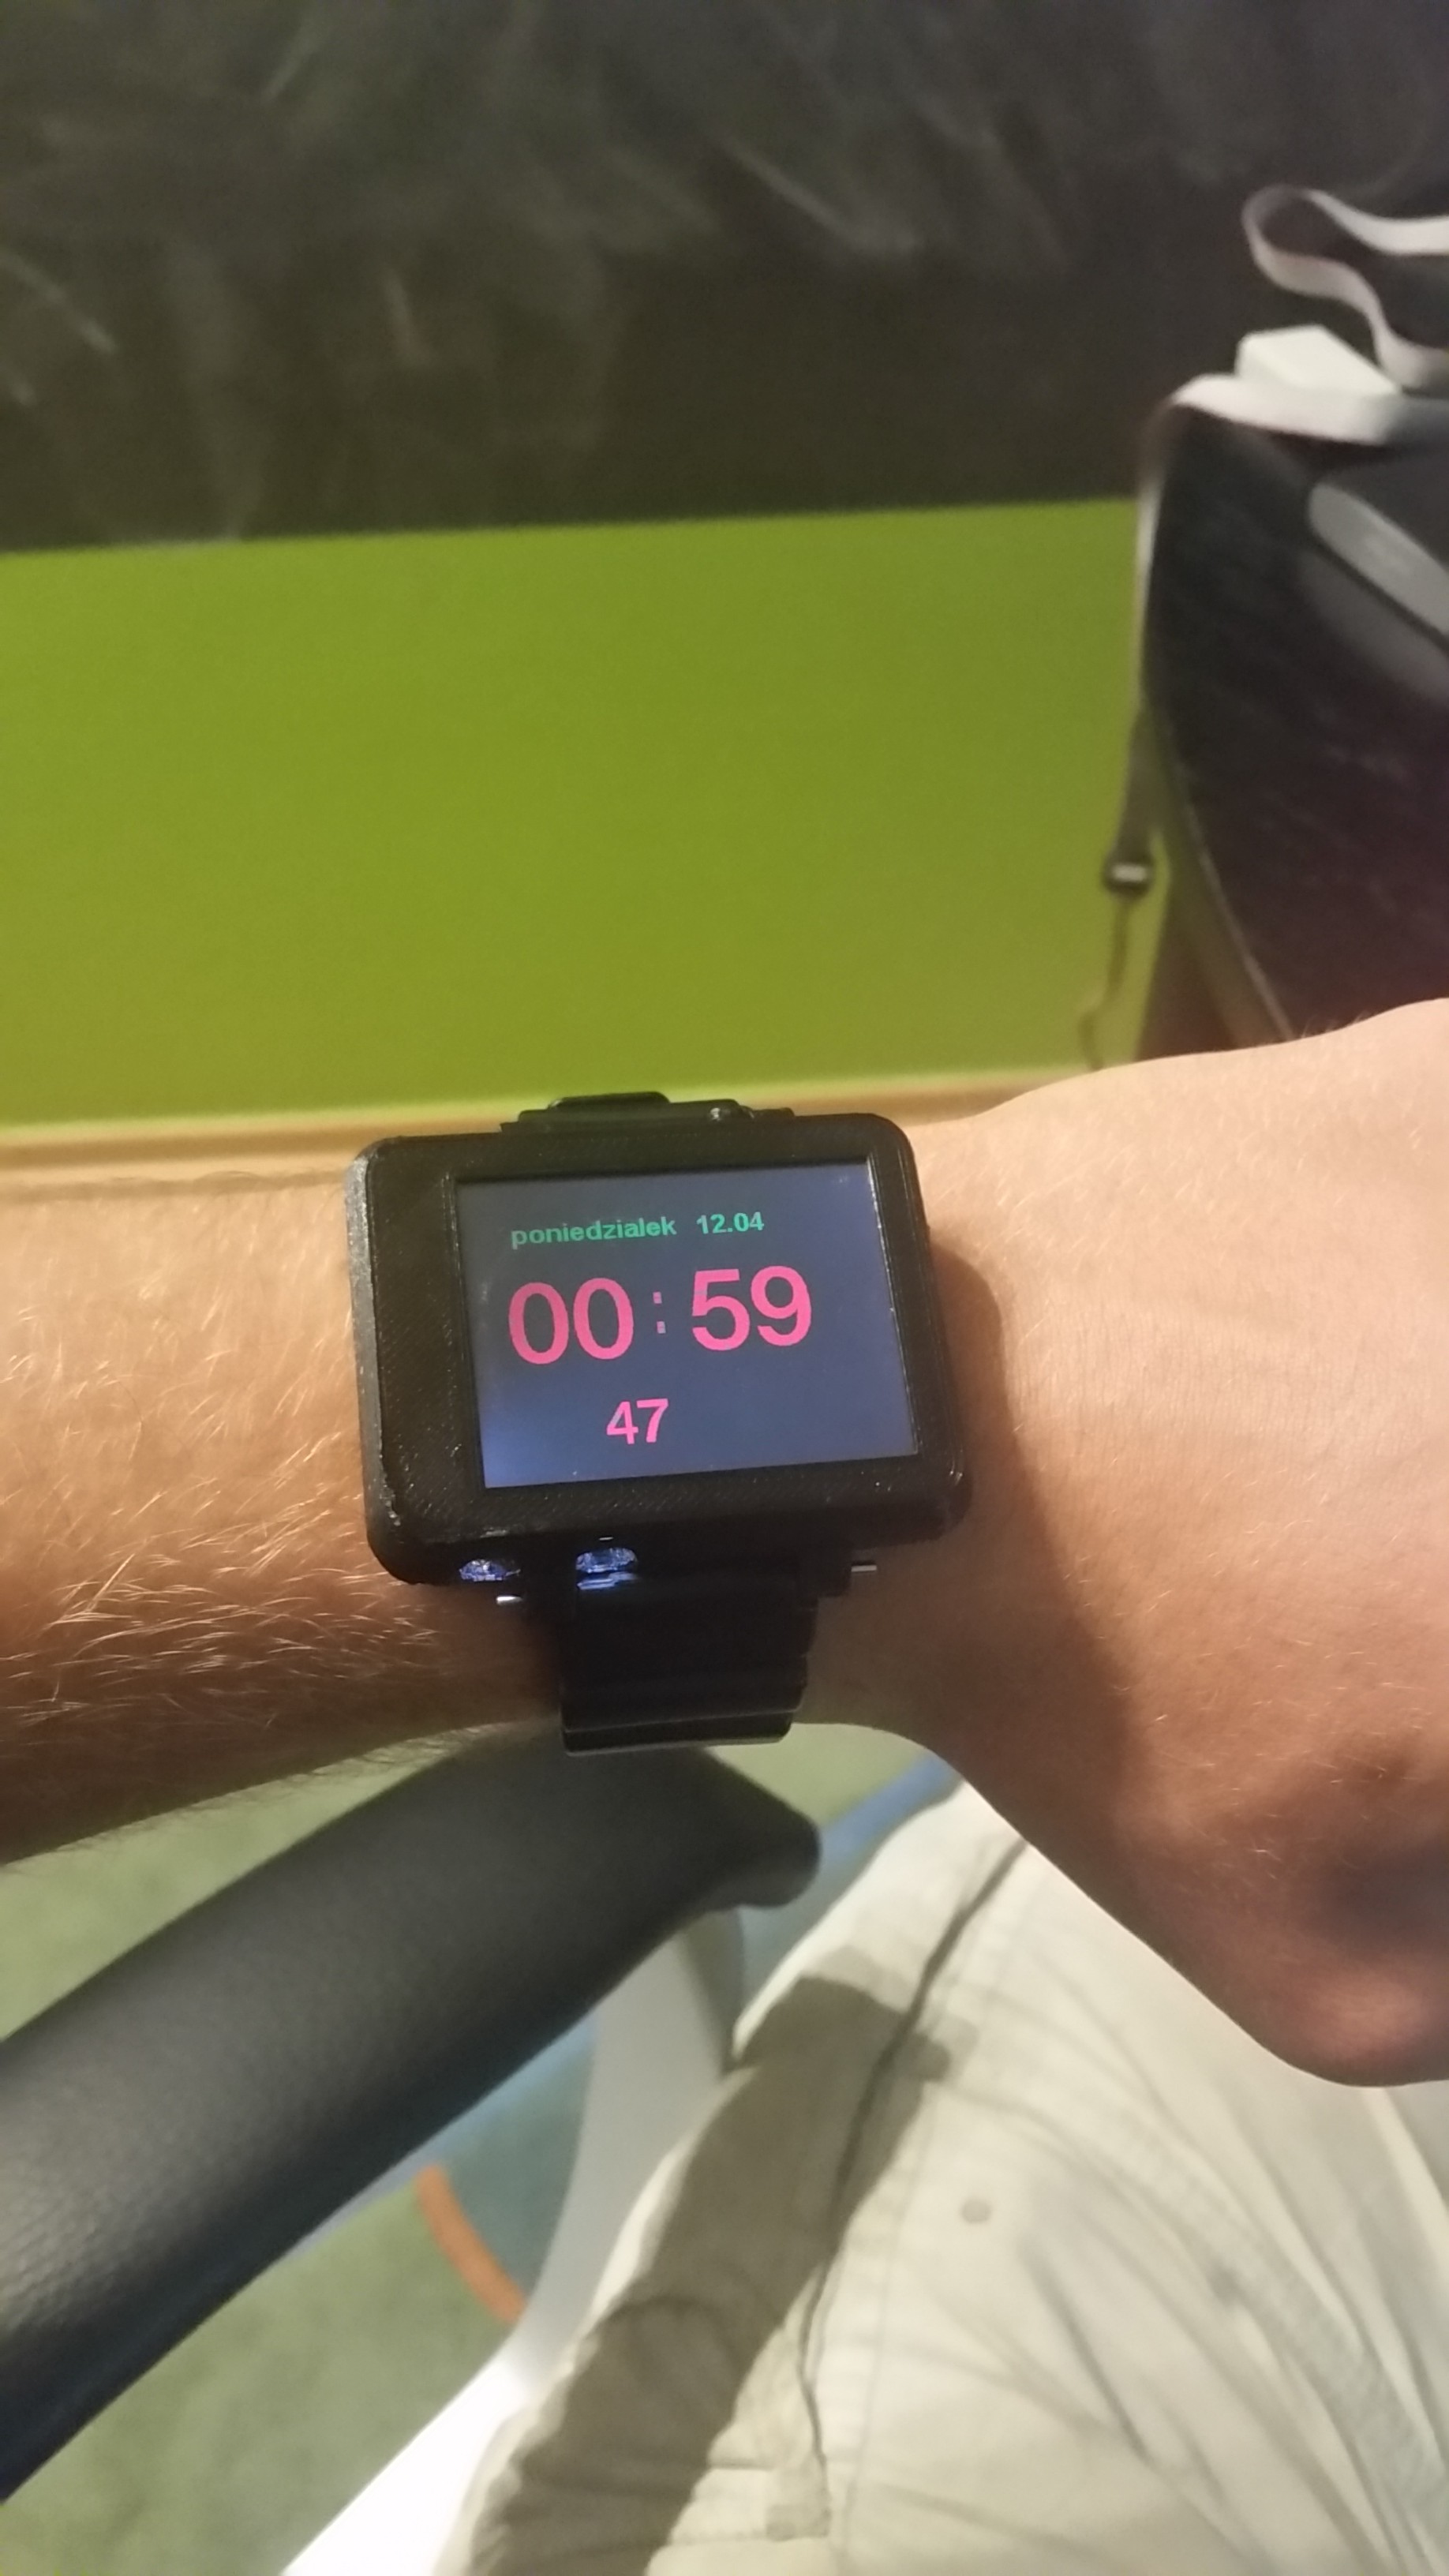
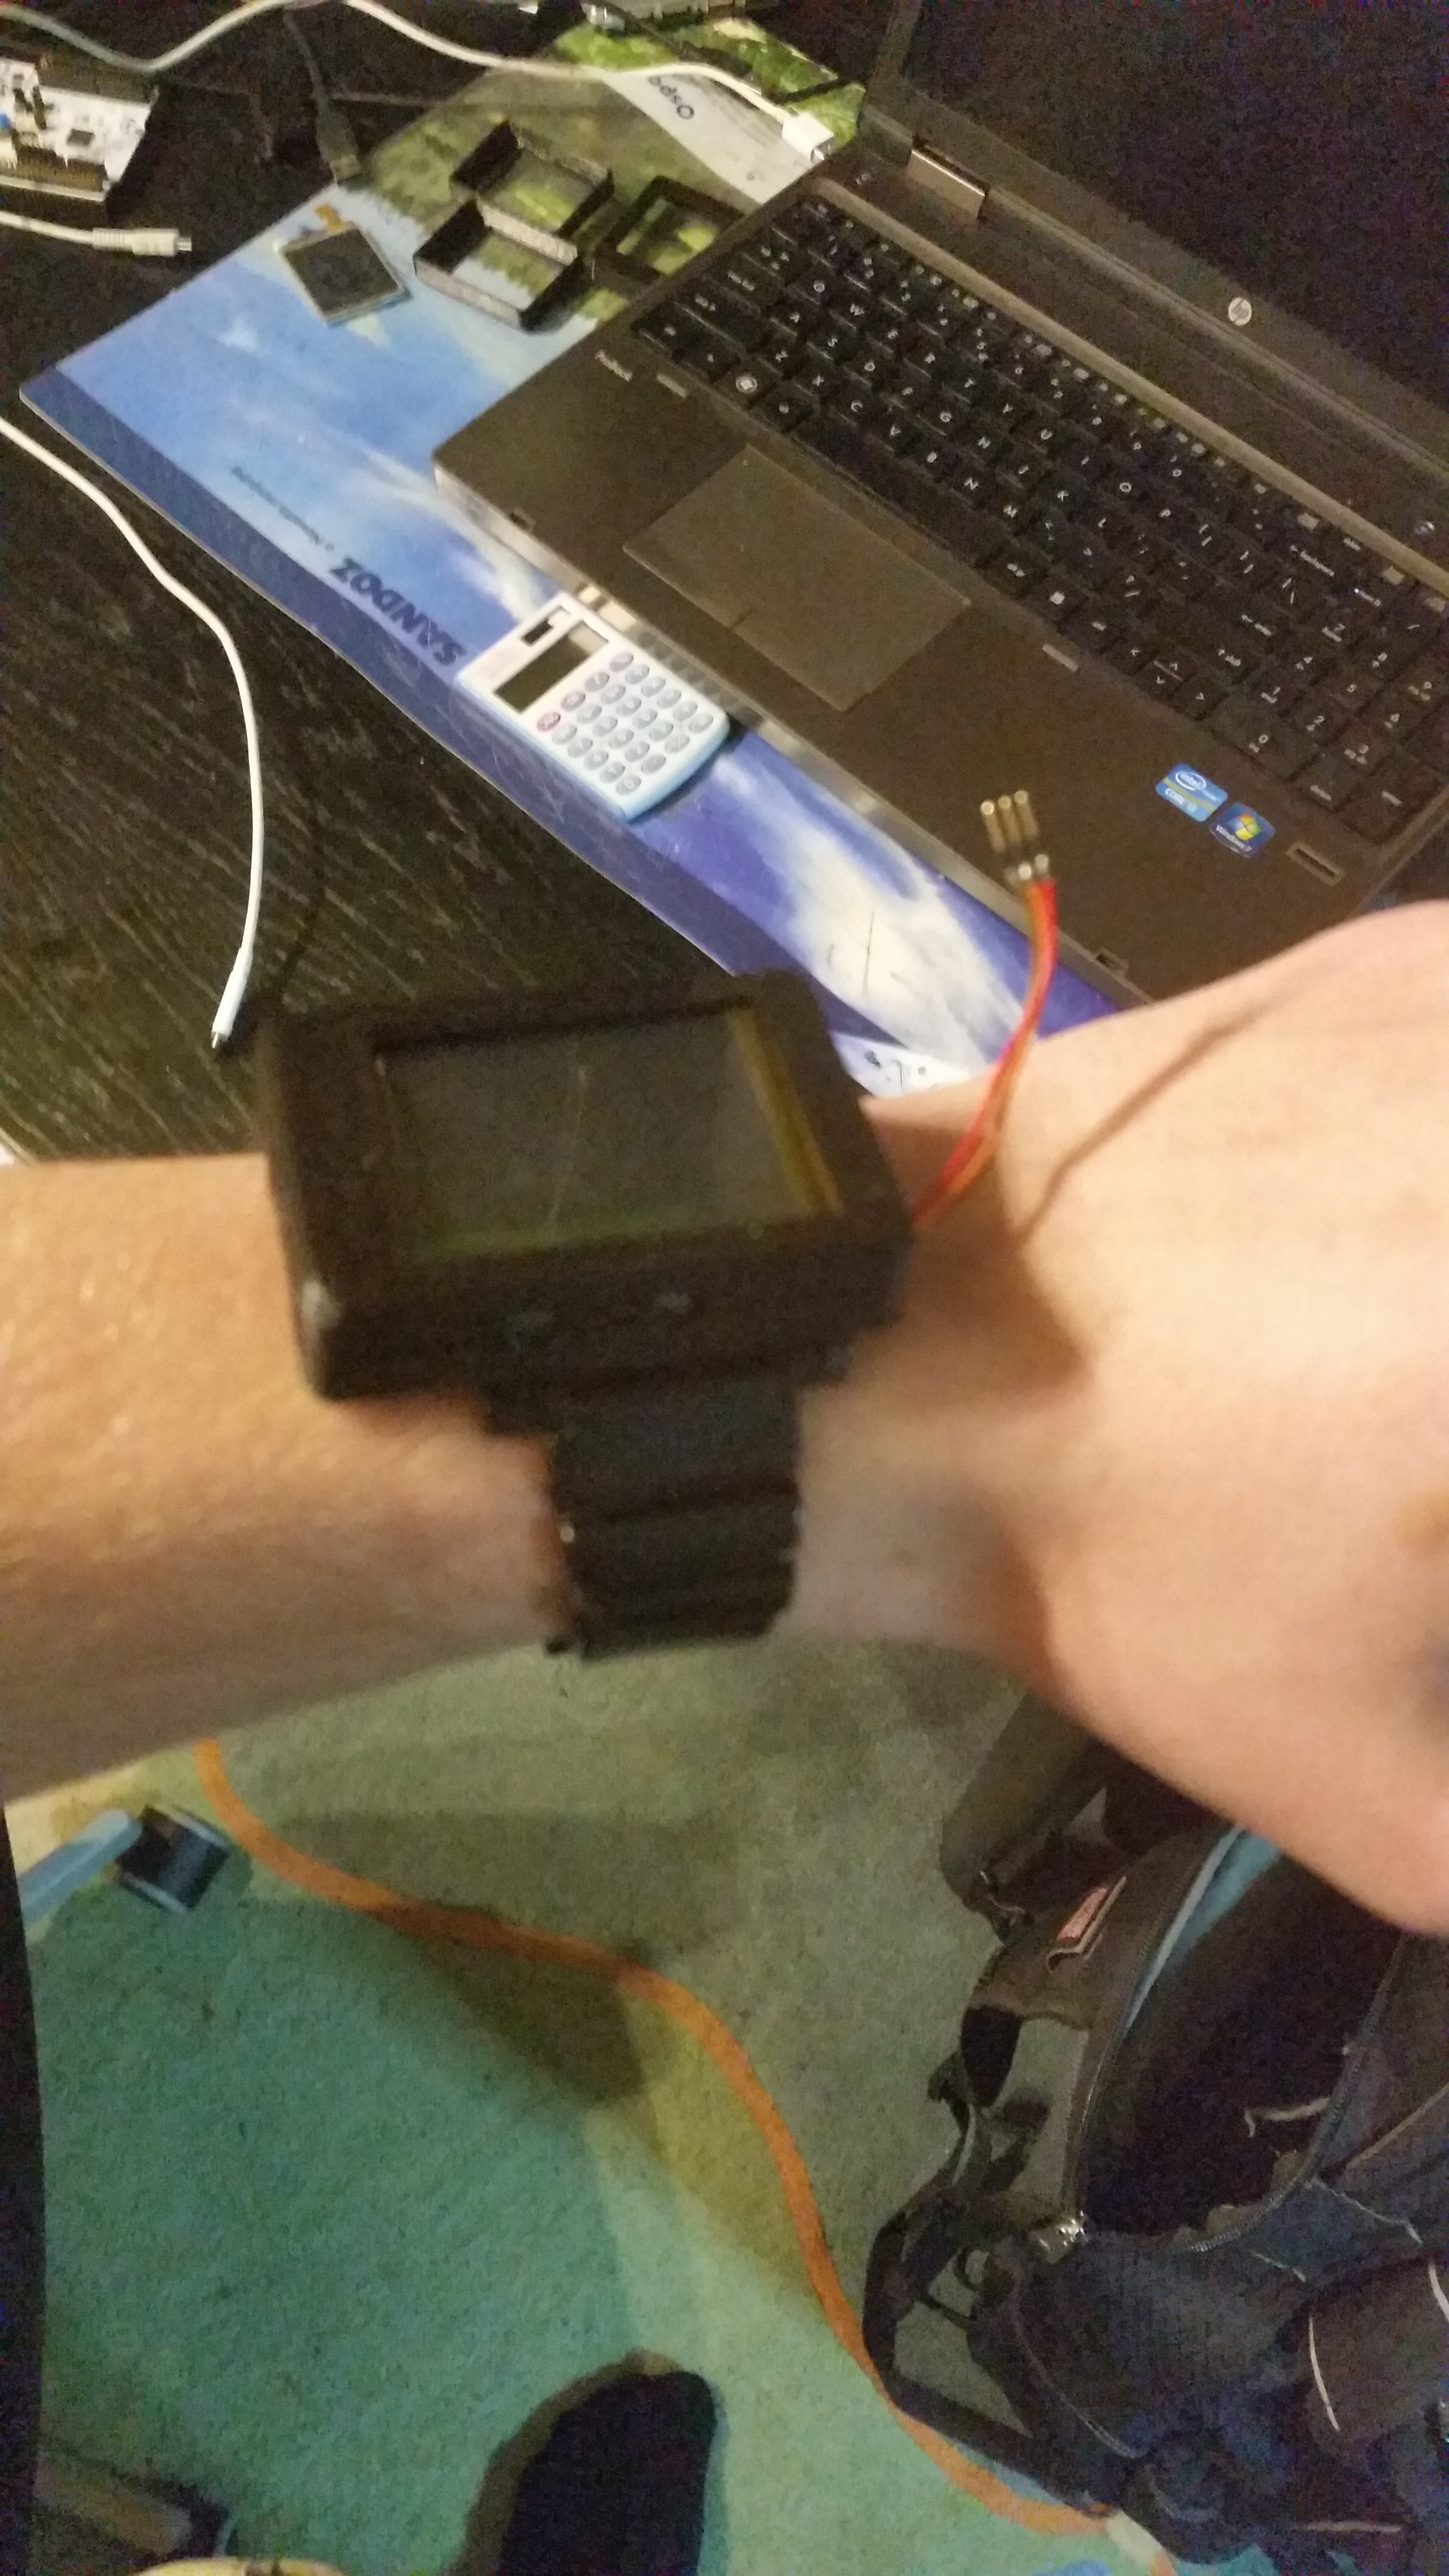
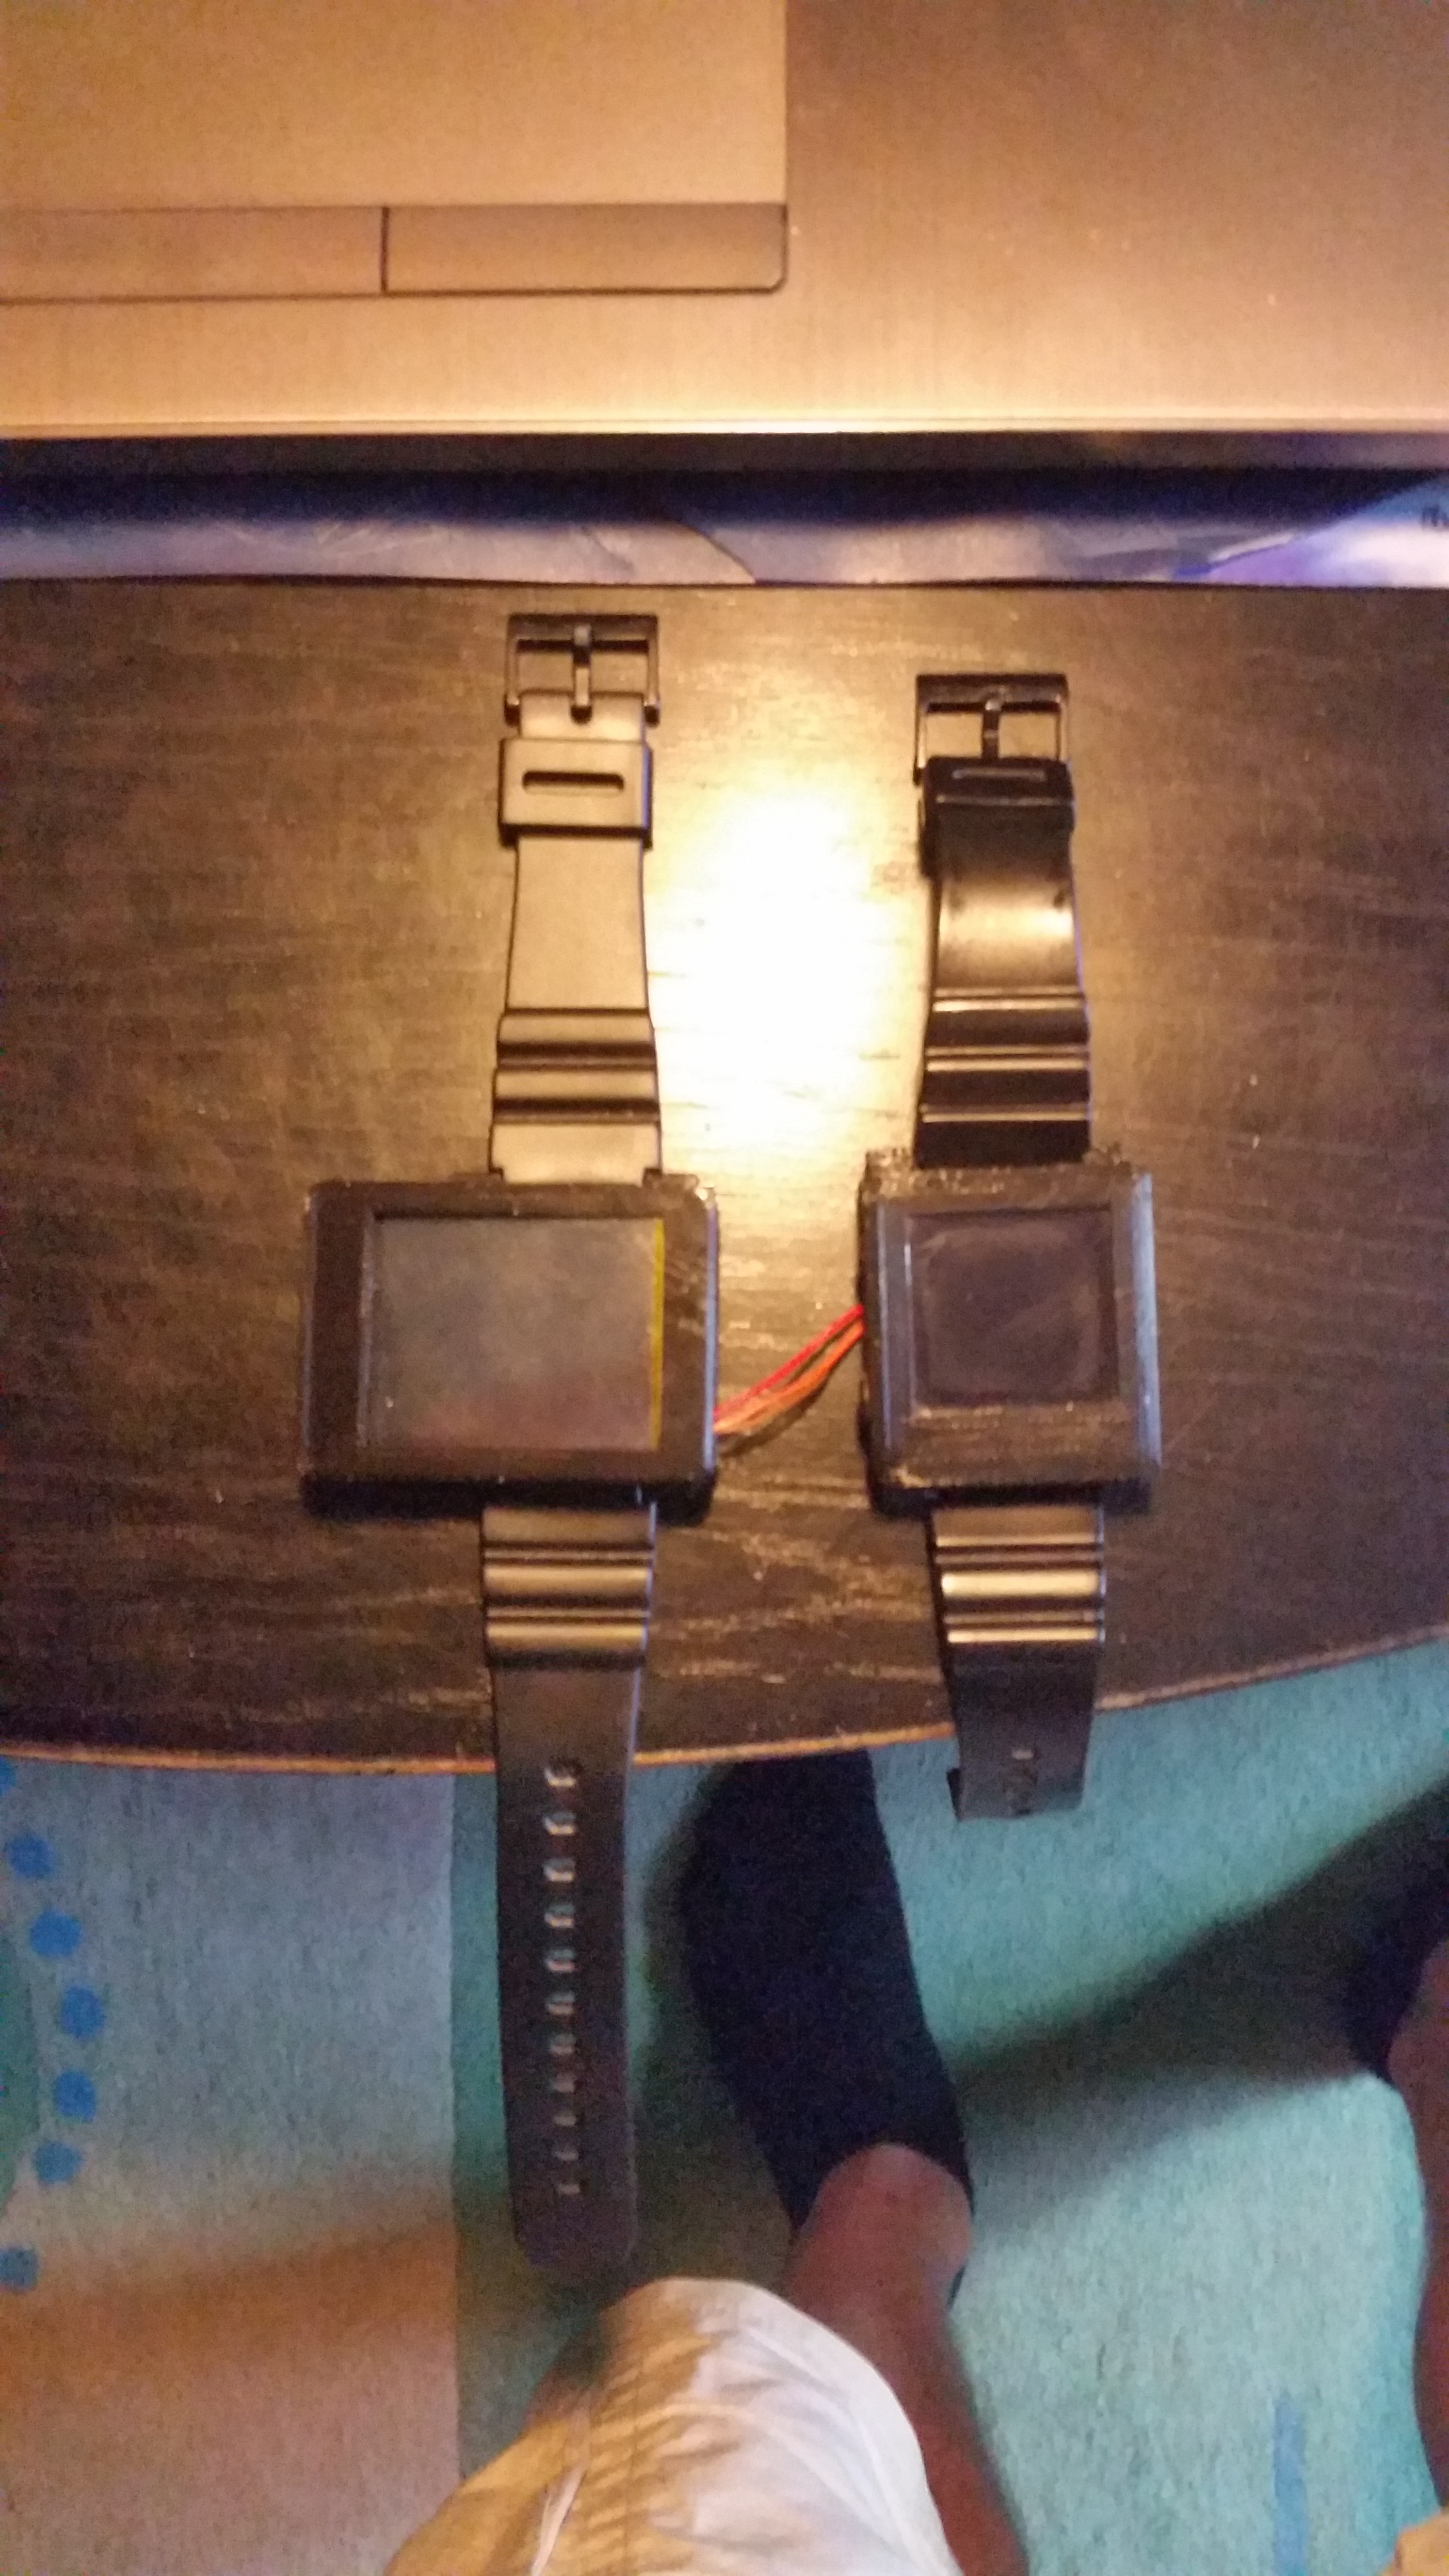
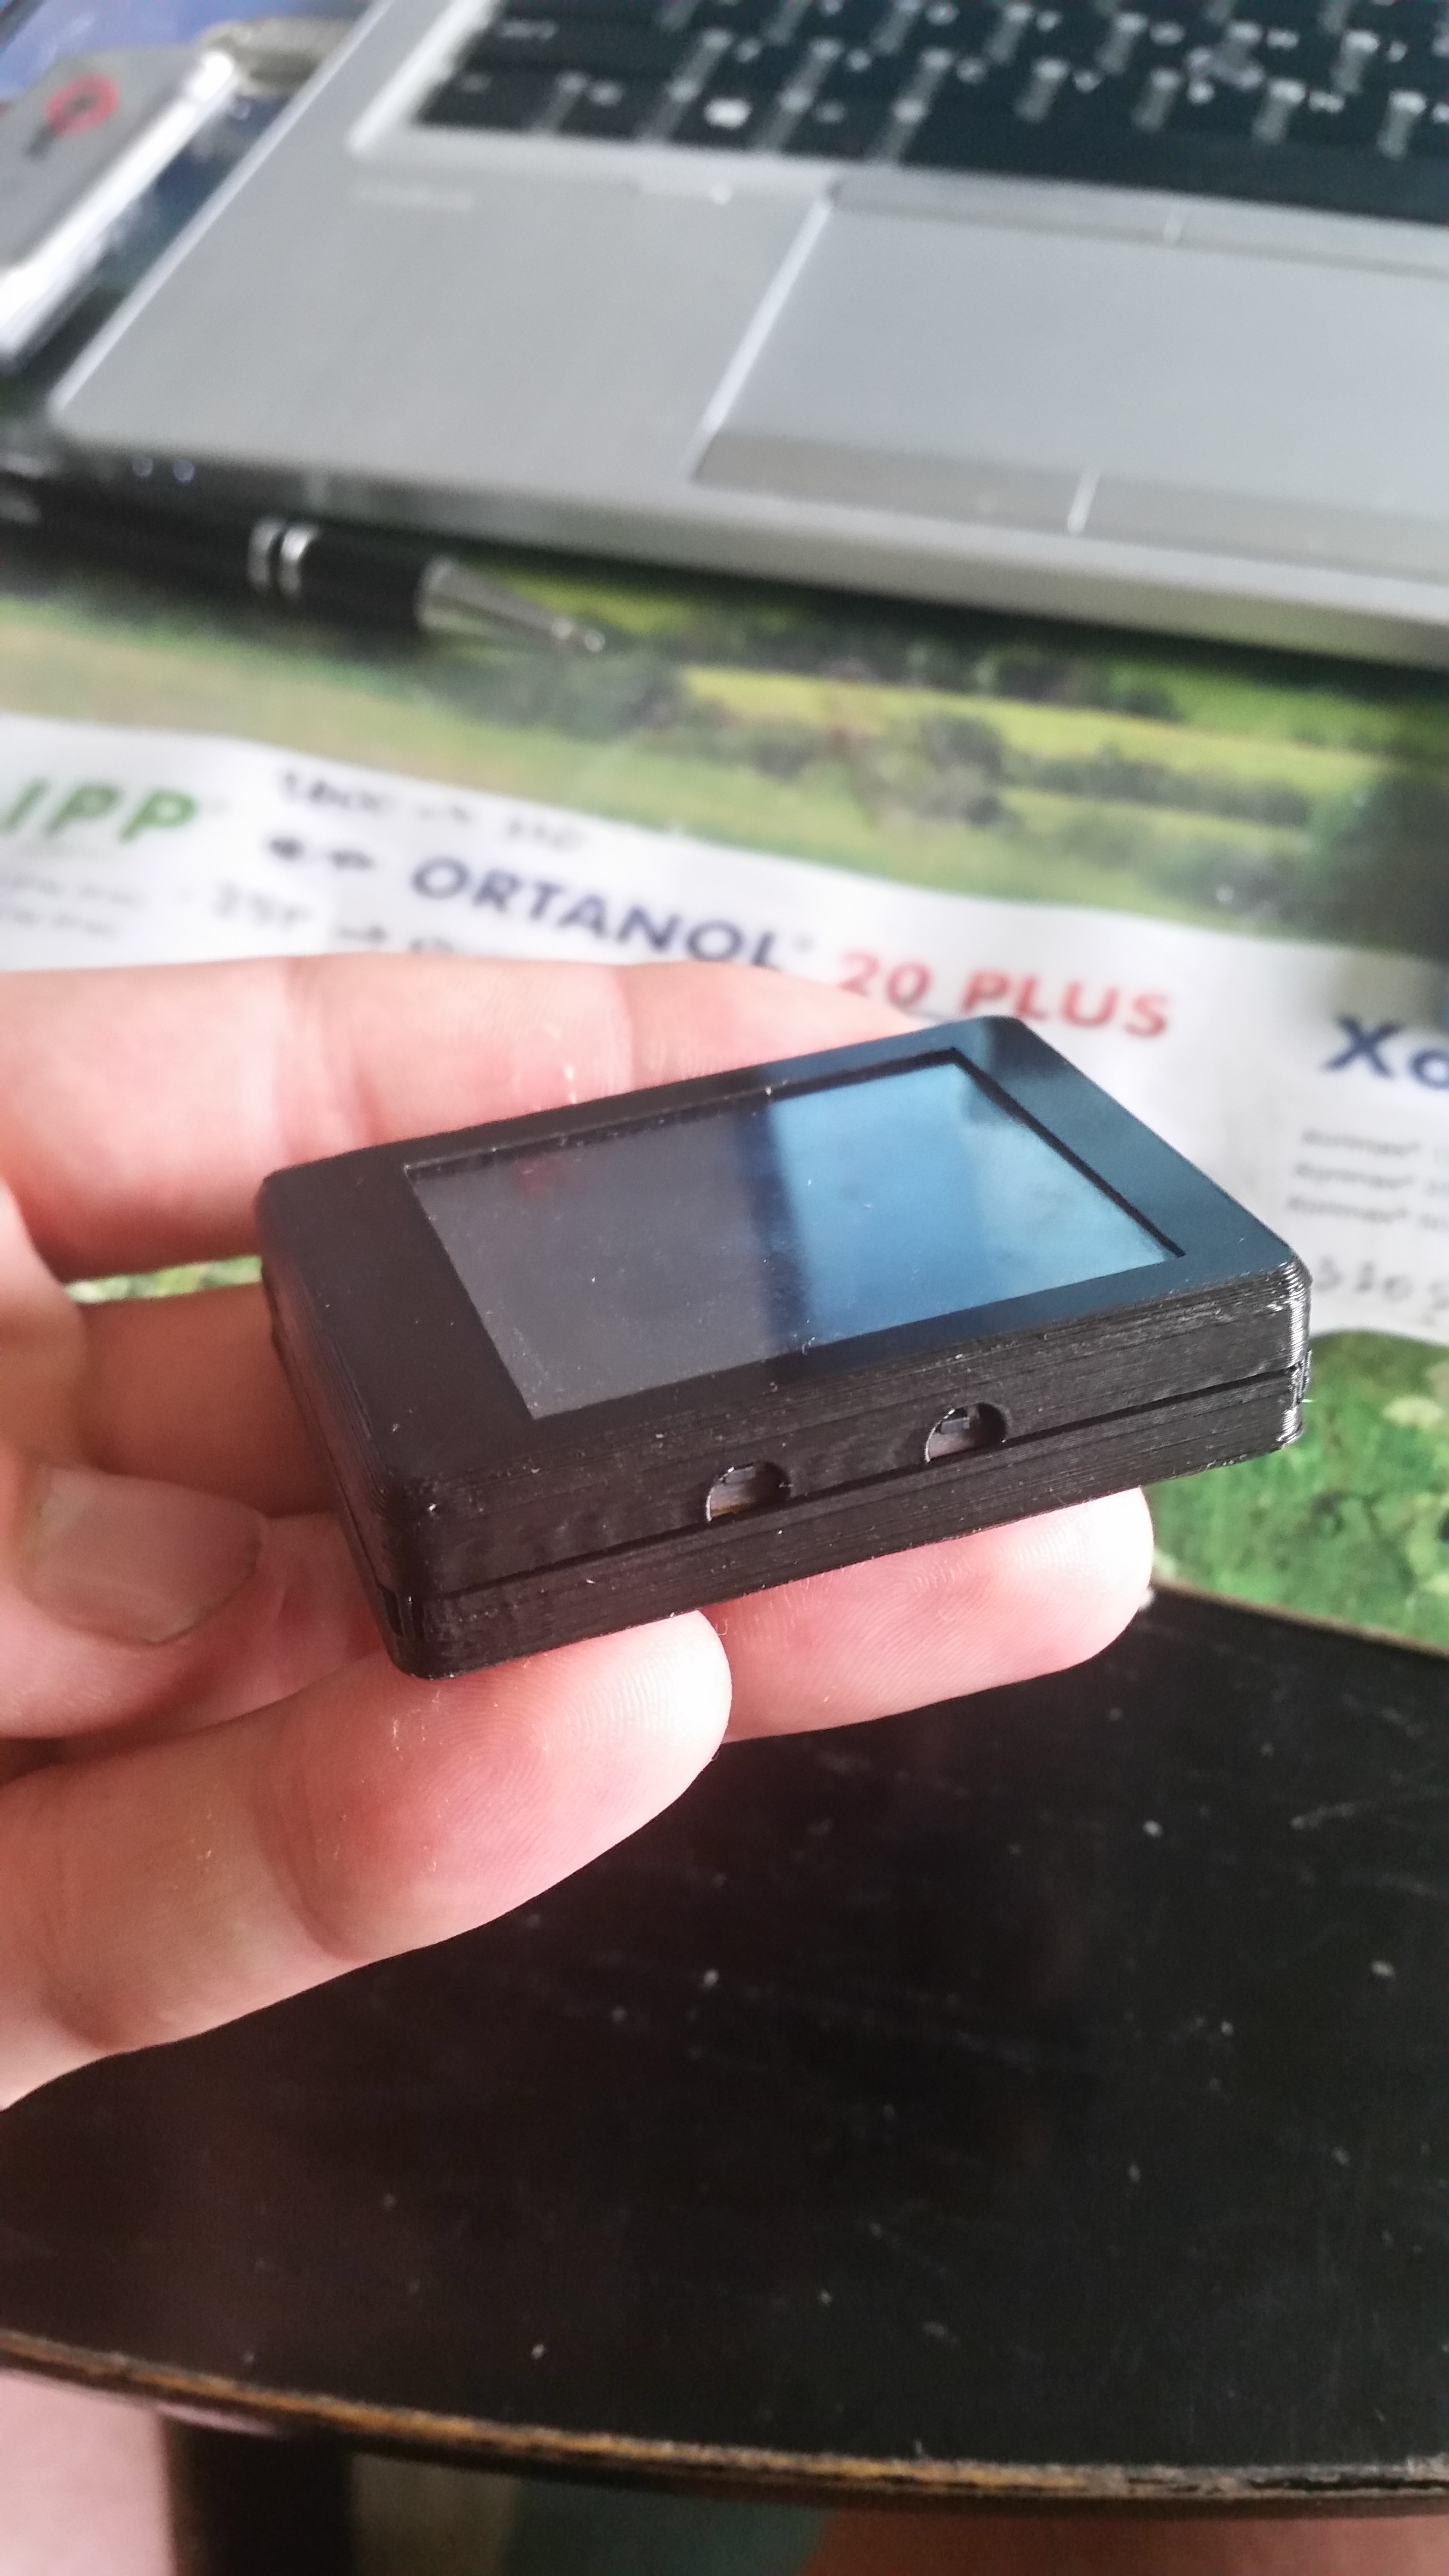
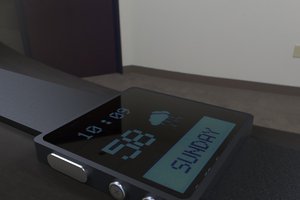
The aim was to build a development board shaped as a wristwatch. This form of a kit is much more attractive, because It's not only a tool for developing your programming skills. It is also a complete device that you can wear every day, and impress your friends. Besides, you can focus on the software part, because the hardware is fixed on the PCB. Unlike any other kit it has a built in li-po battery, and can be charged and programmed using only one cable.
Hardware
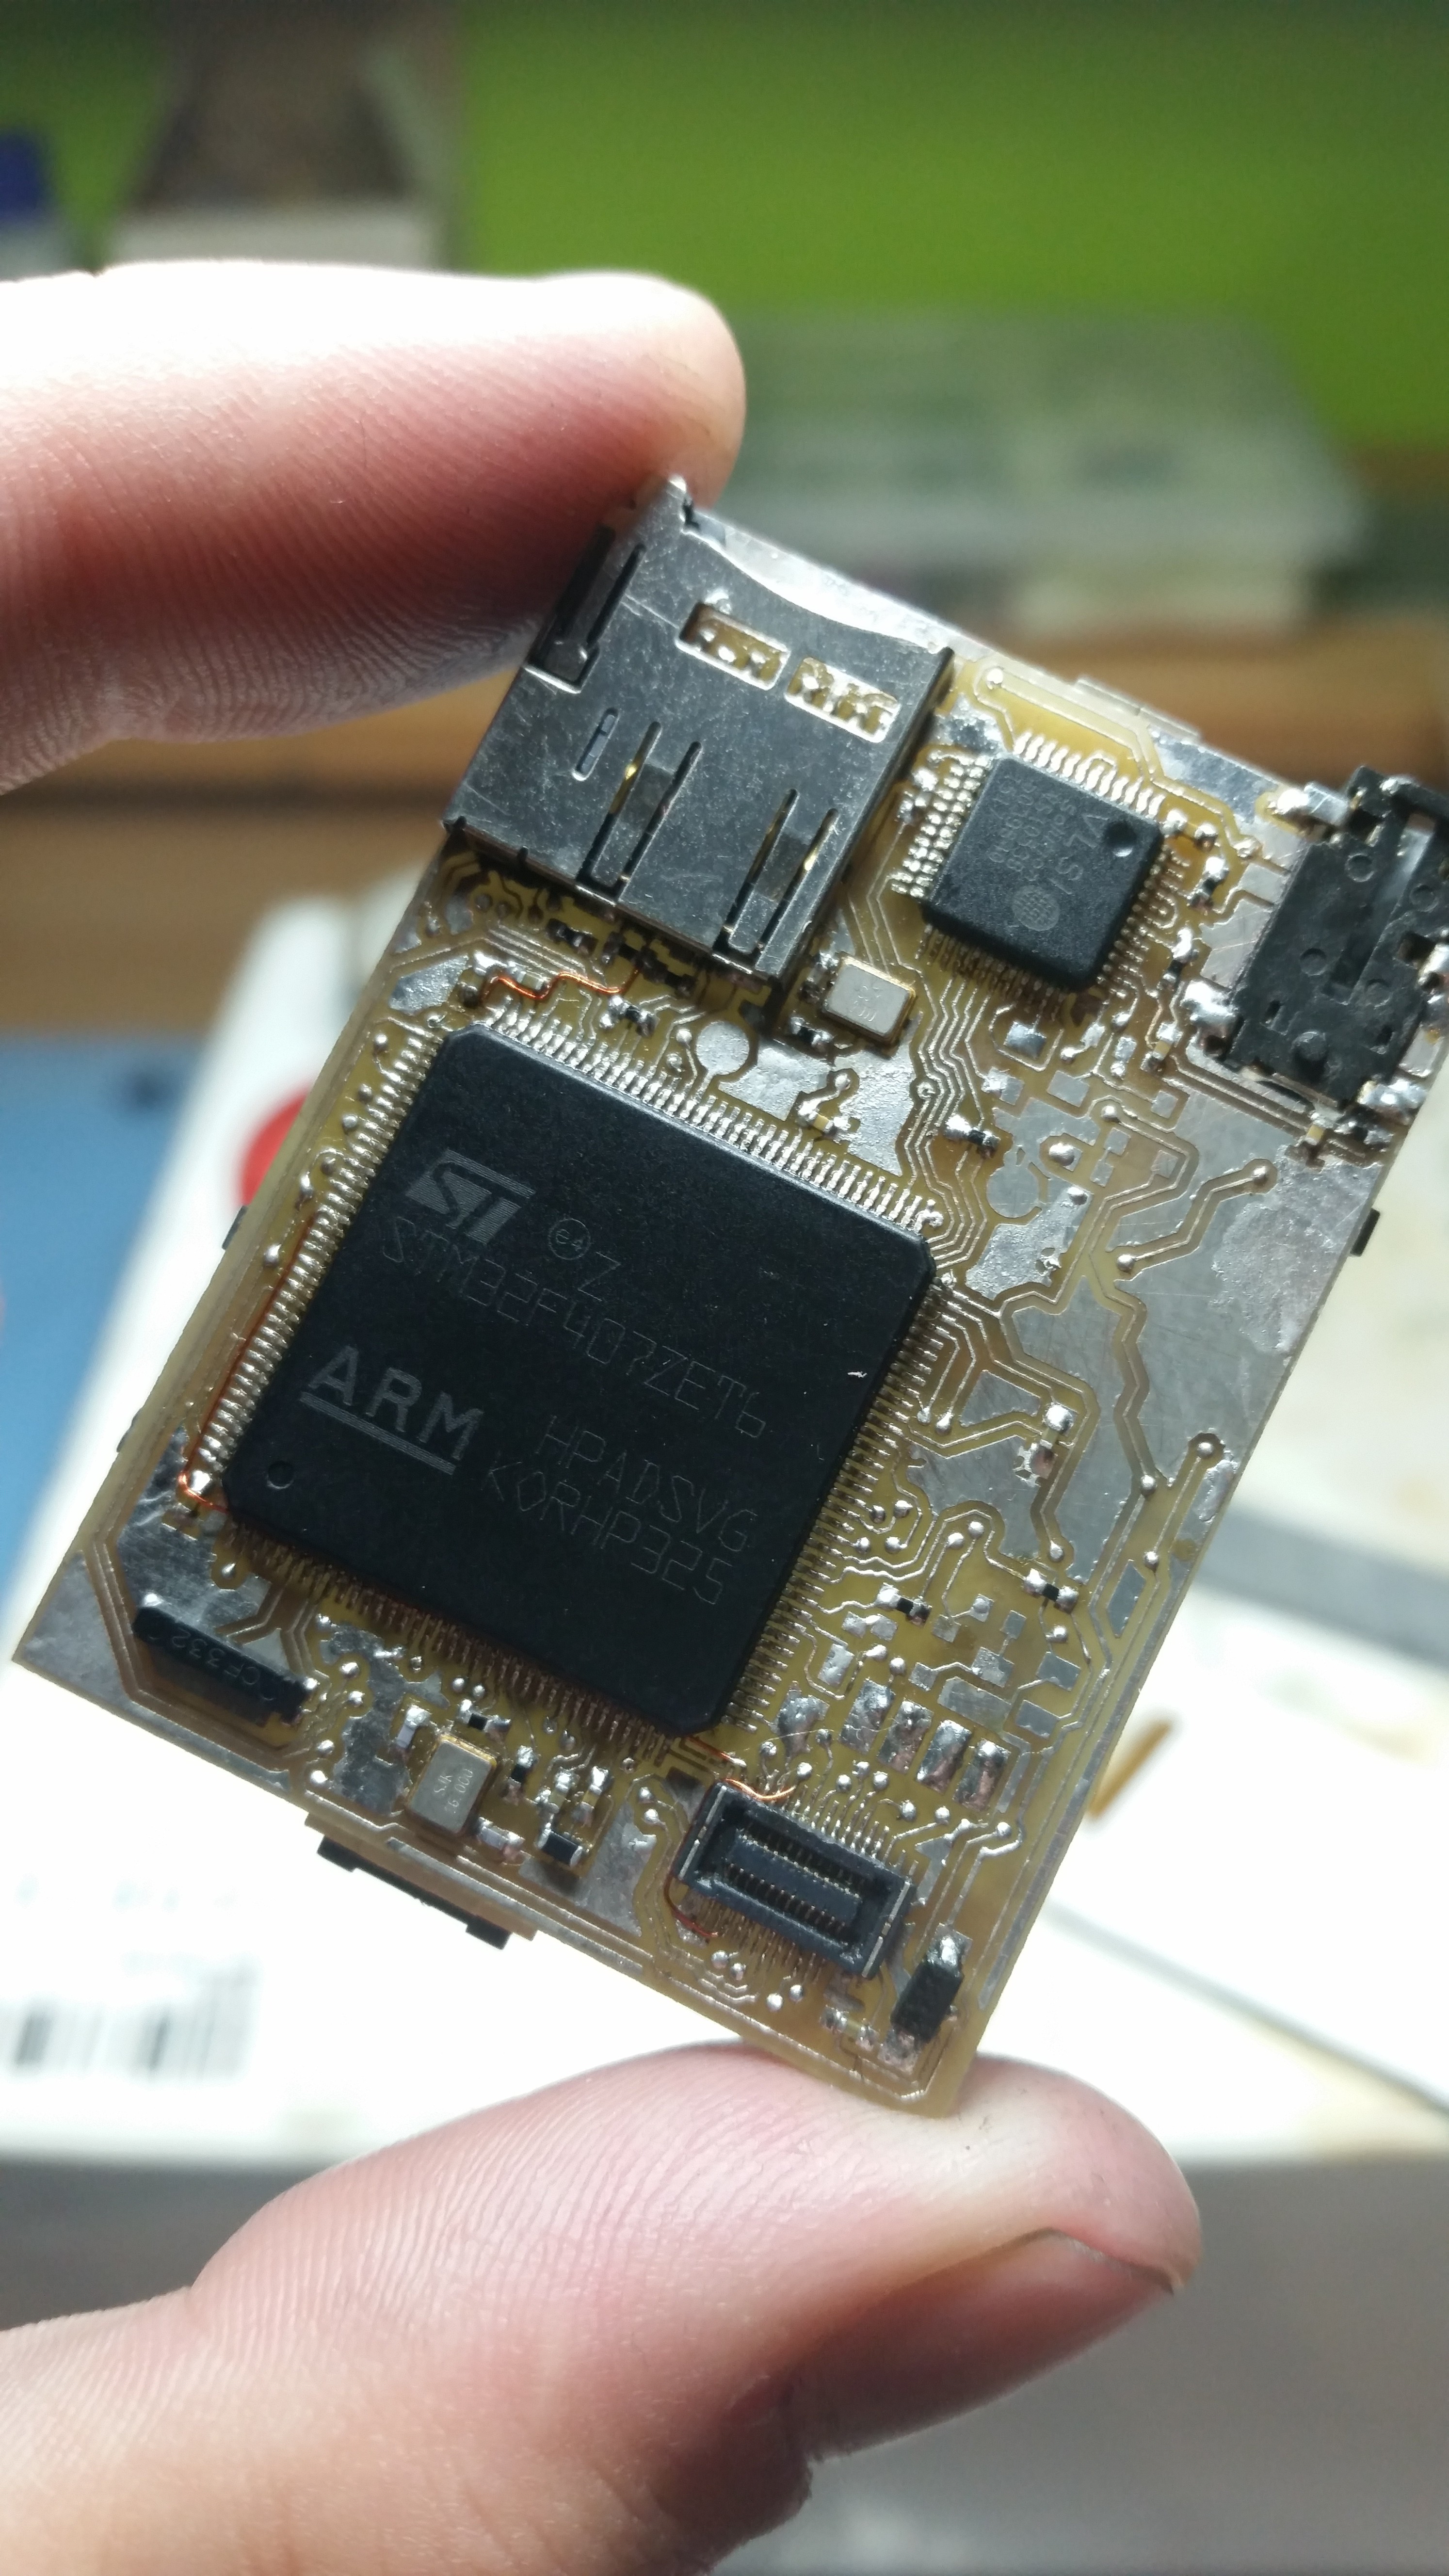
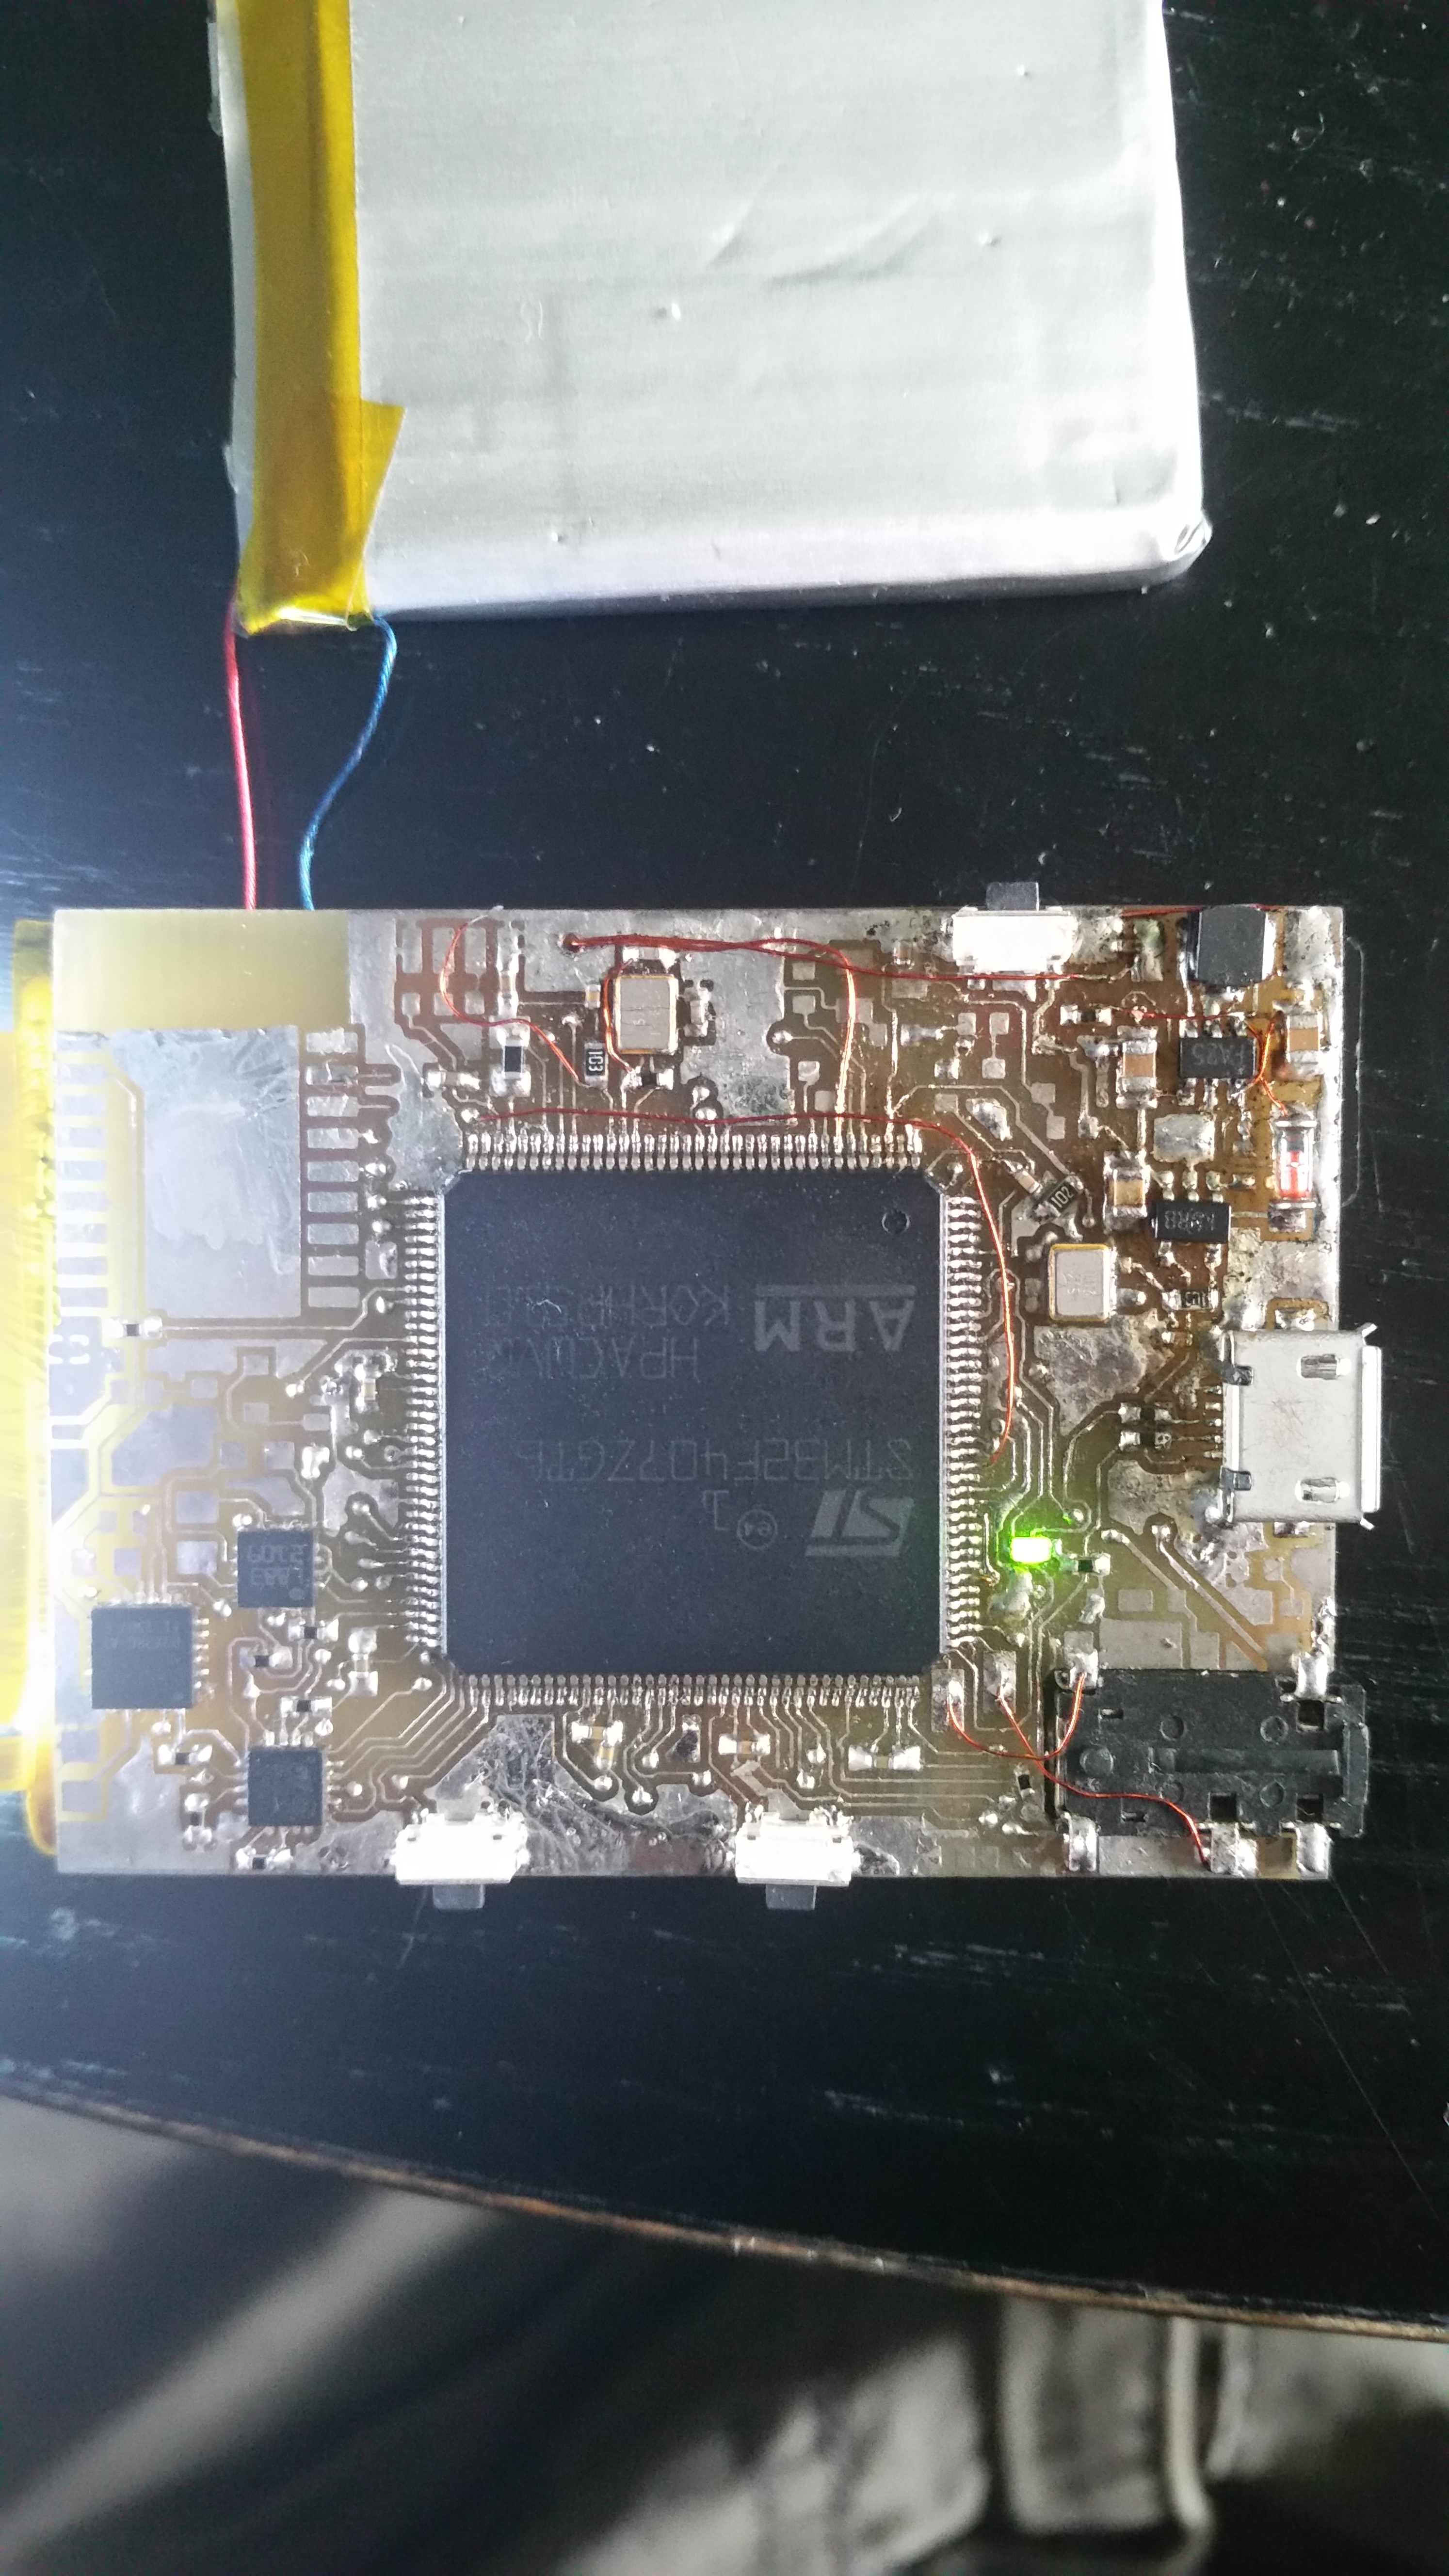
nWatch is really well equipped when it comes to internal peripherals. Below I present a full list of main components:
- Main controller STM32f407ZGt6
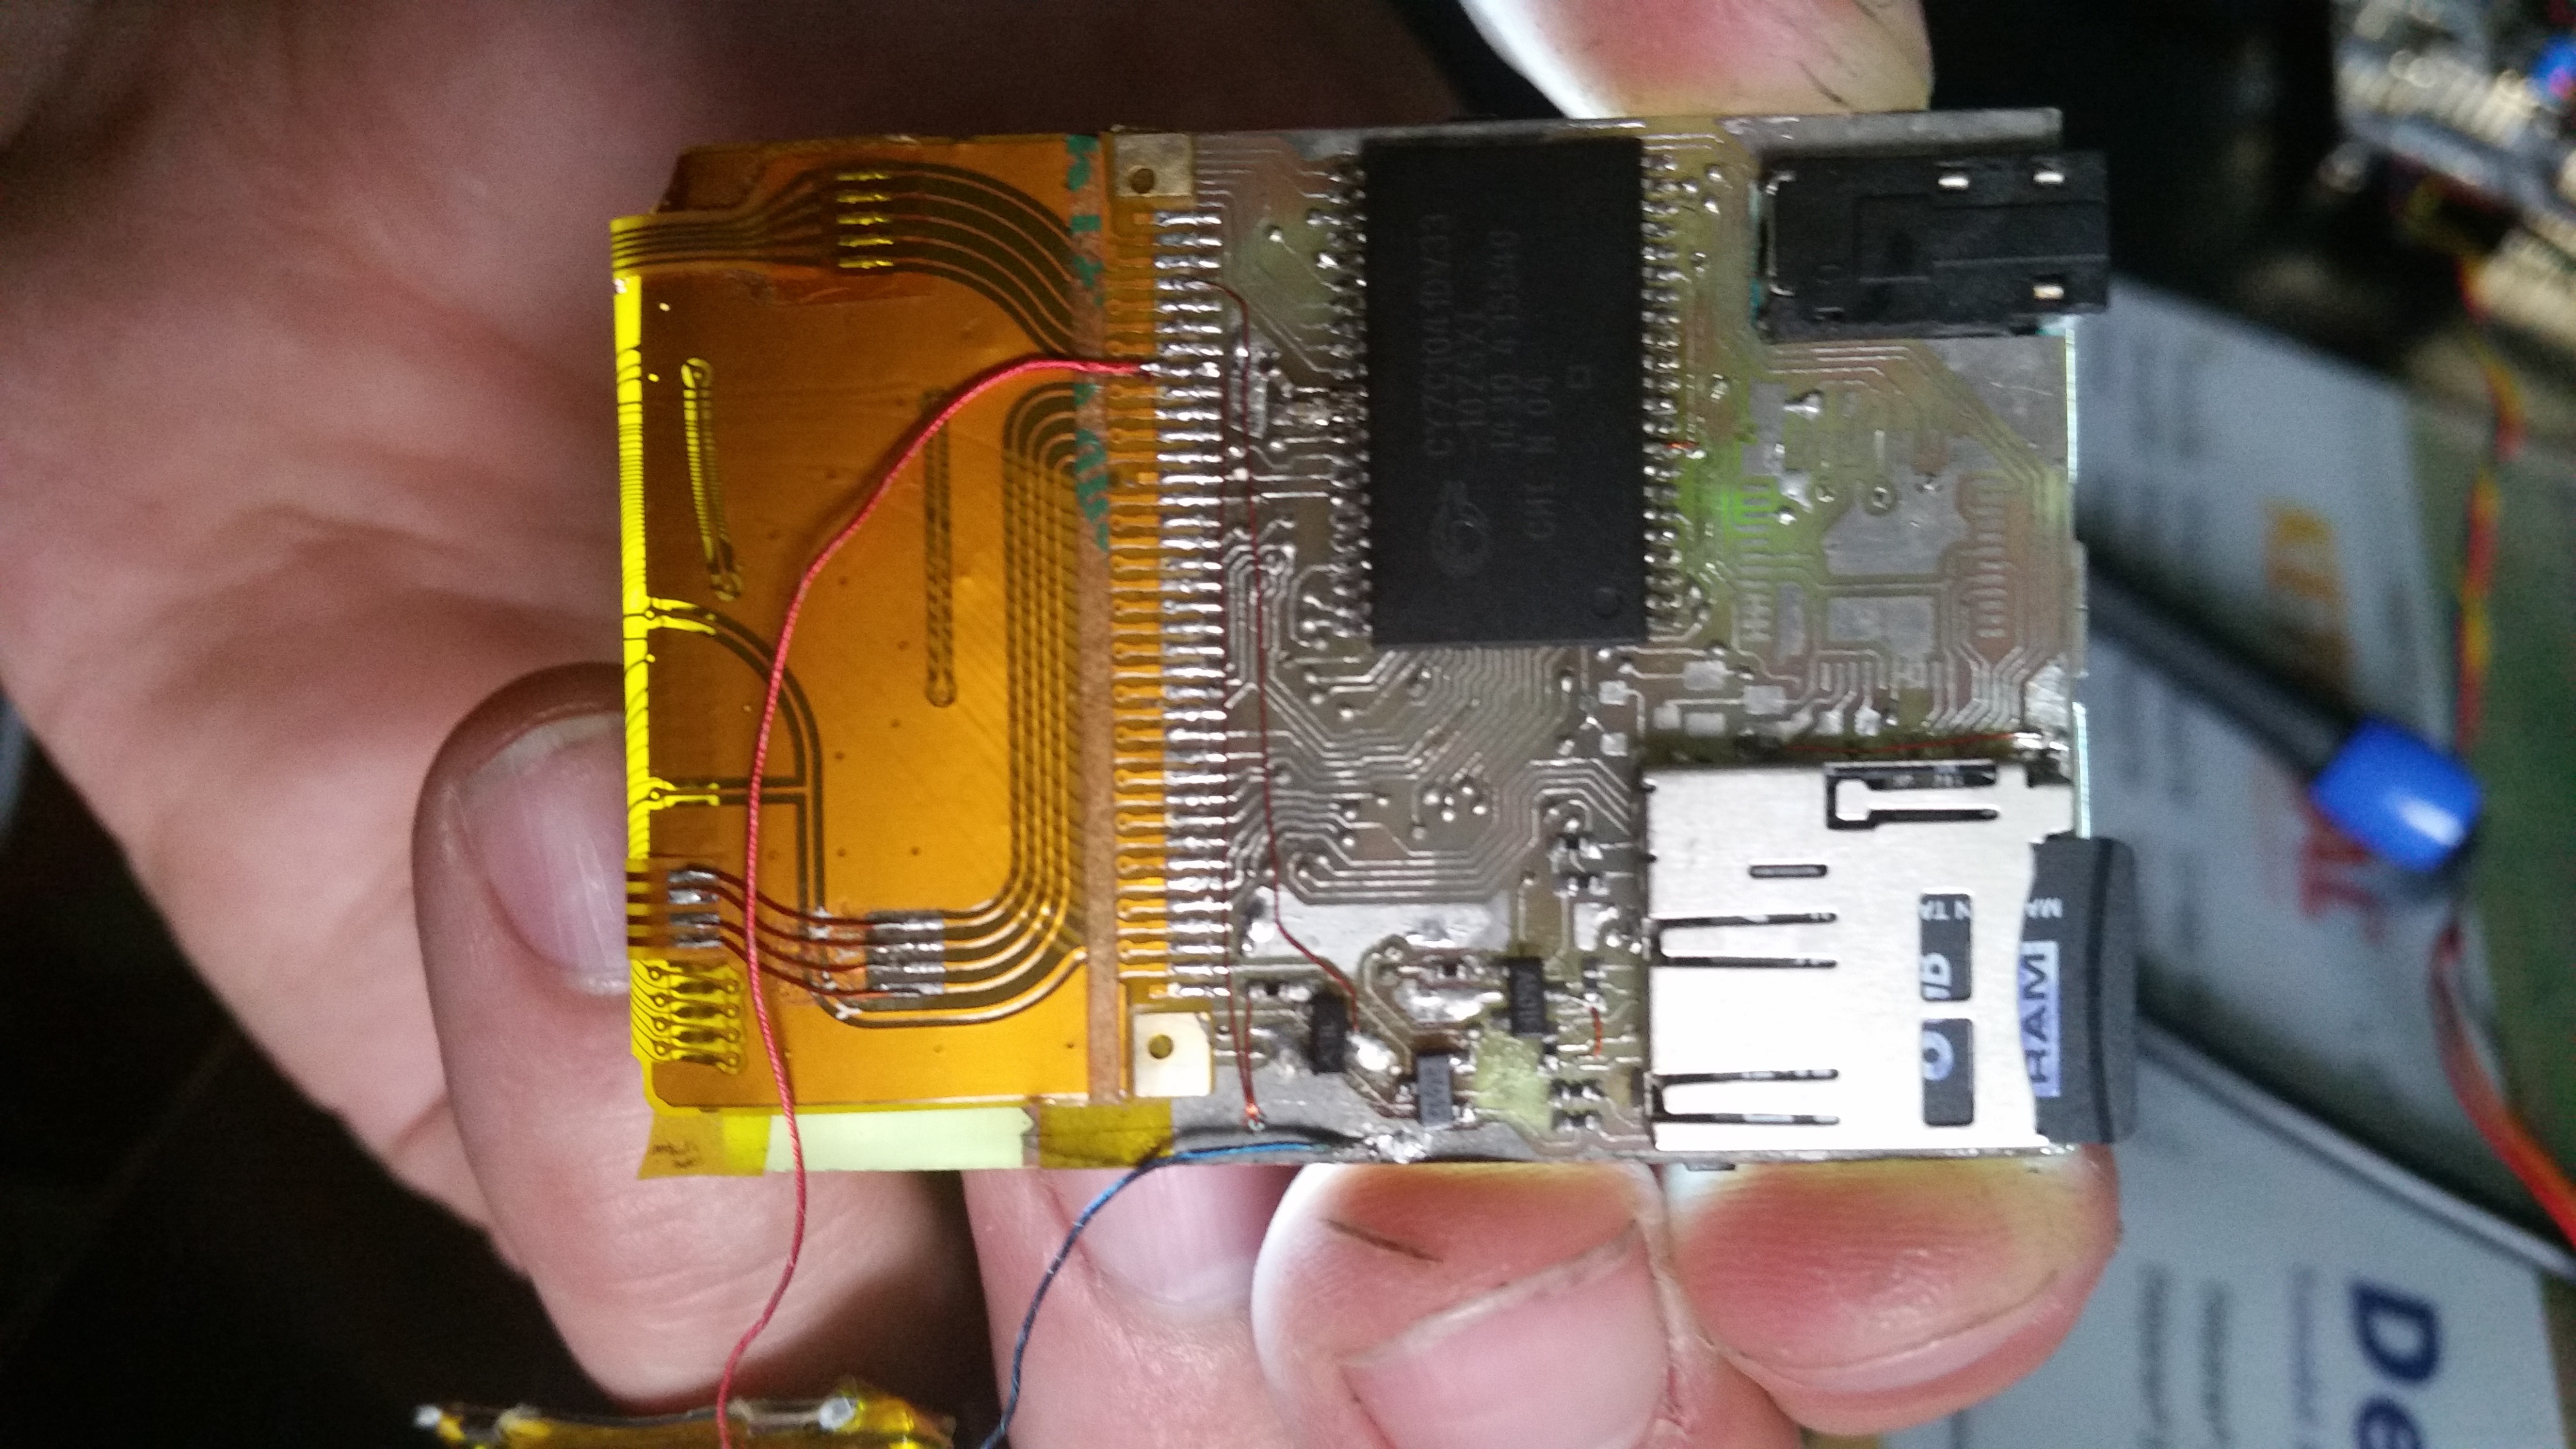
- External 4MB SRAM memory
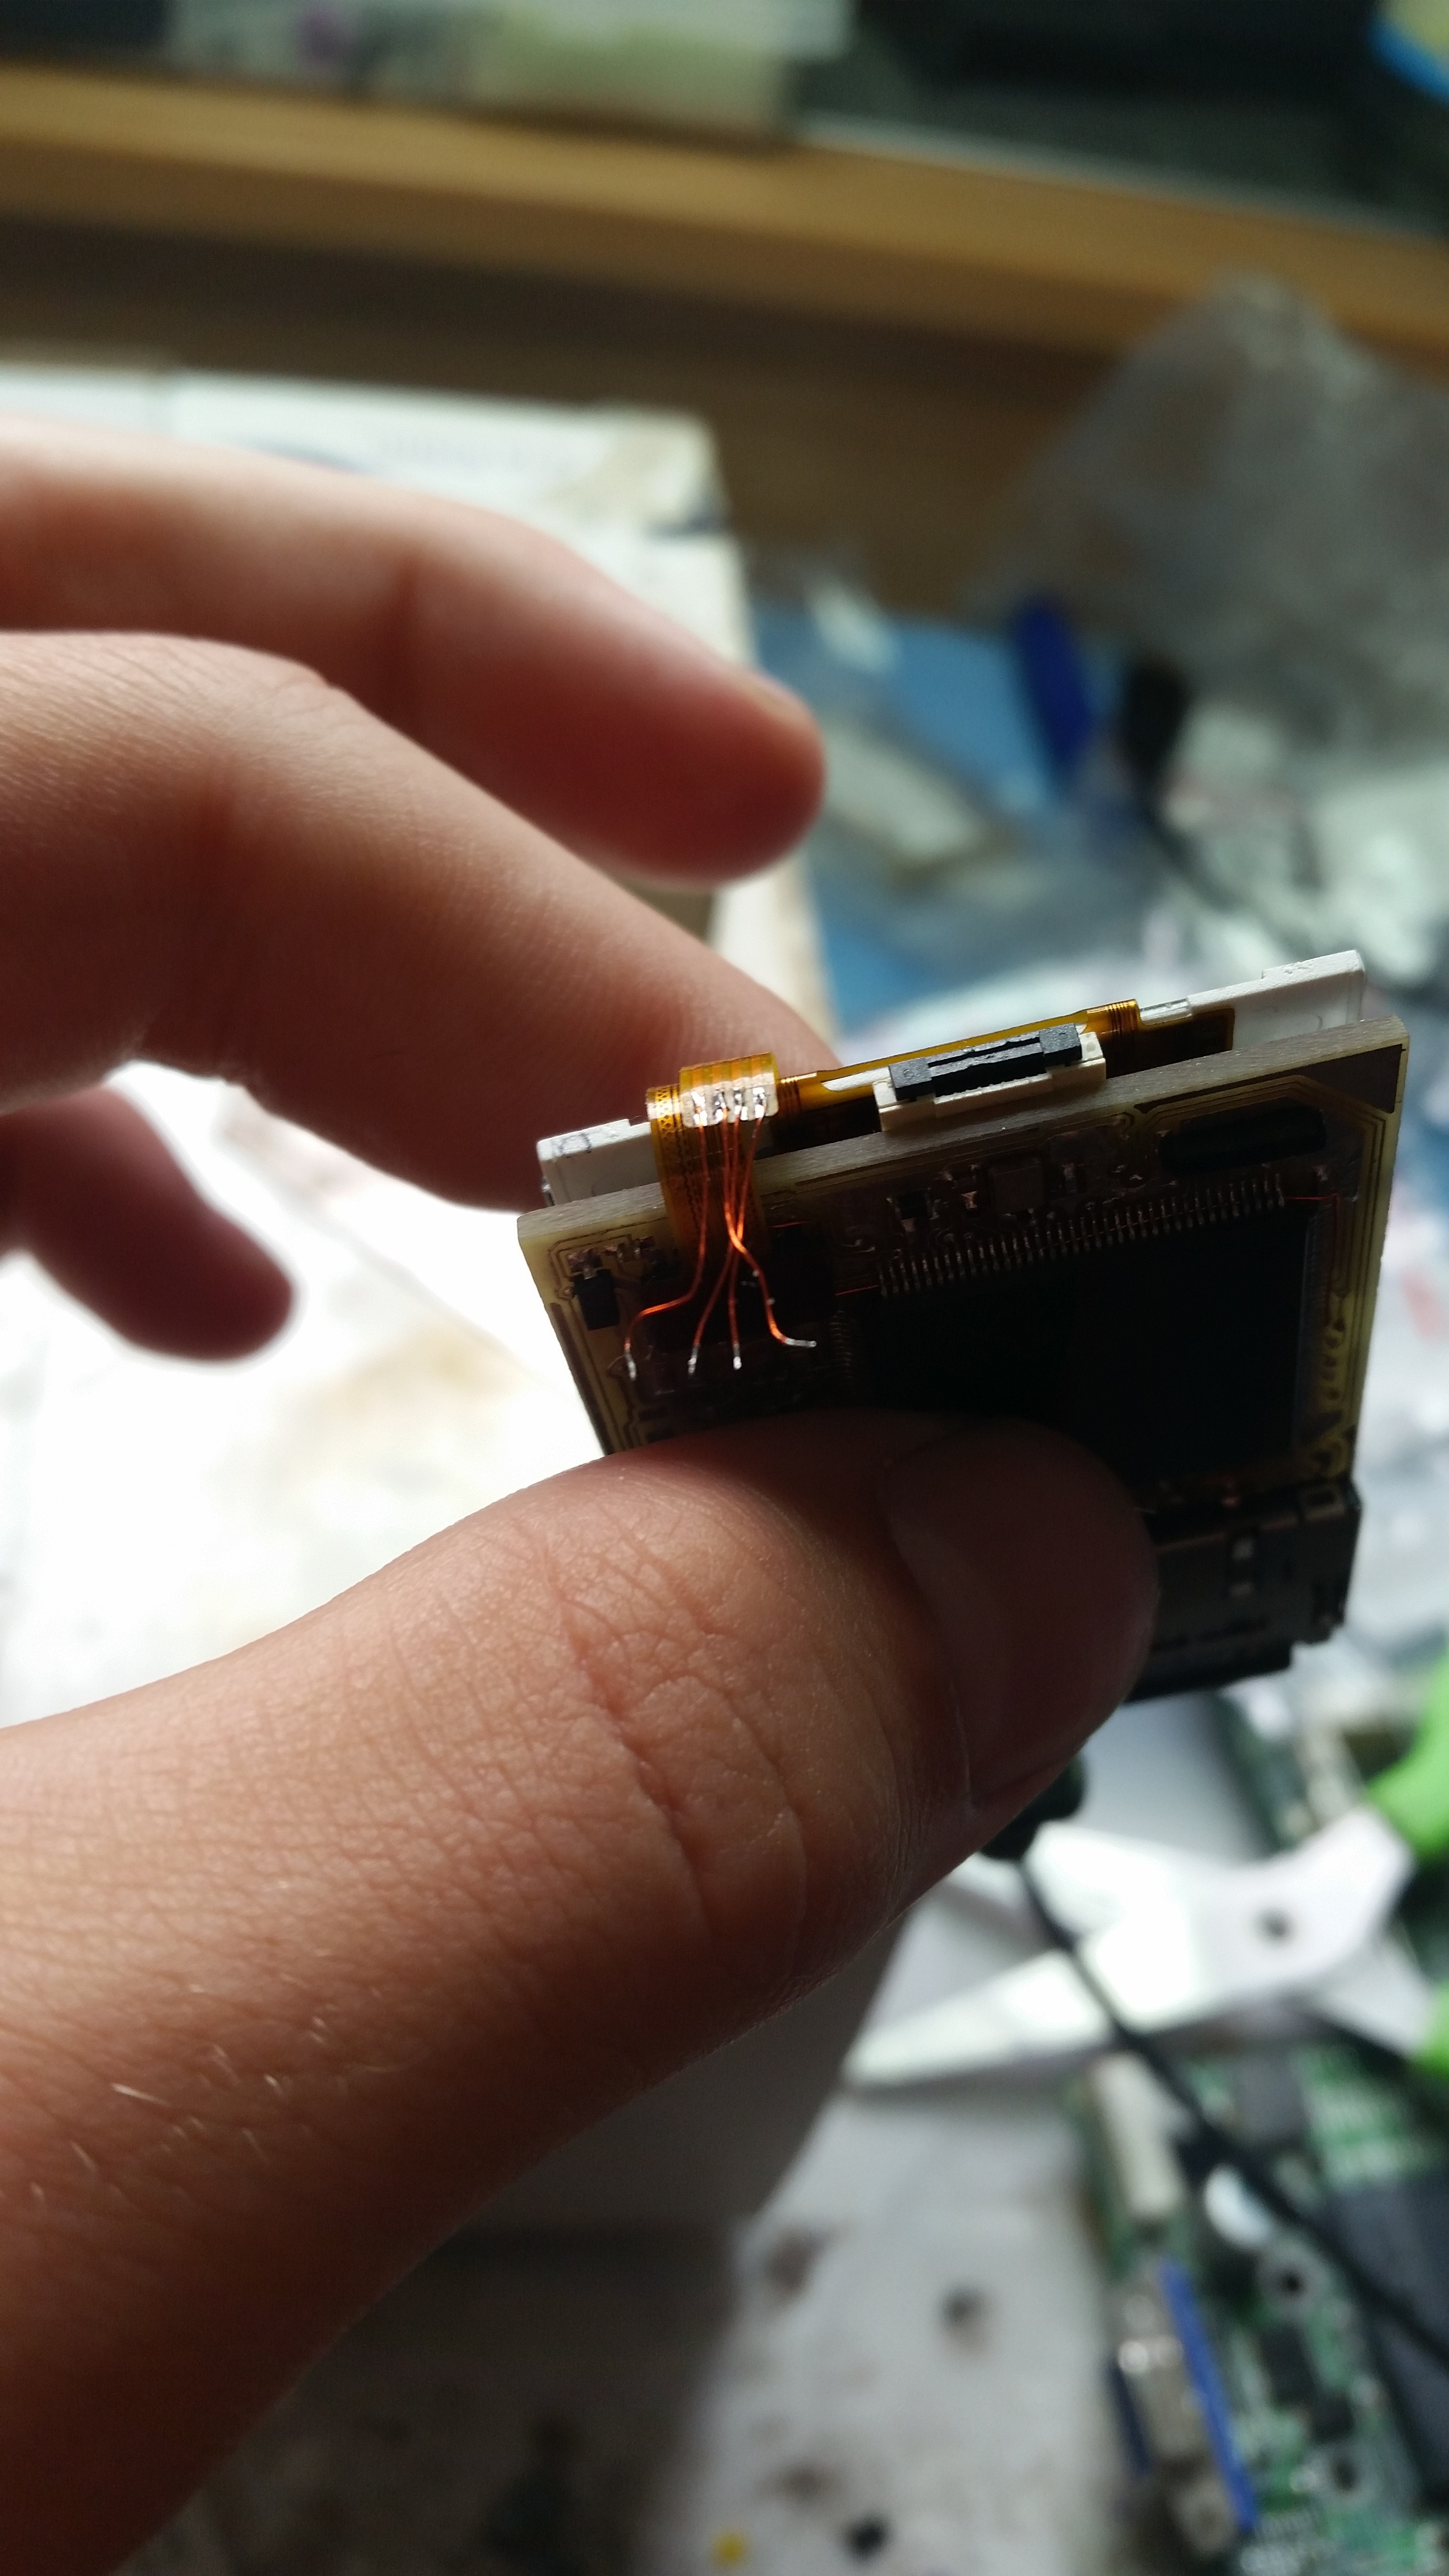
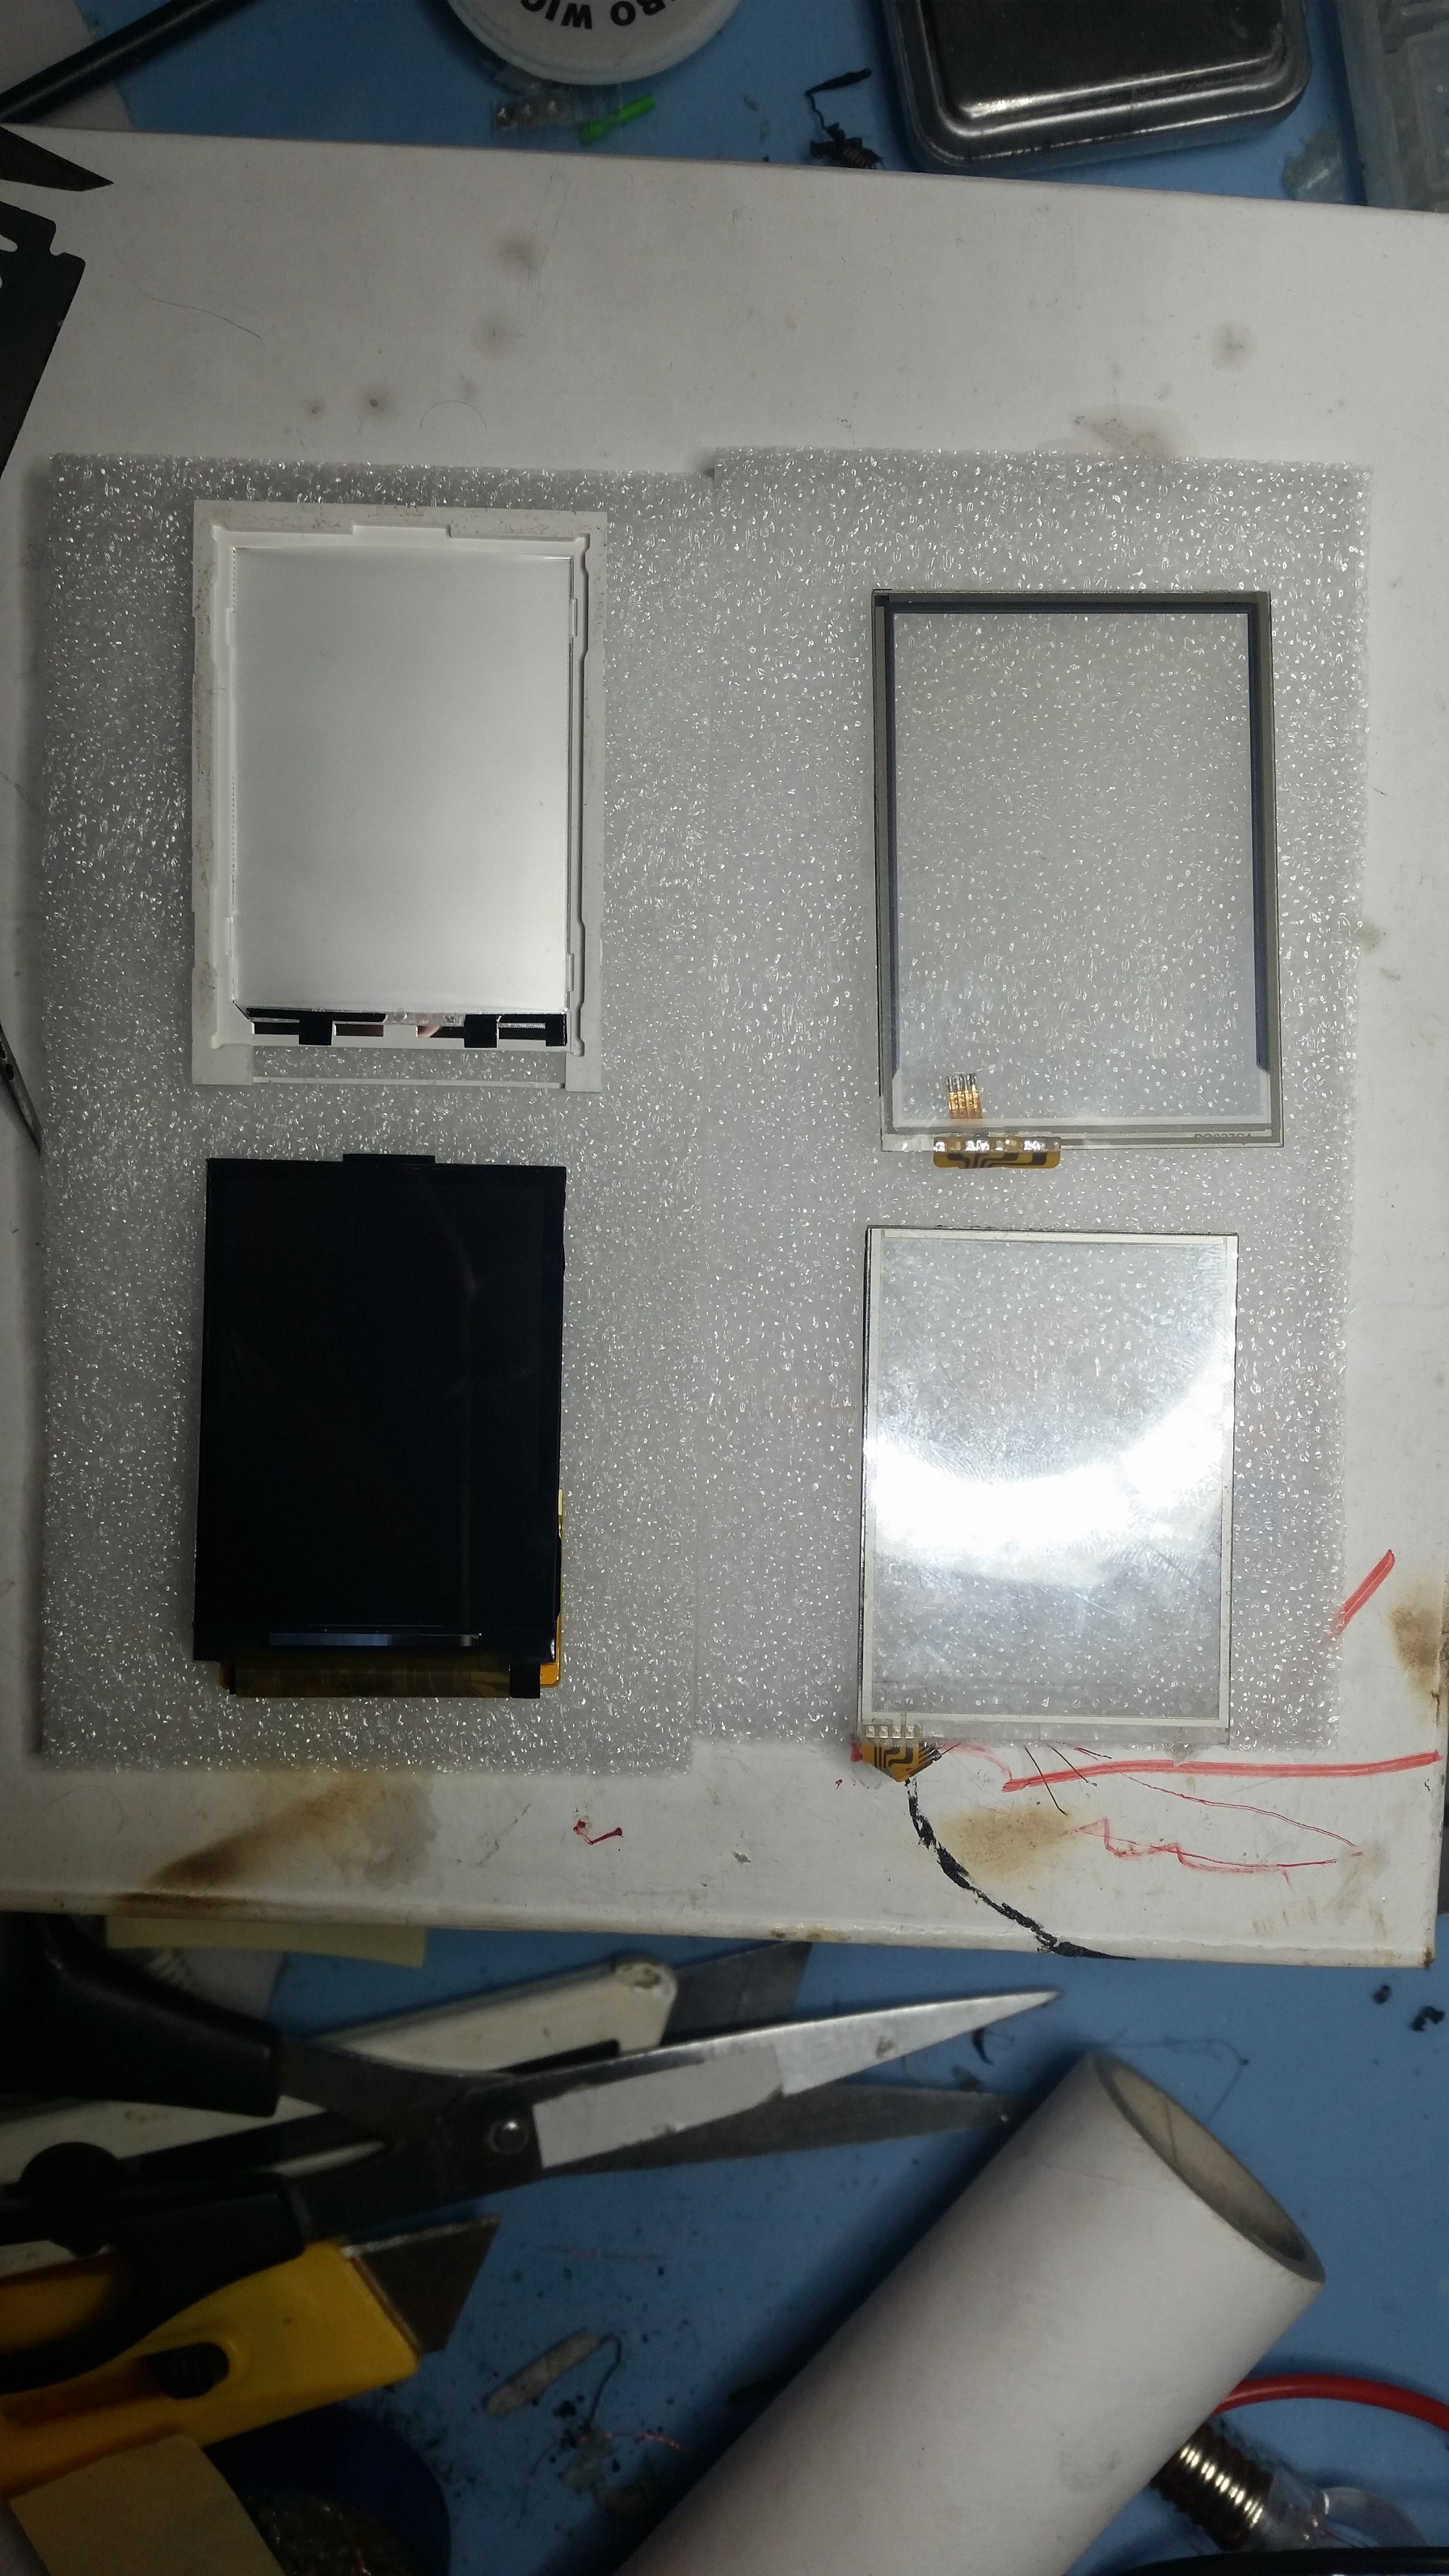
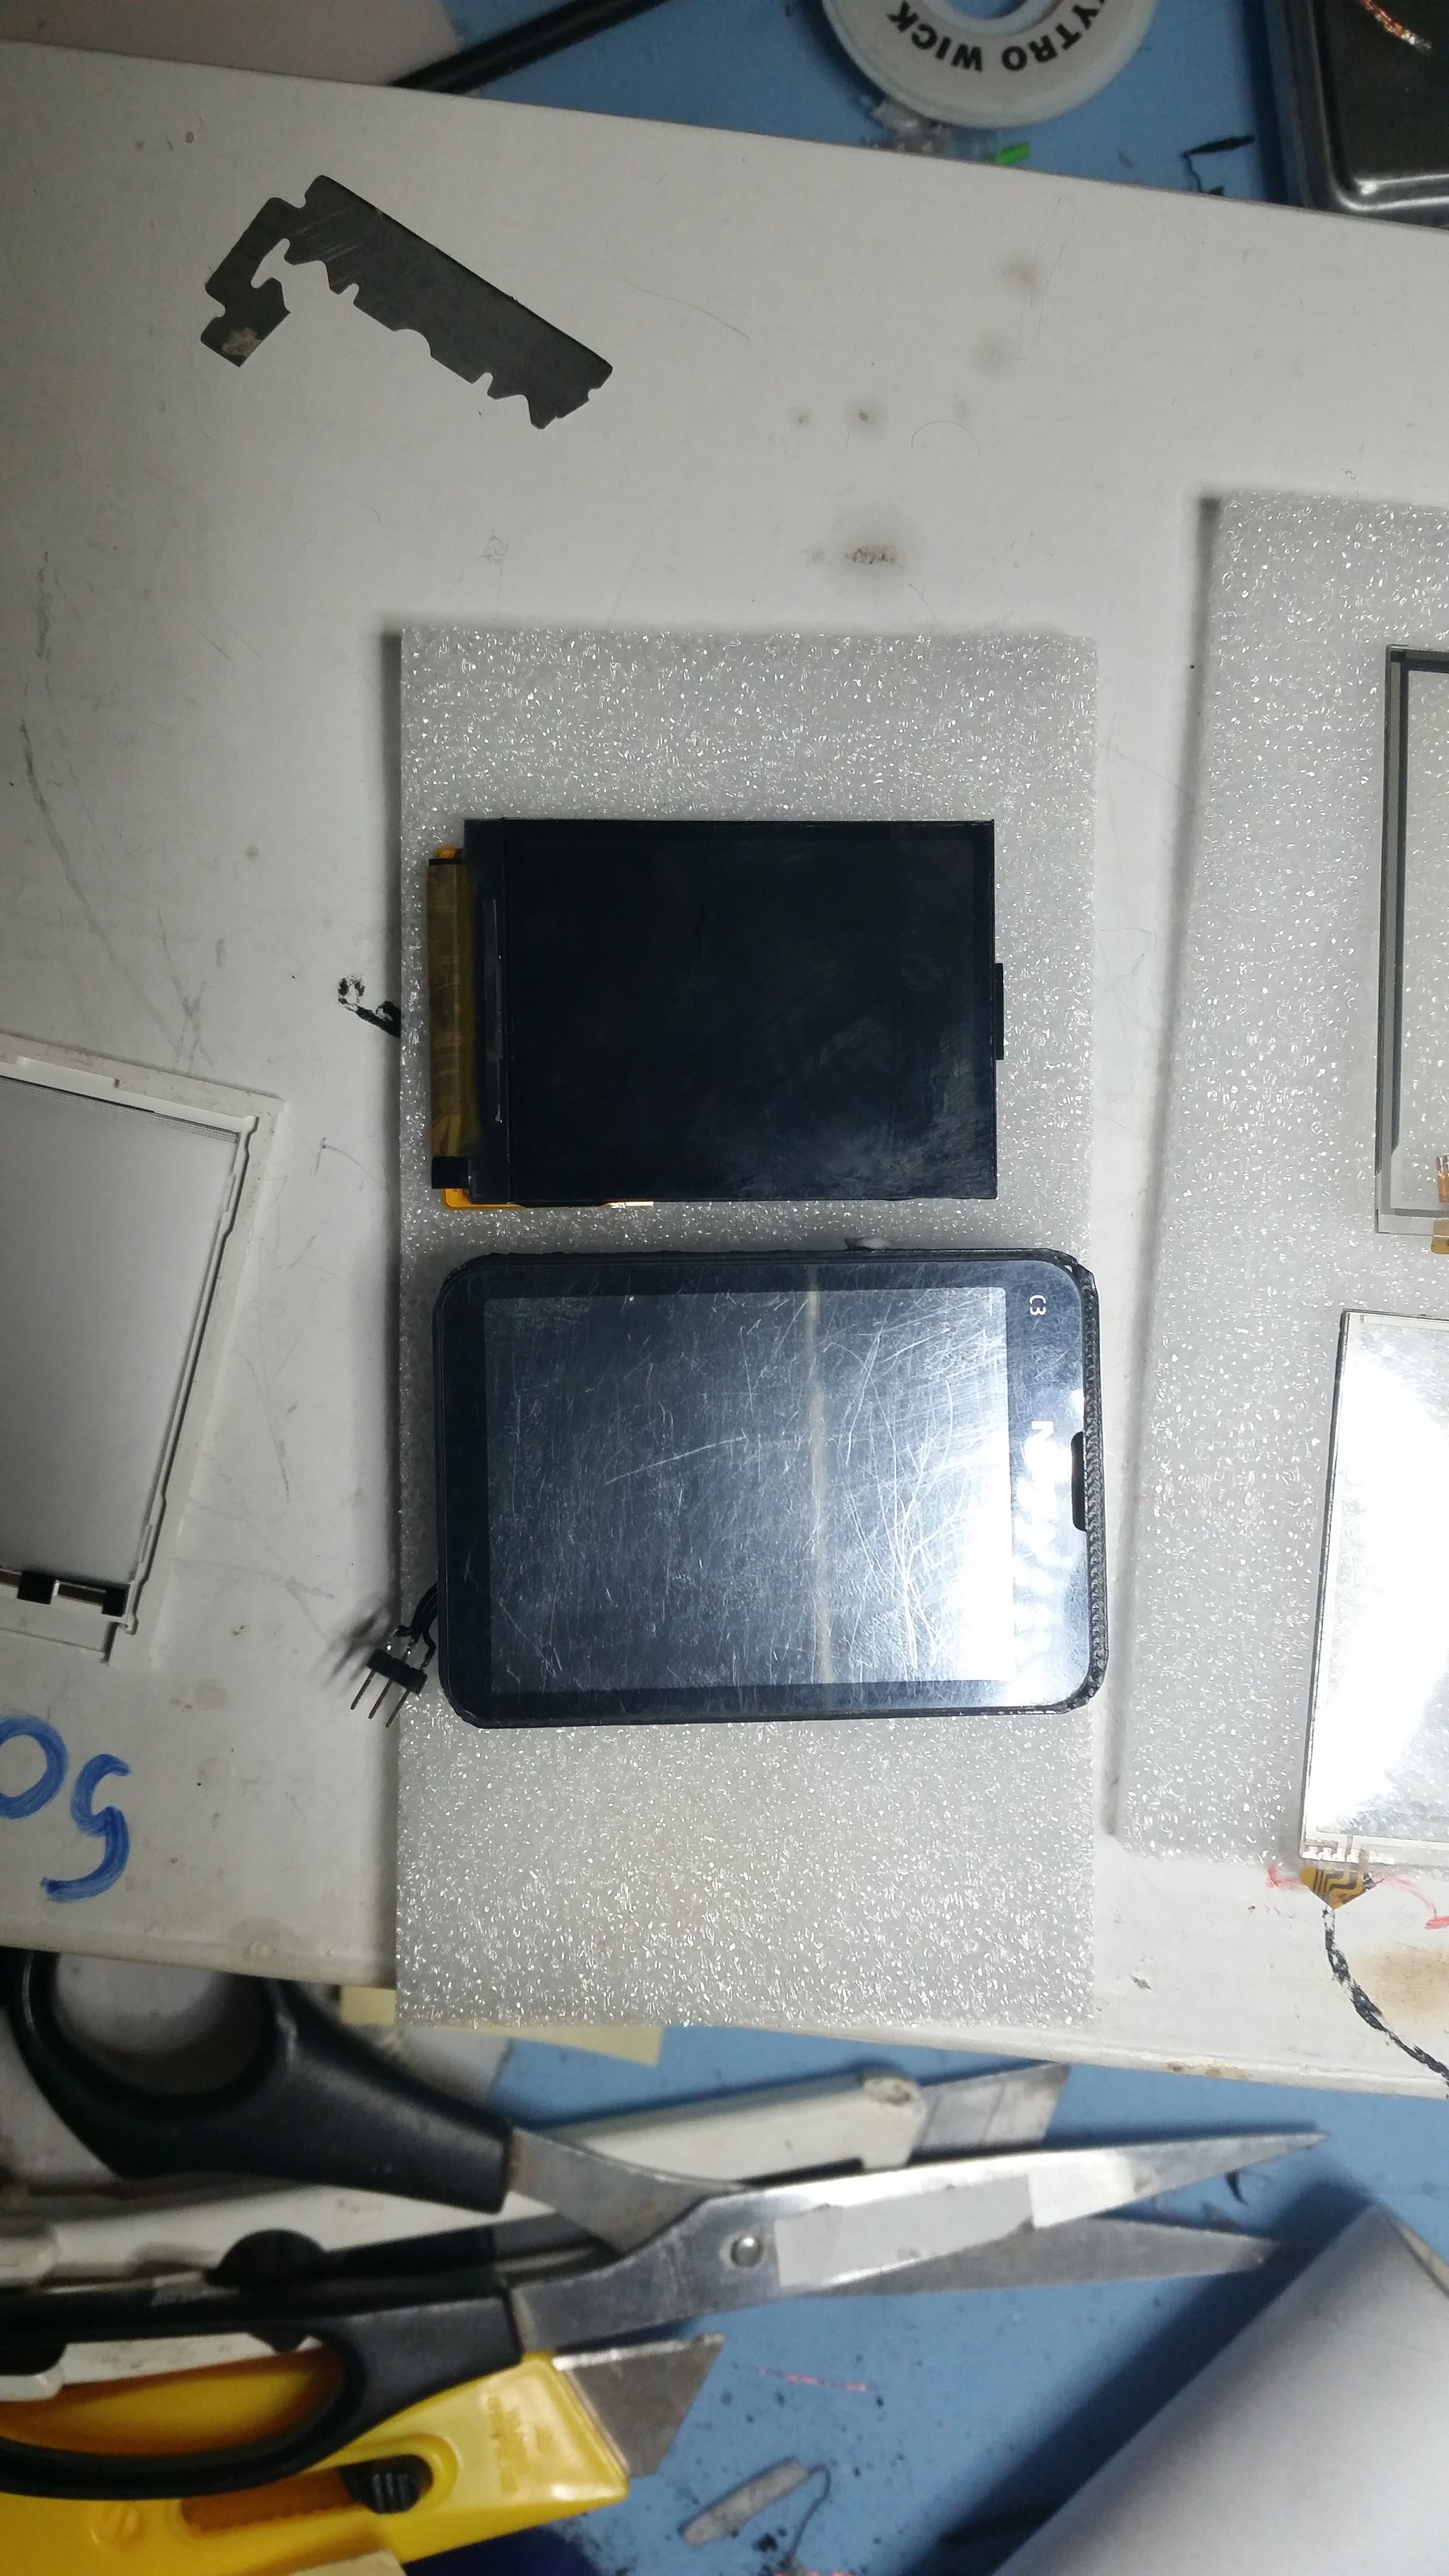
- Nokia 6300 LCD with touch panel
- Micro sd card
- Mp3 decoder
- Position sensor set
- Bluetooth 4.0
- USB and SWD connector
- 3 physical buttons
- RTC clock
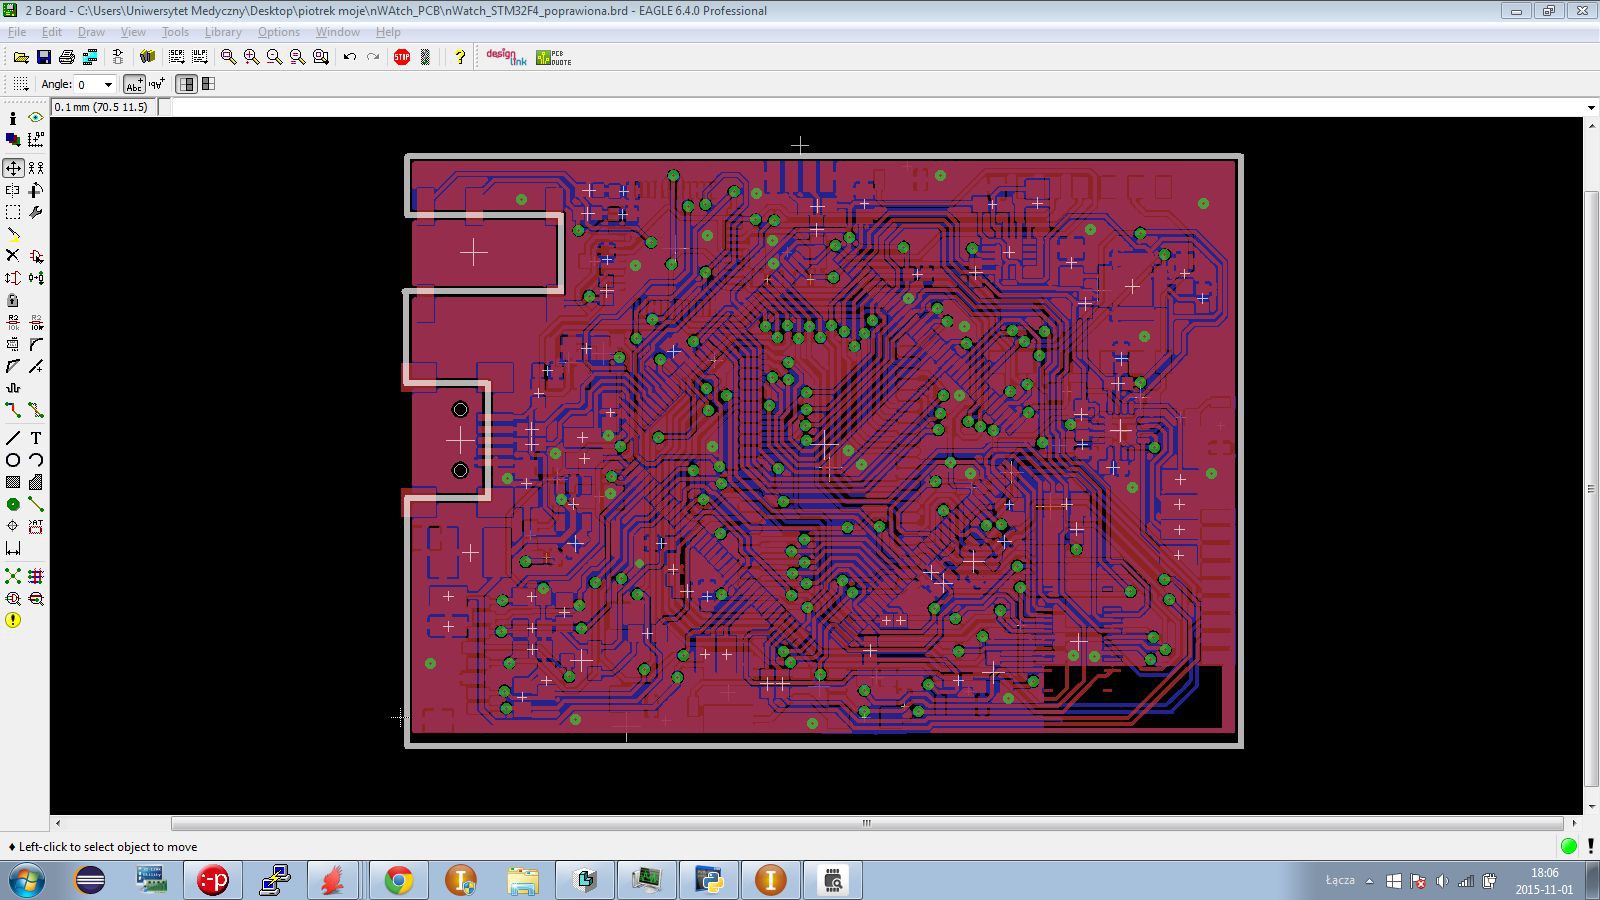
Of course there are some more - a li po charger, main step-down converter, backlight converter, touch controller. In the attachment you can find a full schematic.
I added a voltage divider, with a feature of turning it on and off ( in sleep mode ), so that you are able to measure the battery voltage.
The rest of components are just other IC’s with their passive components.
Software
I mentioned earlier that nWatch is a development board, so how does it look like from the software side ? Of course you are able to make everything you want, but I've made some libraries easier to adapt to this device.
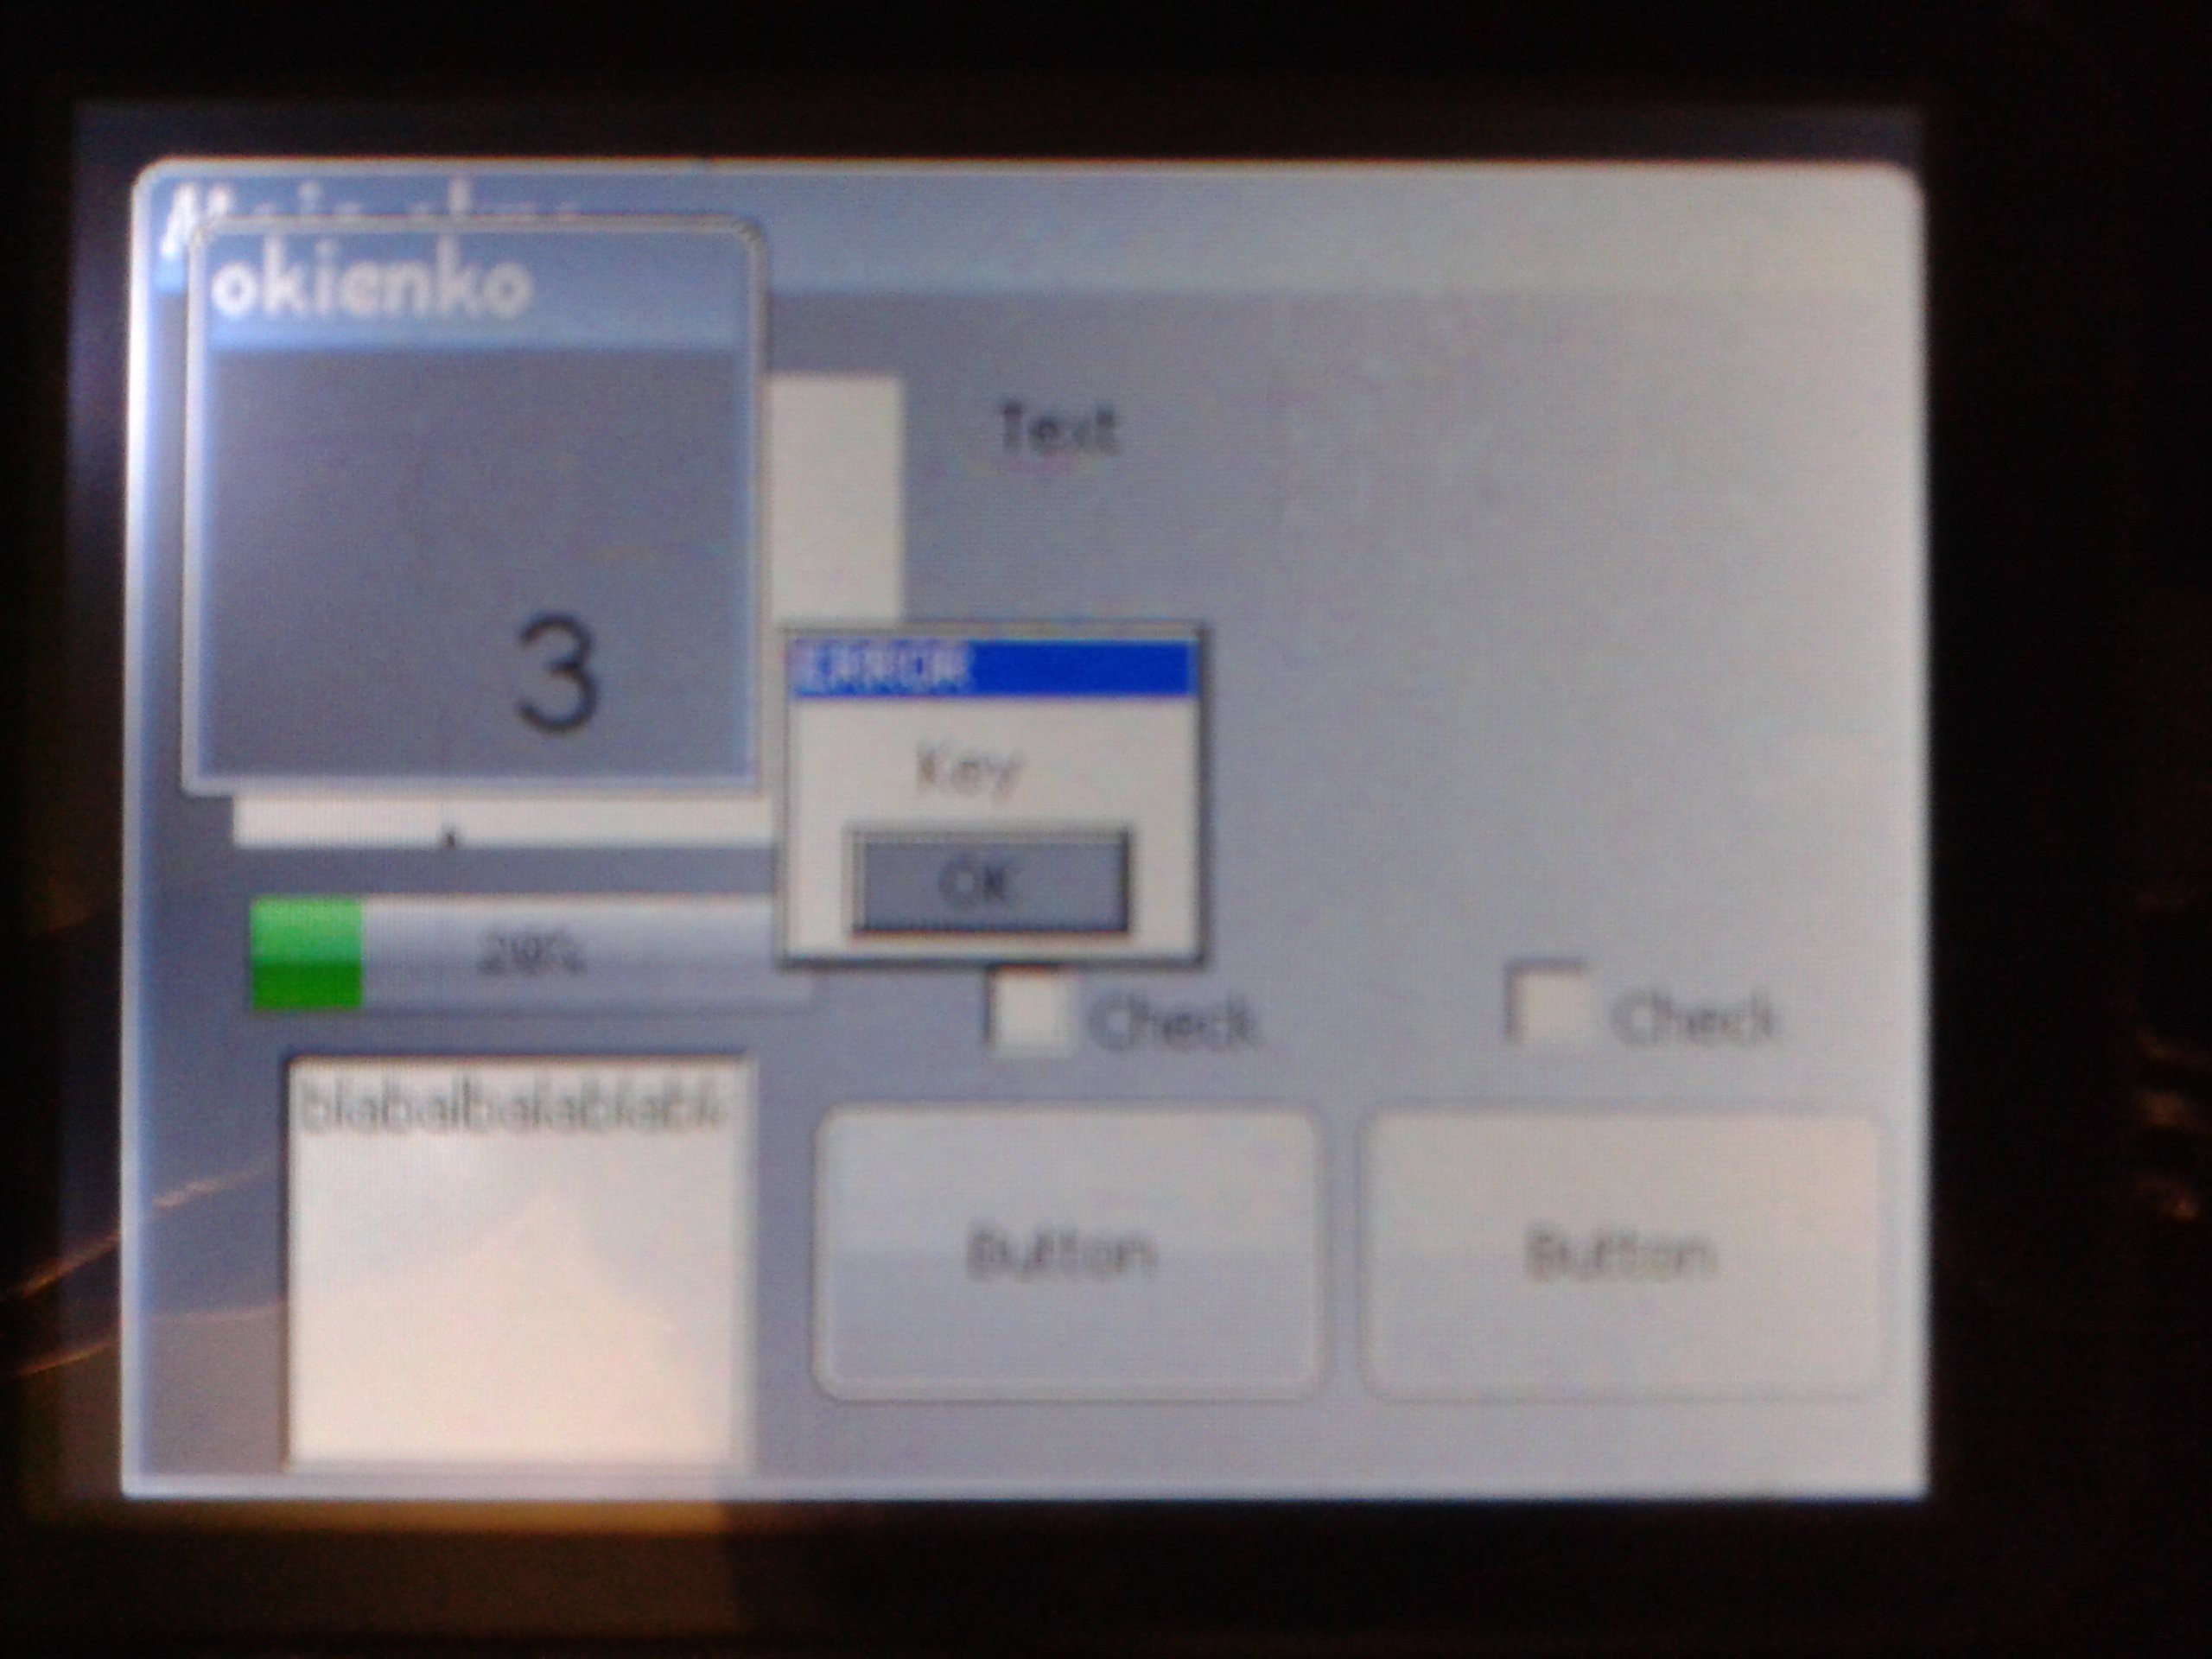
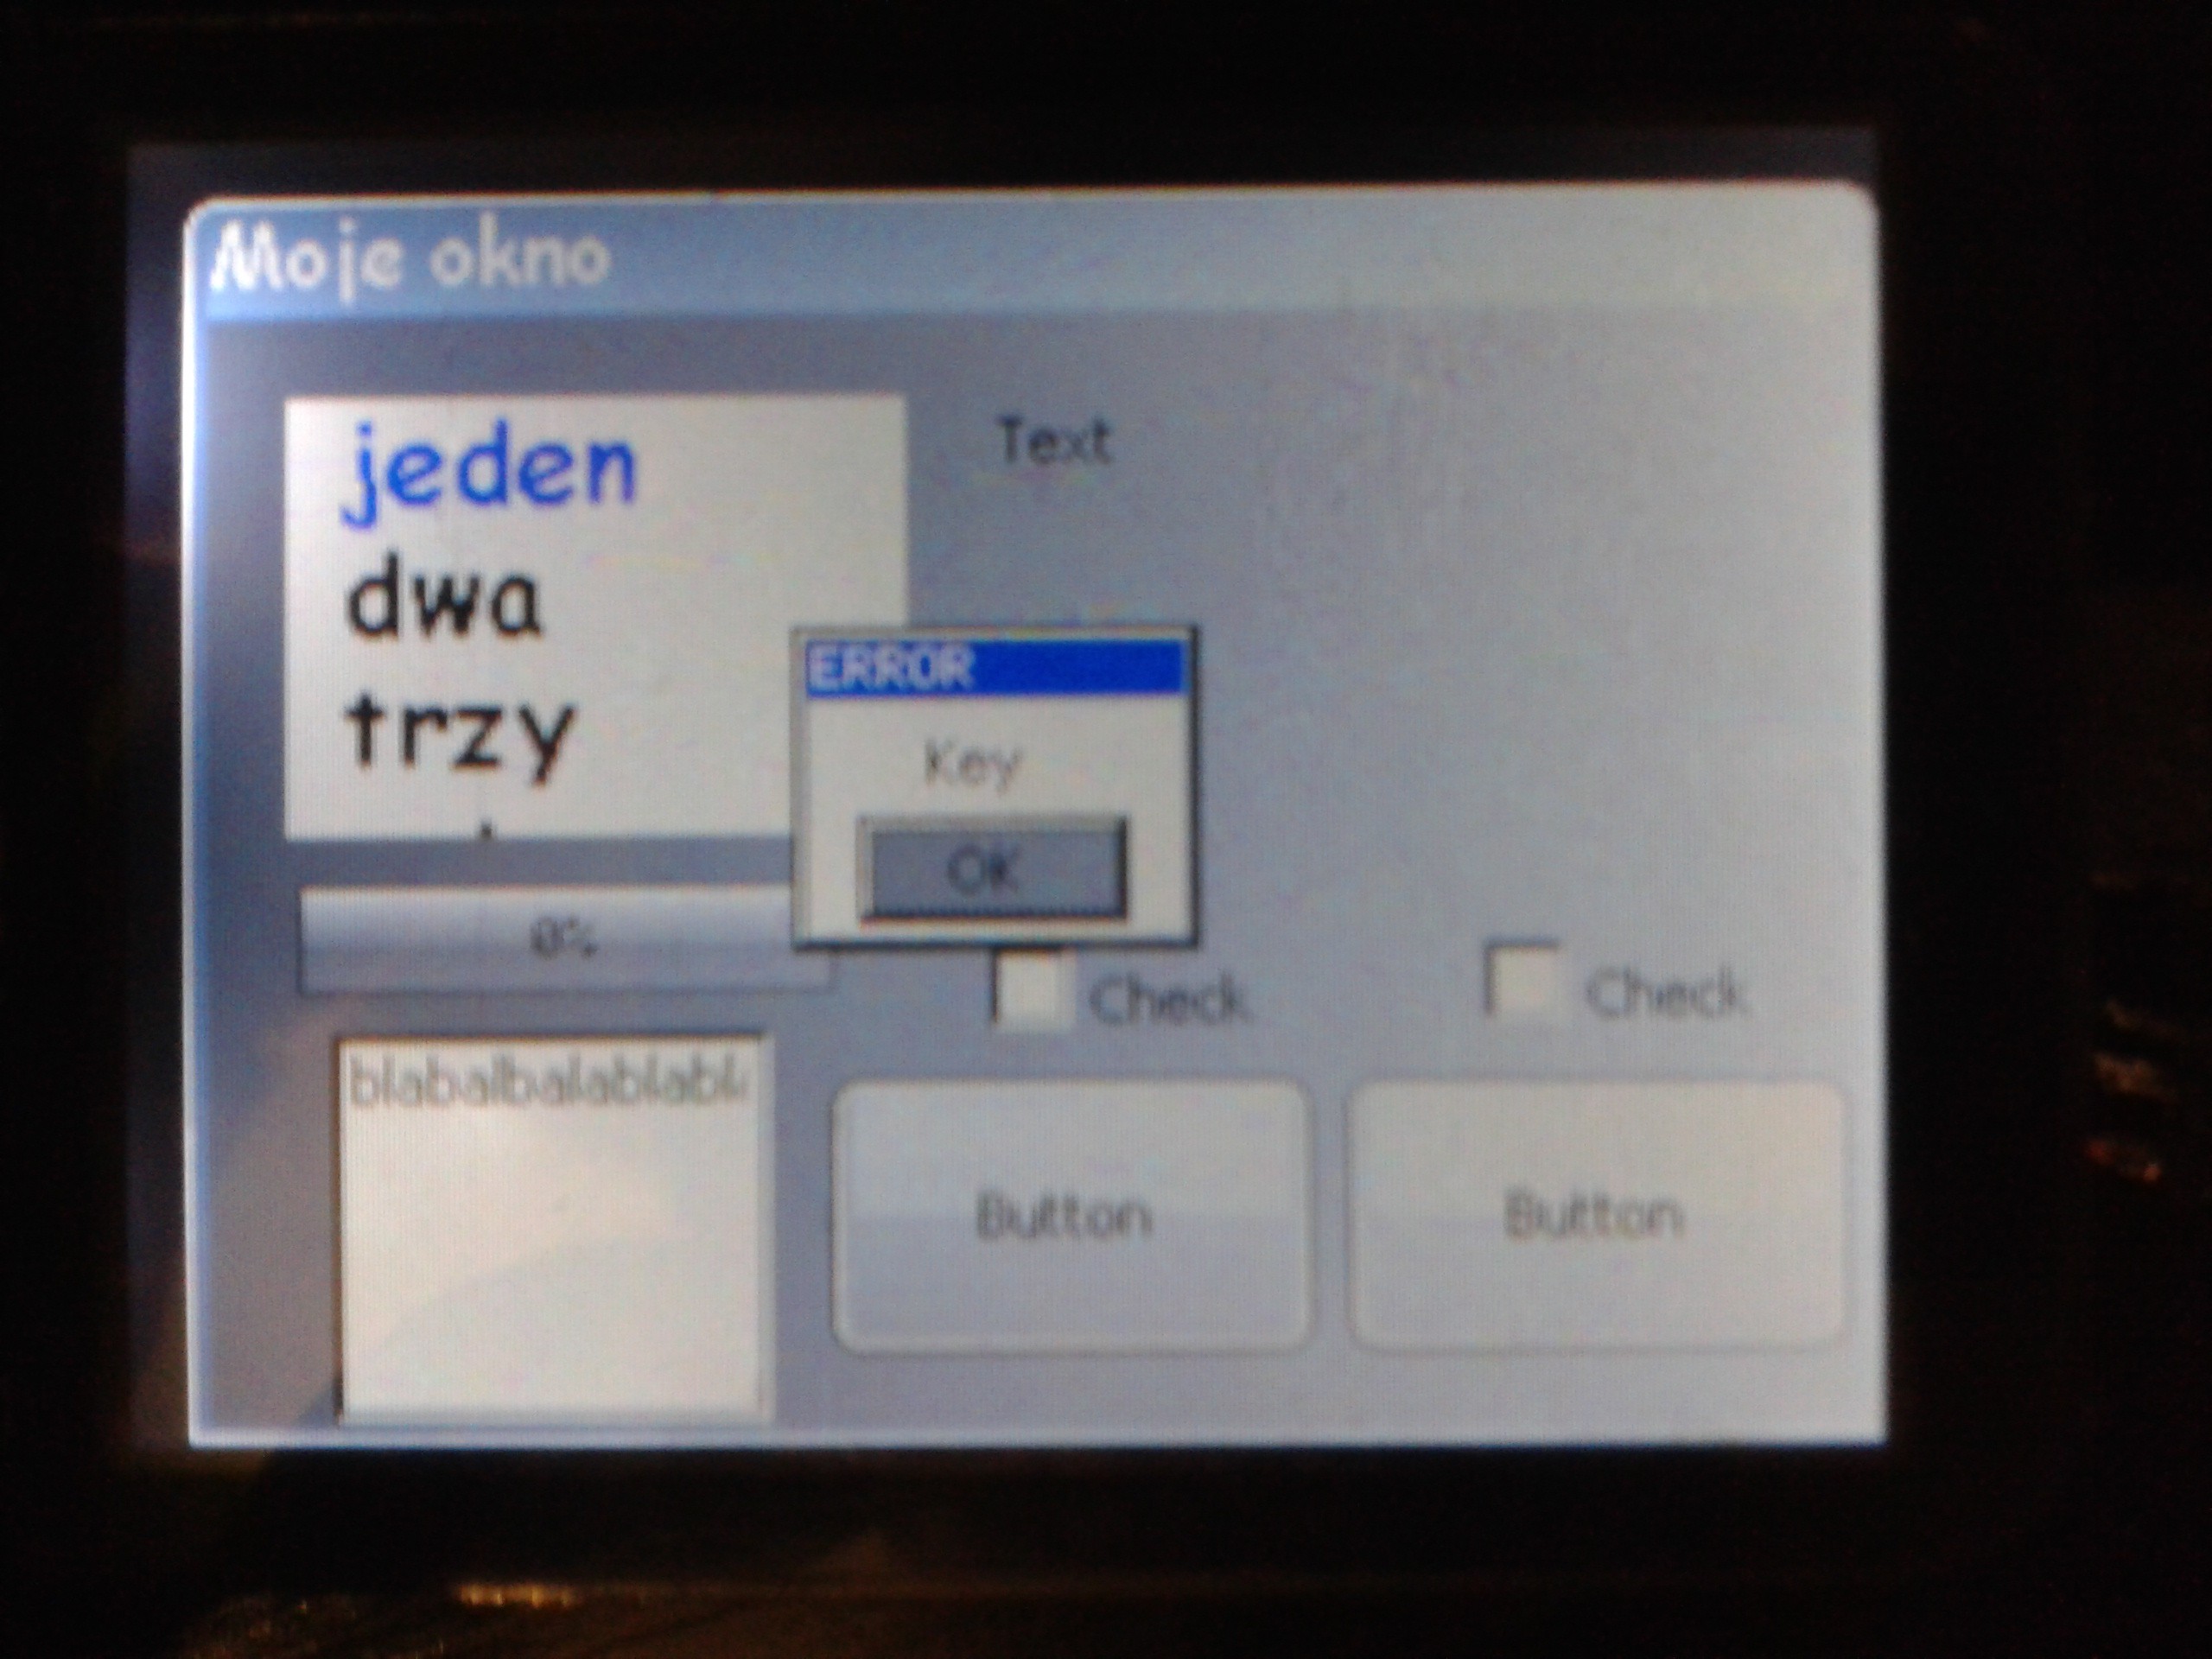
-Stemwin, a graphic library is used to run the lcd. It looks really professional, and the library itself is very well documented ( and supported by ST).
-FreeRTOS, a real time operating system library. It is used as a basic operating system. If you are making a more complex project it is a necessary thing.
-FATFS - well known library by elm-chan, which is used to communicate with the SD card.
- libjpg/ tjpgdec - libraries used for decoding jpeg images
- and many more for hardware control

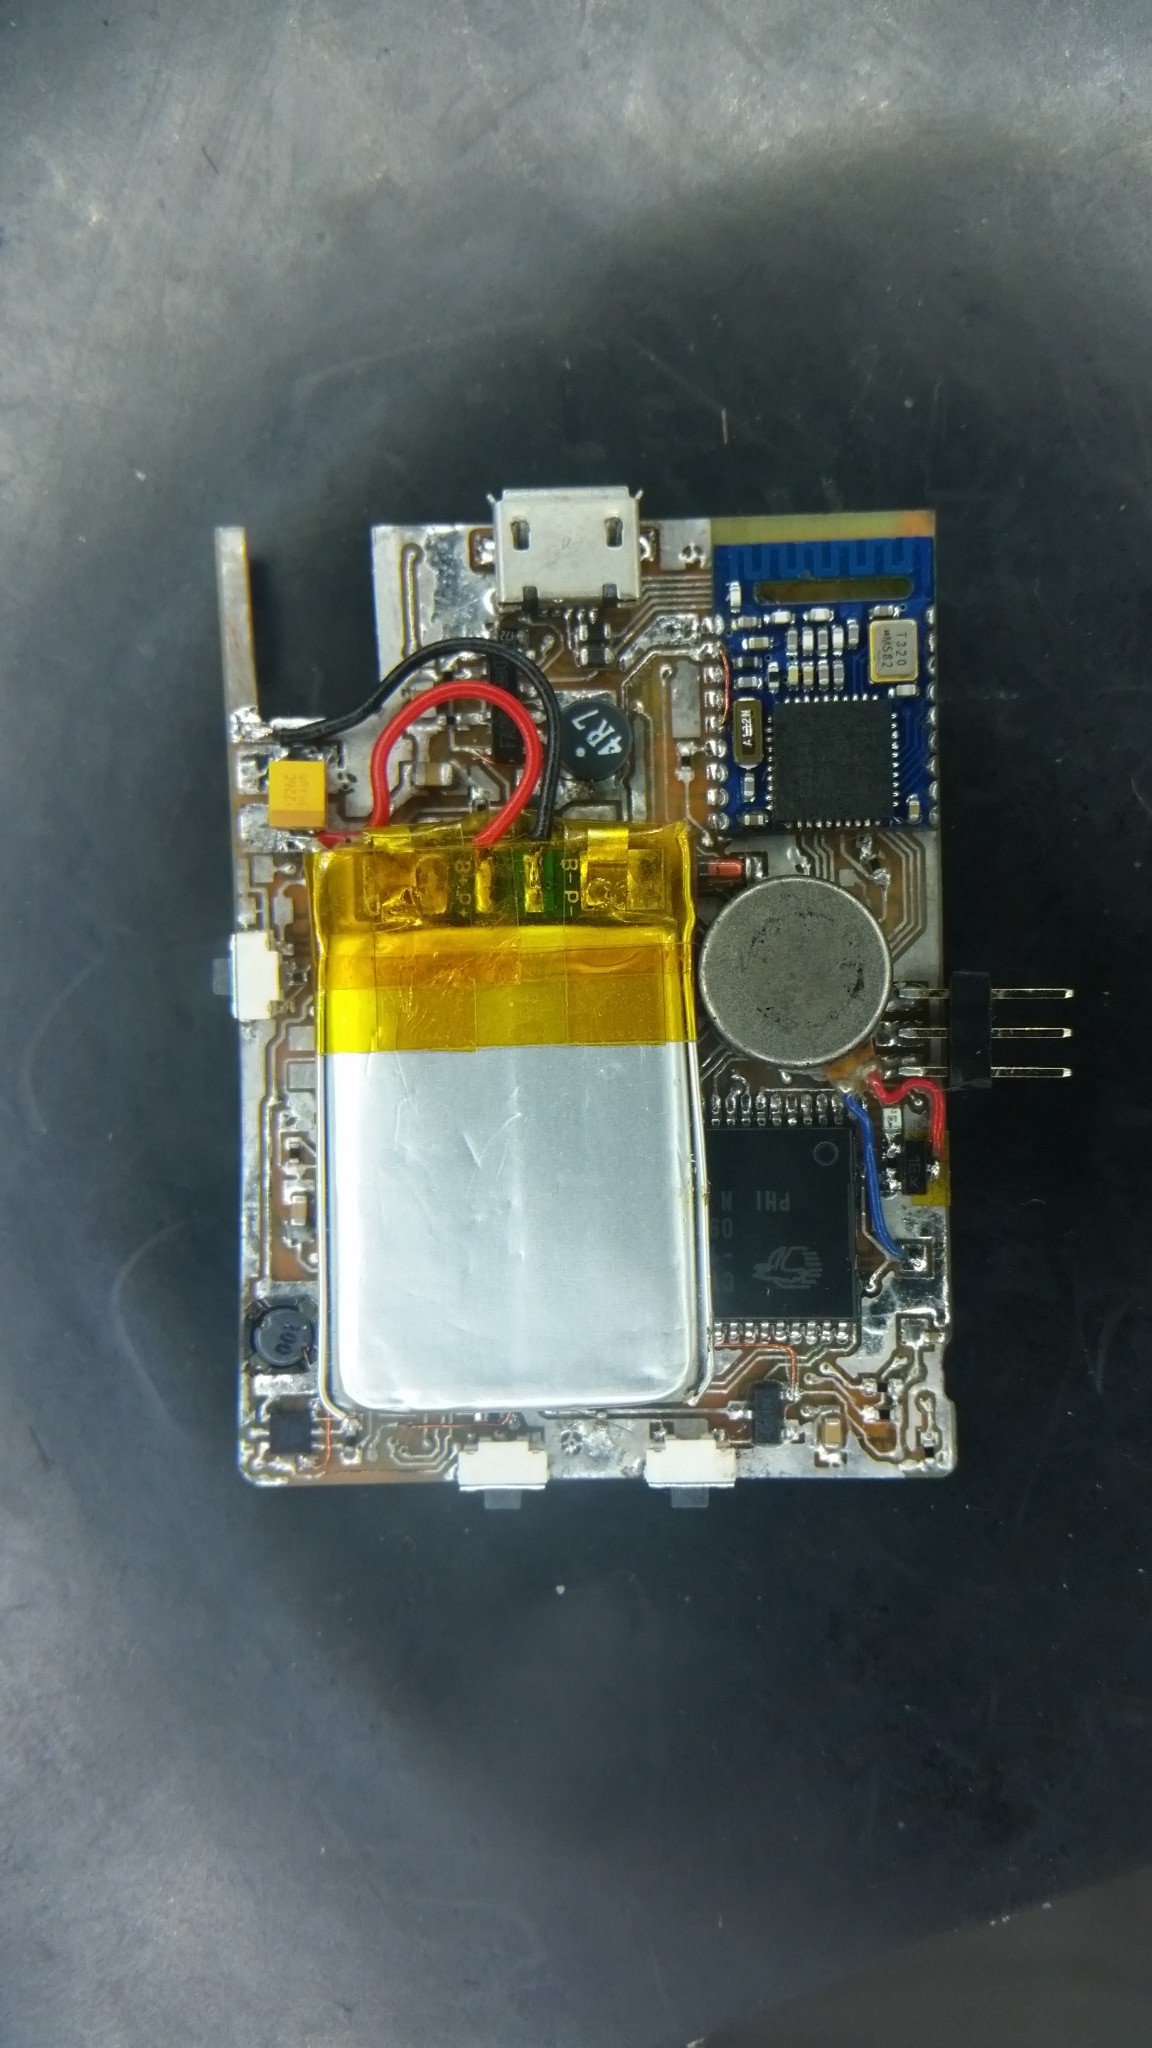
 Baterry placement
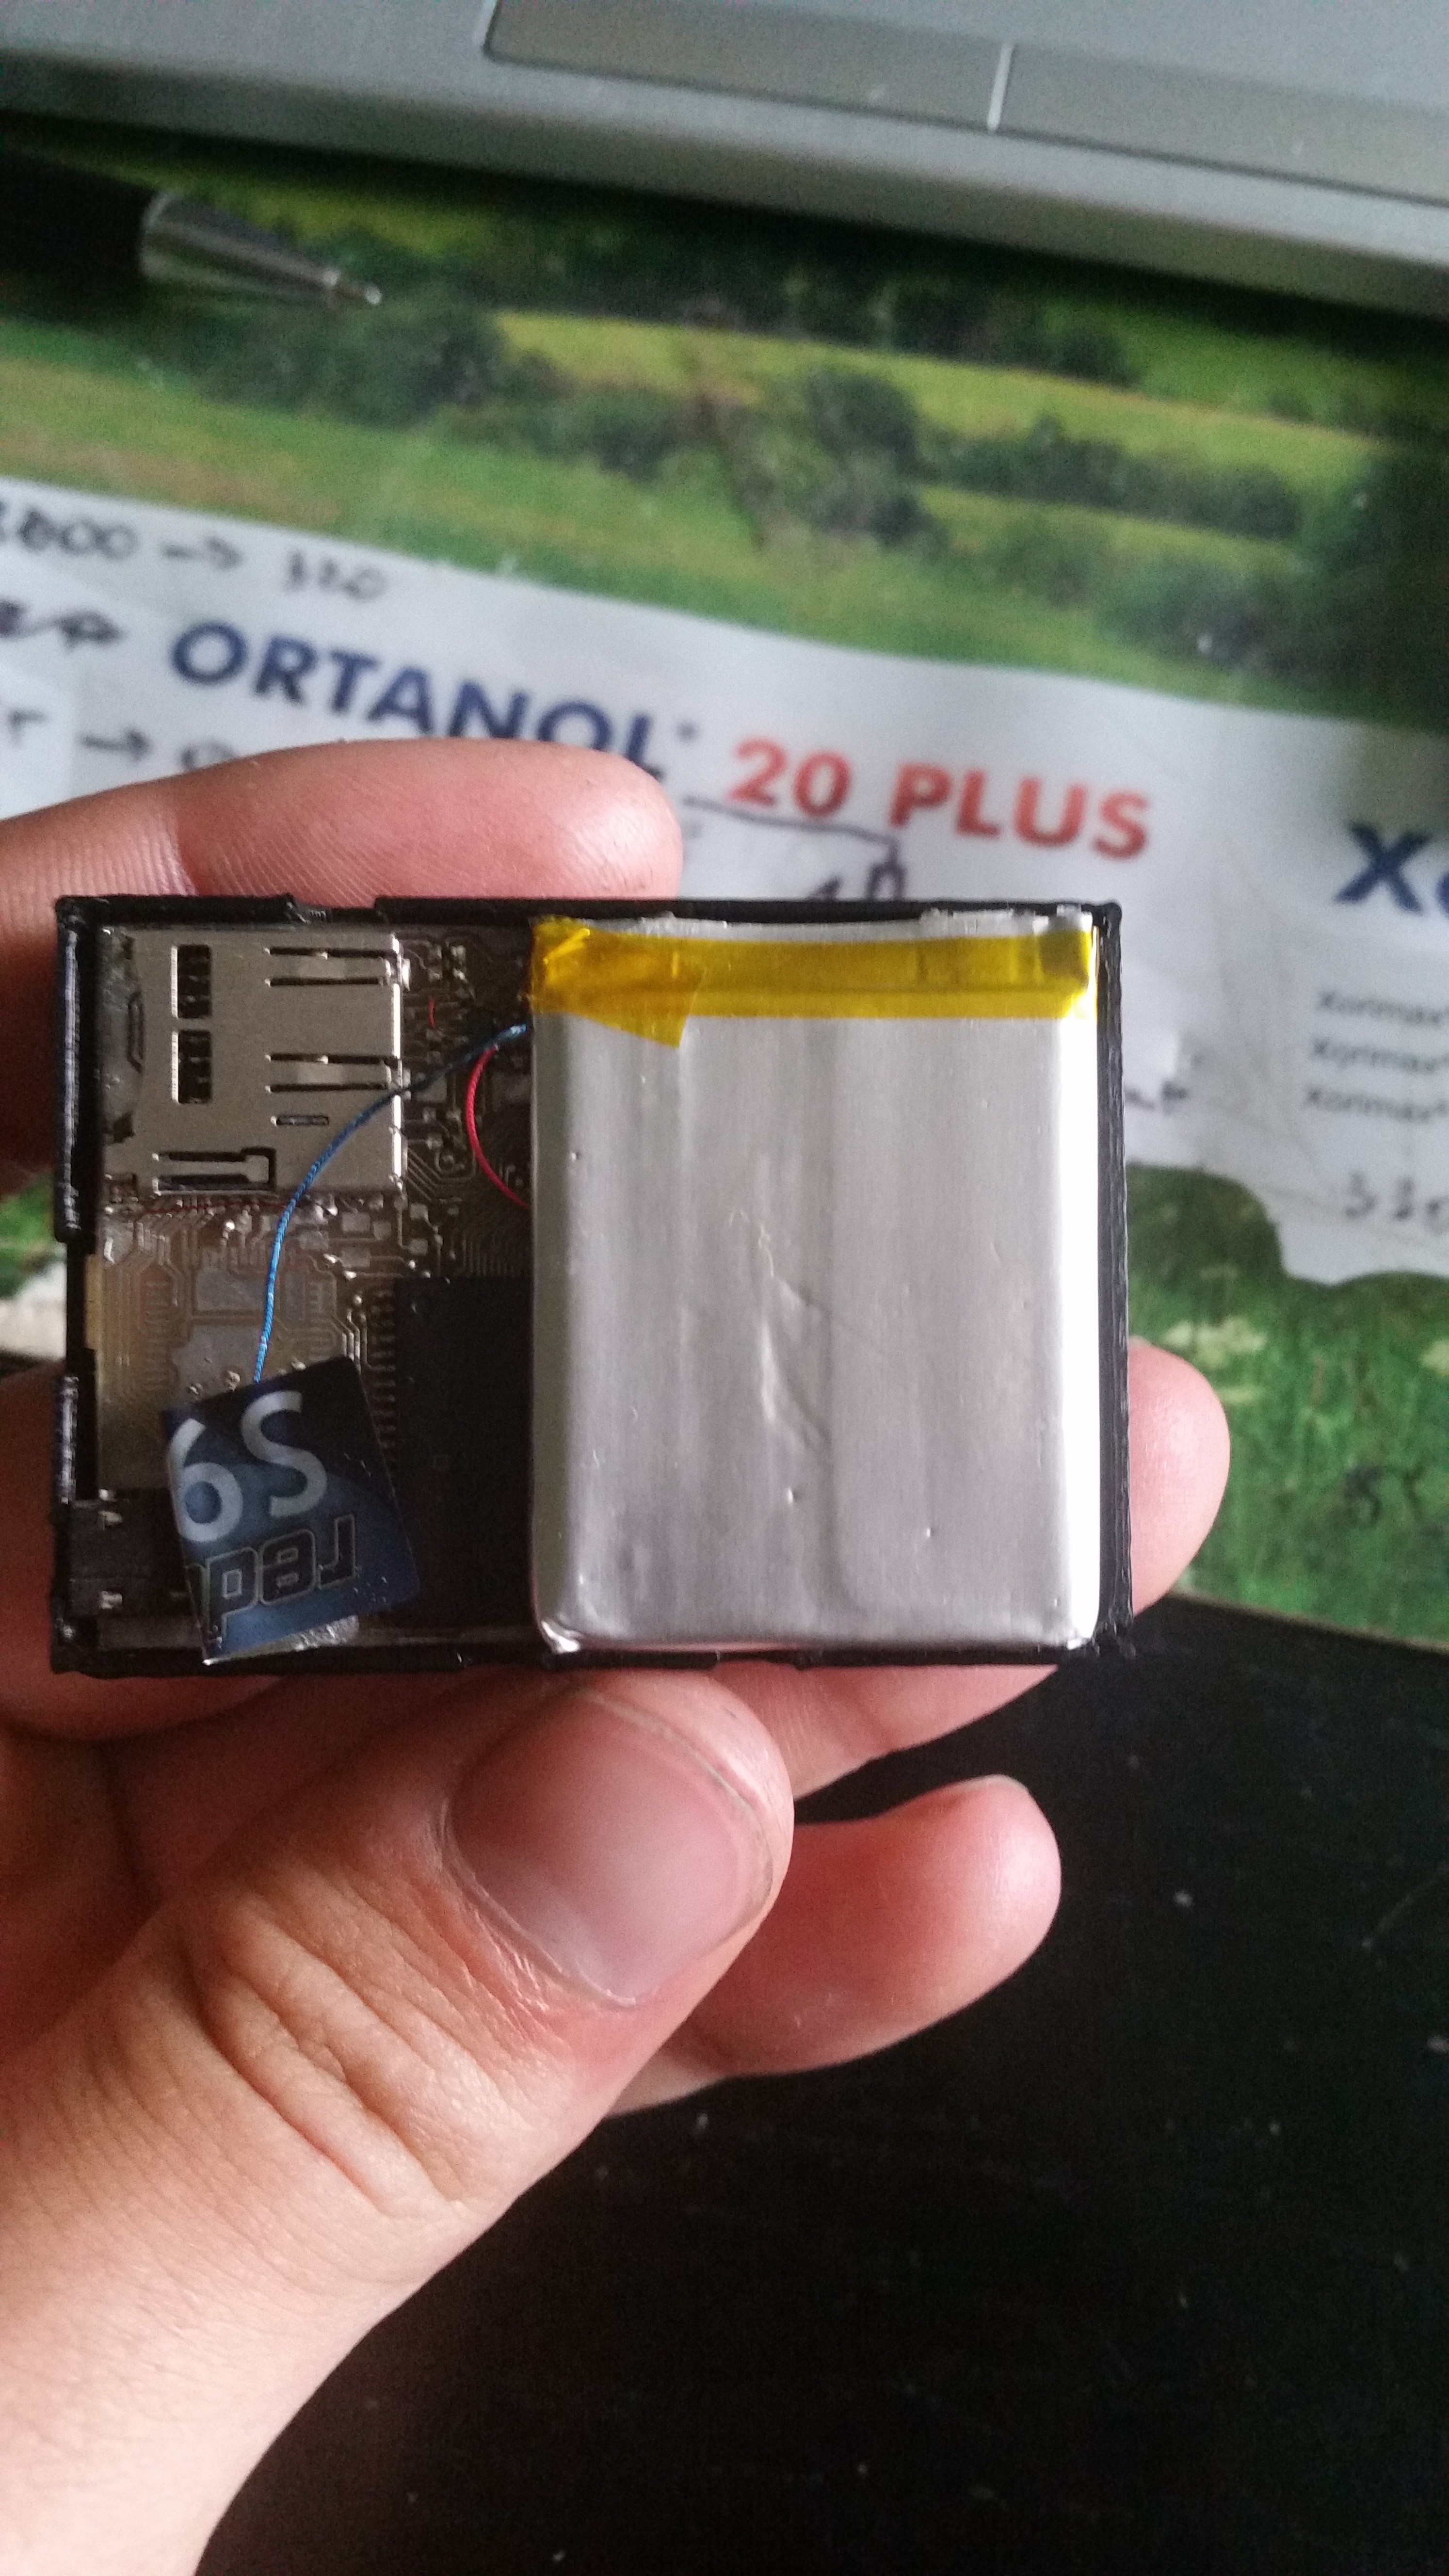


 Montassar
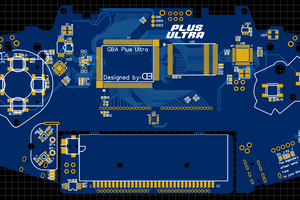
 Derek F
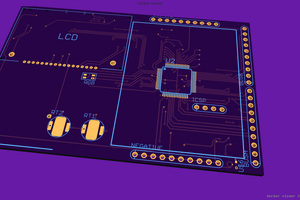
 Crypto [Neo]
 jens.andree
hello! I'm sorry but right now I do not plan to update any instructions as I moved to another project which is very time consuming. While reading your comments I get the impression that you are just starting with microcontrollers, and your expectations may be just too high (camera etc). It really takes a lot of struggle to build such a thing, but that is the point really :) Each problem is an opportunity to learn something new, and that is the path I would follow if I were You ;)