 mmiscool
ESP8266 BASIC Language Reference
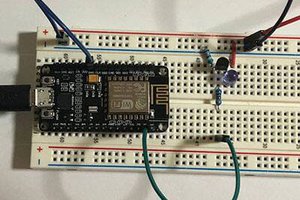
Hardware Basics (Node MCU Board)
WPRINT with htmlvar() function:
Function inherited from the parser (c++ style)
Hardware Basics (Node MCU Board)
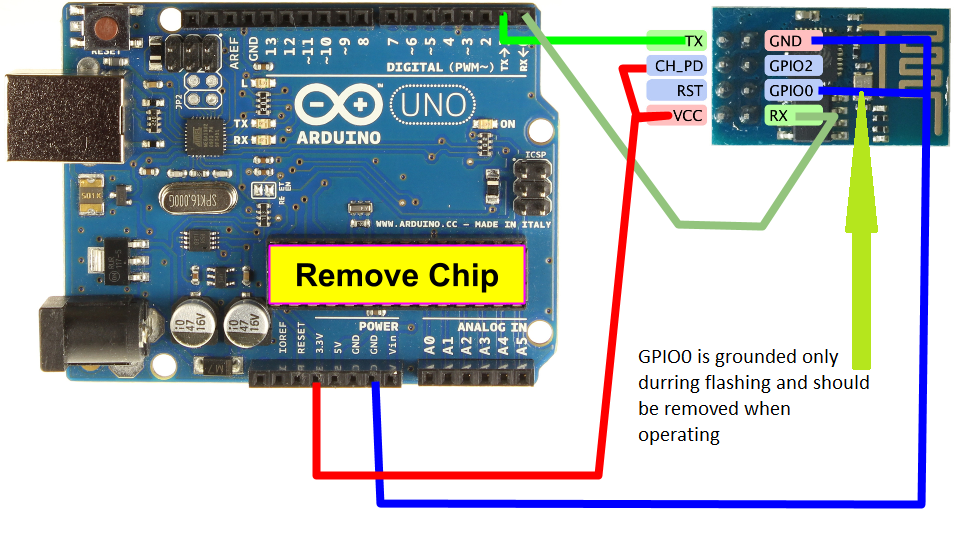
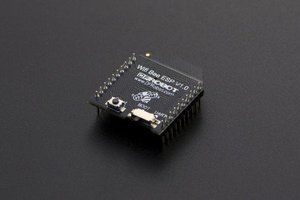
ESP-01 BOARD

BASE COMMANDS (Basic Core)
IF .. THEN:
The if then command will compare 2 values or variables.
To check if strings are equal to each other use ‘==’, for numbers use ‘=’.
if {var or value} {=, ==,>,<,<>,>=,<=}, {var or value} then {statement to be executed if true} {else} {Statement if false}
LET:
Let will perform math or string operations on a set of values or variables and place the result into a variable.
To add strings together you must use the ‘&’ symbol instead of the ‘+’
Can also be used to evaluate logic operations like in the if then statement. If the result is true it will return a -1 otherwise a 0
let {Result var} = {value or var} {operator *,/,+,-,^,&} {value or var}
let {Result var} = {value or var} {=, ==,>,<,<>,<=,>=} {value or var}
Can also be used without the let statement
bla = 5 + 5
Comparison Operators: | Math Operators: |
= Equal for numbers == Equal for strings > More than < less than <> Not Equal >= more than or equal <= less than or equal | + Add (Numbers Only) - Subtract * Multiply / Divide ^ To the power of & Add (Text) % Modulo |
Logic Operators: | Boolean Operators: |
And boolean ‘and’ (ex. If a=10 and b=20 then ..) Or boolean ‘or’ (ex. If a=10 or b=20 then ..) Xor boolean ‘xor’ (ex. If a=10 xor b=20 then ..) Not boolean ‘not’ (ex. If not (a=10) then ..) Any combination of these operators is allowed. (ex. If (a=10 or b=20) and c=30 then | And boolean ‘and’ (ex. a = b and c) Or boolean ‘or’ (ex. A = a or 16) Xor boolean ‘xor’ (ex. A = b xor 255) Not boolean ‘not’ (ex. A = not 15 ) << shift left (ex. A = b << 4) >> shift right (ex. A = b >> 8) |
DIM:
Will dimension an array. Arrays dimensioned with out the $ will be defined as numeric. Arrays defined with a $ will be defined as string. Can be used just like other variables. Can not be used for gui widgets.
dim araynumeric( {variable or numeric value} )
dim arraystring$( {variable or numeric value} )
UNDIM:
Will release memory used by an array
undim arraystring$
GOTO:
Will jump to the branch label of your choice
goto {label}
GOSUB AND RETURN:
Will jump to the branch label of your choice and allow you to return to the location...
Read more »

 HackAtech Industries
 muzi
muzi
 Dan Julio