 Bill Peterson
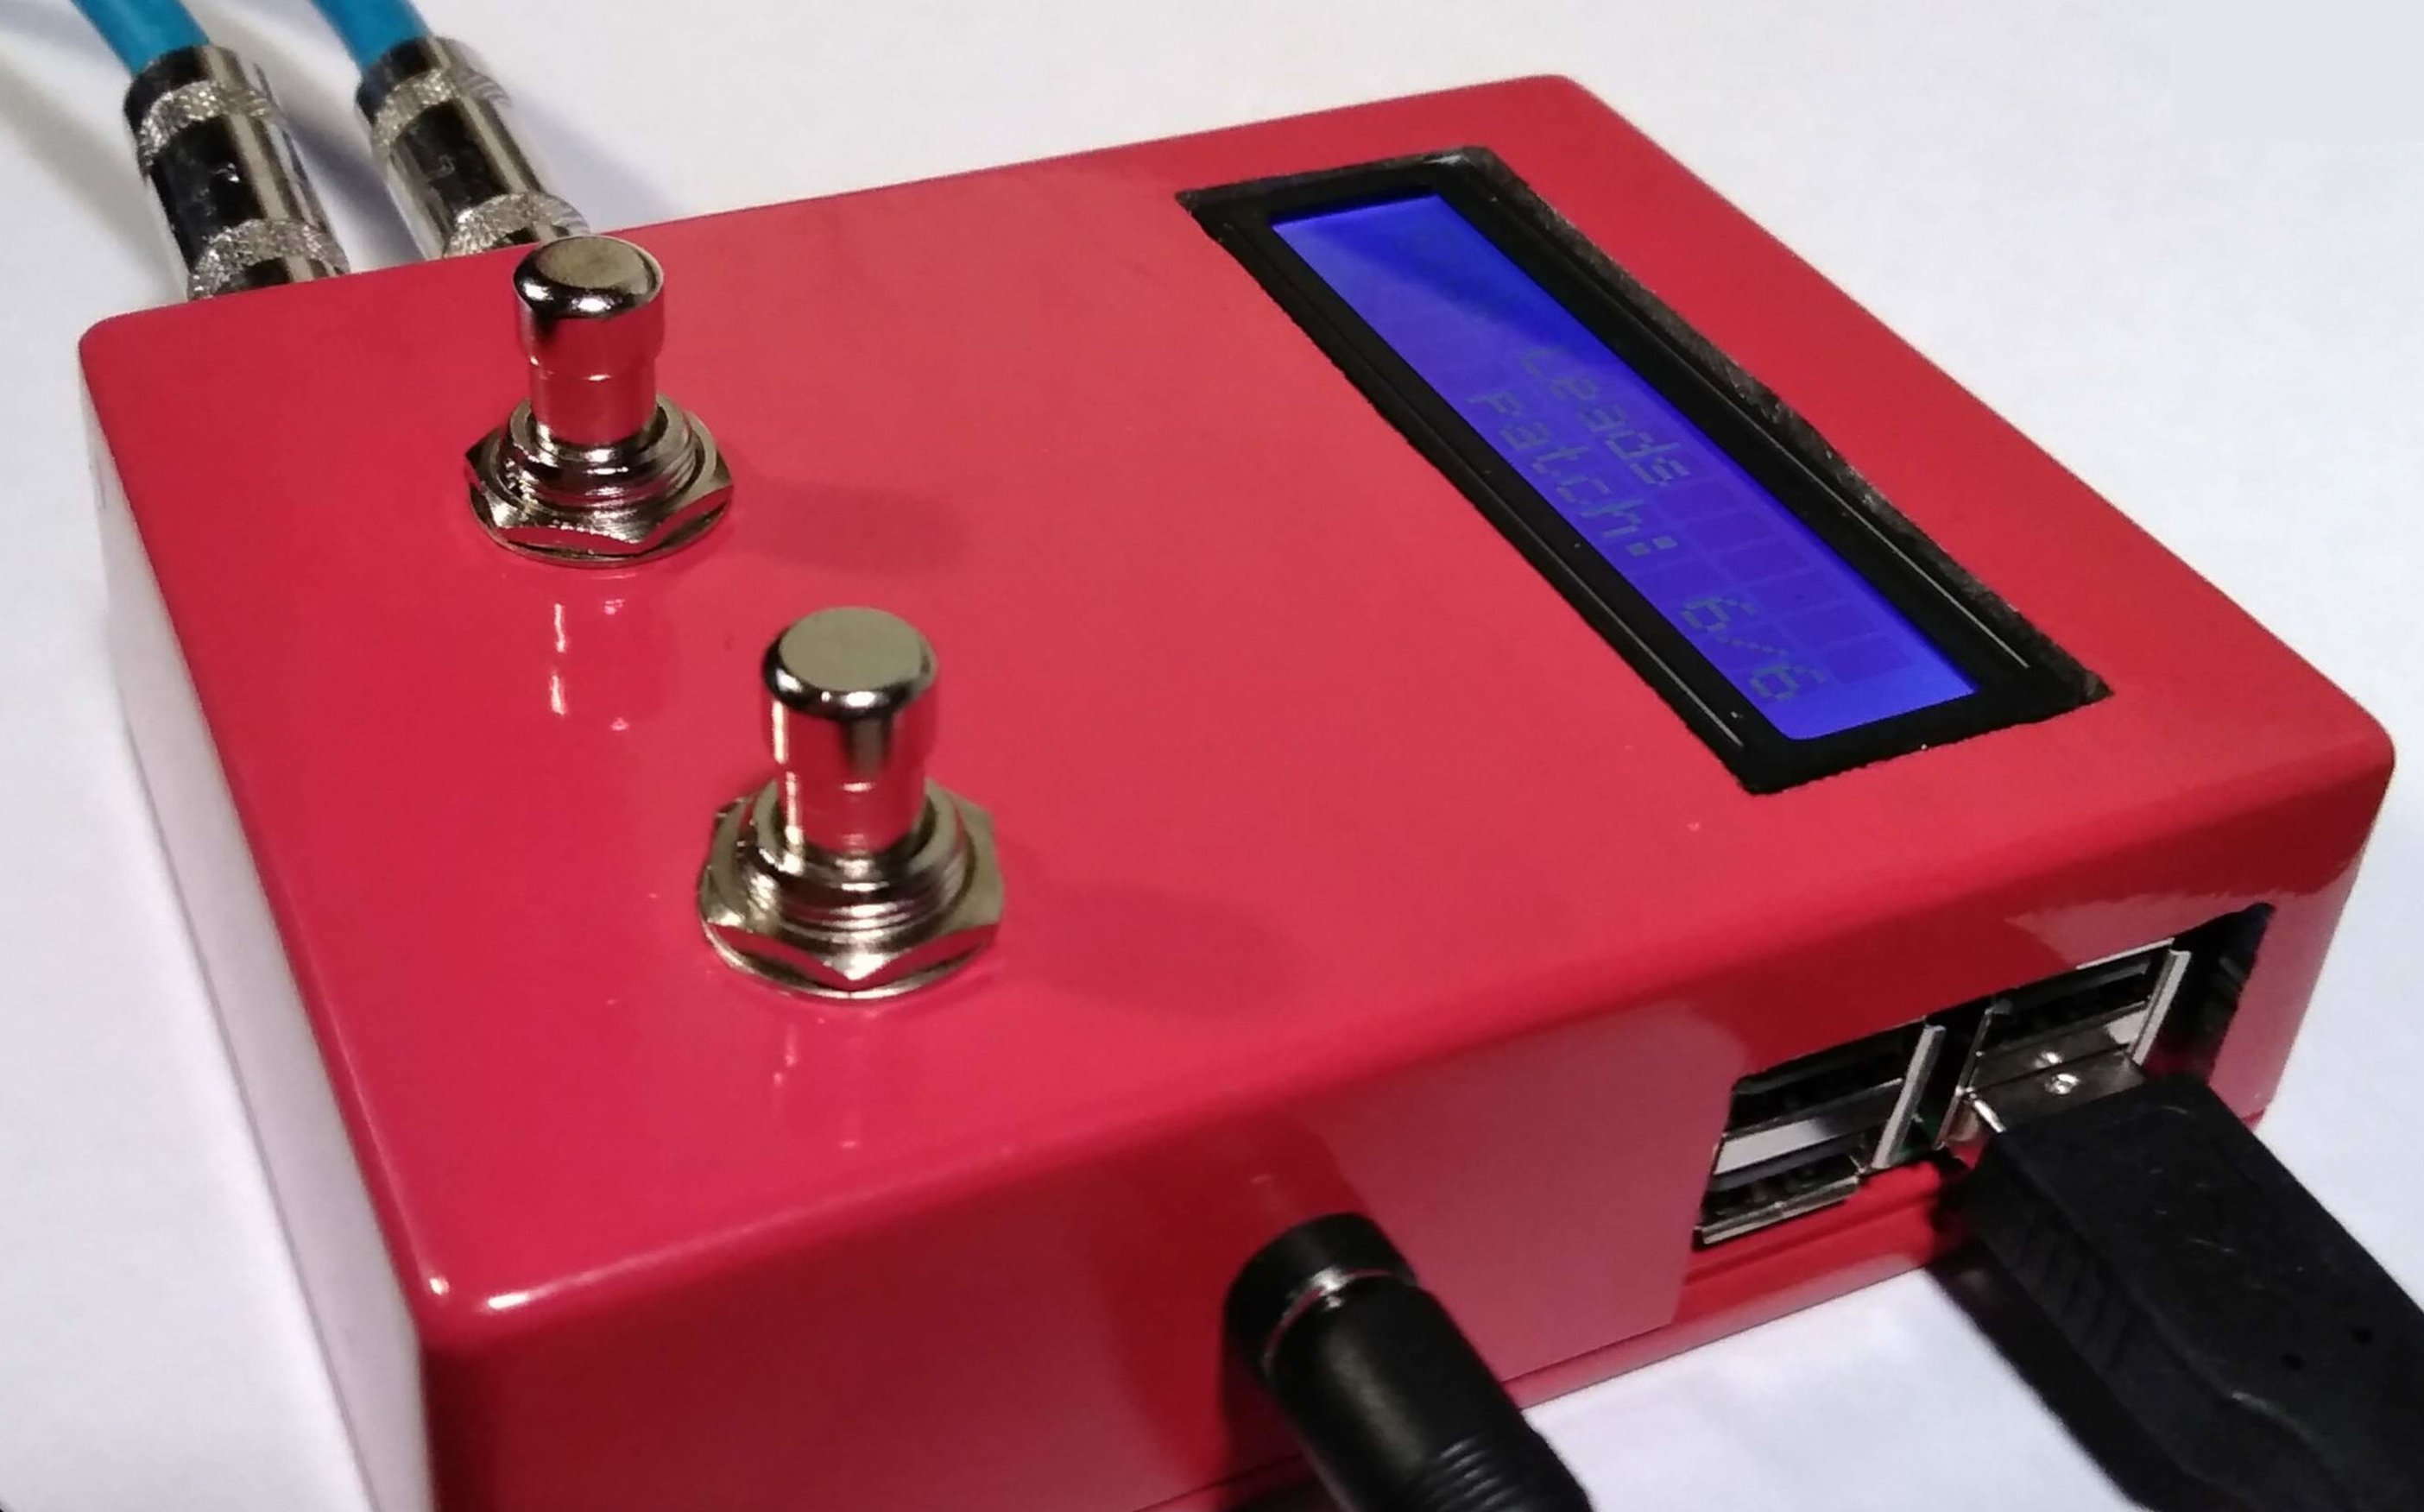
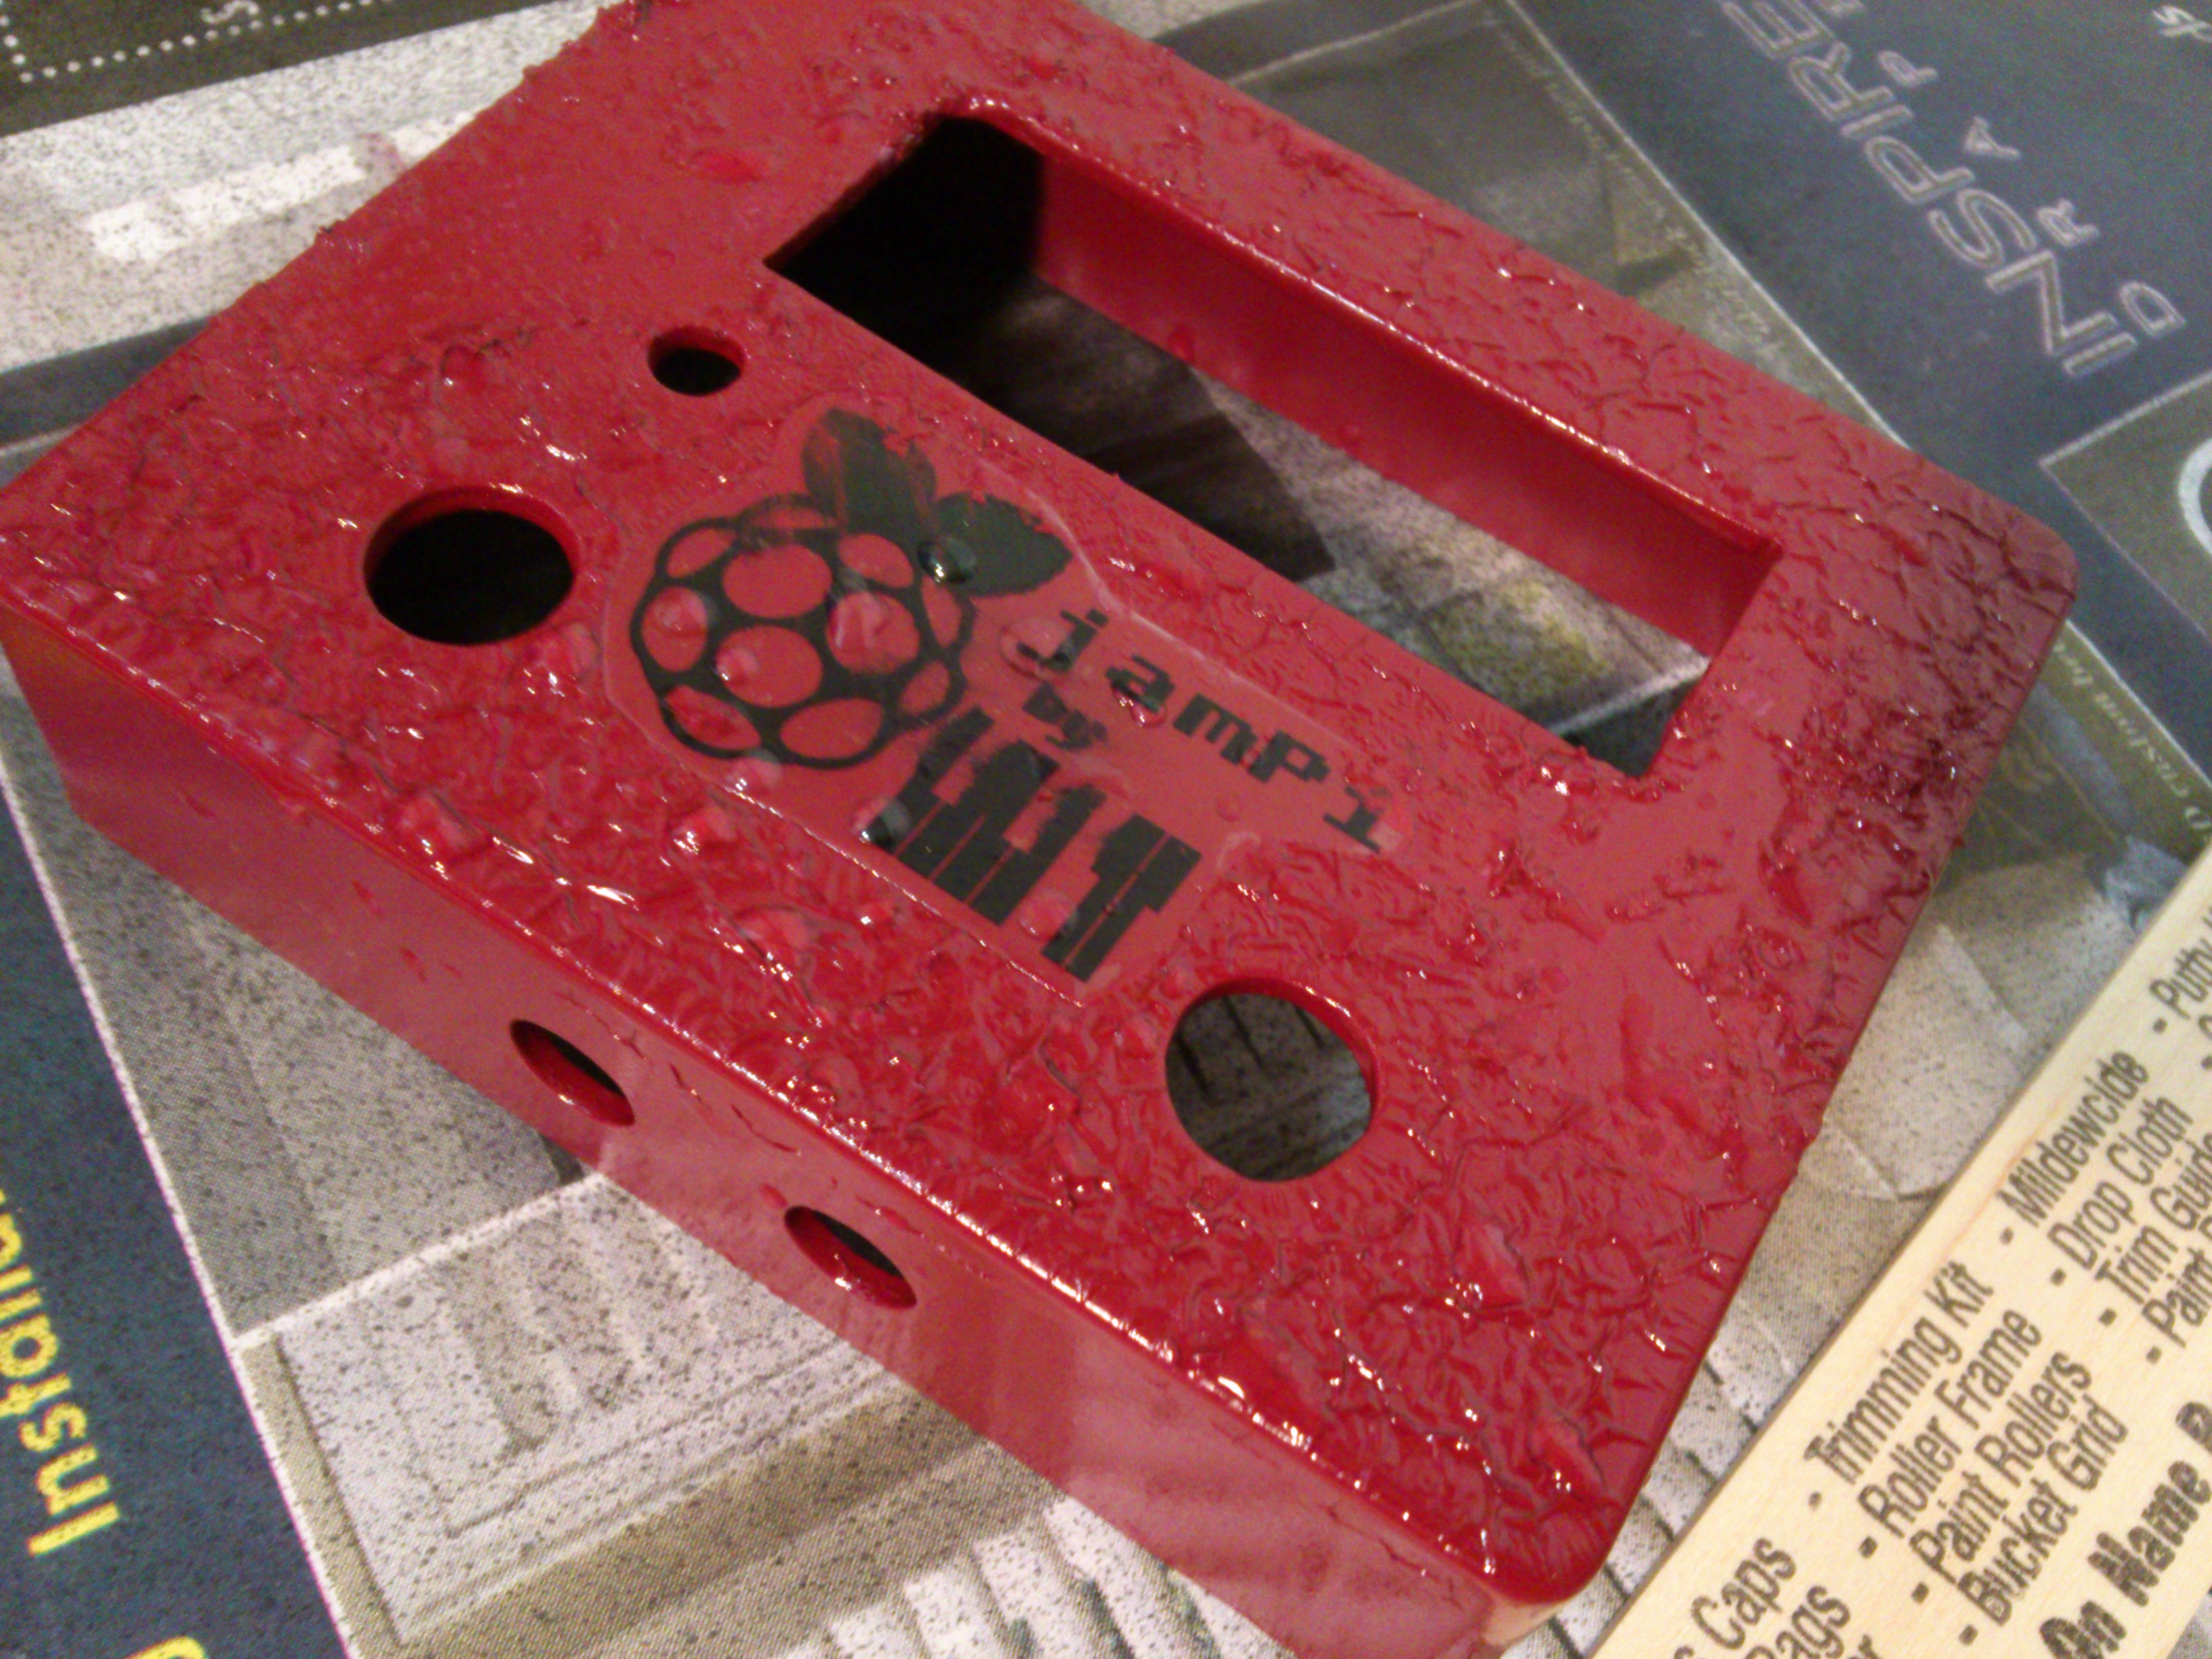
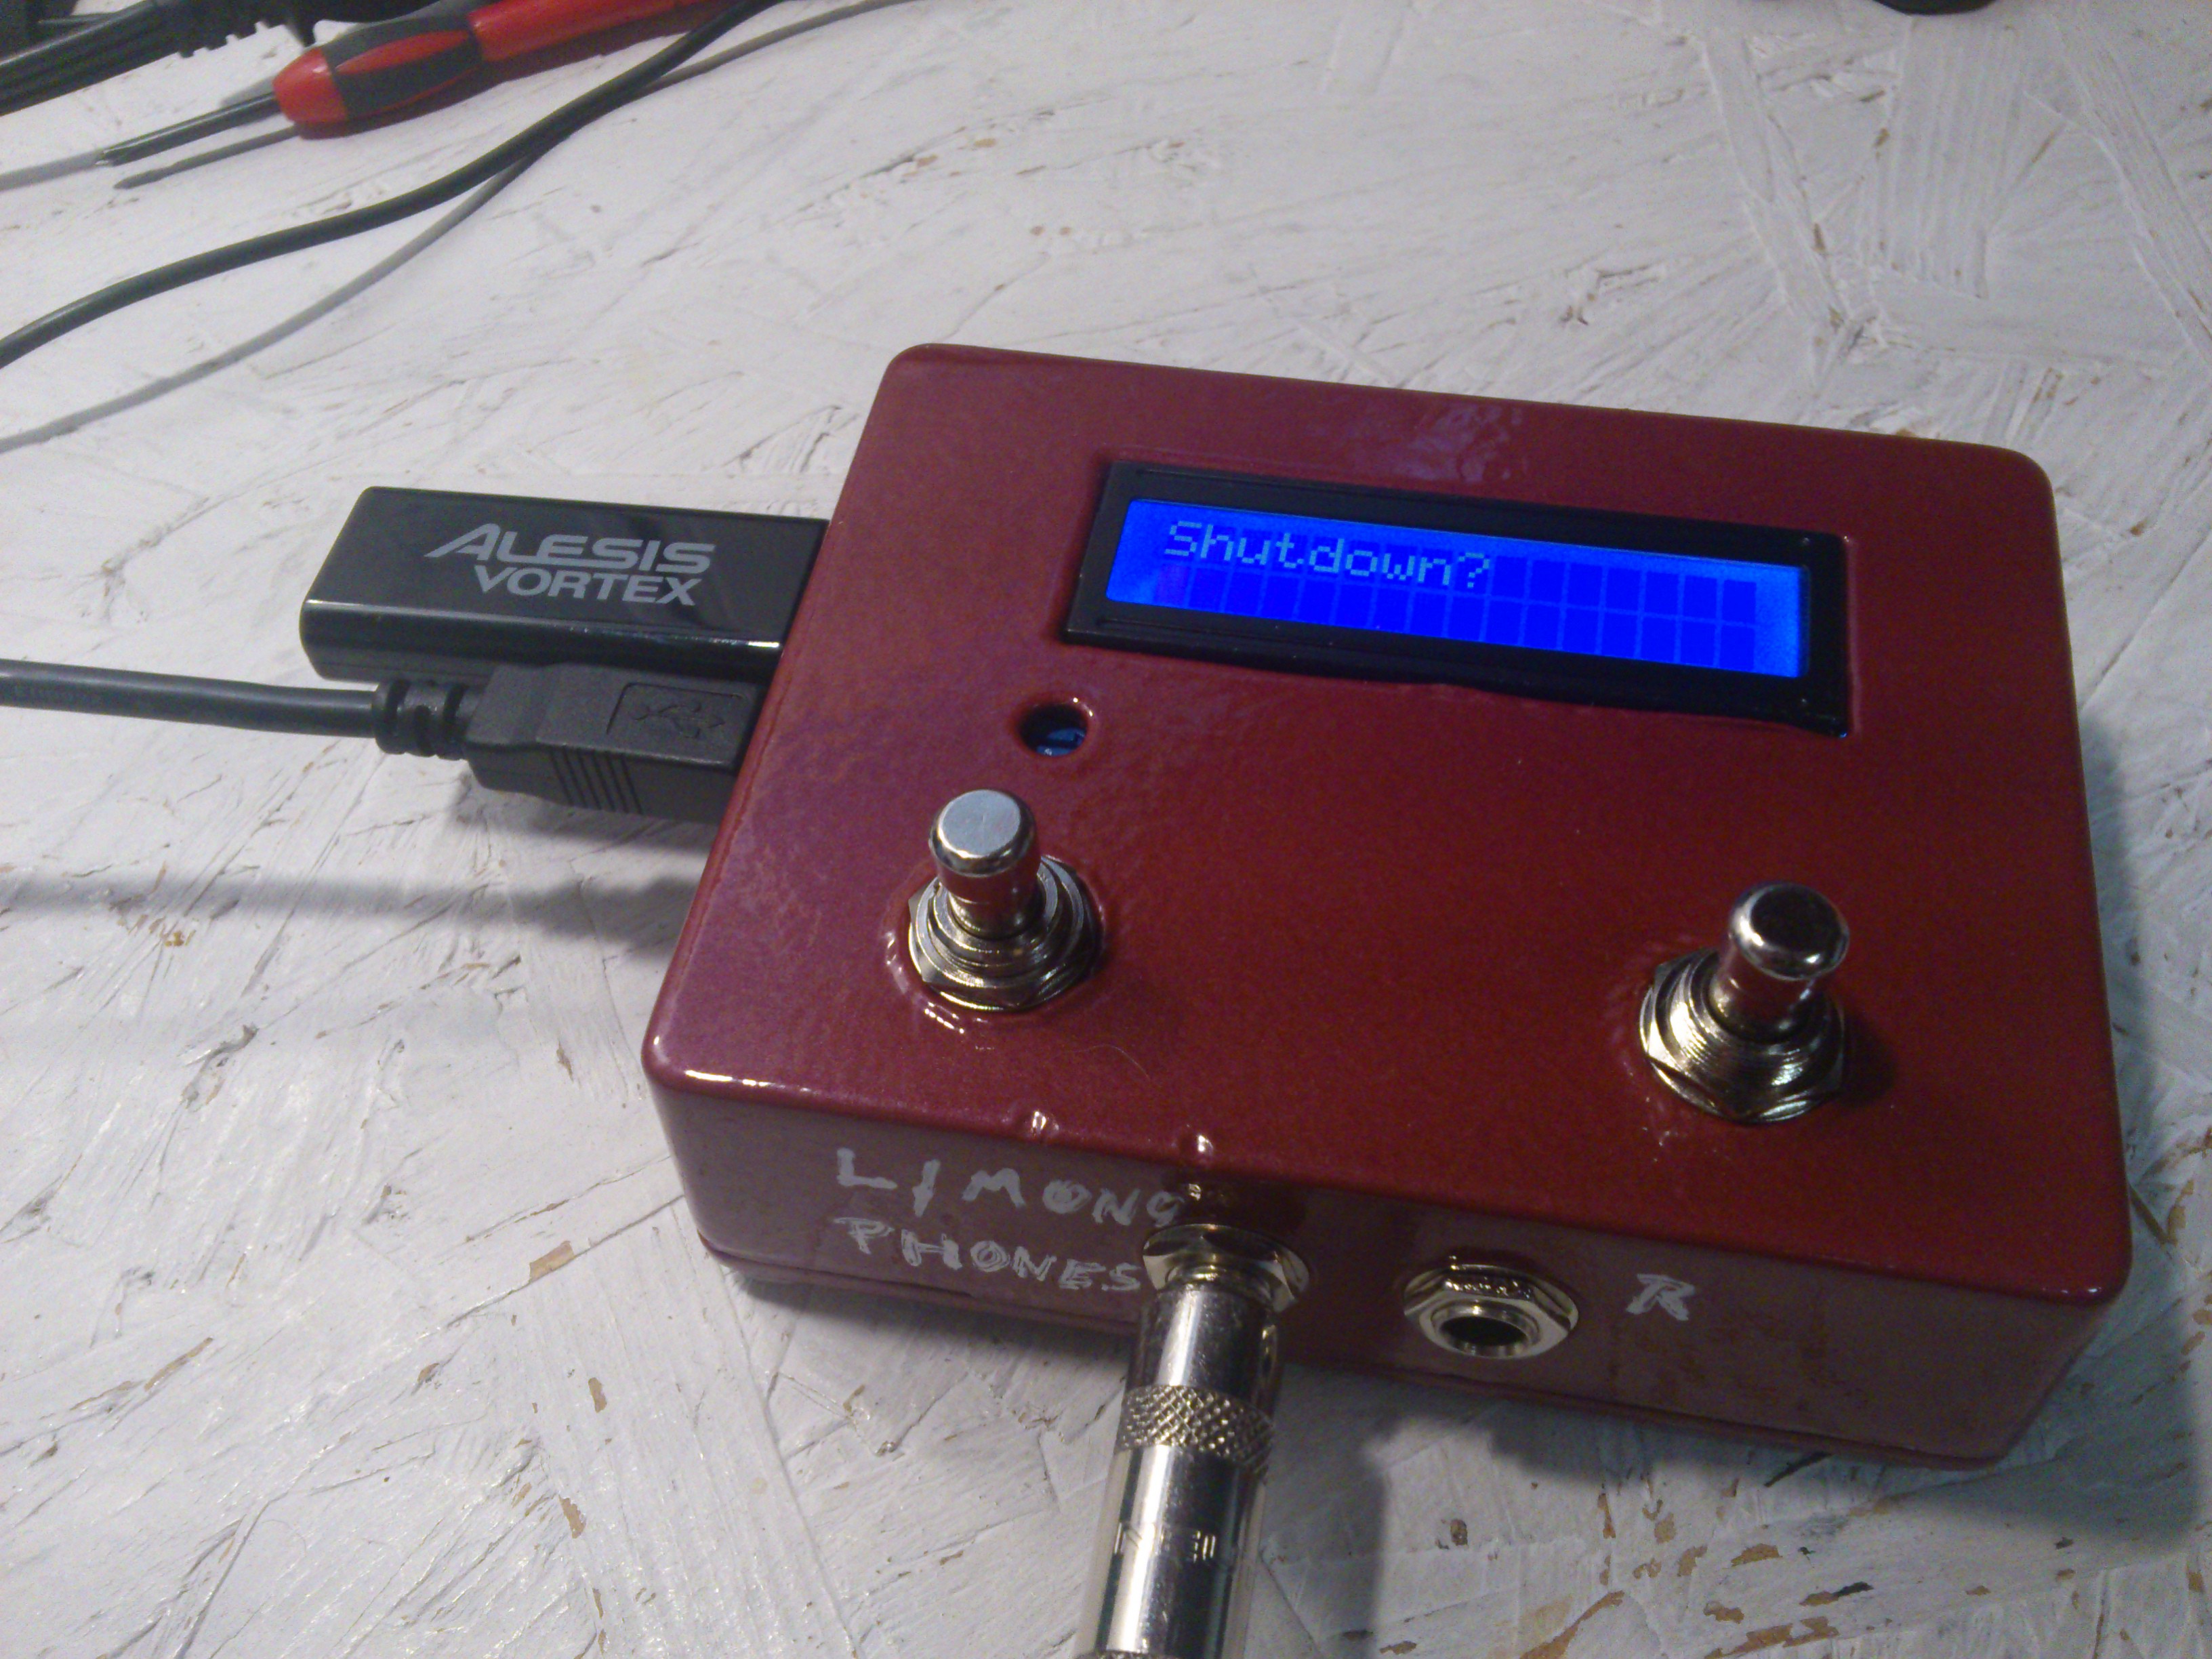
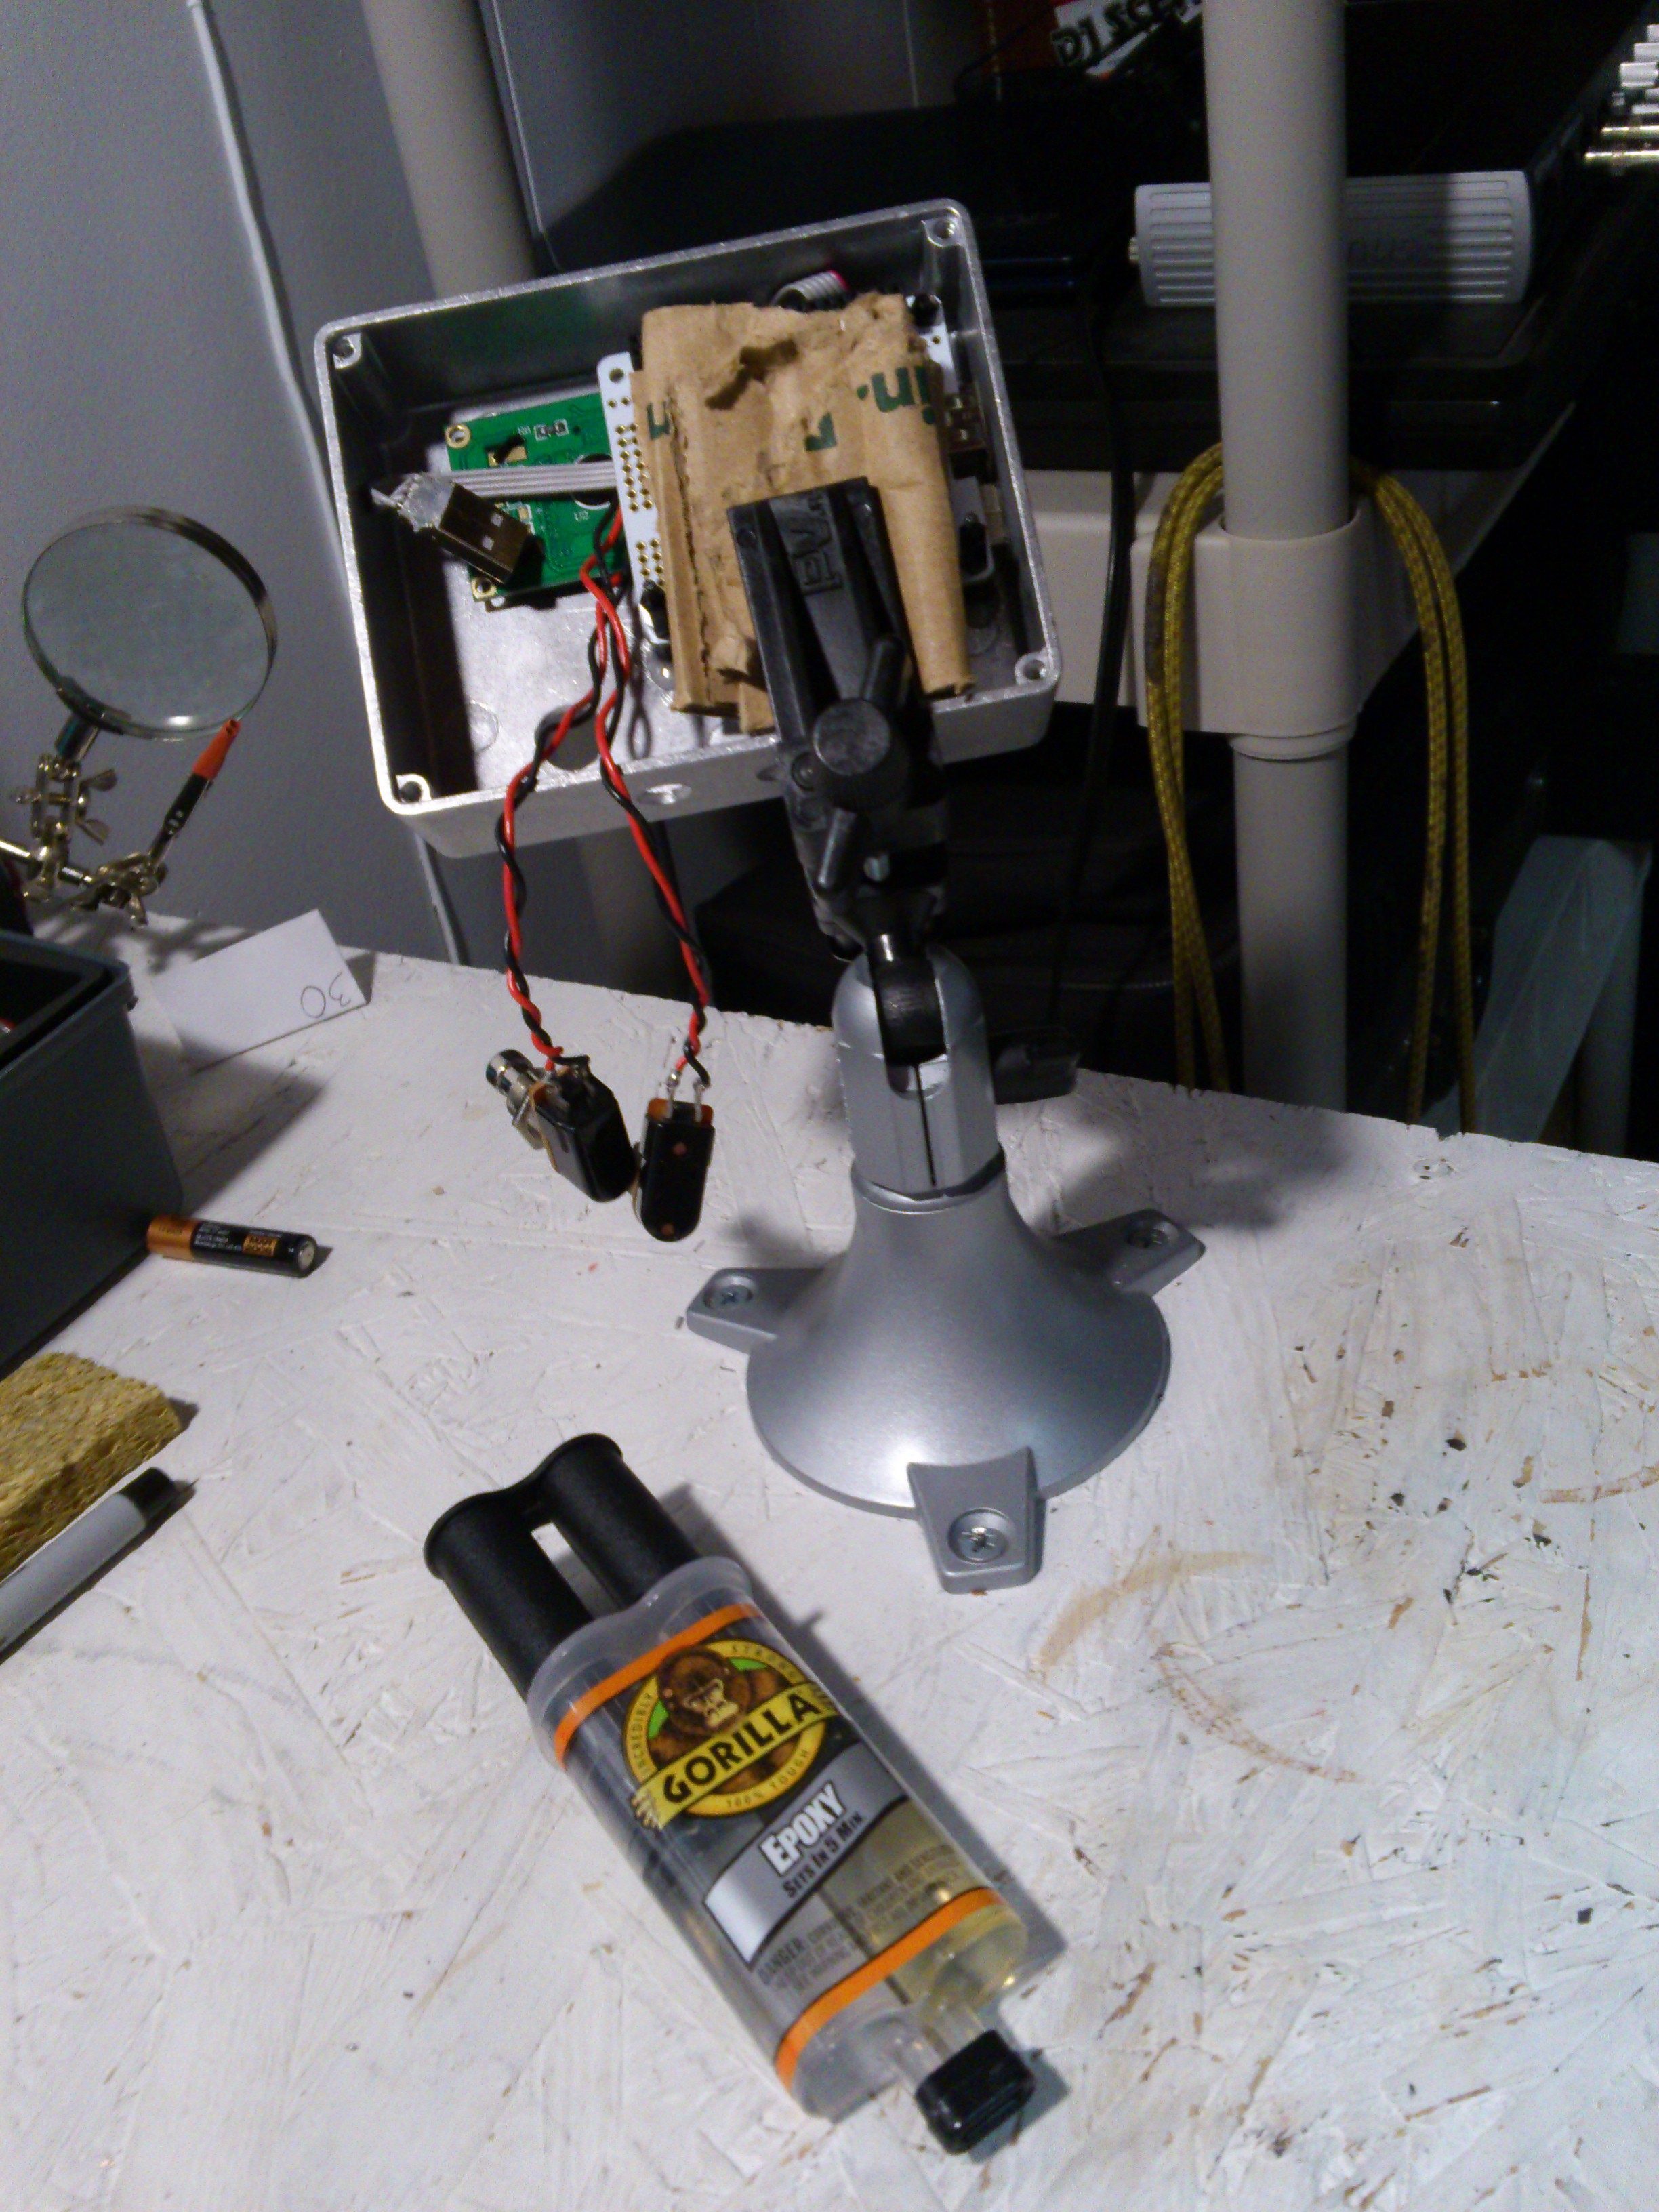
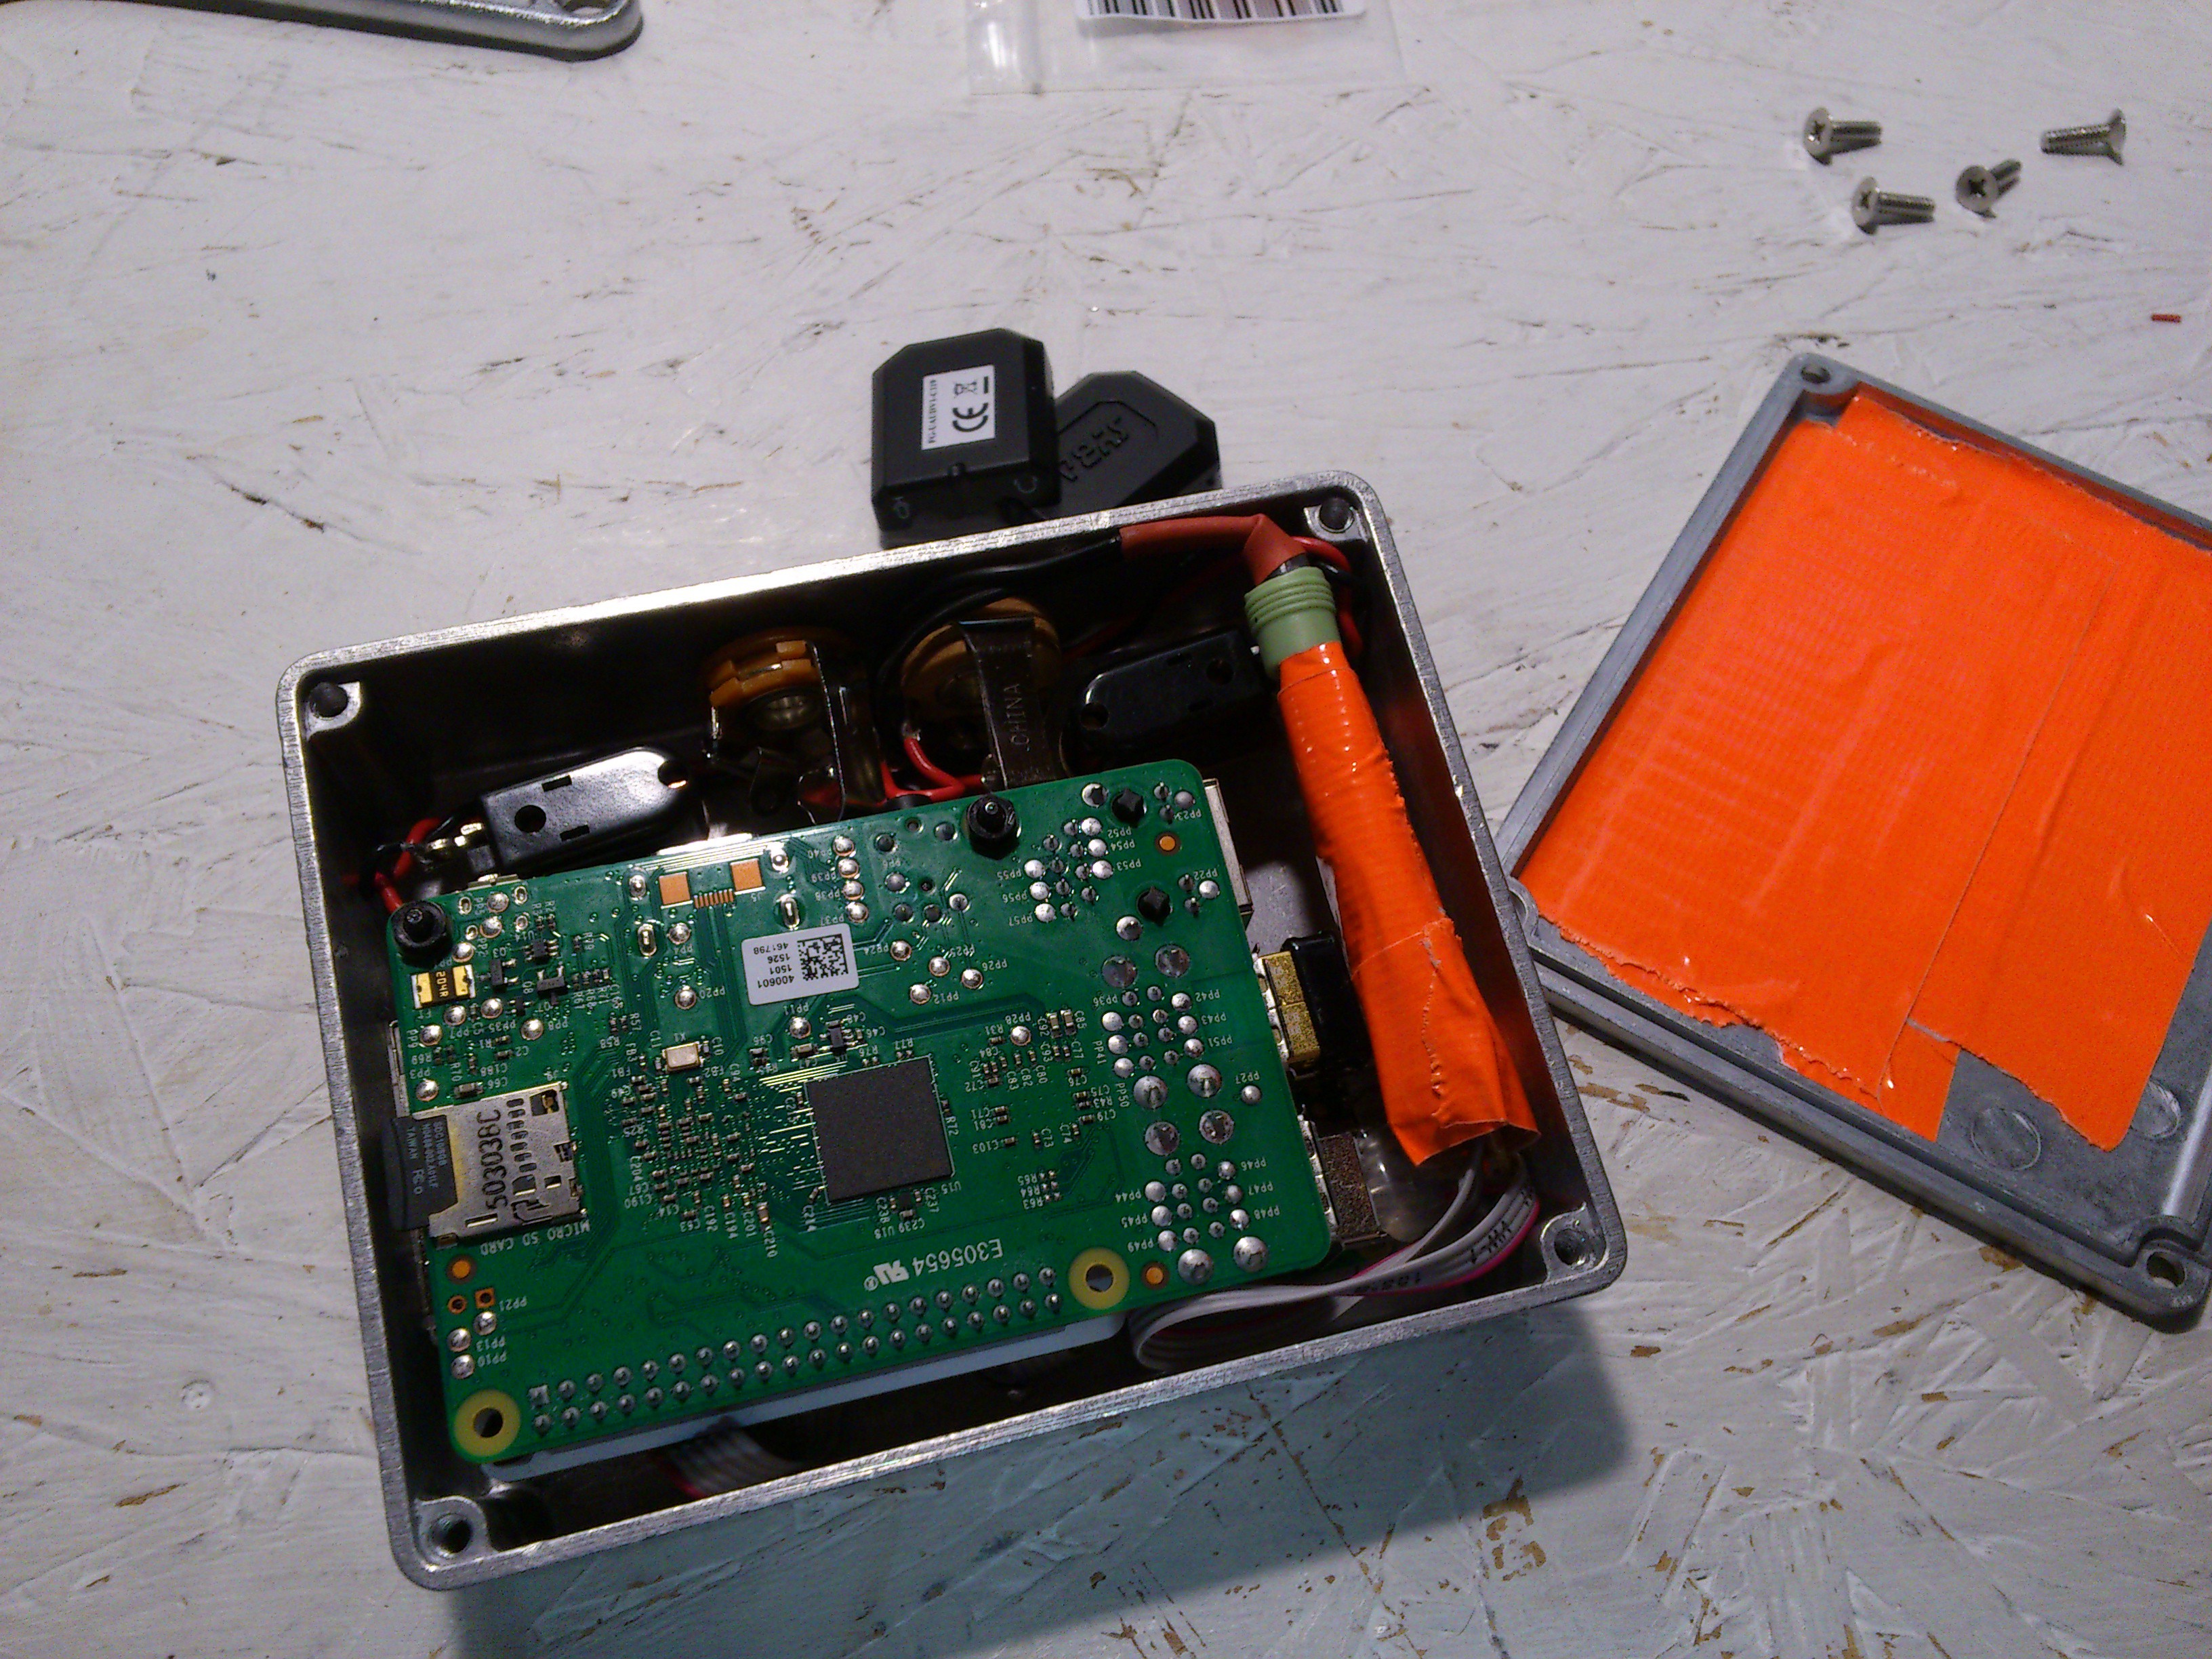
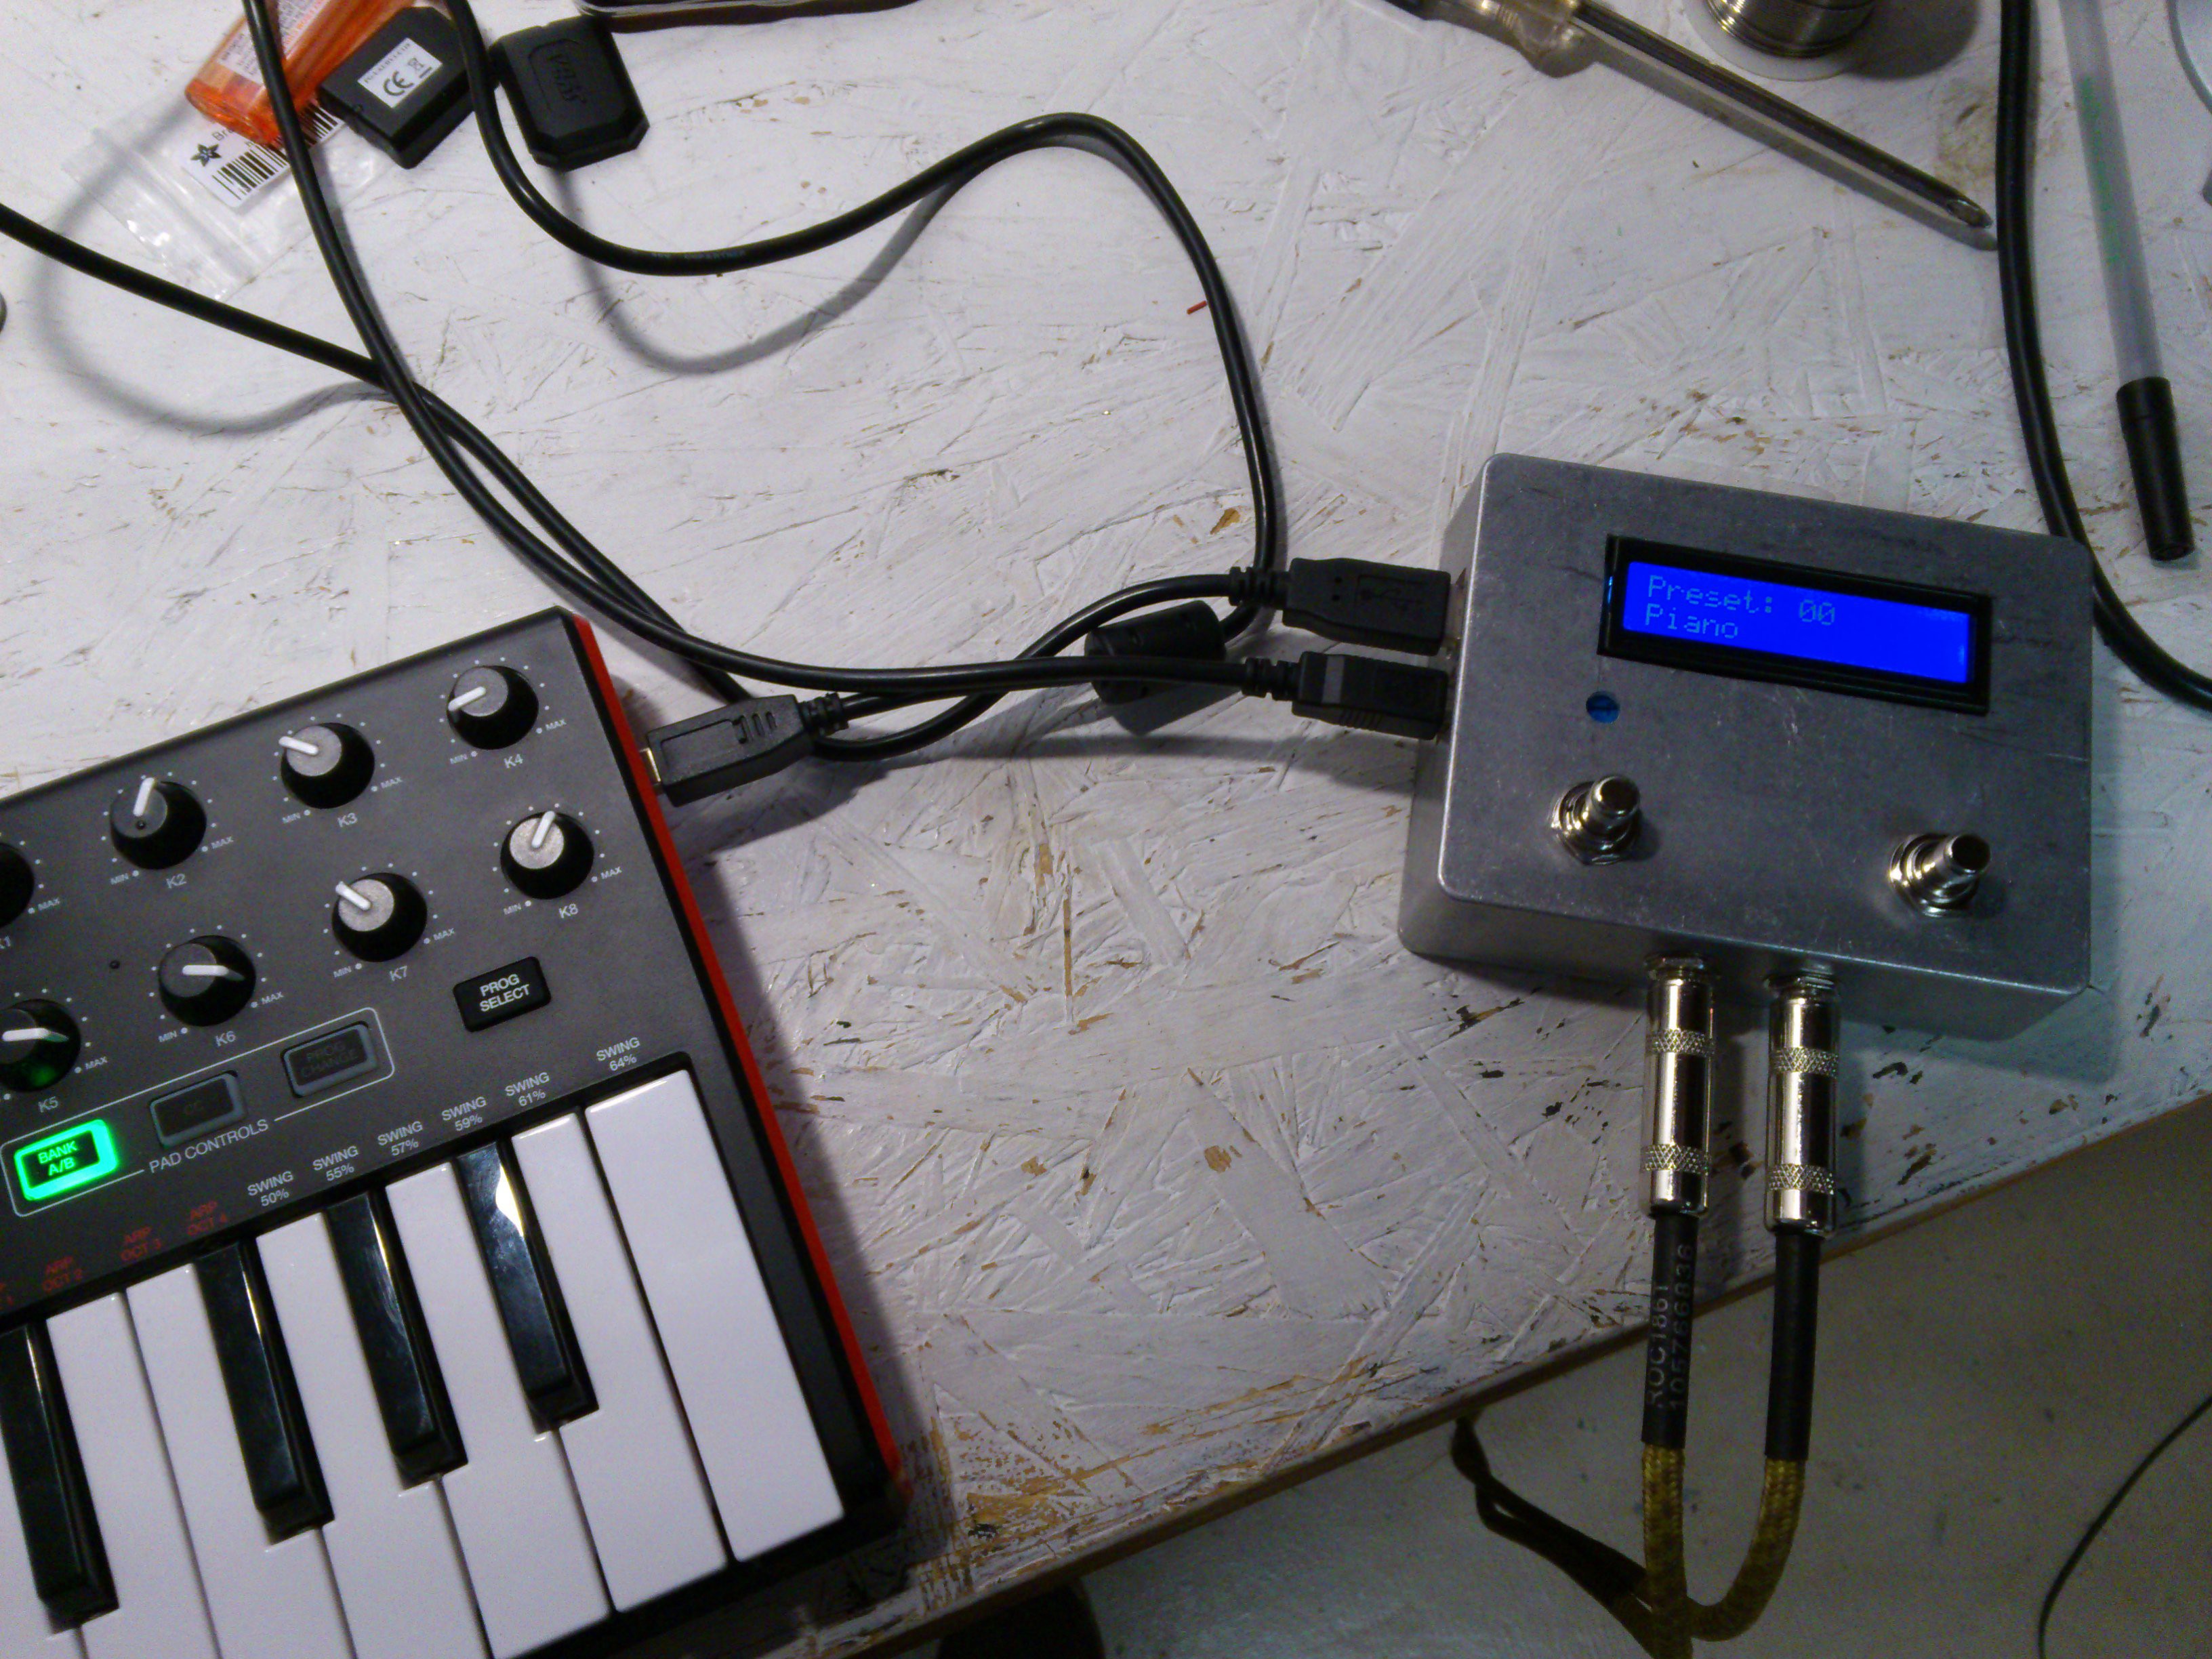
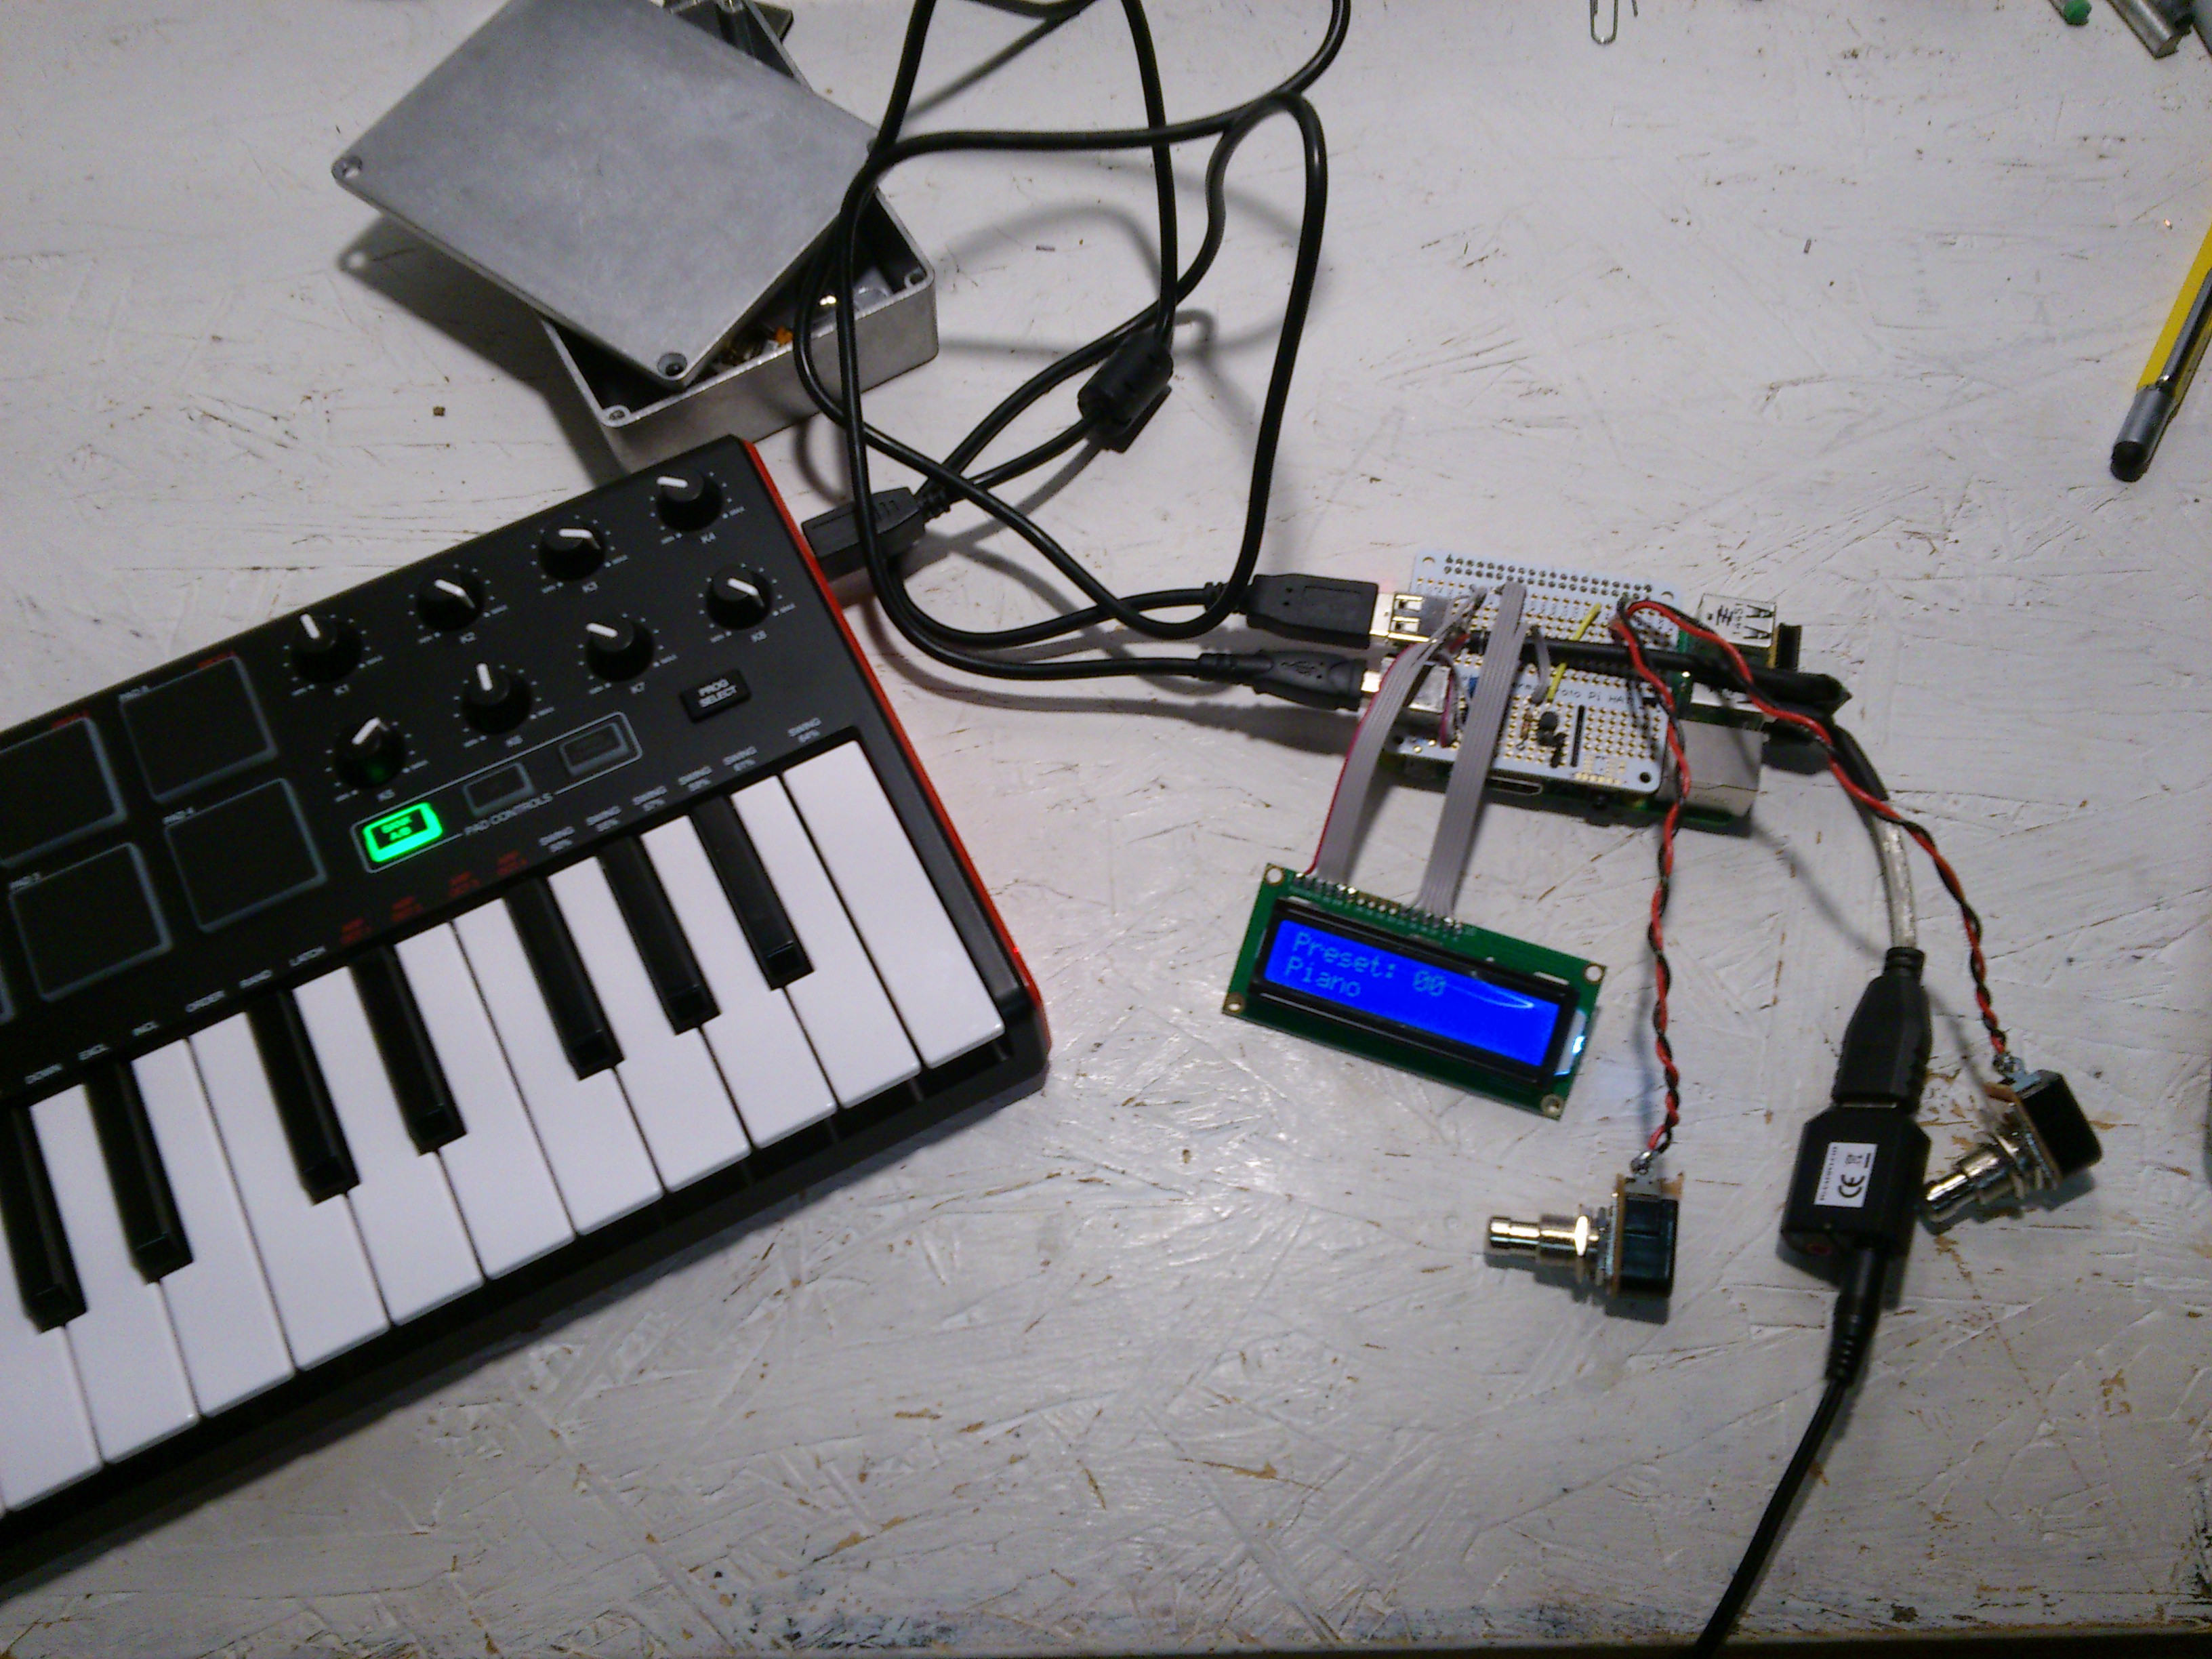
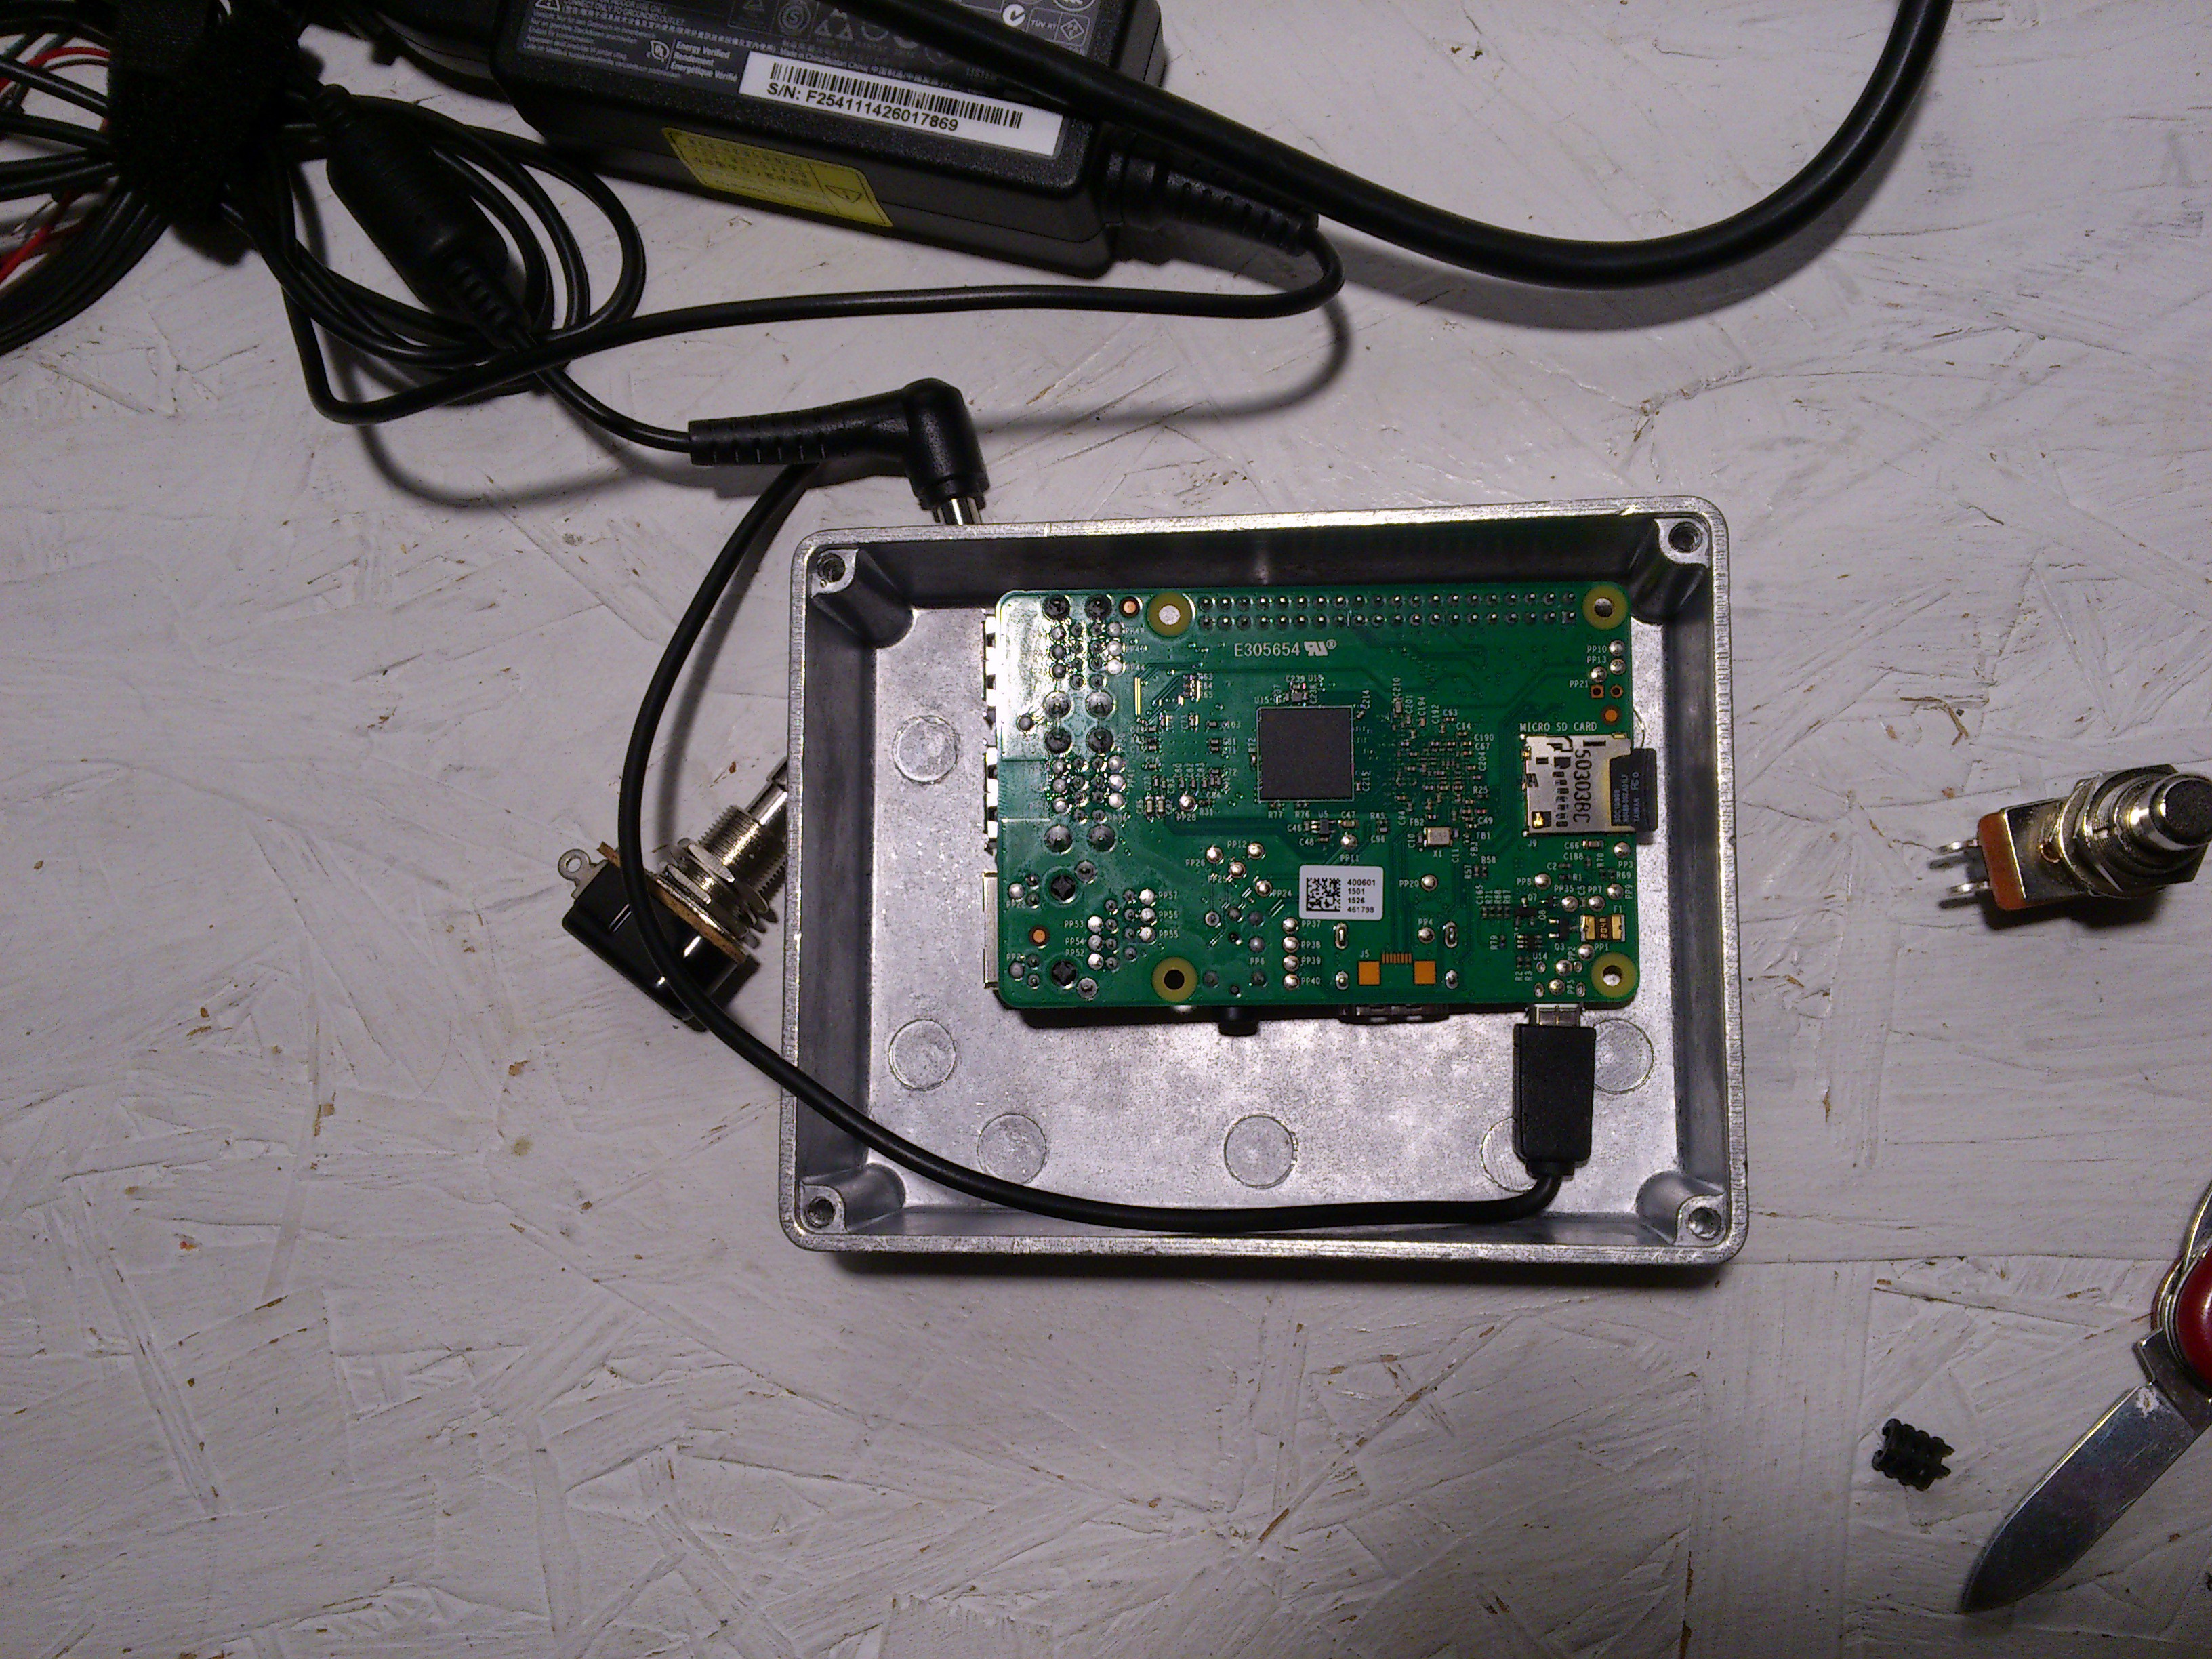
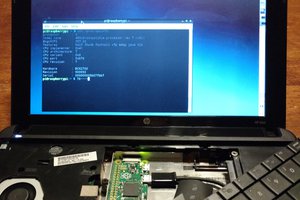
As a keyboardist, I wanted to be able to use software instruments without having to manage a laptop/tablet, audio interface, etc. Basically, I needed a compact, simple sound module that I could customize and use with my favorite MIDI controller - specifically an Alesis Vortex keytar. The Raspberry Pi 3B+ was easily the winning choice for a platform since it has the 4 USB ports, low price tag, and fits snugly in a standard Hammond 1590BB-style enclosure.
code: https://github.com/albedozero/fluidpatcher/
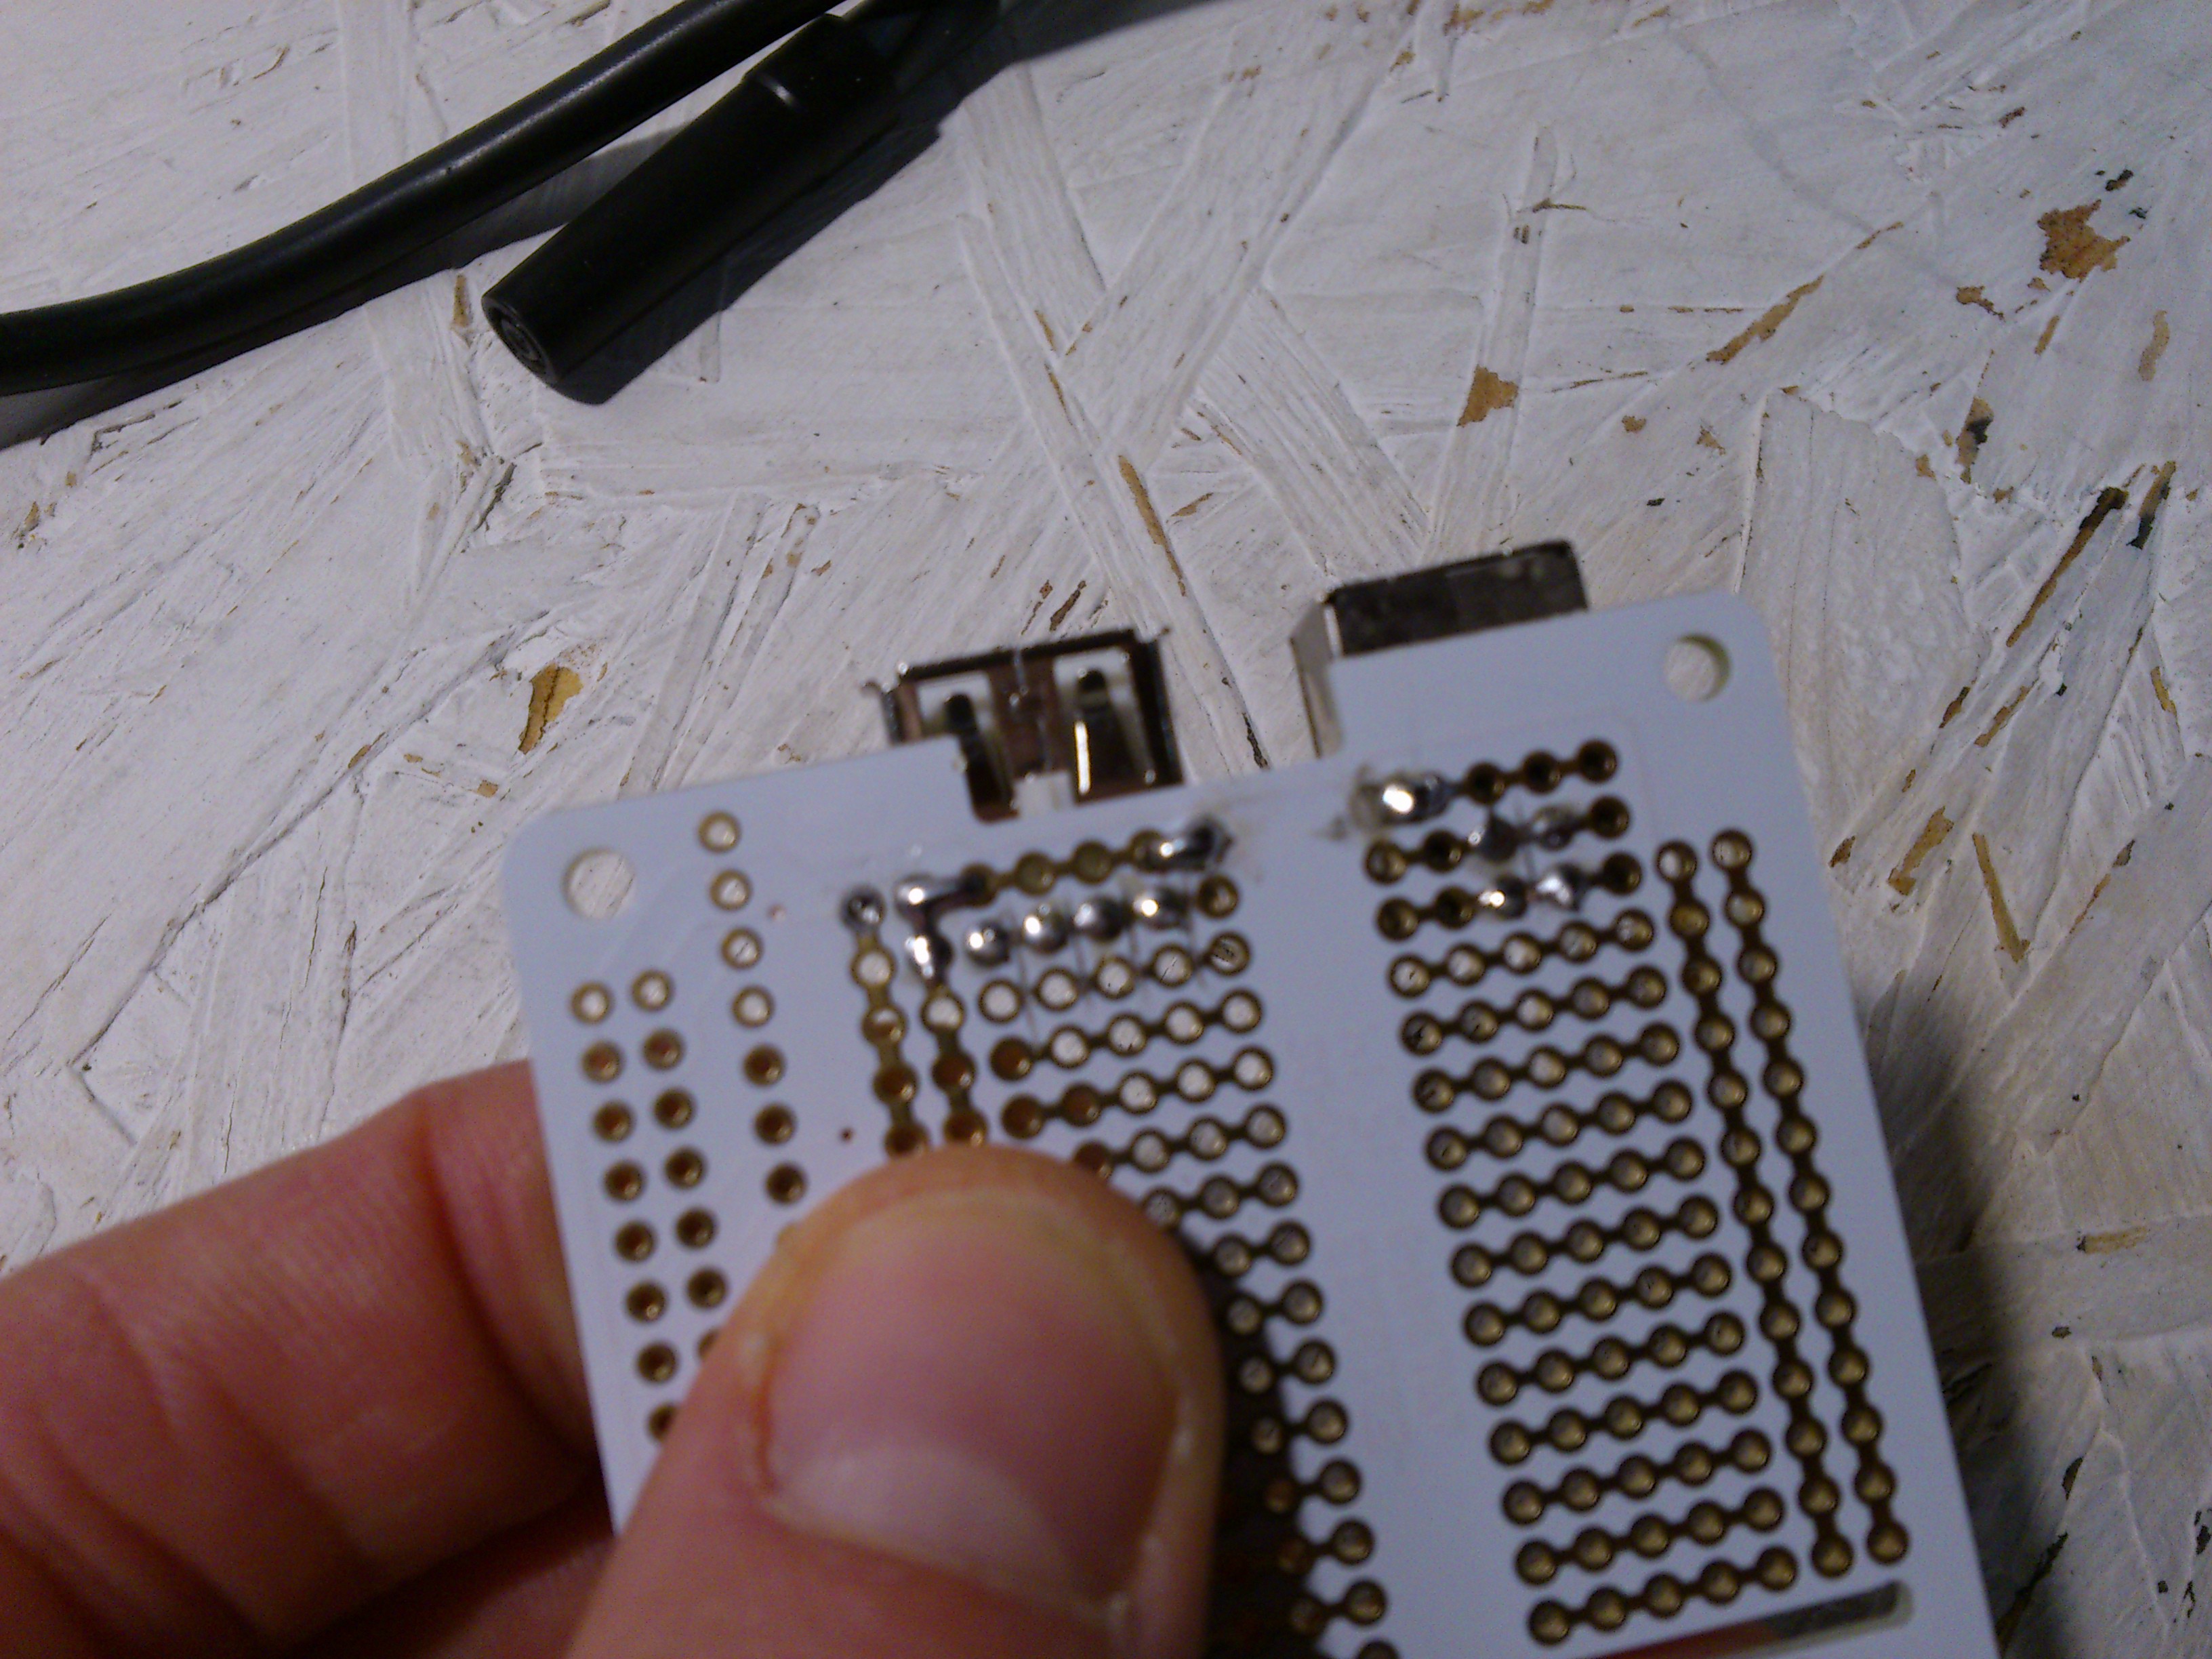
PCB design files: https://github.com/GeekFunkLabs/squishbox/tree/main/schematics
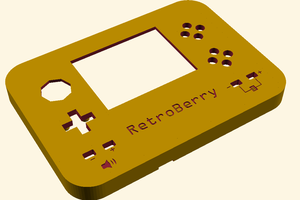
3D printed case: https://www.thingiverse.com/thing:6188155
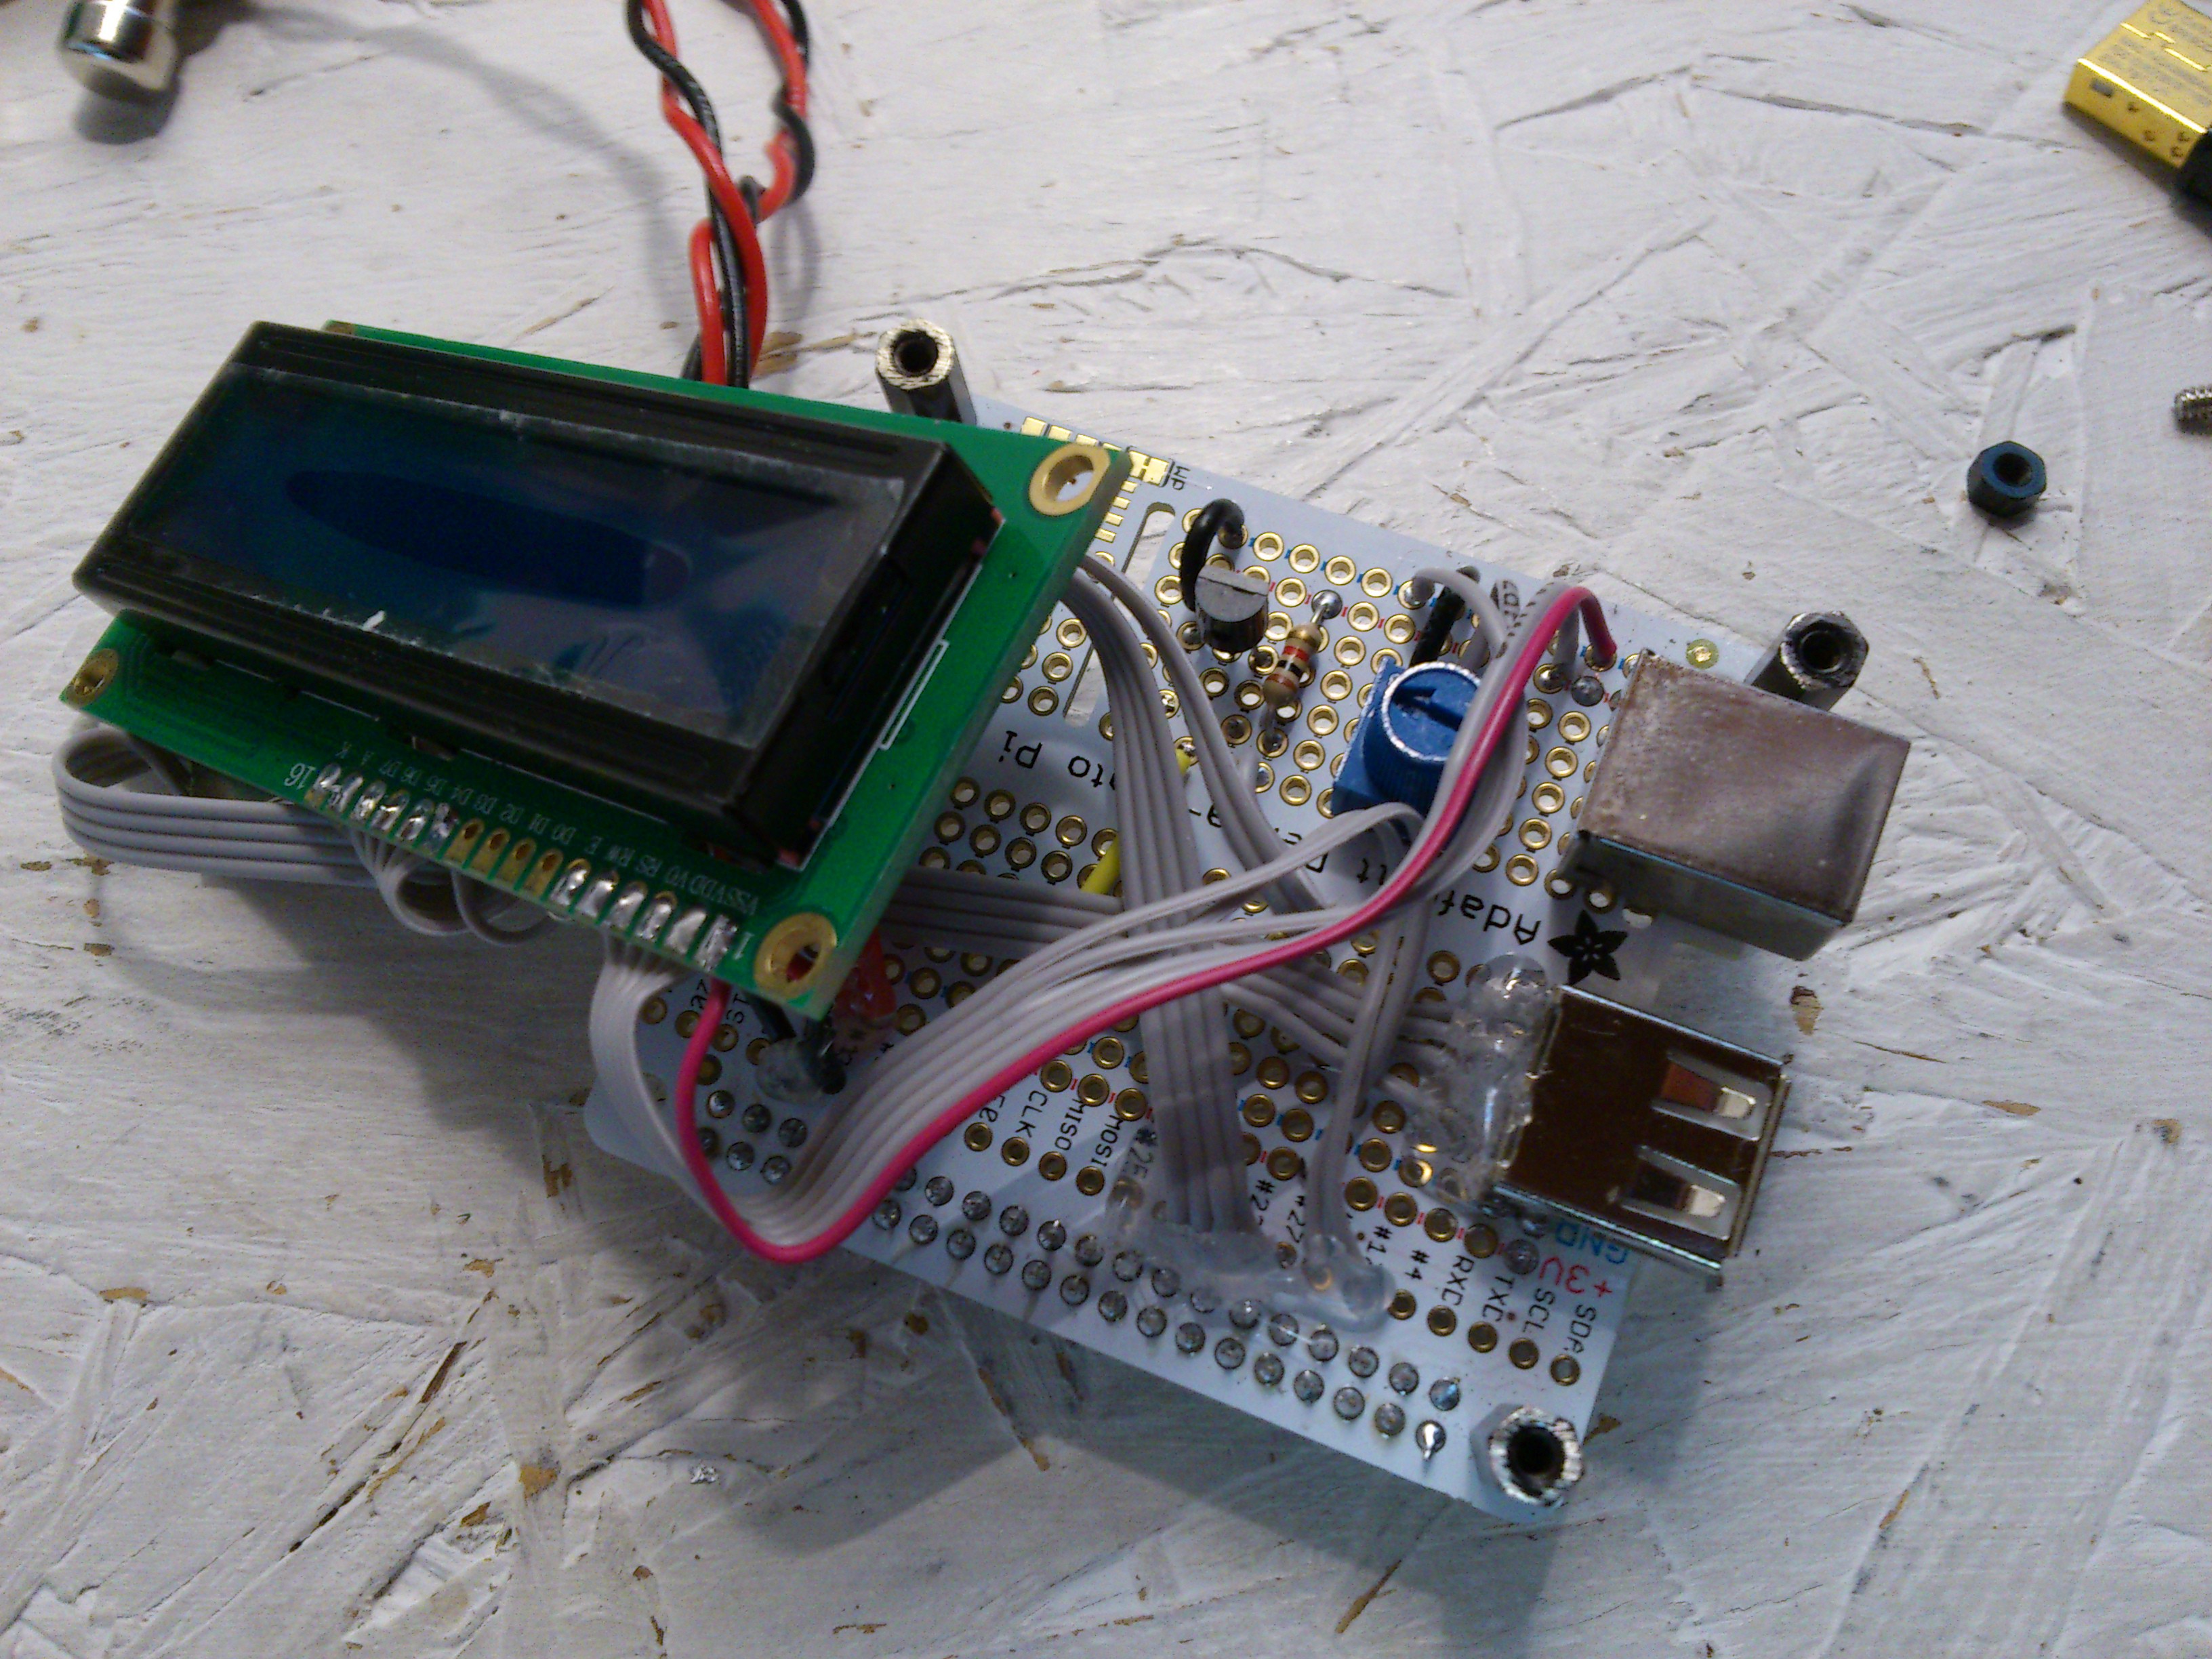
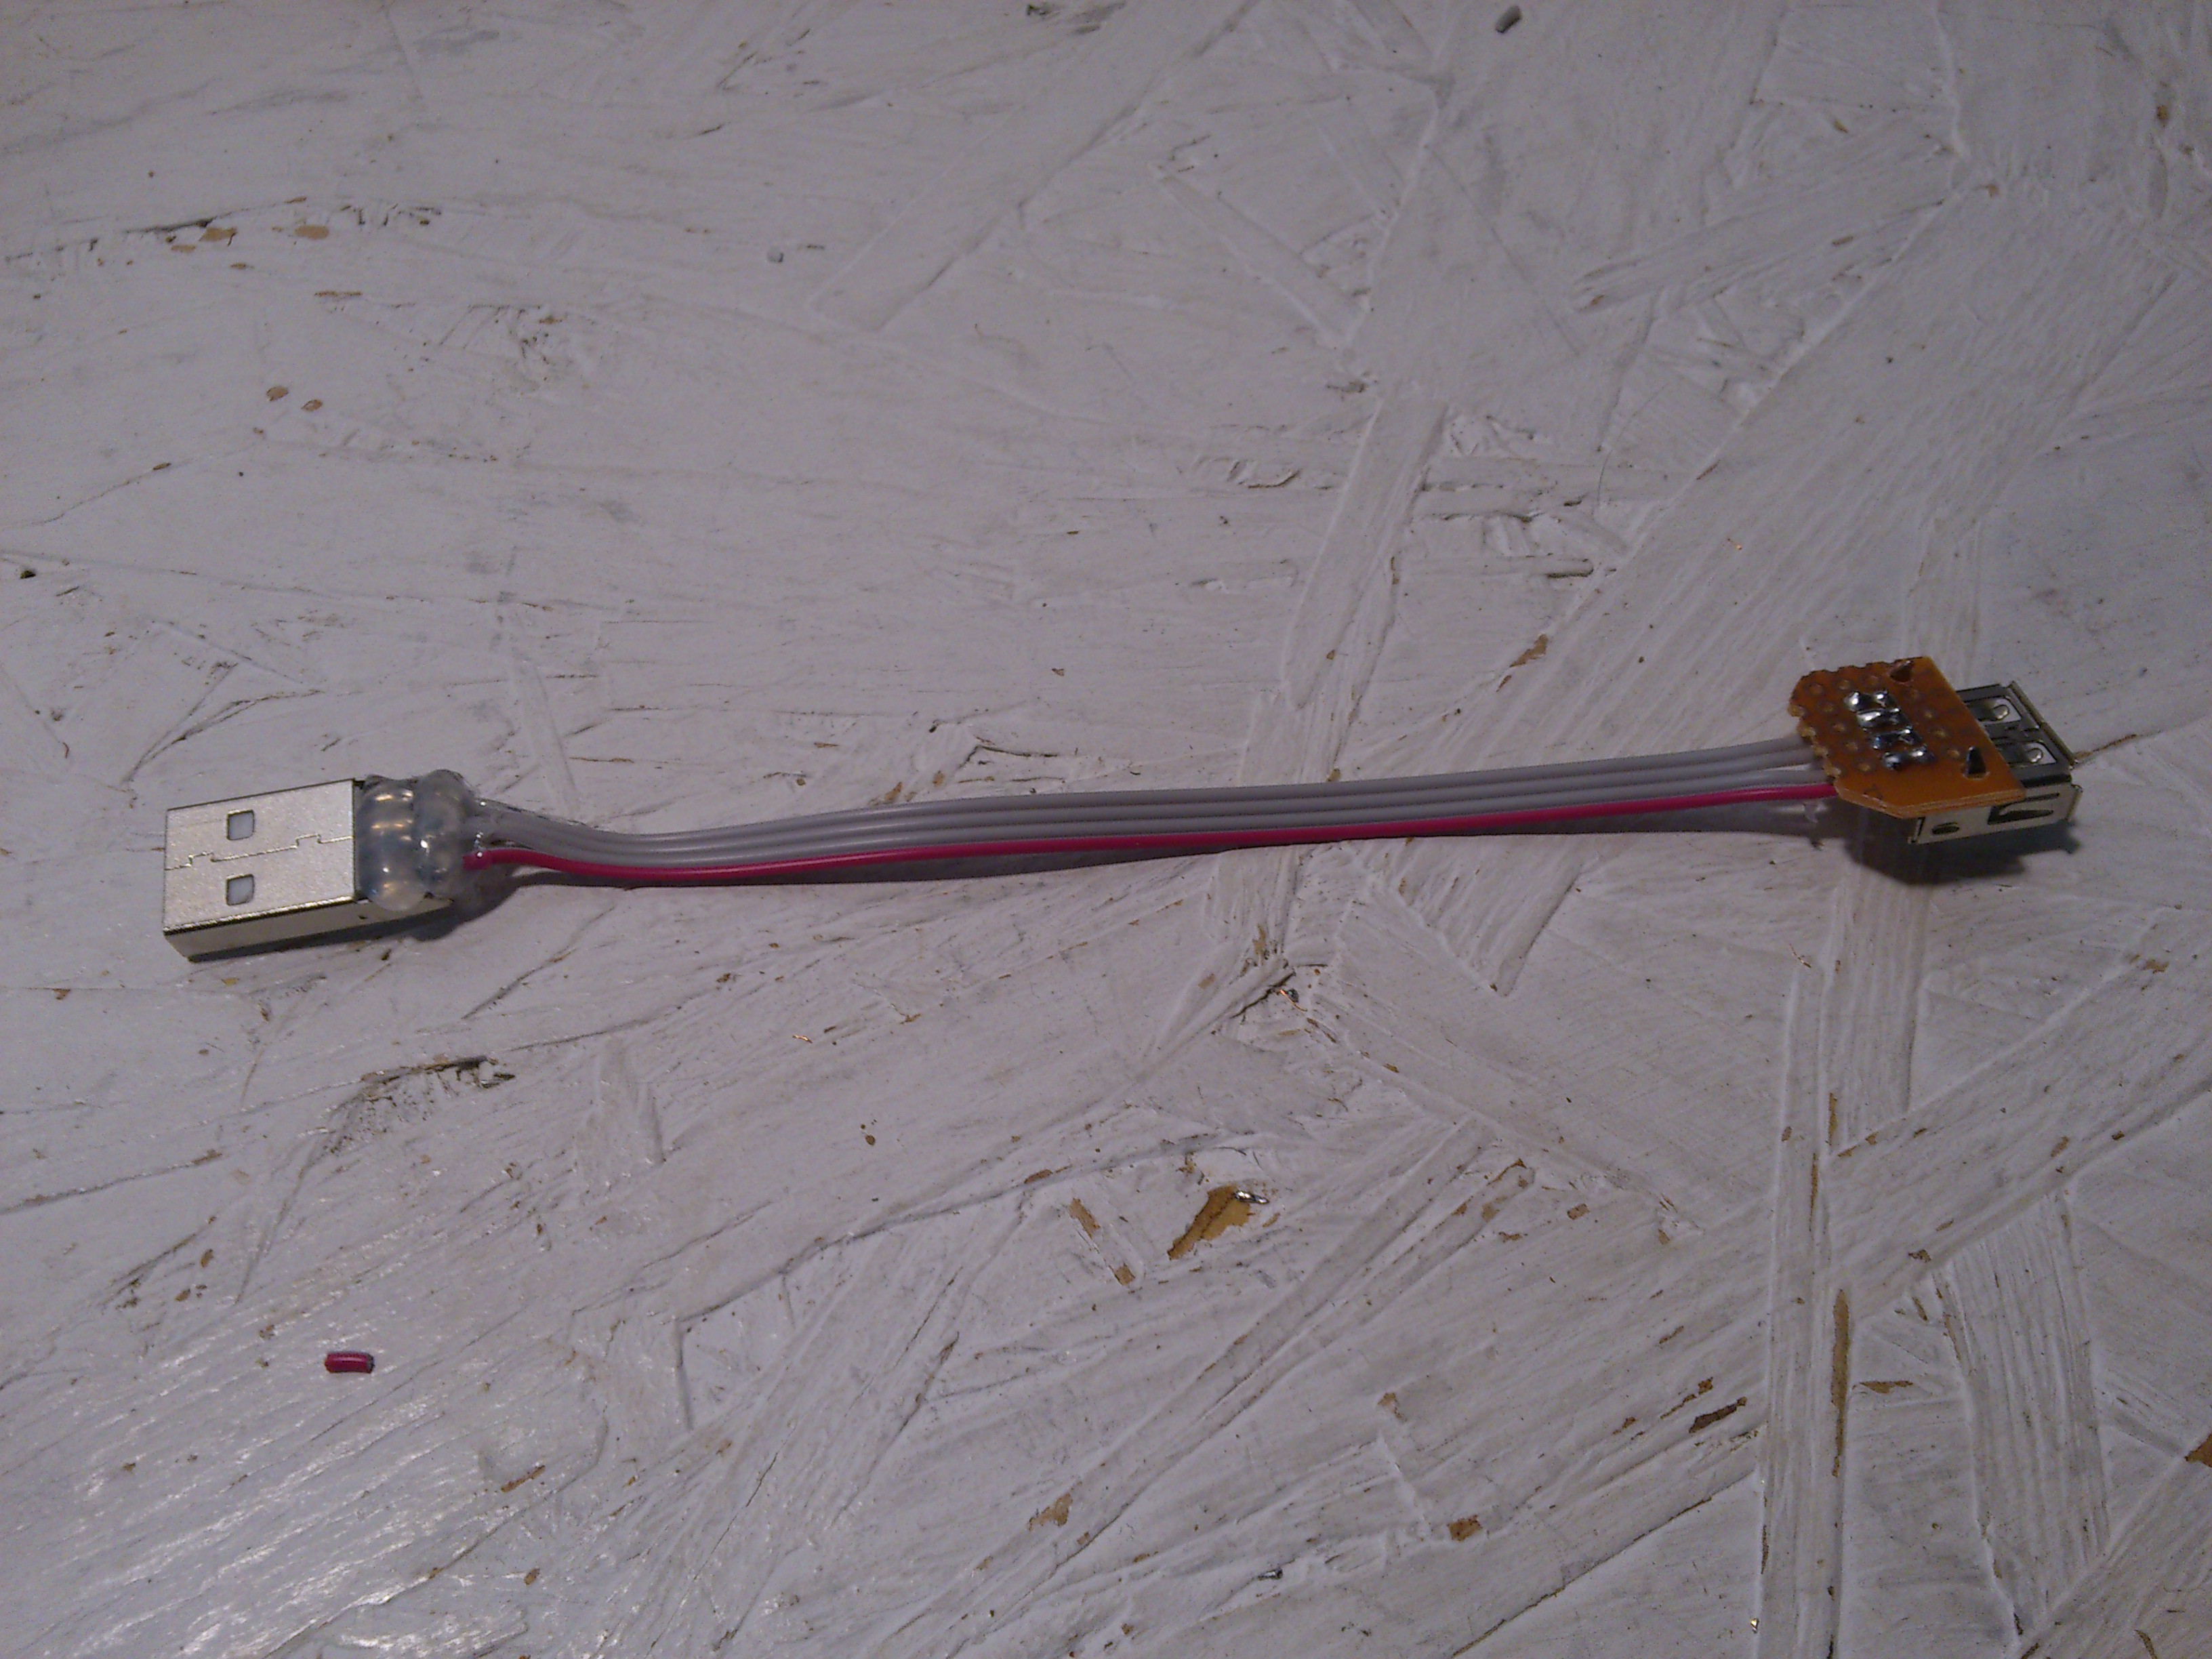
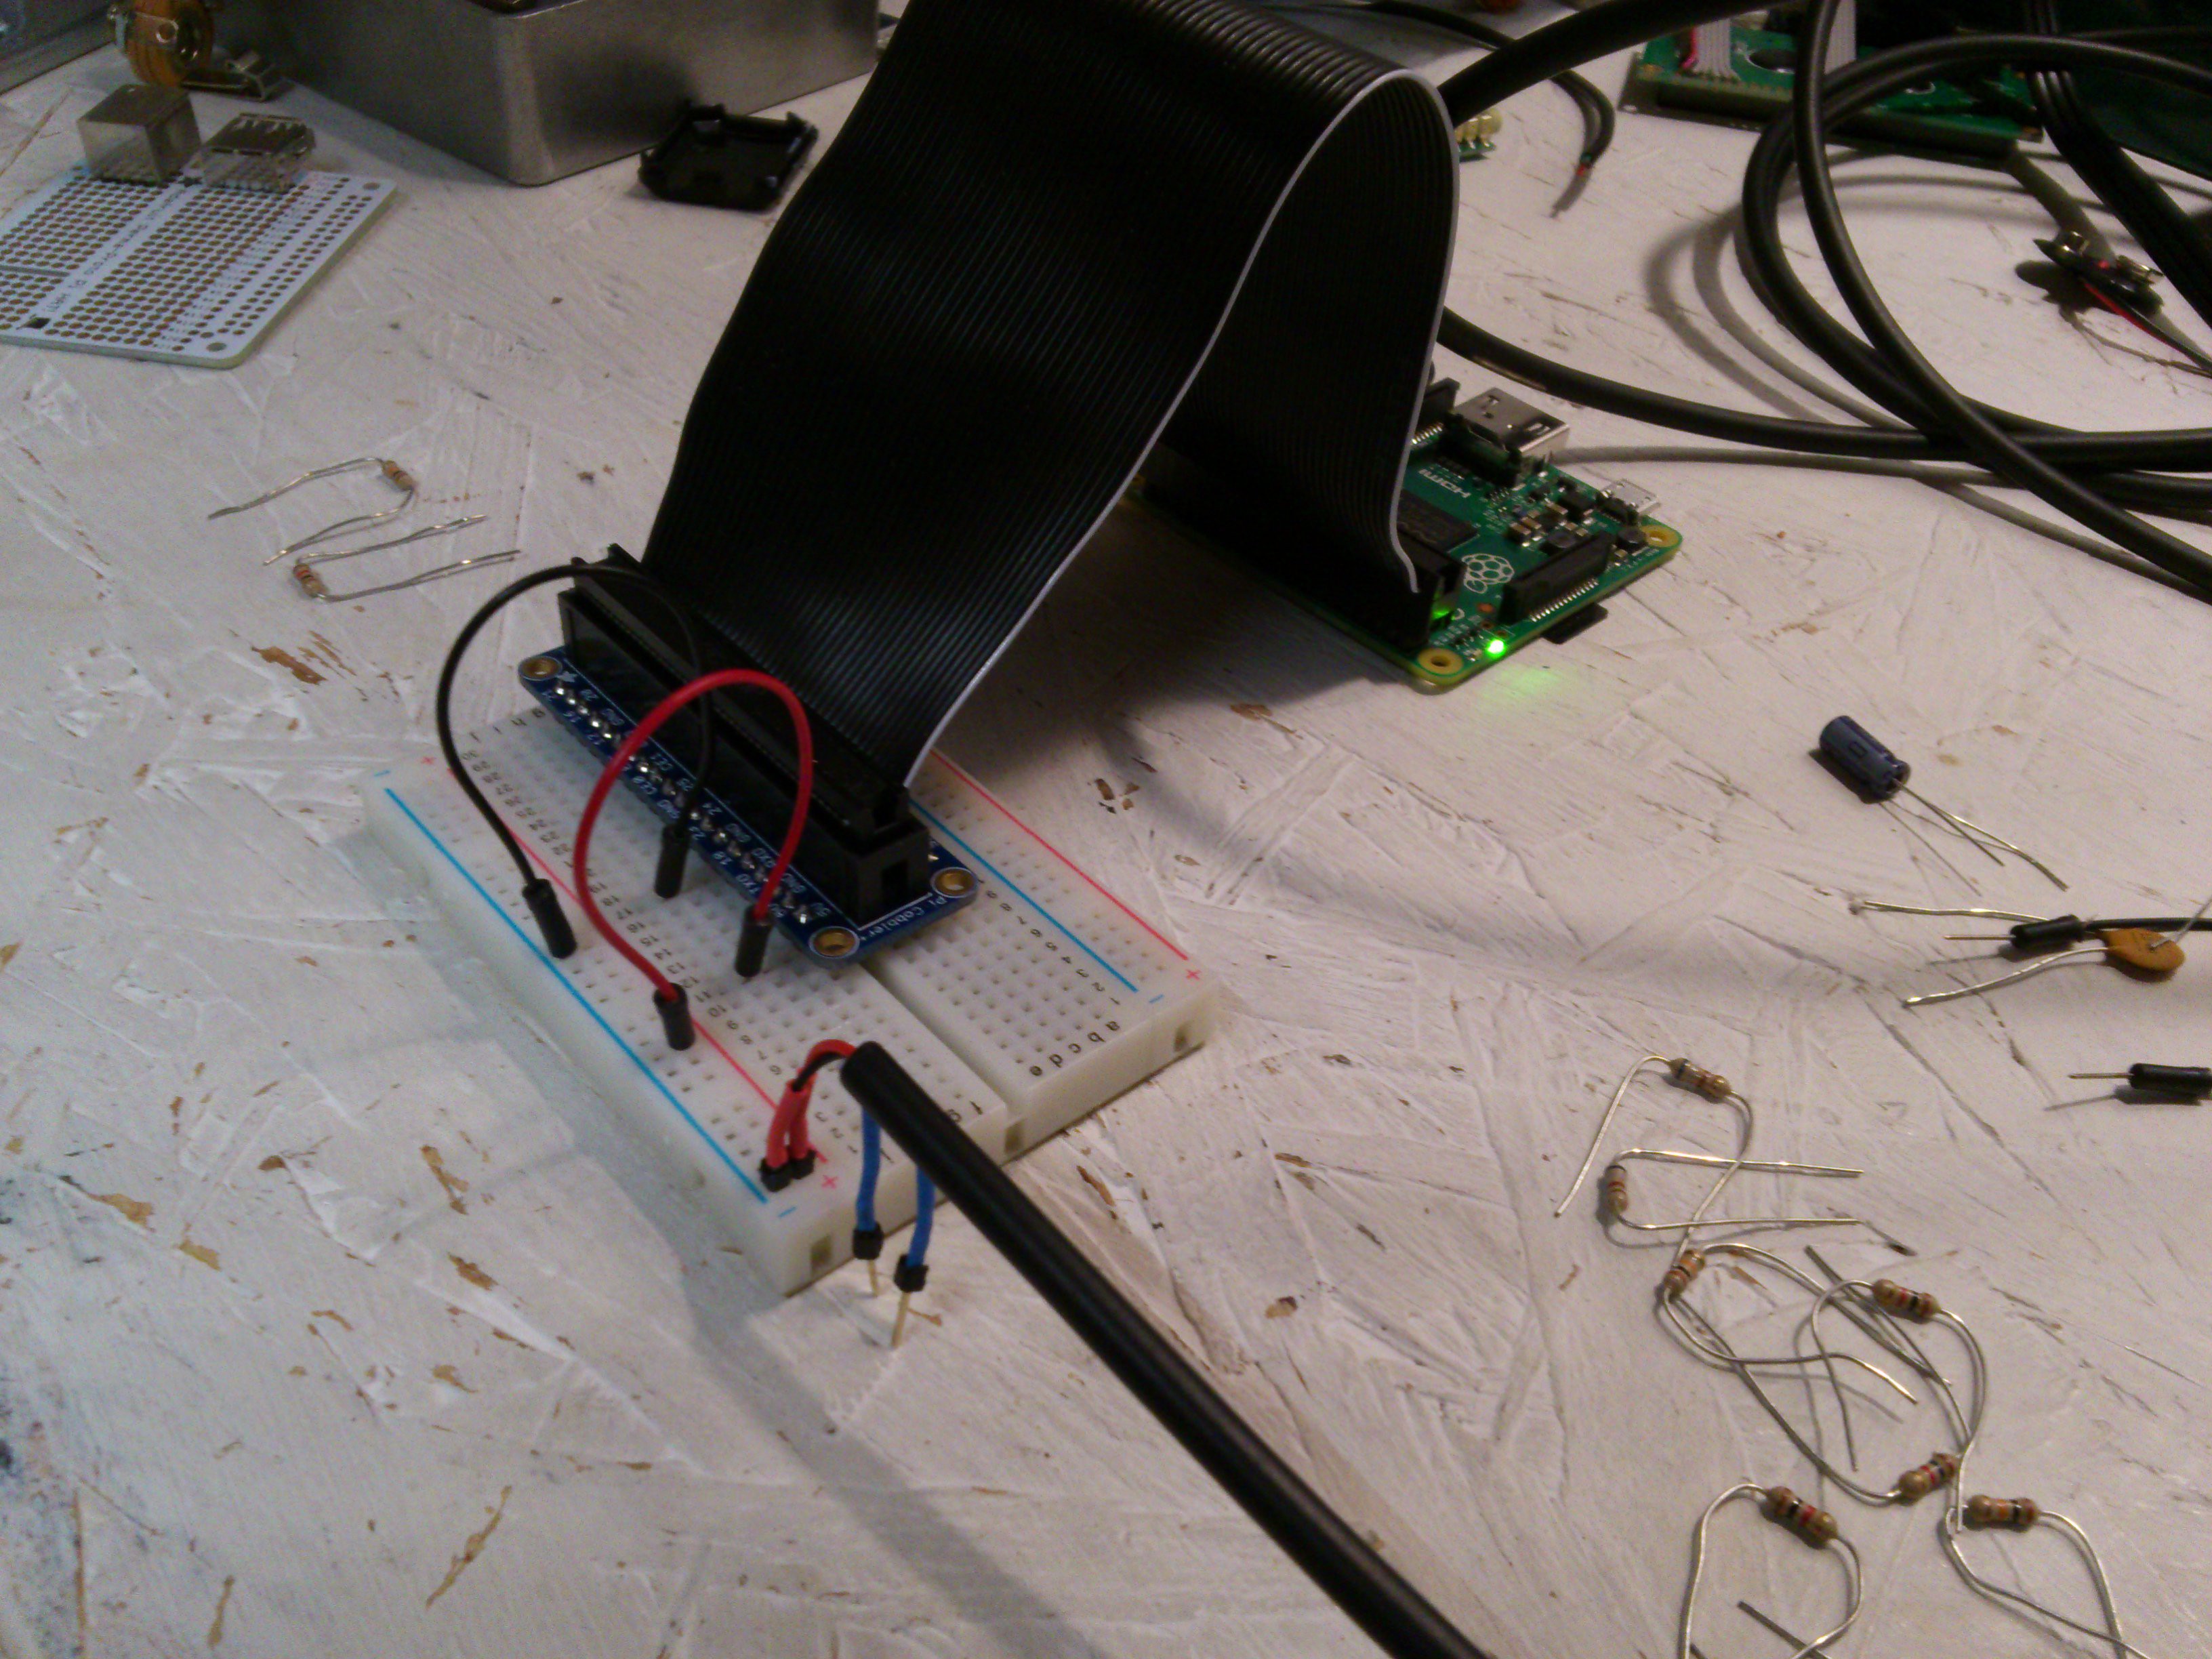
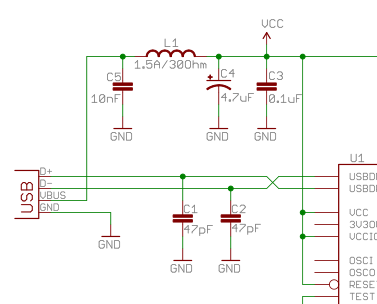
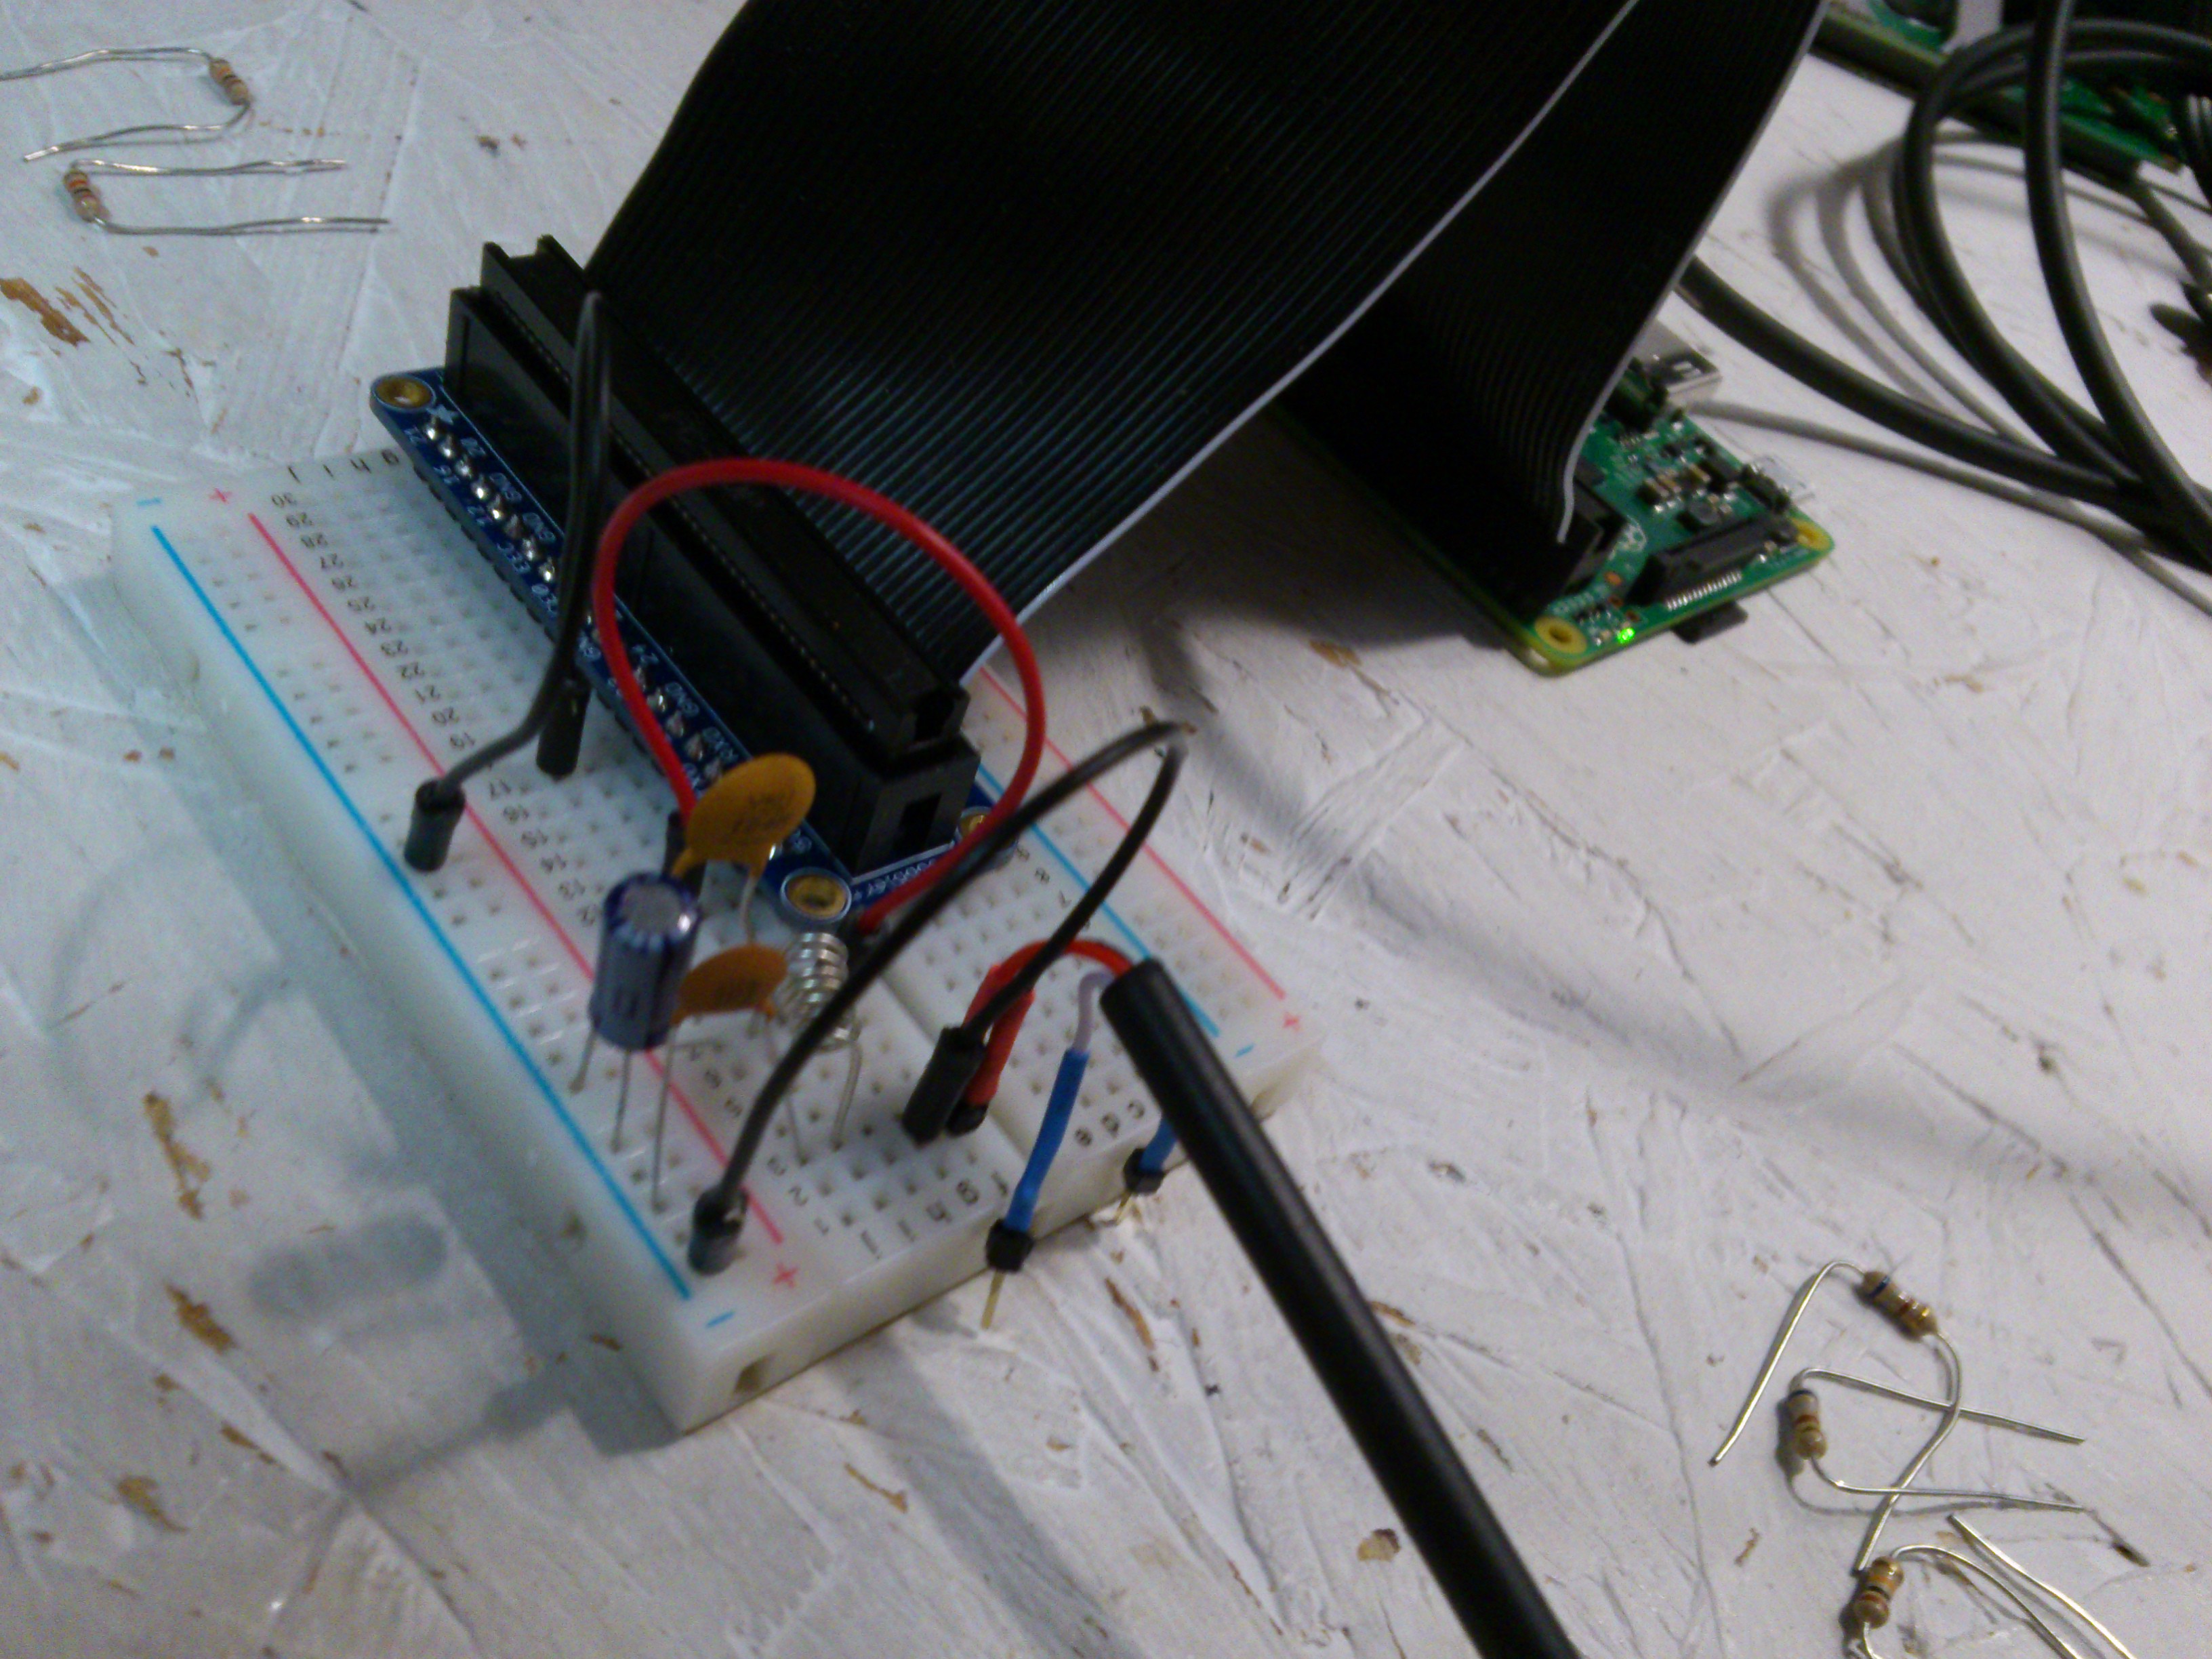
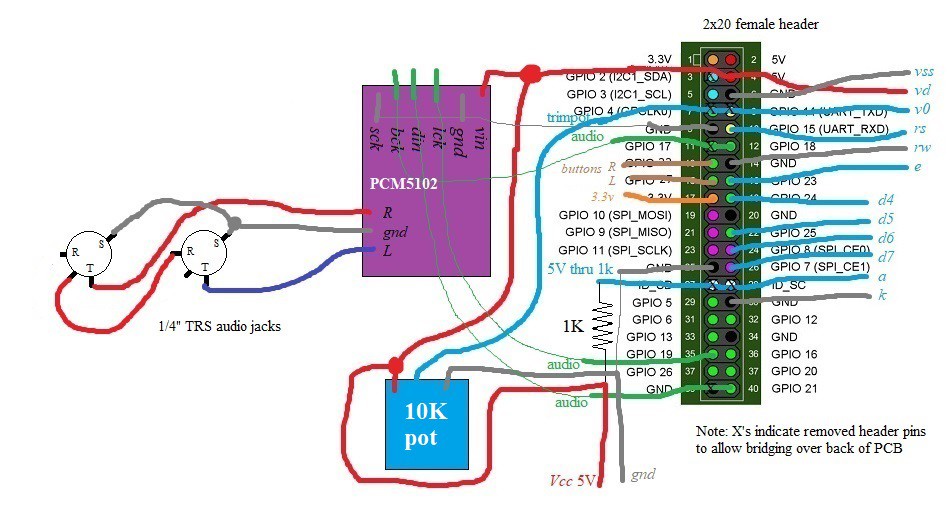
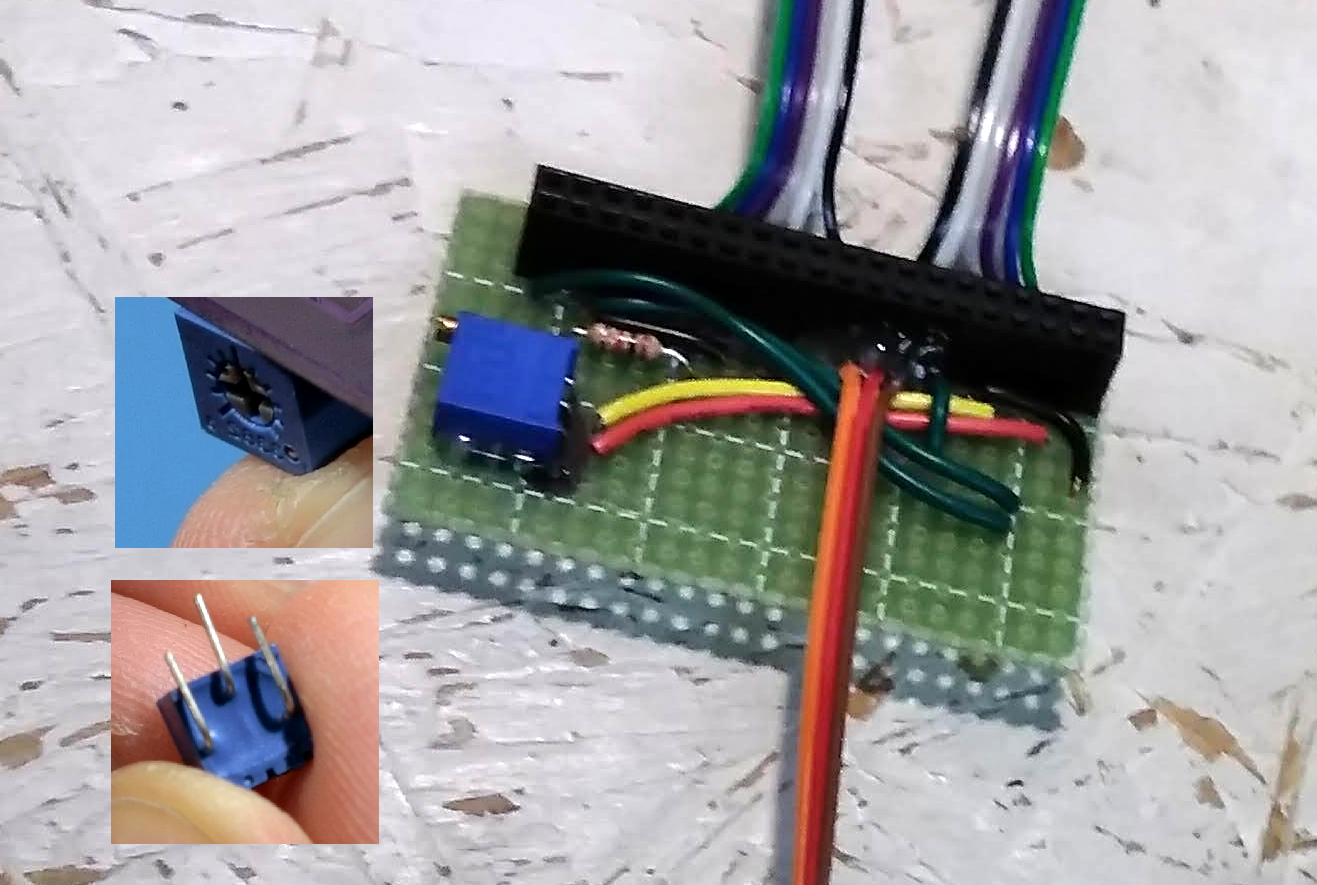
I wanted the SquishBox to use easy-to-find and inexpensive components. I chose a standard HD44780 16x2 character LCD for the display. For sound output, I chose a PCM5102-based DAC sold as a GYPCM5102 - a compact, cheap board built around the same chip as mainstream but pricier and bulkier add-on DACs like the HifiBerry. It seems to be pretty widely available from different online electronics distributors, and the PCM5102 is pretty much an audio standard, so it seems reasonable that it should remain in production for a good while. The DAC provides an improvement in quality over the Pi's onboard sound, but more importantly a drastic decrease in audio latency.
I chose FluidSynth as the sound engine because it's free and versatile - soundfonts are arguably the prototype virtual instruments, and you can modify them without having to code and/or recompile. There already existed a Python library - pyfluidsynth - that uses ctypes to wrap Python functions around FluidSynth's C callables, and I used this to design my own Python-based FluidSynth wrapper based on patches - groups of instrument, effect, and MIDI settings stored in YAML text files. The code is written so that different implementations can be created that use the same bank files, and includes a desktop editor/player and a version that runs on a bare Raspberry Pi (i.e no screen or buttons). In future I hope to create DAW plugins and perhaps an Android build. The series of video lessons below explain how to create bank files, in addition to the wiki at the source code link above.

 CompuCat
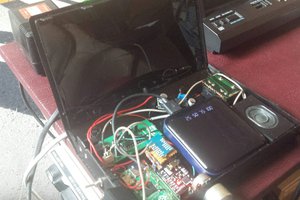
 The_Mekon
The NJ ticket payment portal has been a lifesaver for me. It's so user-friendly and efficient. I recently got a traffic ticket, and being able to settle it online without the hassle of going to a physical location made the process much smoother. Kudos to New Jersey for embracing technology for the convenience of its residents!
https://disqus.com/by/njmcdirectcom/about/
https://www.blogger.com/profile/11003571691742501273