 techav
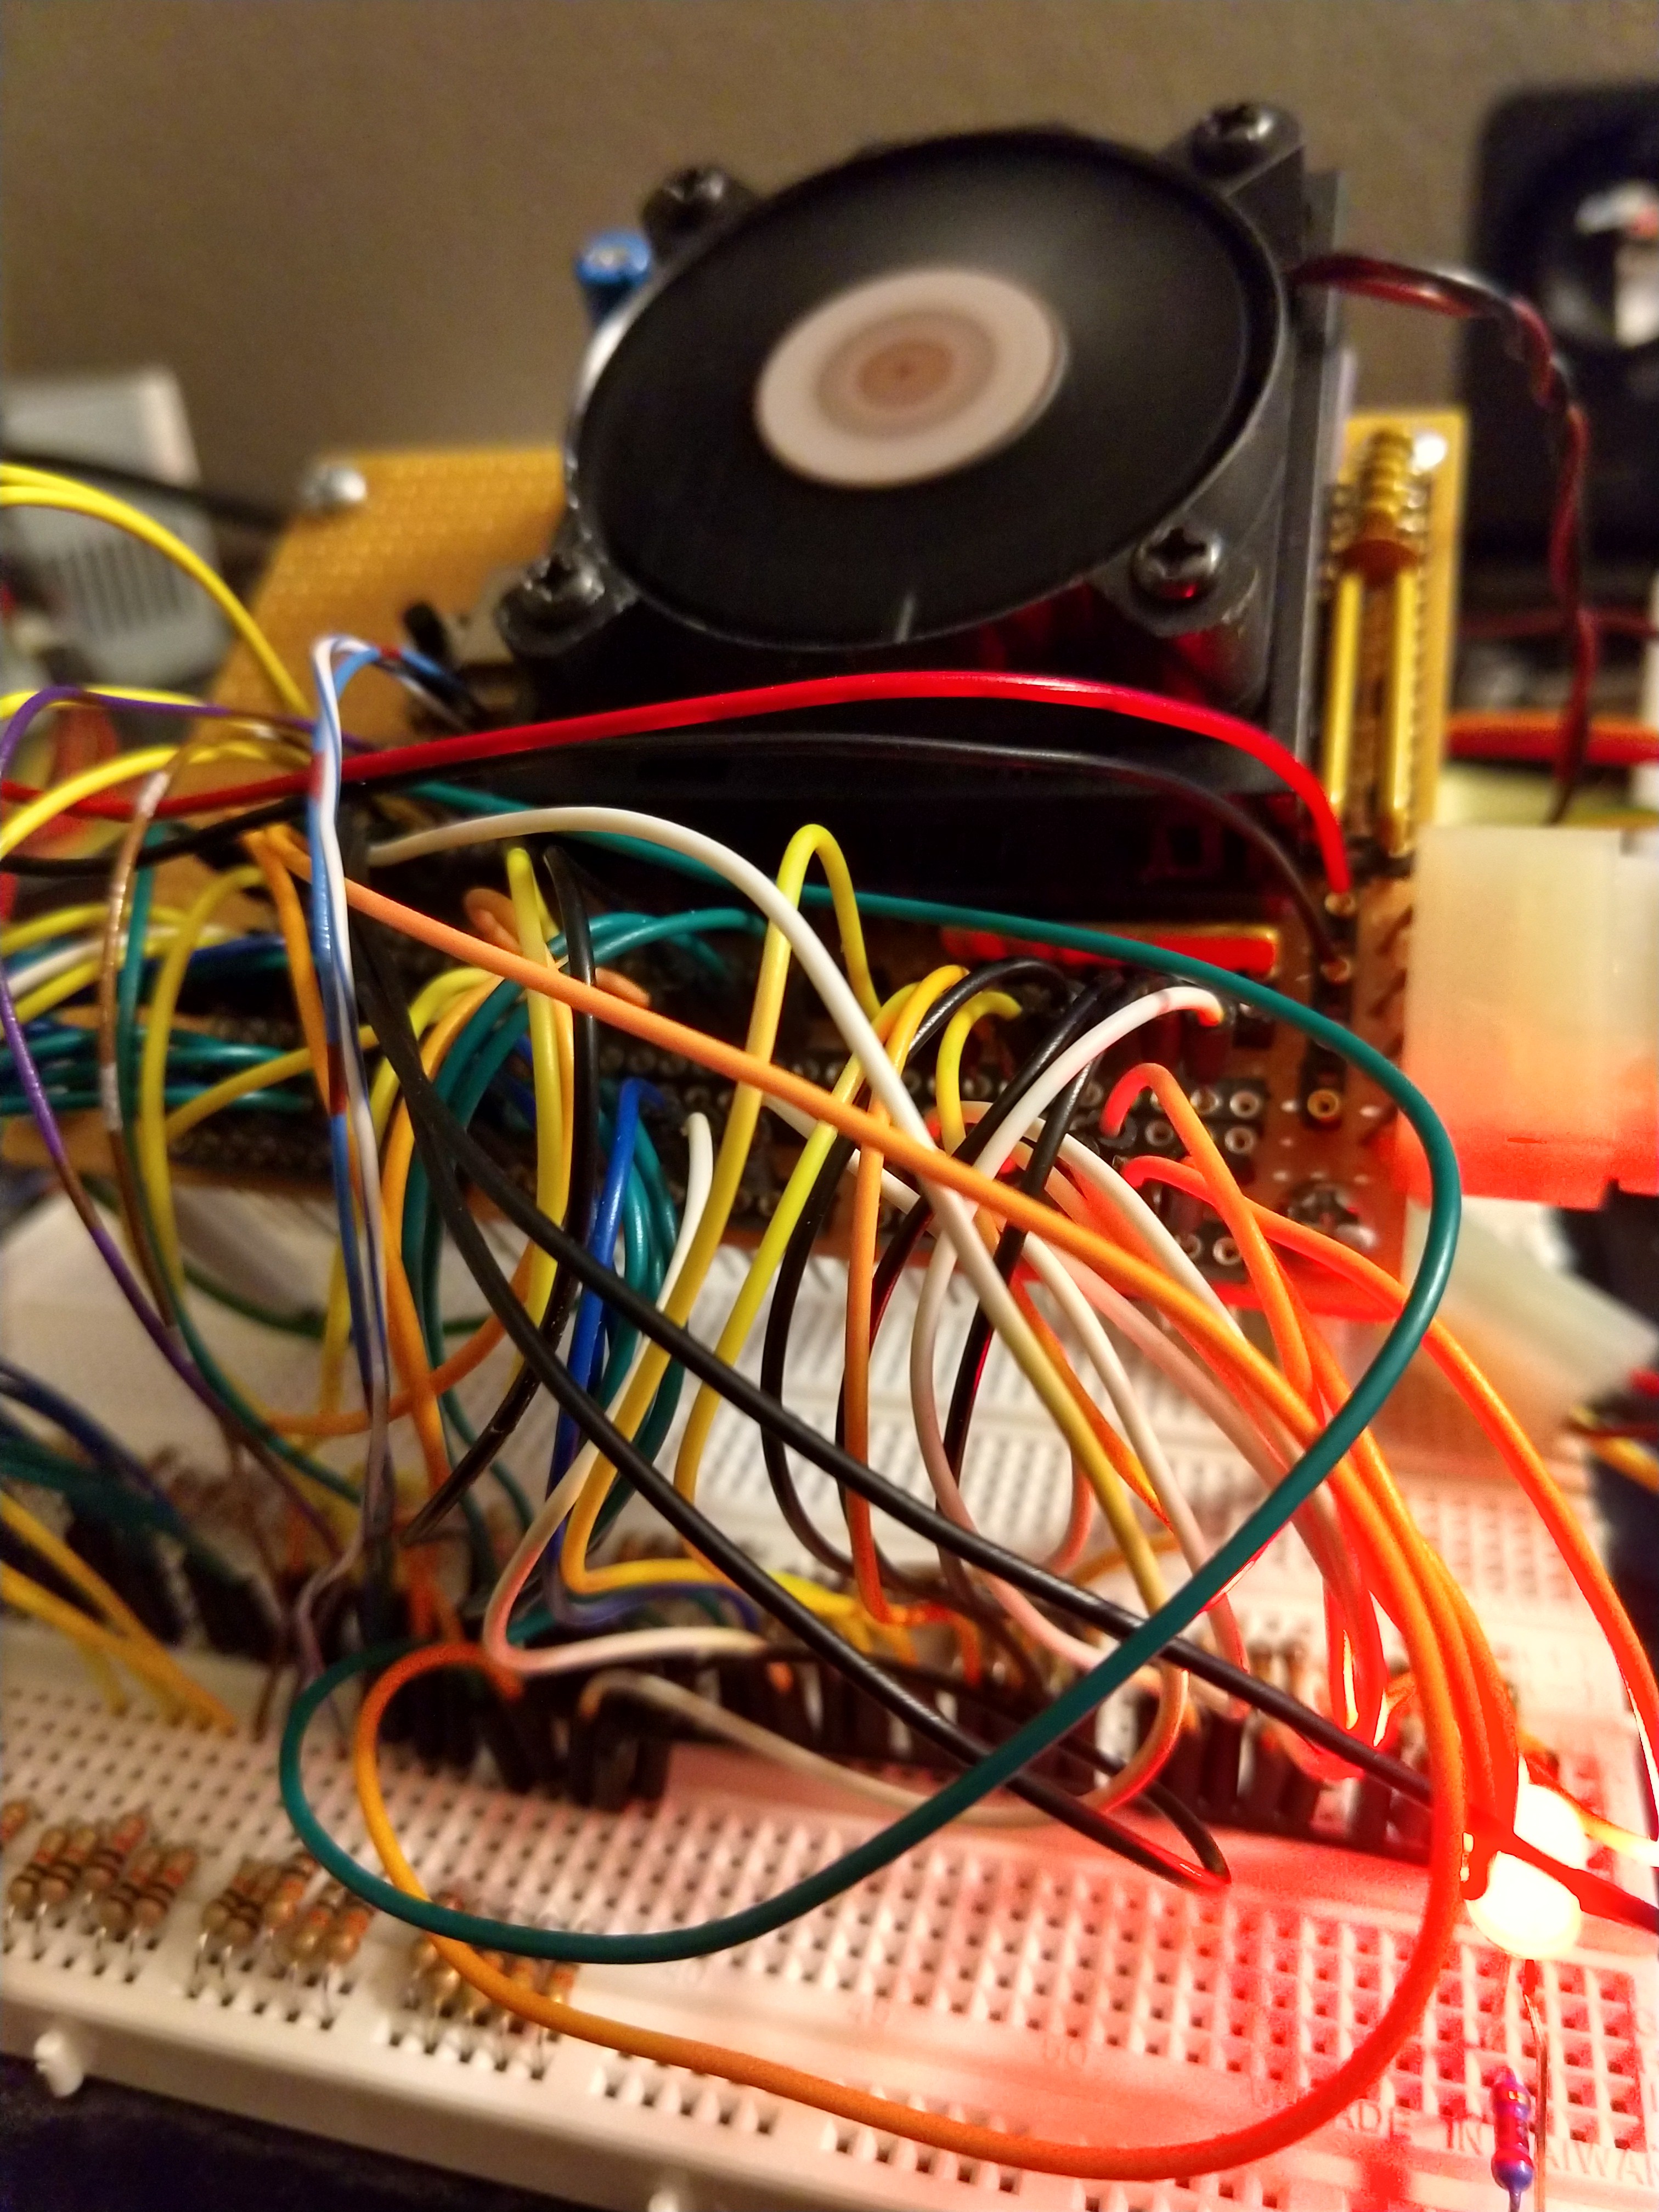
Early 8-bit microprocessors with 74-series glue logic and mazes of wire on breadboards are an easy, fun way to get into building homebrew computers. Moving up to the 16-bit era is more certainly complex, but can still be accomplished with DIP parts on breadboards. Pushing further still into the early days of the 32-bit era is a challenge, with PGA & PLCC parts, much more complex glue logic requirements, and tighter timing considerations. Solderless breadboards are out, and protoboards with point-to-point wiring or wirewrap are required.
The intention for this project is to push these build processes to their extreme, perhaps even absurd, limits.
The initial release of the Intel Pentium processor required a single 5V power supply, and mounted in a 273-pin PGA socket with 0.1" square pin spacing (Socket 4). Later Pentium processors moved to 3.3V power supplies, and packages with staggered pin layouts. By the time the Pentium 2 rolled out, chipsets were exclusively shipped in hobbyist-hostile BGA packages. The Pentium's contemporary competitor, the PowerPC 601, was released running at 3.6V and mounted in large QFP packages.
The Intel 80501 Pentium is effectively the last major microprocessor that can be used for a homebrew computer without having to resort to ordering printed circuit boards for the entire project.
It certainly will not be easy.
At its top speed of 66MHz, Pentium draws over 3 Amps at 5 Volts. It requires careful consideration of power supply and power routing, as well as active cooling.
The Pentium also had a 64-bit data bus, despite being a 32-bit processor, and required the entire 64-bit width be returned when requested. Moving up from free-run to first code will require multiple ROM chips or additional logic to read and store multiple bytes from ROM to present the full 64-bit quad word to the CPU.
System RAM will also need to be 64-bit. Early Pentium motherboards required 72-pin SIMM modules be installed in pairs to meet this requirement. Later Pentium motherboards offered options for 168-pin DIMM modules which were 64-bits wide. Both 72-pin SIMMs and 168-pin DIMMs used staggered pin spacing and will not fit on a protoboard with 0.1" spacing. System memory options for protoboard include 30-pin SIMMs installed in multiples of 8, expensive 4Mbit SRAM chips in multiples of 8, or adapter boards for the larger memory modules.
The common Pentium chipsets have large QFP packages which will require adapter boards for the 0.1" square grid spacing. For simpler systems, it may be possible to build custom glue logic from larger CPLDs mounted in PLCC sockets.
Finally the clock speed will be a challenge. The 80501 Pentium shipped with two rated speeds - 60MHz and 66MHz. The rated minimum clock speeds are half the rated speed, and may be much more feasible for protoboard construction. However even the lower 30MHz may be pushing the limits of what wirewrap construction can handle.
Building a Pentium homebrew using wirewrap construction is homebrew taken to its ridiculous . Given the complexities involved, I have no expectation of successfully building something capable of running period-appropriate operating systems like DOS or Windows 3.1. Reaching the point of running any code at all will be an incredible challenge, but I expect there is much to learn along the way.


 Roman Romanchuk
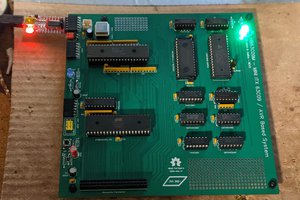
 Dave Collins
Awe-some!
I would love to see more - still running a few systems with this cpu which has been my favorite since 1995.