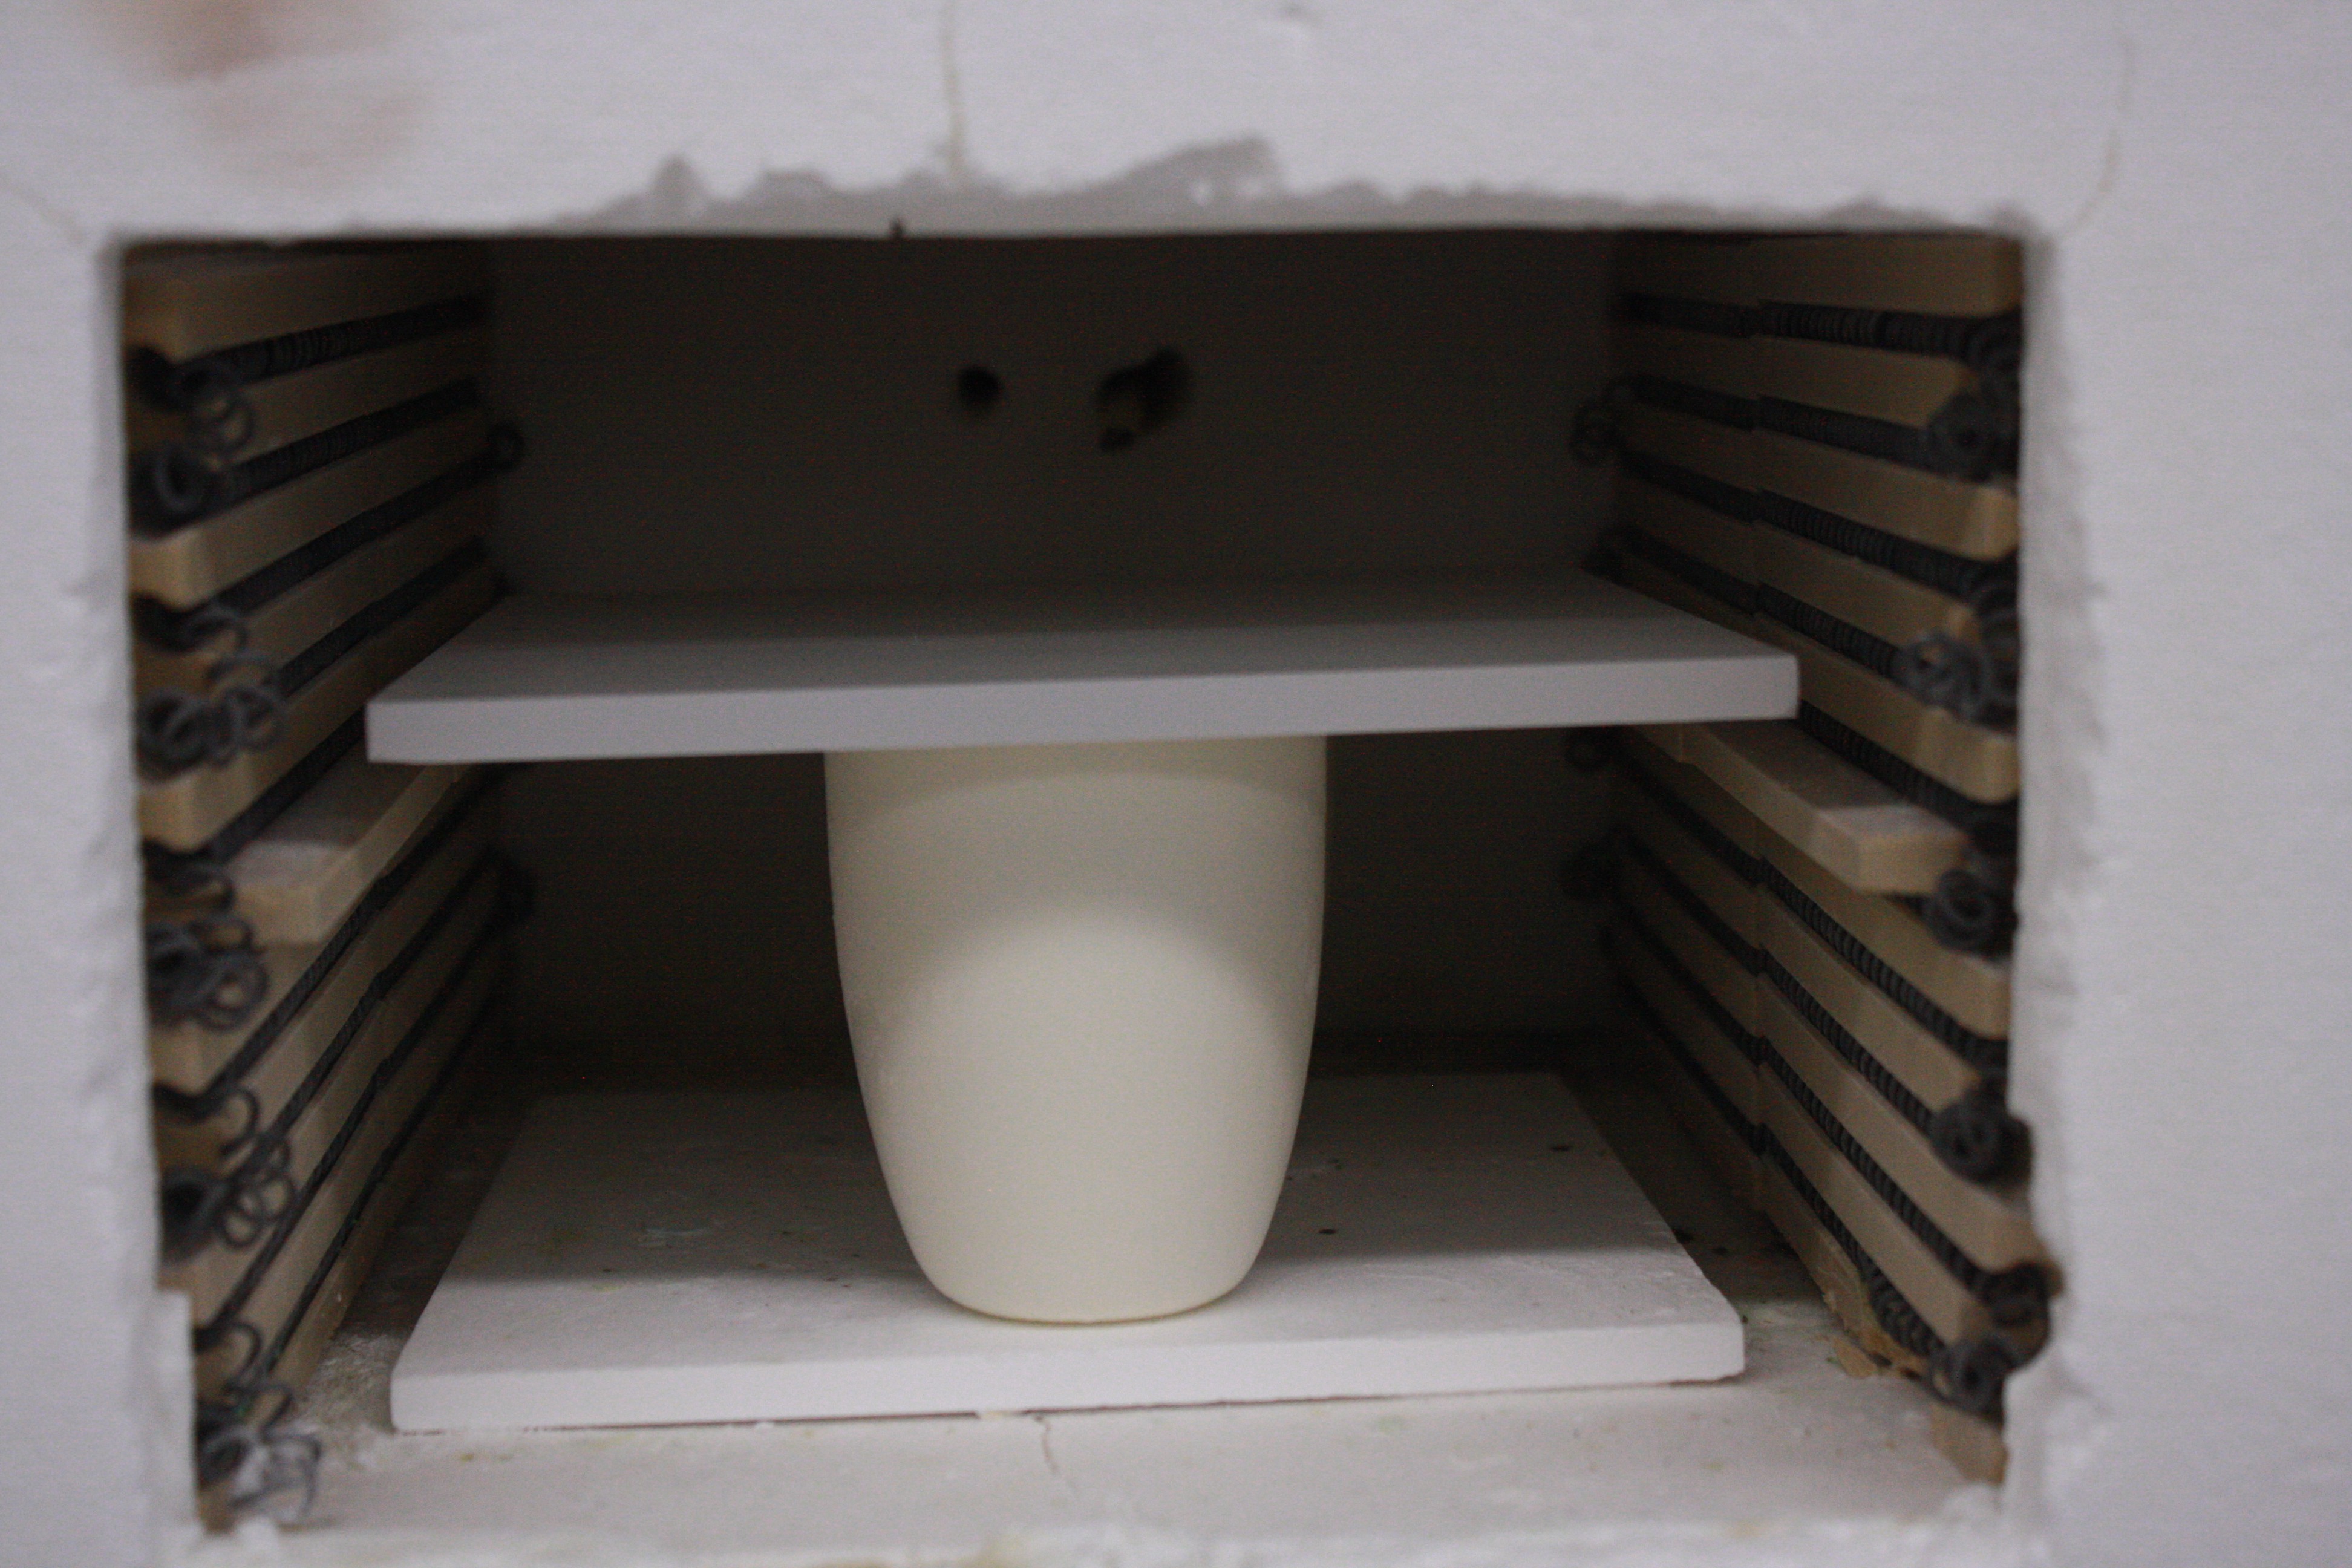
 Ahron Wayne
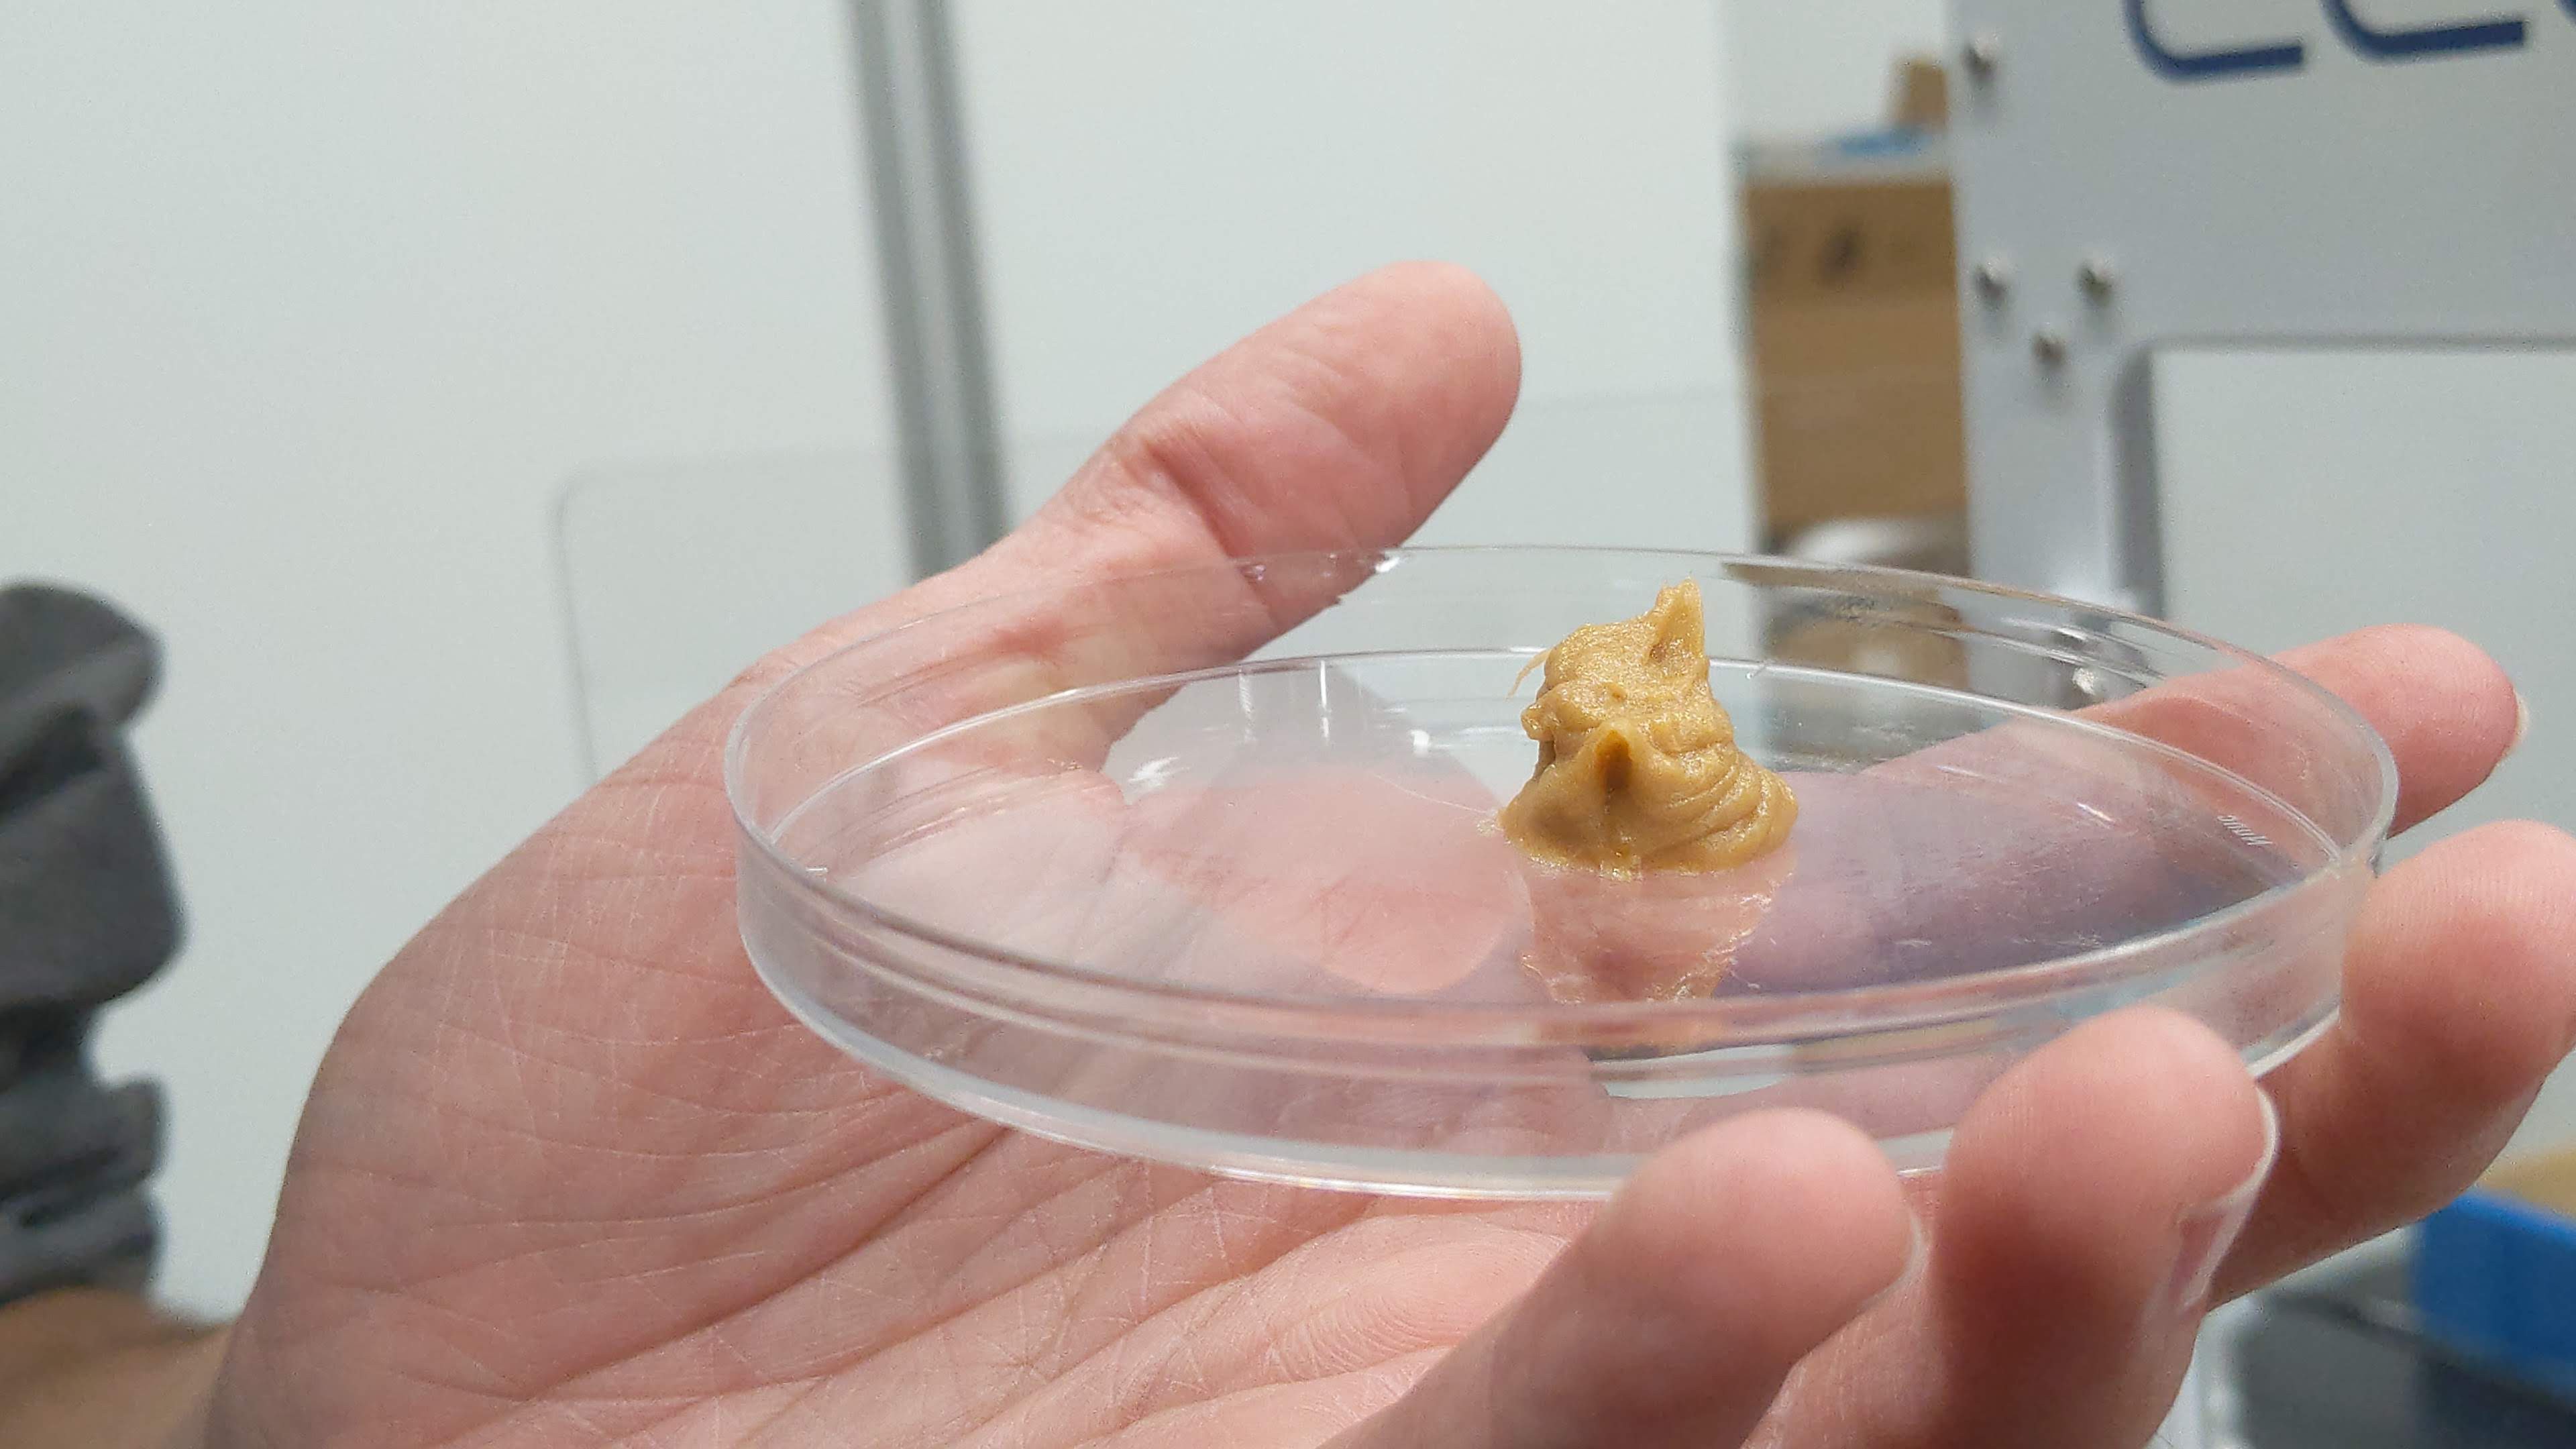
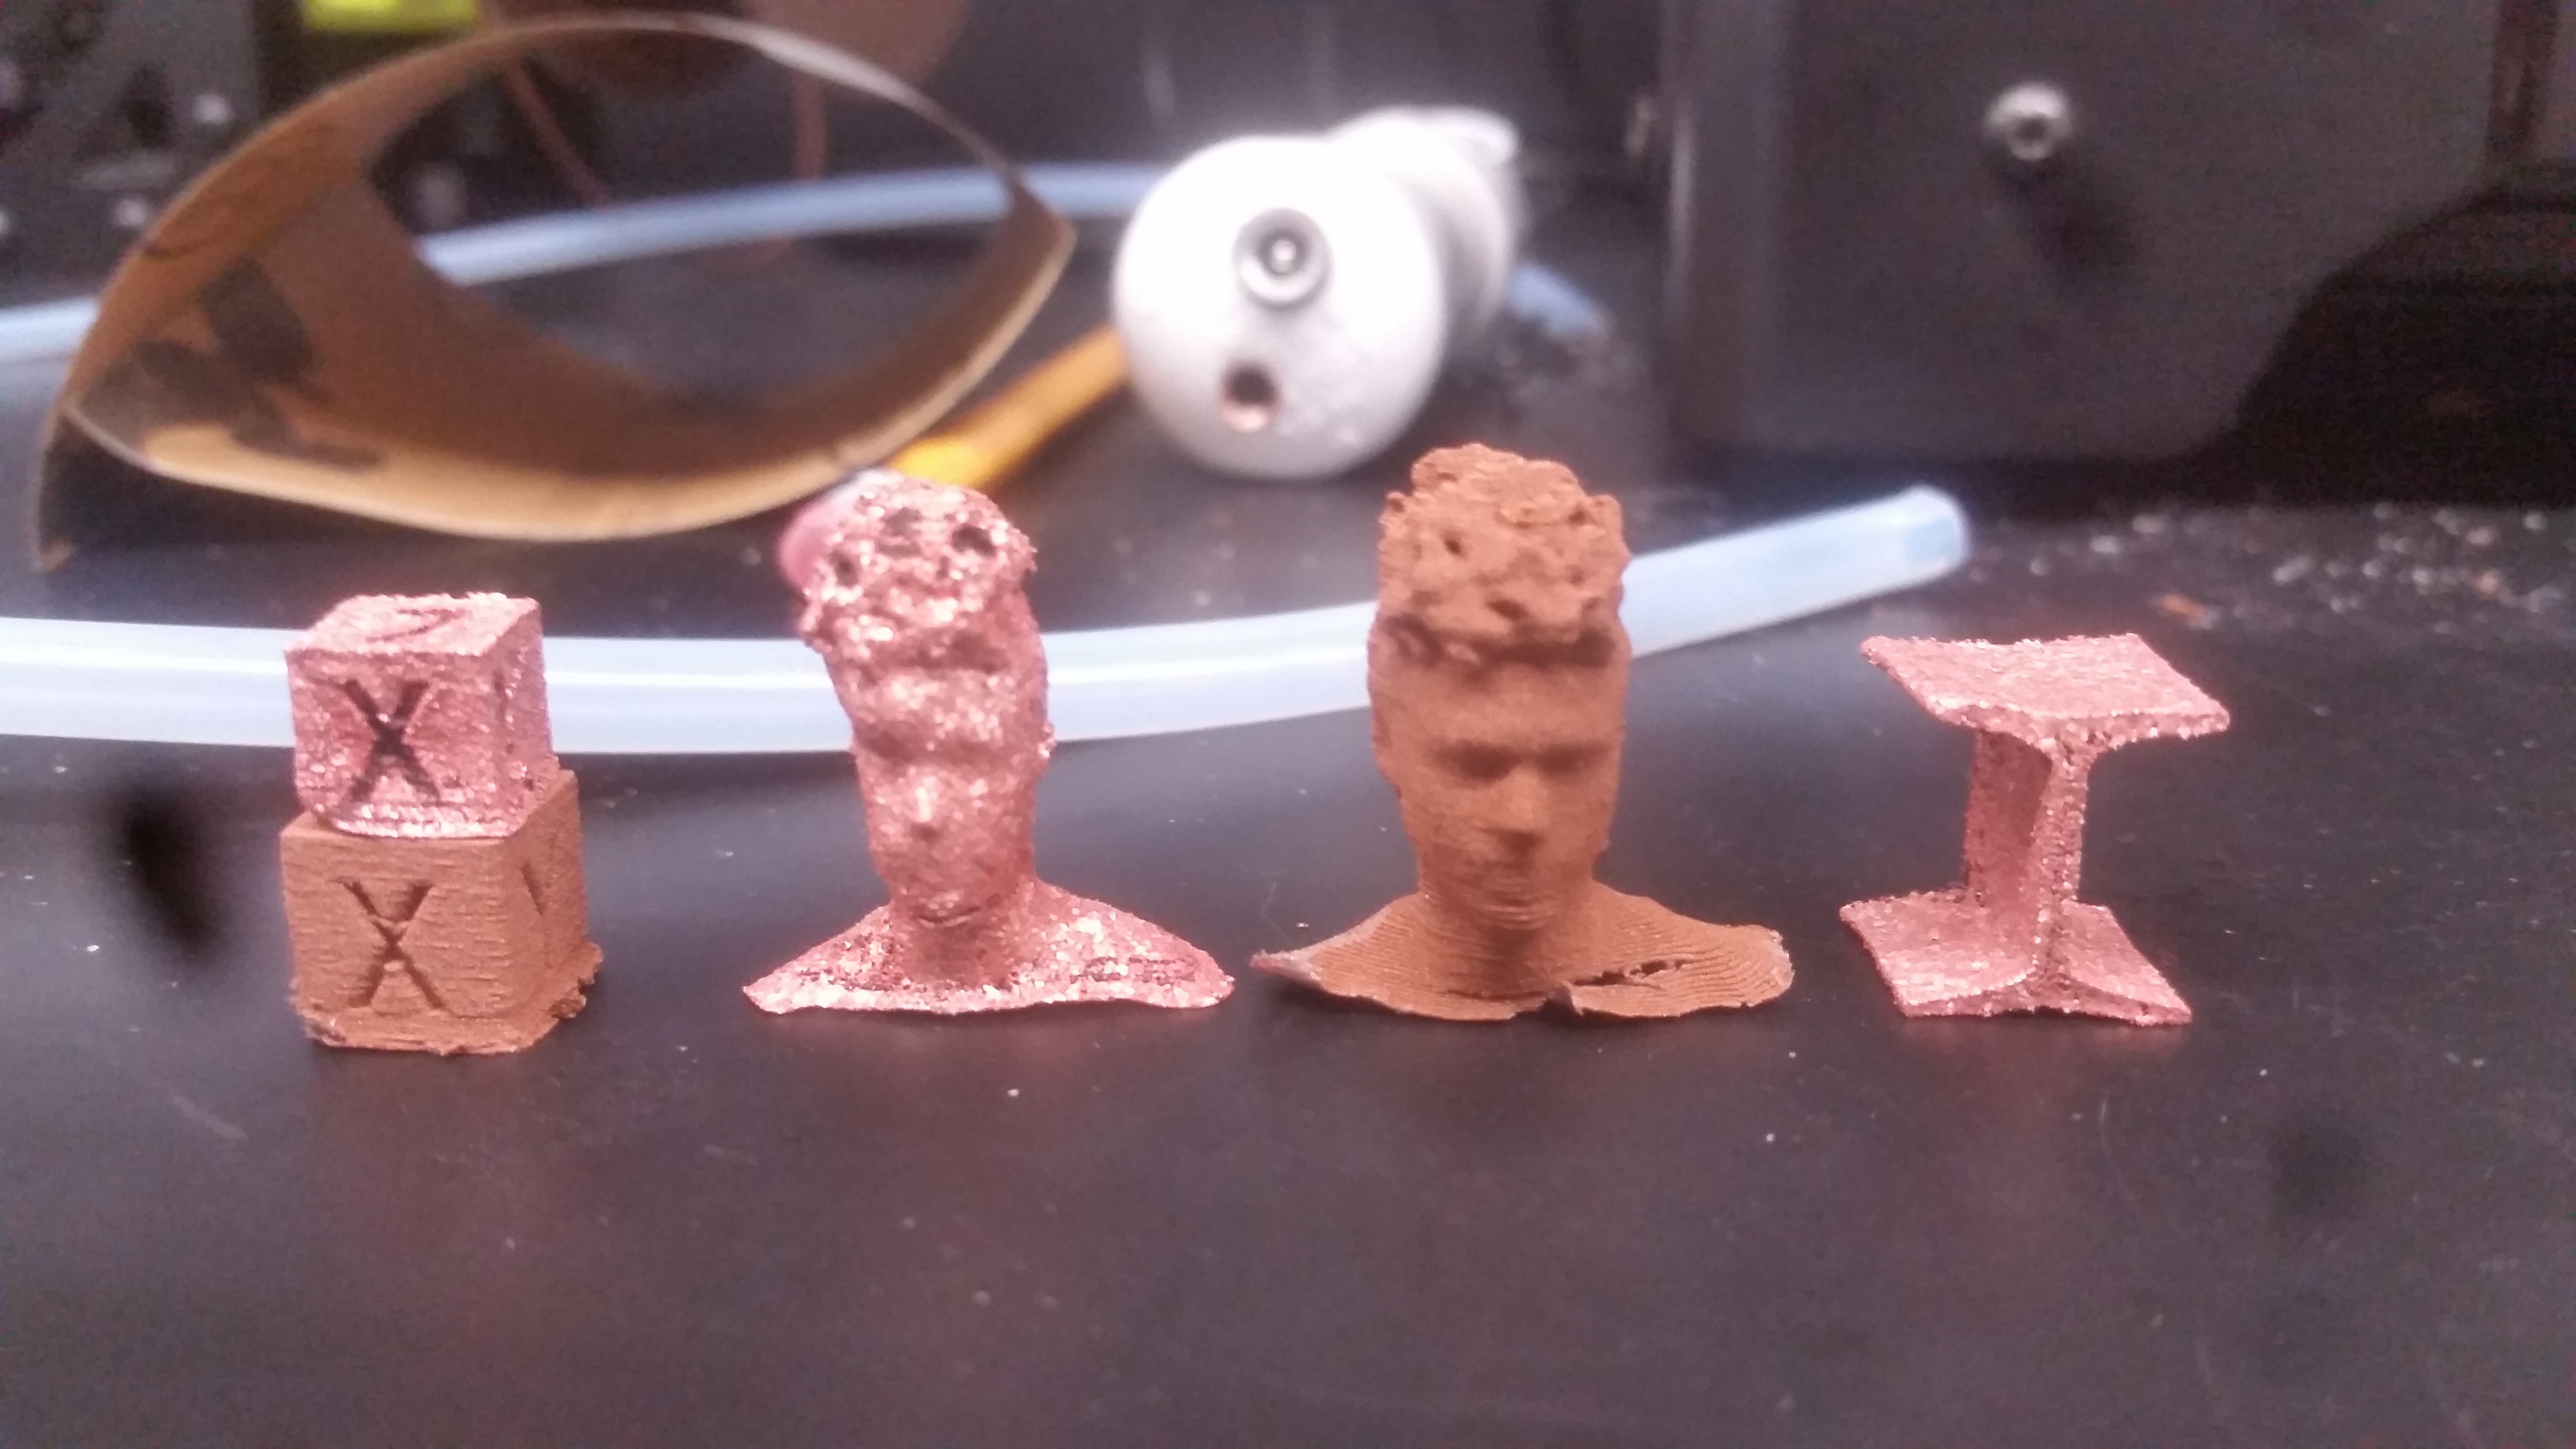
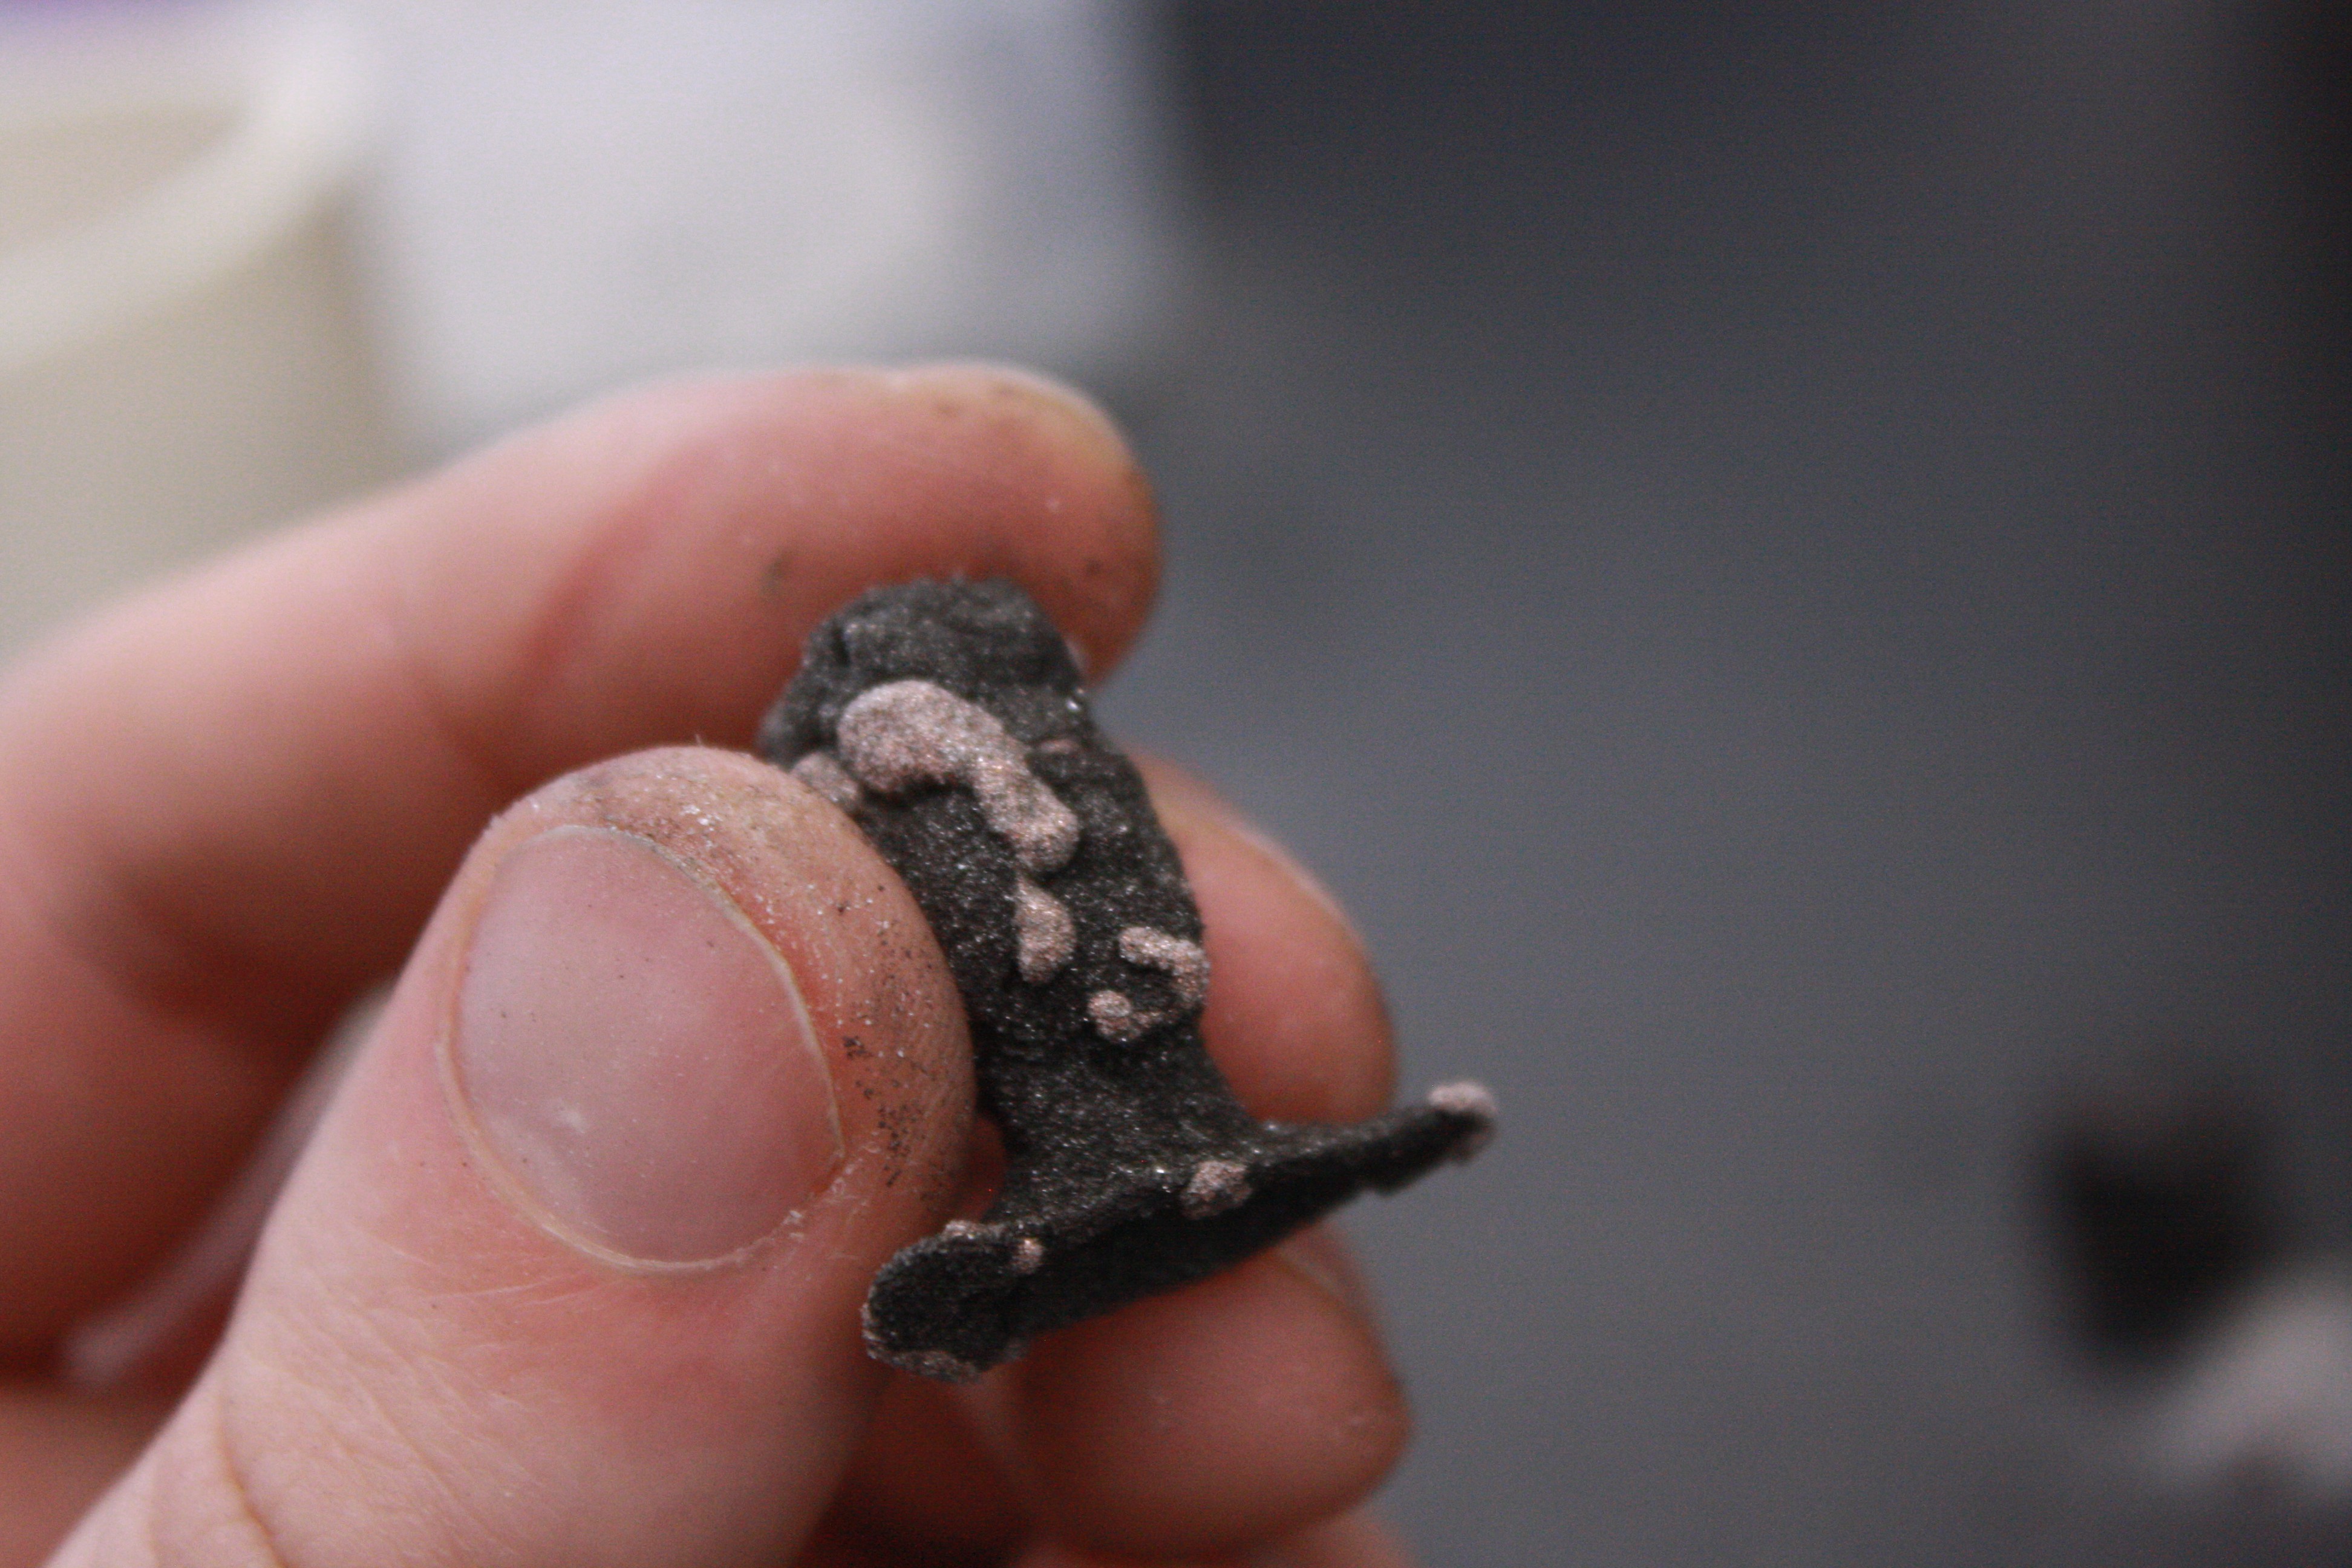
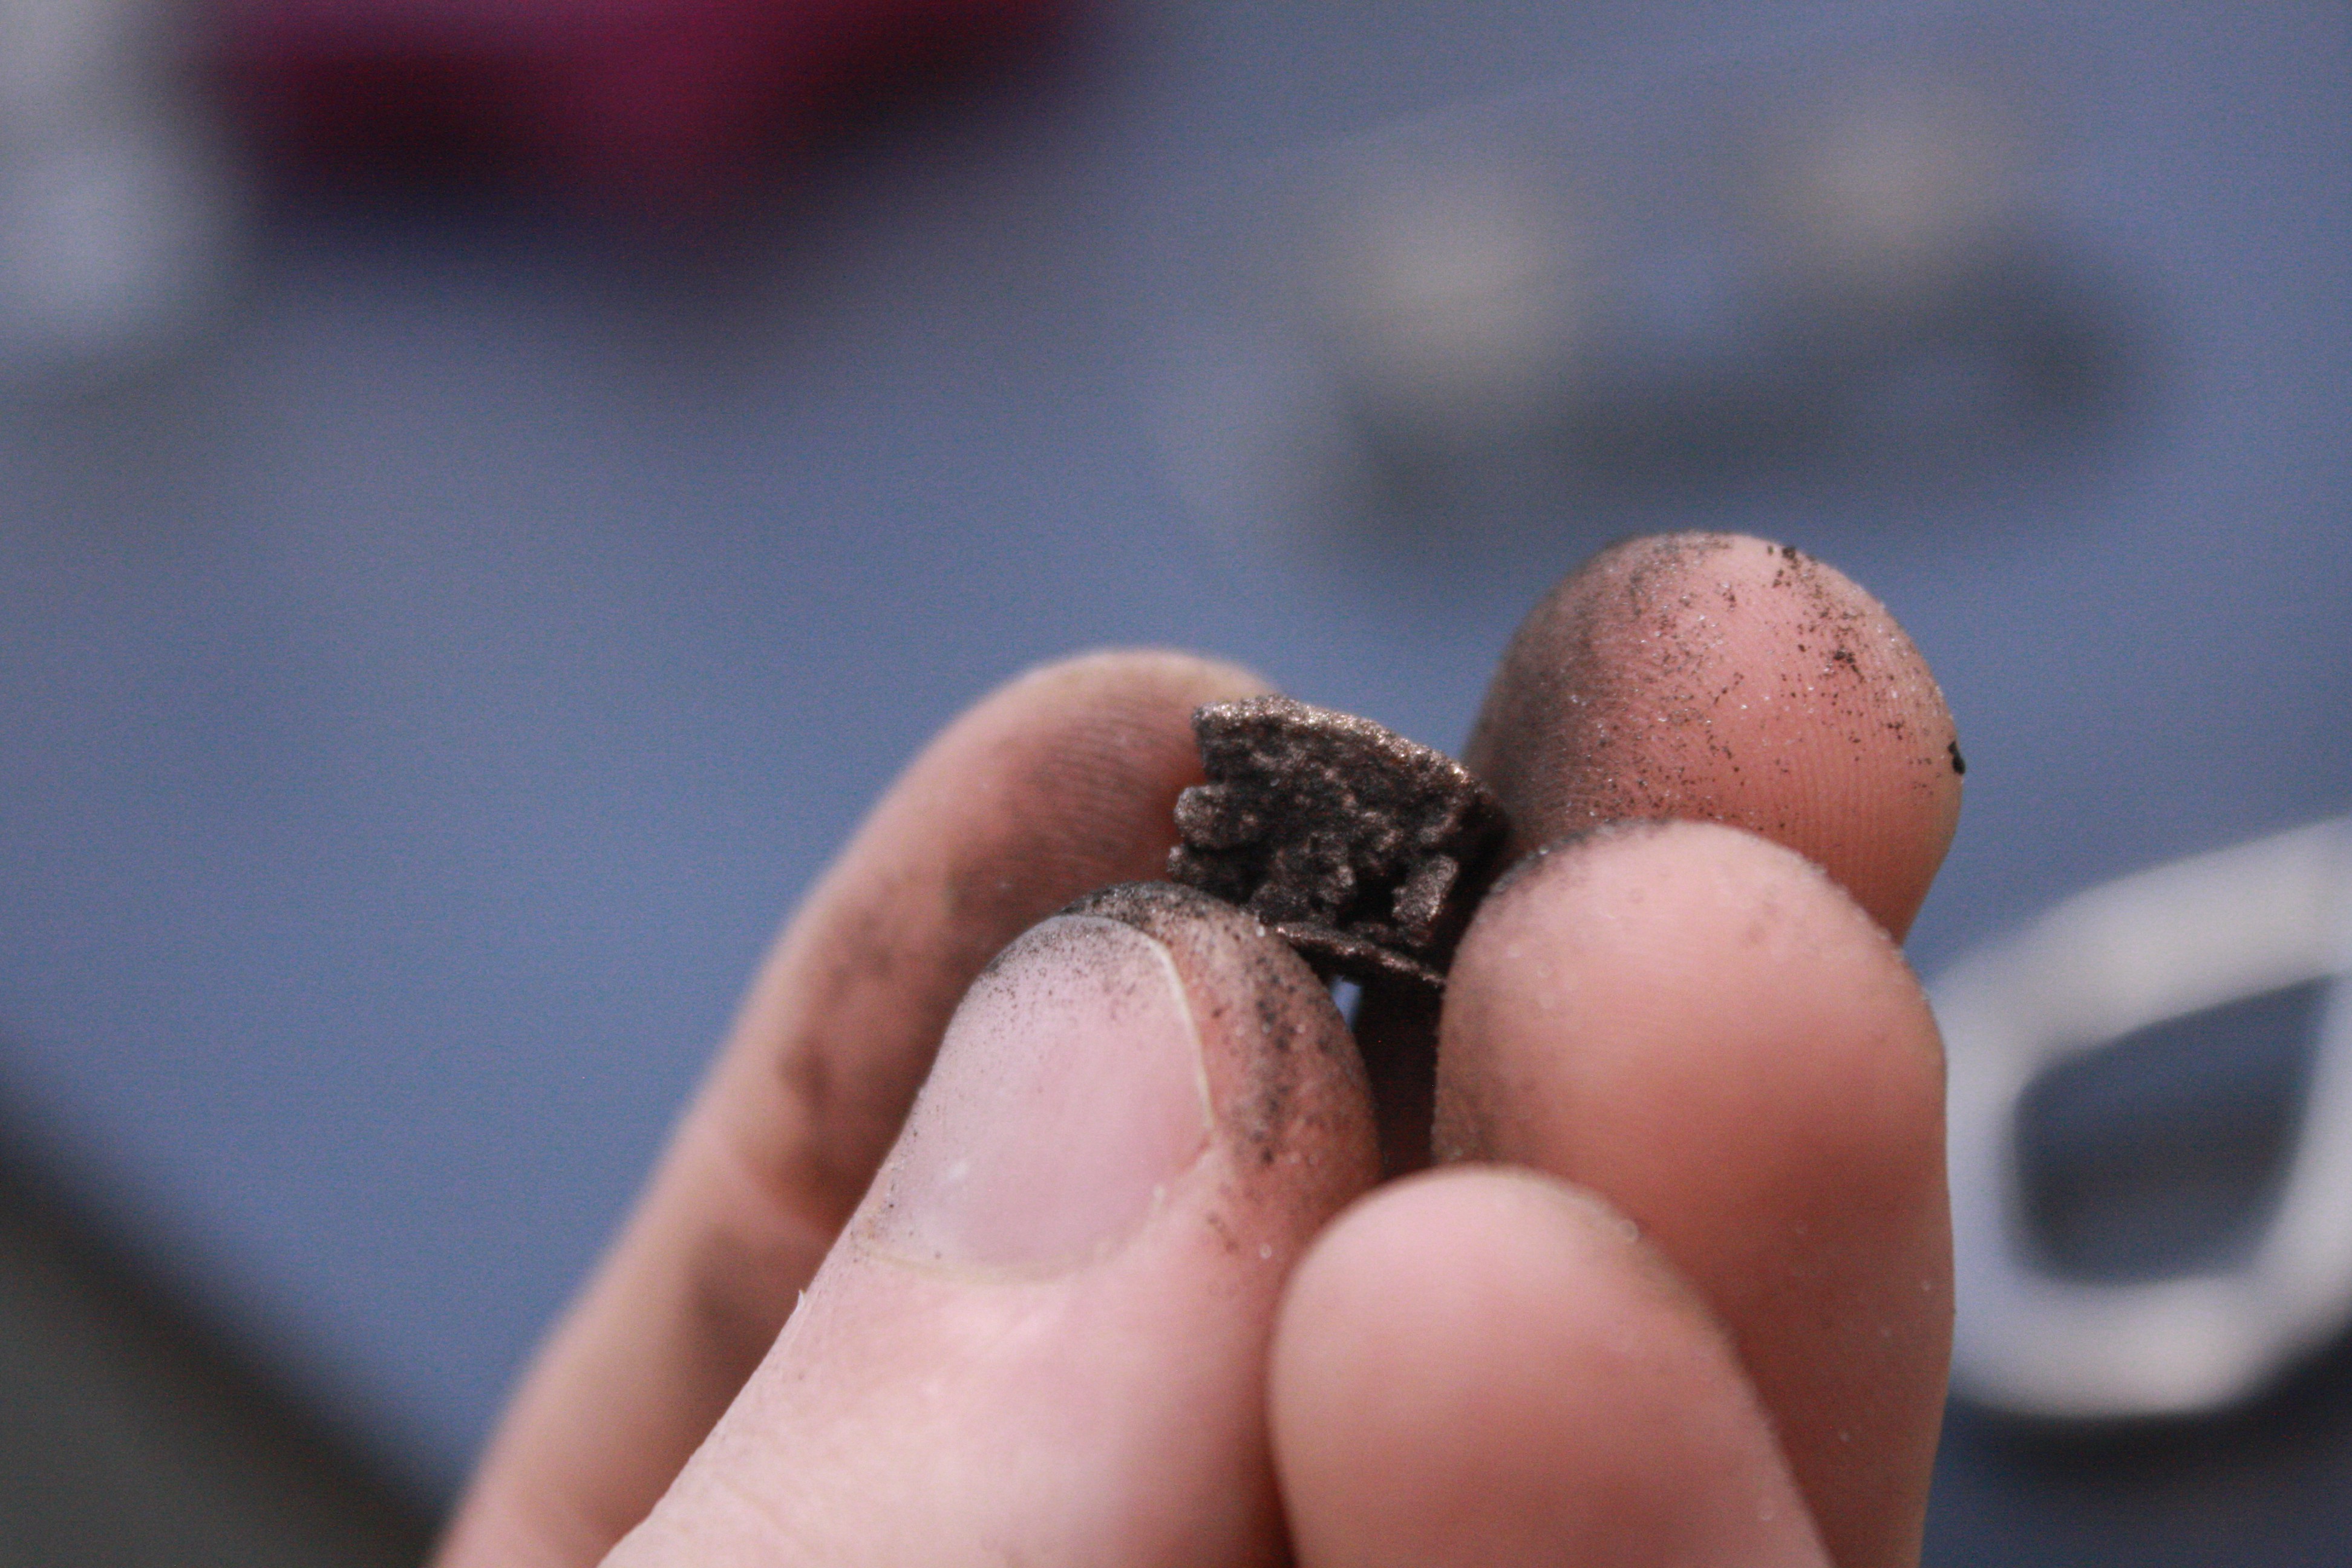
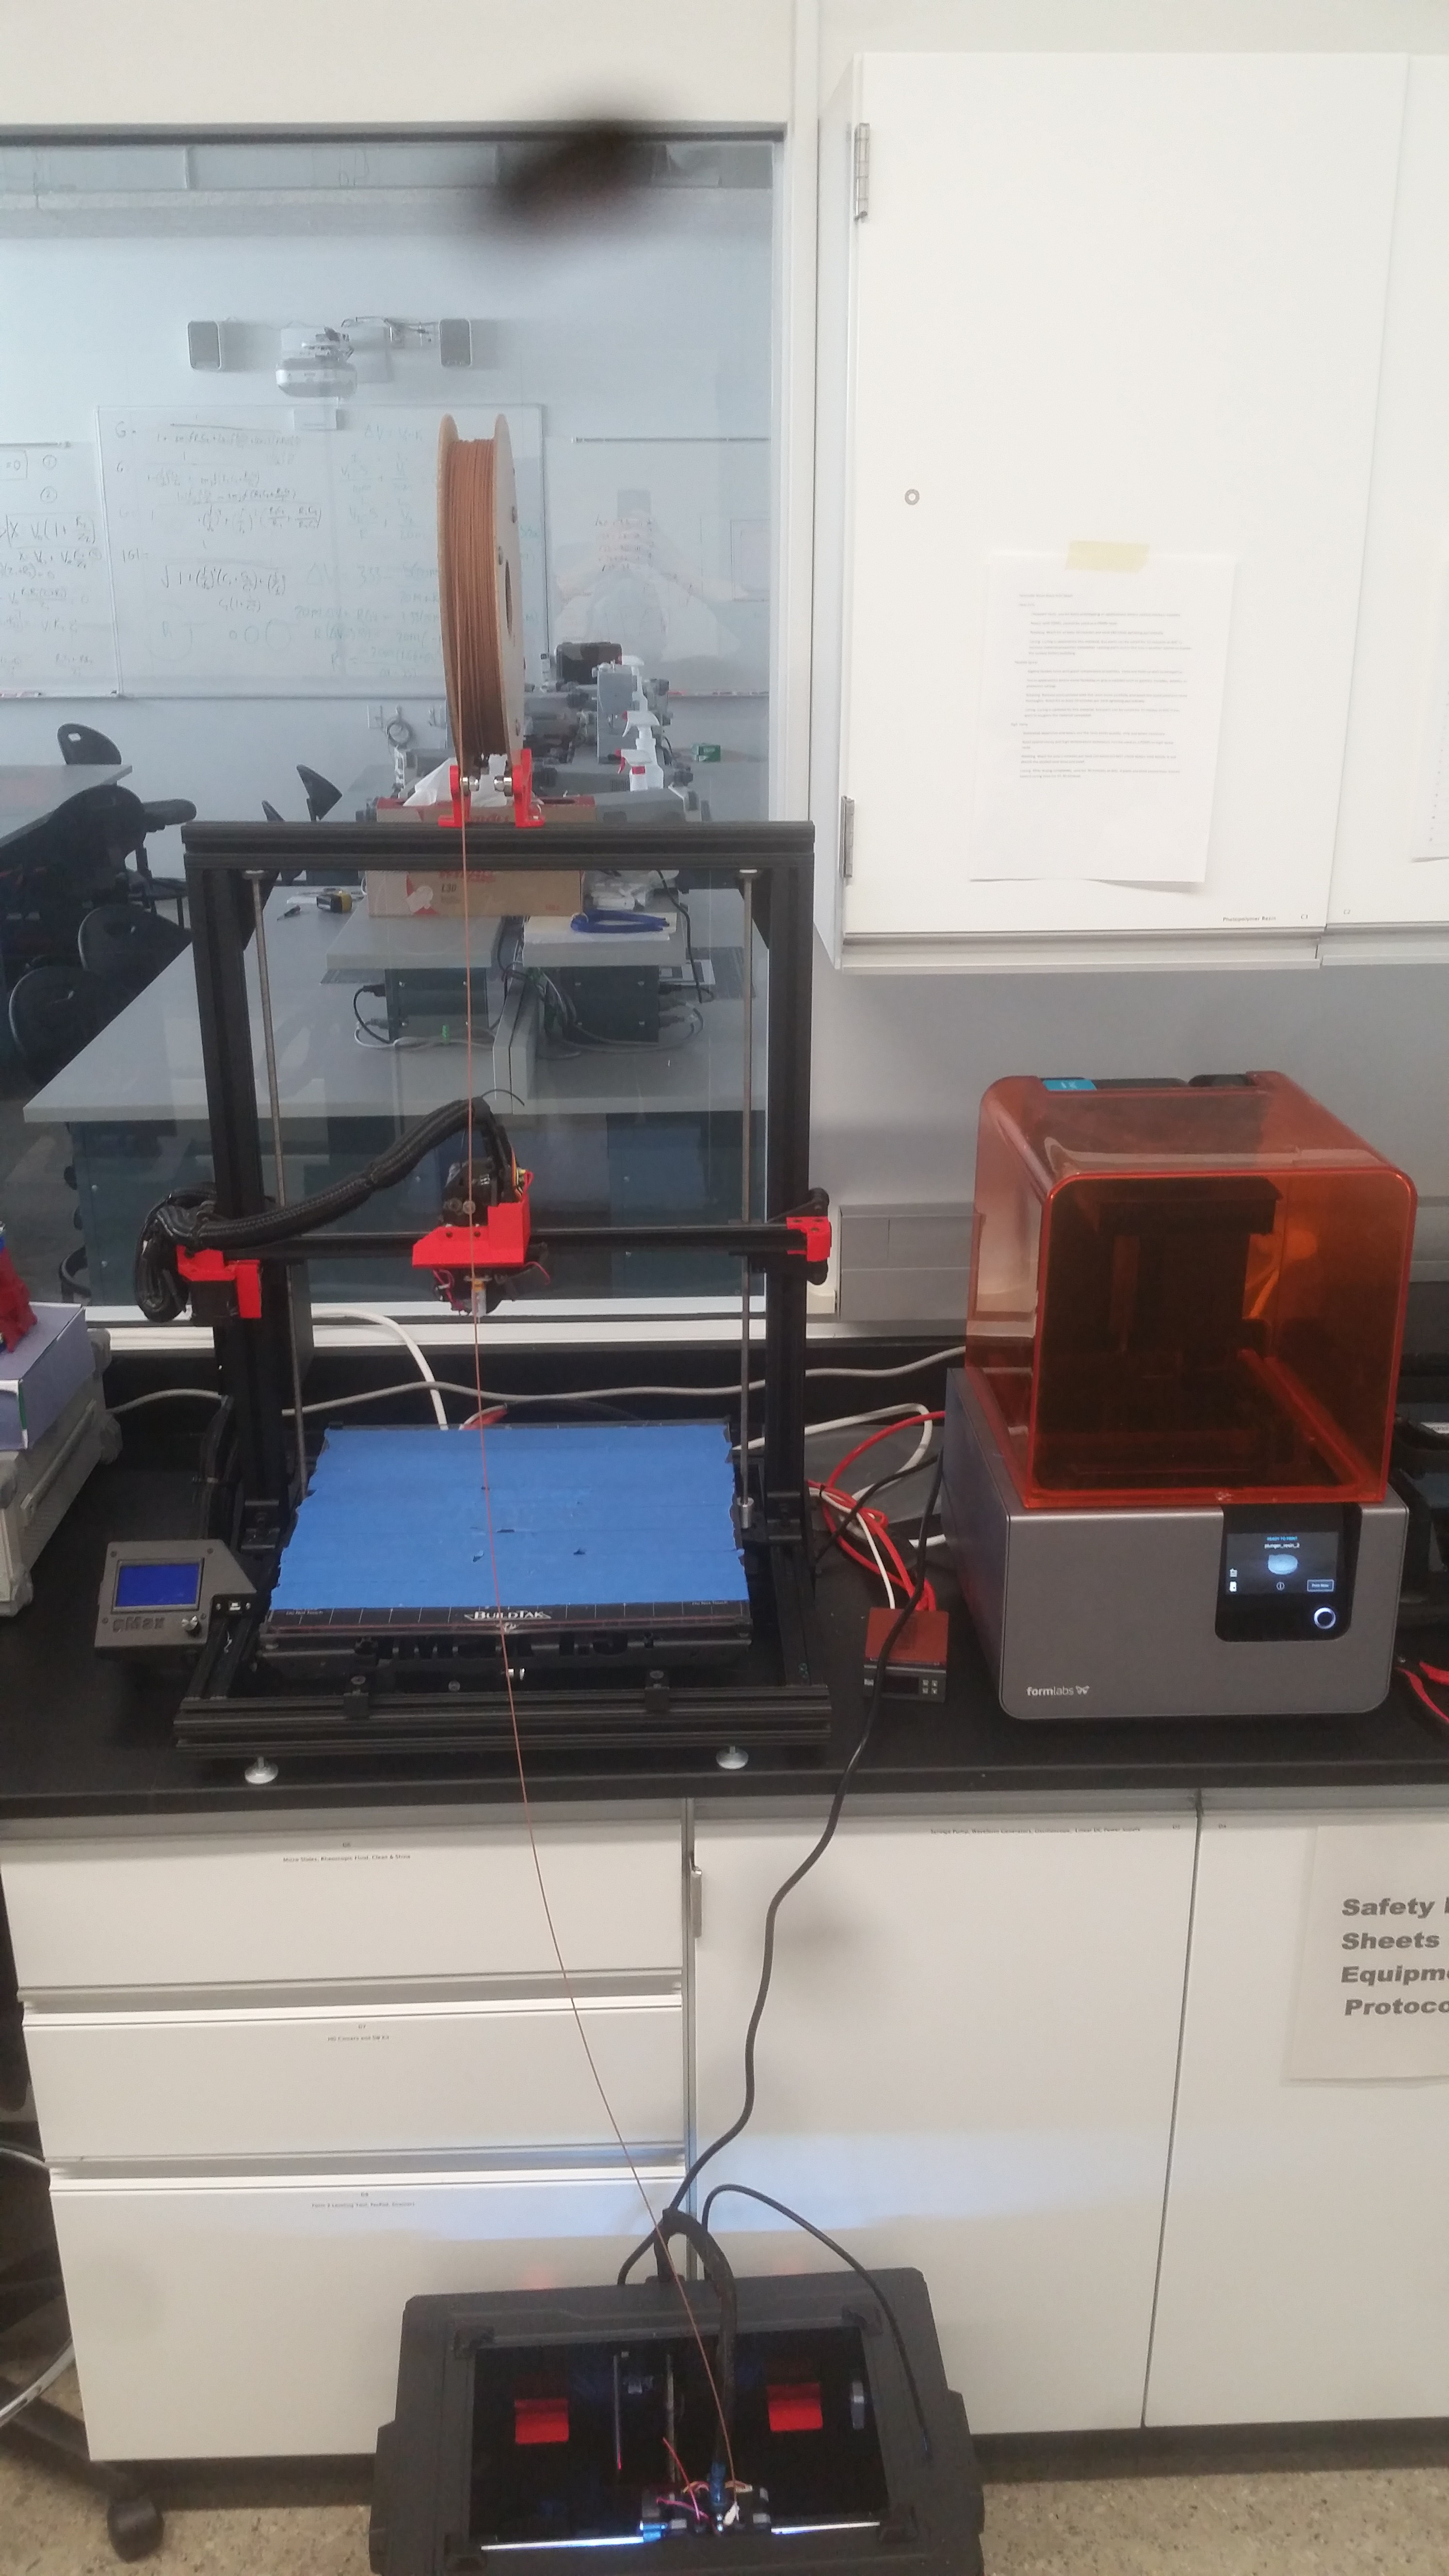
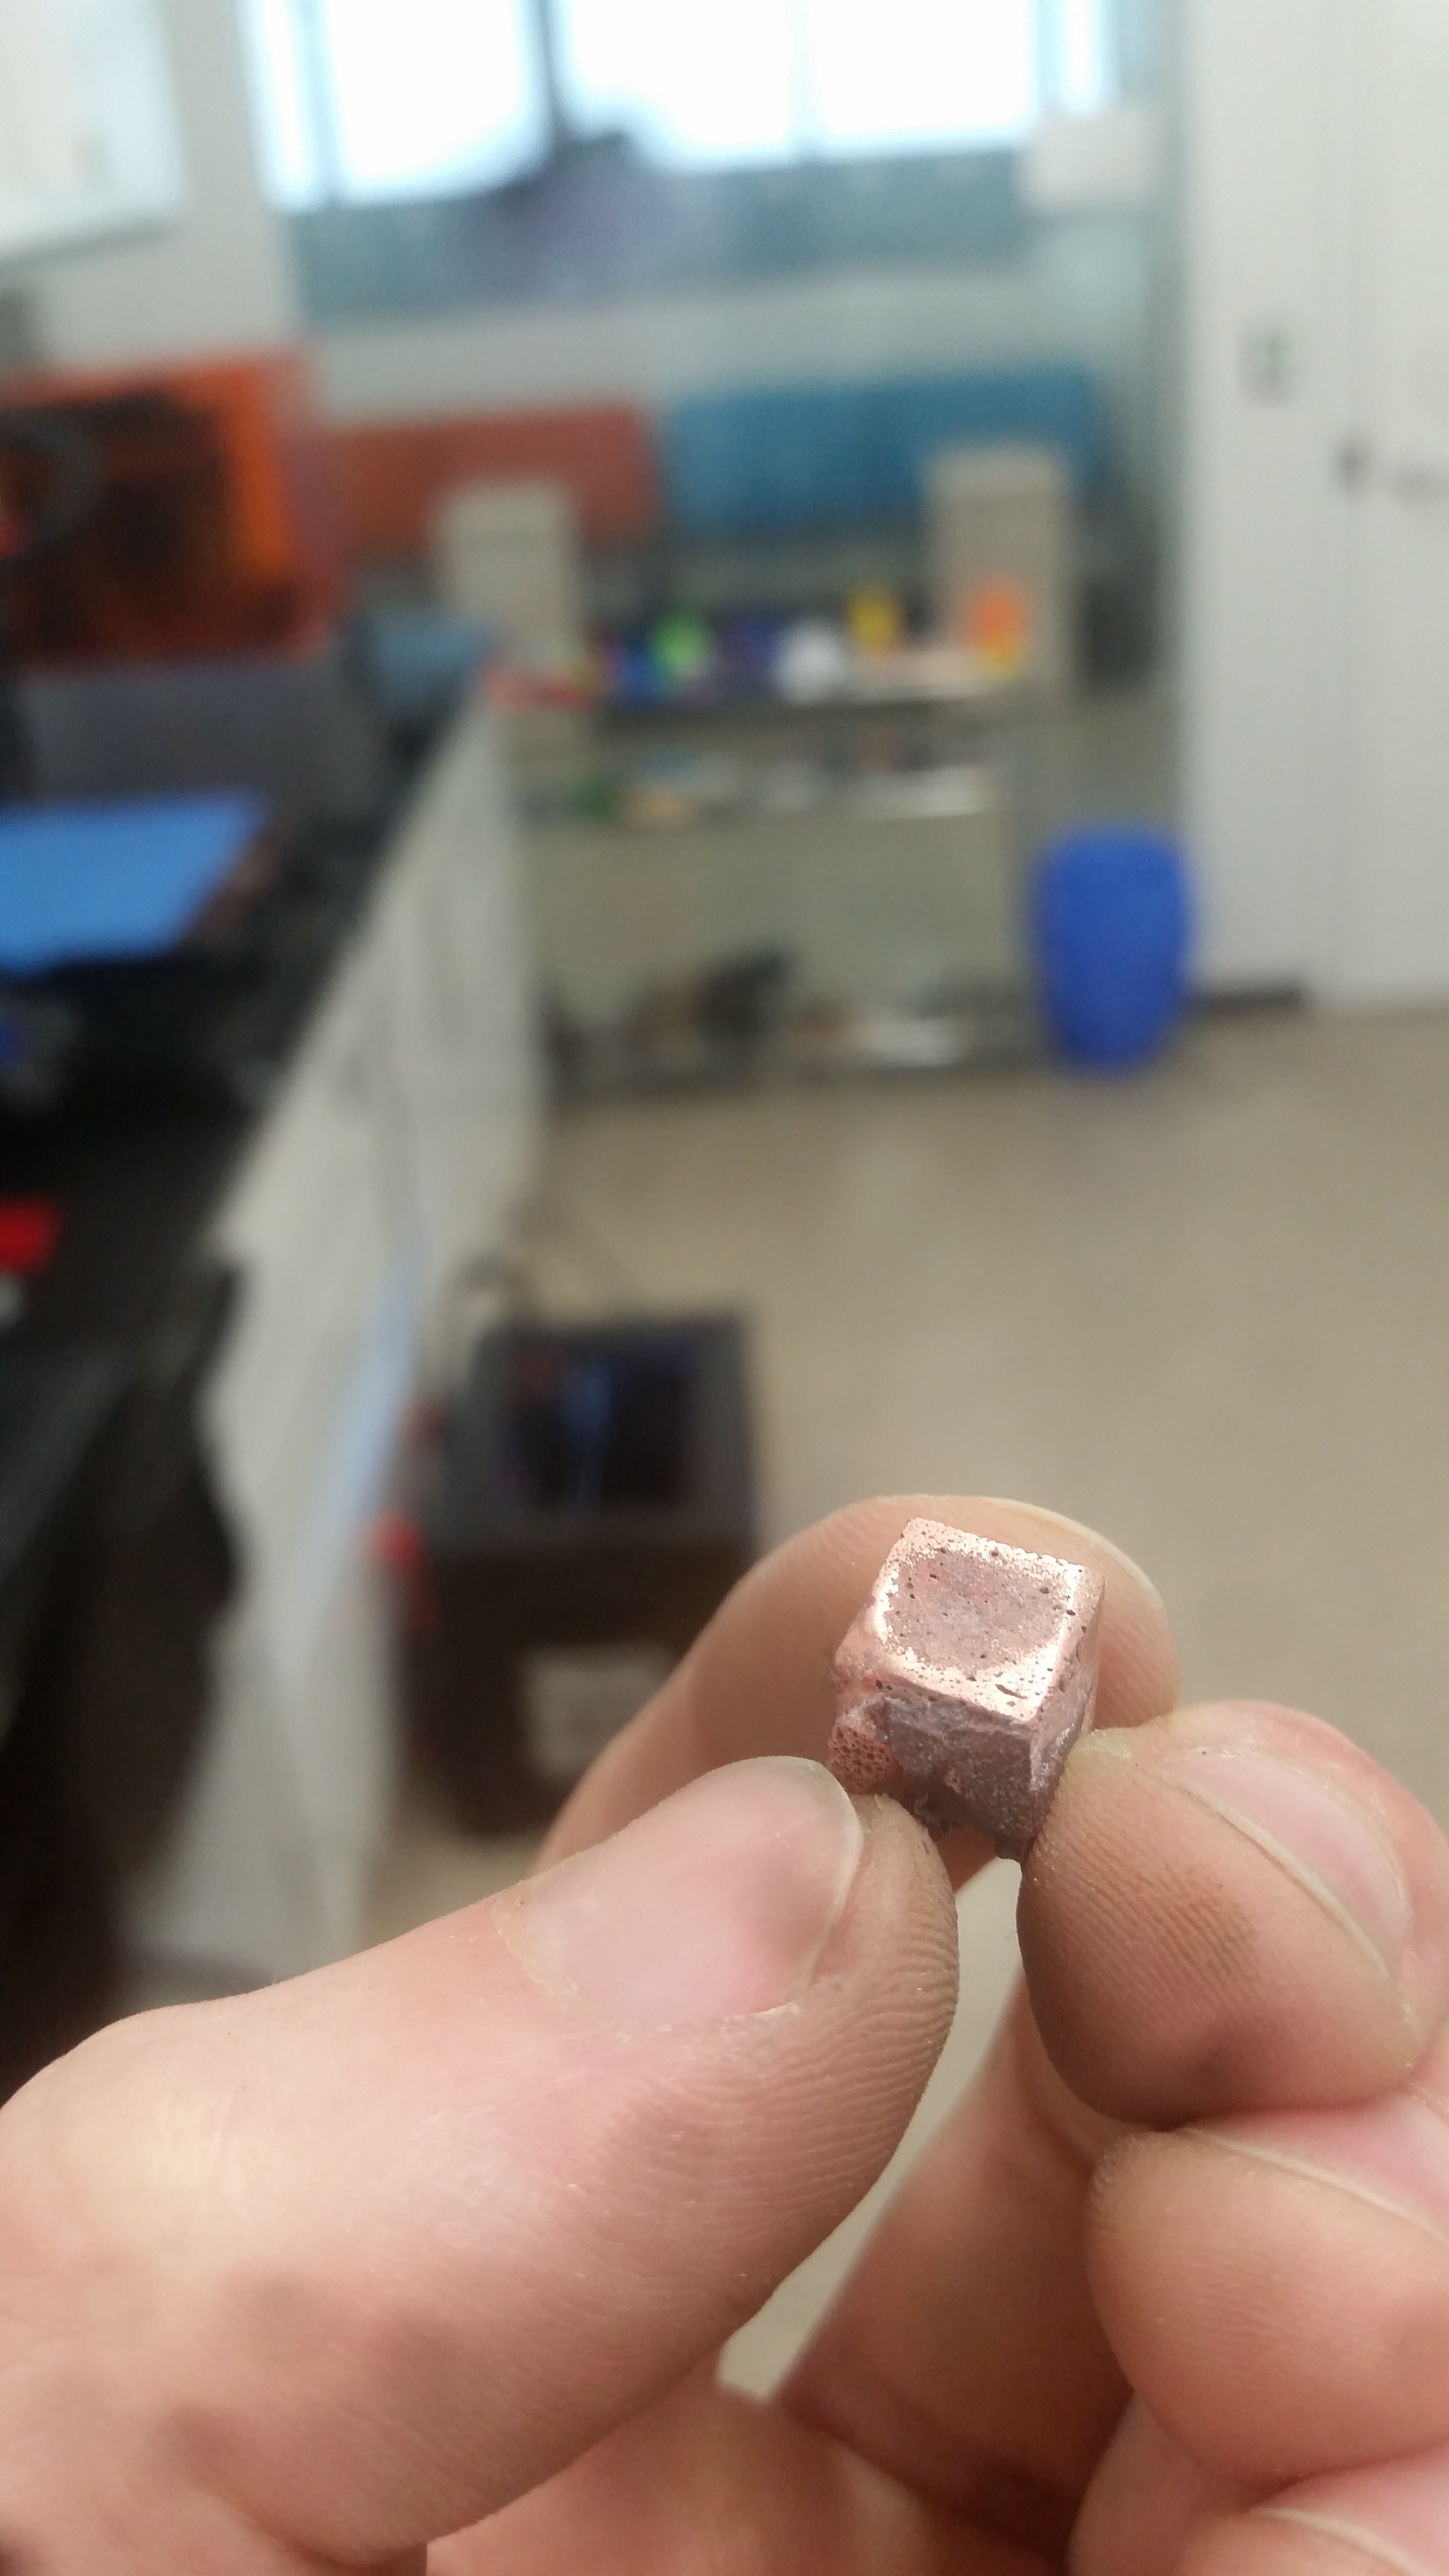
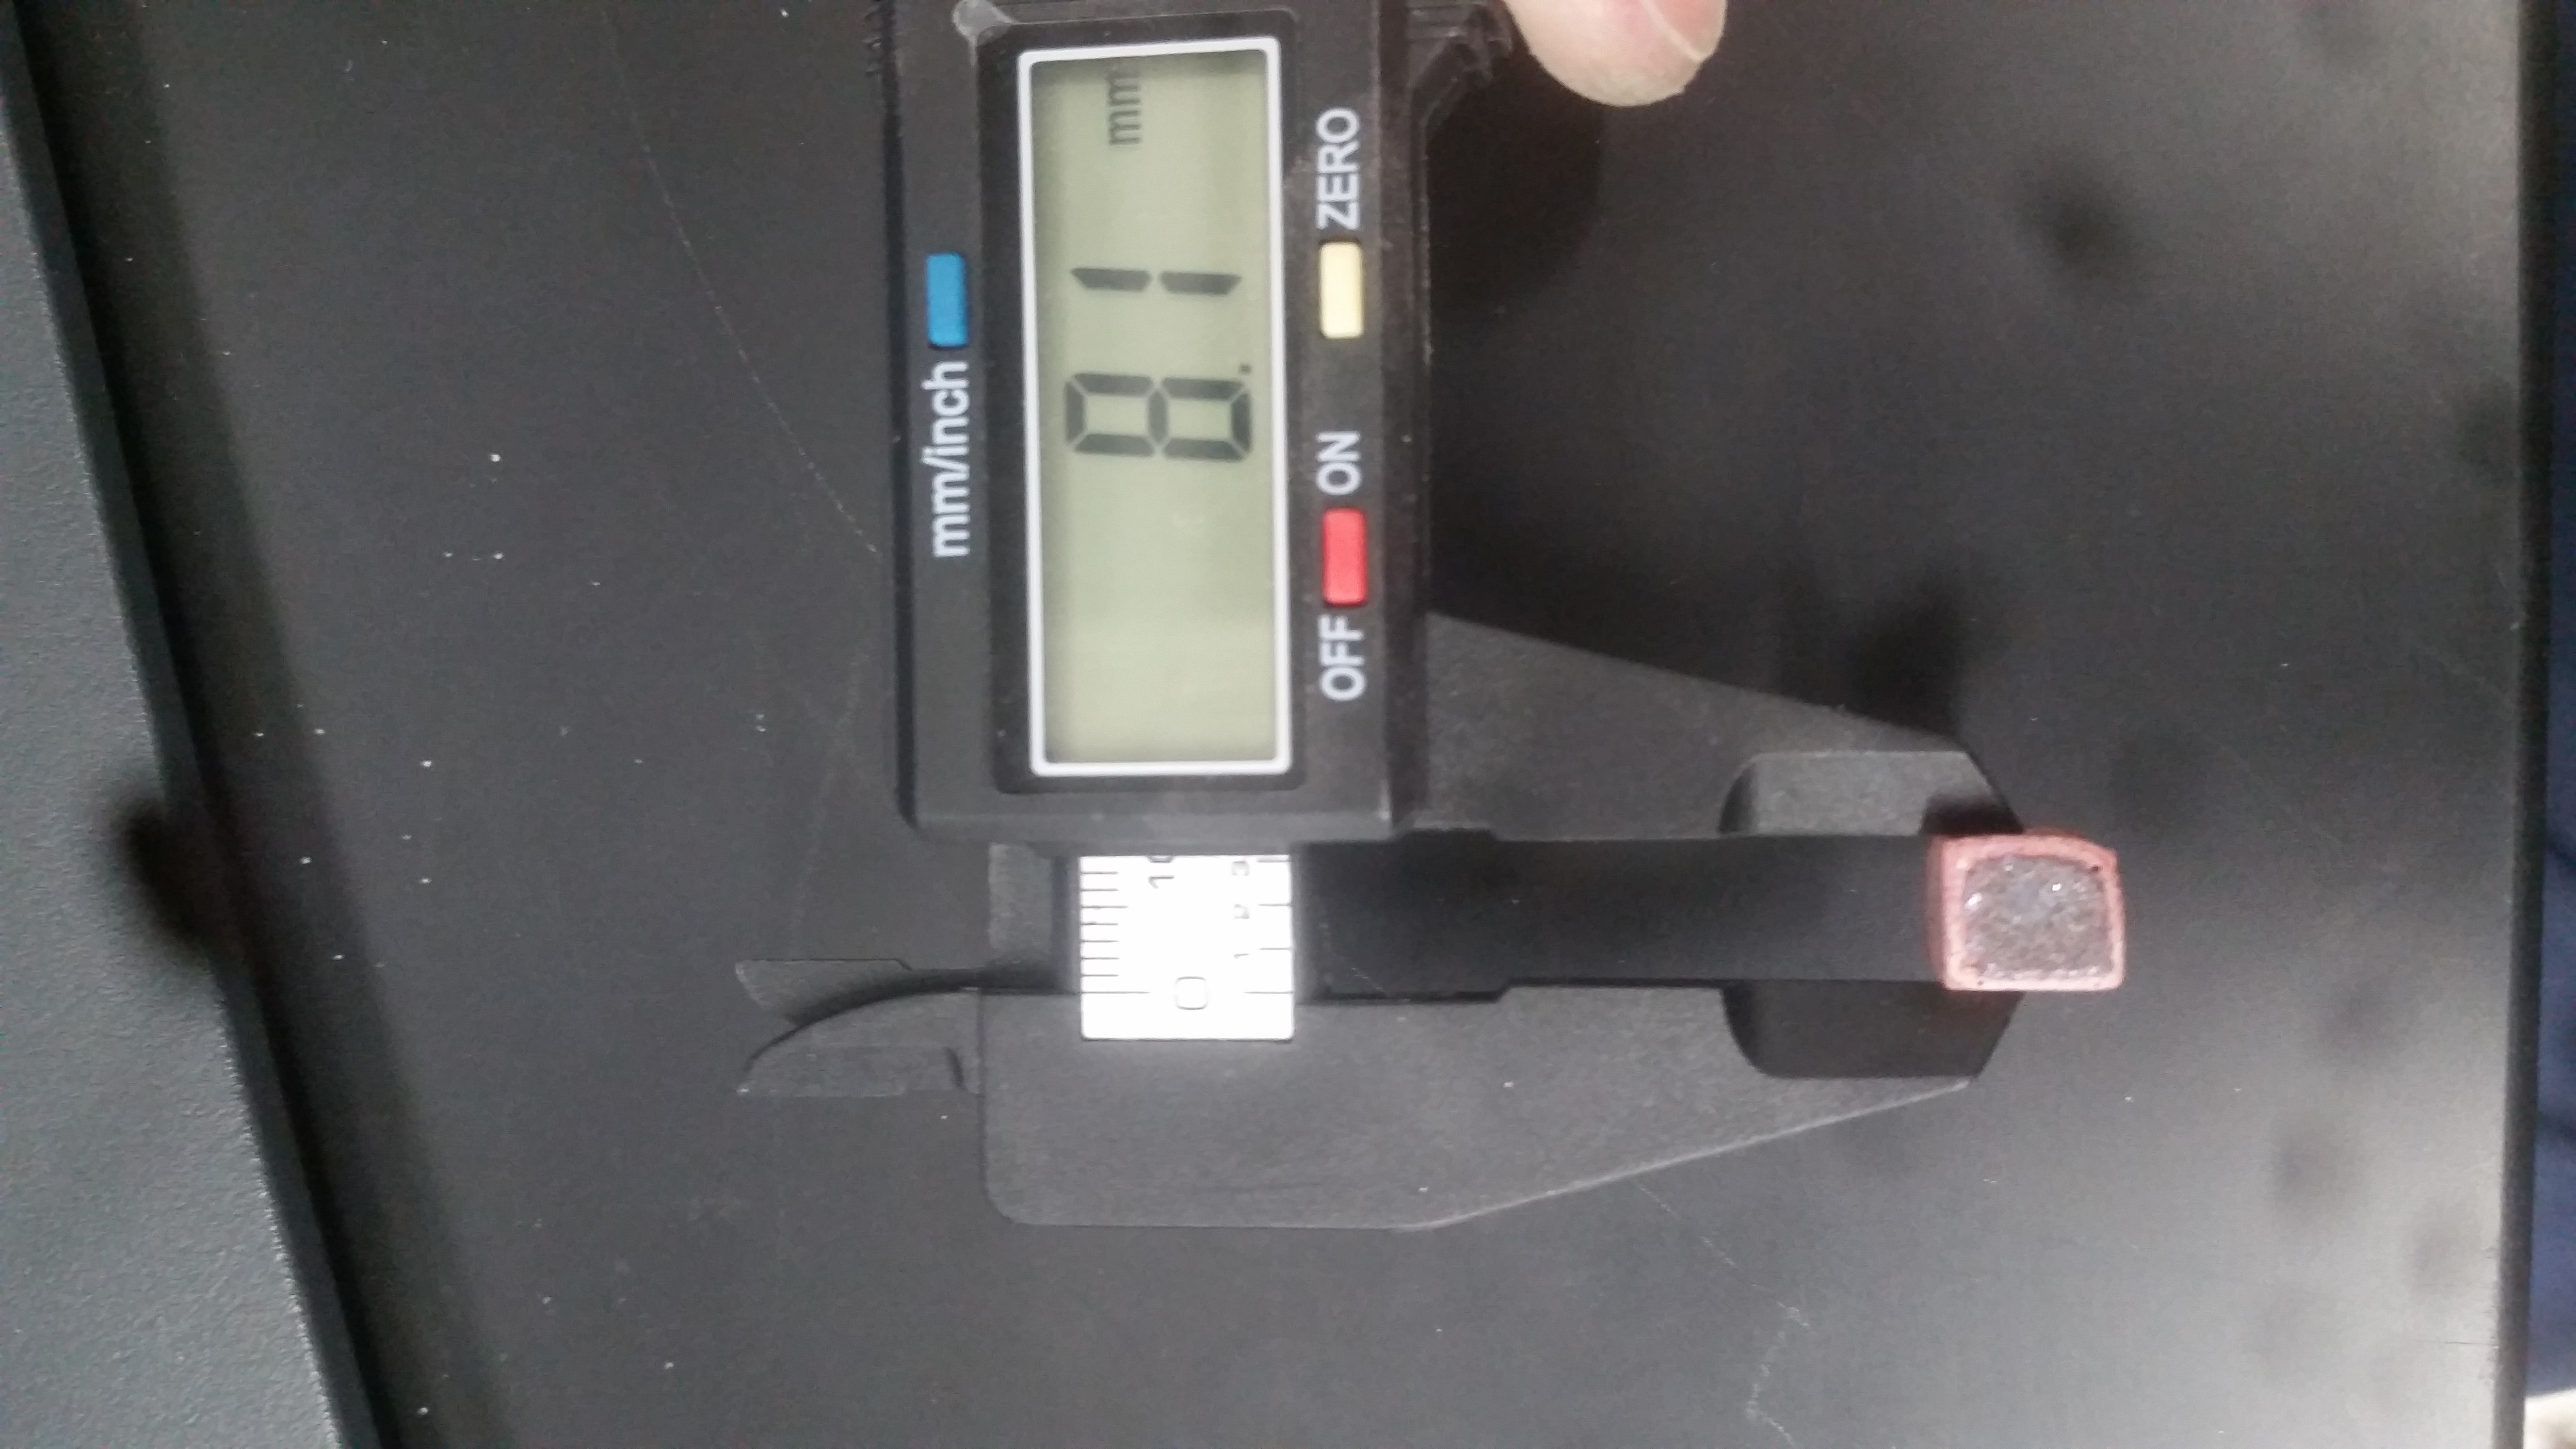
Printer: Flashforge Creator Pro with the 0.4 mm steel nozzle from the "all metal hotend" upgrade
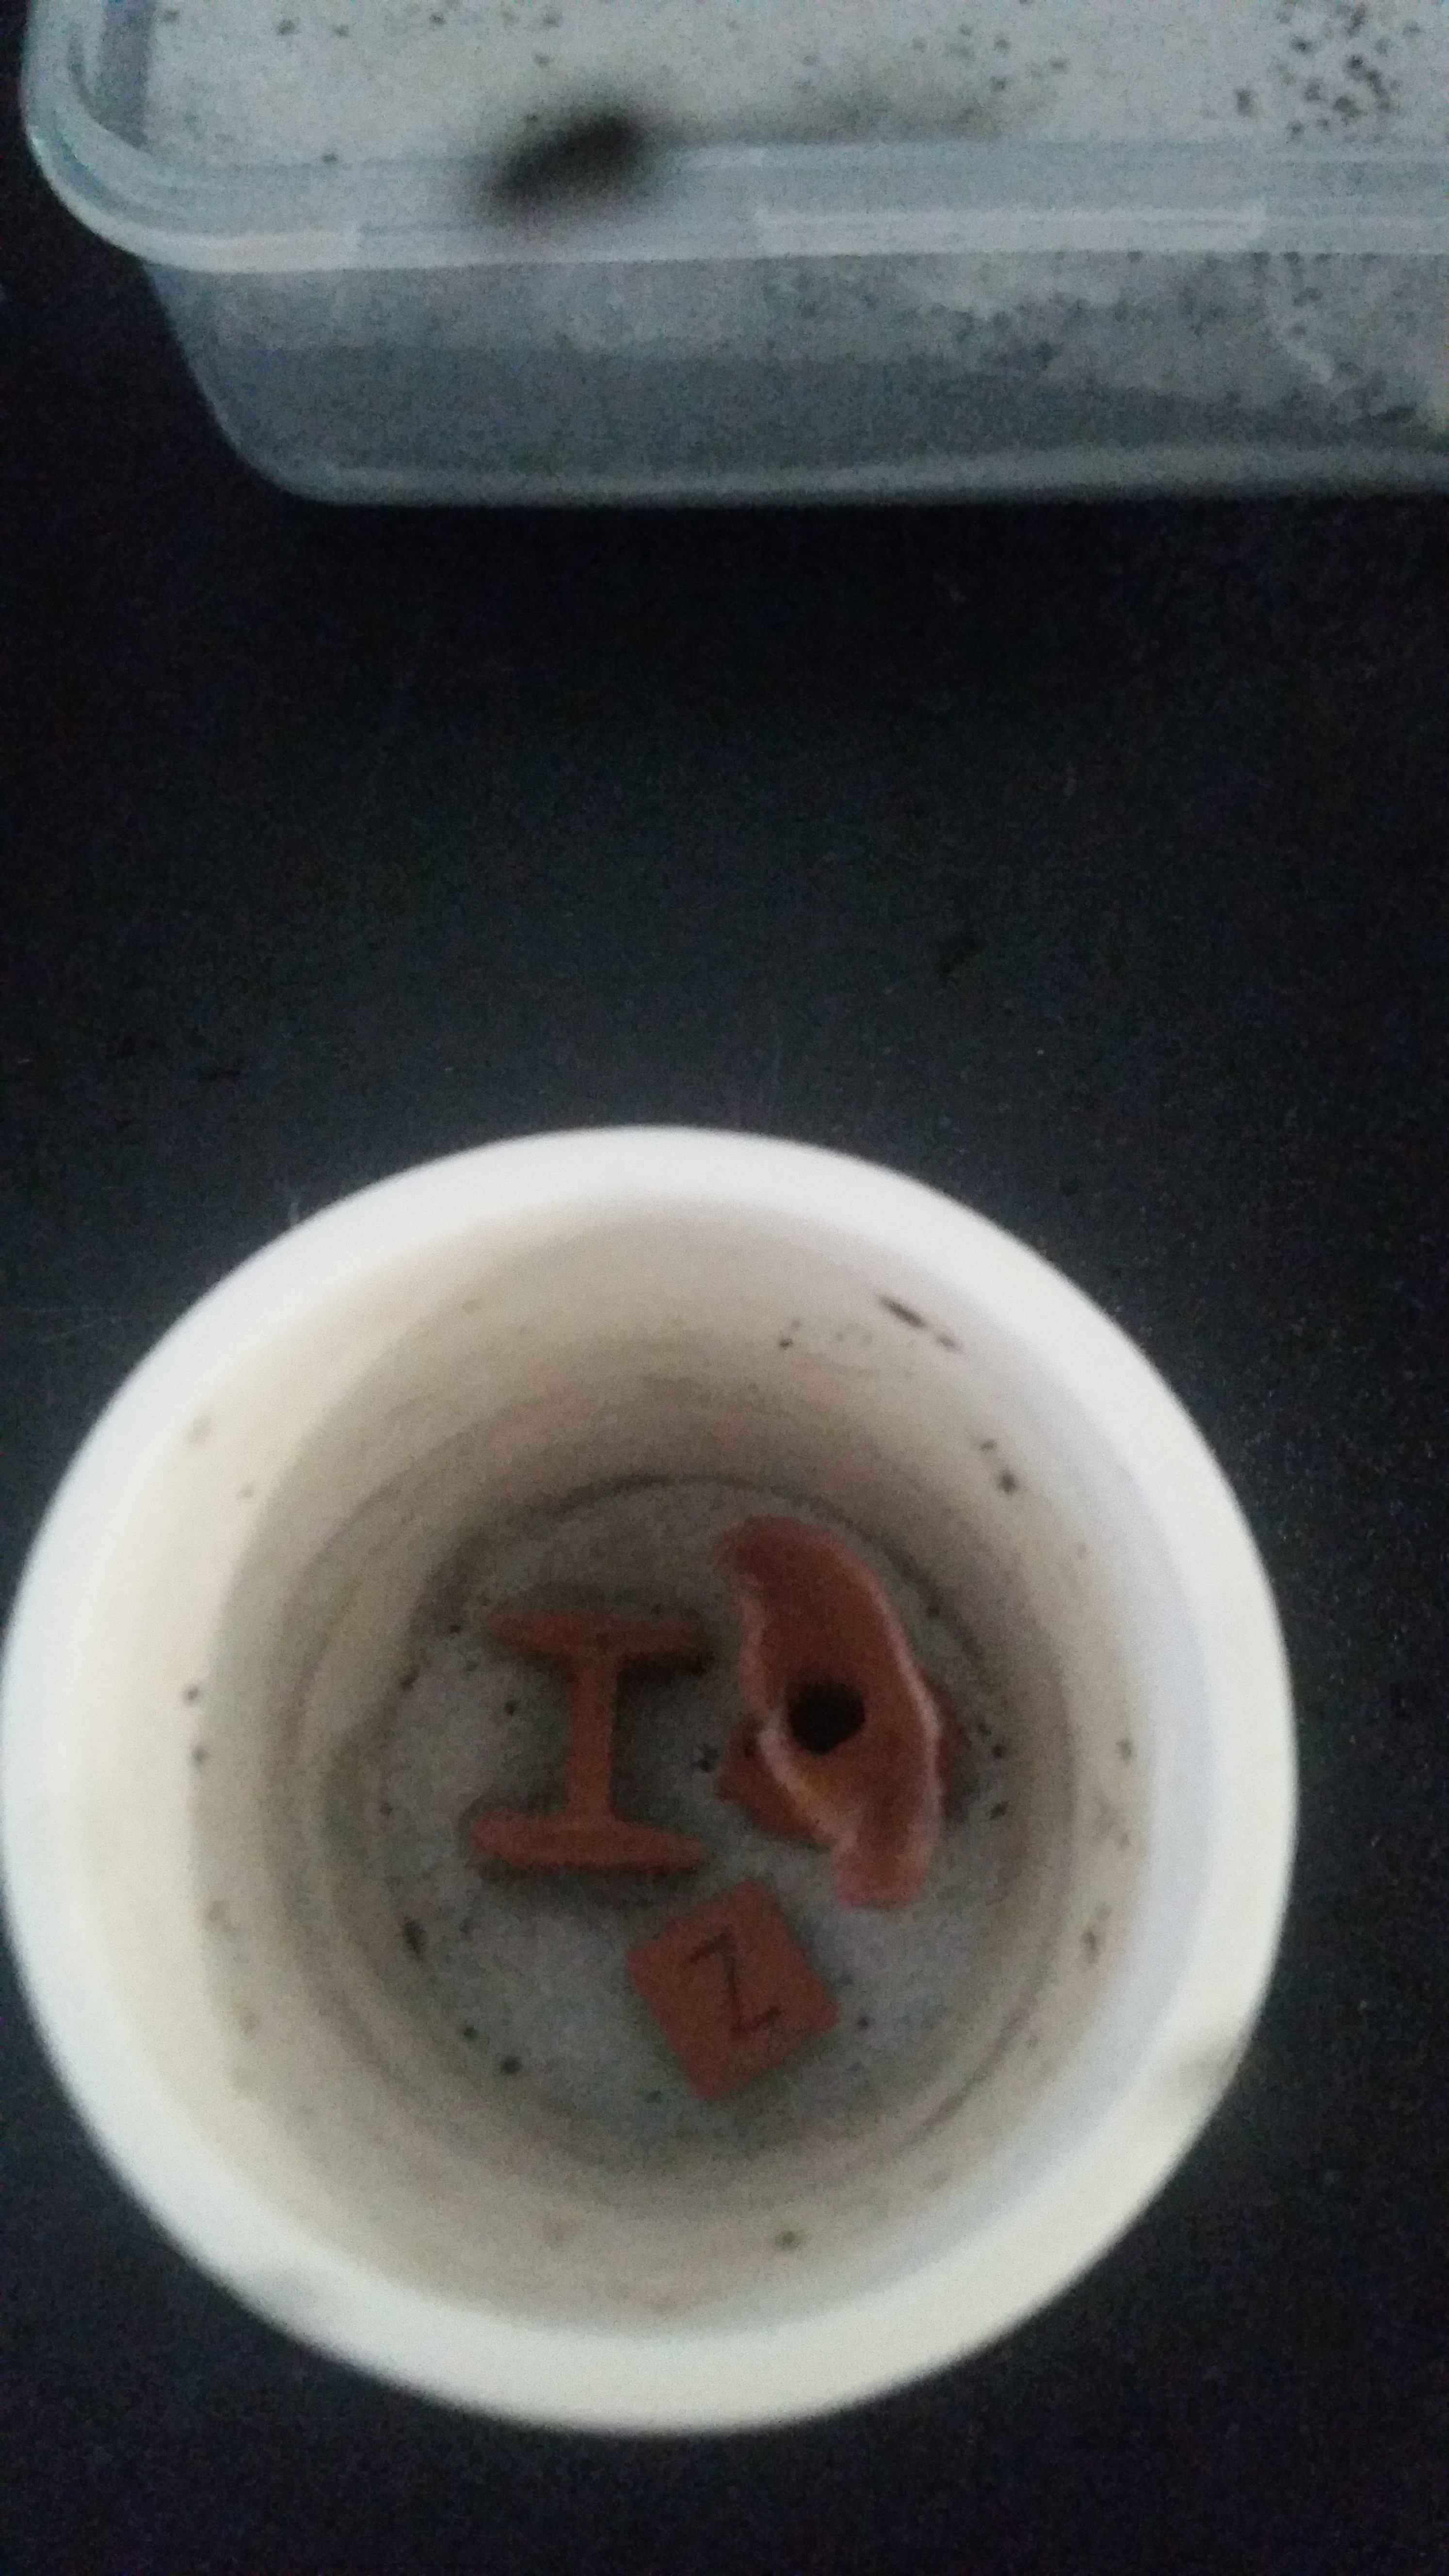
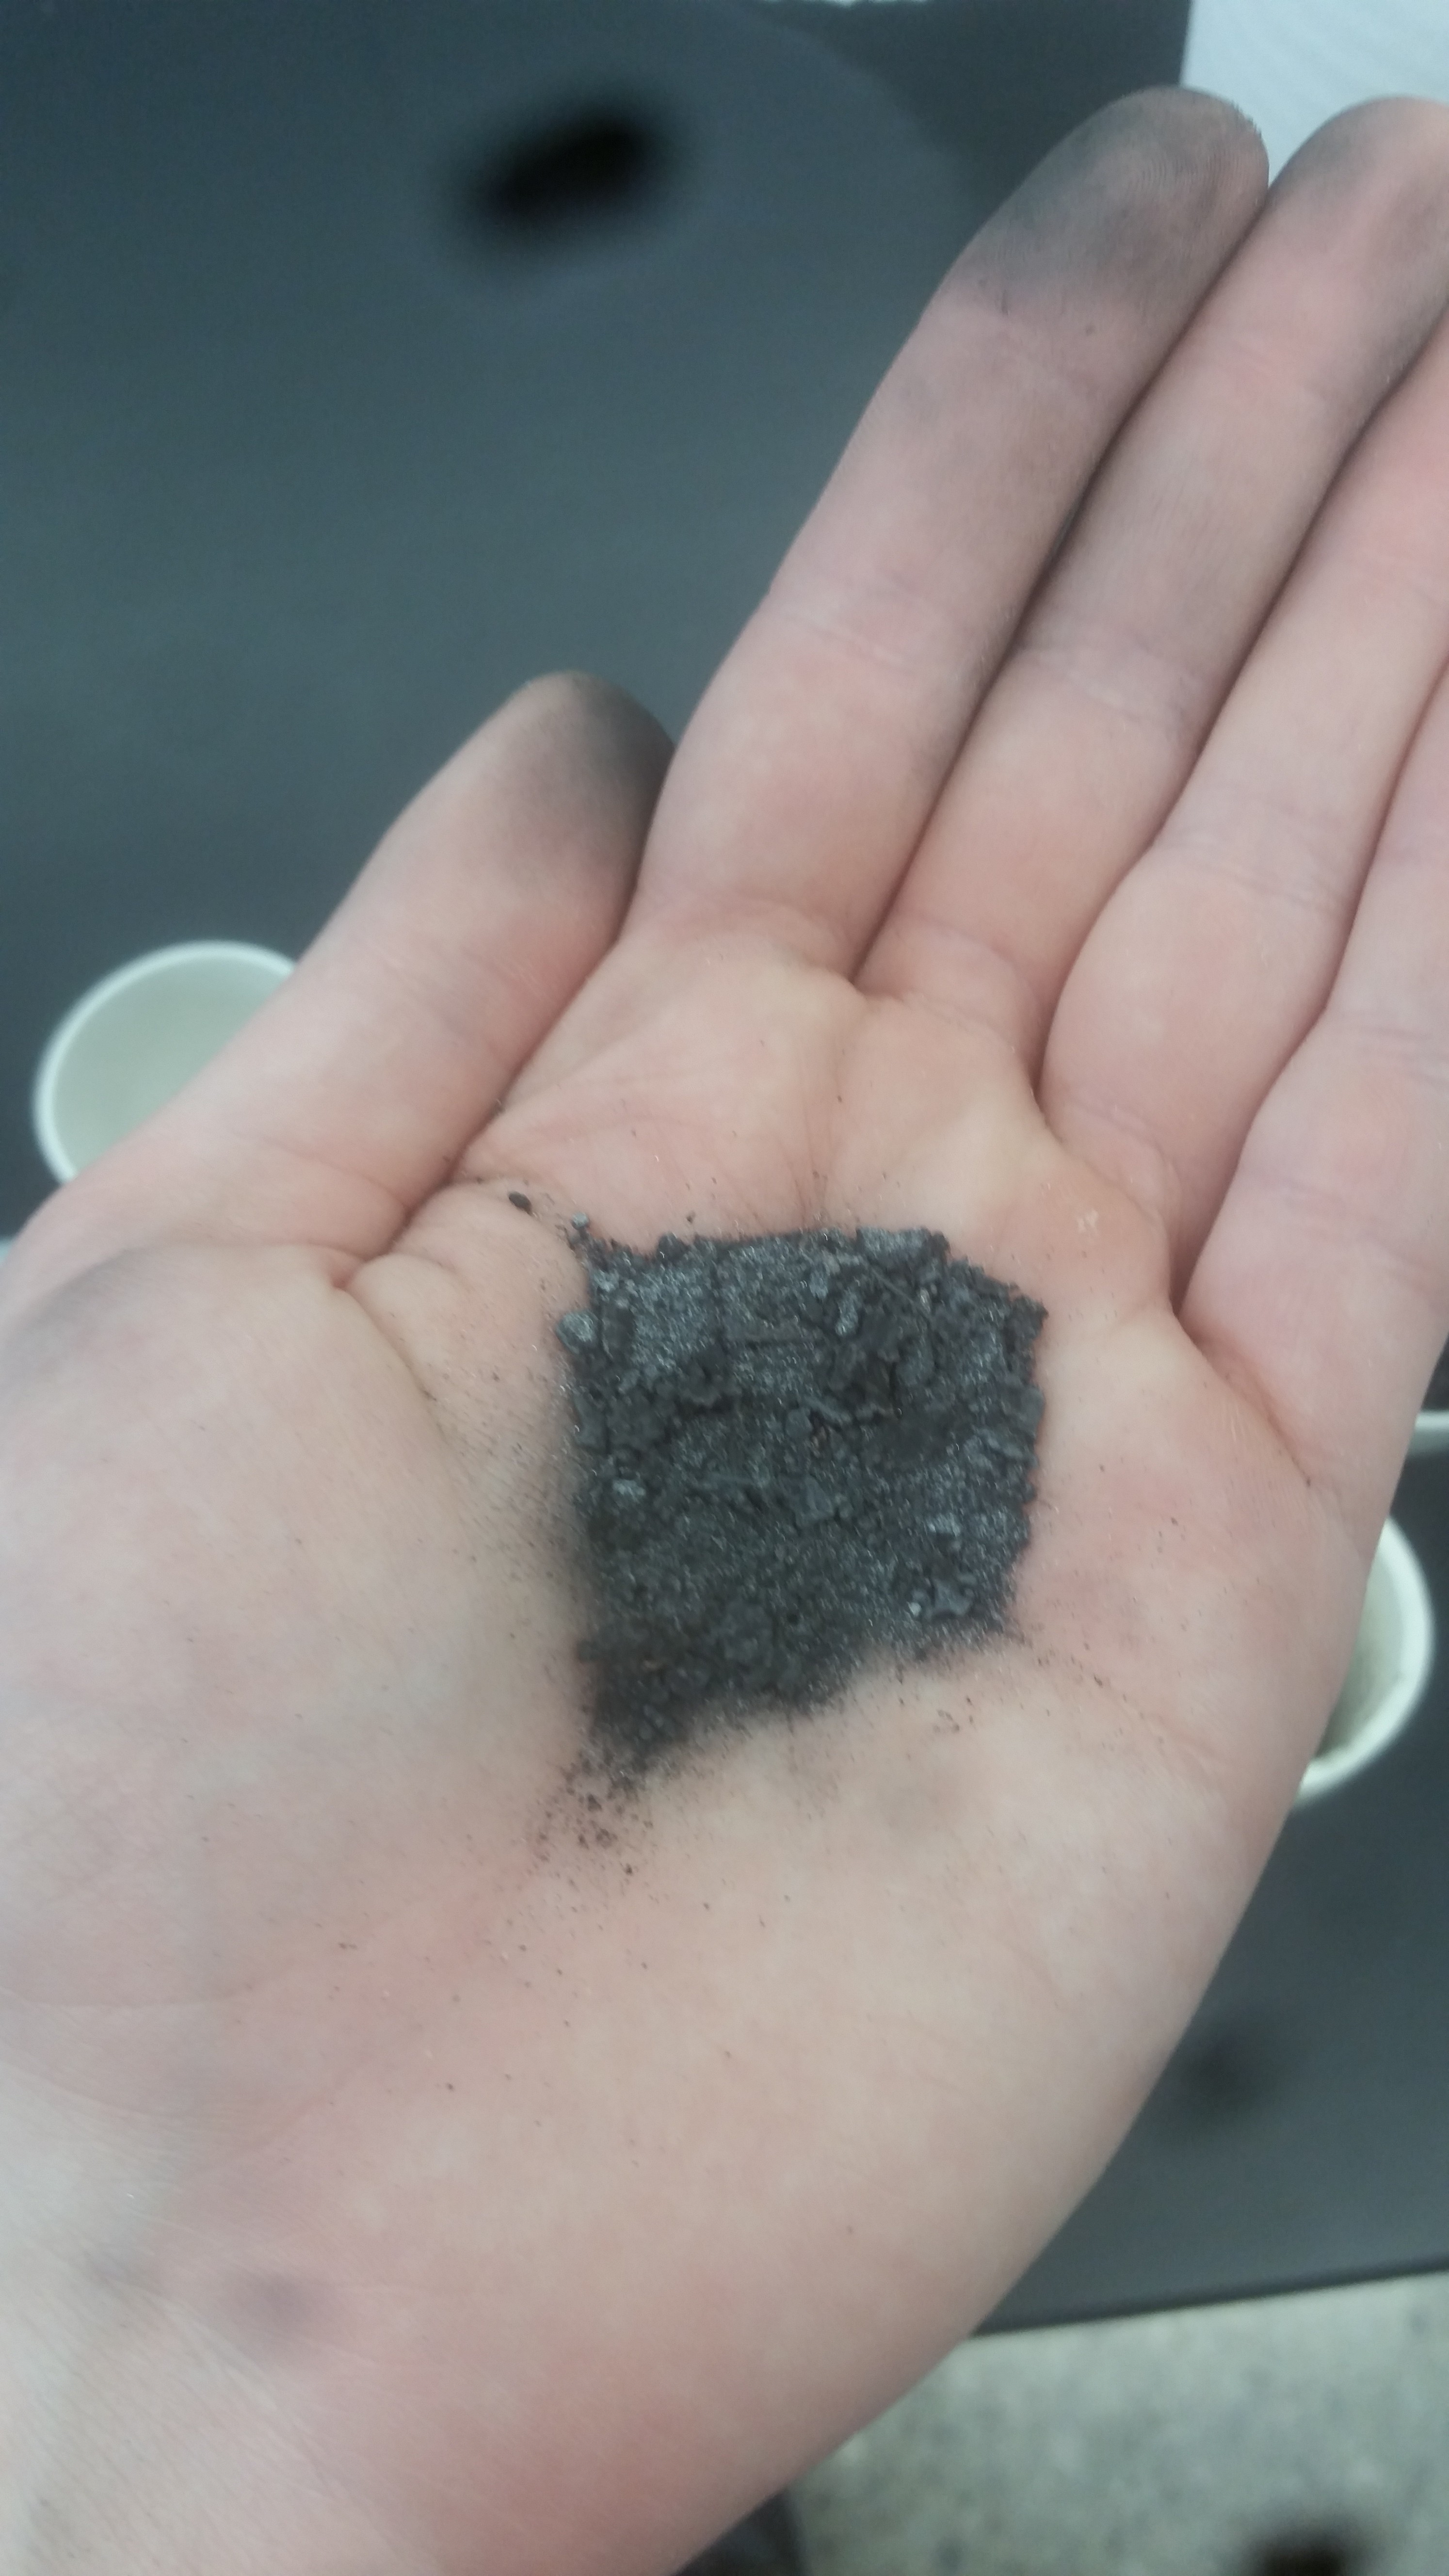
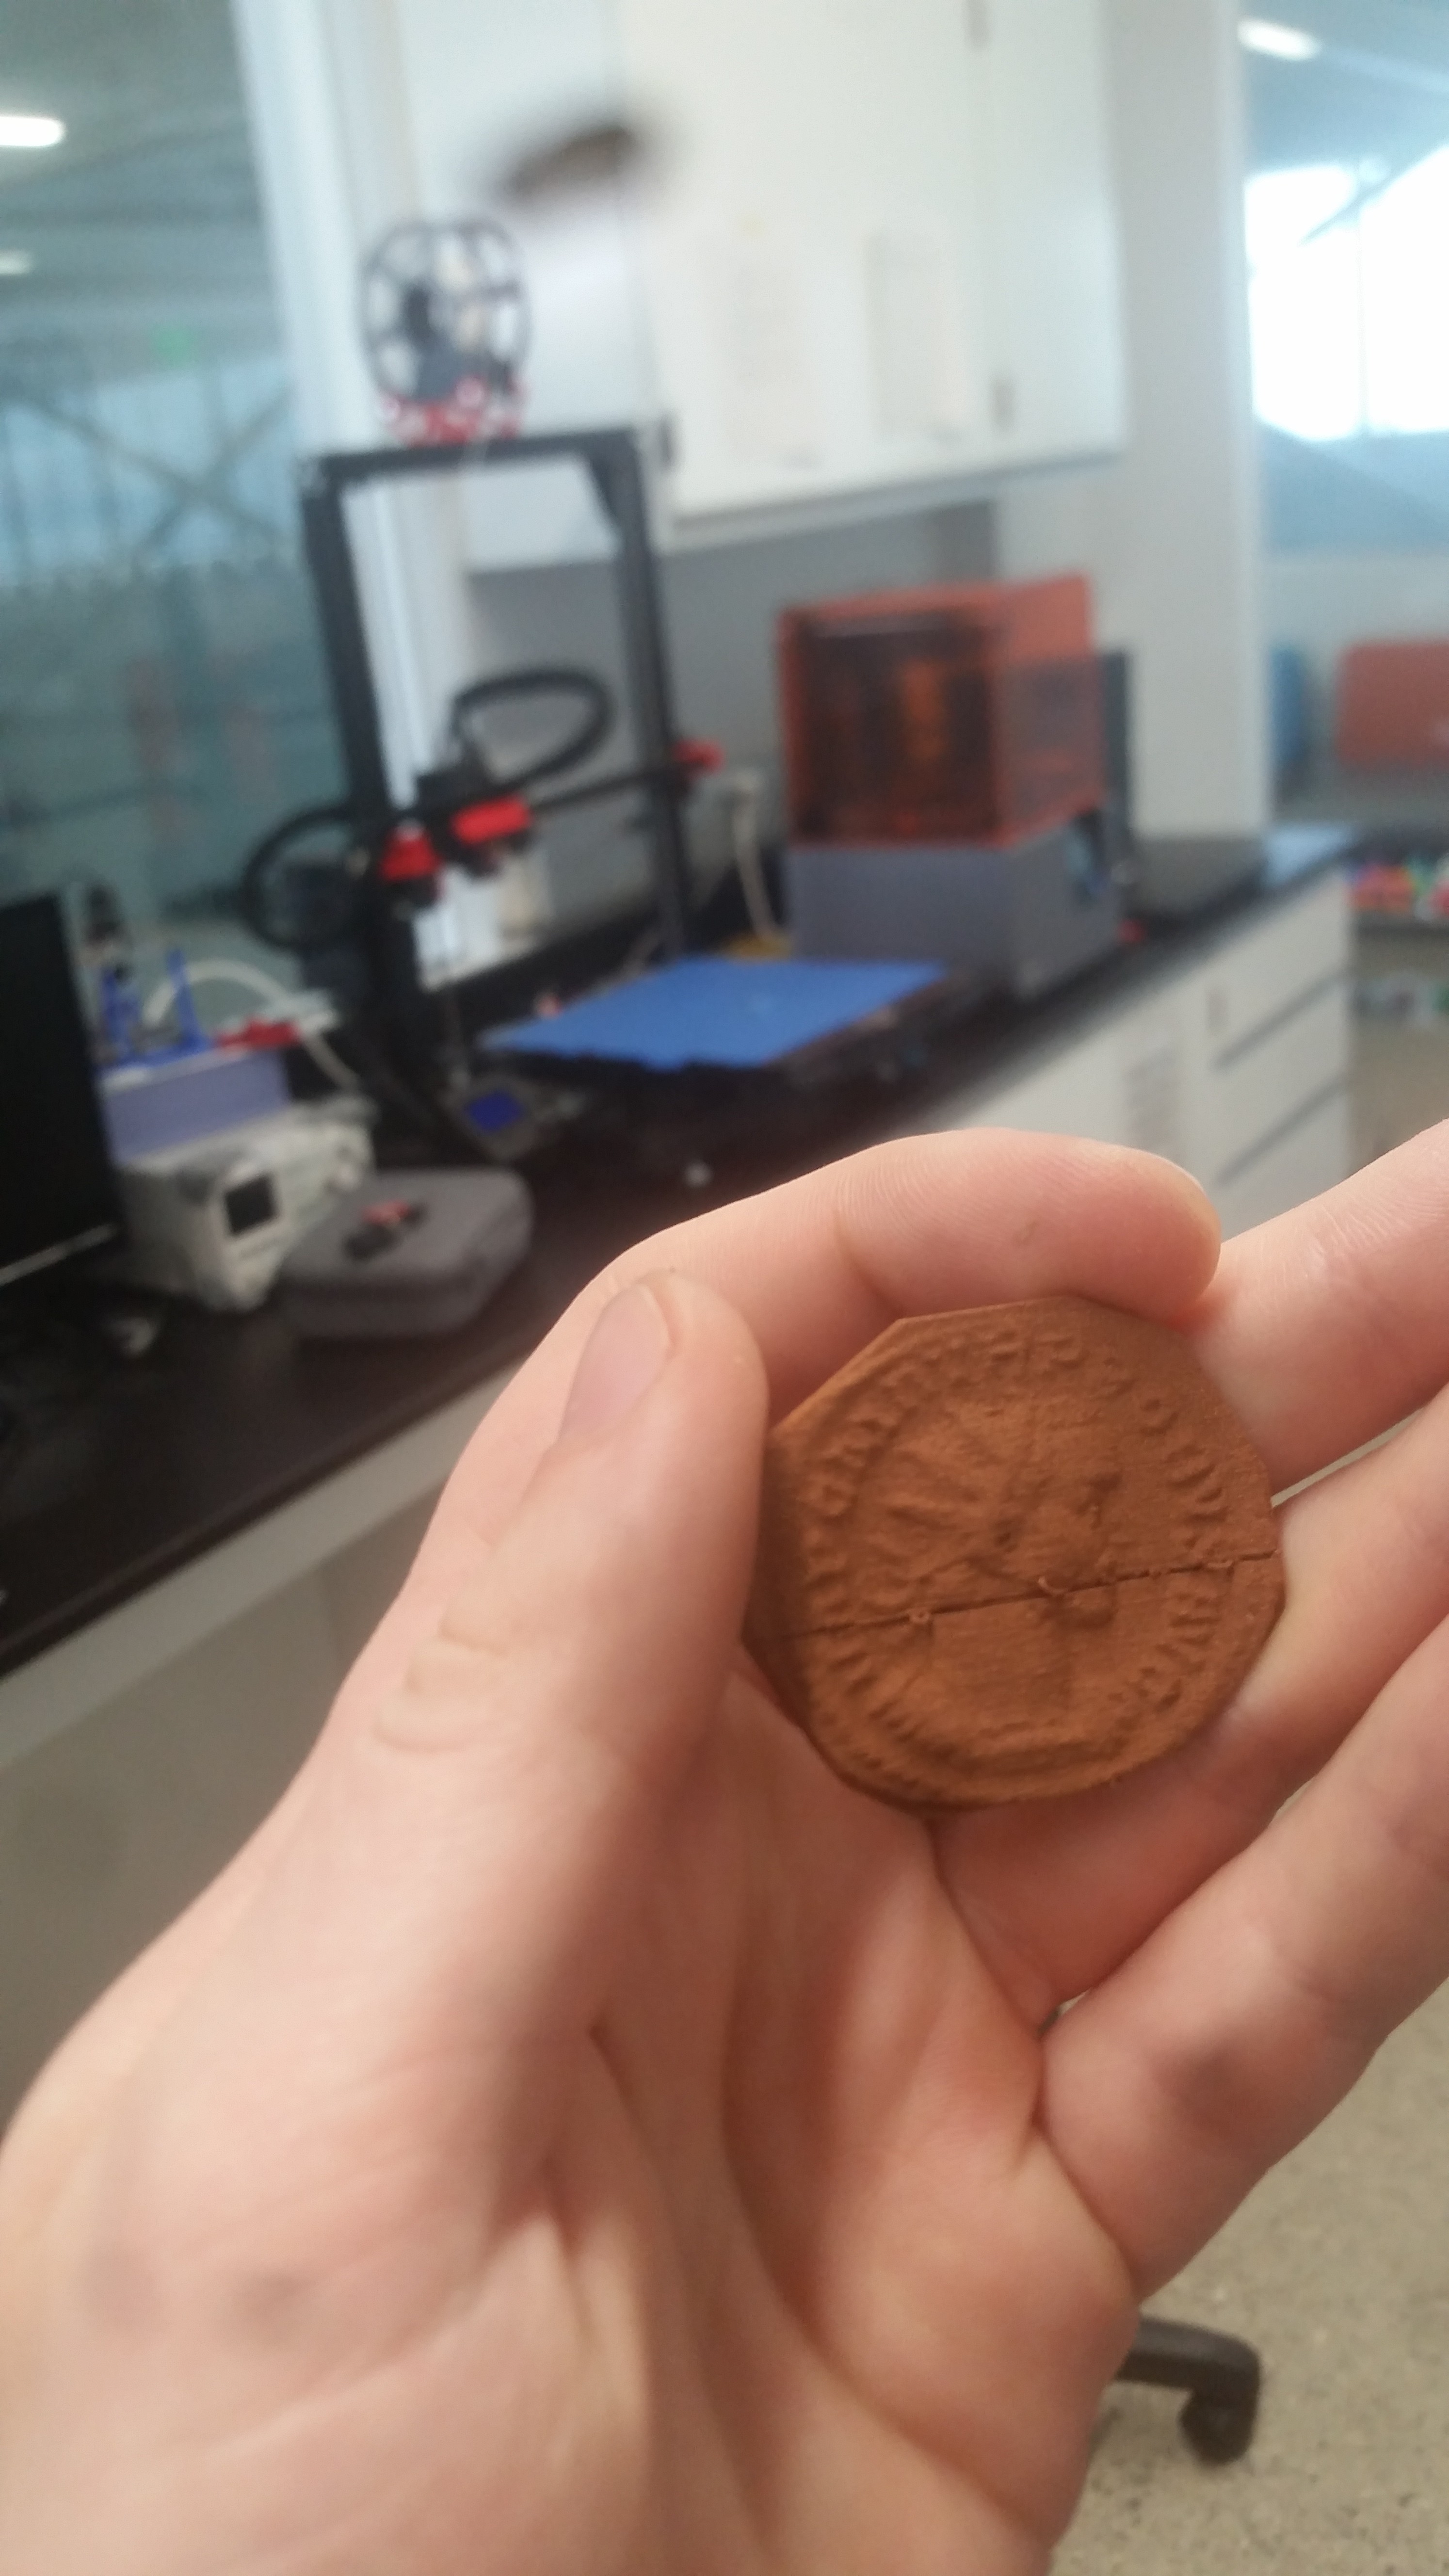
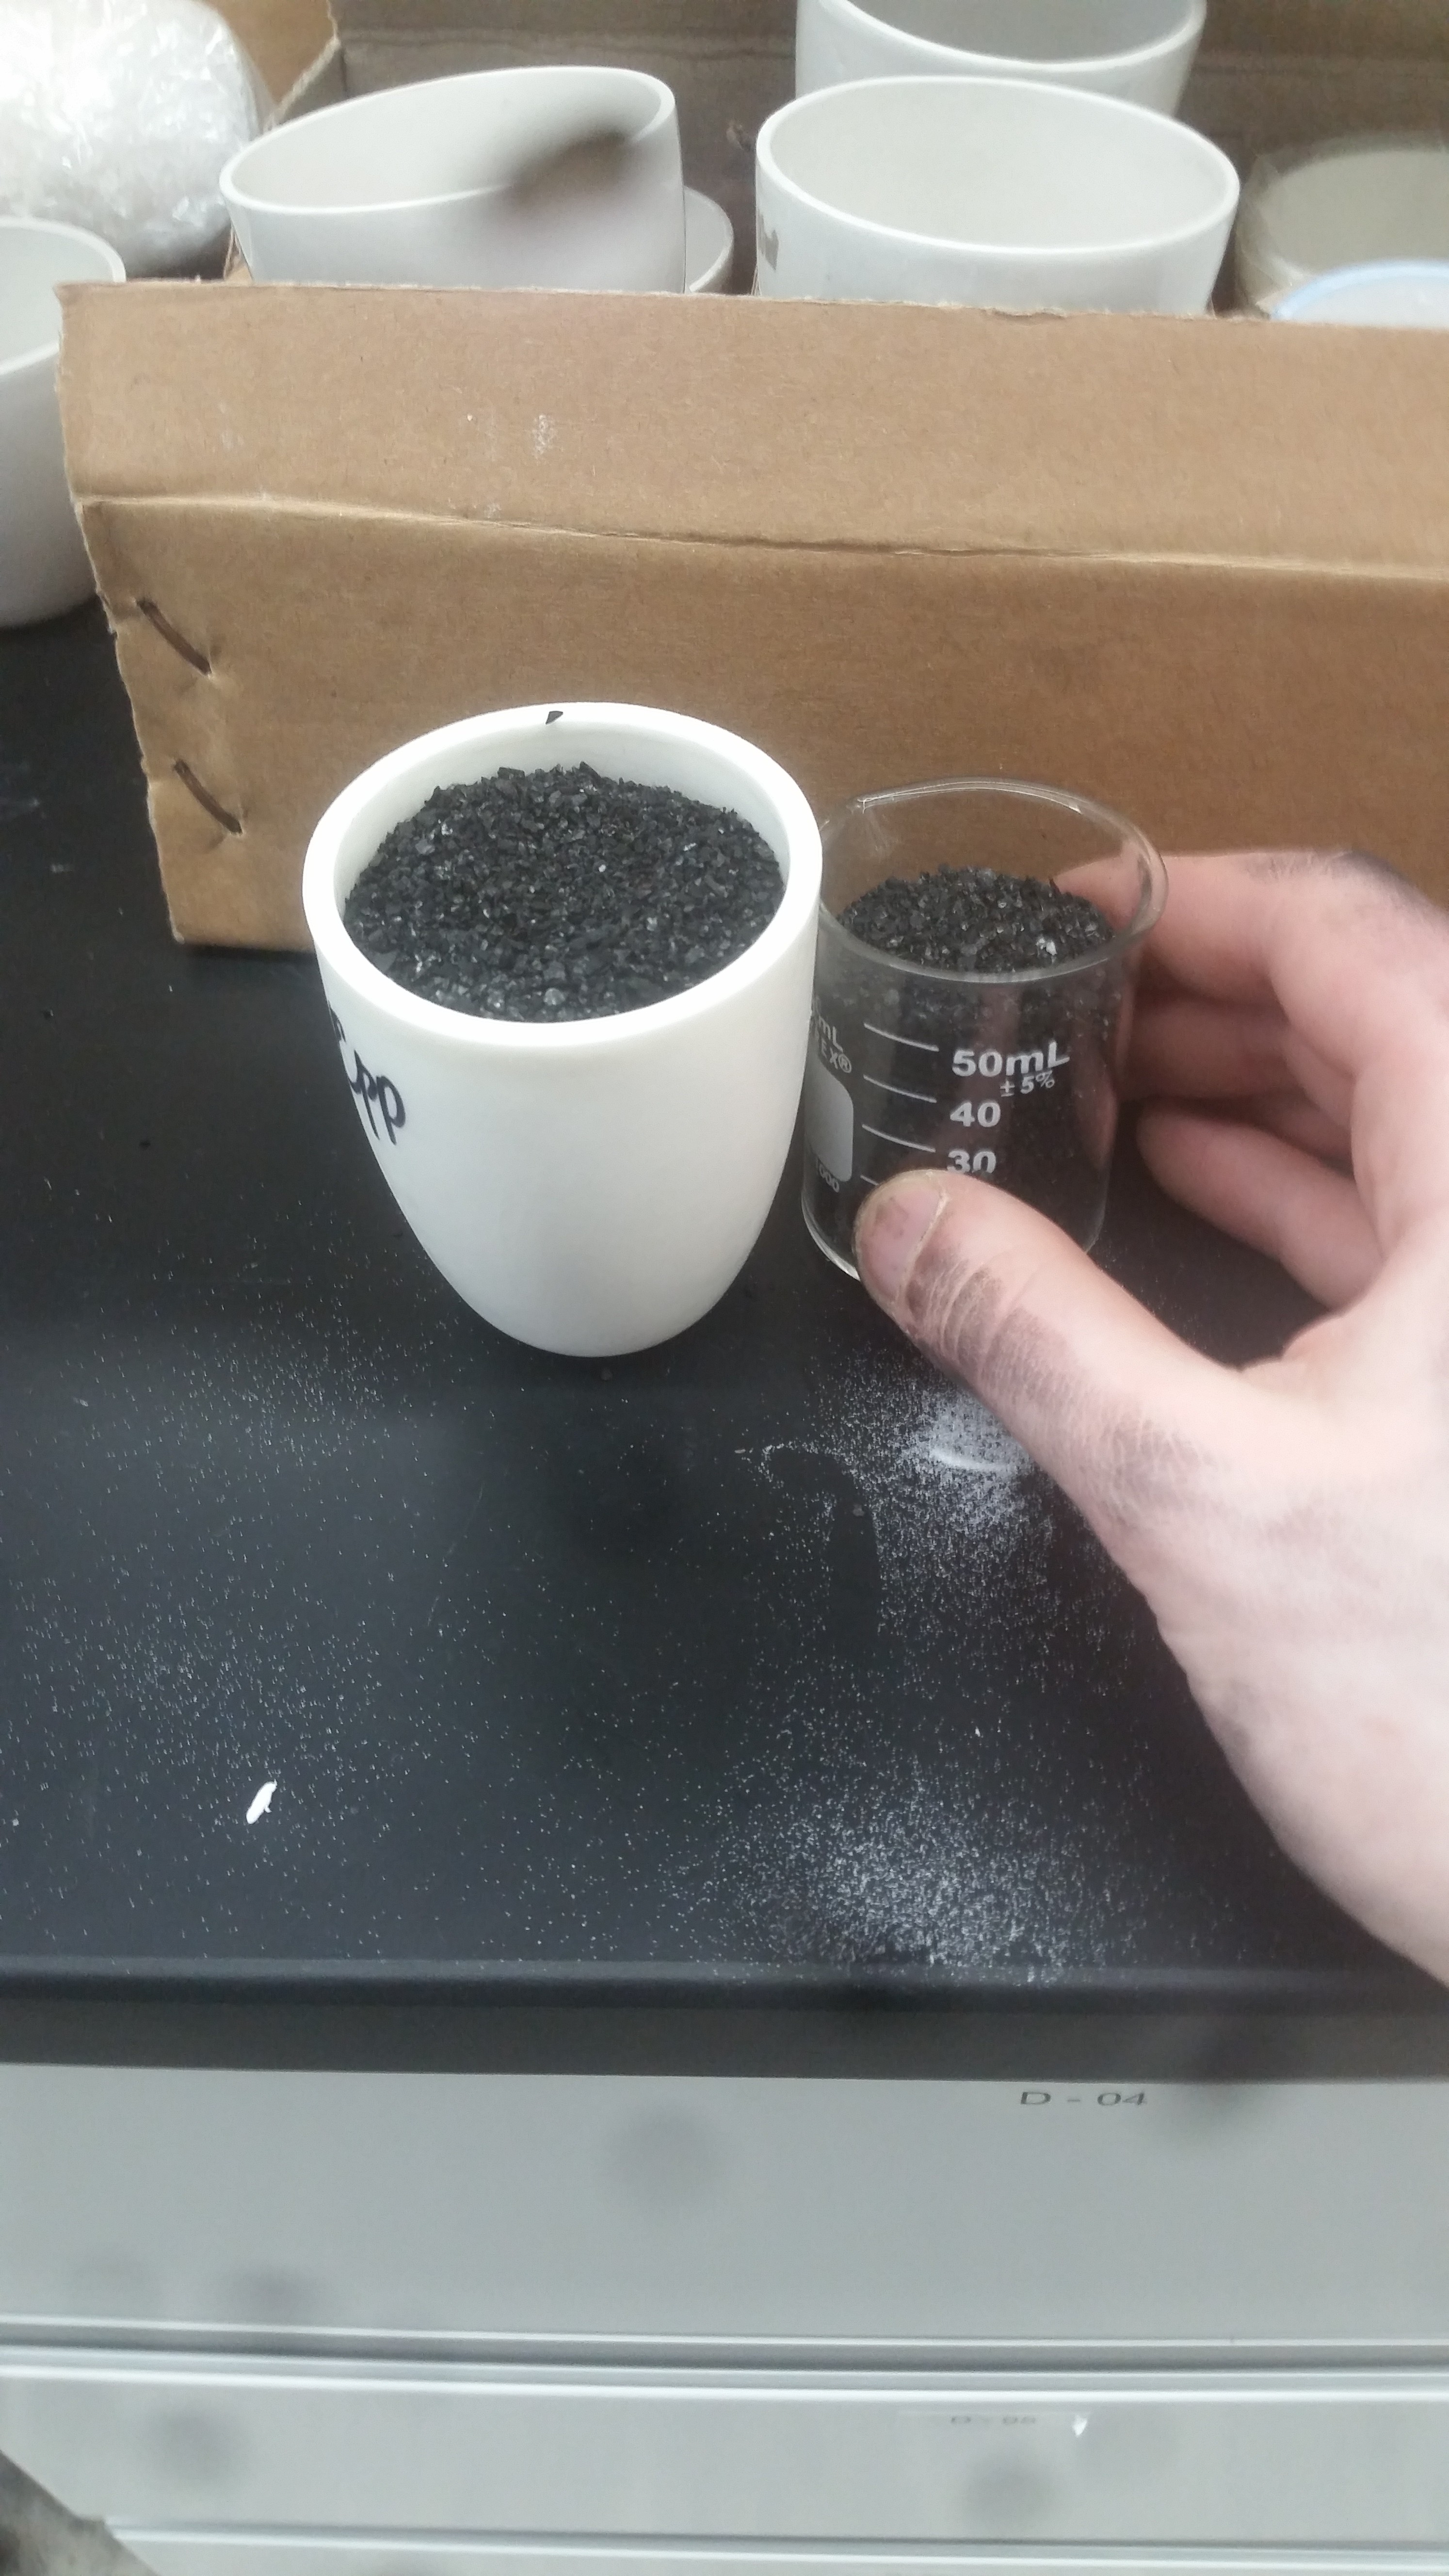
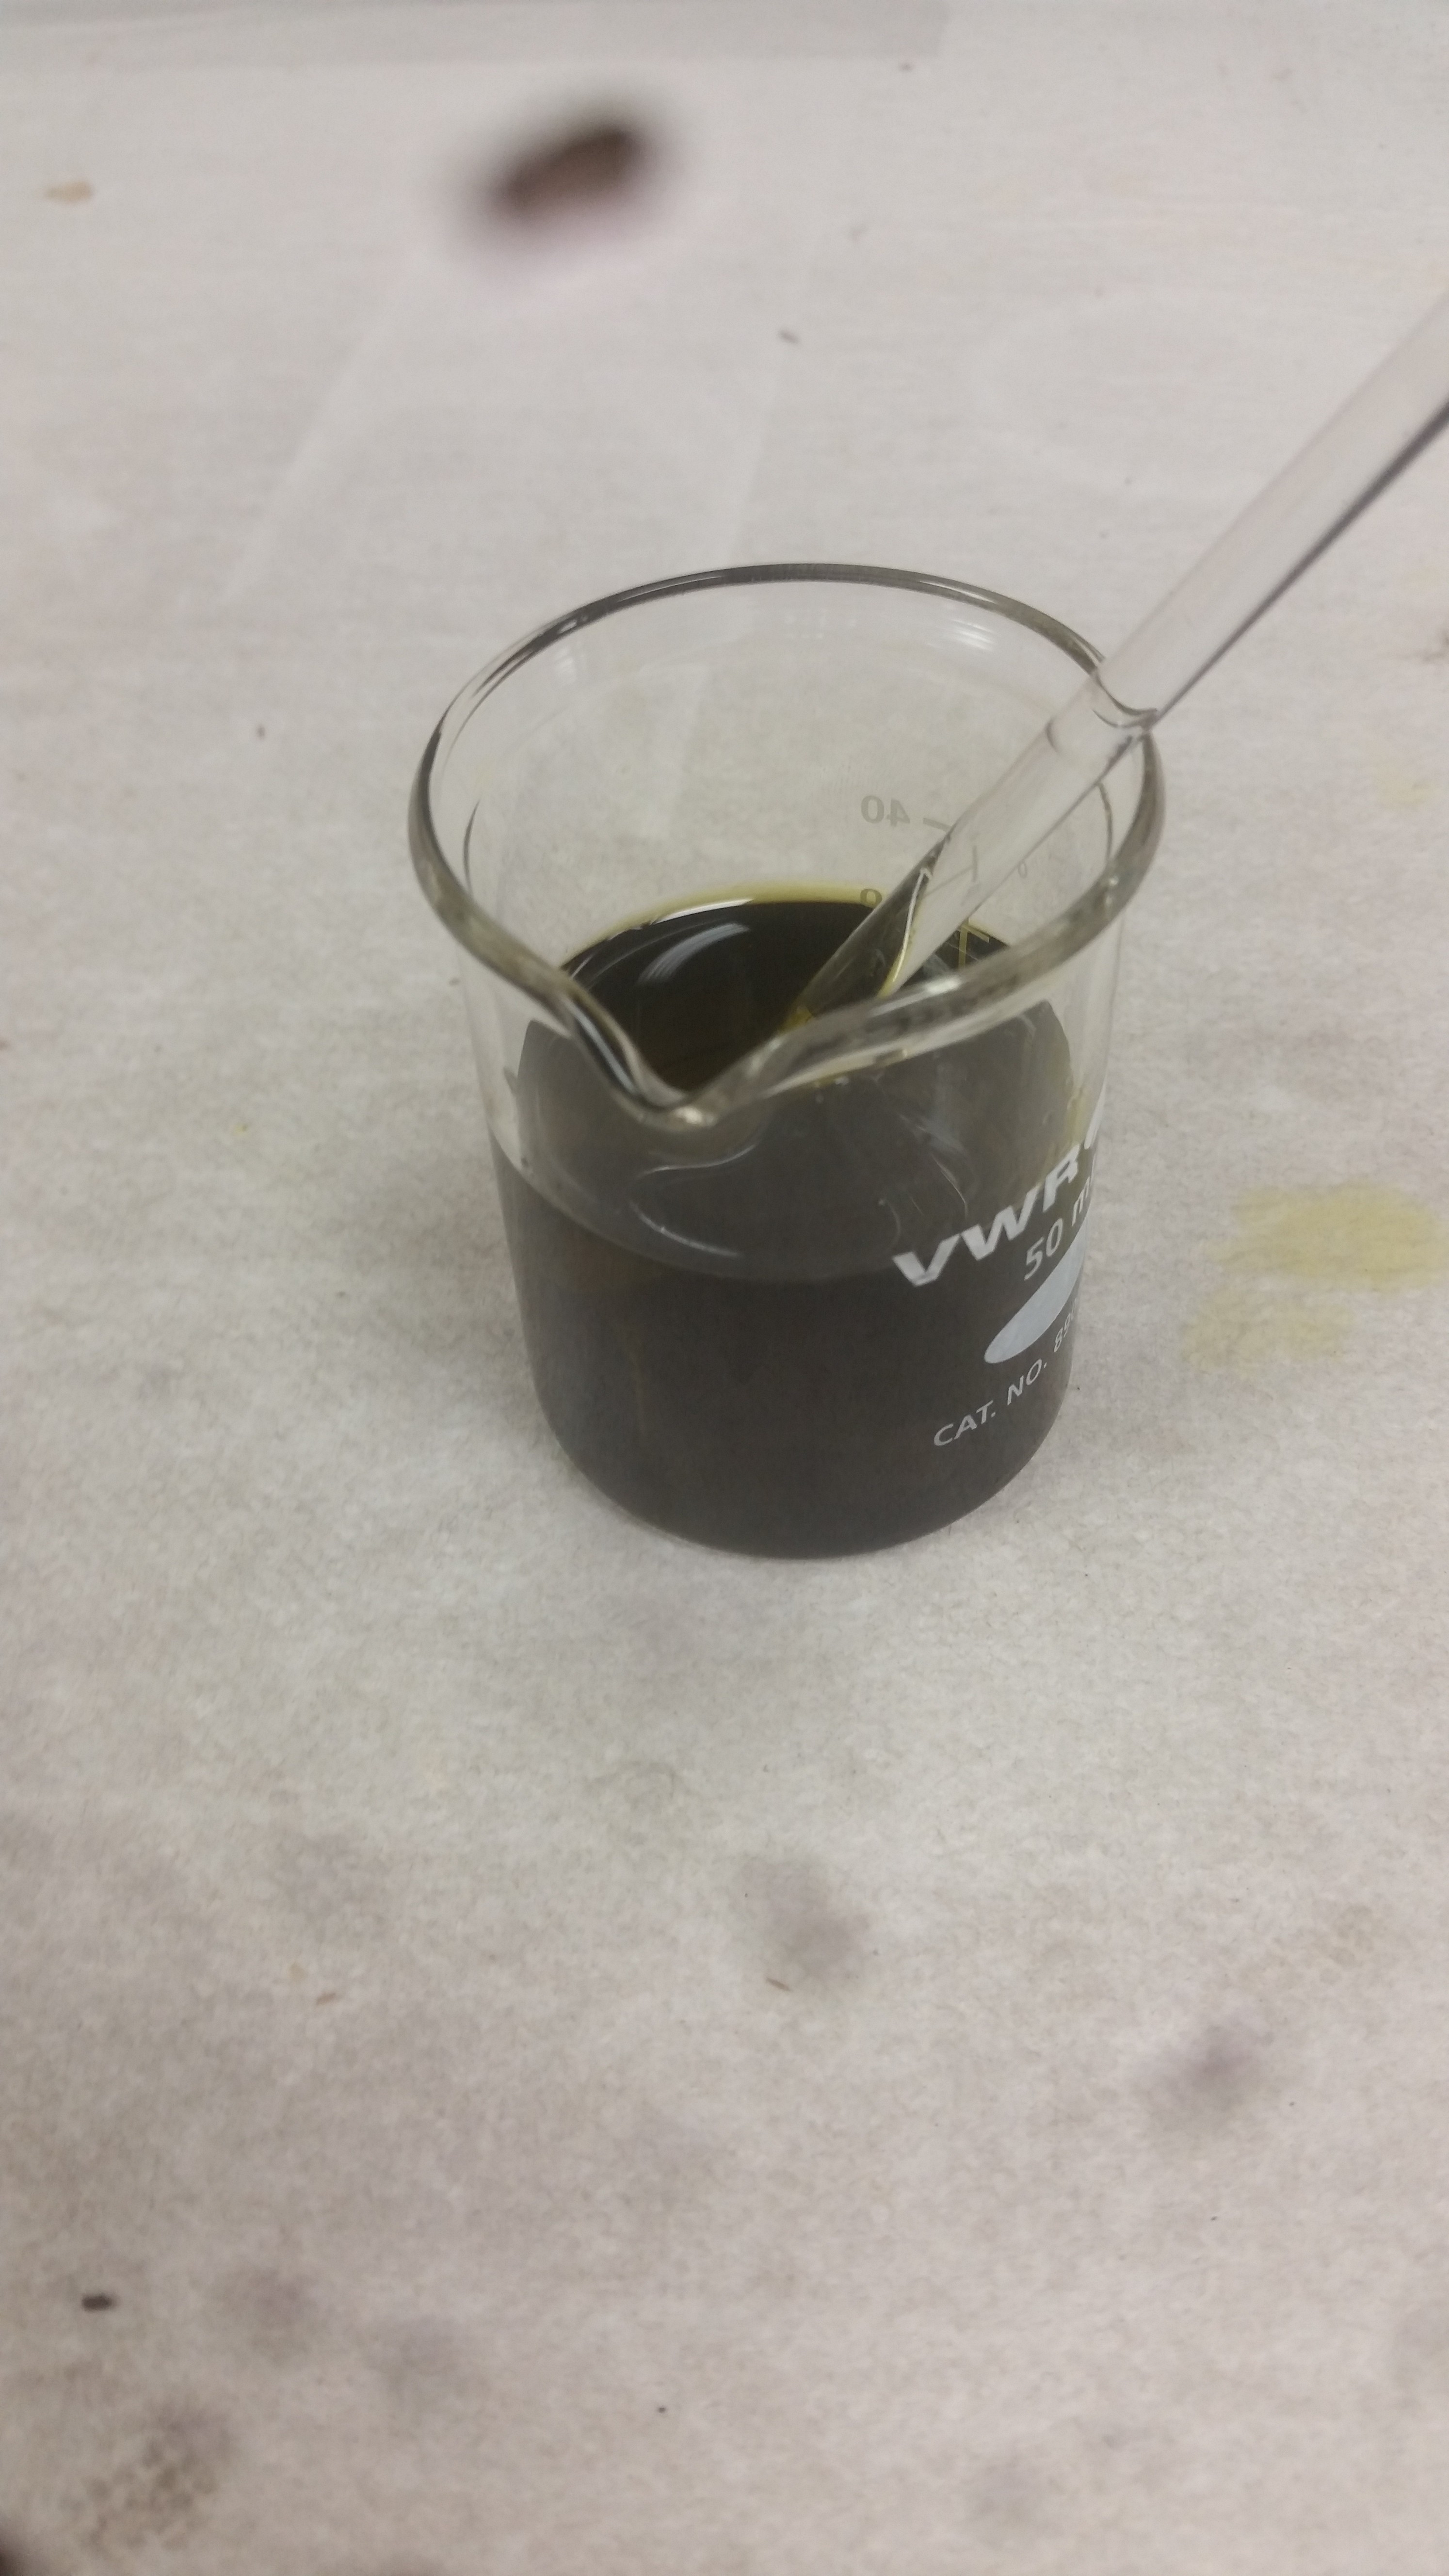
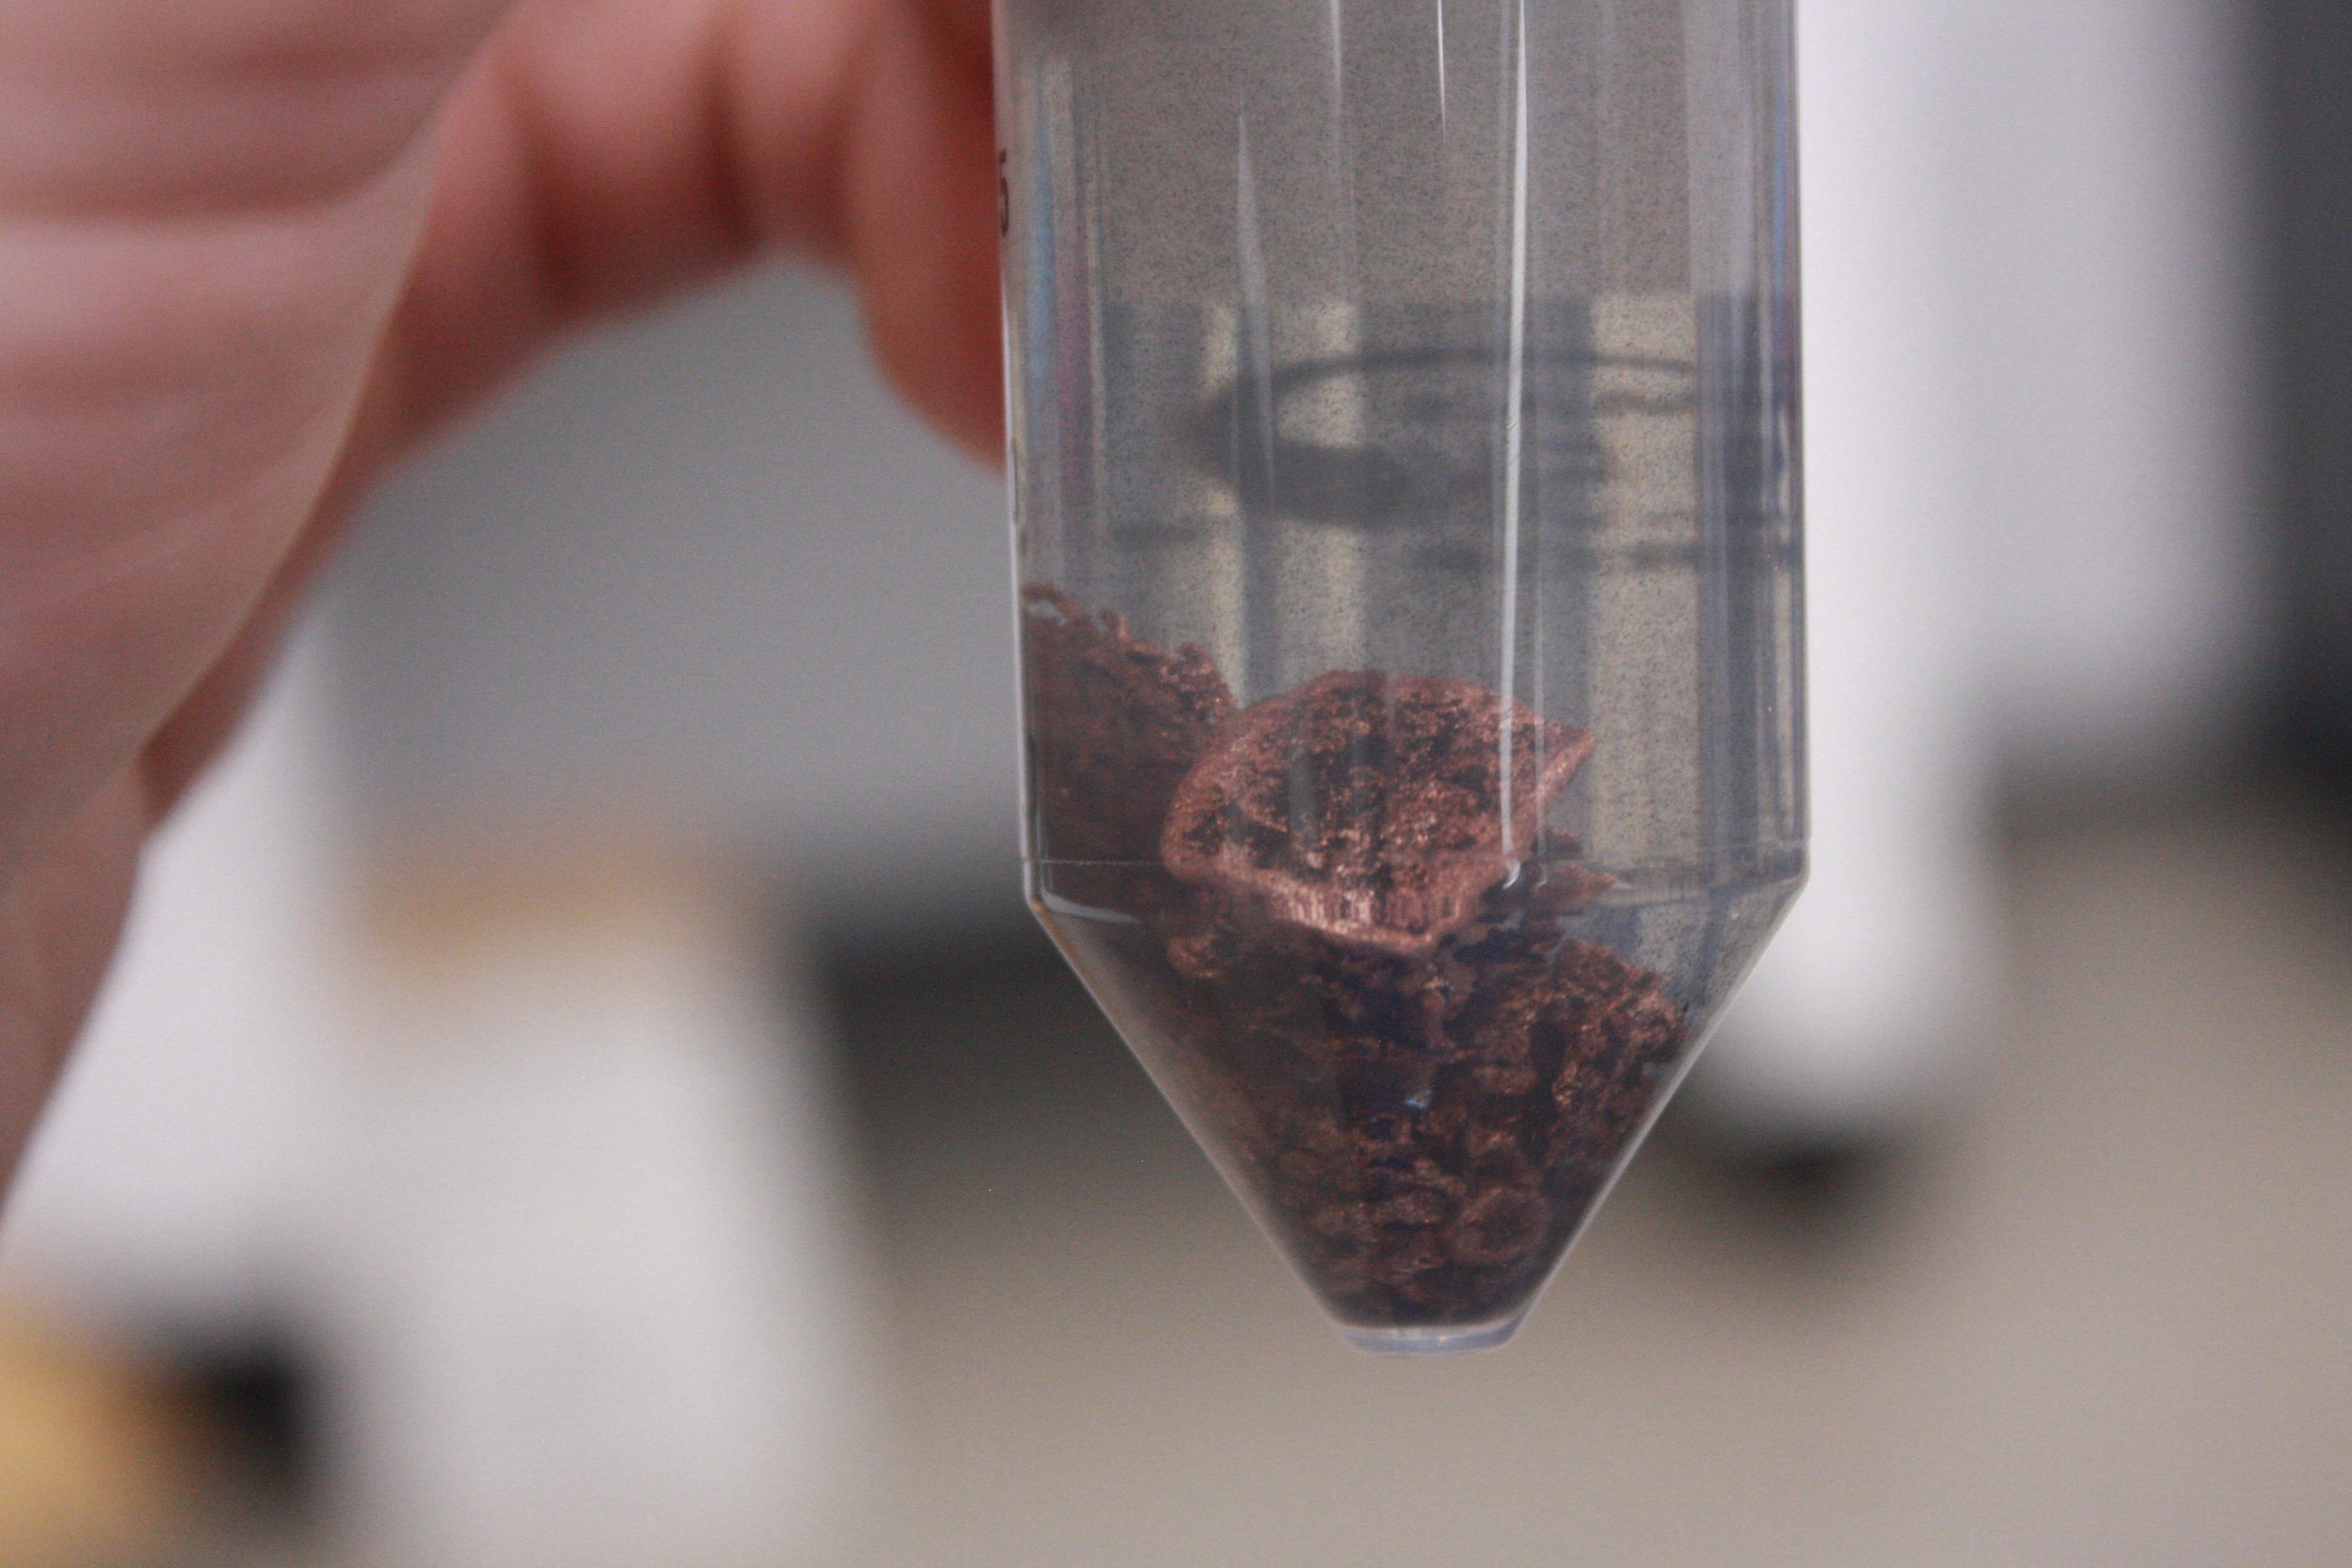
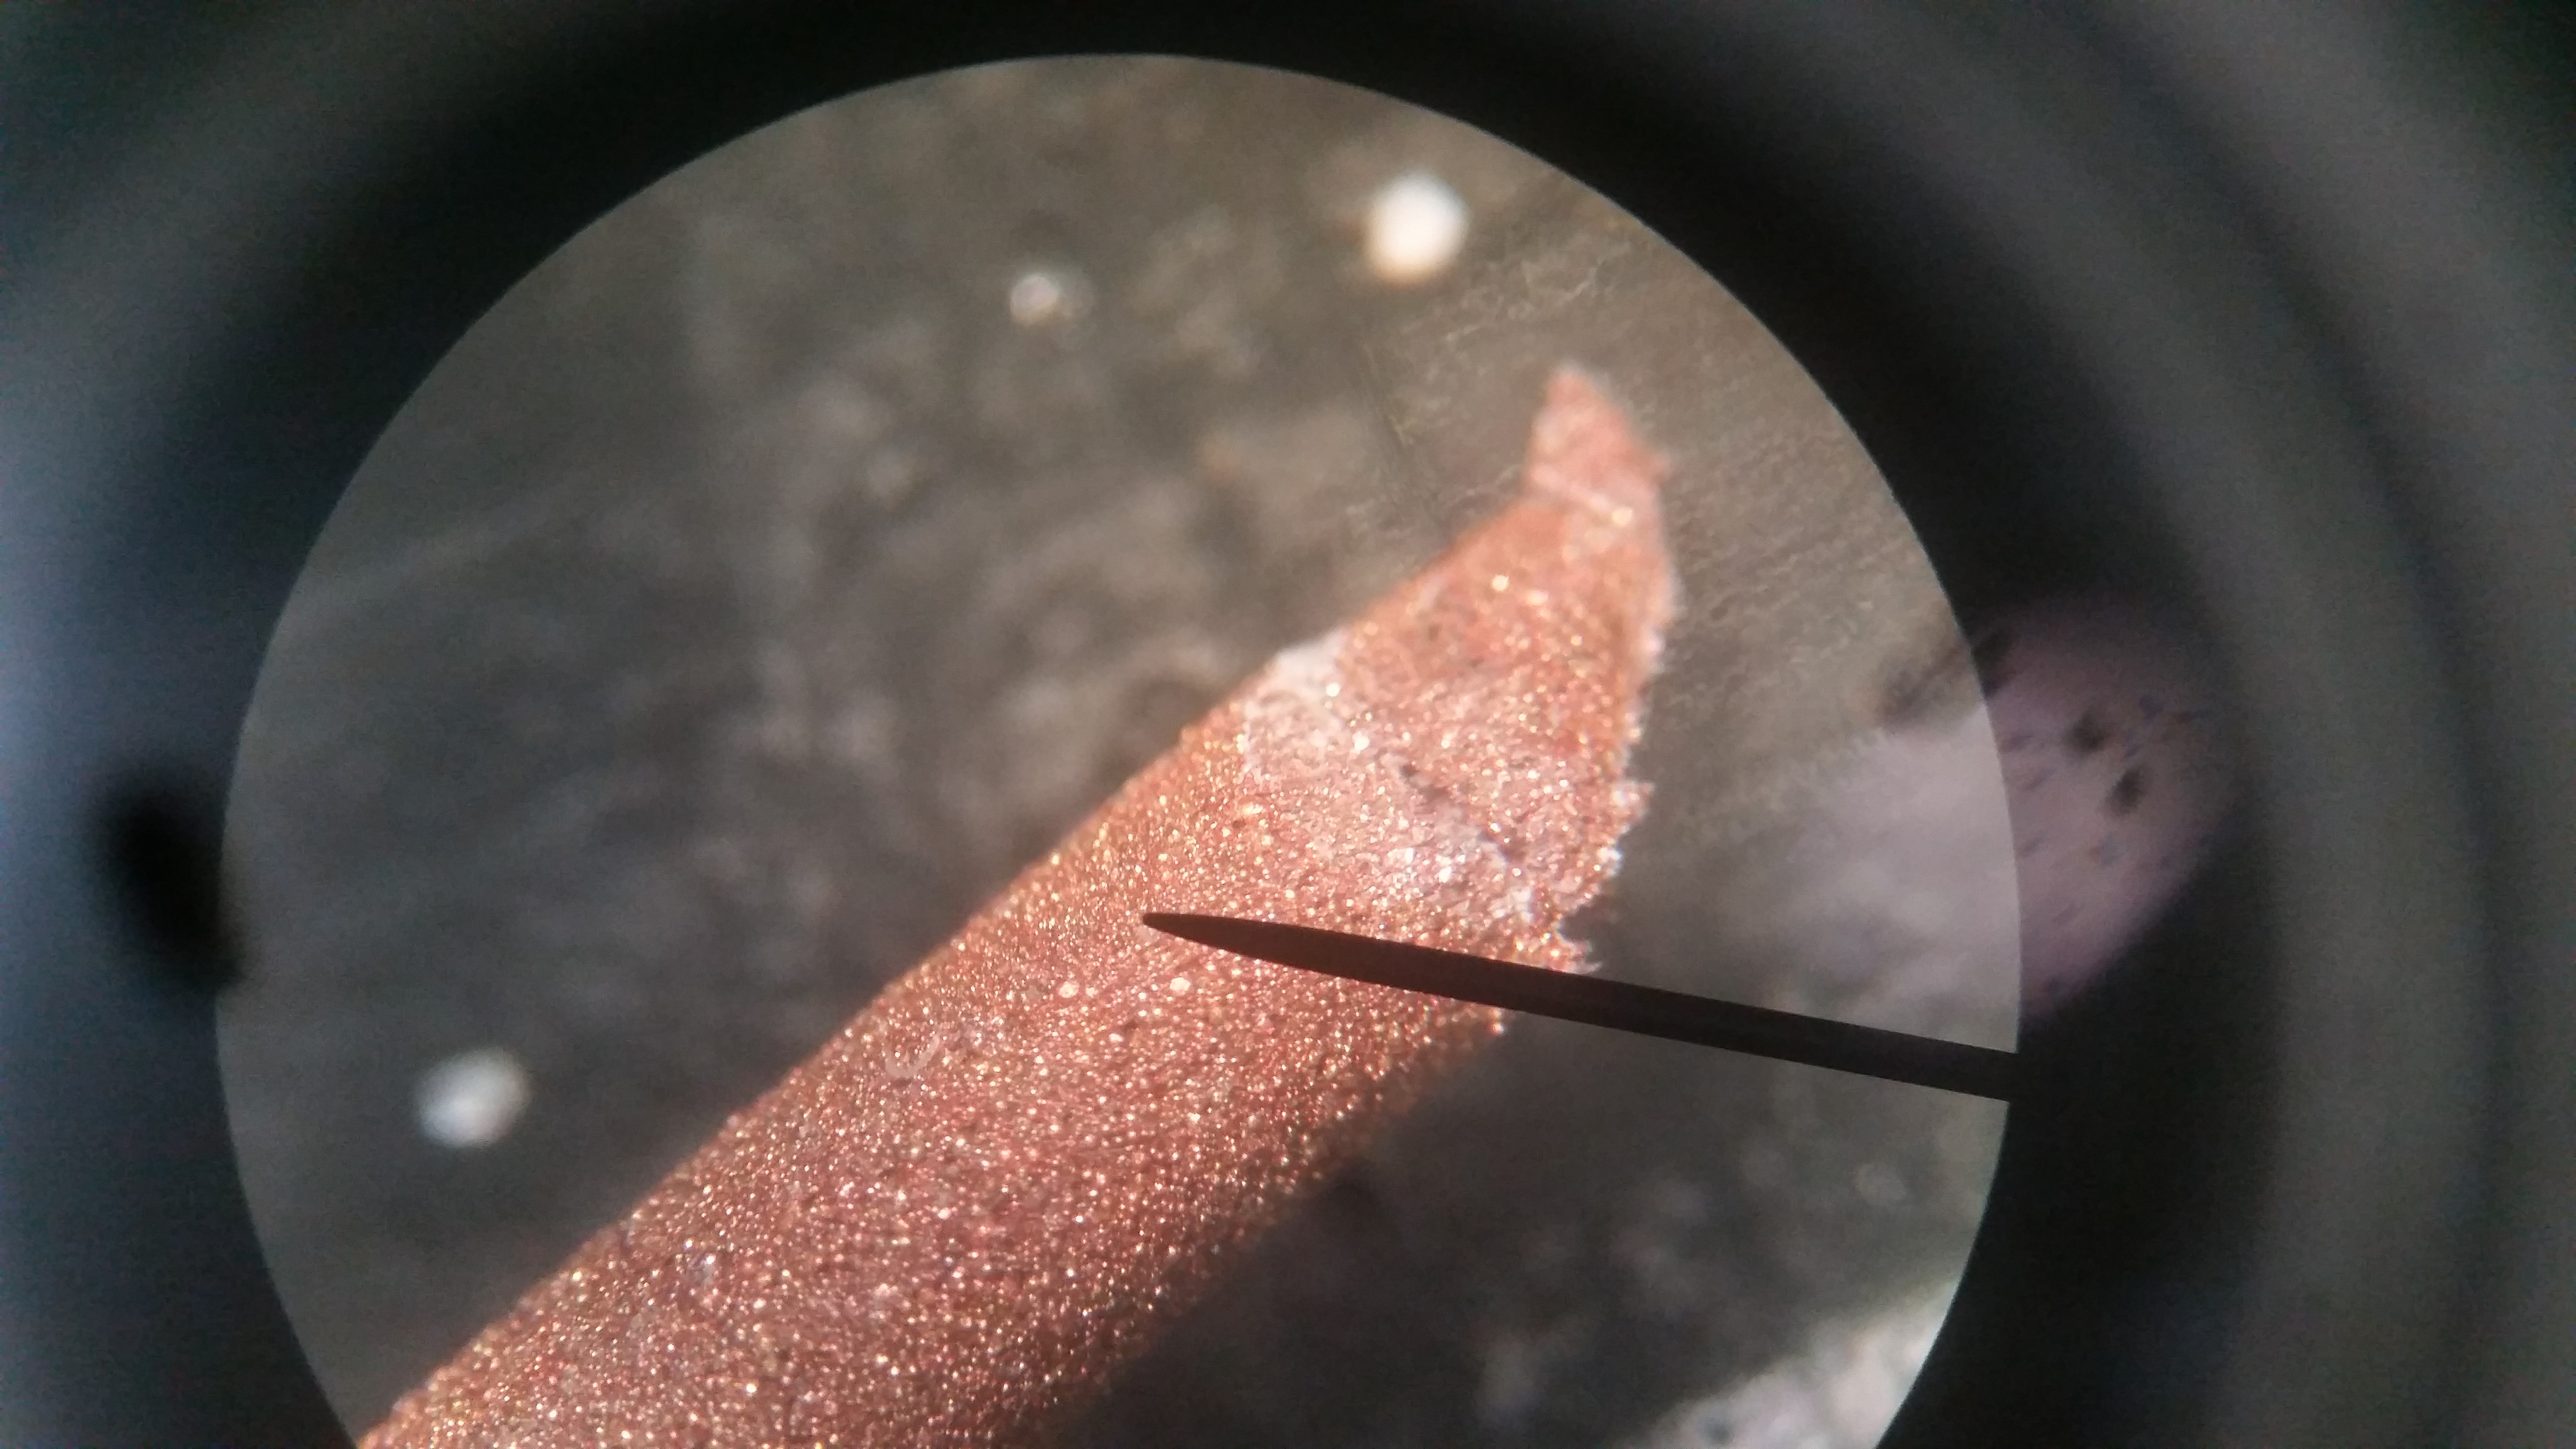
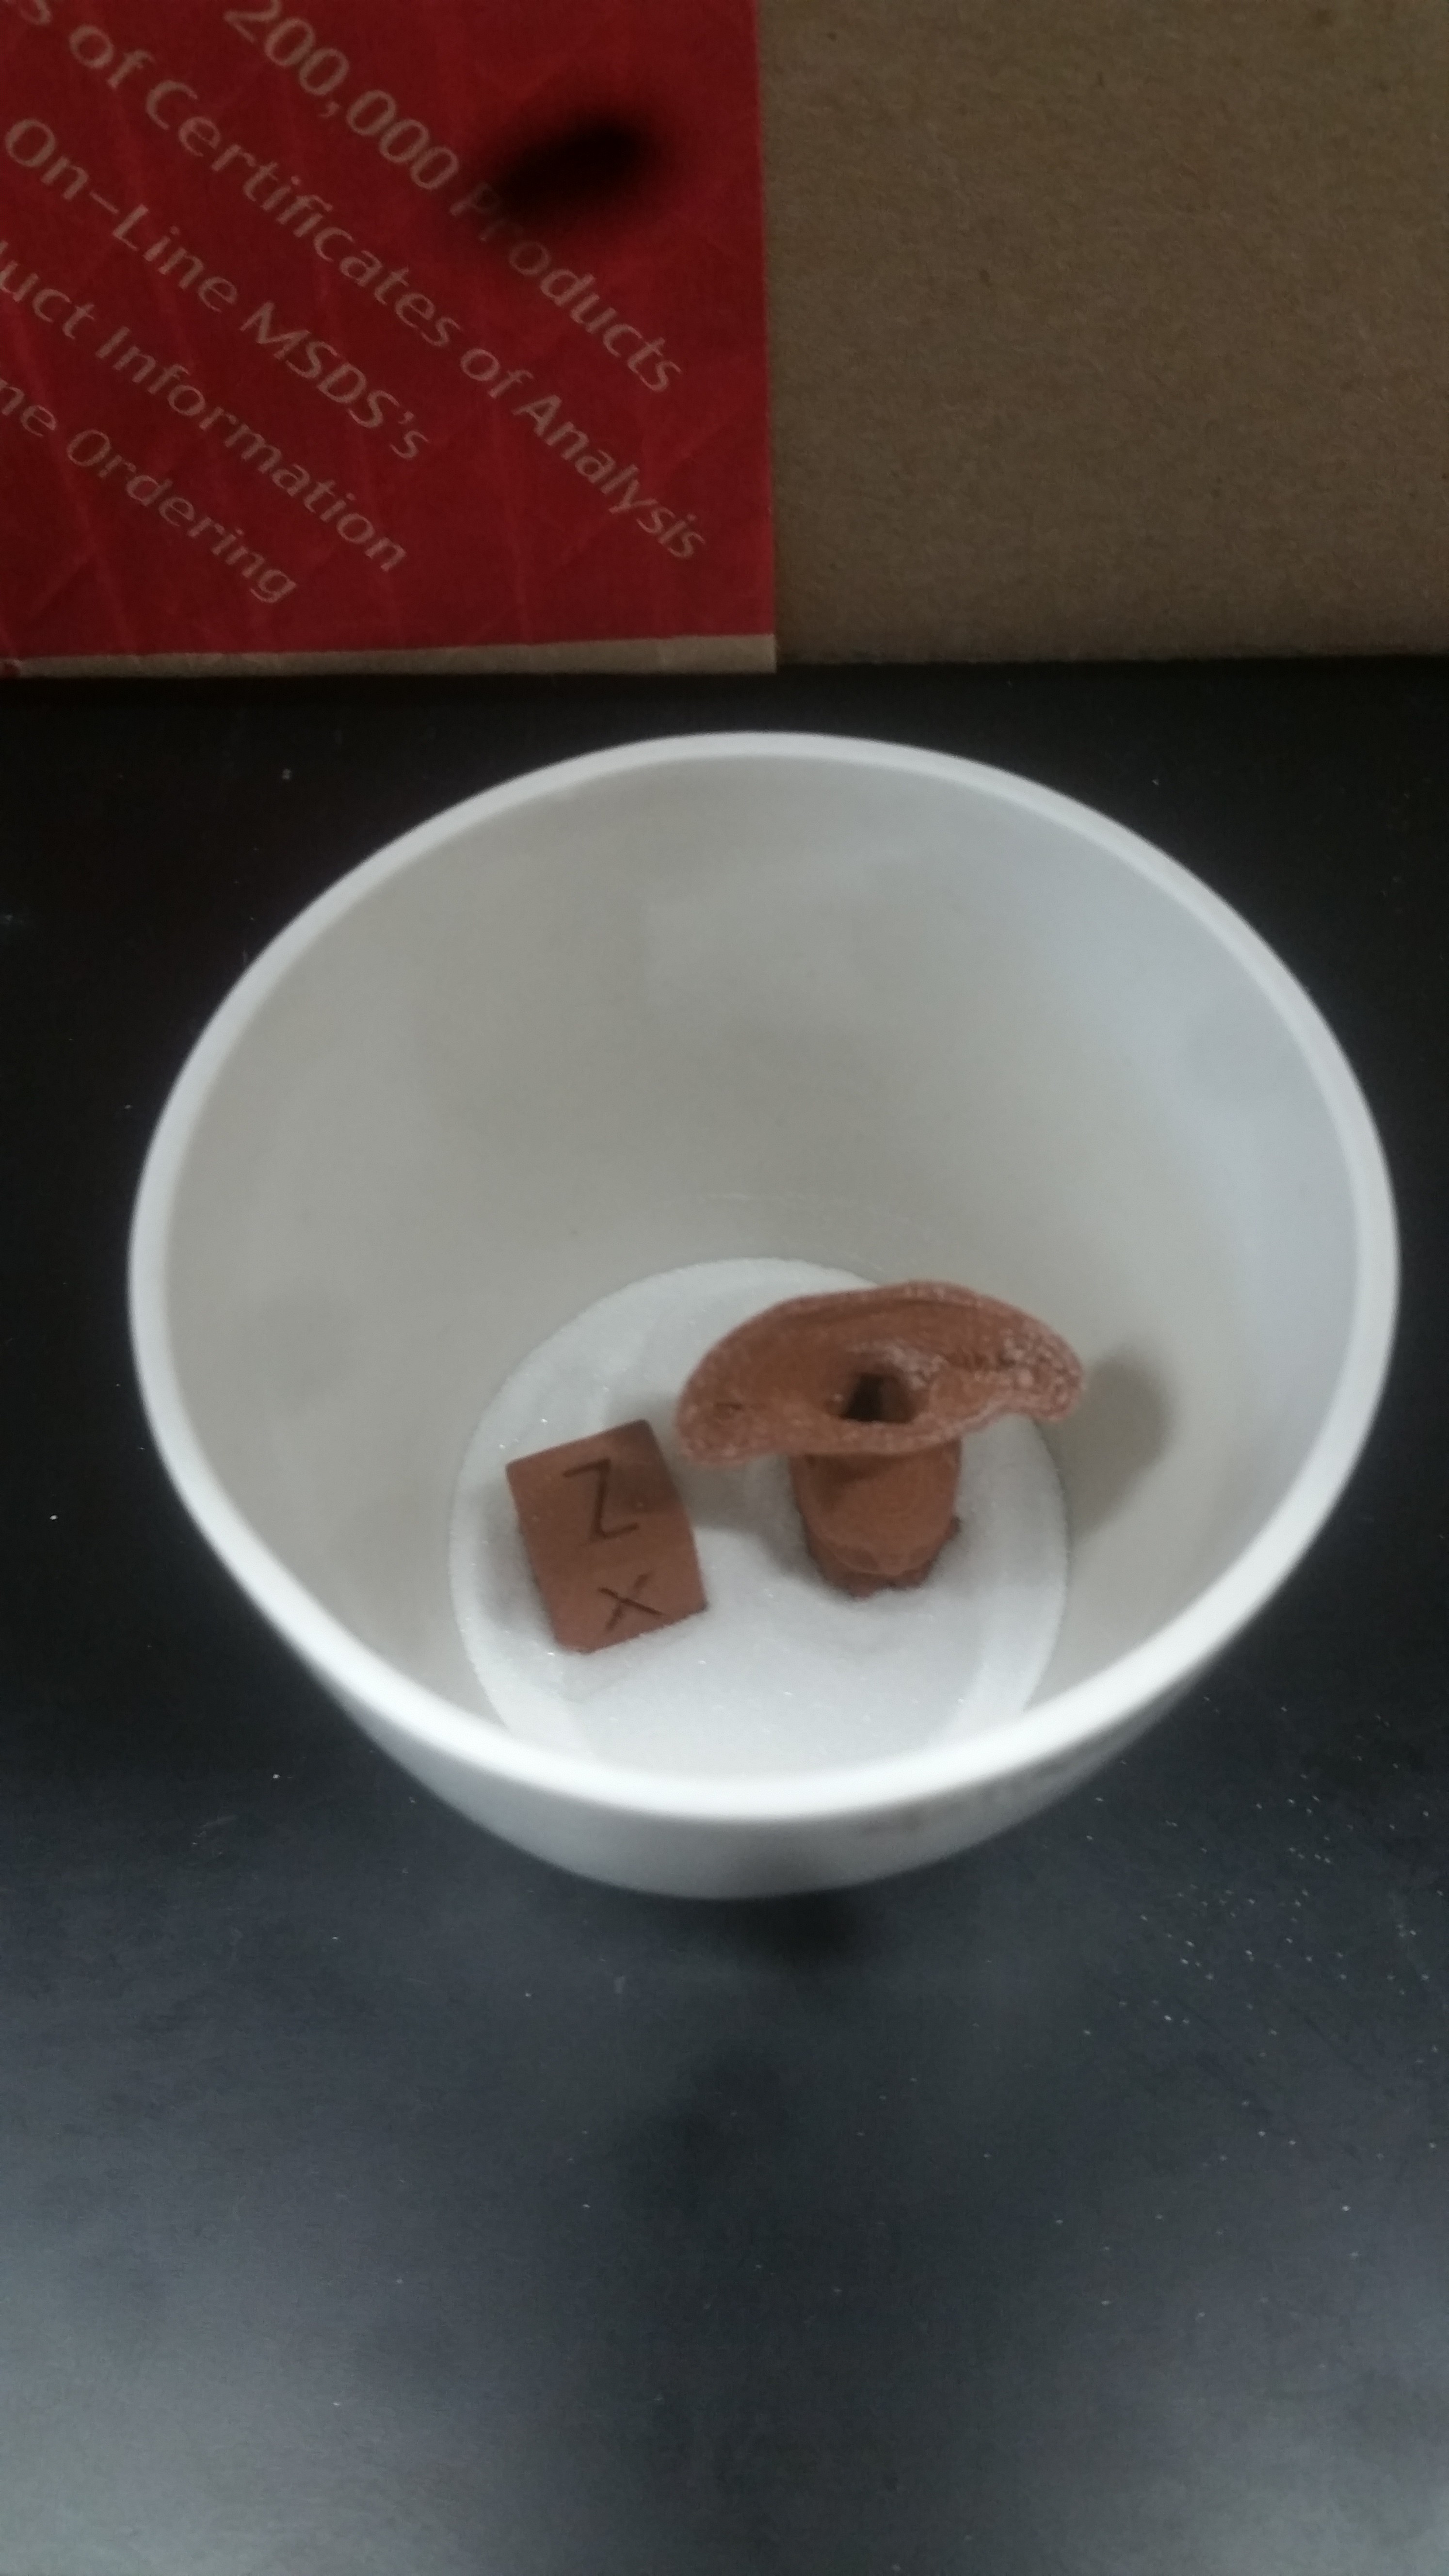
Consumables: Copper and steel 1.75mm filled filament, aluminum oxide refractory support material, and coconut shell carbon from the Virtual Foundry. Also some HCl to wash the parts afterwards.
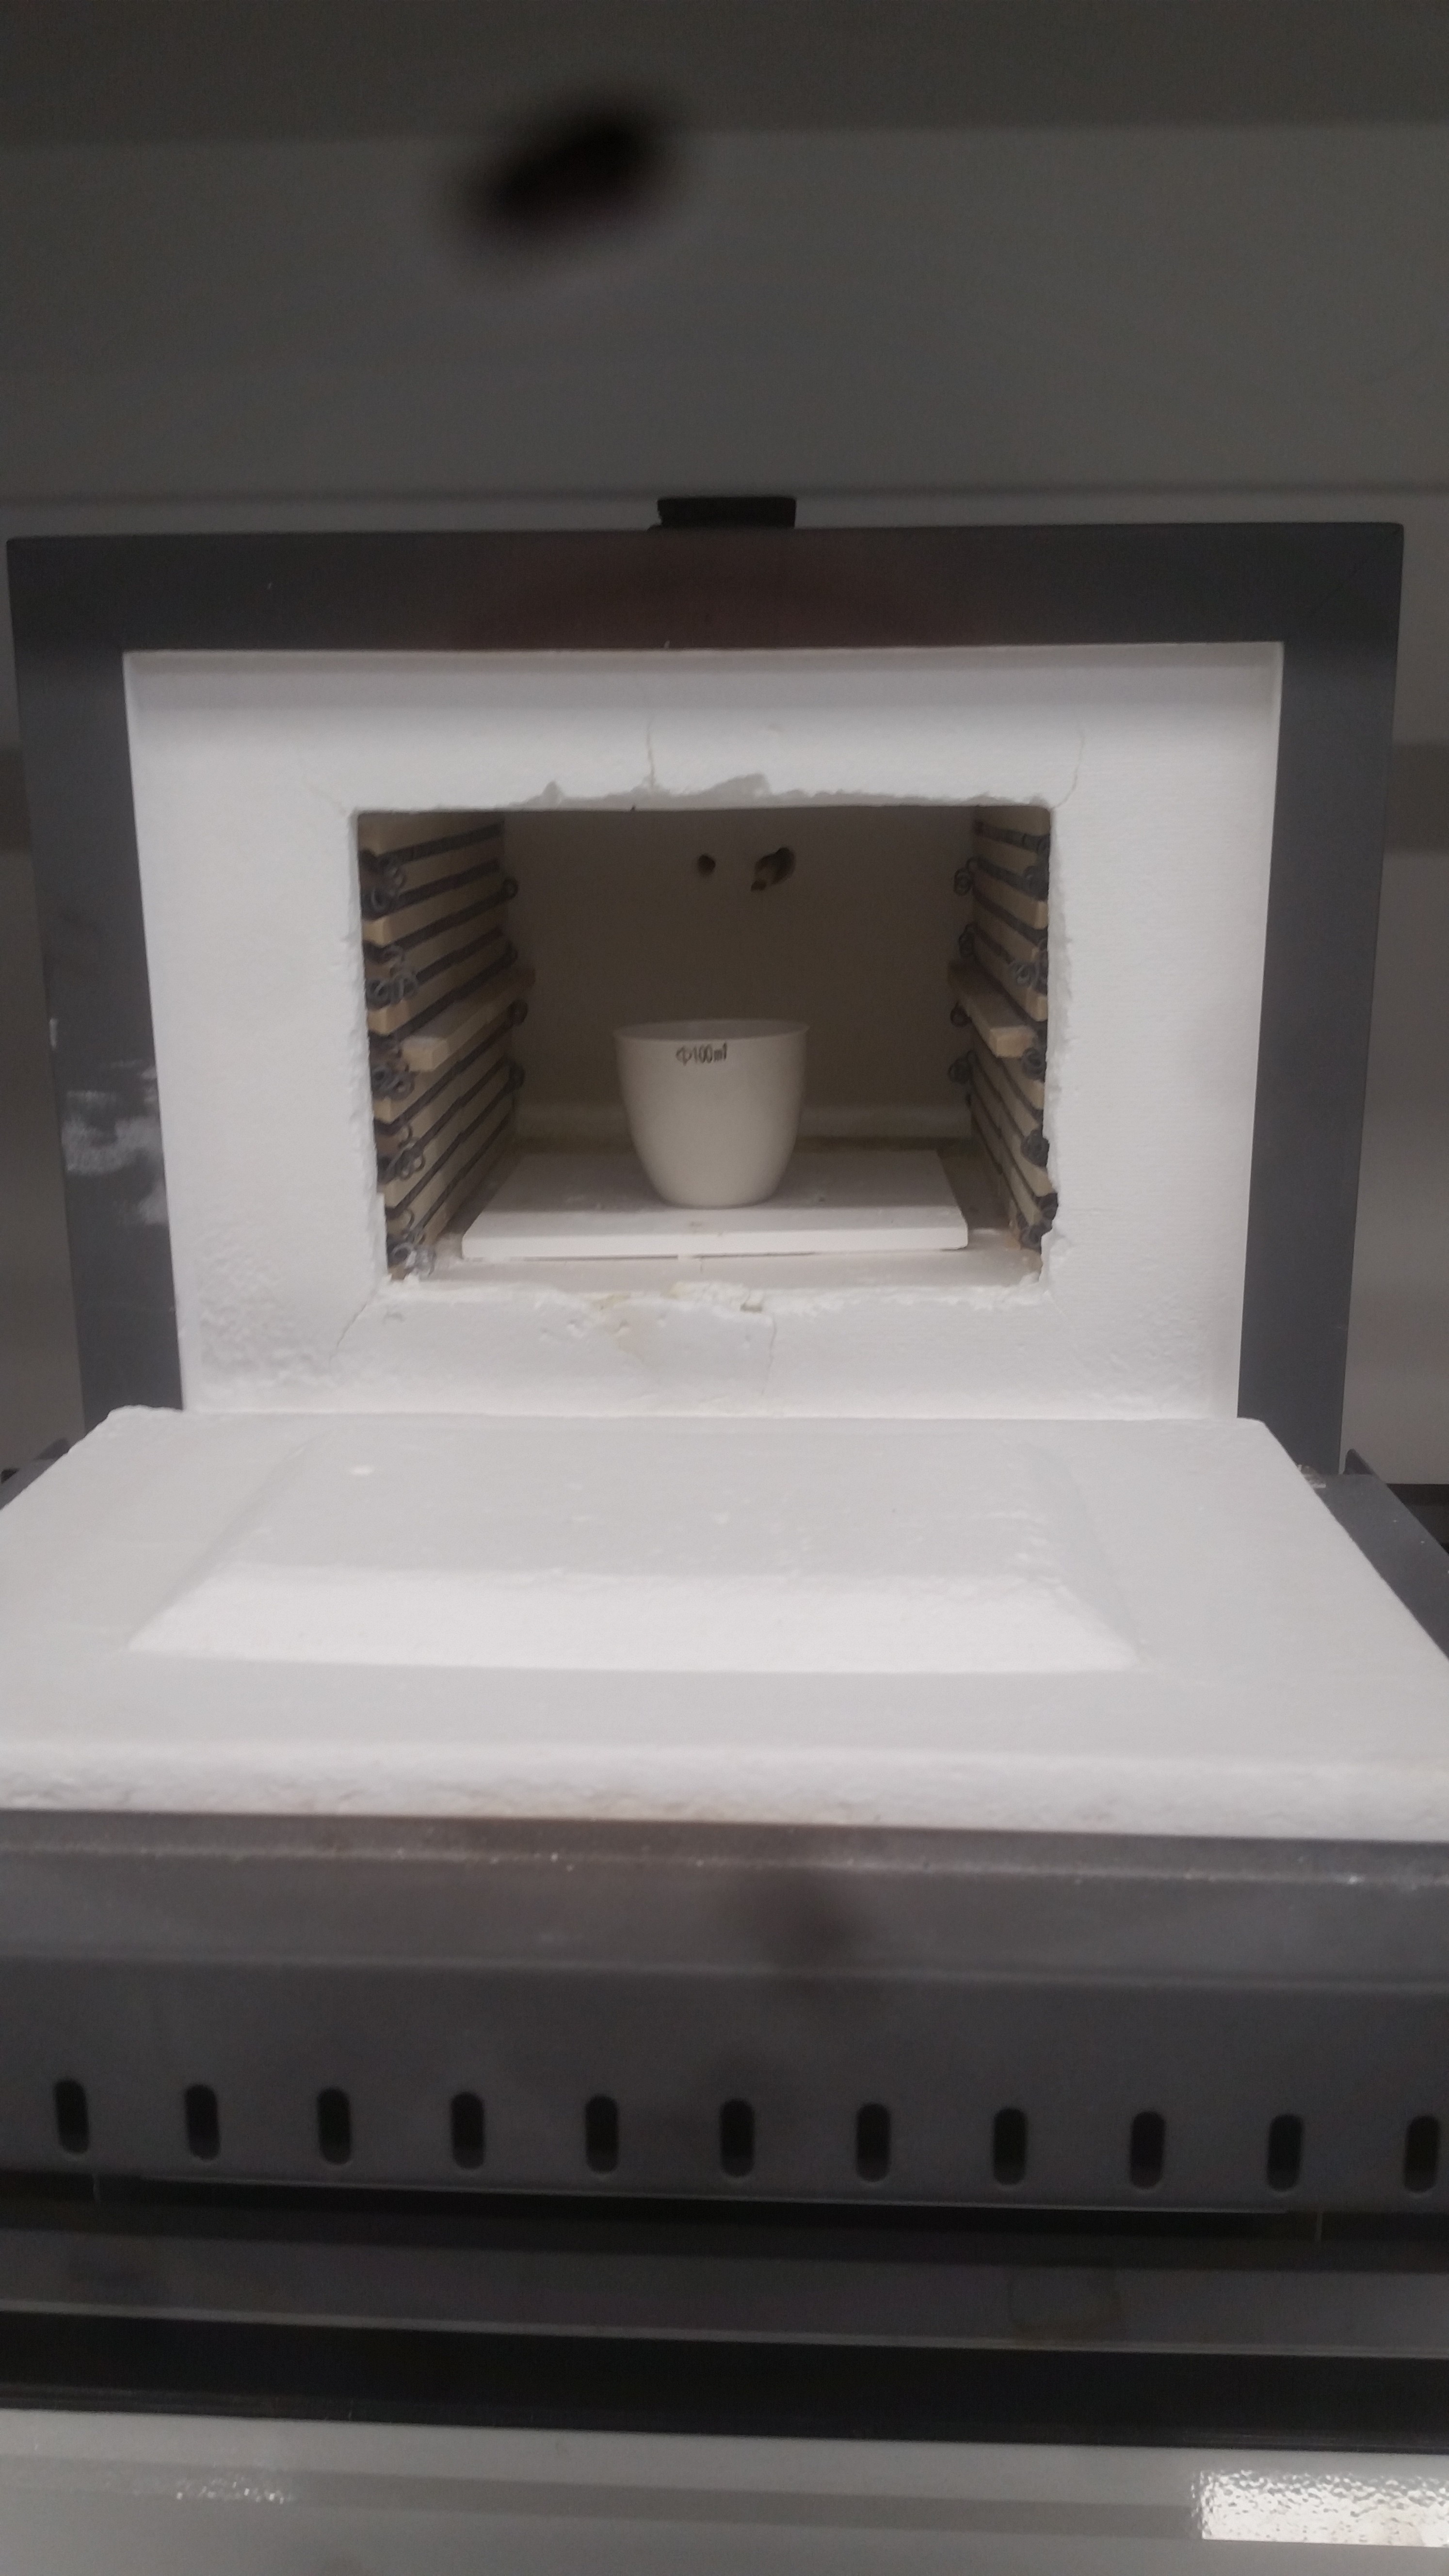
Oven: from Thermolyne


 Daren Schwenke
 Michael Perrone
 Chaz
Chaz
 Jan
Jan
Neat!
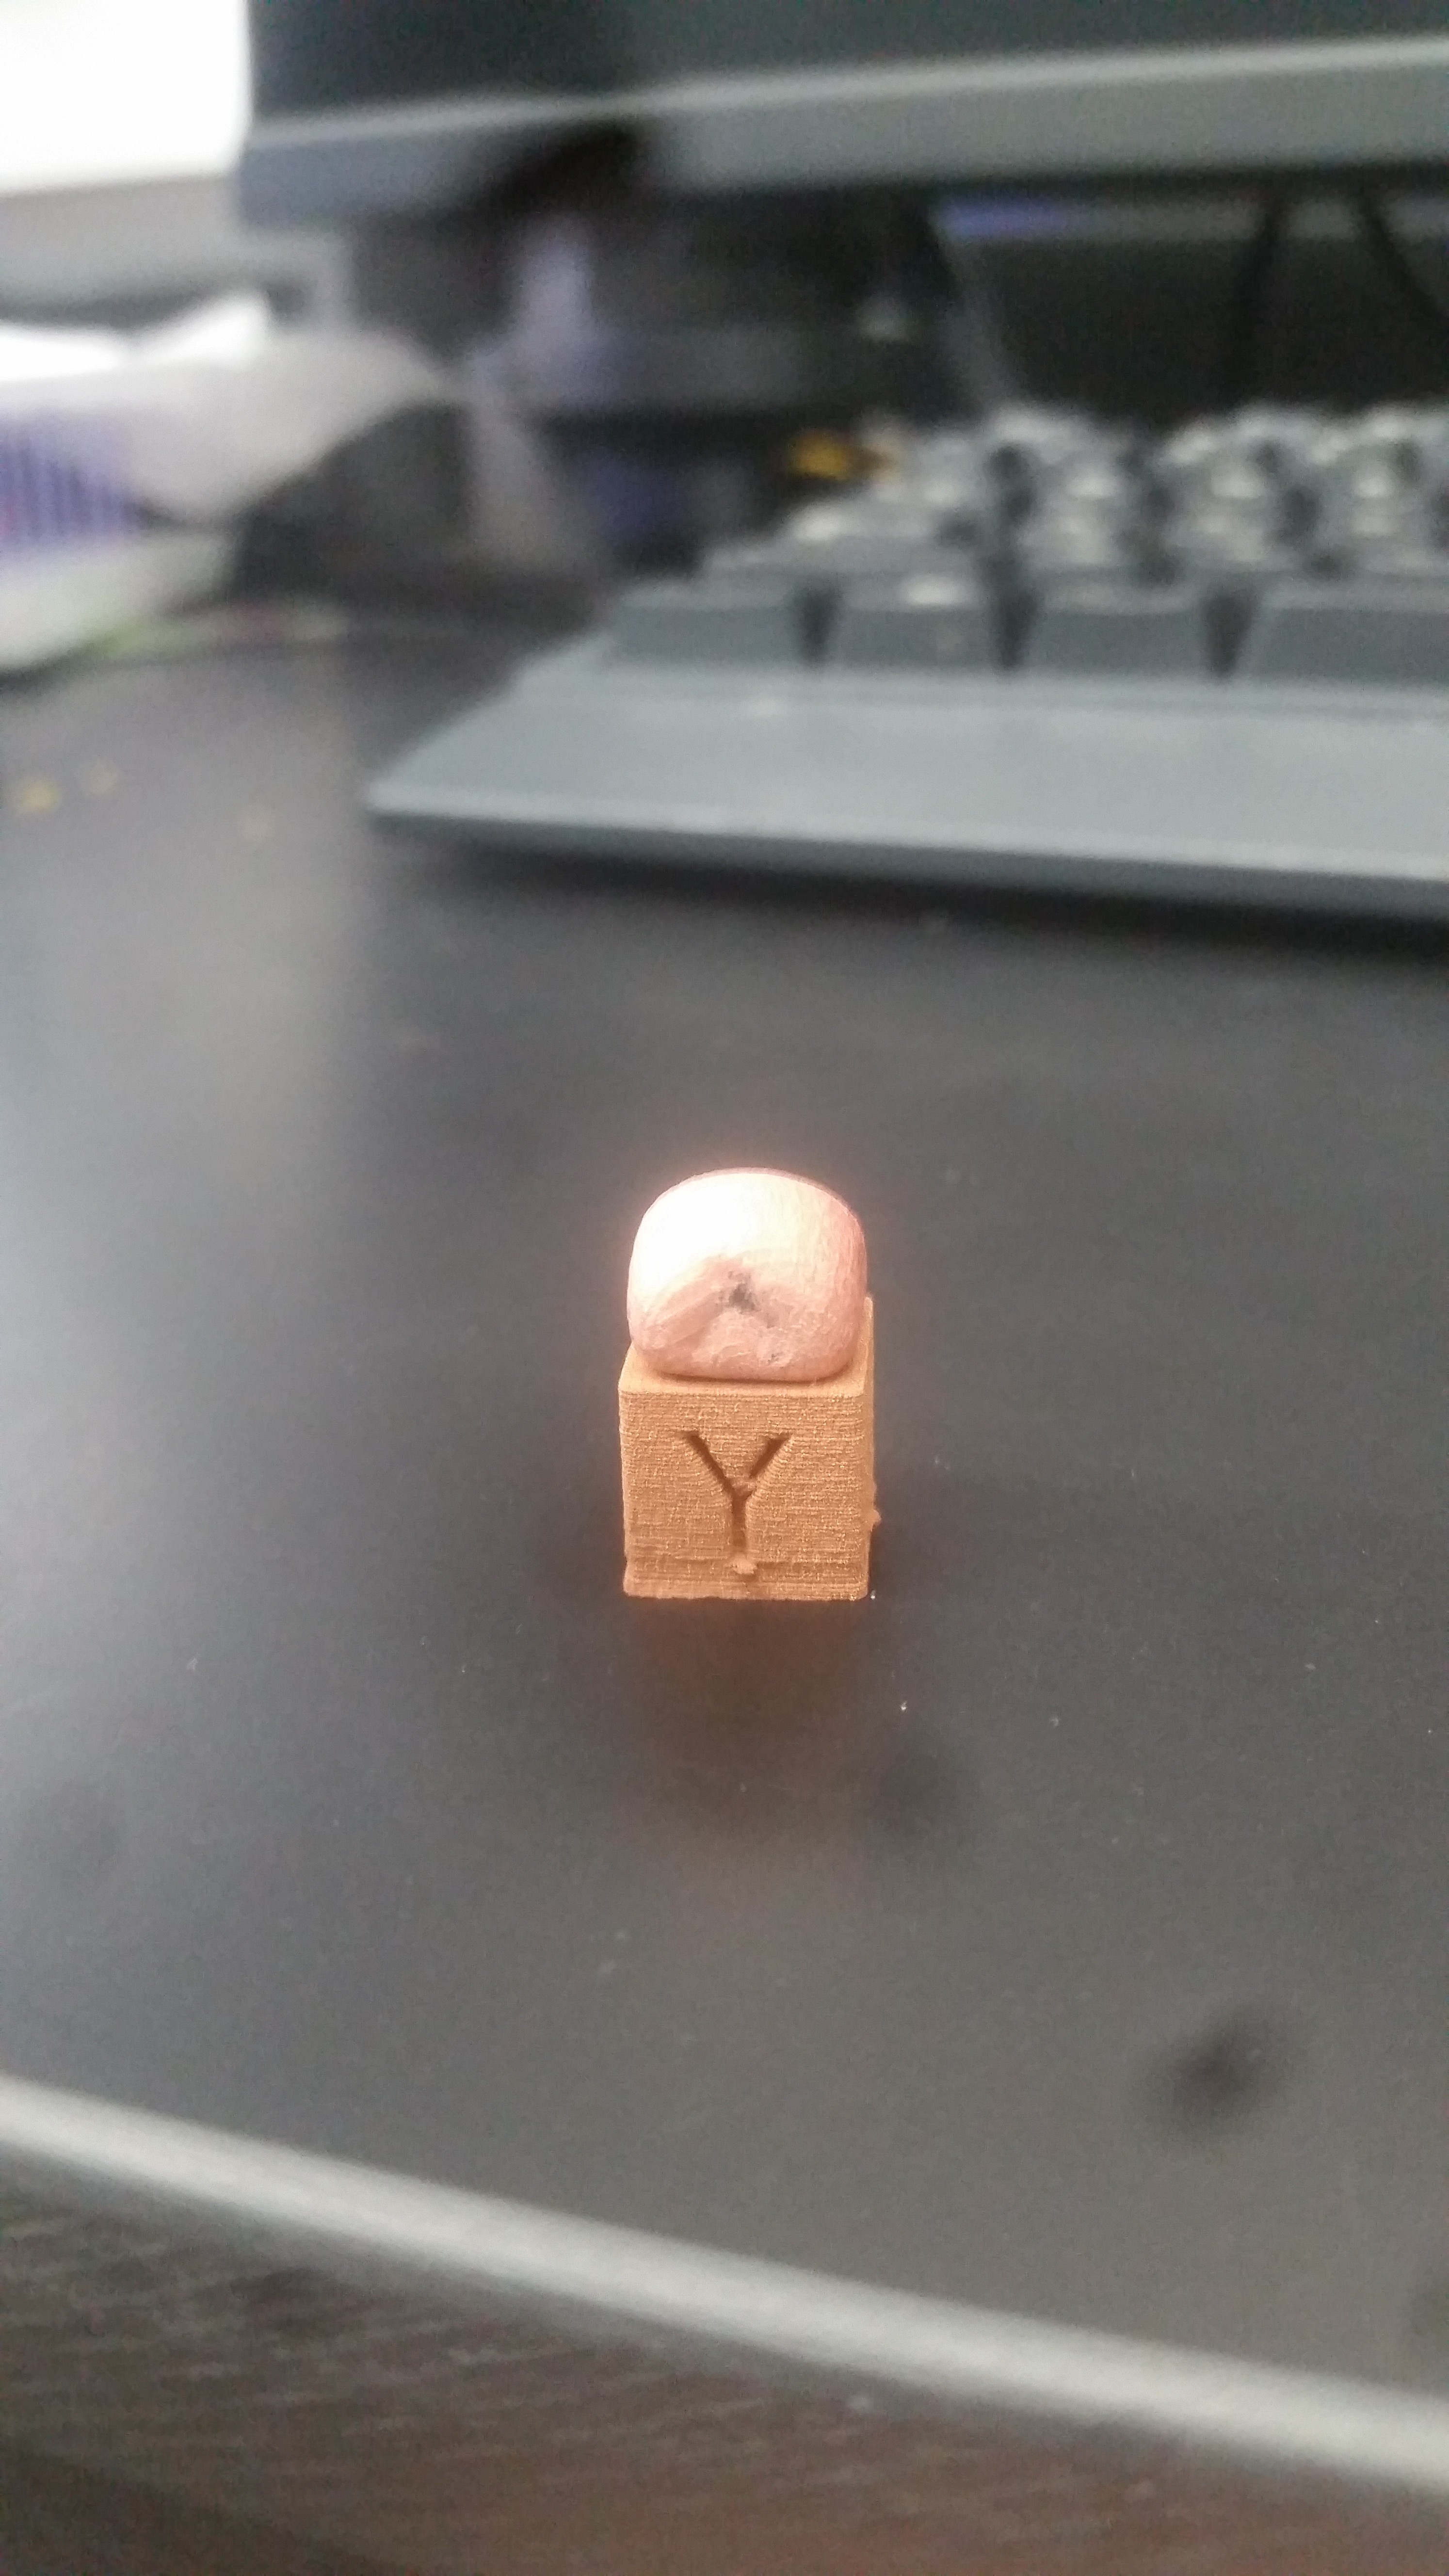
. of course it won't fall - and therefore not land on anything
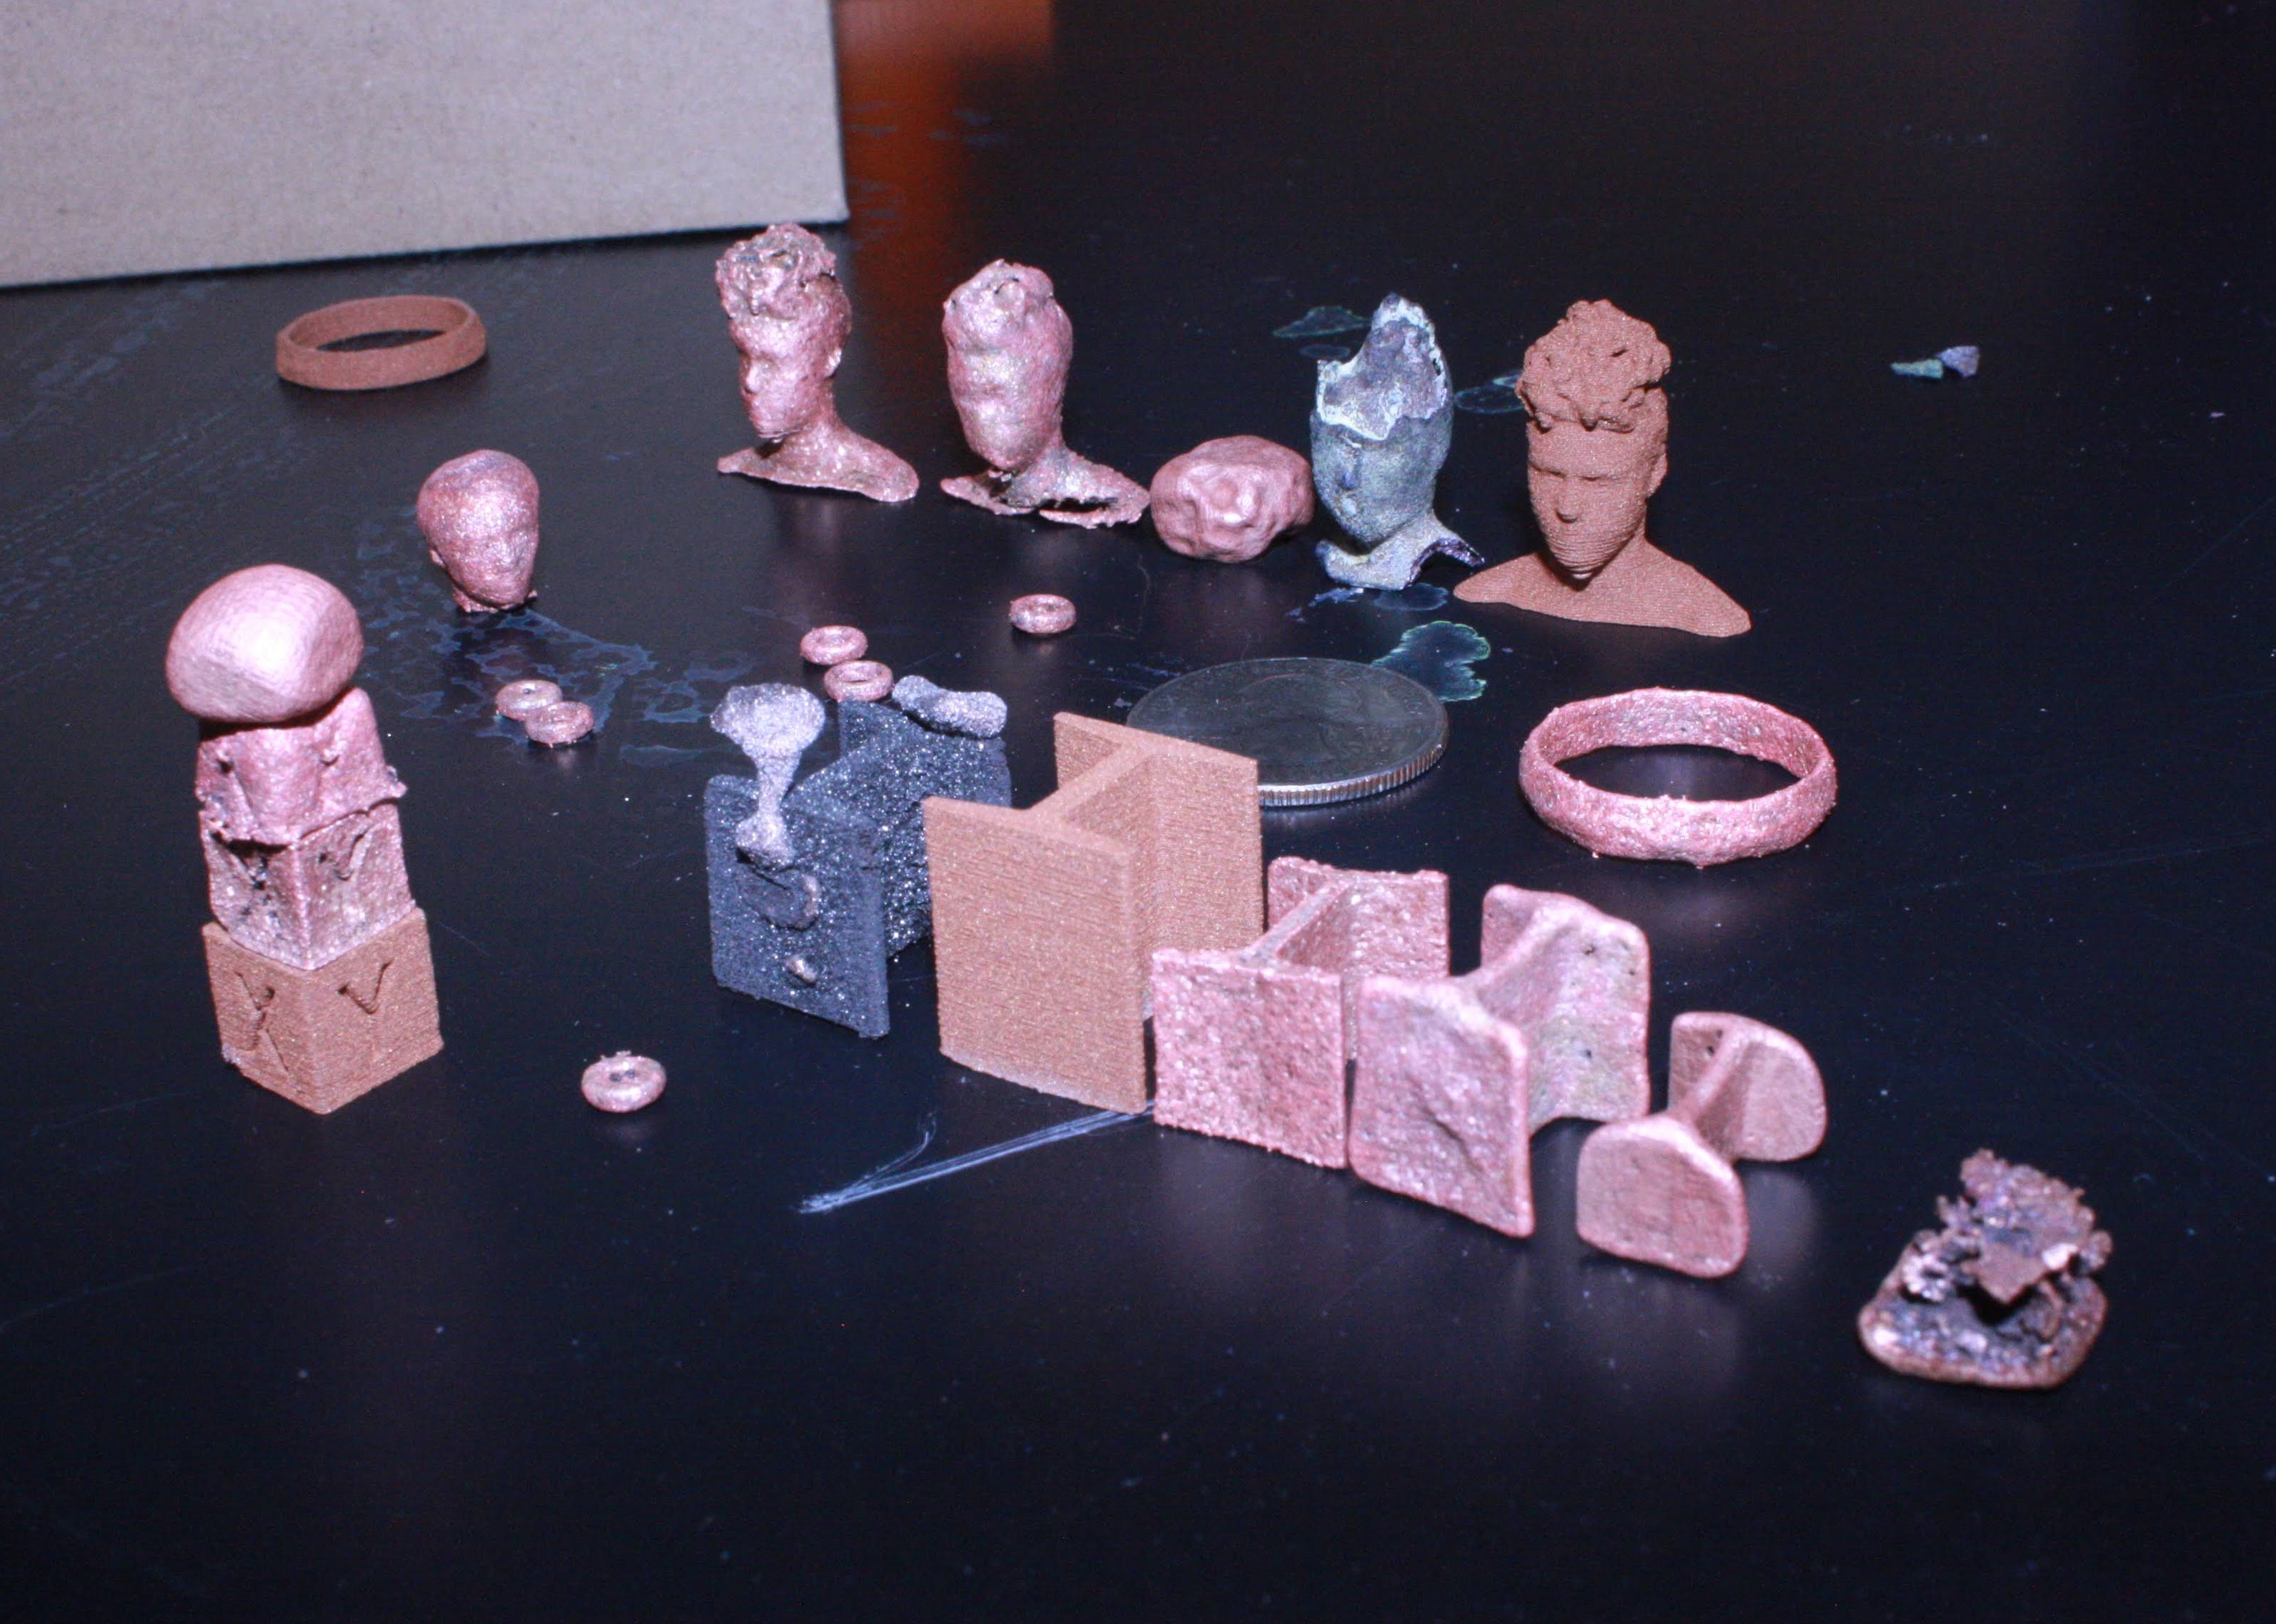
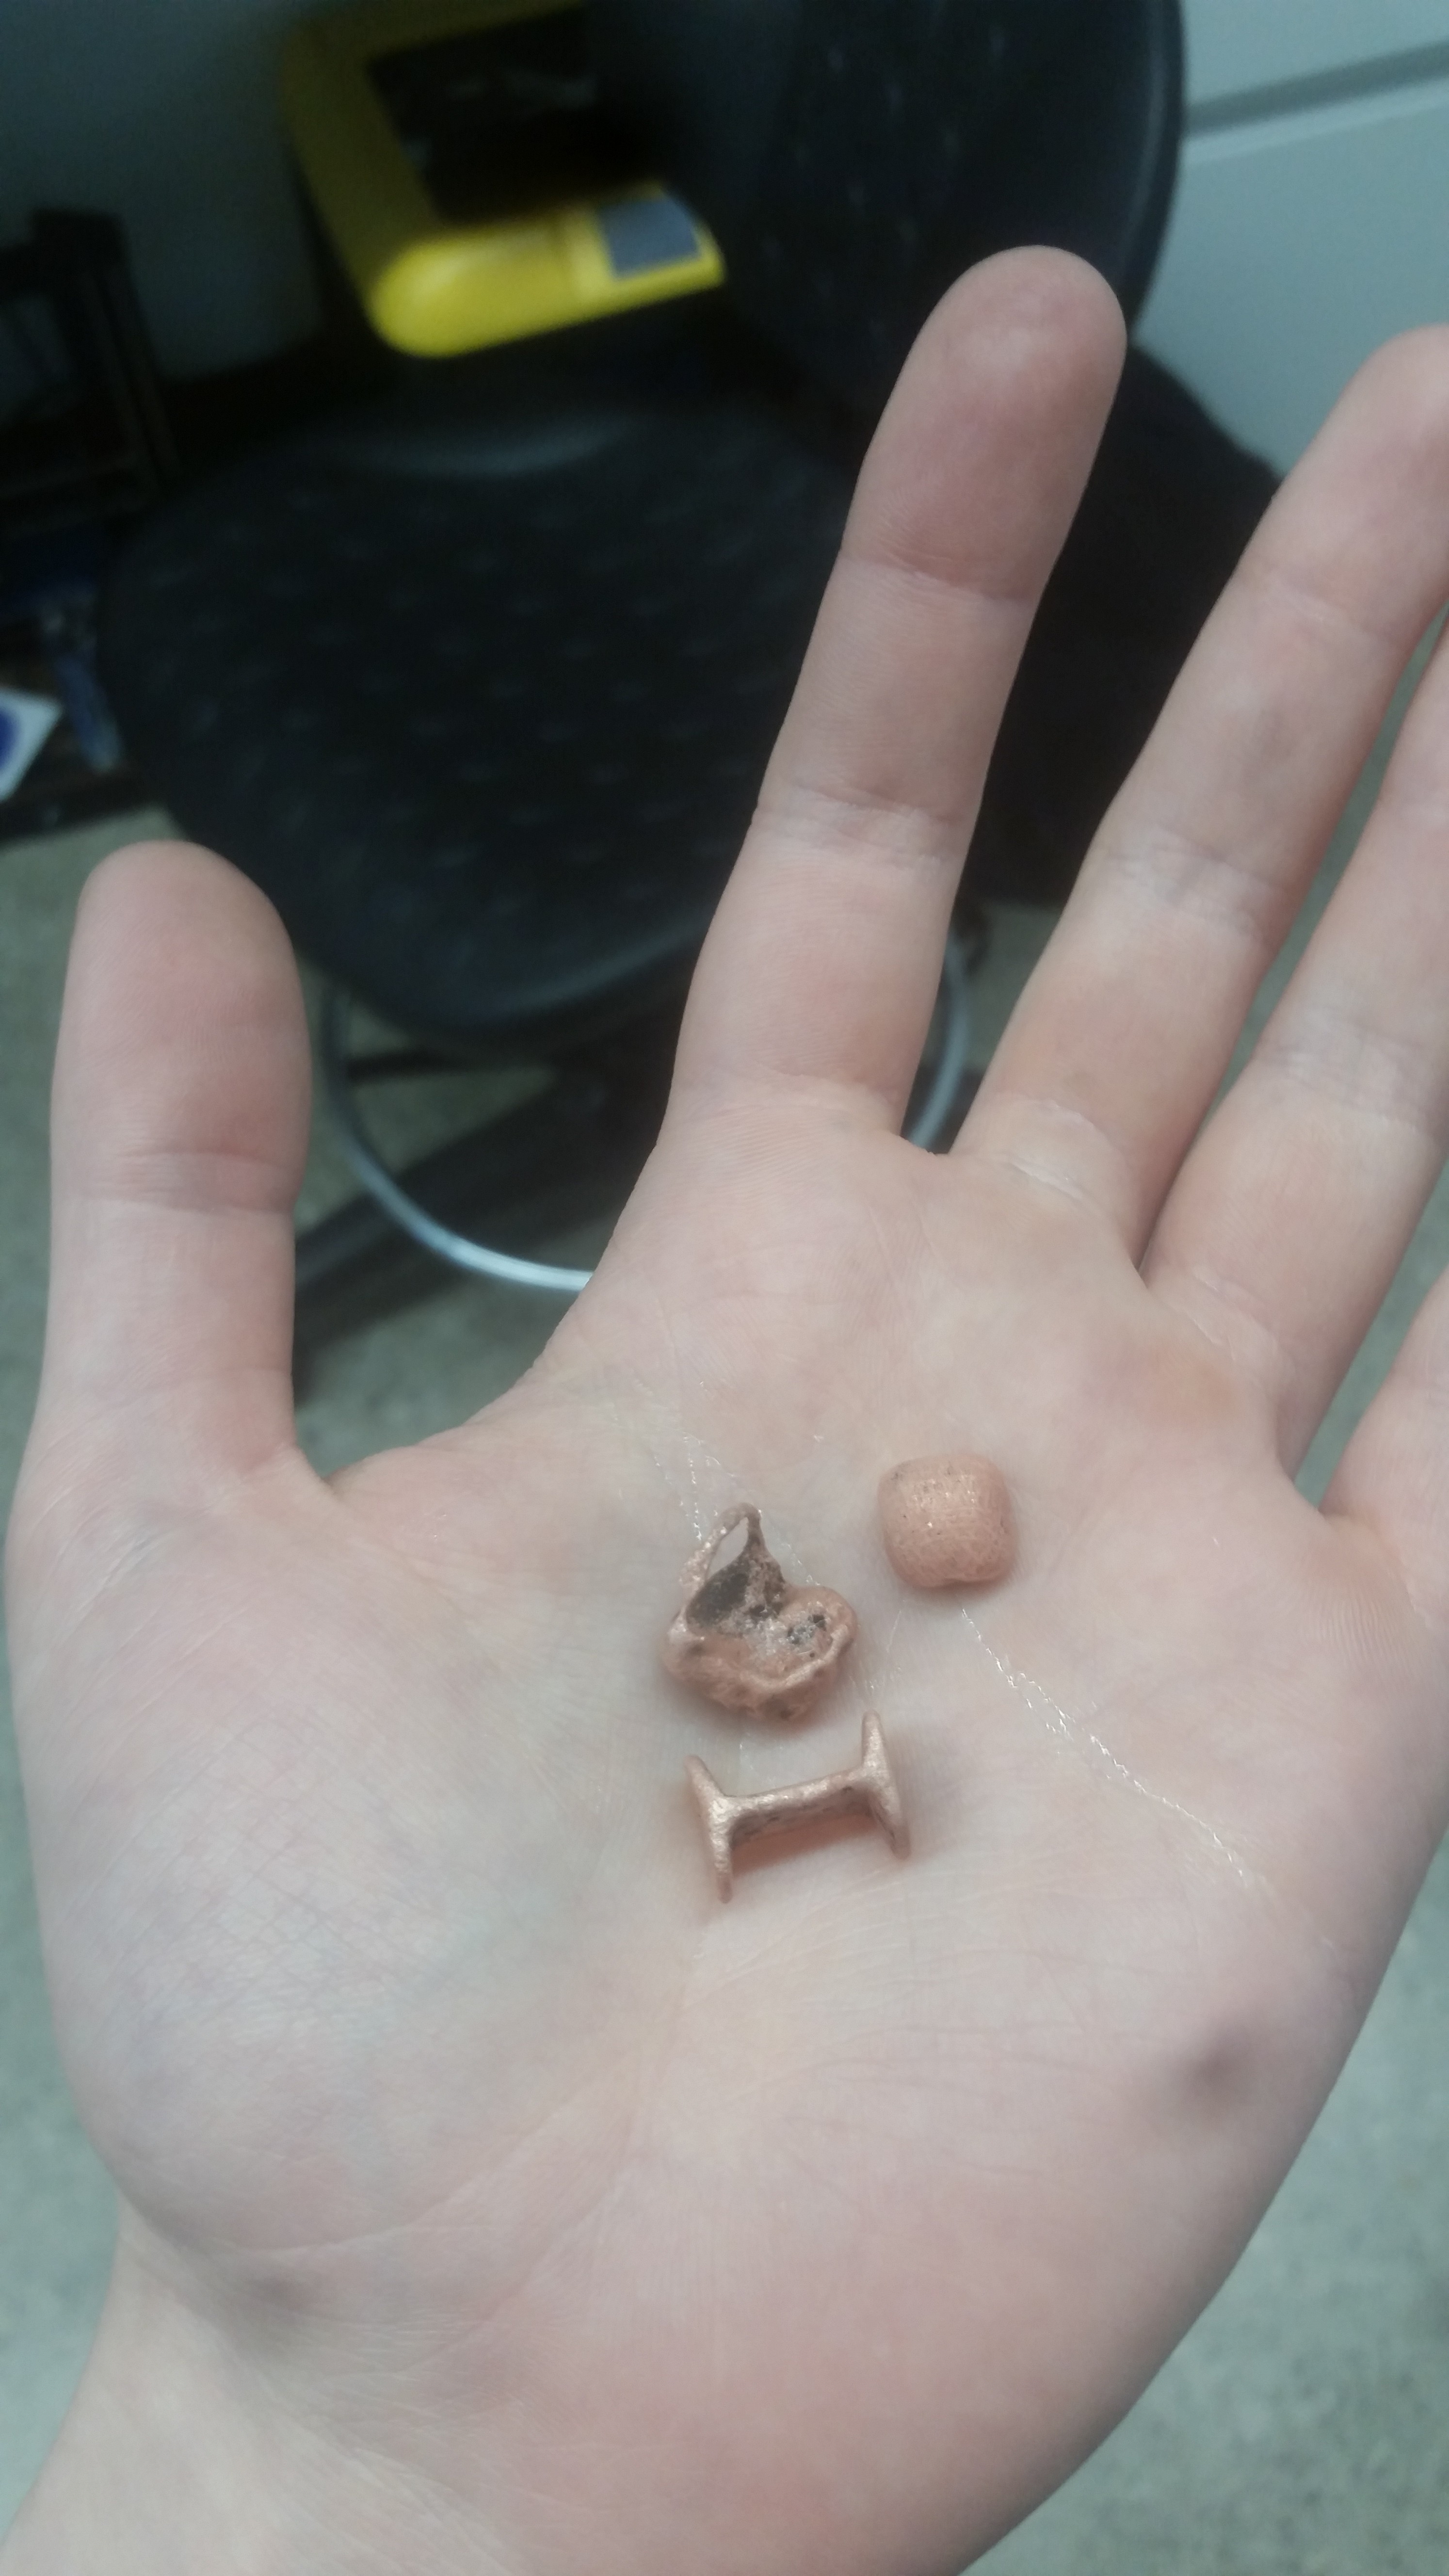
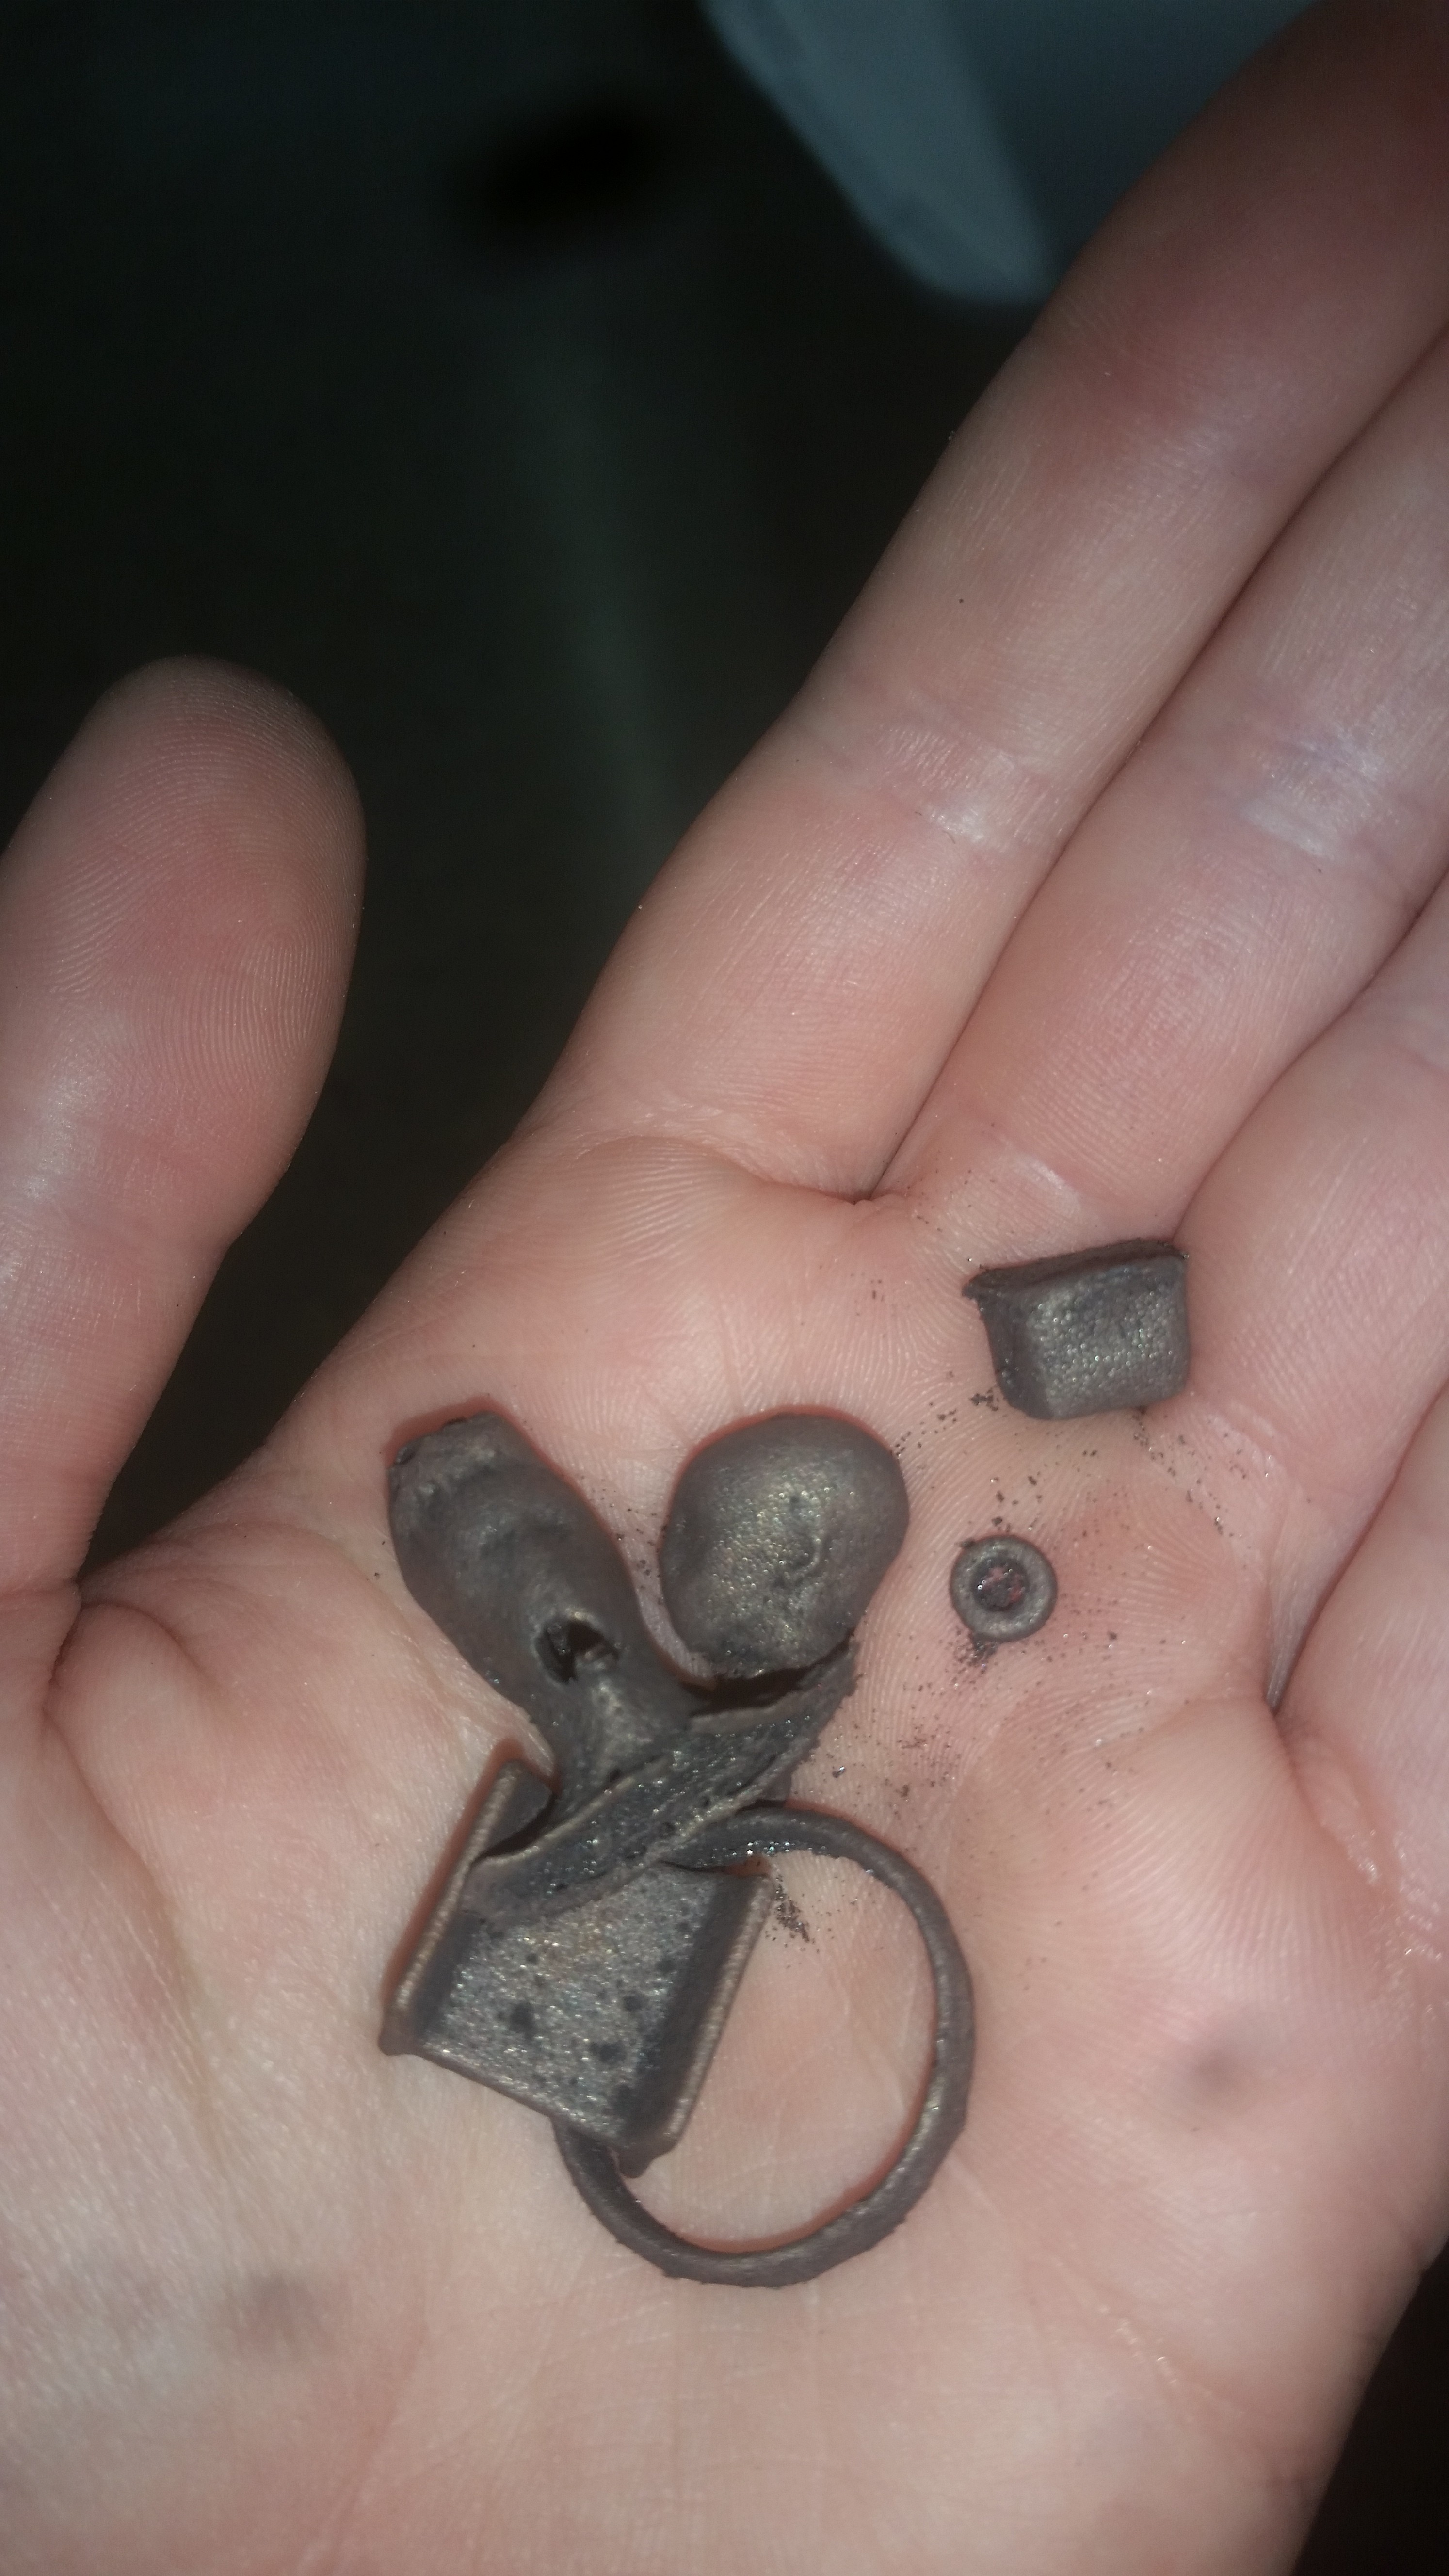
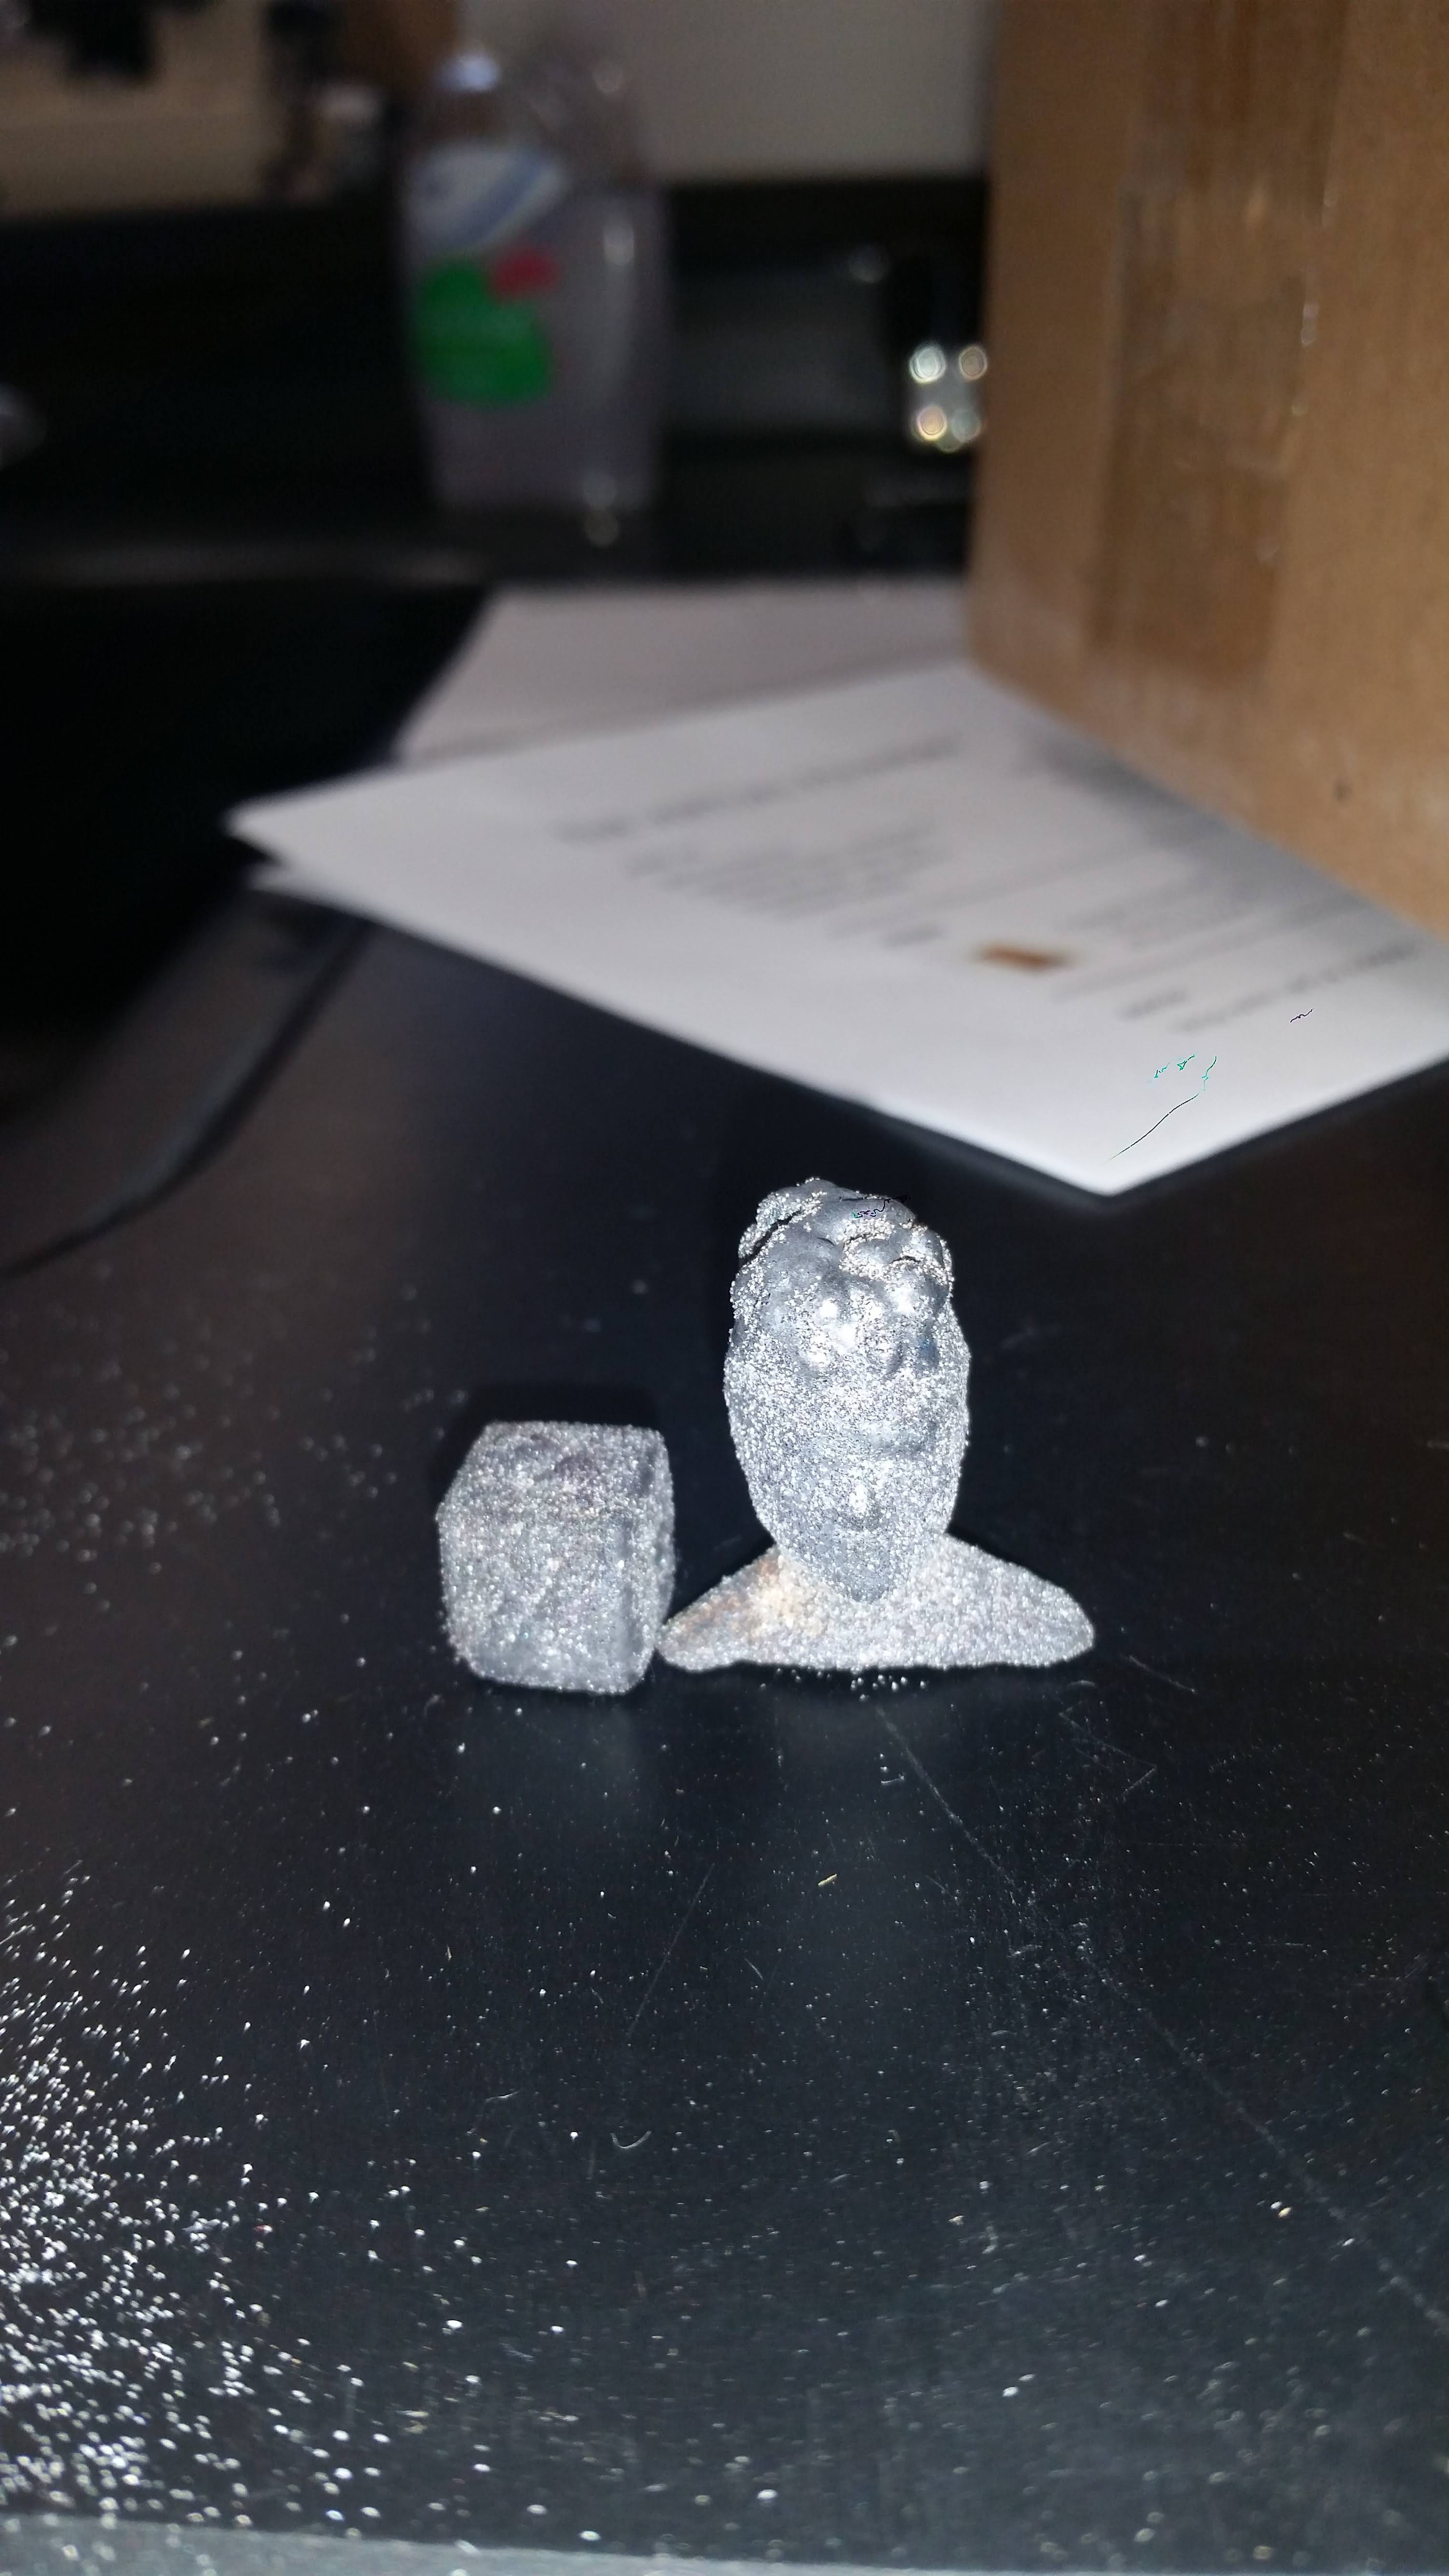
. the head is hollow - and it worked ok?
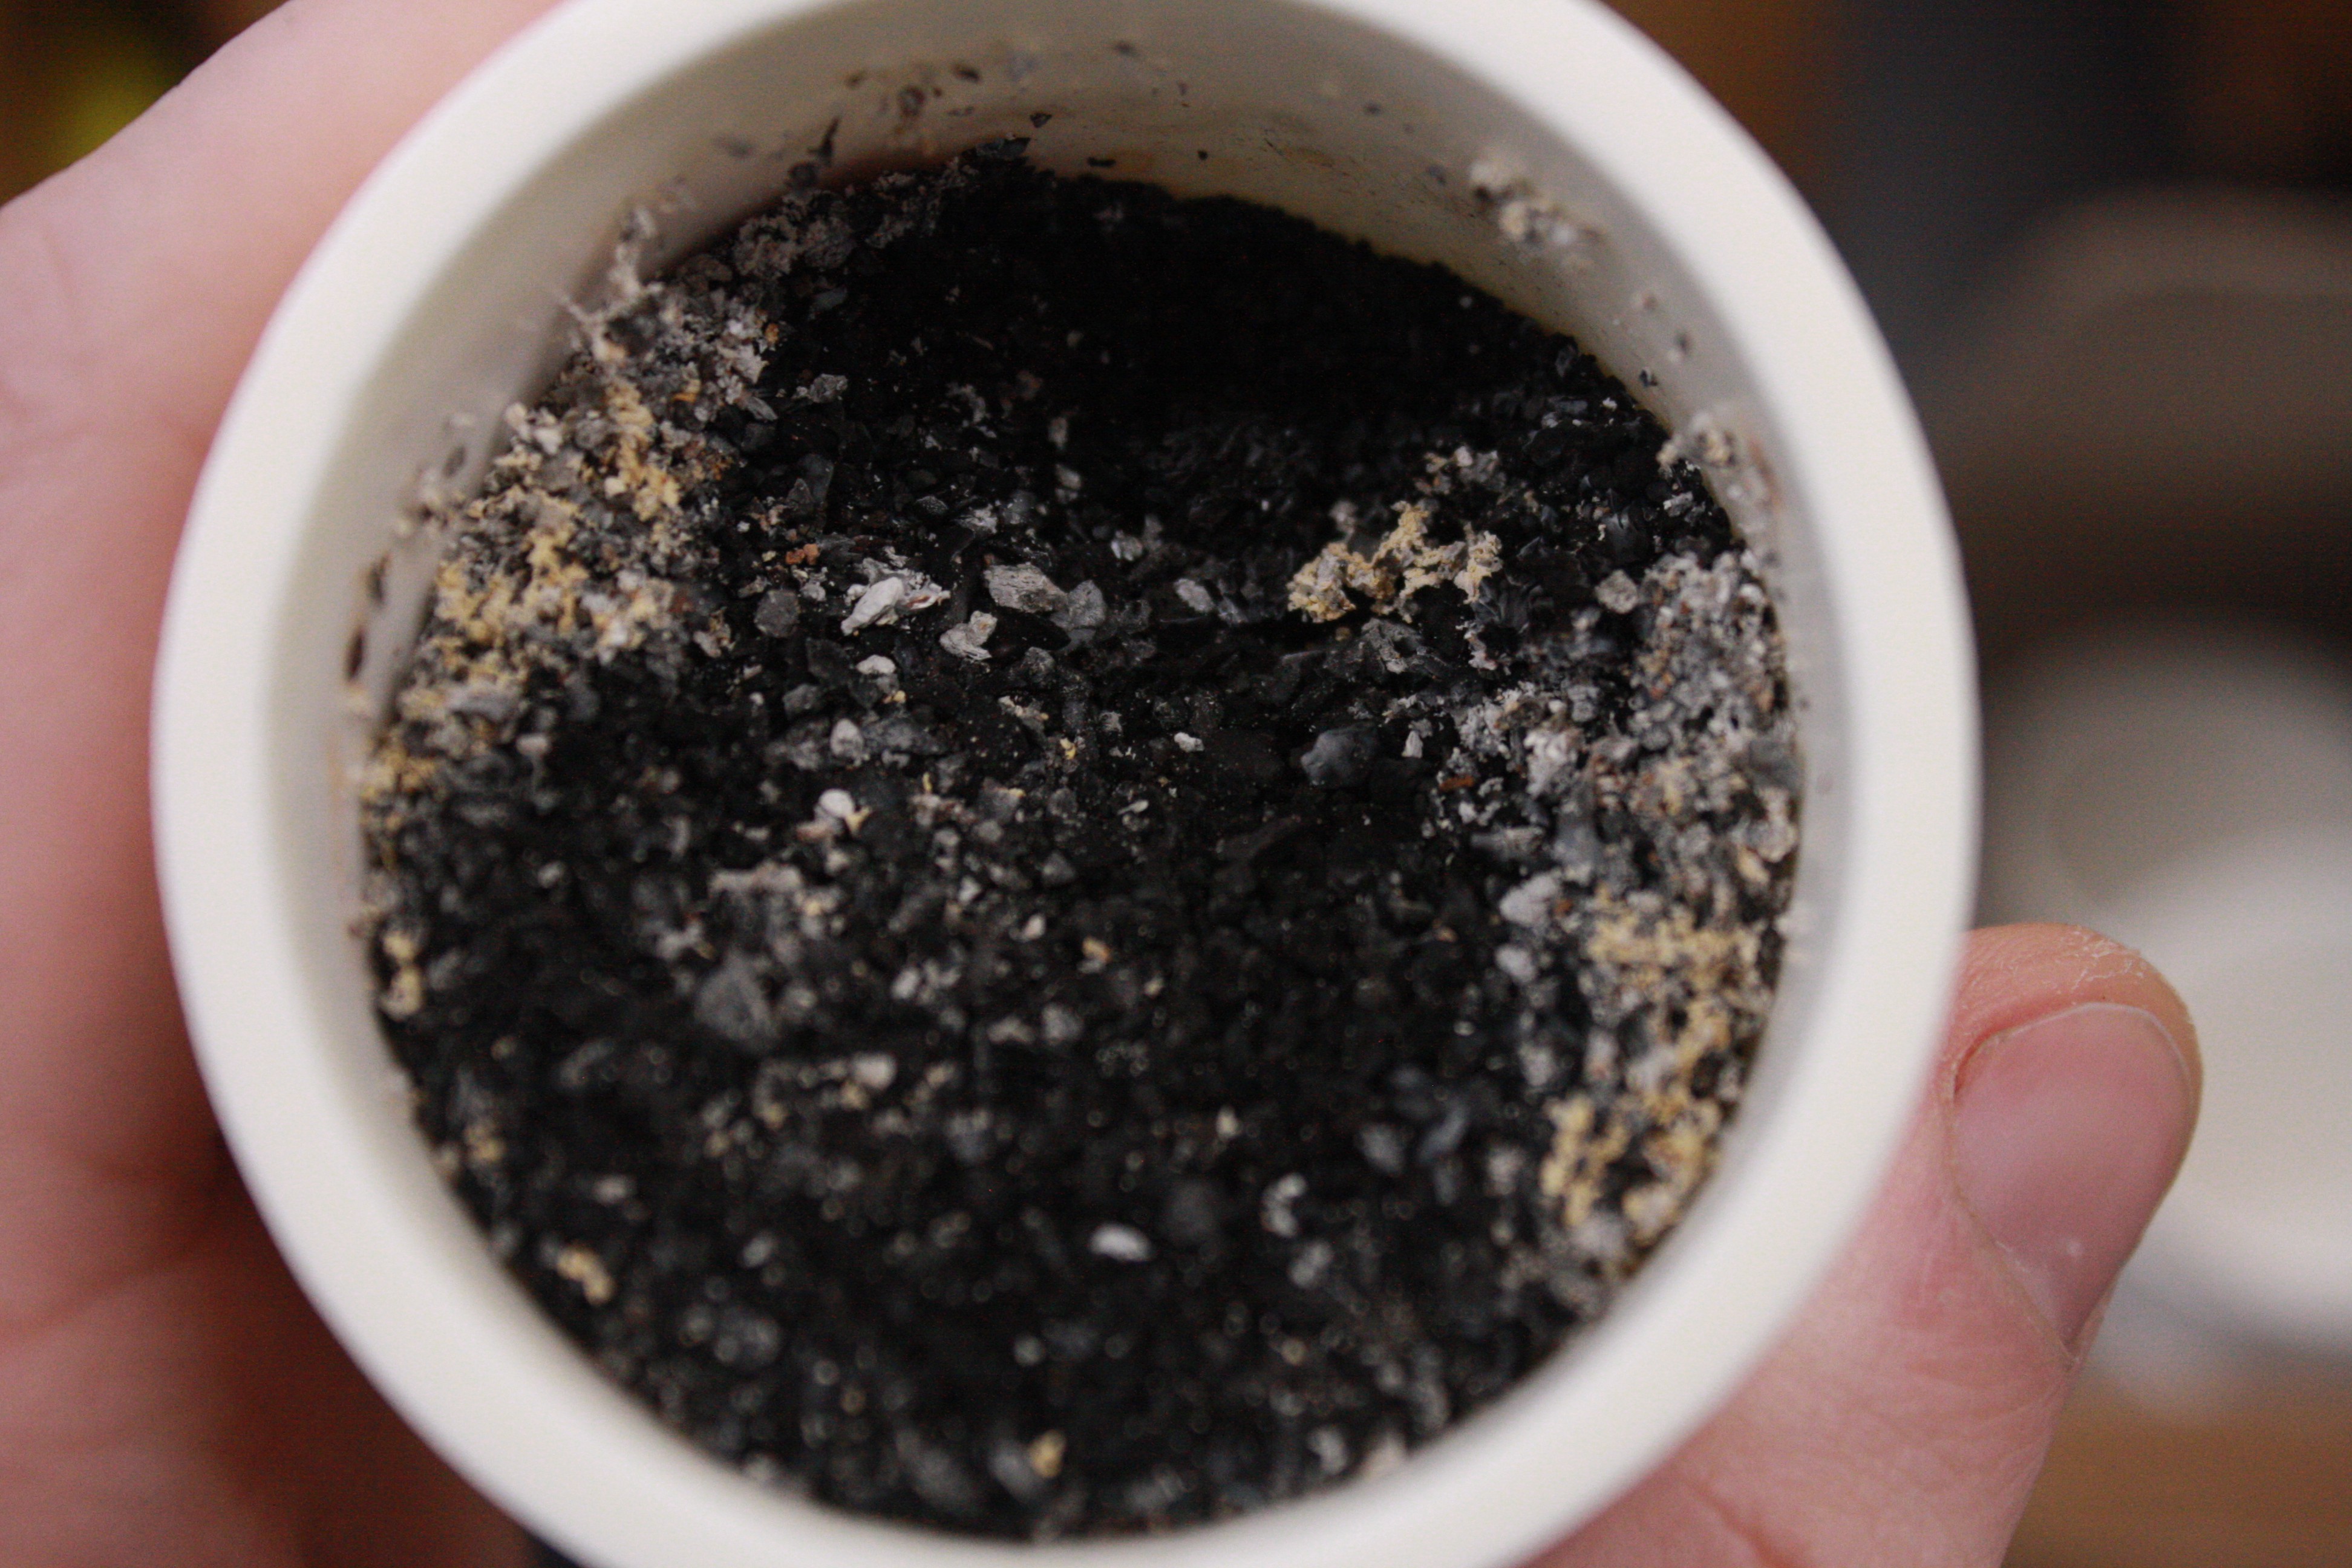
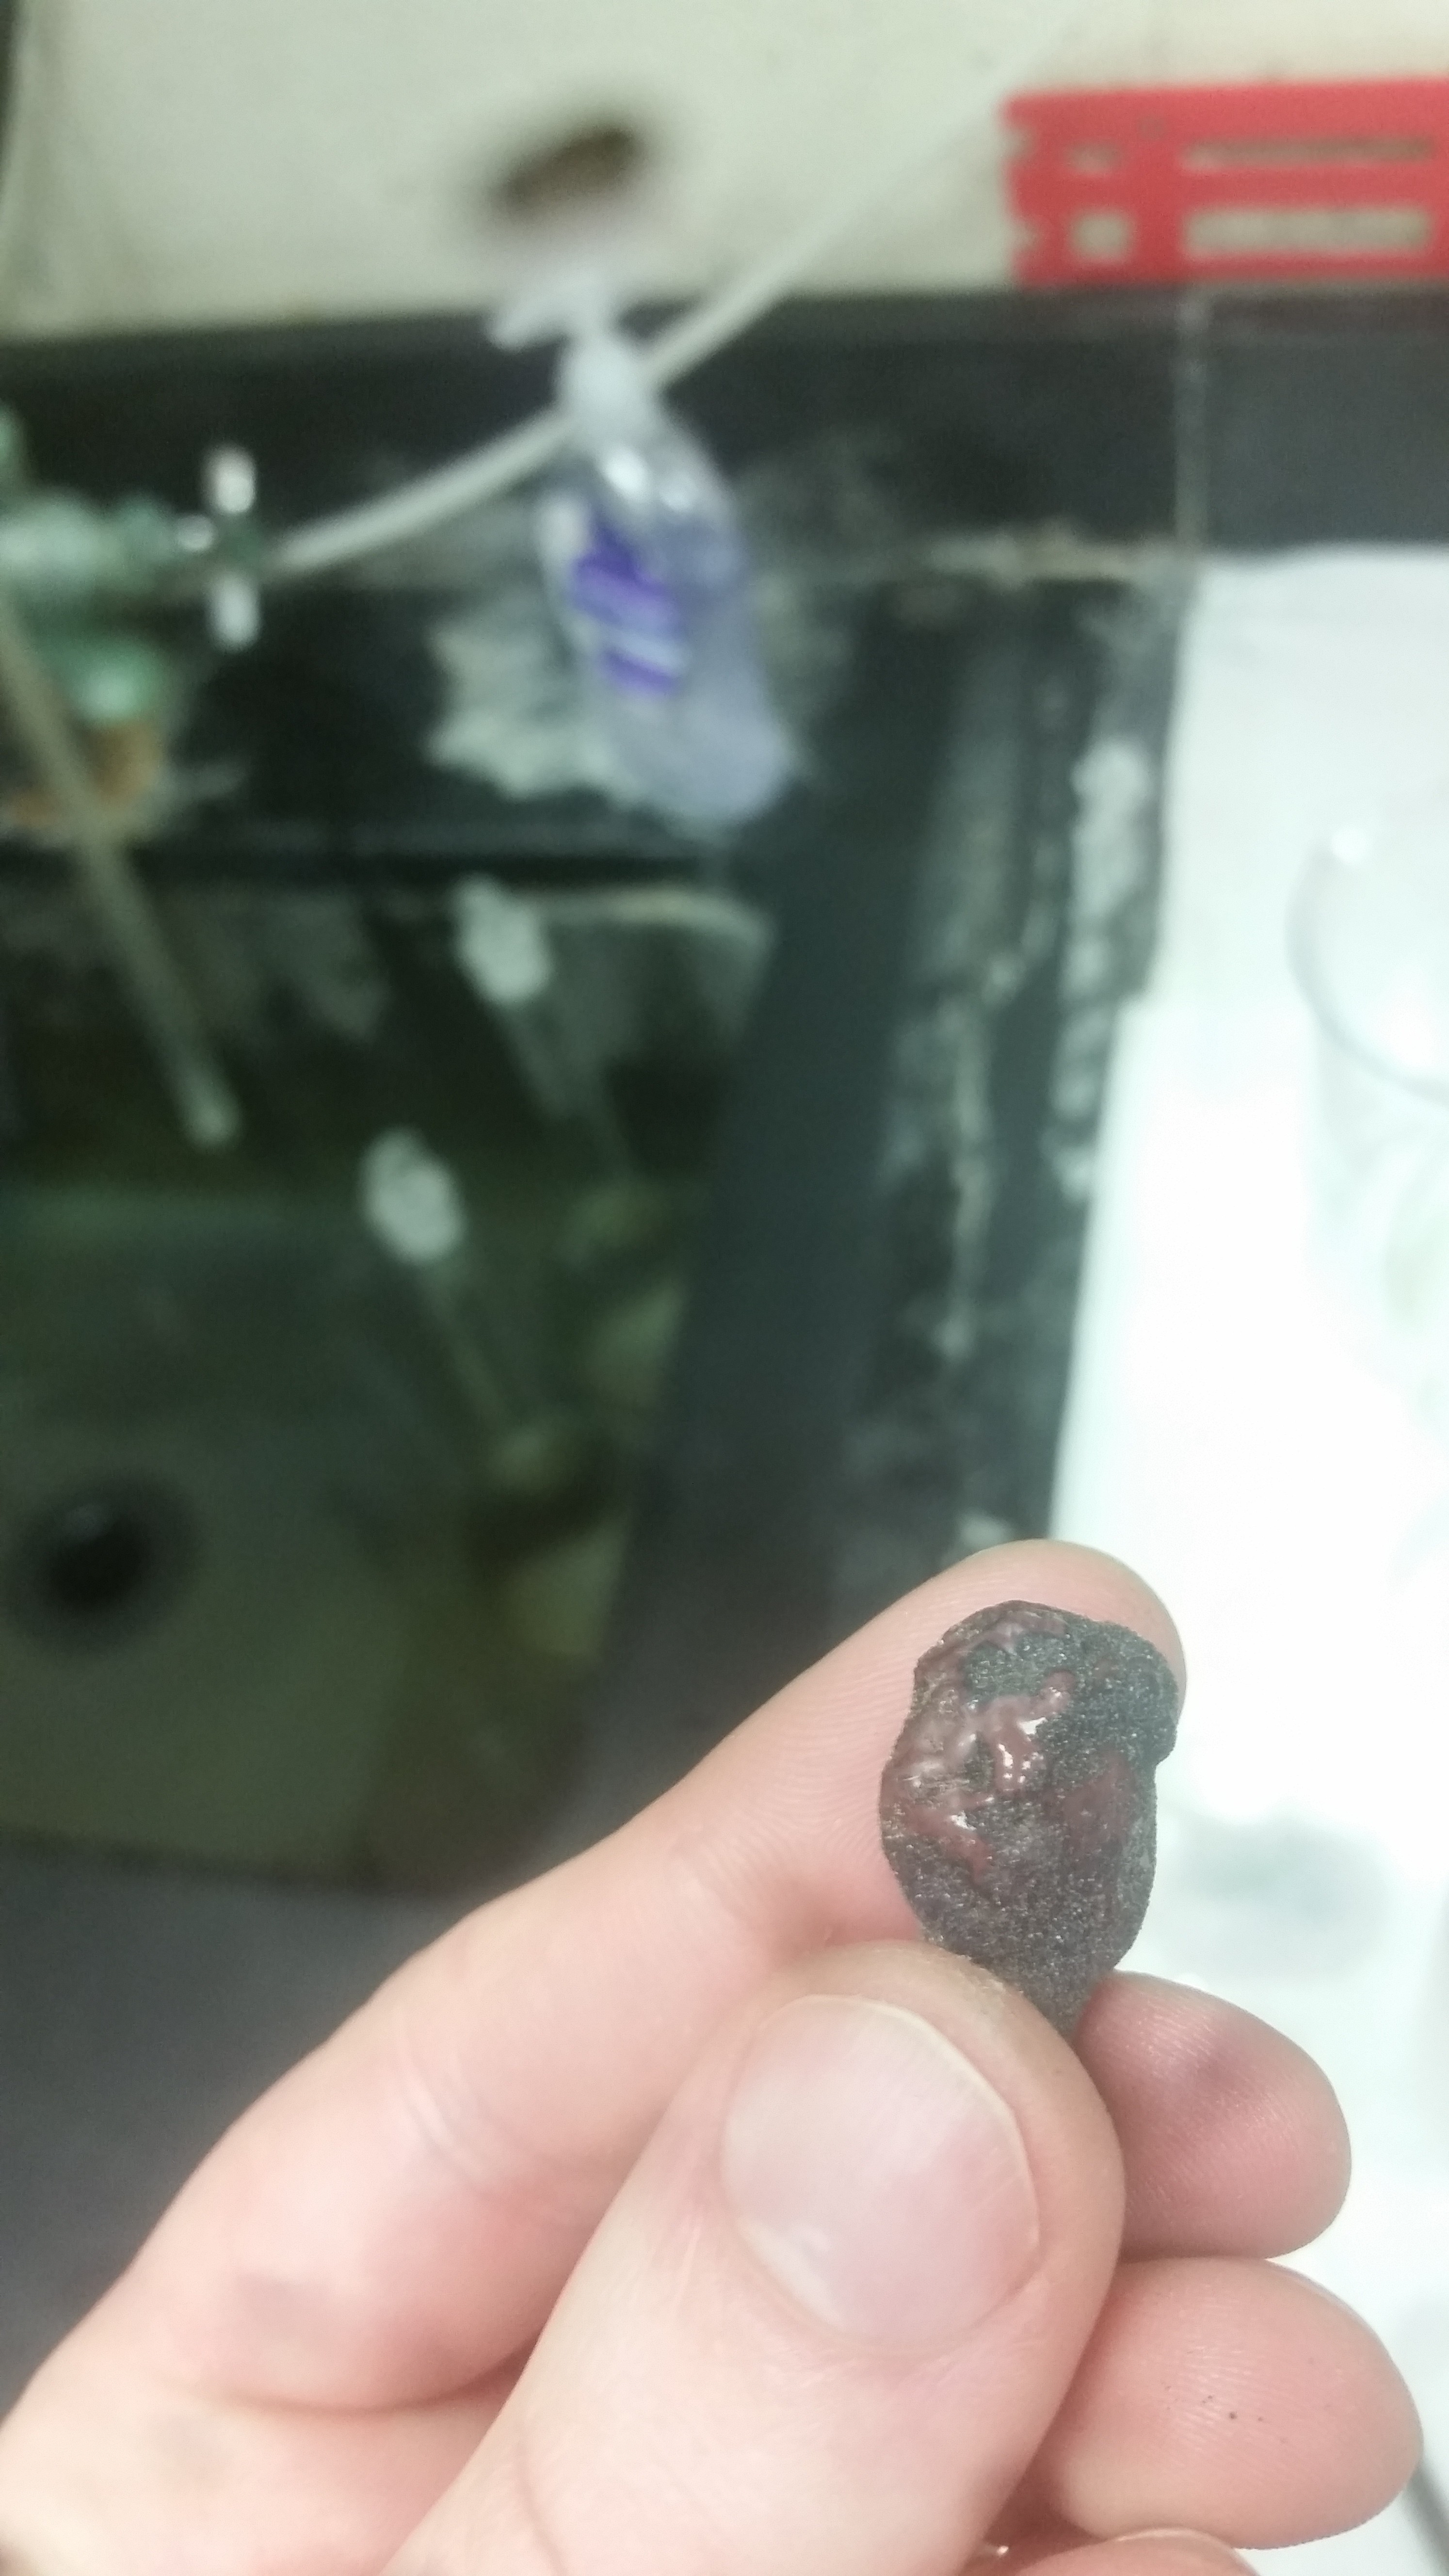
. so you bake out the binder - and then it's just a cup of "sand", some of which is metal, that you can't disturb _at_all_ before sintering? If you poured it out would the metal particles just flow along with the Al2O3?