 AIRPOCKET
I have received a comment pointing out that this device closely resembles the work of Daniel Rozin. While I don't necessarily feel that the starting point of the ideas is similar, it is true that the device itself has landed in a very close place.
I sent an email to Daniel Rozin explaining the situation honestly, and I received the following respose: "I would be glad if you refernced my art as your inspiration in any publication"
At the time of conceiving this device, it was not the case, but now that I am aware of his great body of work, there is no doubt that I am influenced by his art. I express my respect for him and his work.
Inspiration:
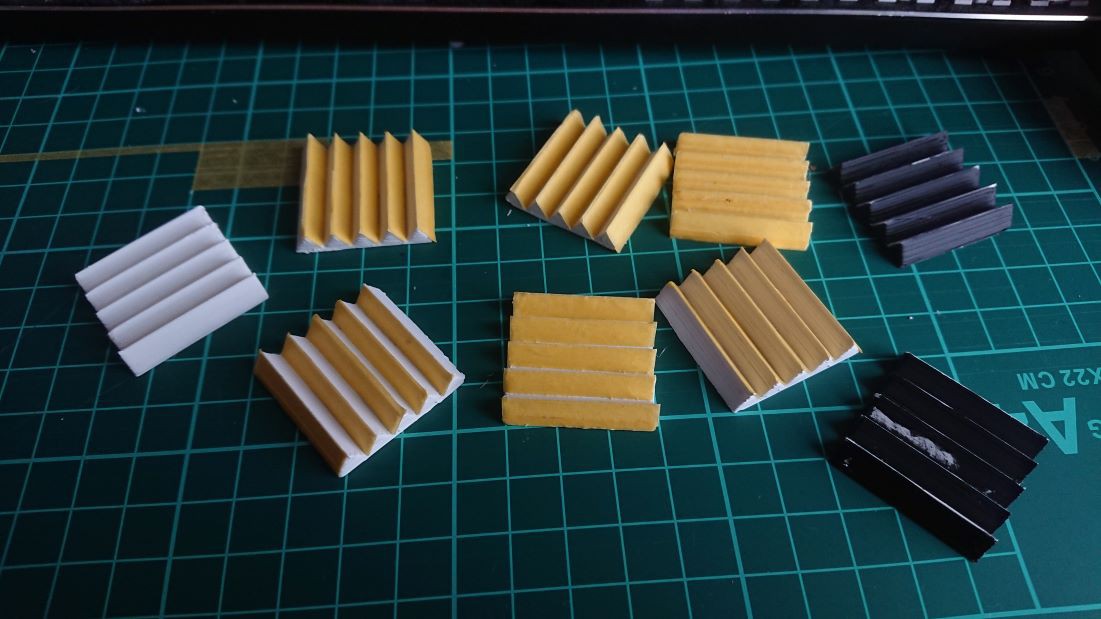
This display drew inspiration from various sources such as the Archimedes' mirror, mirror arrays used in solar power plants, the motion of water in rice fields, and the movement of swarm robots. Initially, the idea was to create various effects by manipulating mirror panels. However, through innovative panel structures, we realized that it is also possible to construct grayscale displays and pseudo-color displays. As a result, we have been developing several versions of the display.
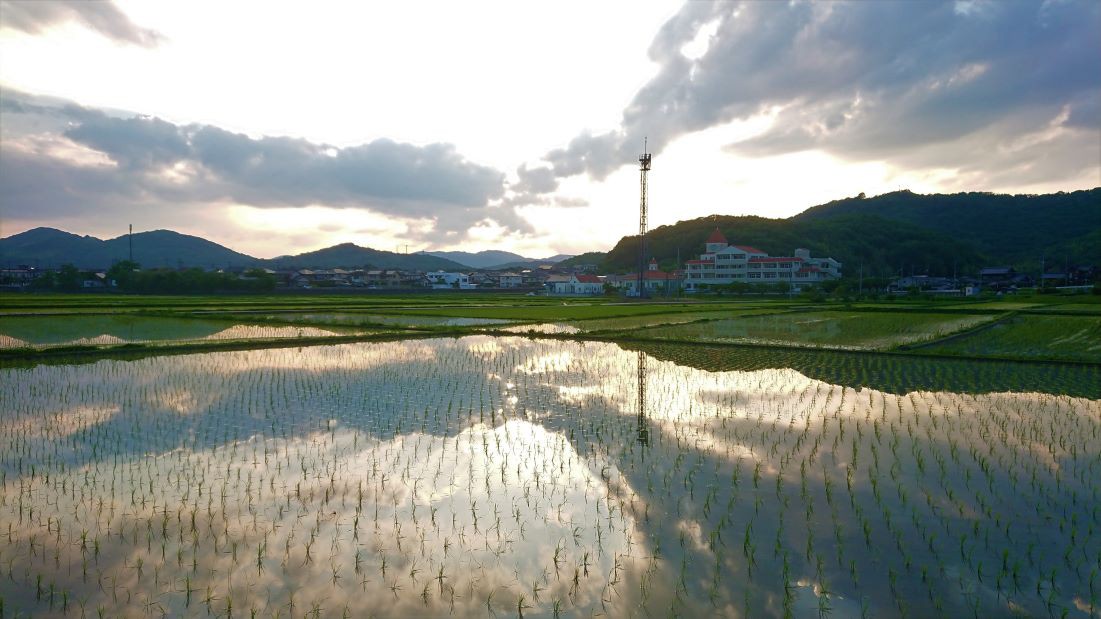
This is a newly flooded rice field. The water surface reflects the sky like a mirror, creating a stunningly beautiful landscape. Just as multiple rice fields reflect beautiful scenery, we aim to capture various landscapes and colors using mirror arrays and display them on our device.
Purpose:
Naturally, this device does not possess the high performance found in displays like LCD or OLED. The purpose of creating this display is primarily to serve as an expressive device in the field of art. It involves constructing artworks utilizing the physical movements of the numerous arranged pixel unit arrays and various effects generated by pixel panels such as mirrors. The primary focus is on artistic expression rather than functioning as a hardware display device.
about Hackaday Prize:
Although this display is not intended as a gear for manufacturing, it is created as a device for artistic expression, so I have decided to enter it in the "Gearing Up" category. However, it may be more suitable for the "Wild Card" category, so I also plan to enter it as a wild card entry.
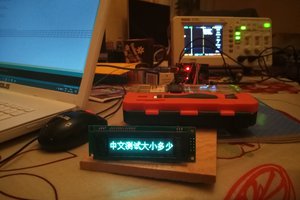
I haven't caught up with updating the log, but I have successfully conducted tests on the mechanical display. This display is a device that allows various visual effects and artistic expressions by swapping panels. In this test, I have attached a mirror panel.
In the video, I have successfully captured the colors of a sunset sky and displayed them as text. Please note that this effect is just one of the options available with this display in terms of visual effects.
8bit Gray Scale Display
For reference and to provide an example of options other than mirrors, I will share one alternative. This is a demonstration of the control that can be achieved when performing calculations for an 8-bit grayscale display.
Pseudo-Color display
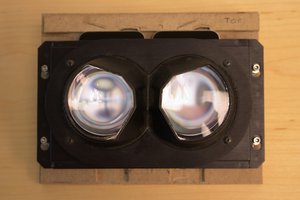
Since the grayscale display has performed very well, the next challenge is to attempt pseudo-color display conversion. We are planning to combine lenticular lenses with an RGB color stripe.
If this idea works successfully, while brightness and saturation may not be controllable, we believe we can have free control over hue.
The challenge lies in the design and DIY complexity of lenticular lenses, but if successful, we anticipate achieving this by the final of the Hackaday Prize.


 dkrum
dkrum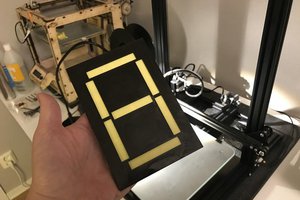
 Peter Lehnér