 Rue Mohr
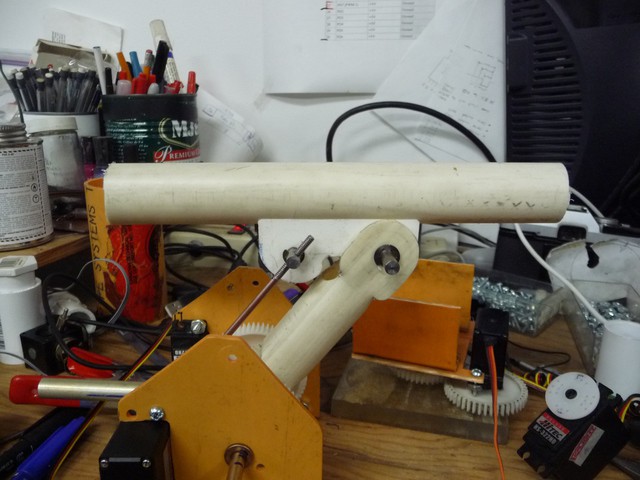
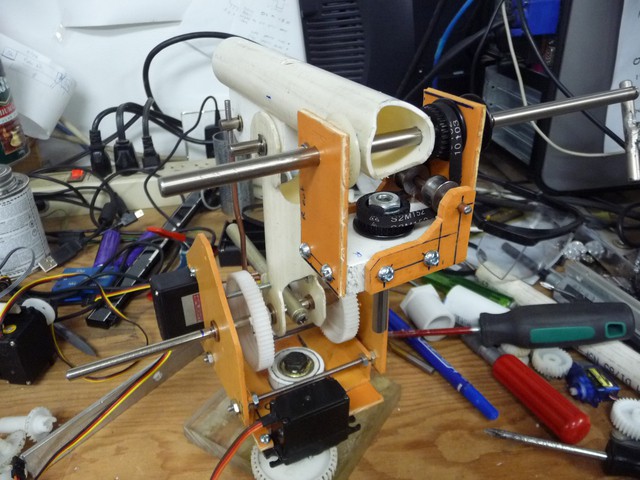
Programming wise and electrically this isn't complex. A PC running linux does all the motion path control, an AVR does the hobby servo pulse control.
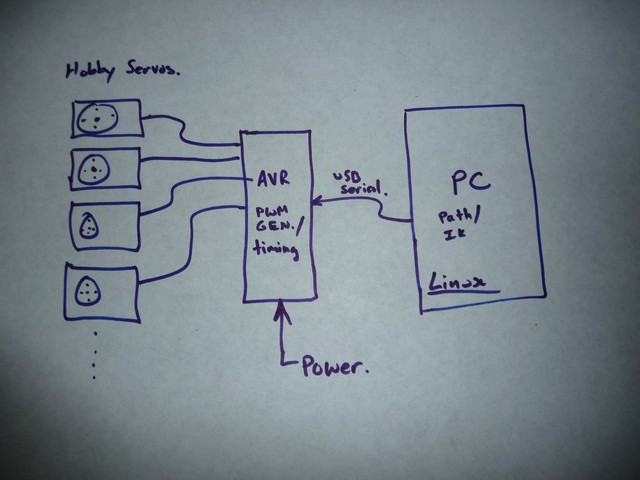
I dont really need/seek position control as the servos already take care of that, I THINK I can do force control by looking at the pulse time of the current to the servos. Longer current pulses mean they are correcting for more error, and that means their position is out. As they are proportionate, some feedback to the position command should work for force control. You just have to track yourself which way your applying the force.


 JackRC
 Val
Val
 The Big One
 Ahmed Azouz
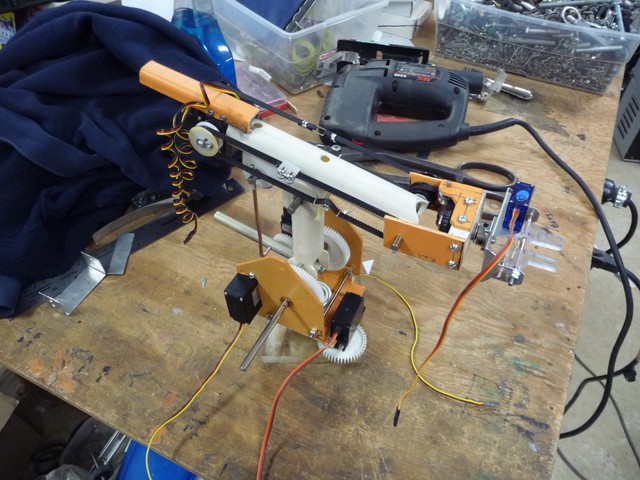
Excellent! Someone who understands the value of counter-balance! Nicely done.