Oasis
Oasis is a open source powder and inkjet (3DP) 3D printer. It is designed to be a hackable platform to experiment with 3DP printing.
Current specs:
- Build size: Ø84mm x 100mm;
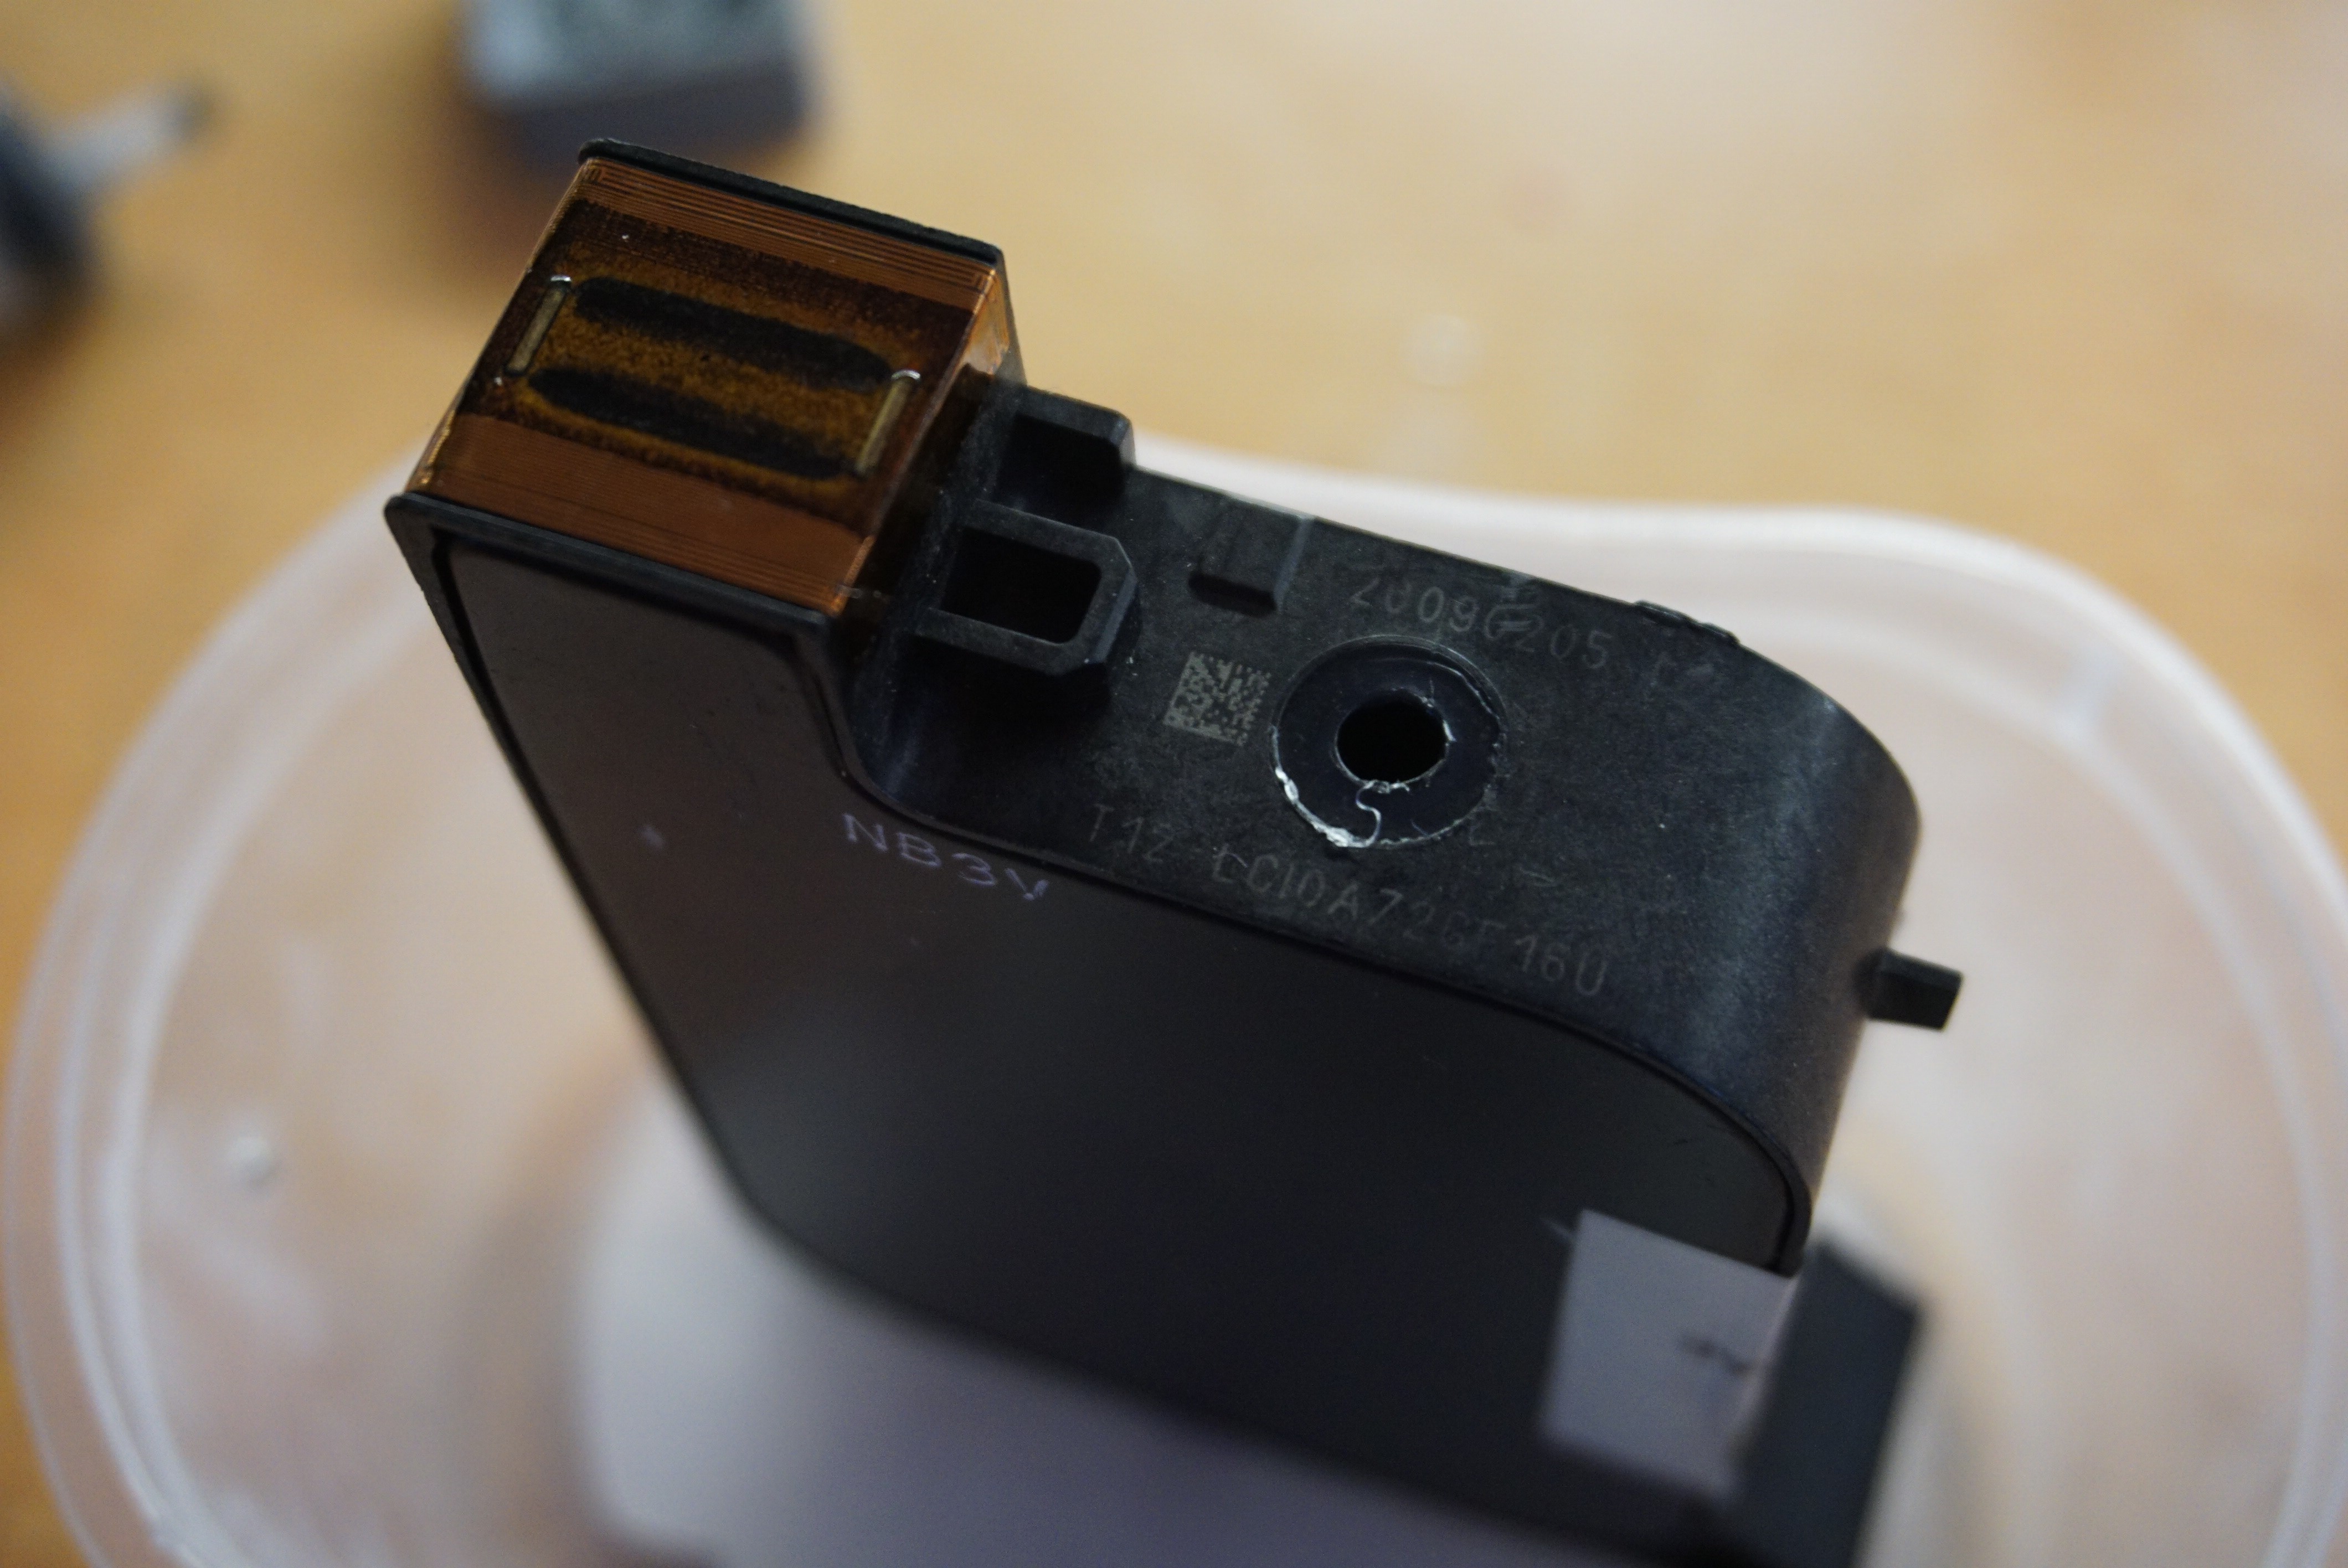
- Printhead: HP45;
- Printhead DPI: 600;
- Printhead swatch size: 300 nozzles, 0.5" (12.7mm);
Handy features:
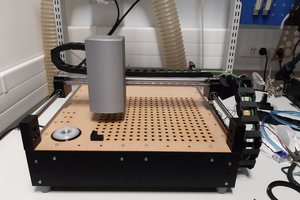
- A cover to keep dust out and powder in. (This may seem mundane, but was seriously lacking in my previous printers).
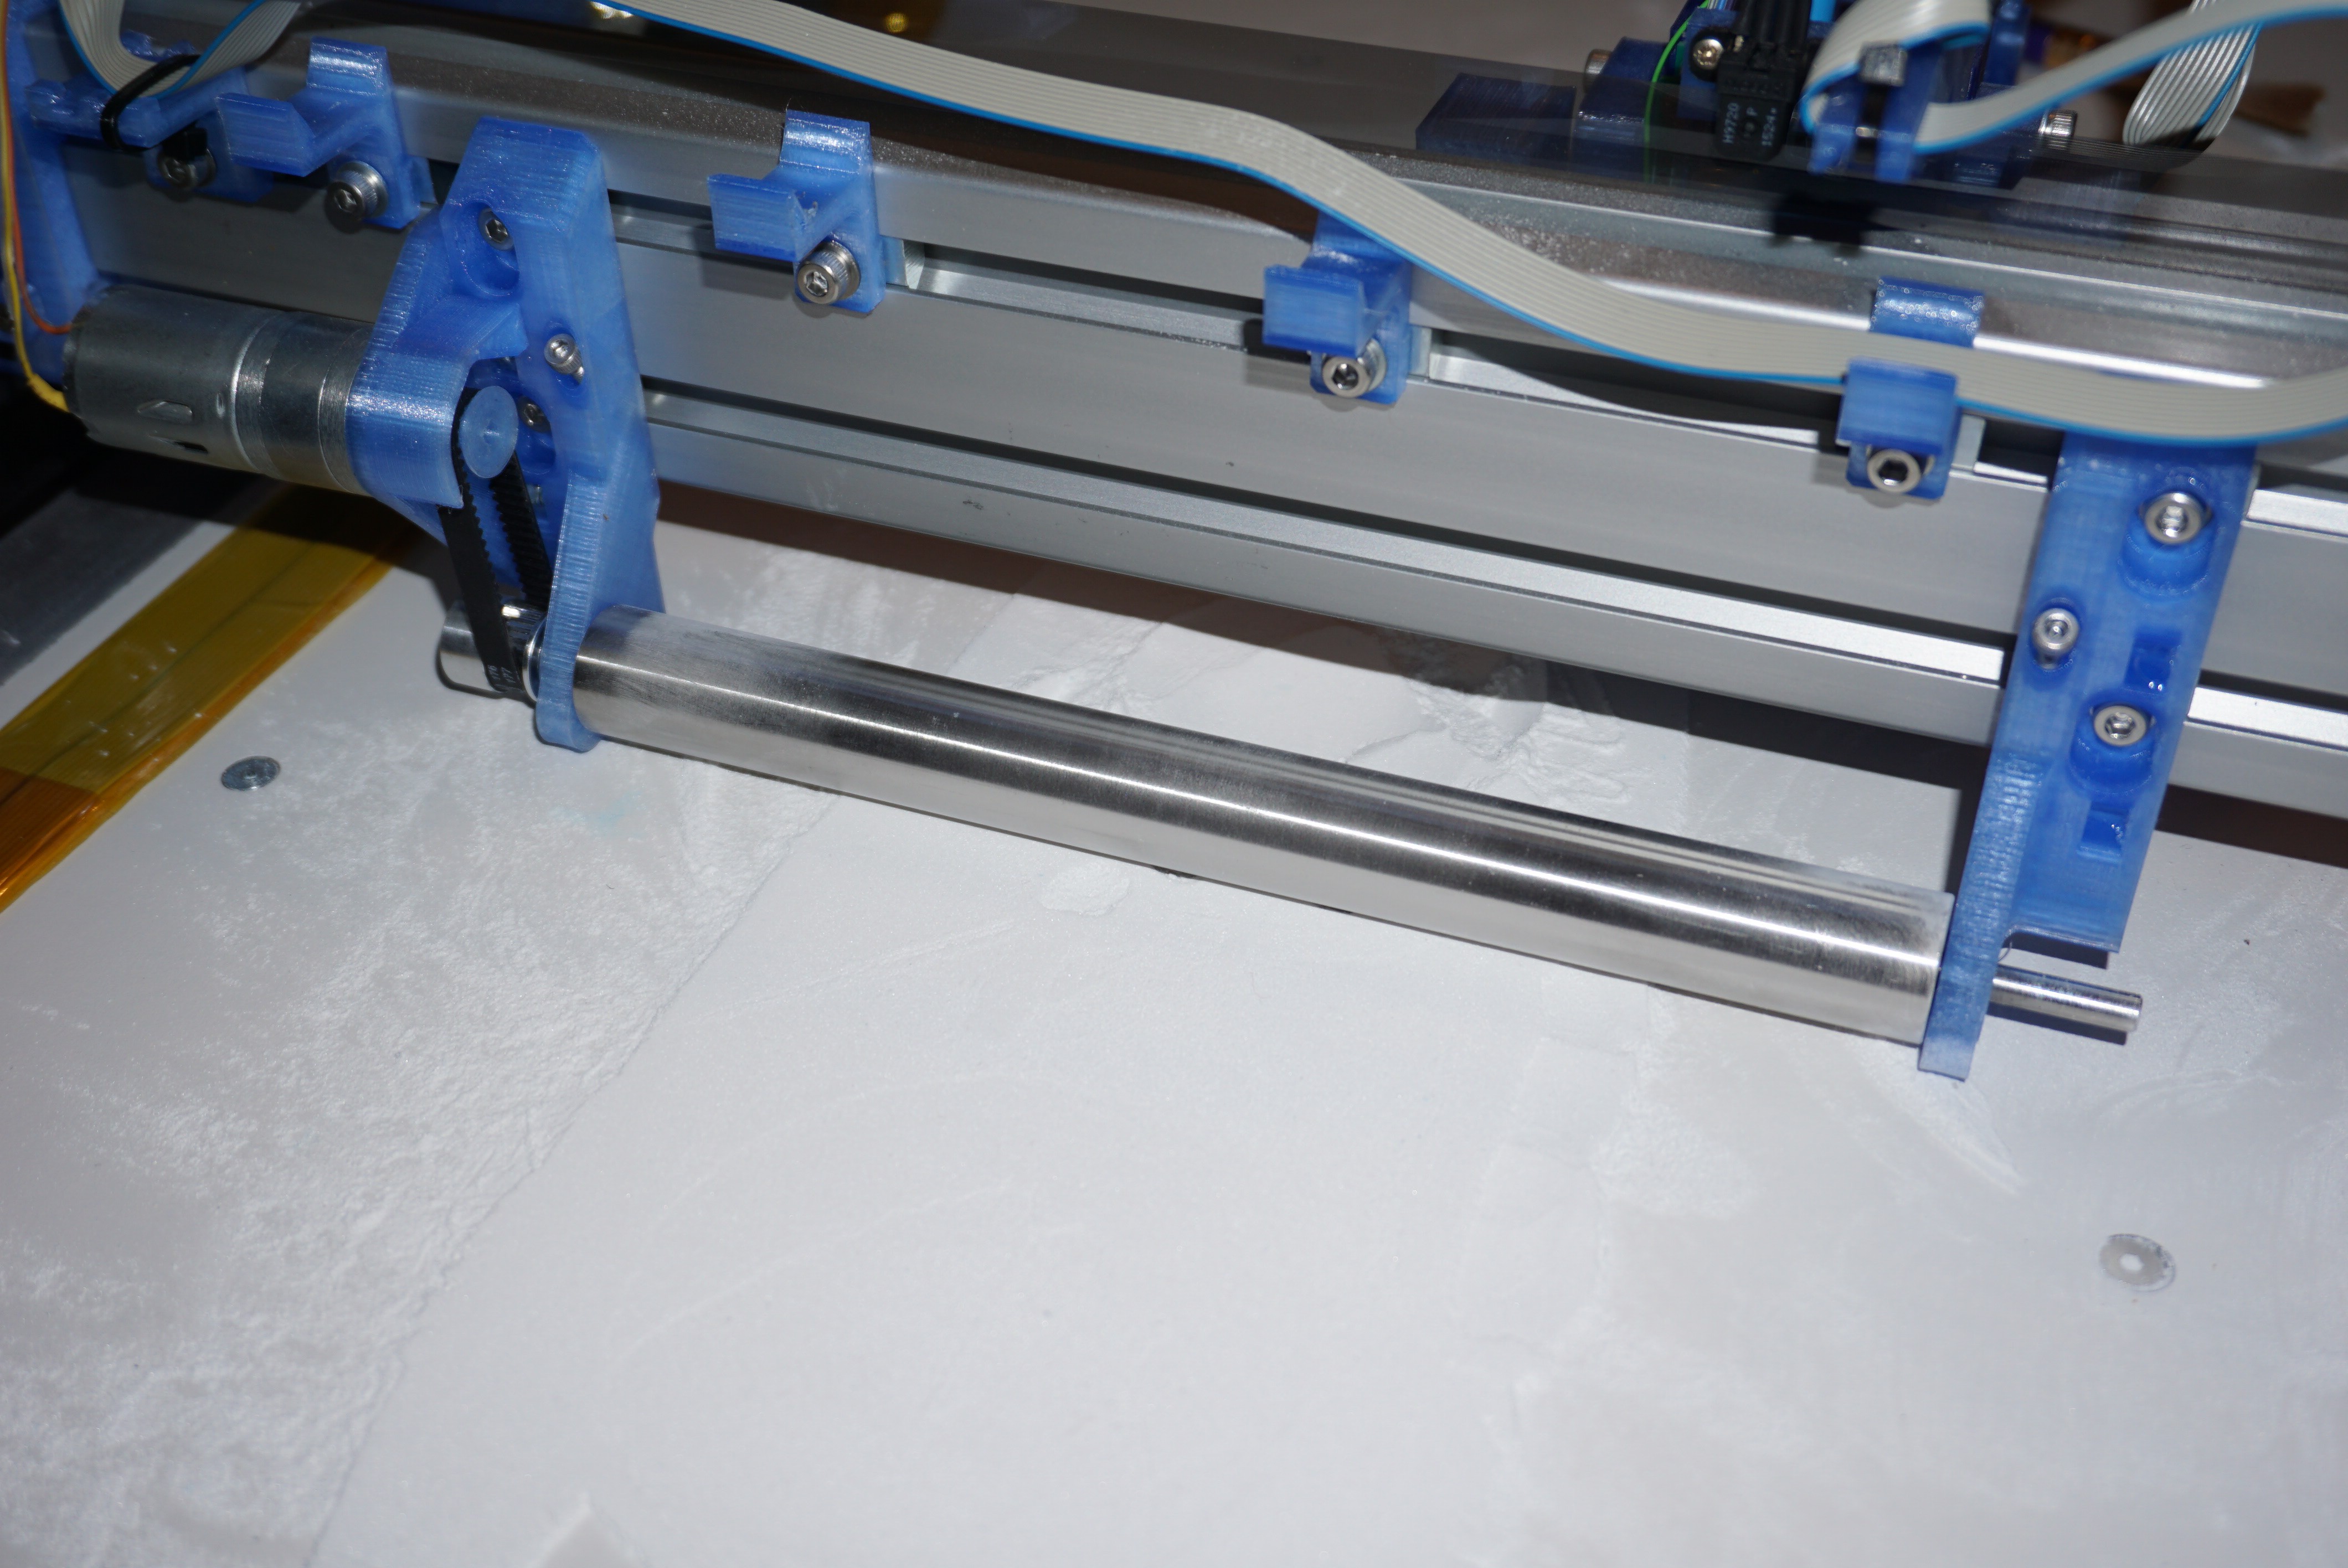
- A large, flat, unobstructed build area that is easy to clean. (Again, seems mundane, is not mundane).
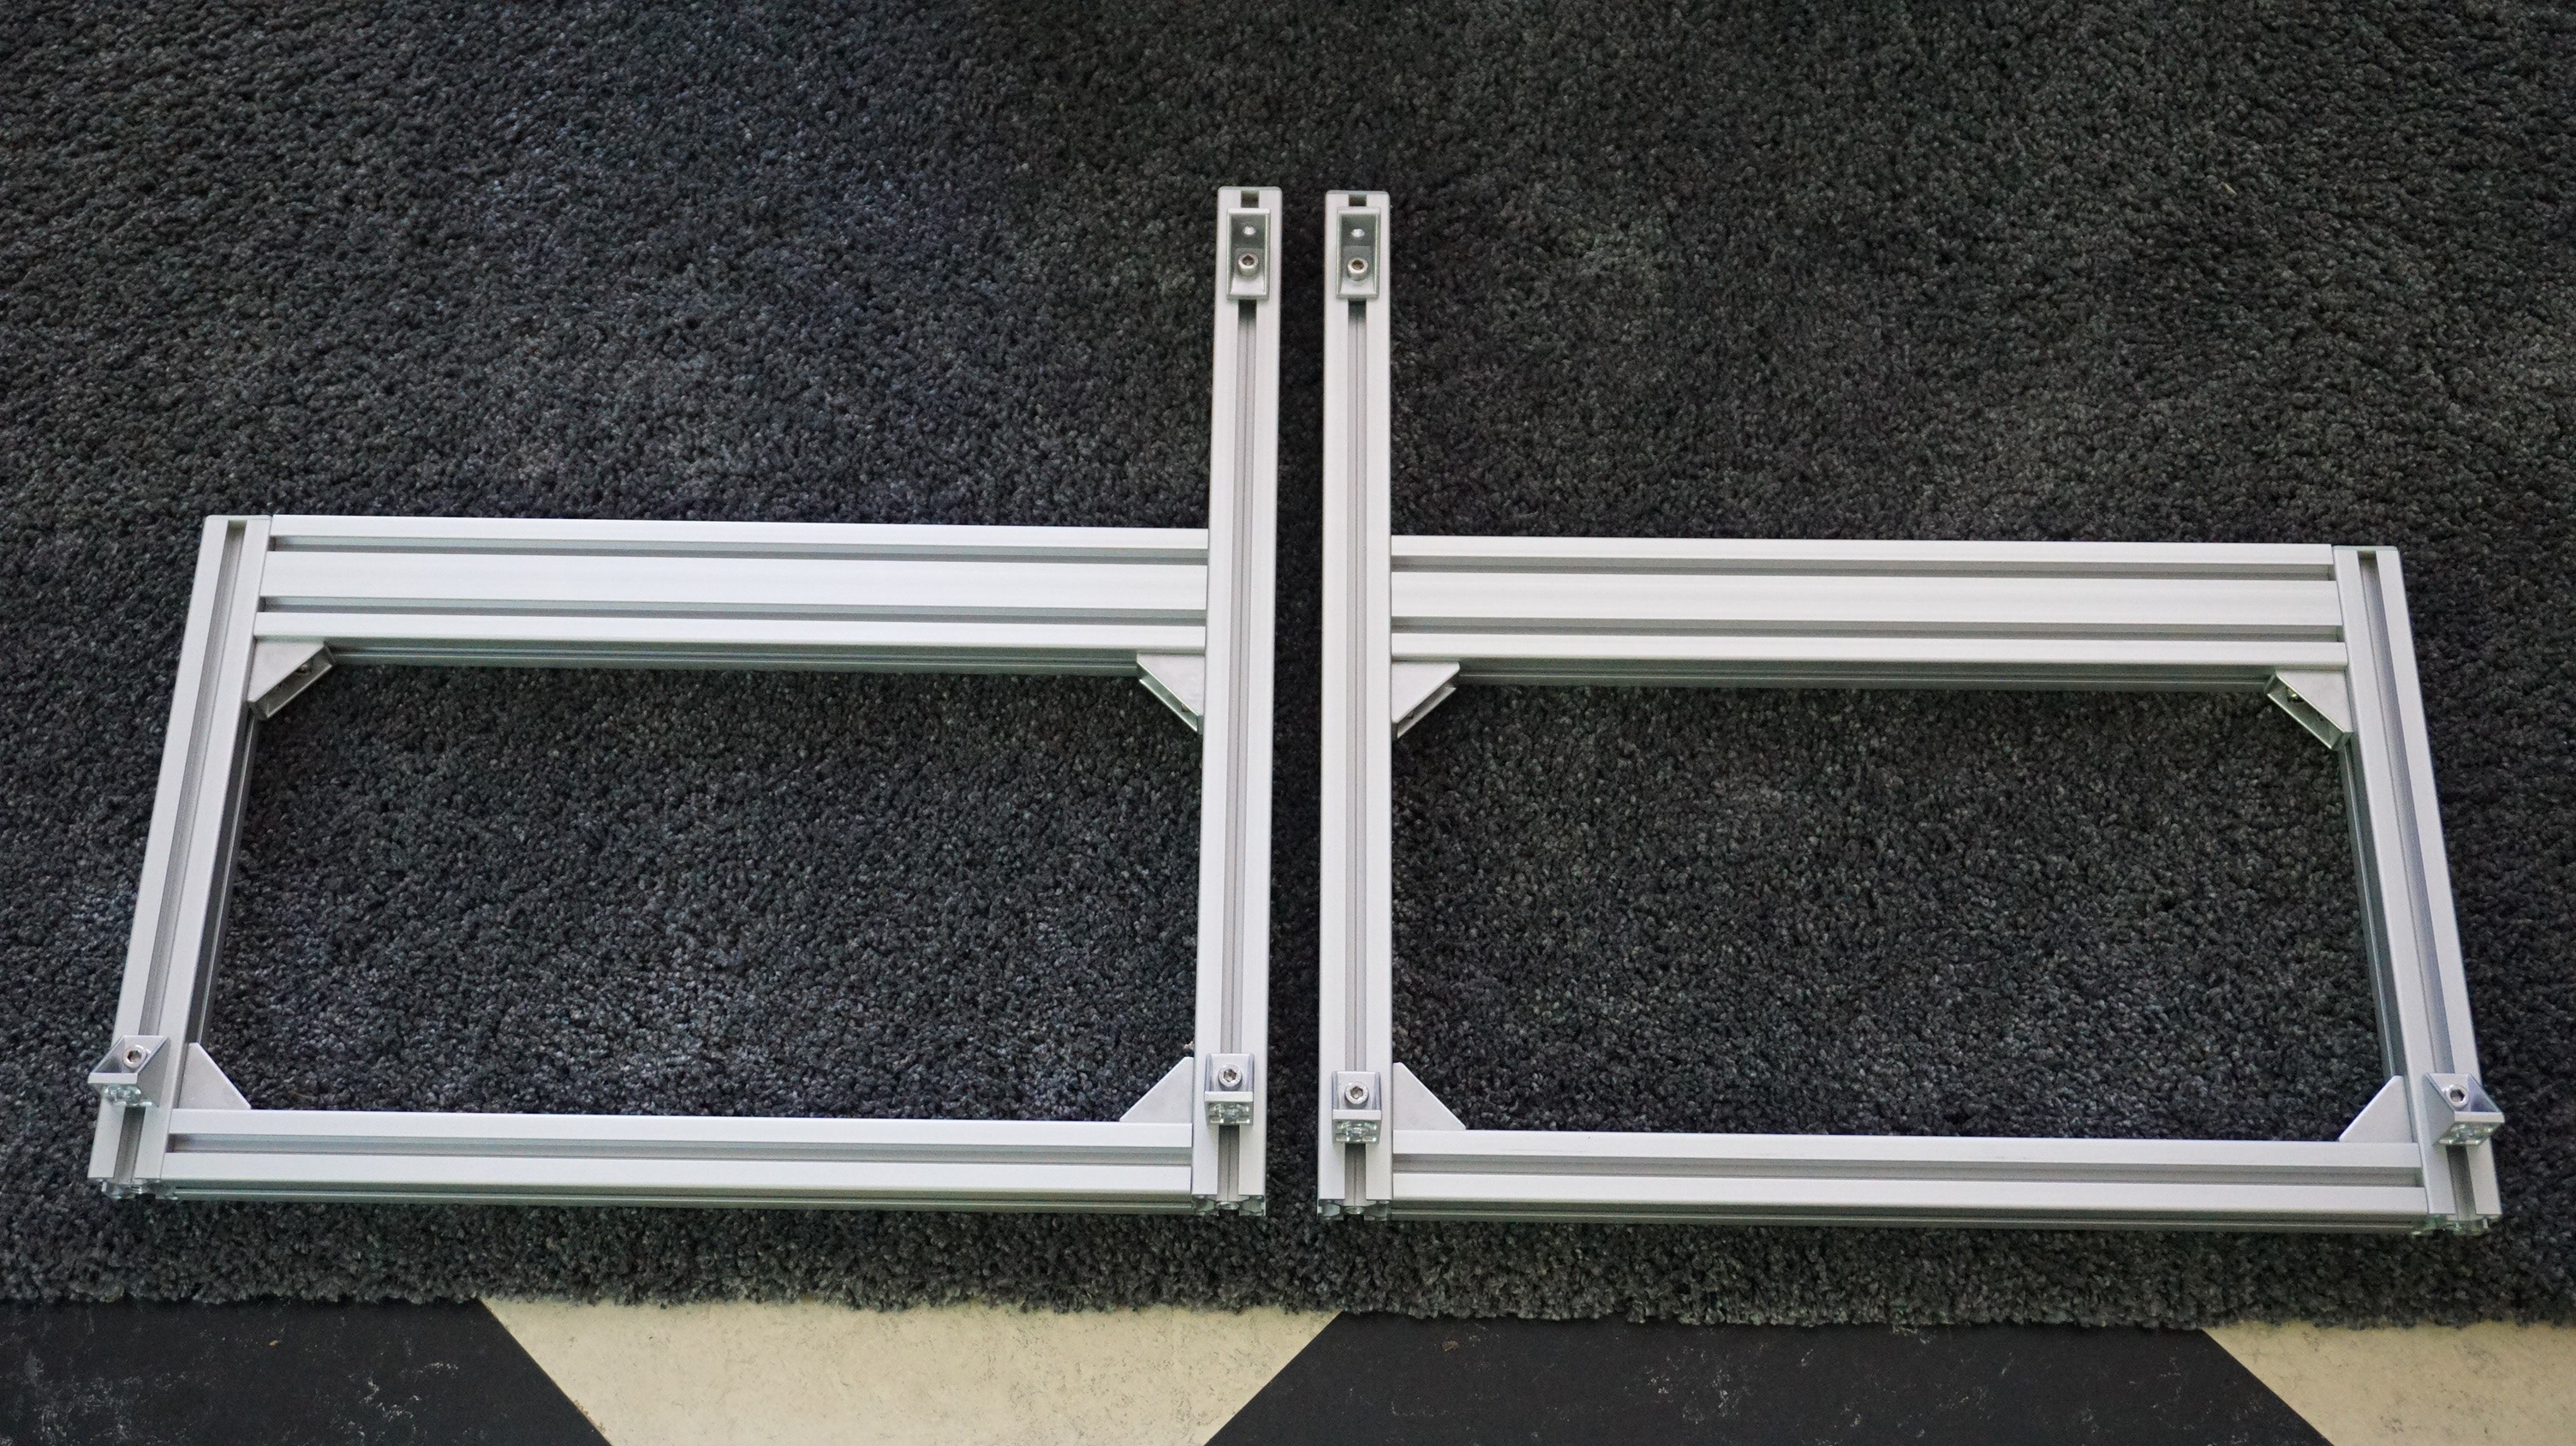
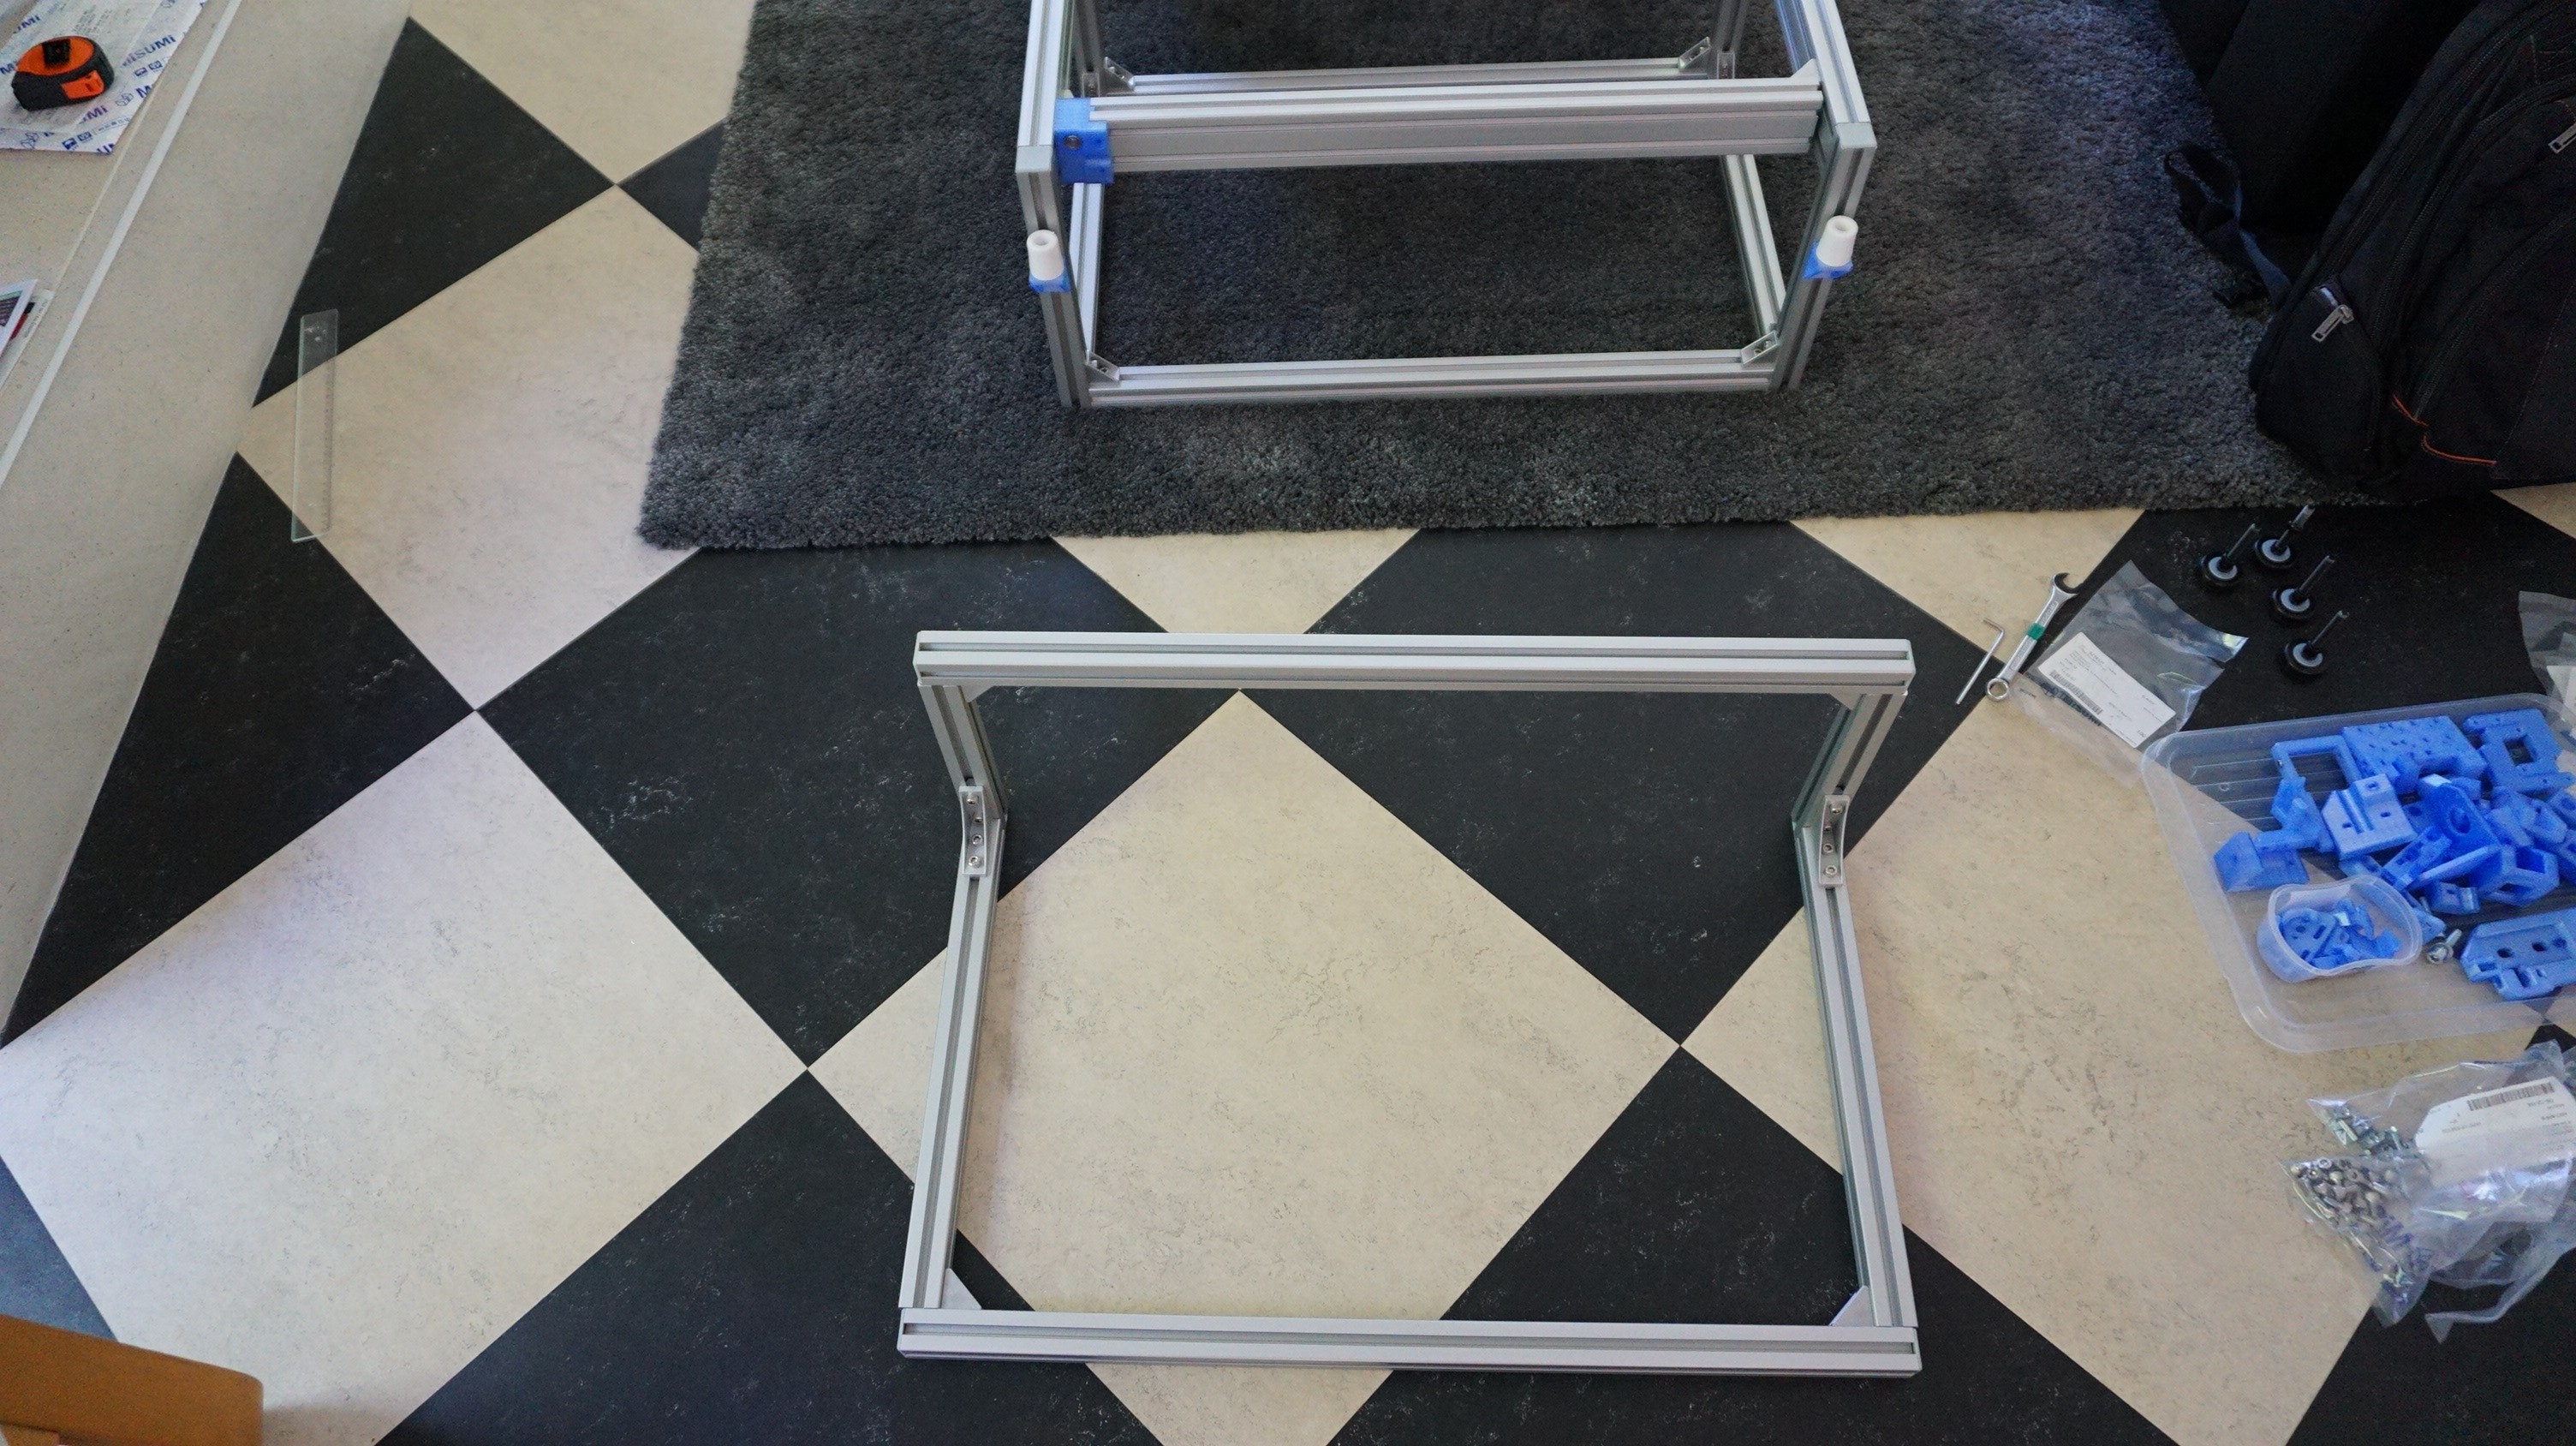
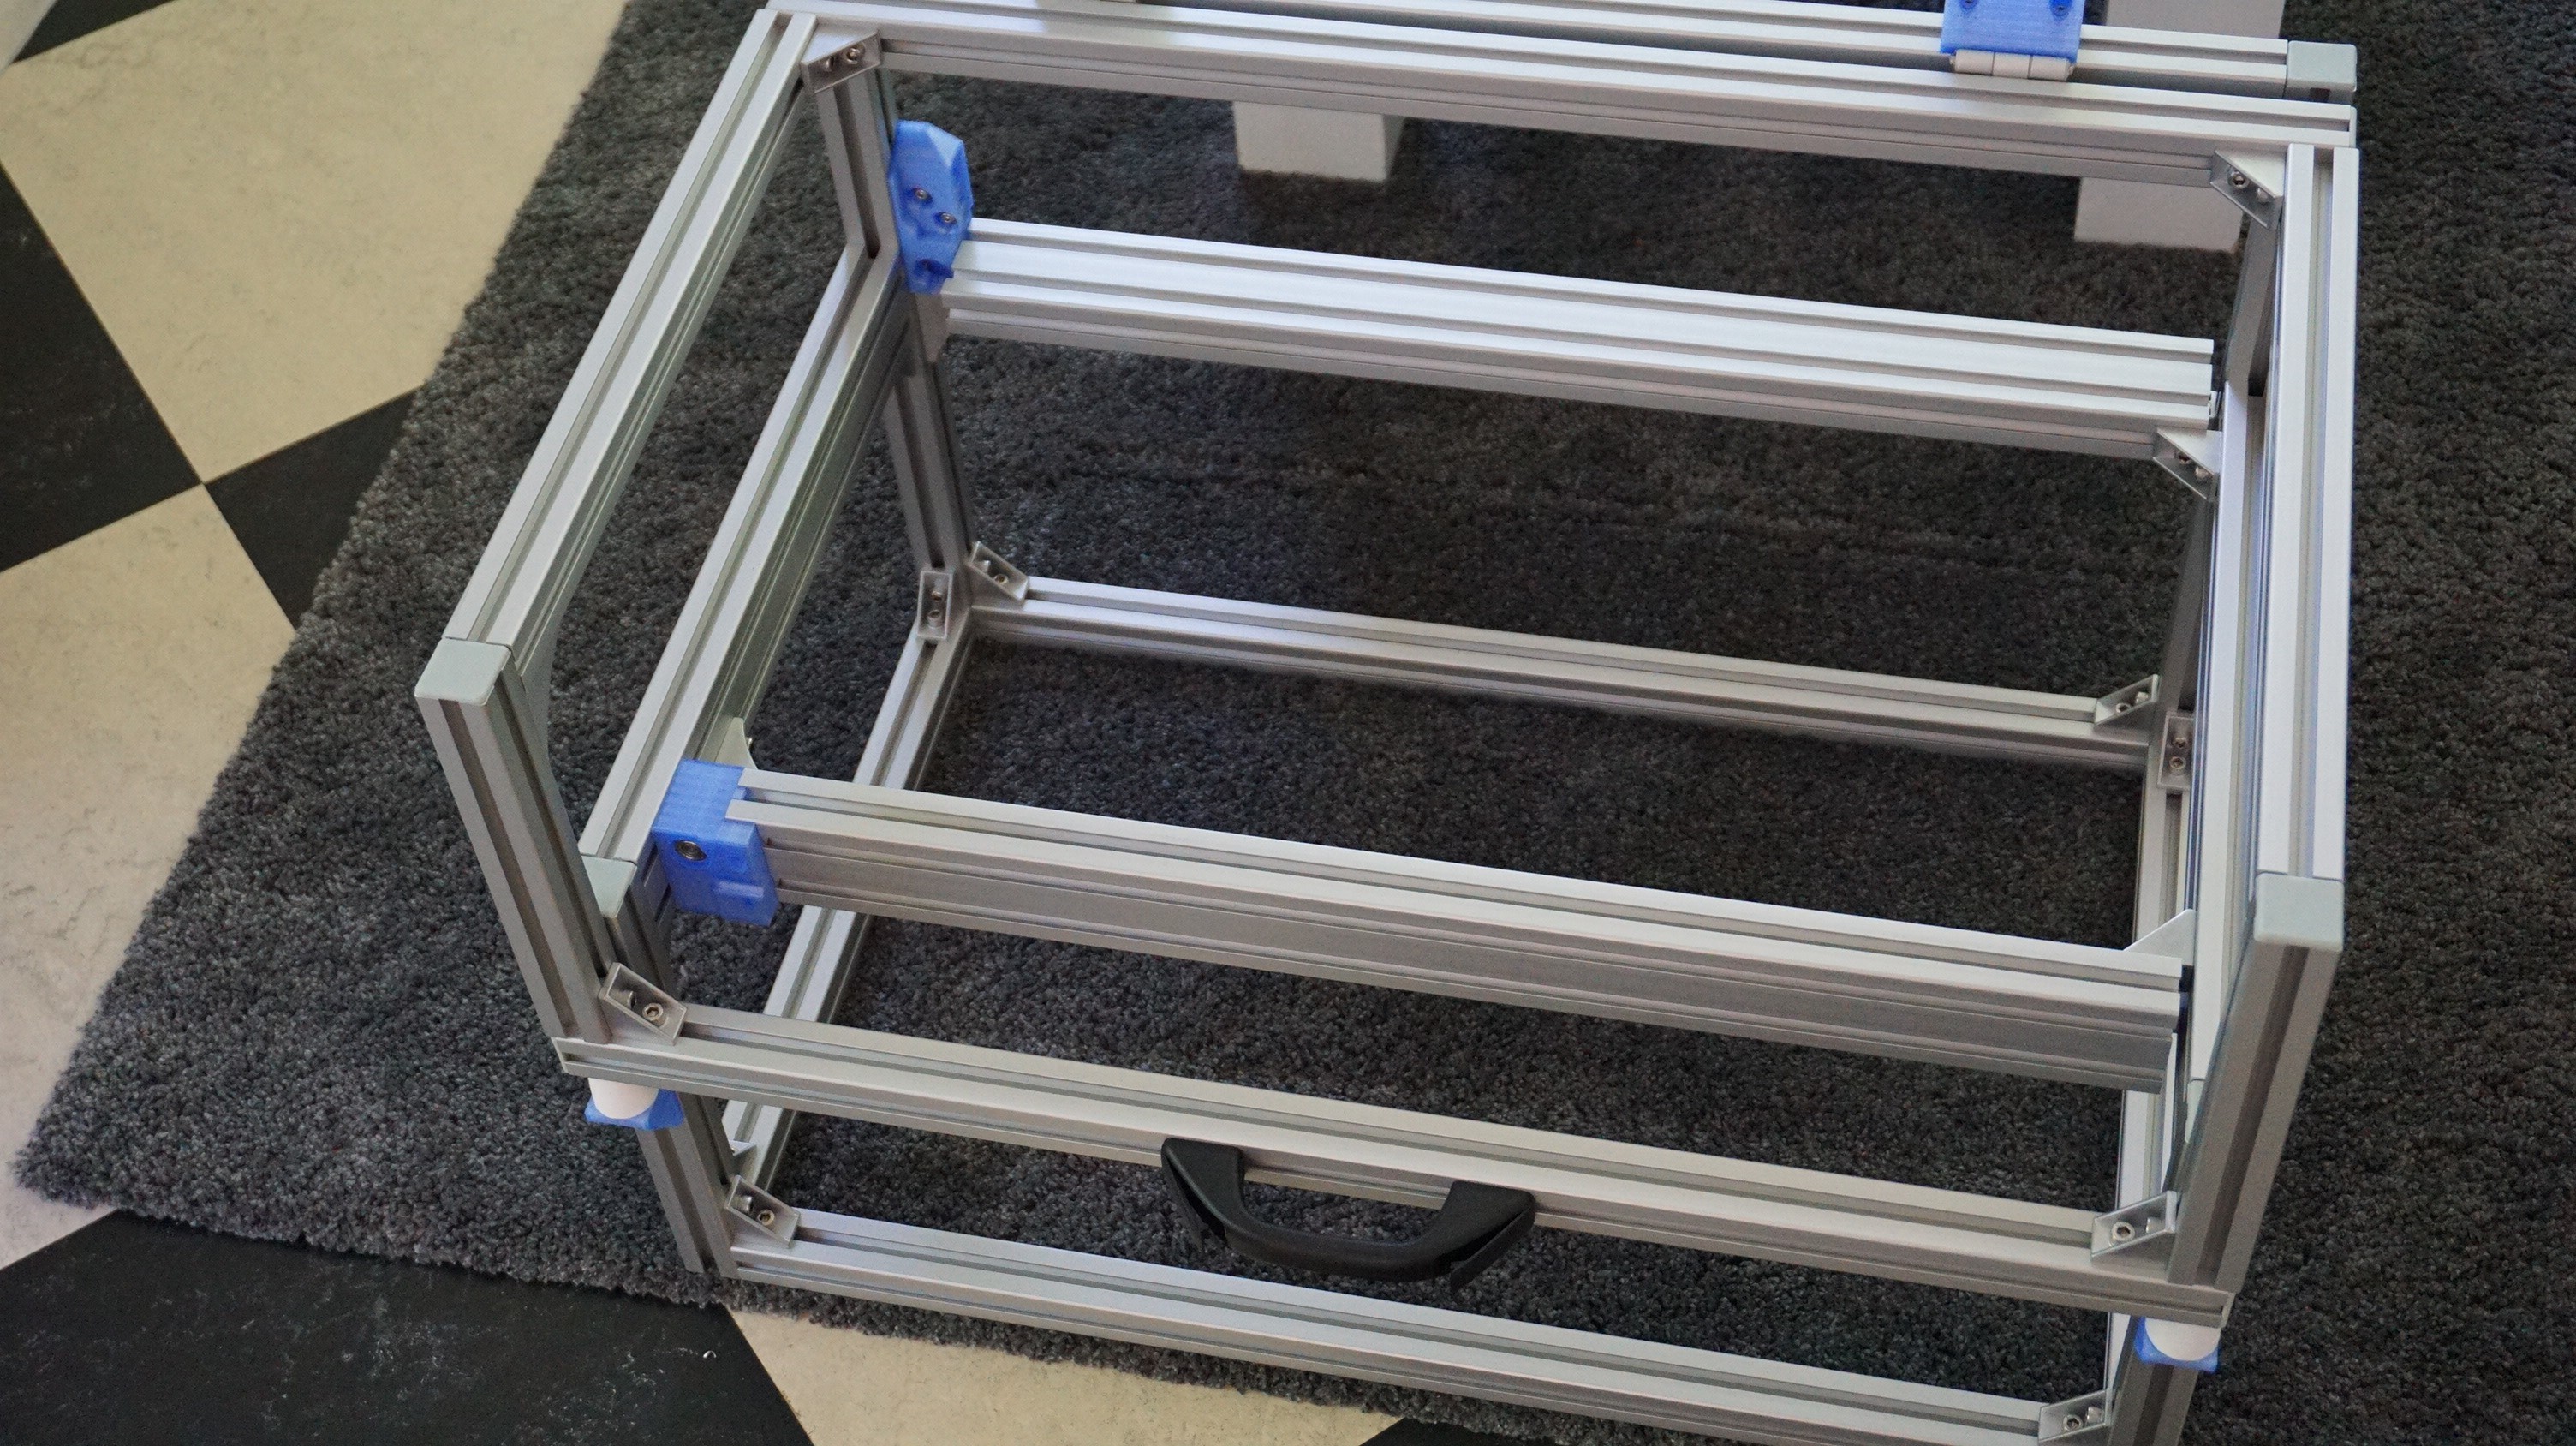
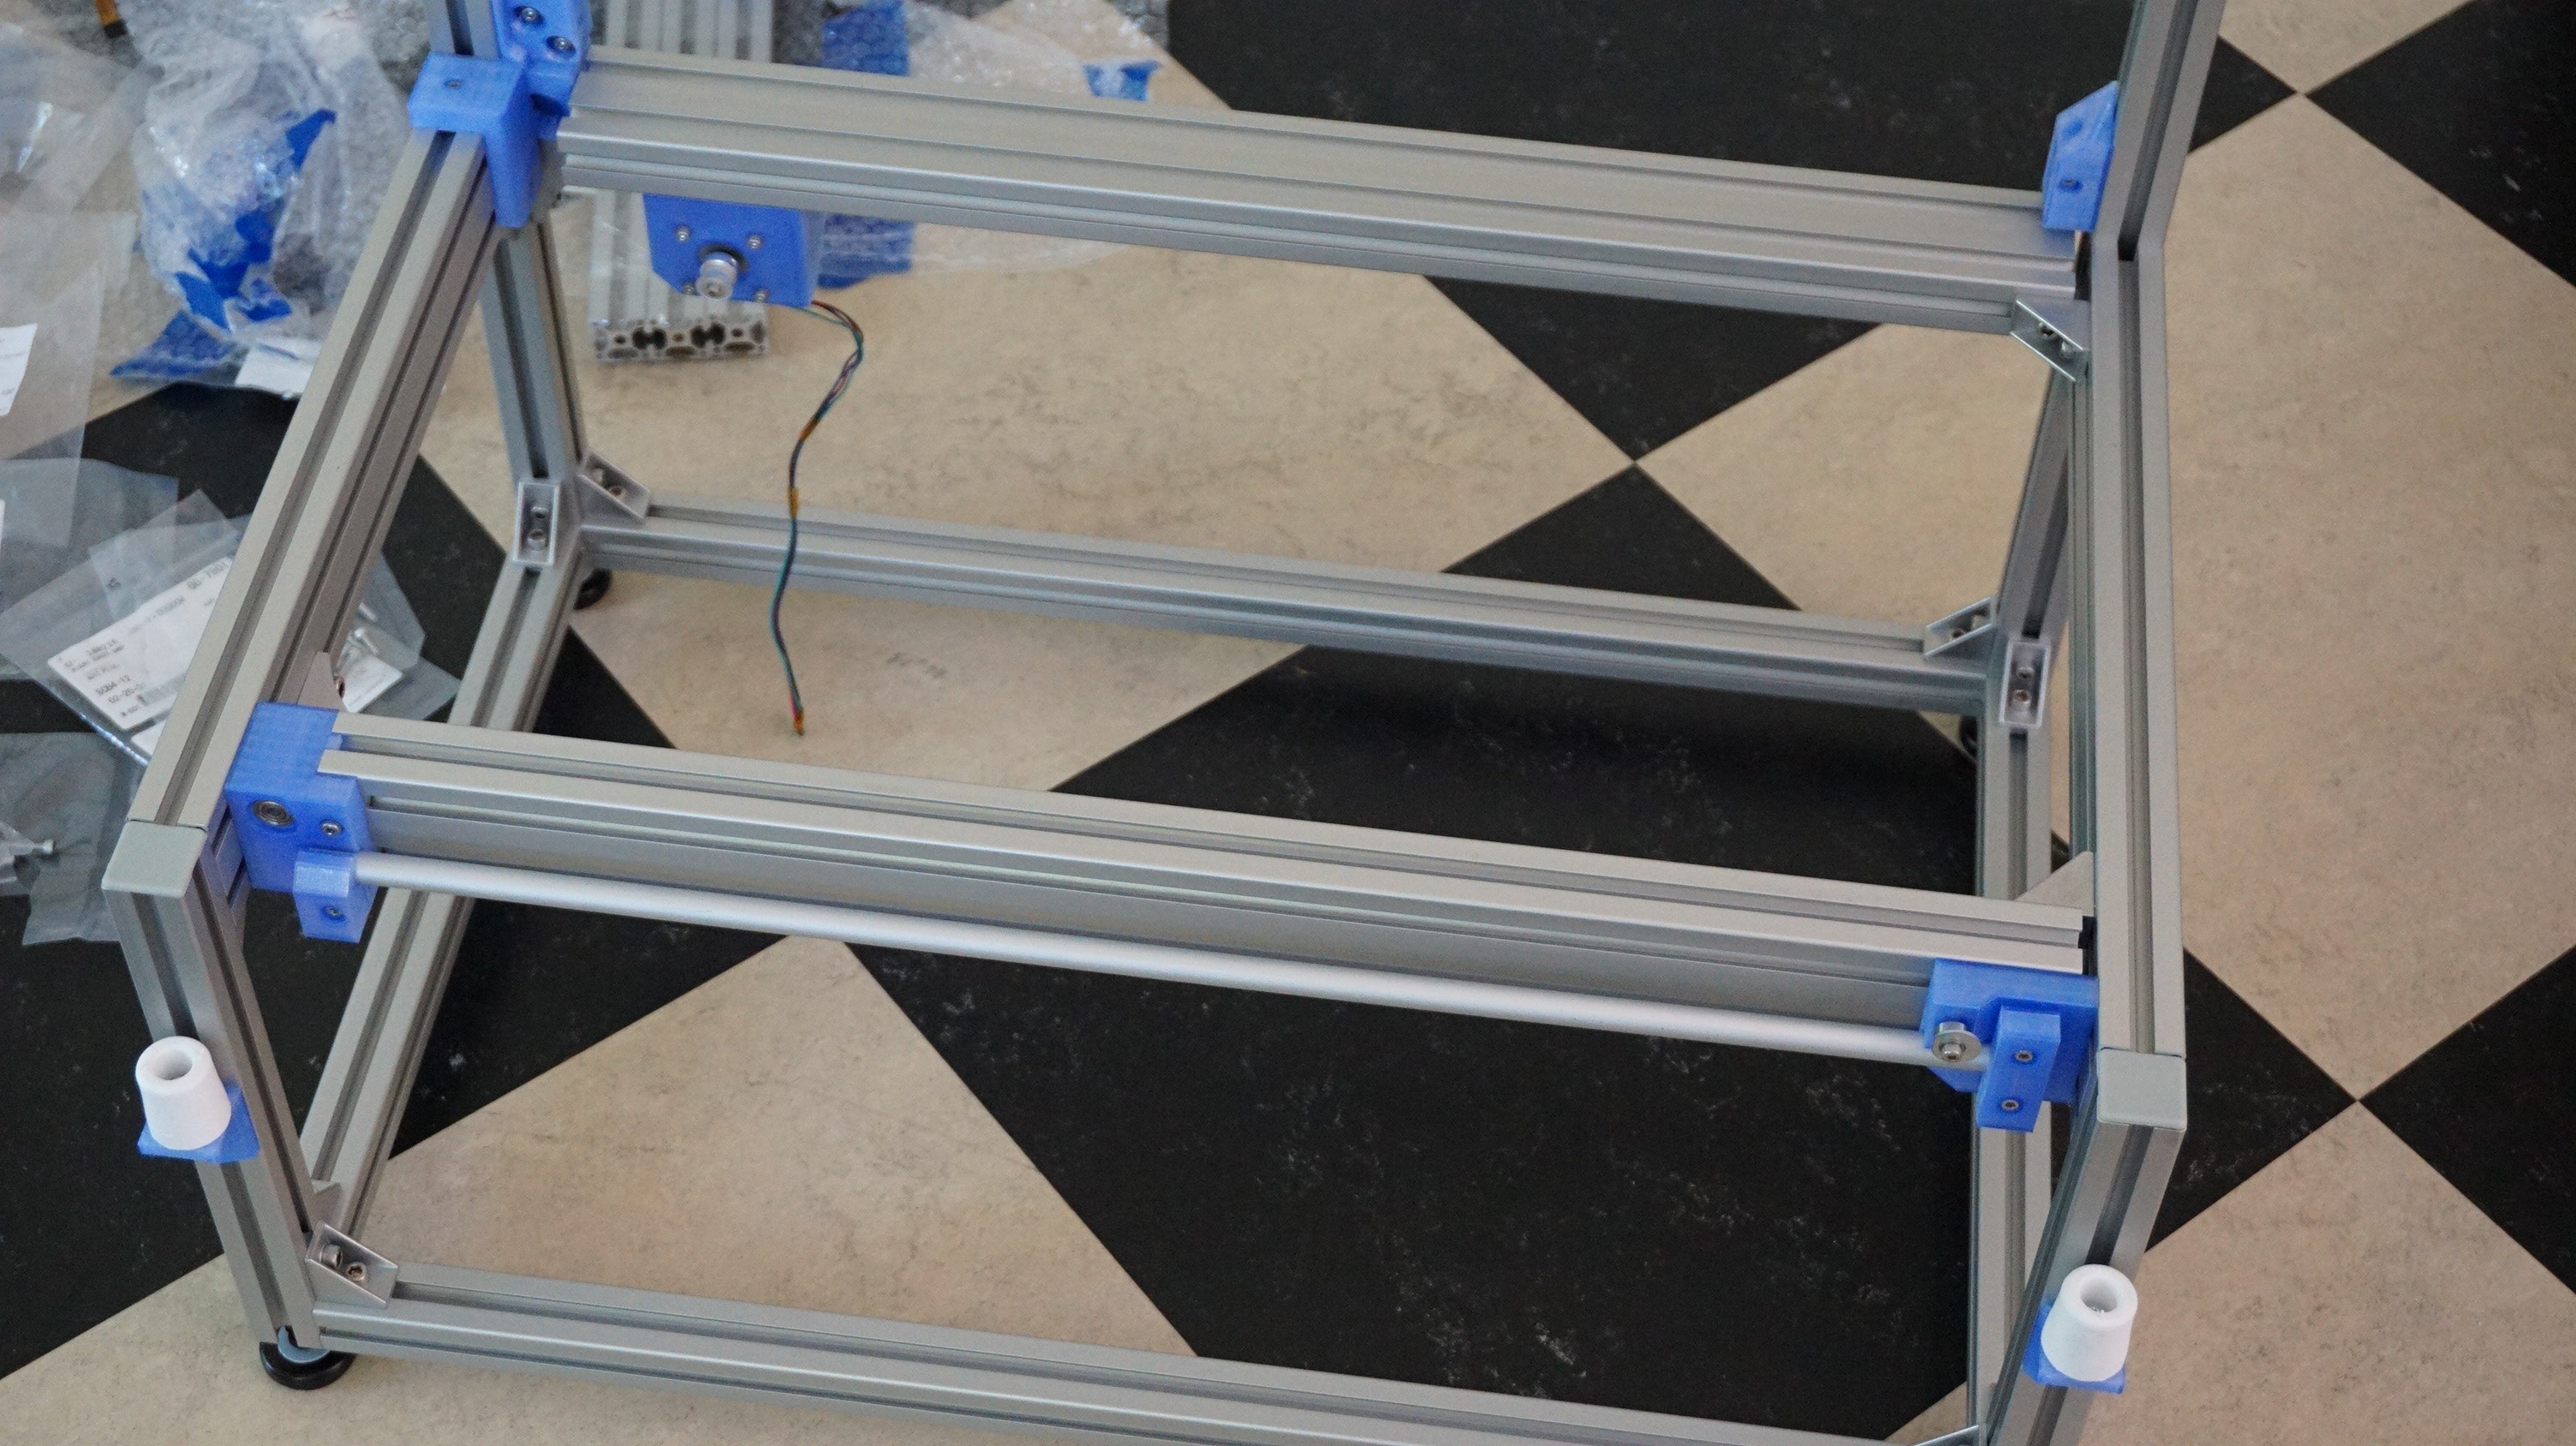
- An aluminium extrusion frame where parts can easily be bolted on.
- Plenty of room for future additions (It should be able to handle 5 printheads or a 200mm cubed print area).
Logs of interest
- https://hackaday.io/project/86954-oasis-3dp/log/117820-a-bit-of-background
- https://hackaday.io/project/86954-oasis-3dp/log/118433-an-introduction-into-3dp-and-oasis
- https://hackaday.io/project/86954-oasis-3dp/log/123969-a-start-on-the-inkjet-controller
- https://hackaday.io/project/86954-oasis-3dp/log/145601-construction-in-progress
- https://hackaday.io/project/86954-oasis-3dp/log/153322-some-info-on-interfacing-with-the-hp45
- https://hackaday.io/project/86954-oasis-3dp/log/153411-the-color-of-the-day-blue
How 3DP
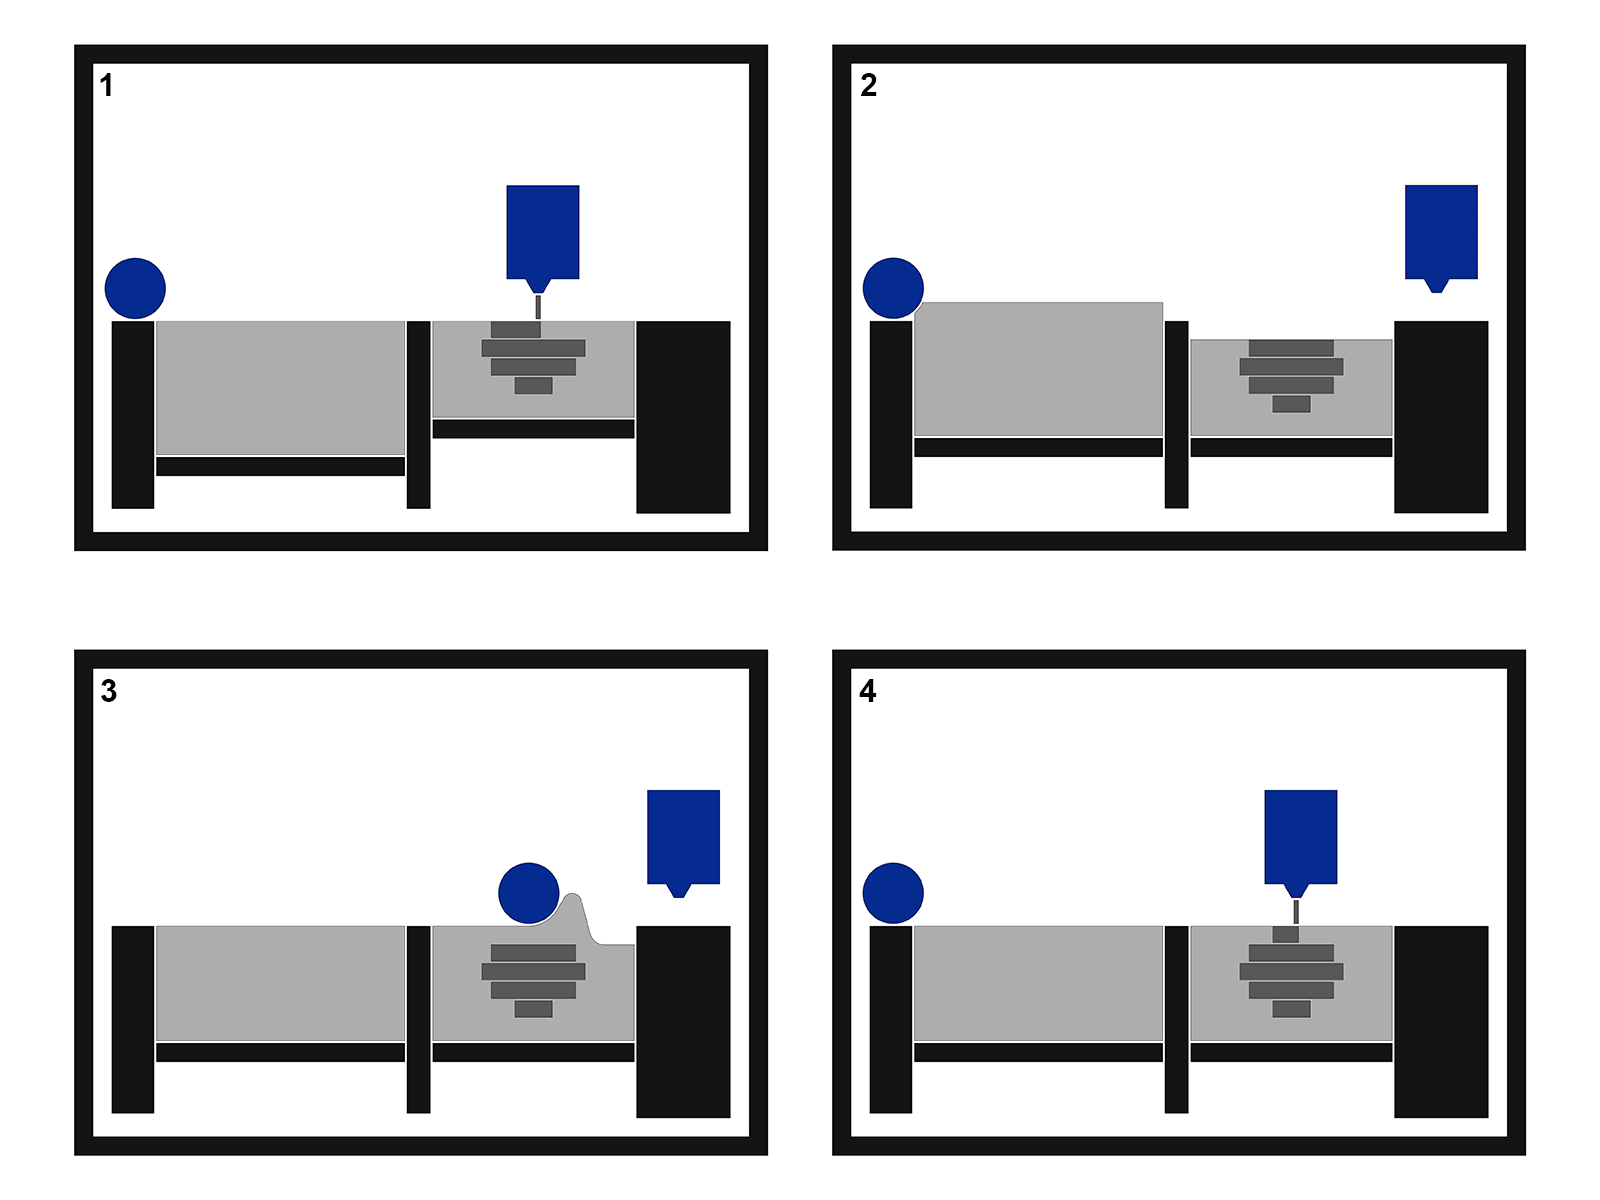
'3DP' also going by the names 'binder jetting' or 'powder and inkjet printing', is a technique that uses inkjet and powder to fabricate parts. 3DP printers consist of a moving inkjet printhead, a build area, and a way to deposit new layers of powder in said build area. The example below uses 2 hoppers and a spreader. The left hopper supplies the powder and is called the 'feed hopper', the part is built in the right 'build hopper'. A spreader can move between these hoppers to transfer powder from one to another. The order of operation for 3DP printing is as follows:
- The inkjet head deposits binder wherever the part needs to be. Where the binder fills the powder, the powder solidifies;
- The build piston lowers by the layer thickness, the feed piston raises enough to fill the build area completely;
- The spreader spreads the powder from the feed hopper to the build hopper;
- The spreader returns and the printer starts at step 1 again. This is repeated until the part is finished.
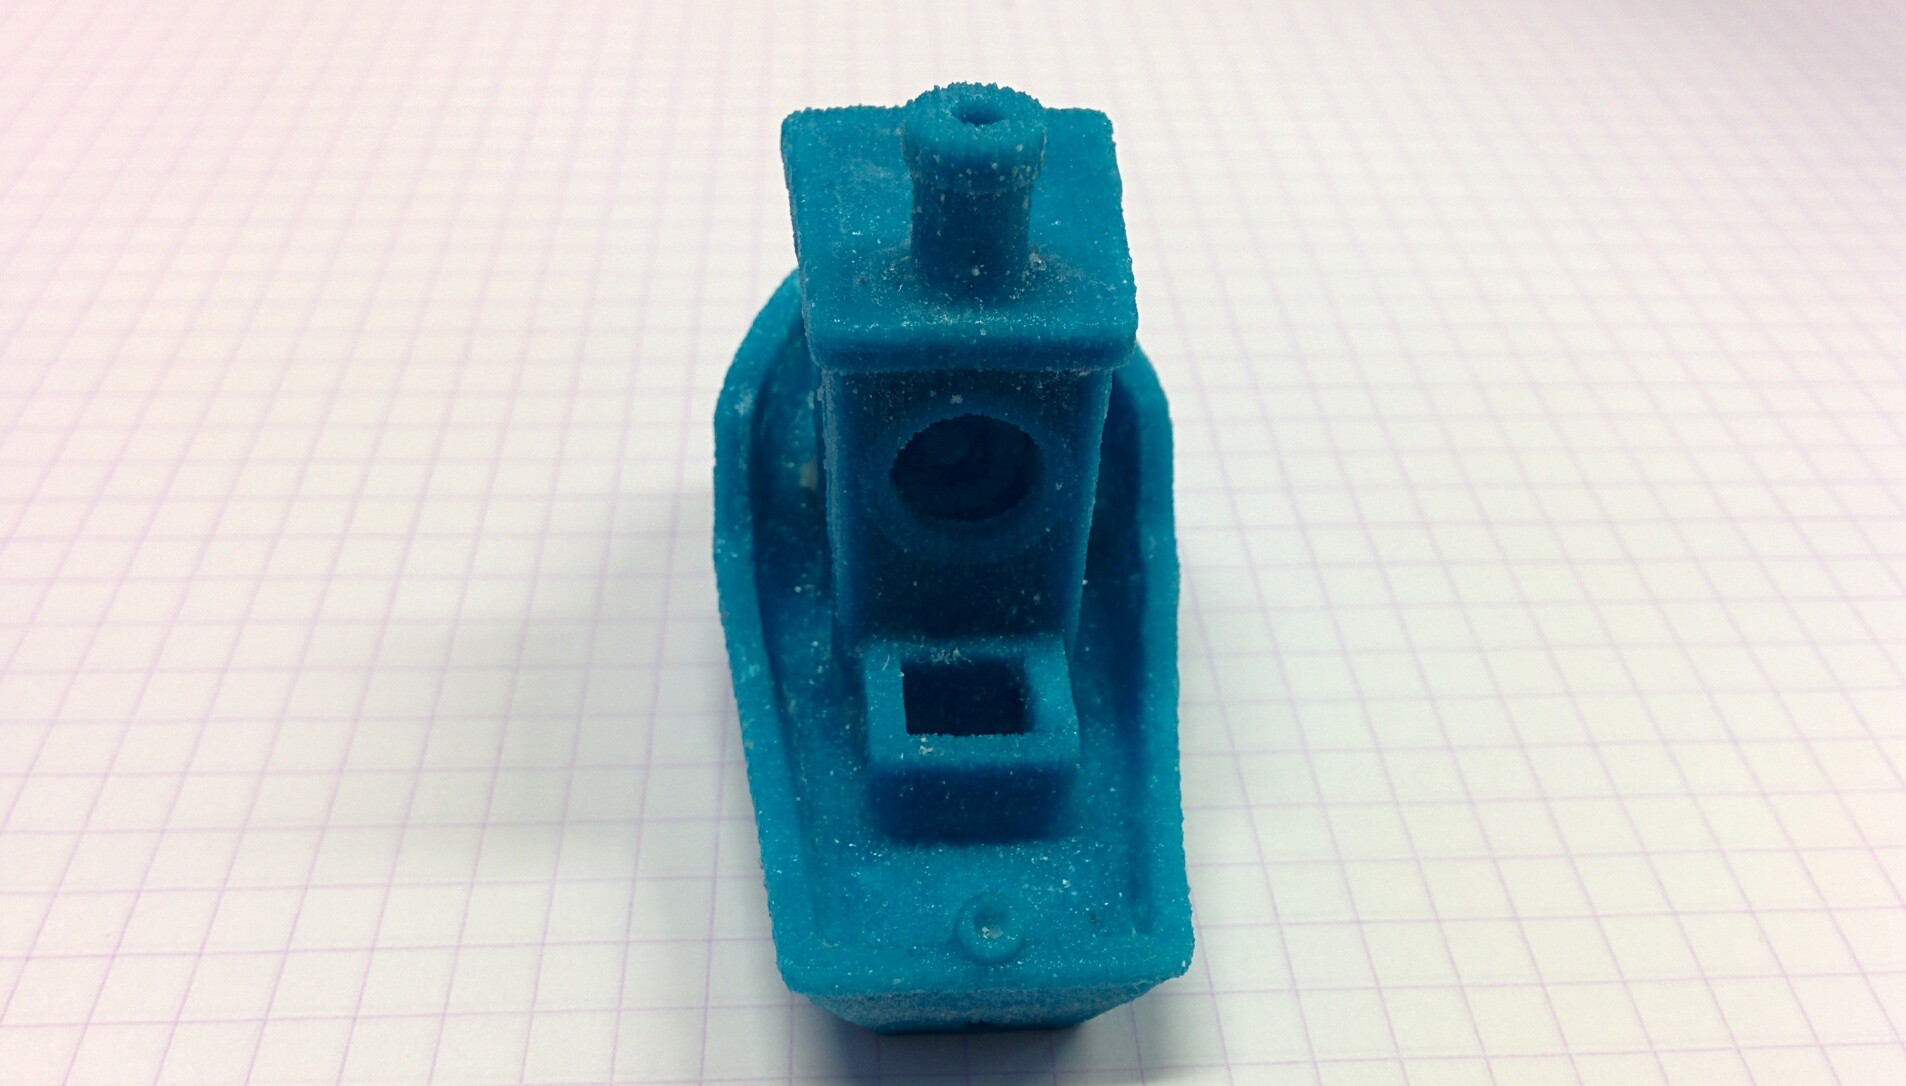
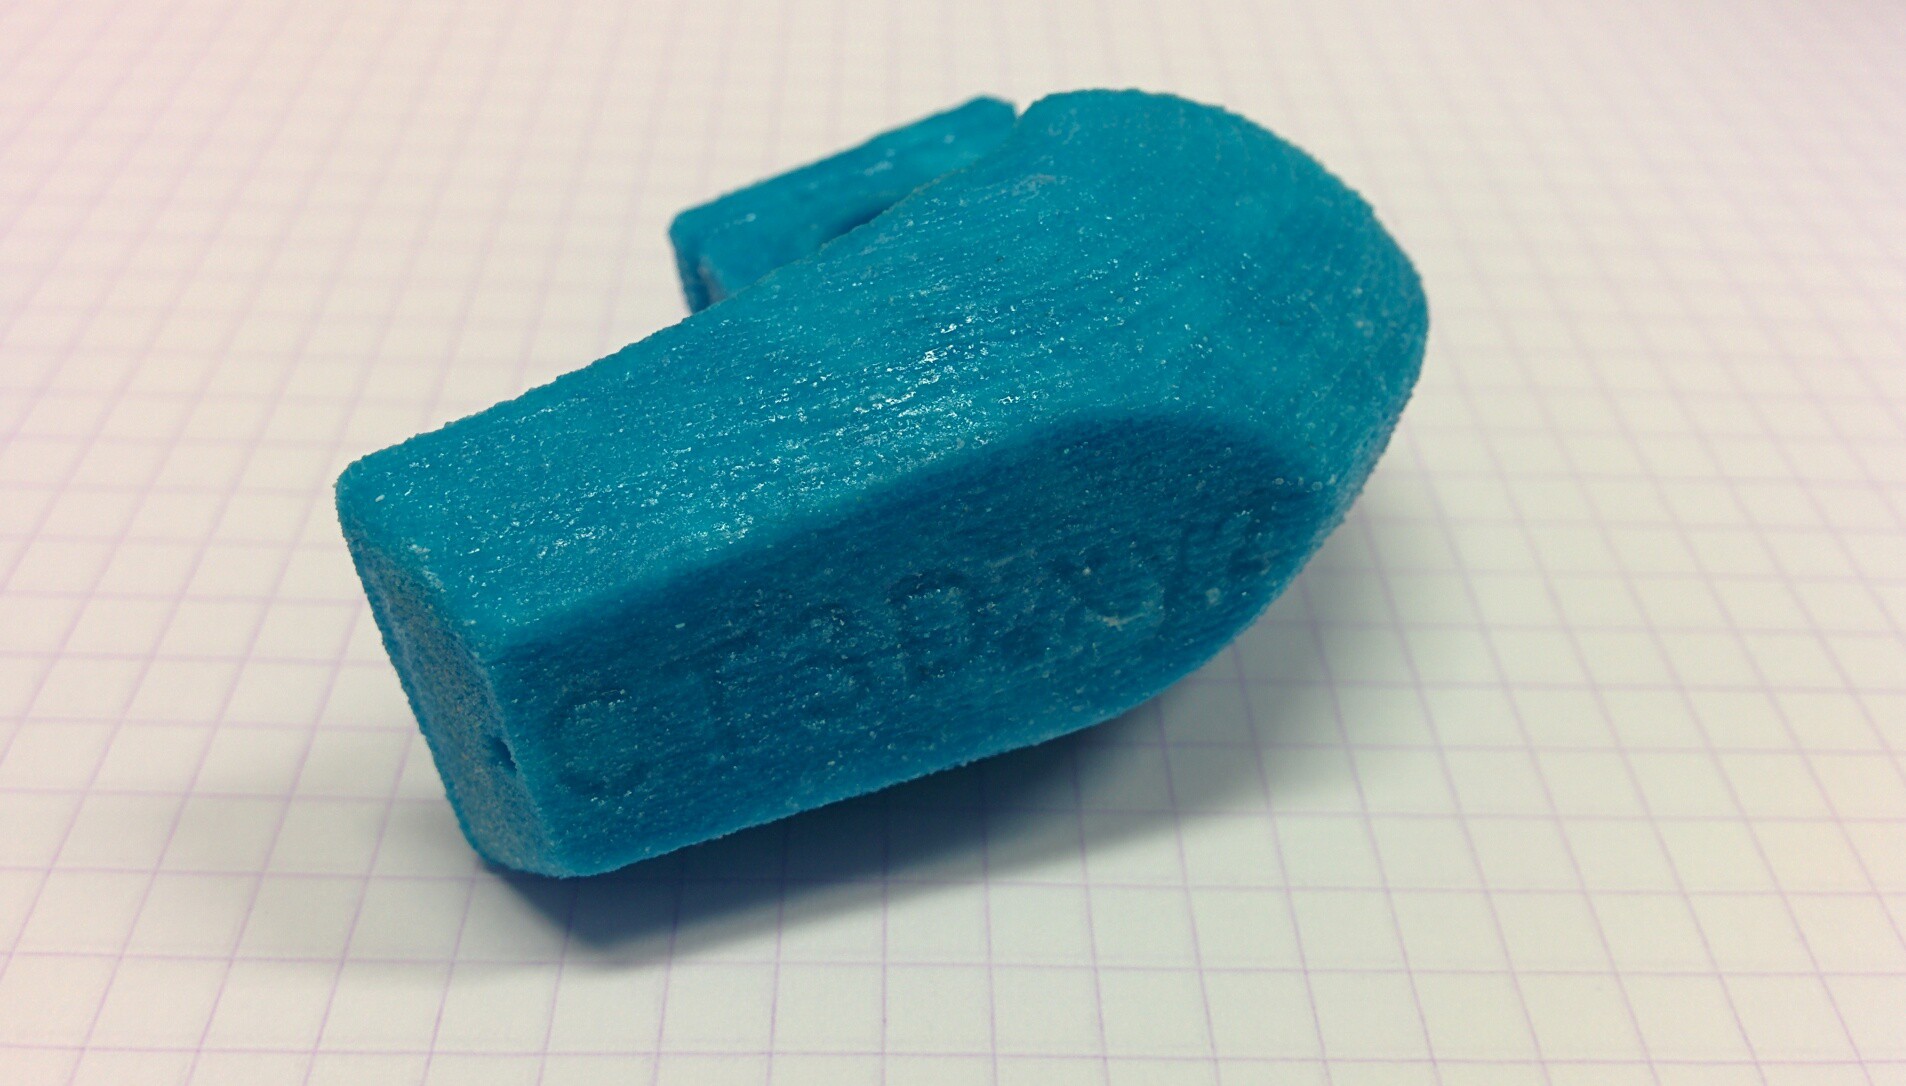
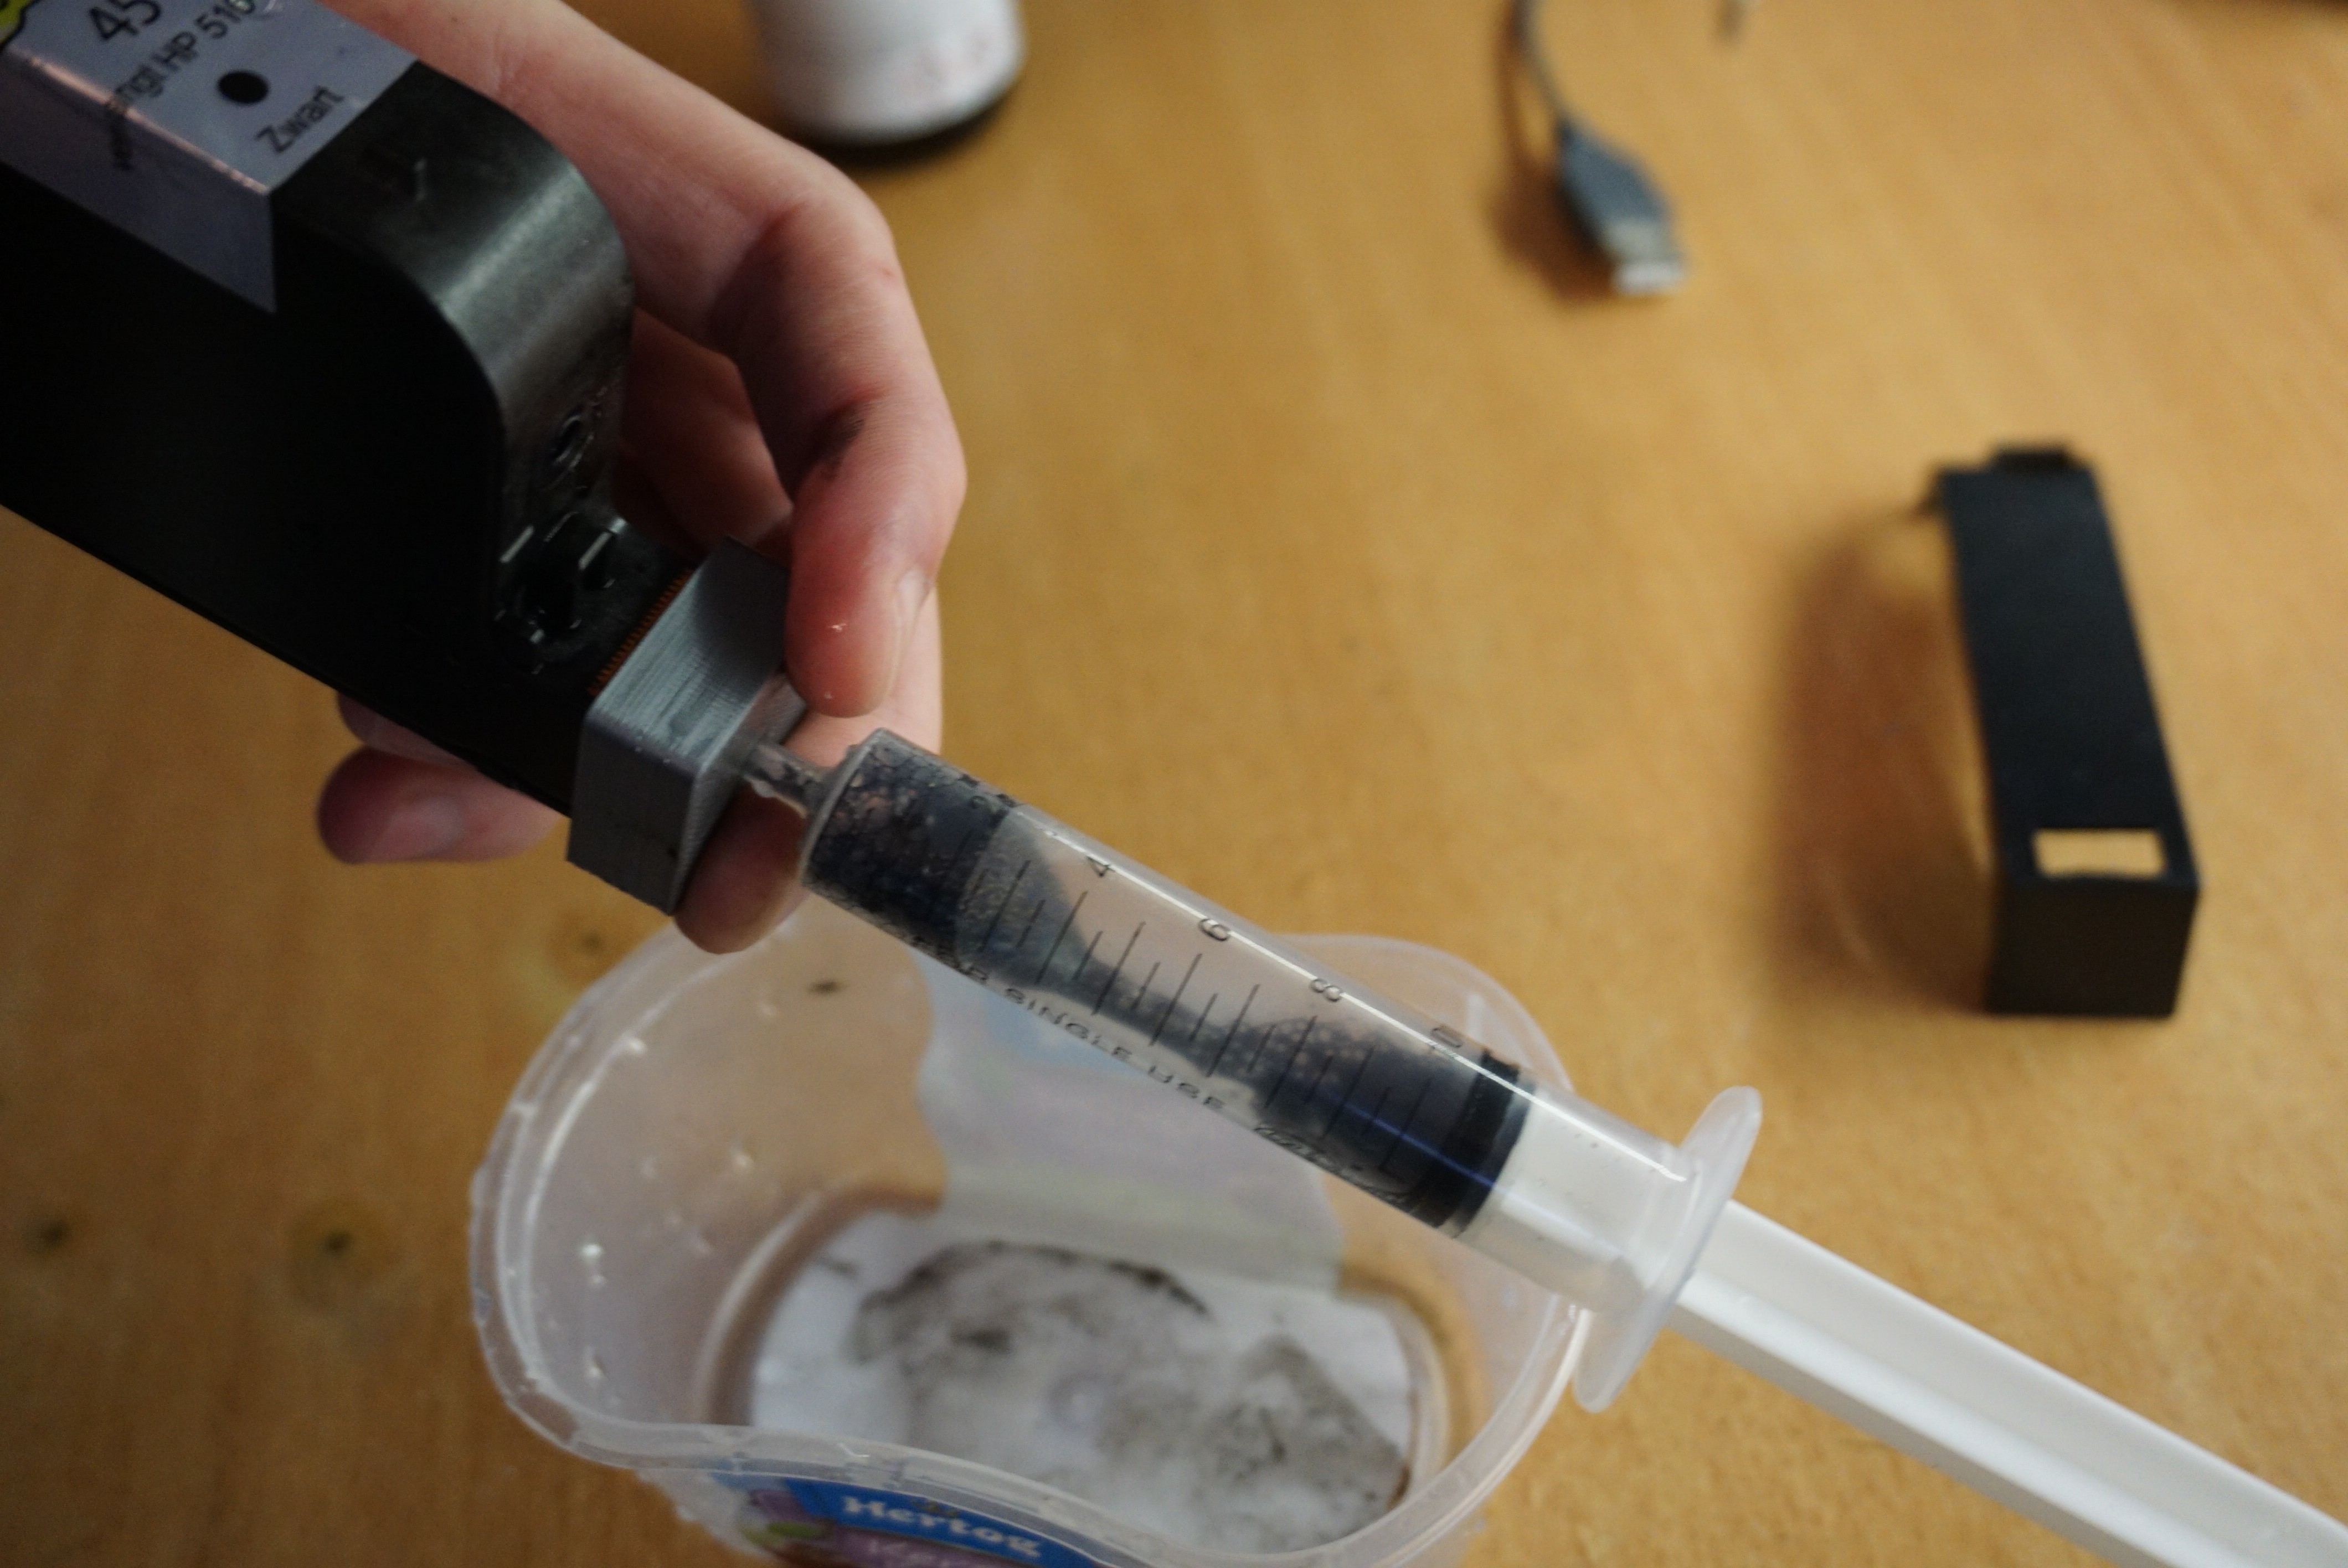
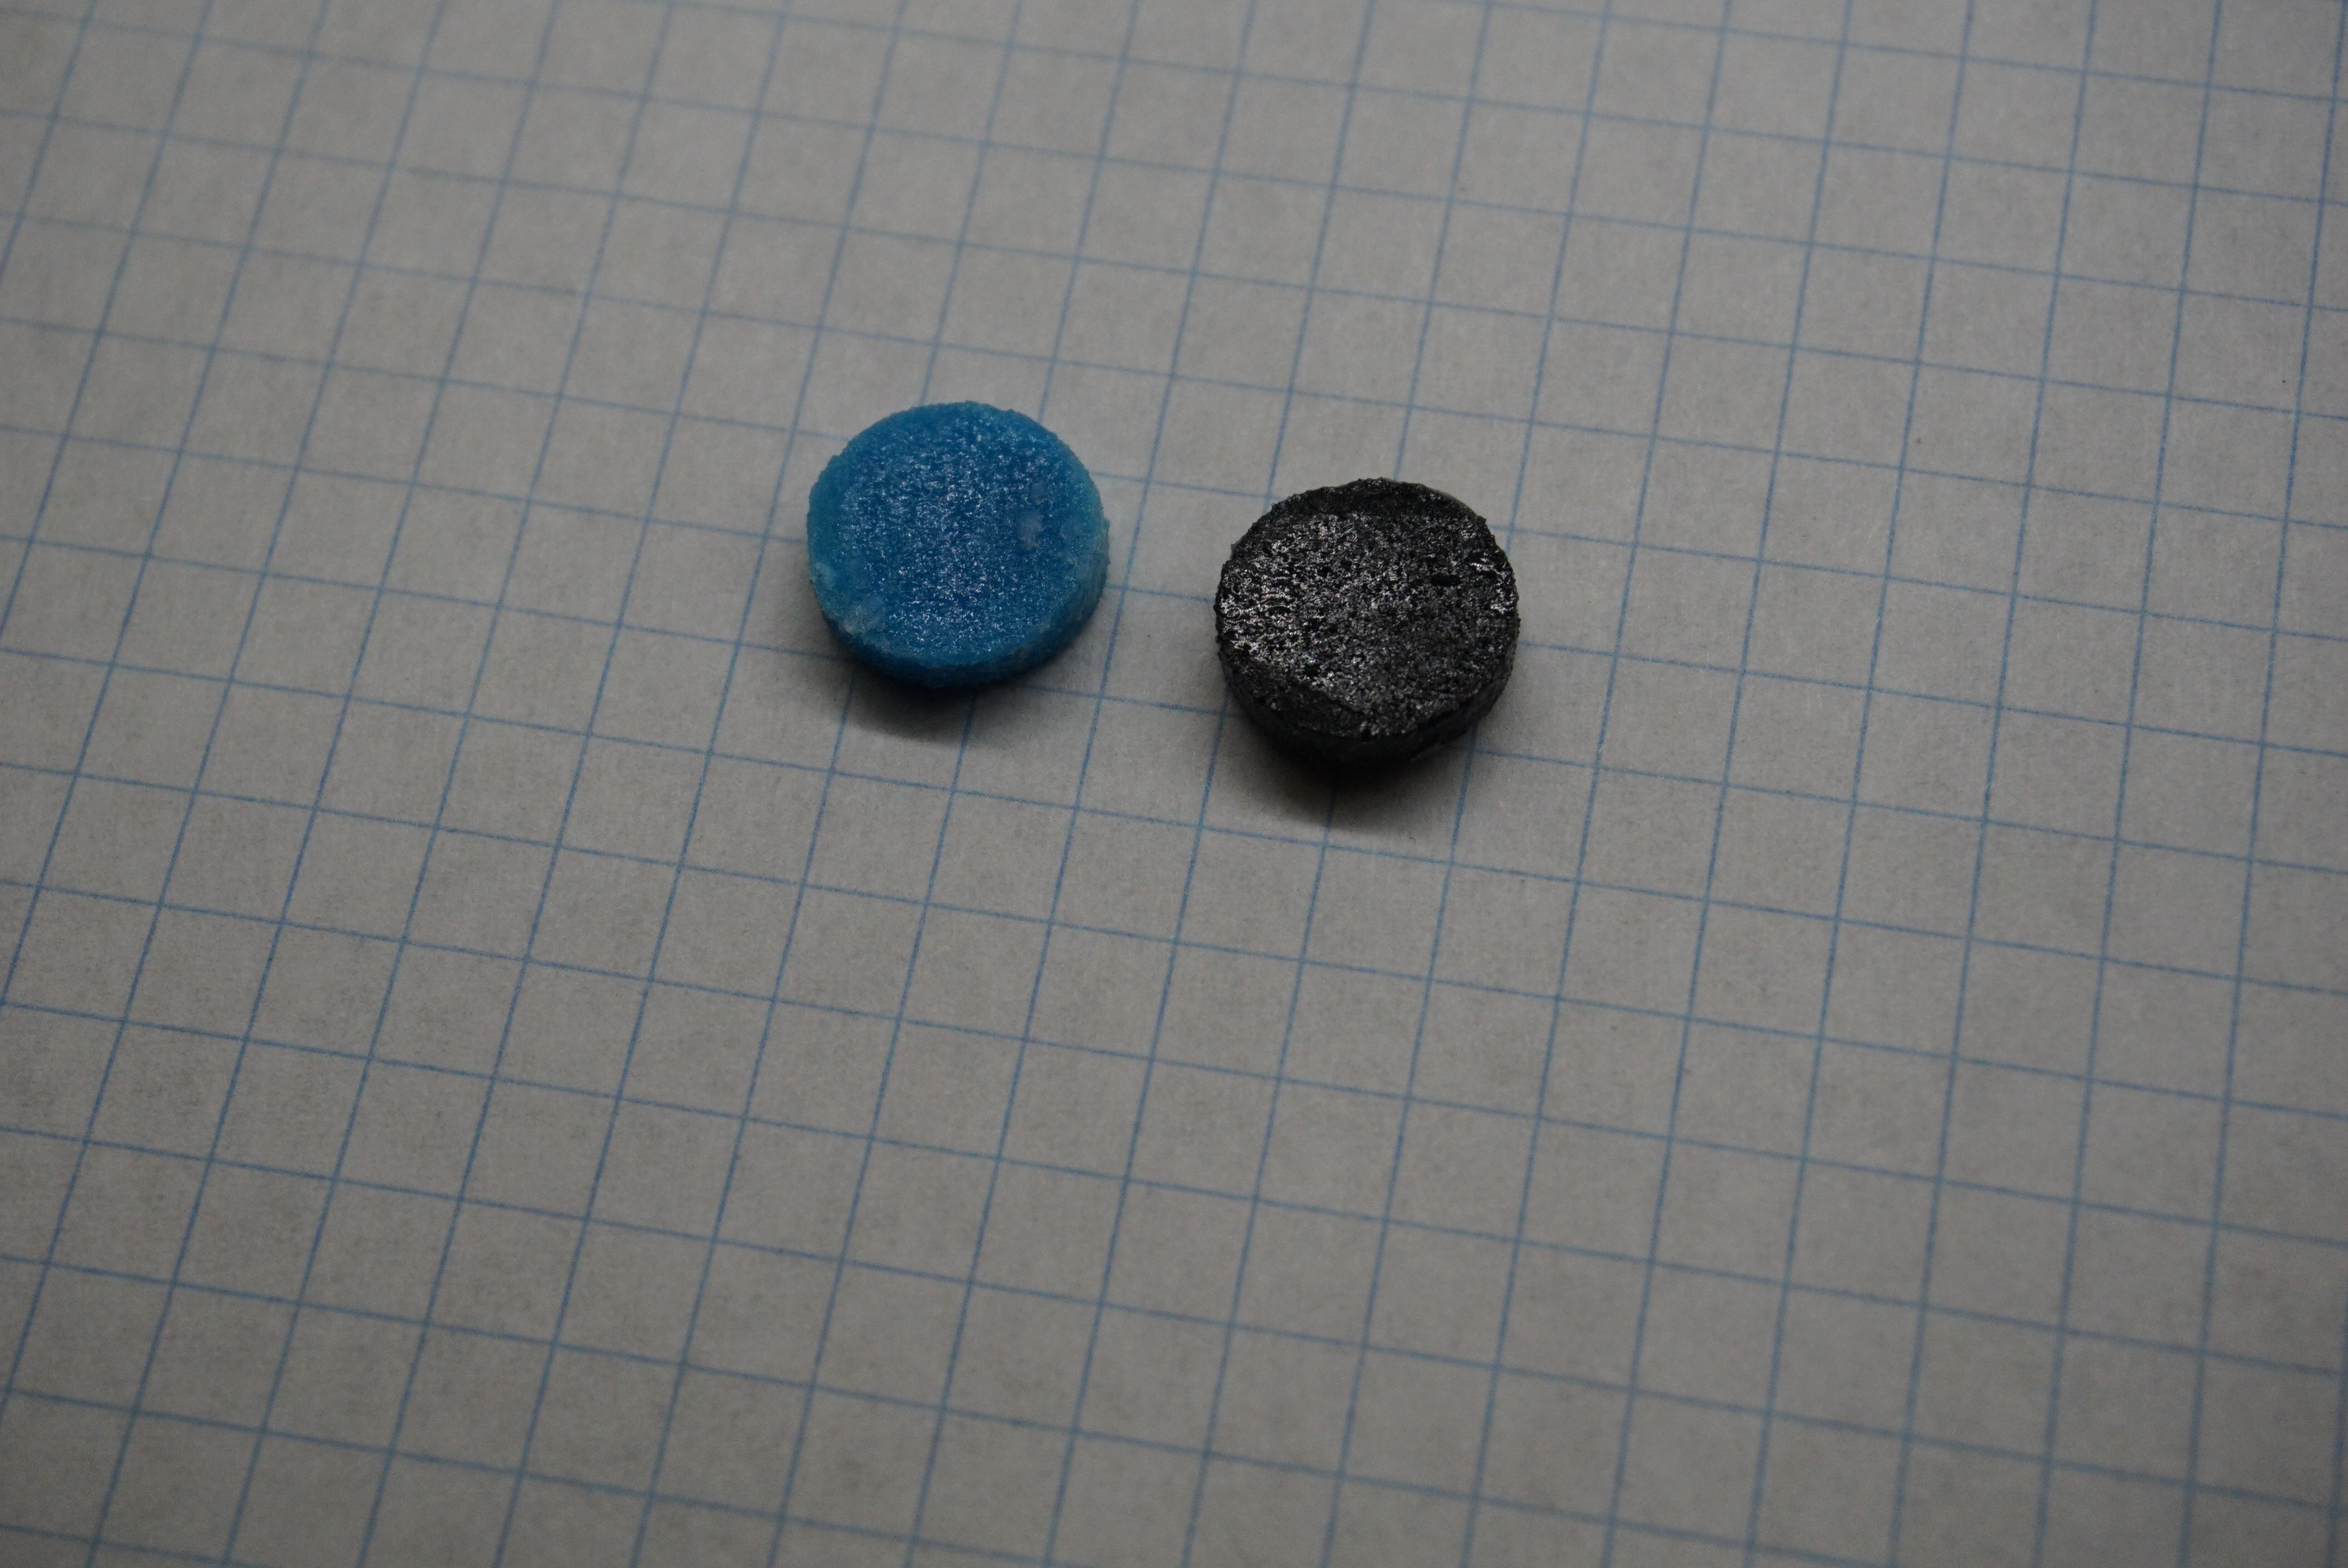
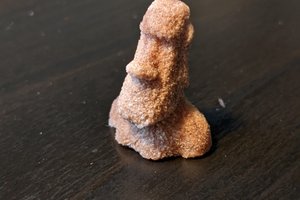
After this printing, the part is allowed some time to dry. It can then be removed from the printer and gently cleaned. After this the part can either receive further processing, or be used directly.
Why 3DP
3DP is quite unlike FDM and SLA. It's biggest advantages are:
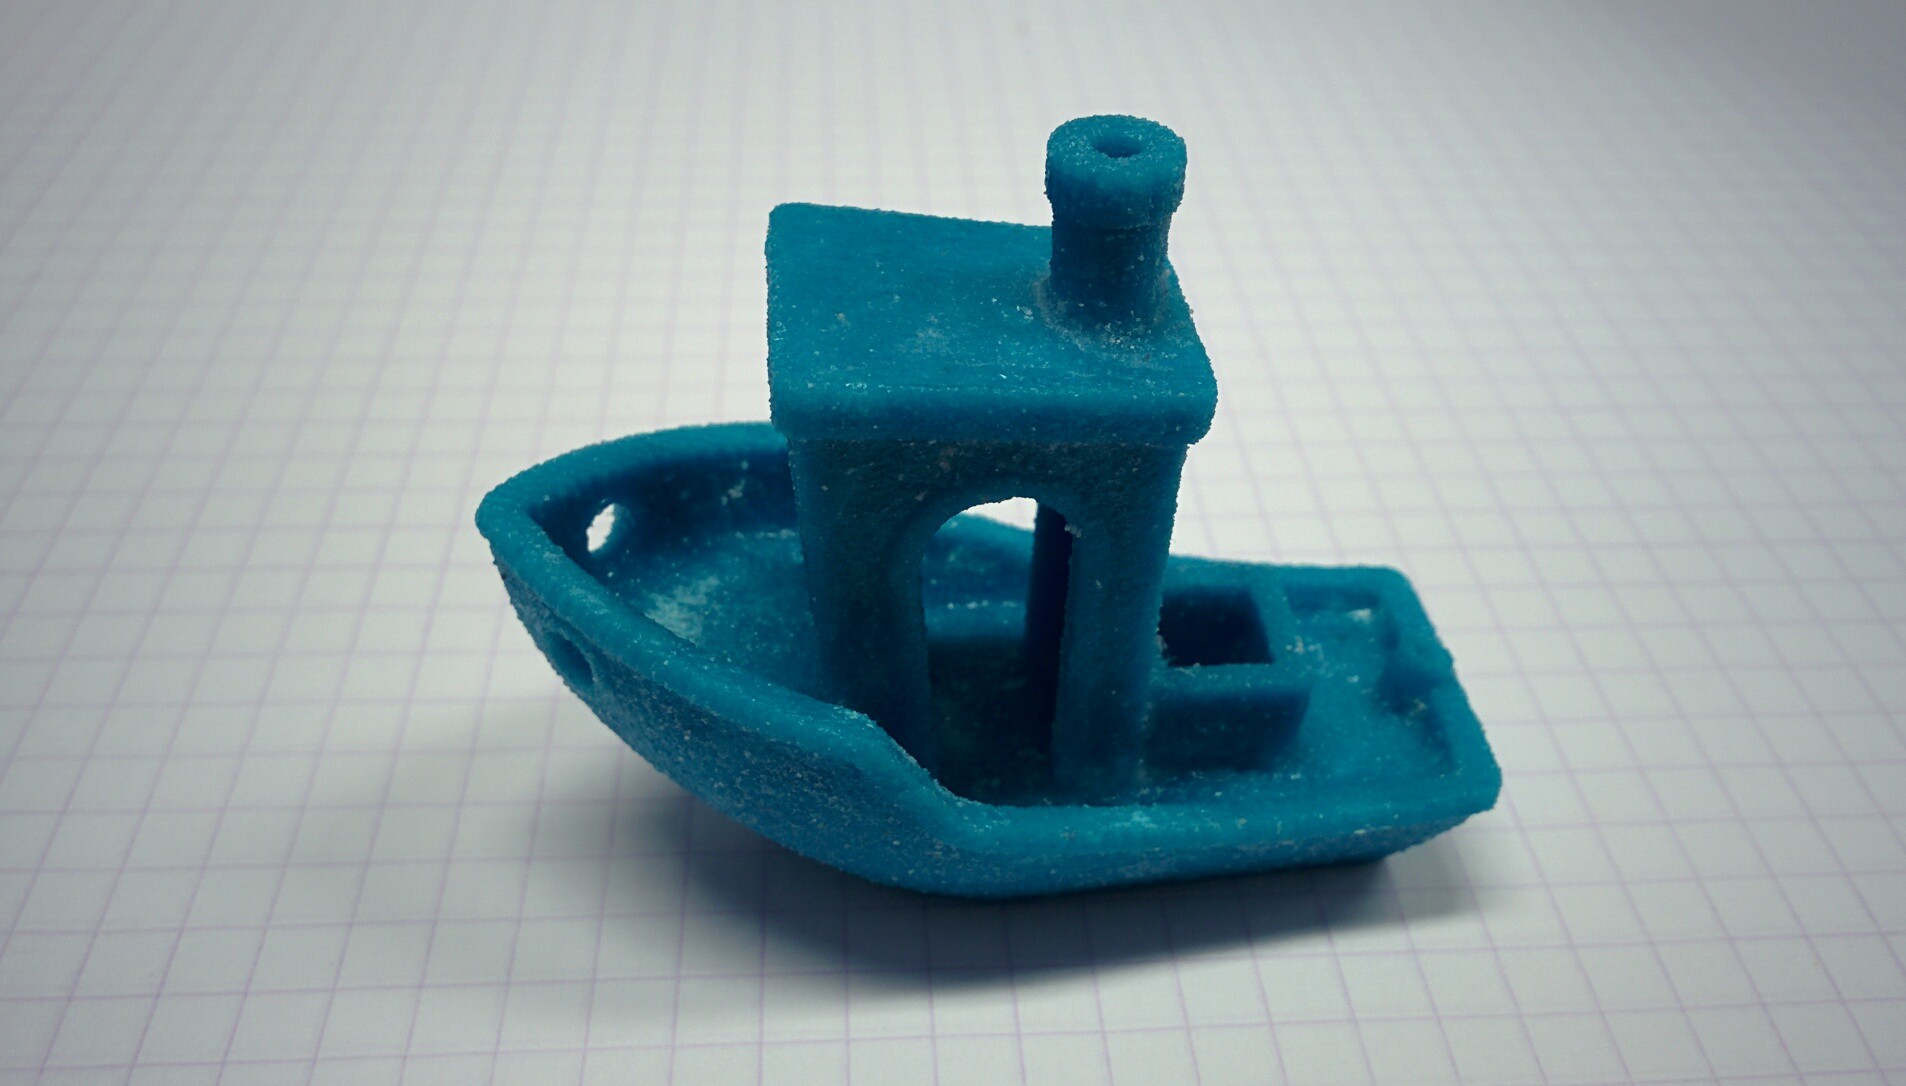
- You do not need support material. The powder is added one layer at a time, and the powder from the previous layers supports the next layers. All the unprinted powder can be reused infinitely.
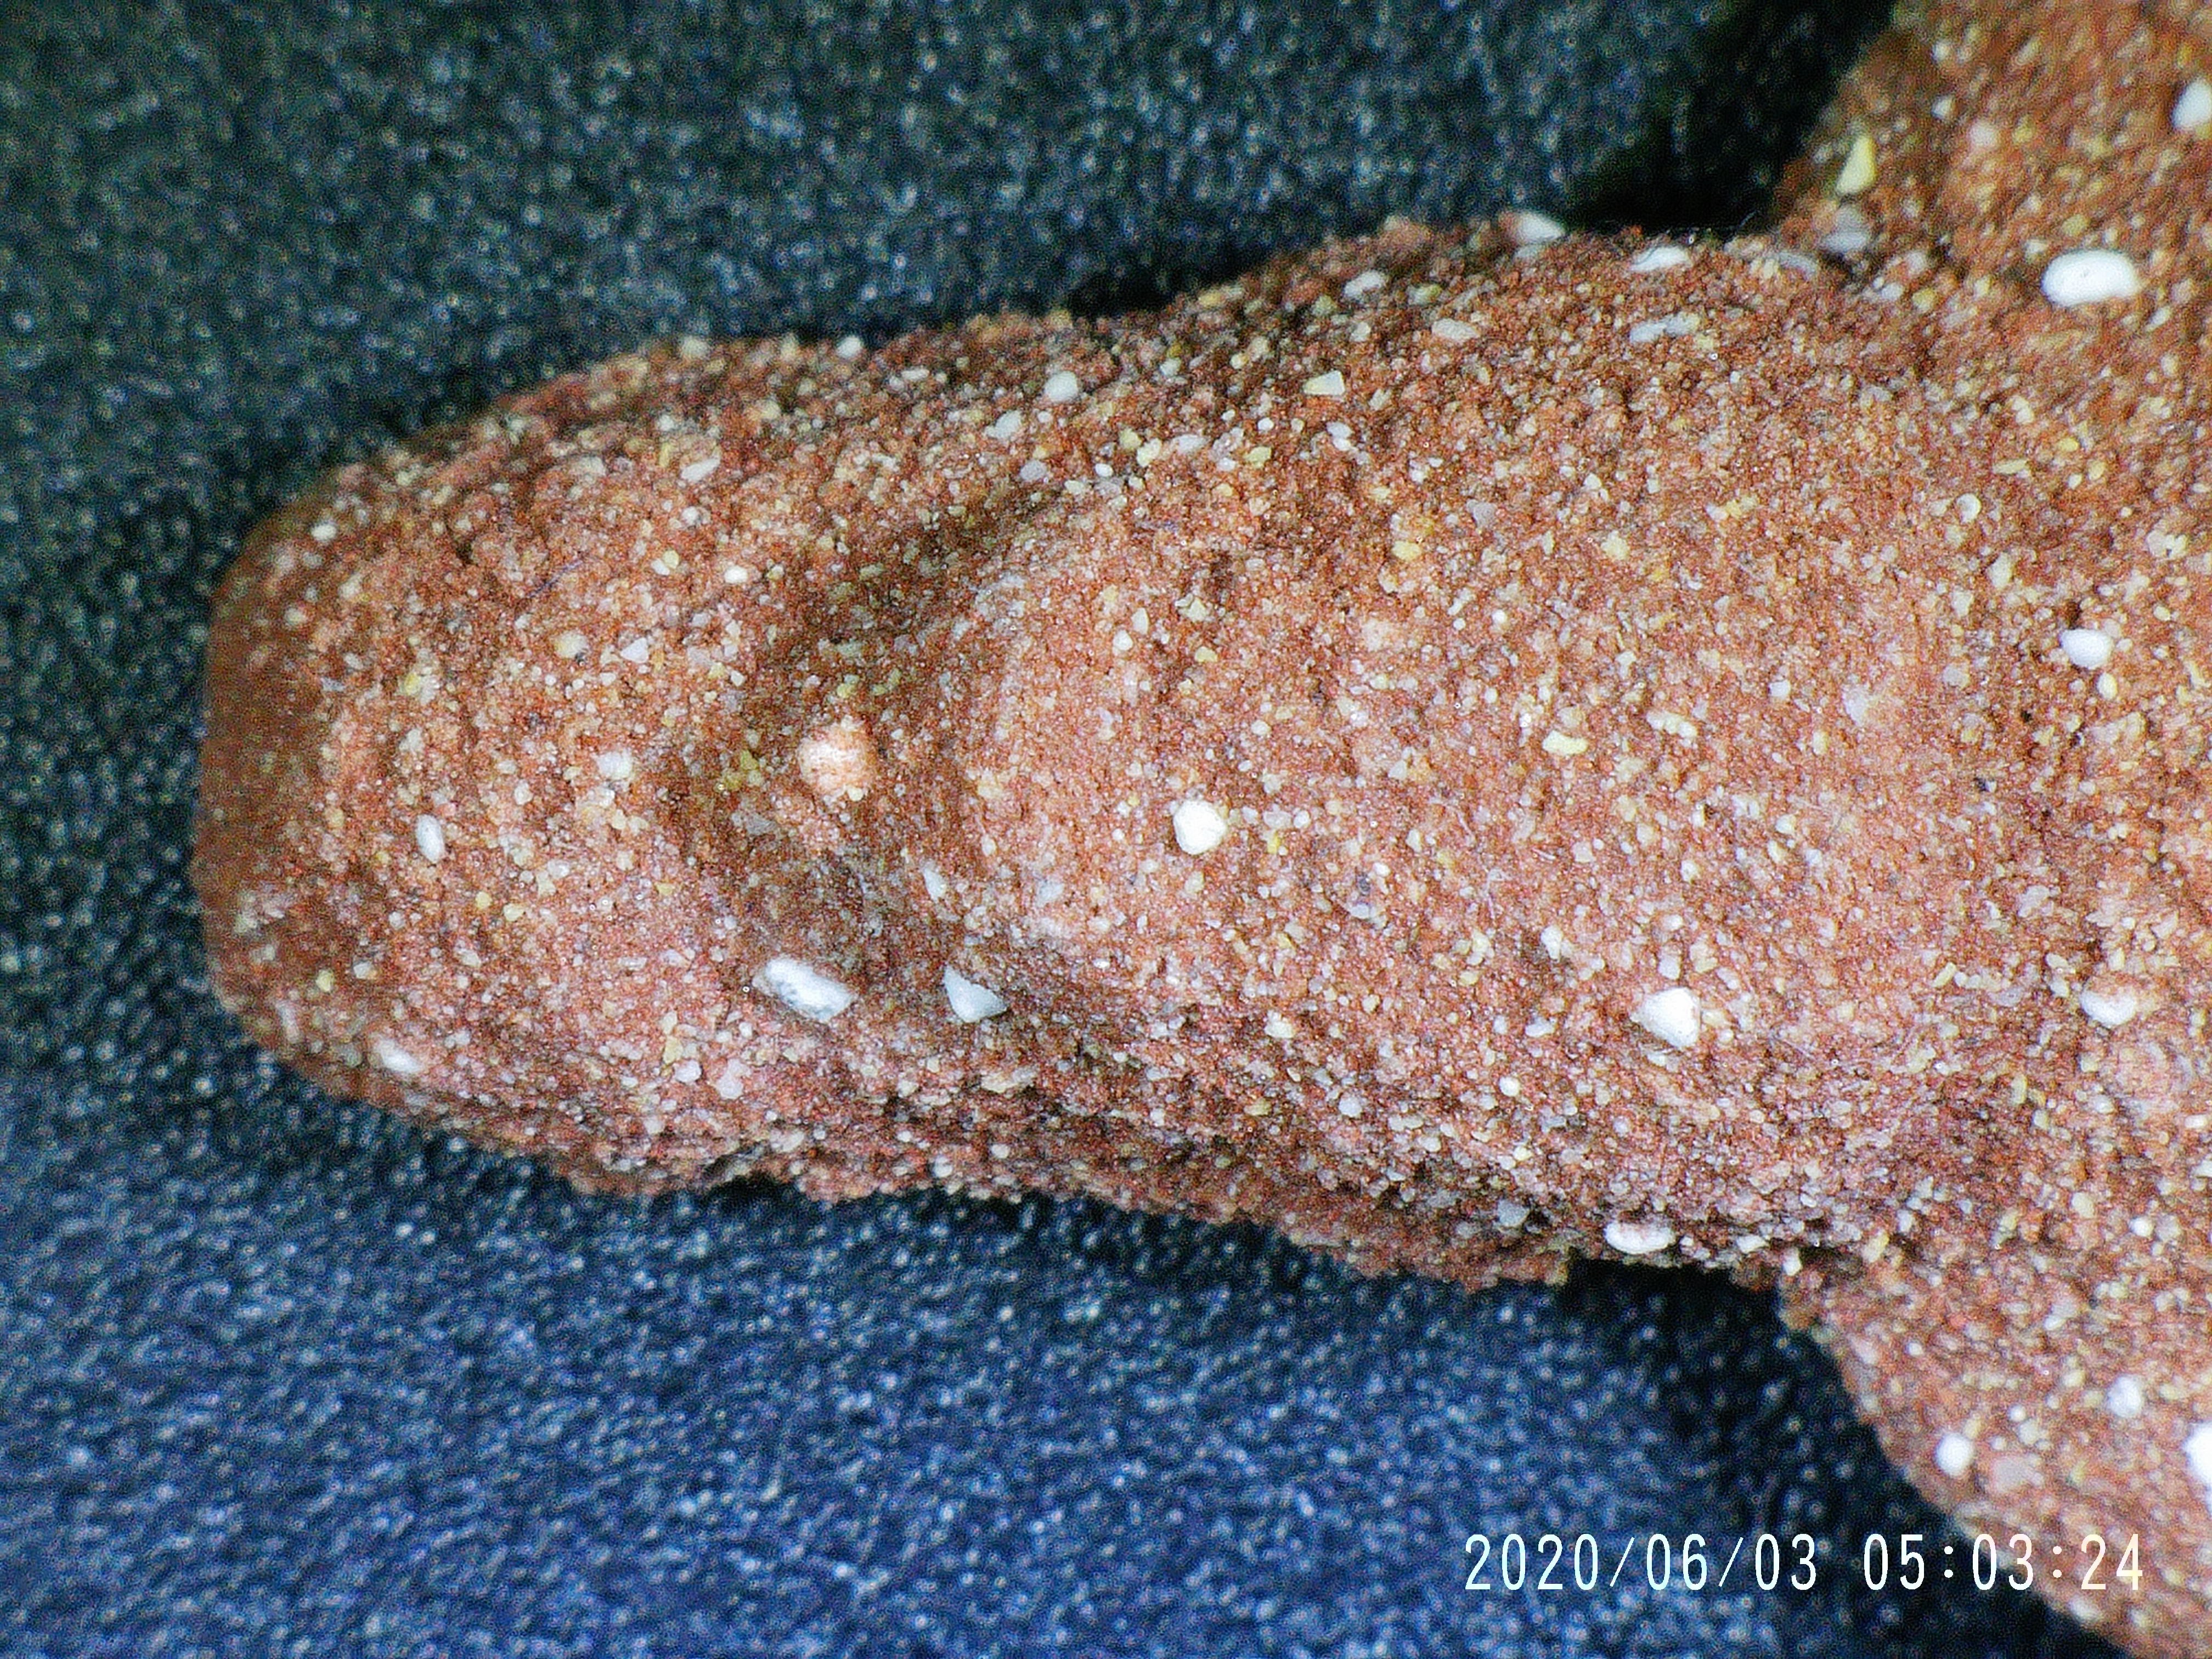
- A wide range of materials can be printed. While FDM is limited to plastics, and SLA requires light sensitive resins, 3DP can print most materials that come as powders.
- Color can be printed. Because 3DP uses standard inkjet technology, it is possible to add color, simply by printing dye alongside the binder.
3DP is not perfect though, There are some drawbacks that need to be considered:
- Powder printing is inherently messy. Very messy.
- All prints require post processing, ranging from simple cleaning to firing or infiltrating. Untreated parts are very fragile. This also limits maximum size of parts. The part needs to be able to survive post processing.
- All of the print area needs to be filled with powder. While the excess can be reused, a minimum amount of powder is required to print at all.
- 3DP prints only one material at a time.
- Hollow parts need escape holes to drain unprinted powder.
What 3DP
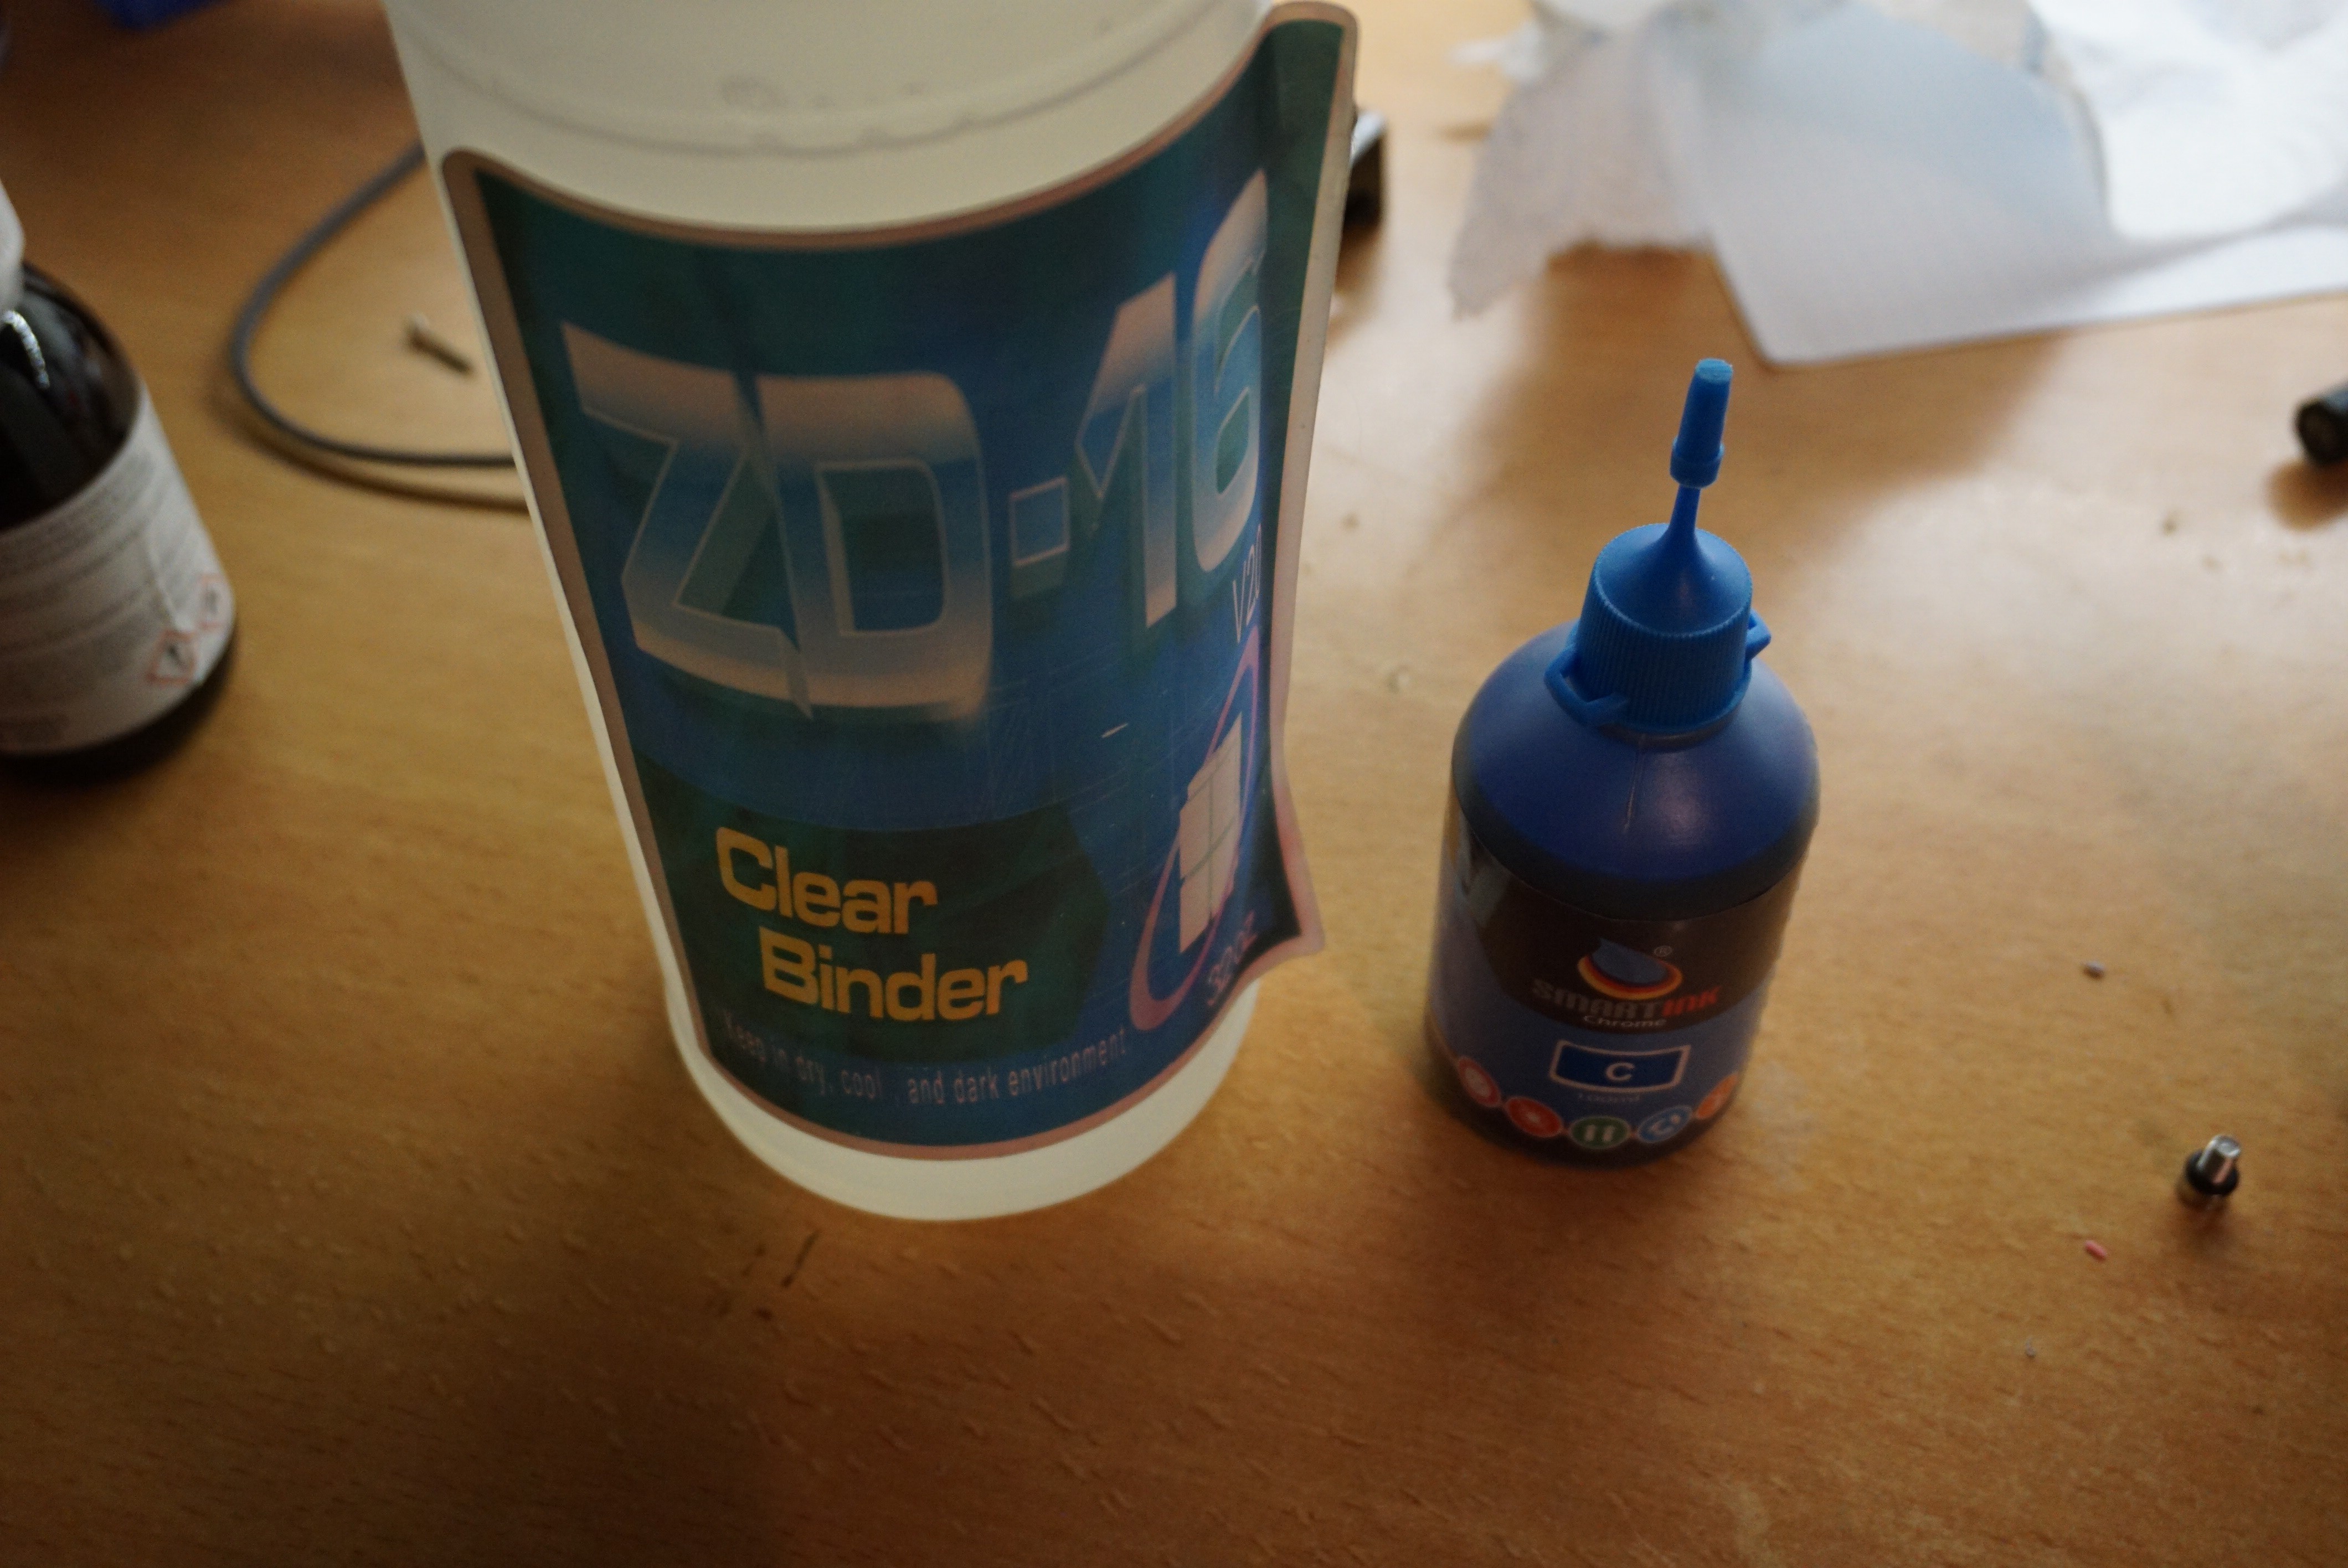
There are a variety of materials 3DP can print. The only thing these materials have in common is that they are powders. In most cases, a glue is added to the powder. Examples of this are PVA, sugar or maltodextrin. The binder is generally an inert liquid, like an alcohol/water mix. I have...
Read more »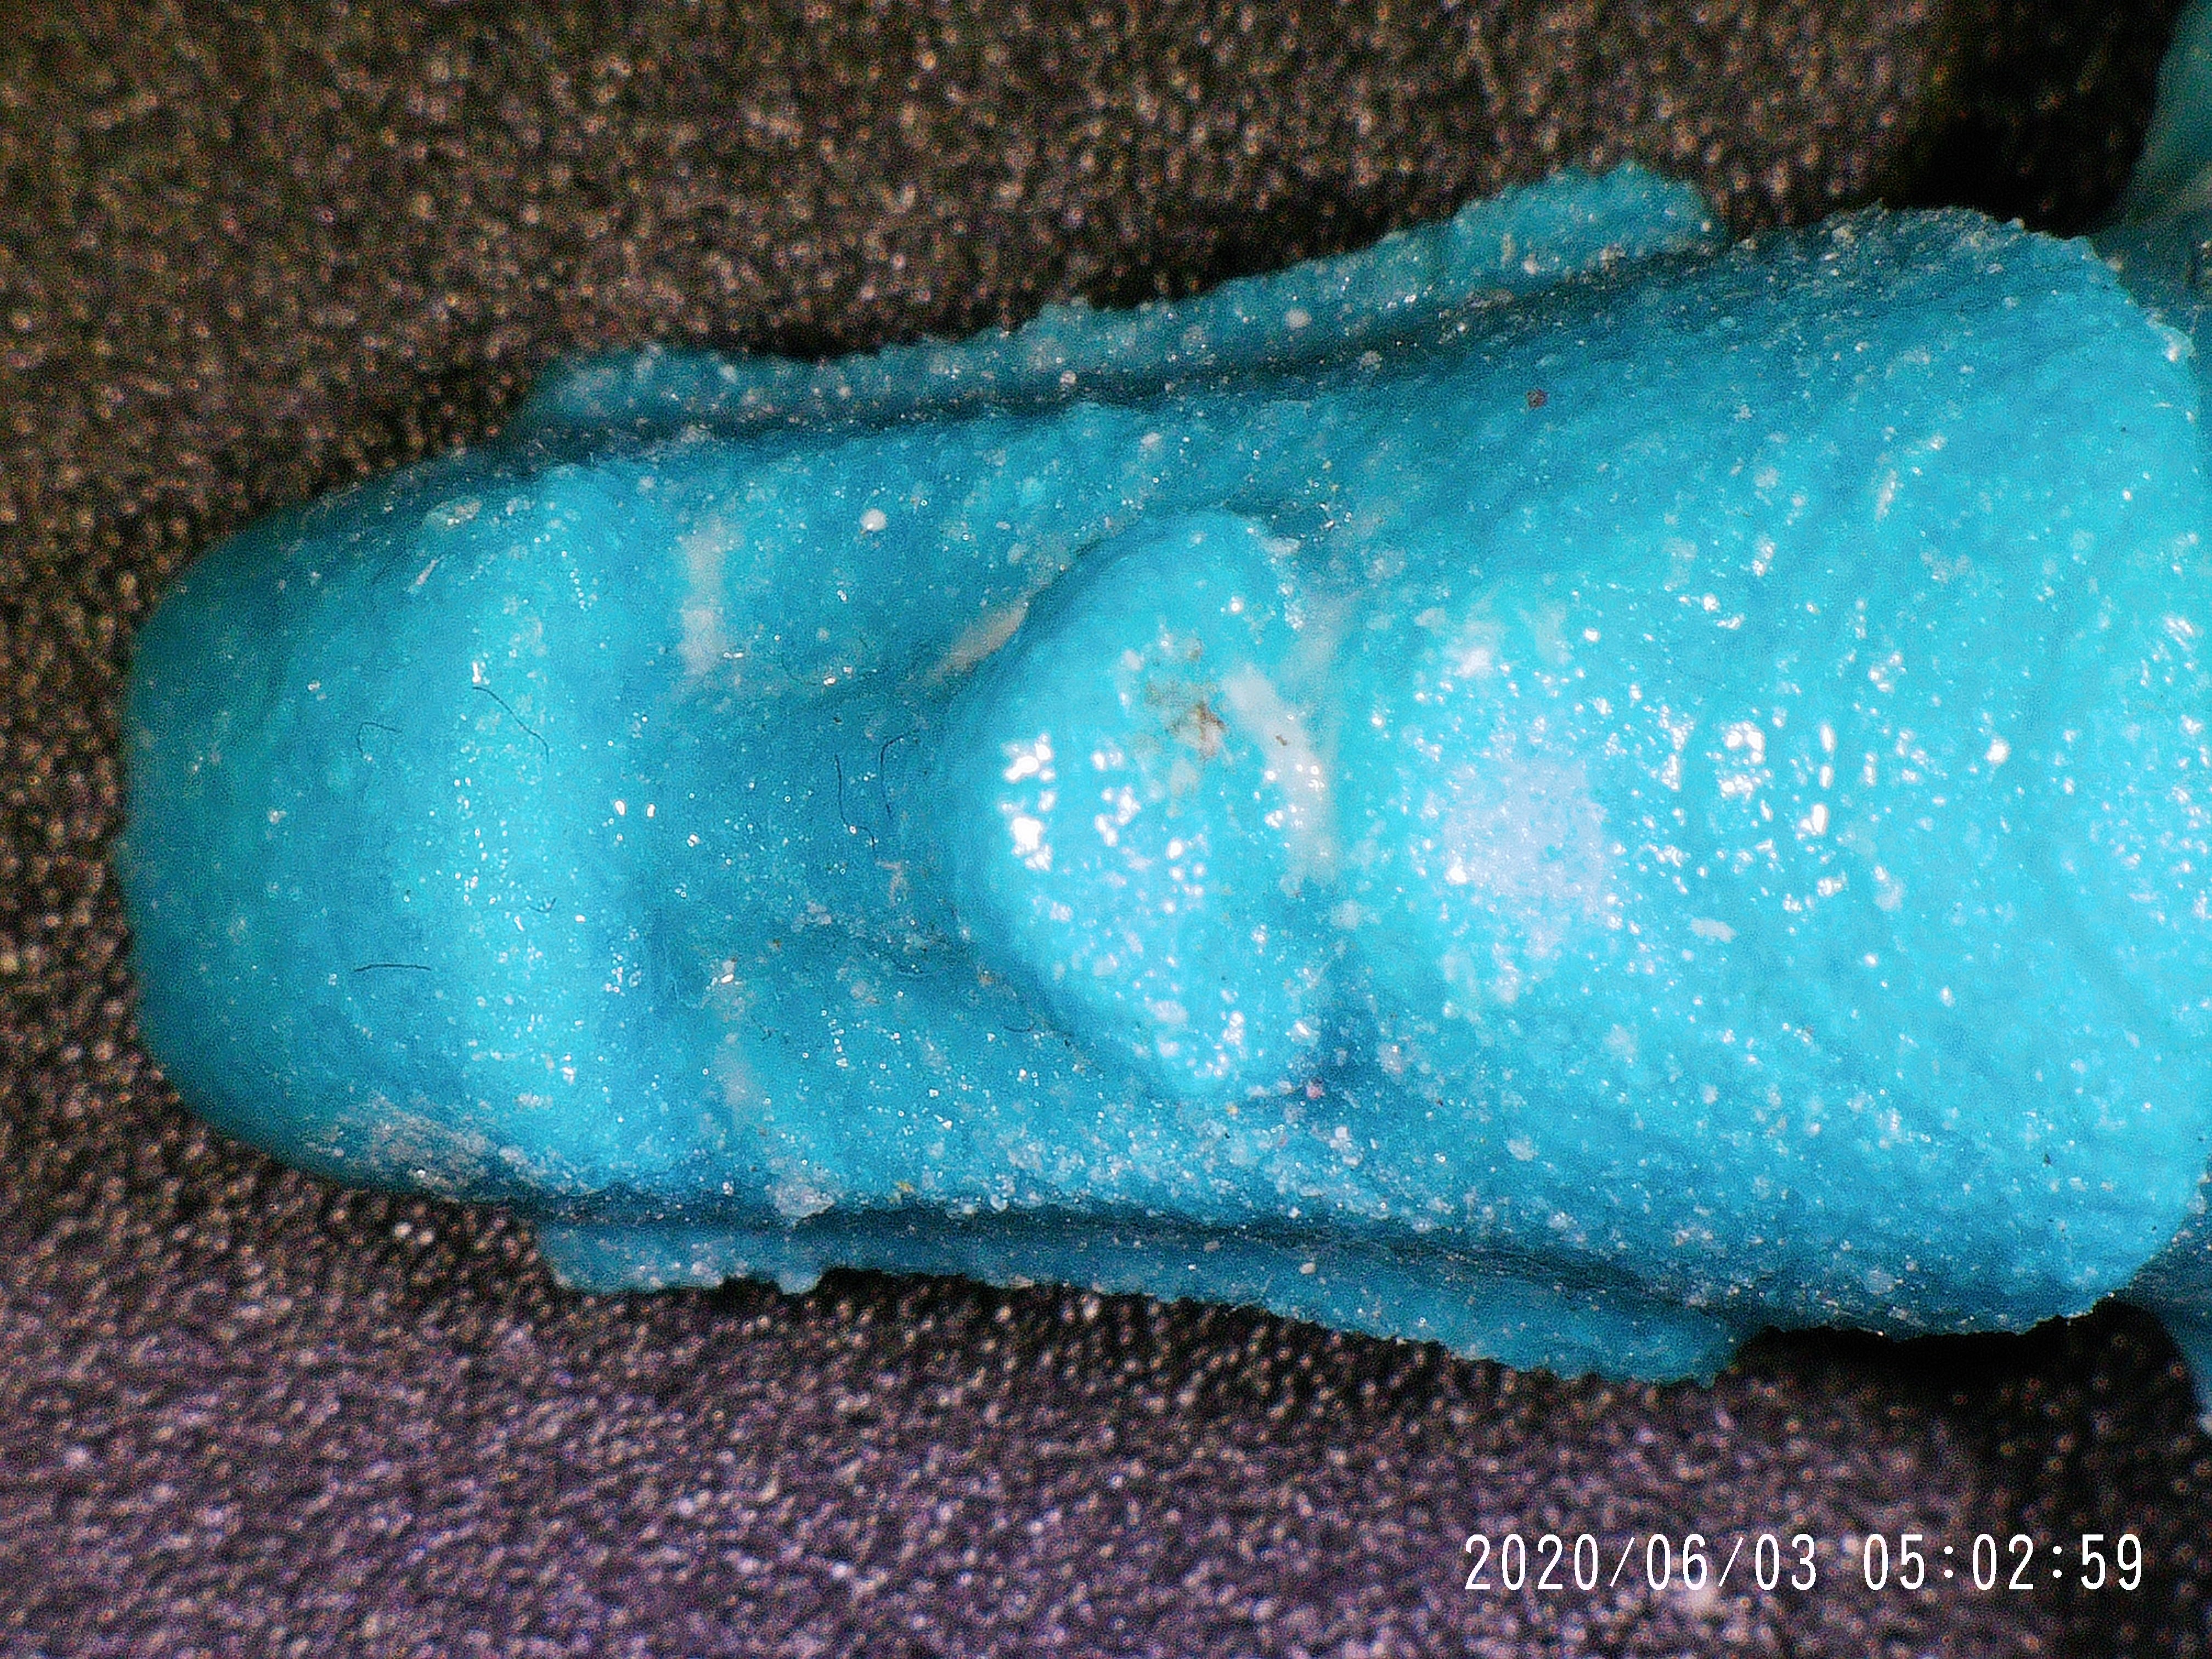
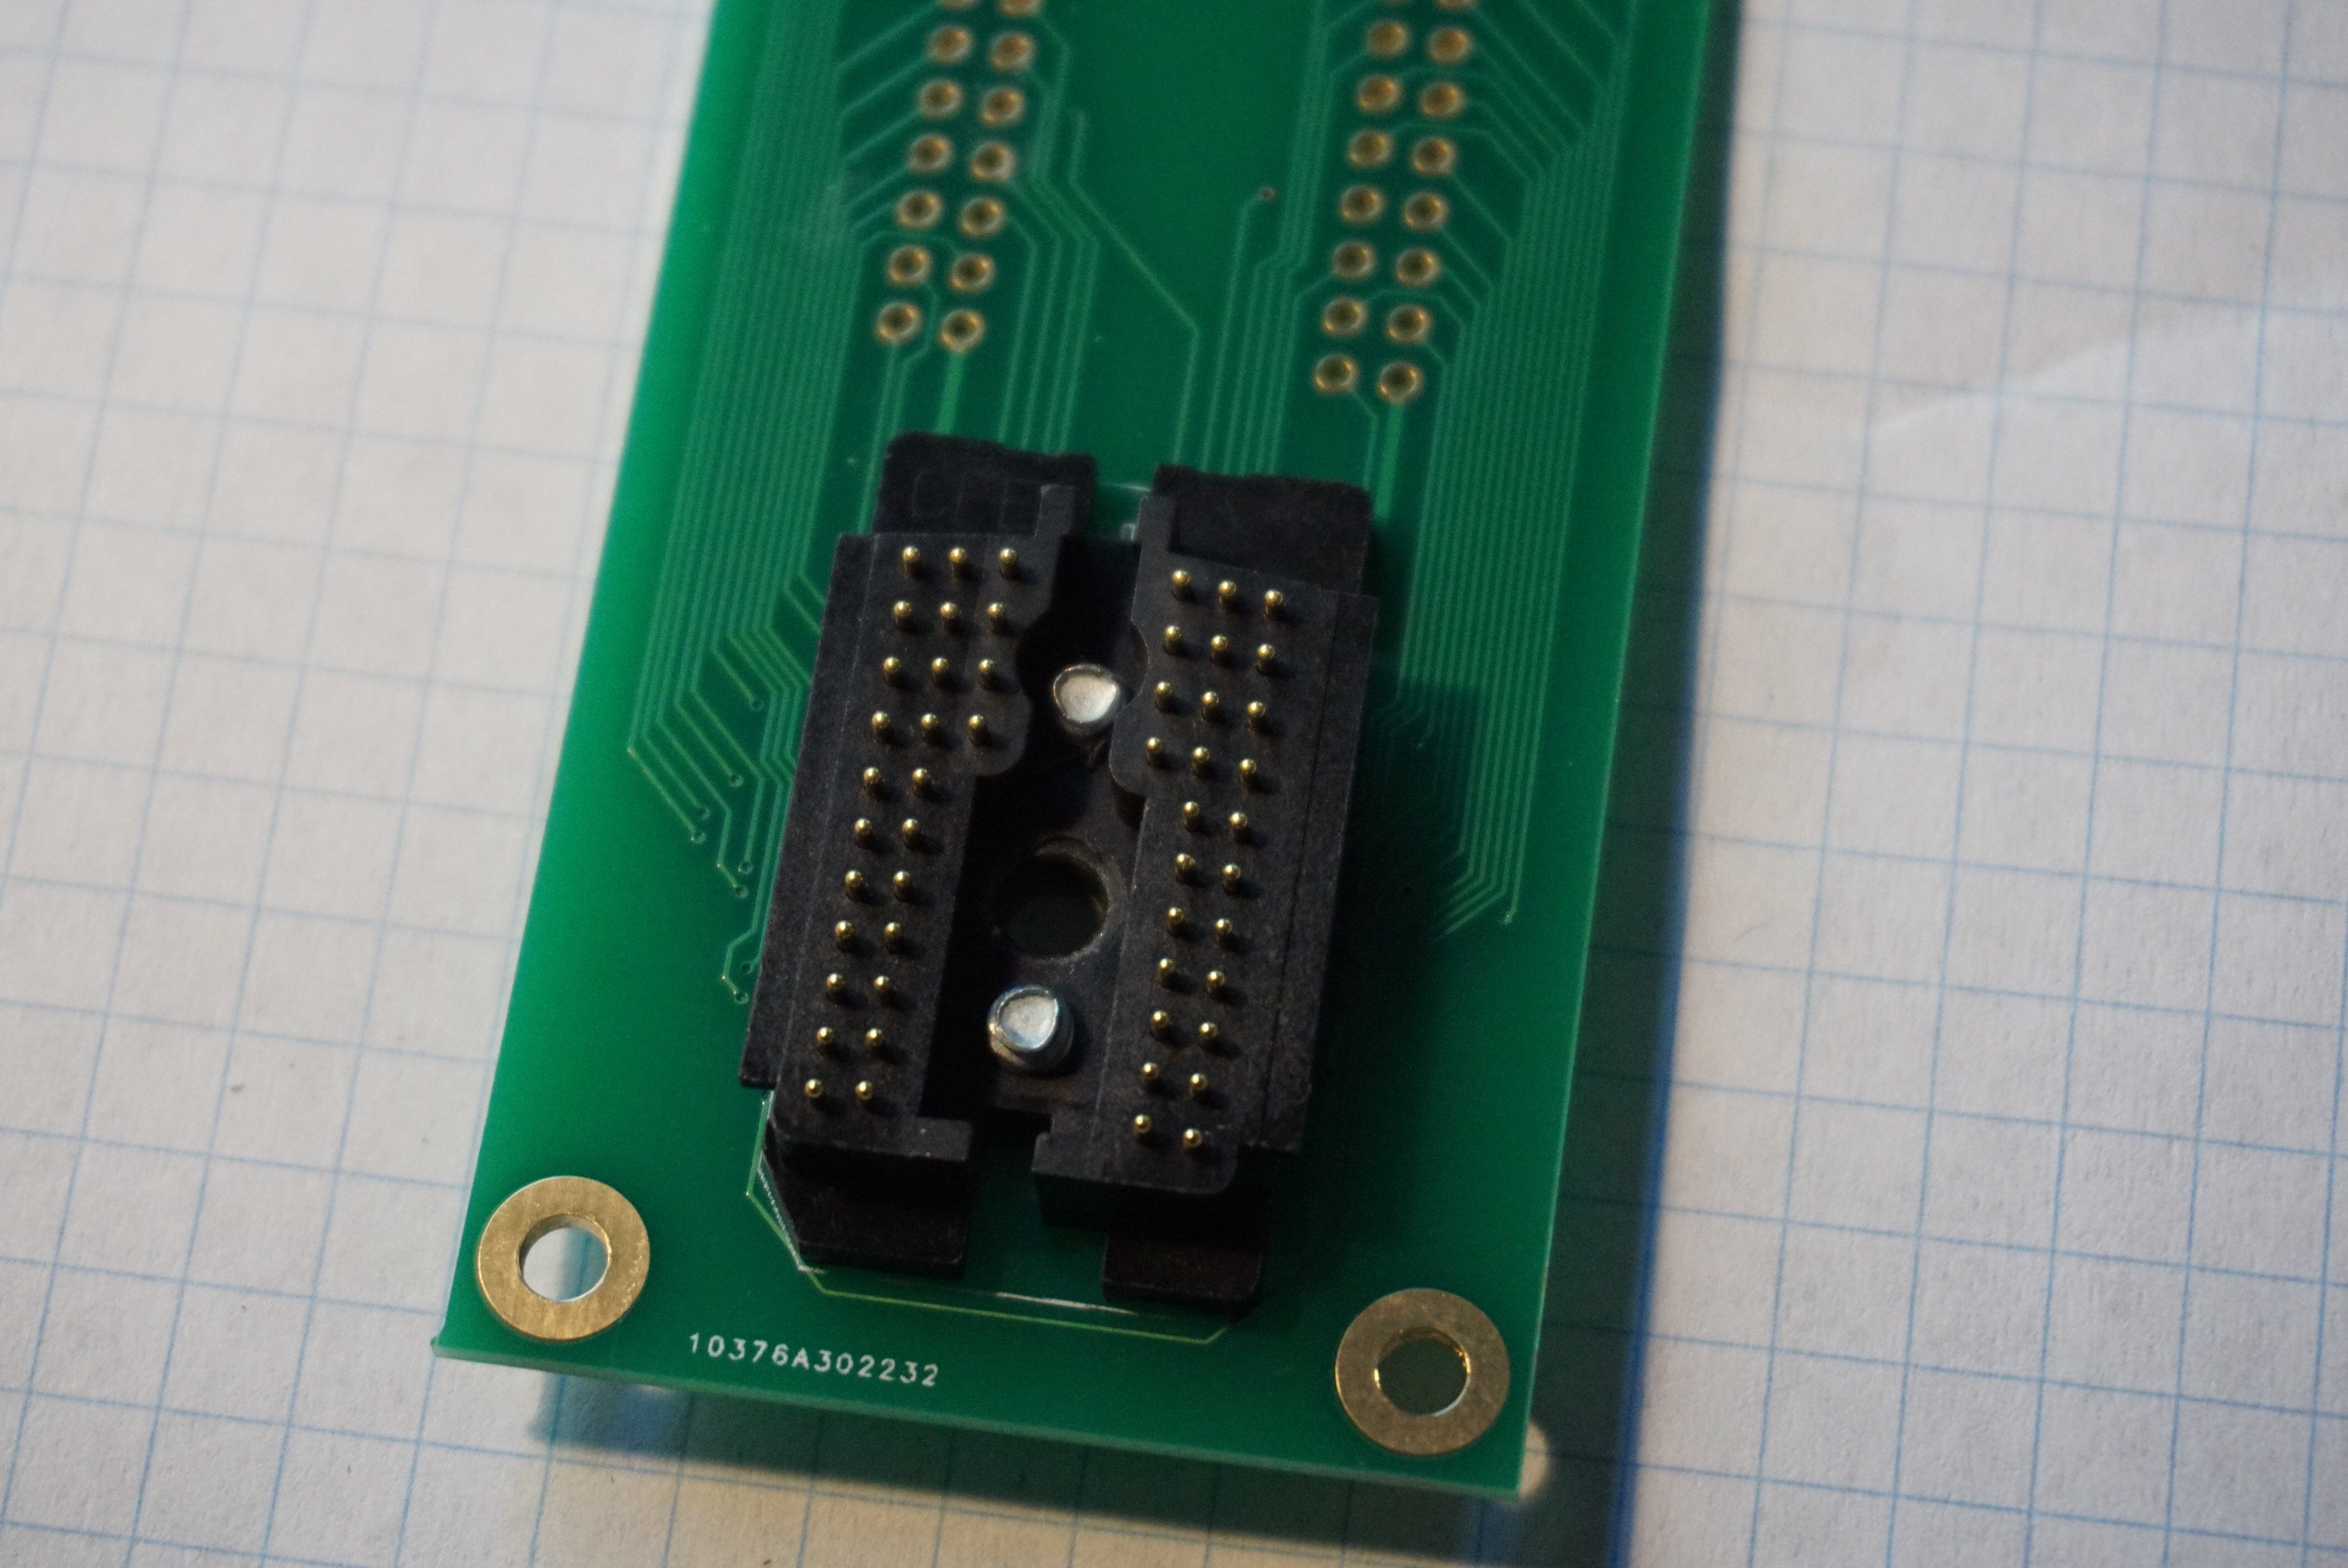
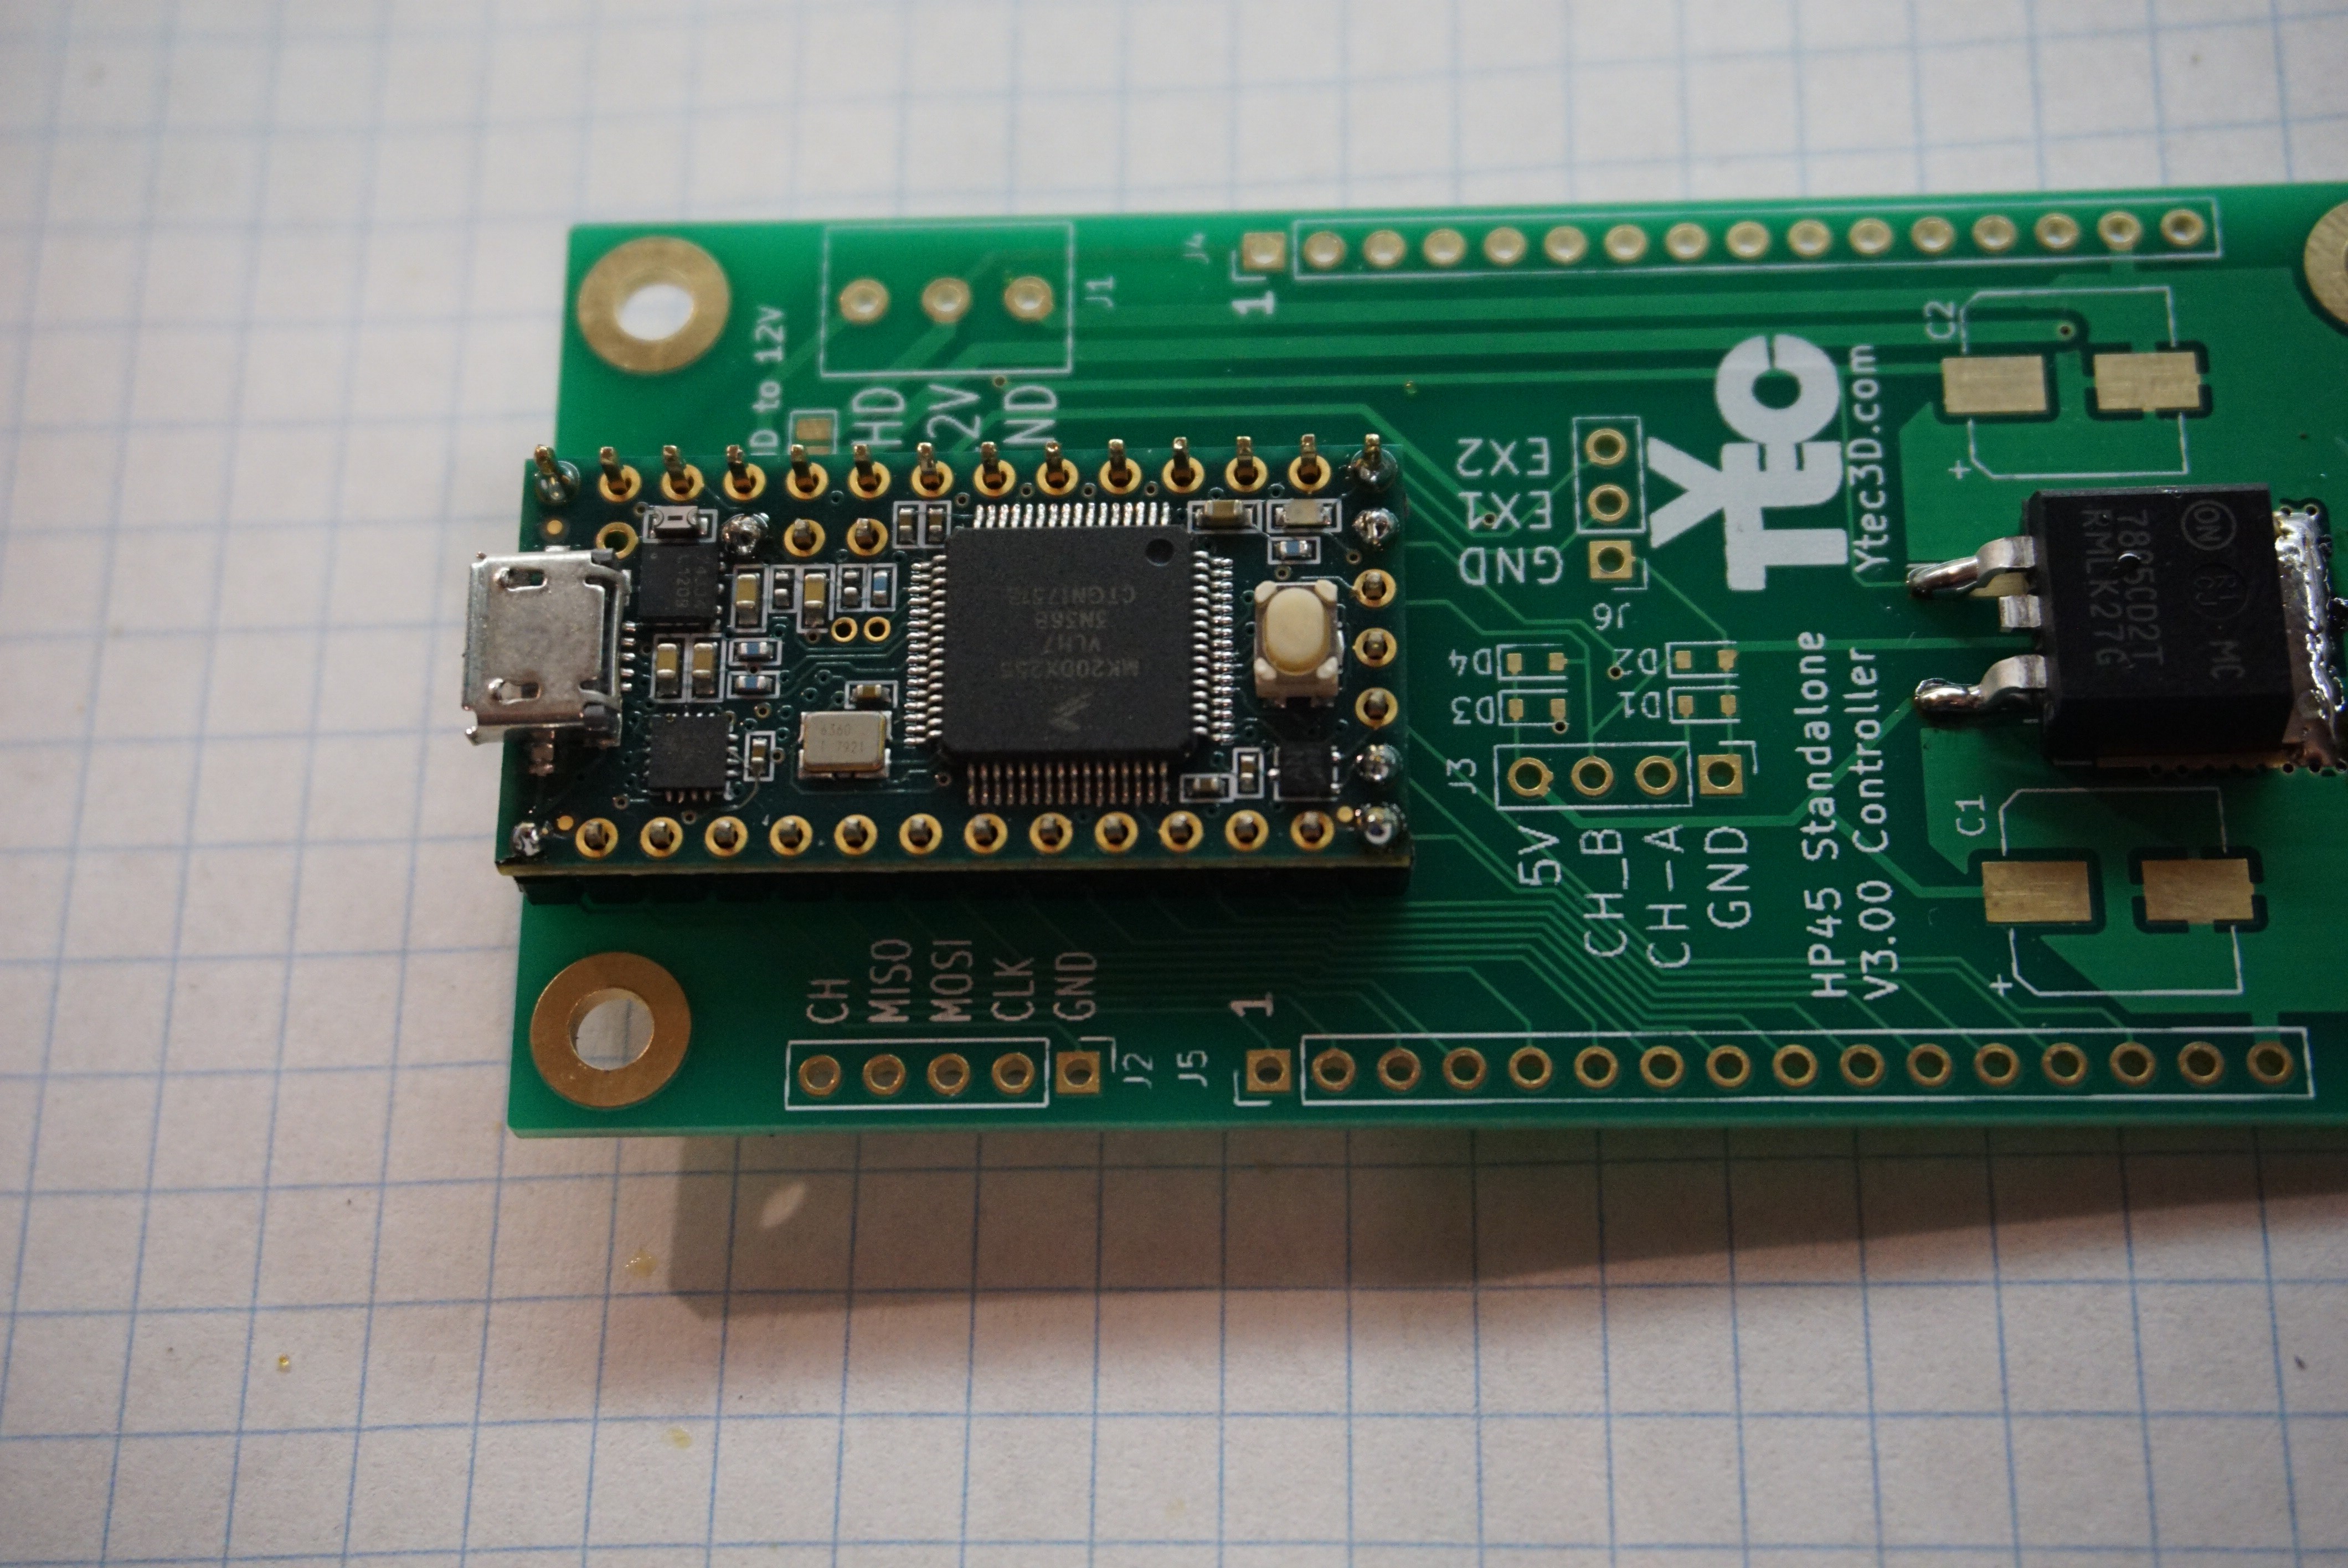
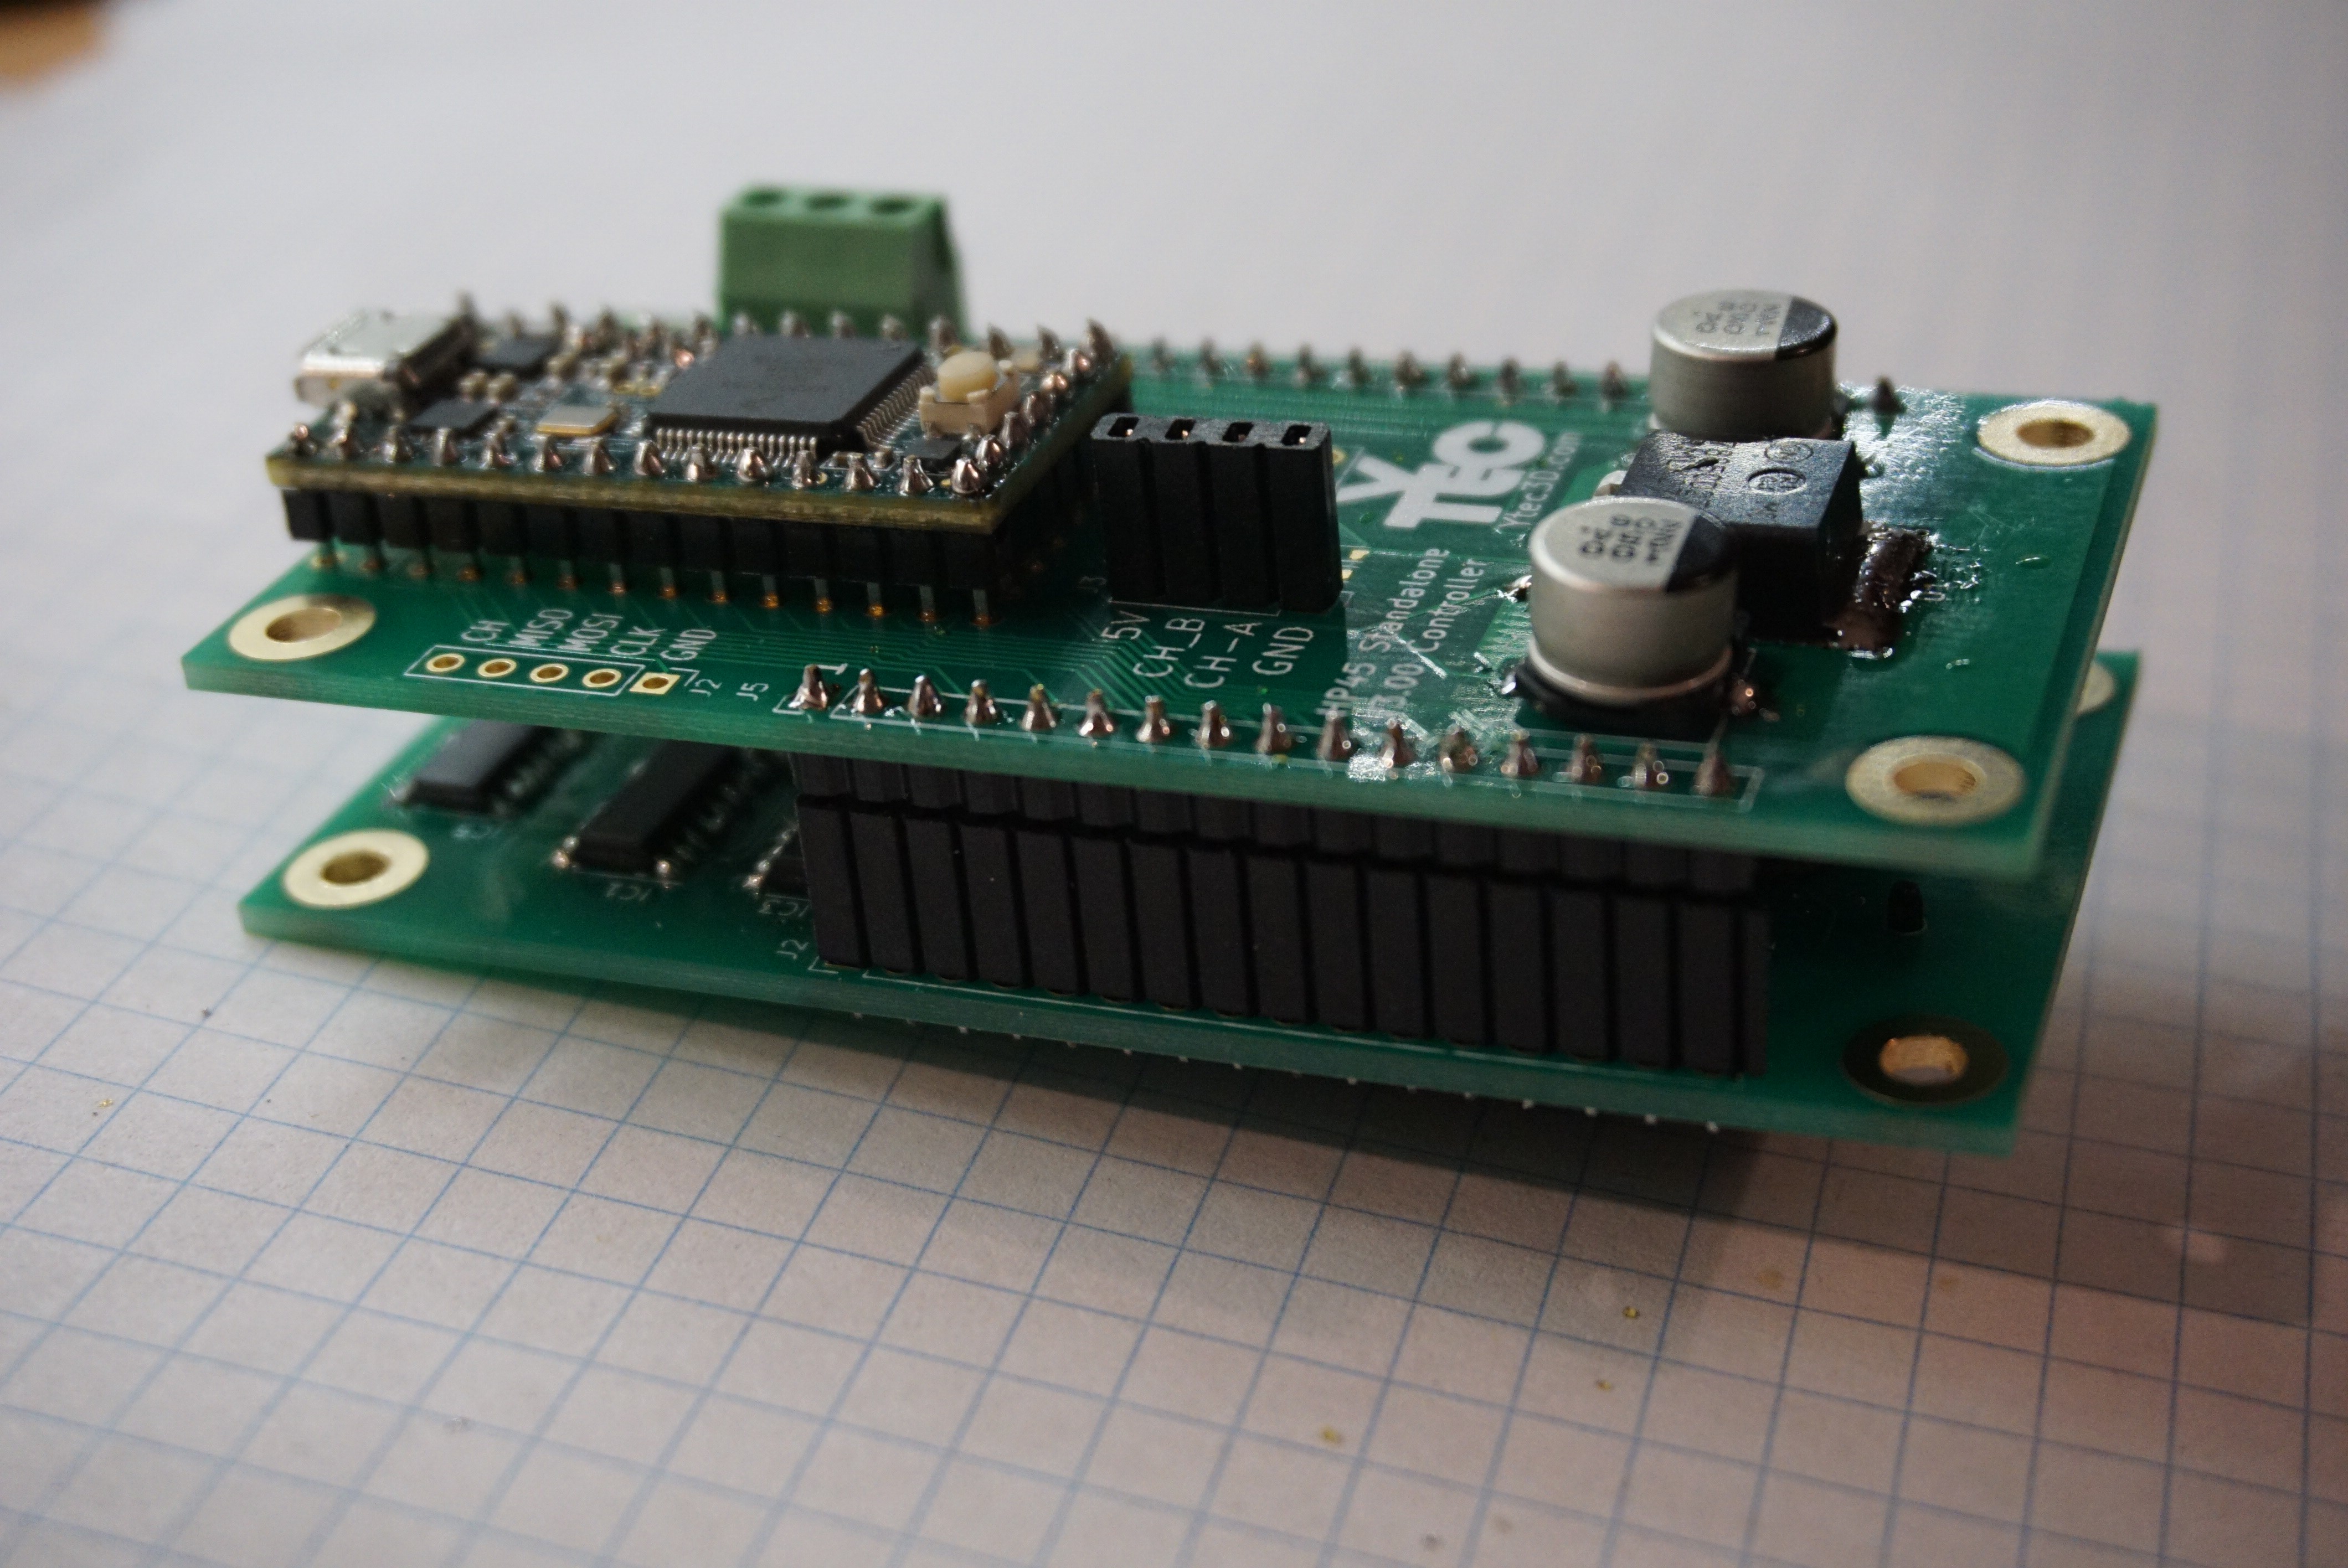
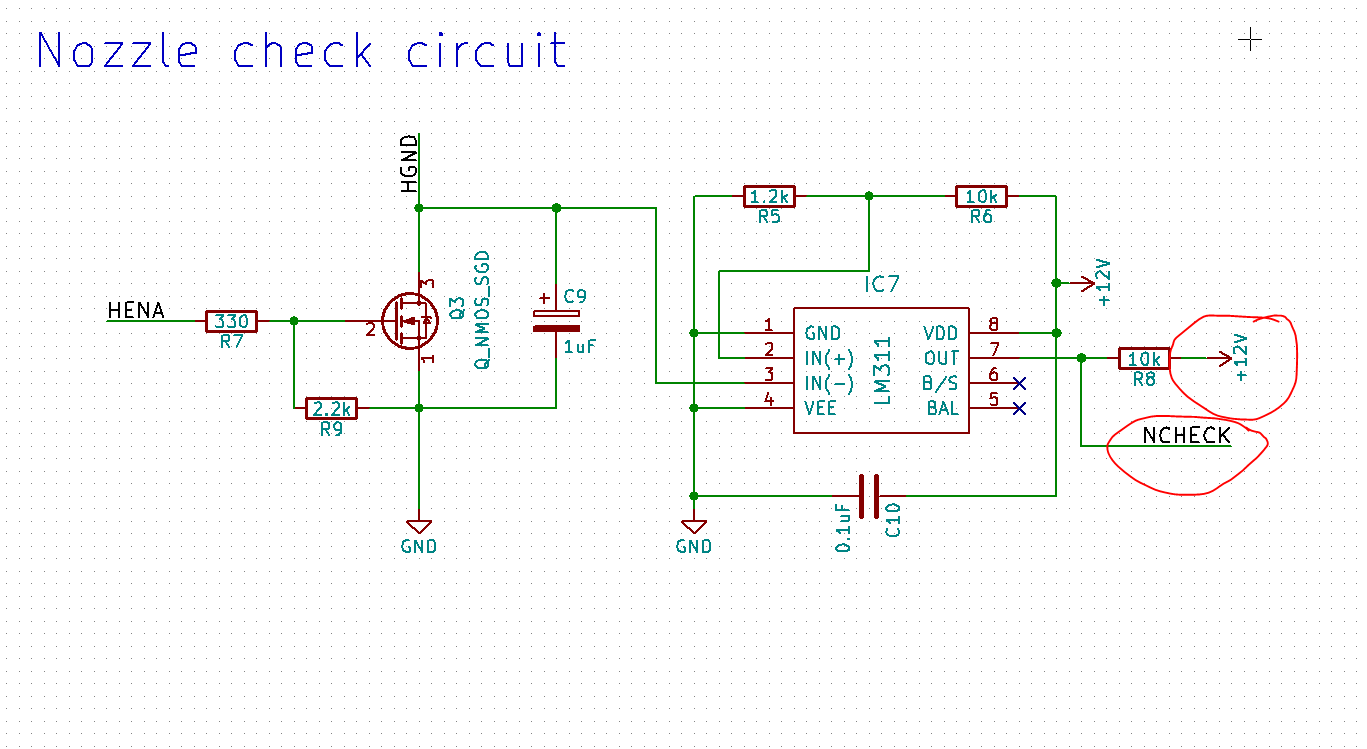 I am working right now on a V3.02 design that will pull the check to the right voltage. I advise anyone who want to make this not to use the V3.01 driver.
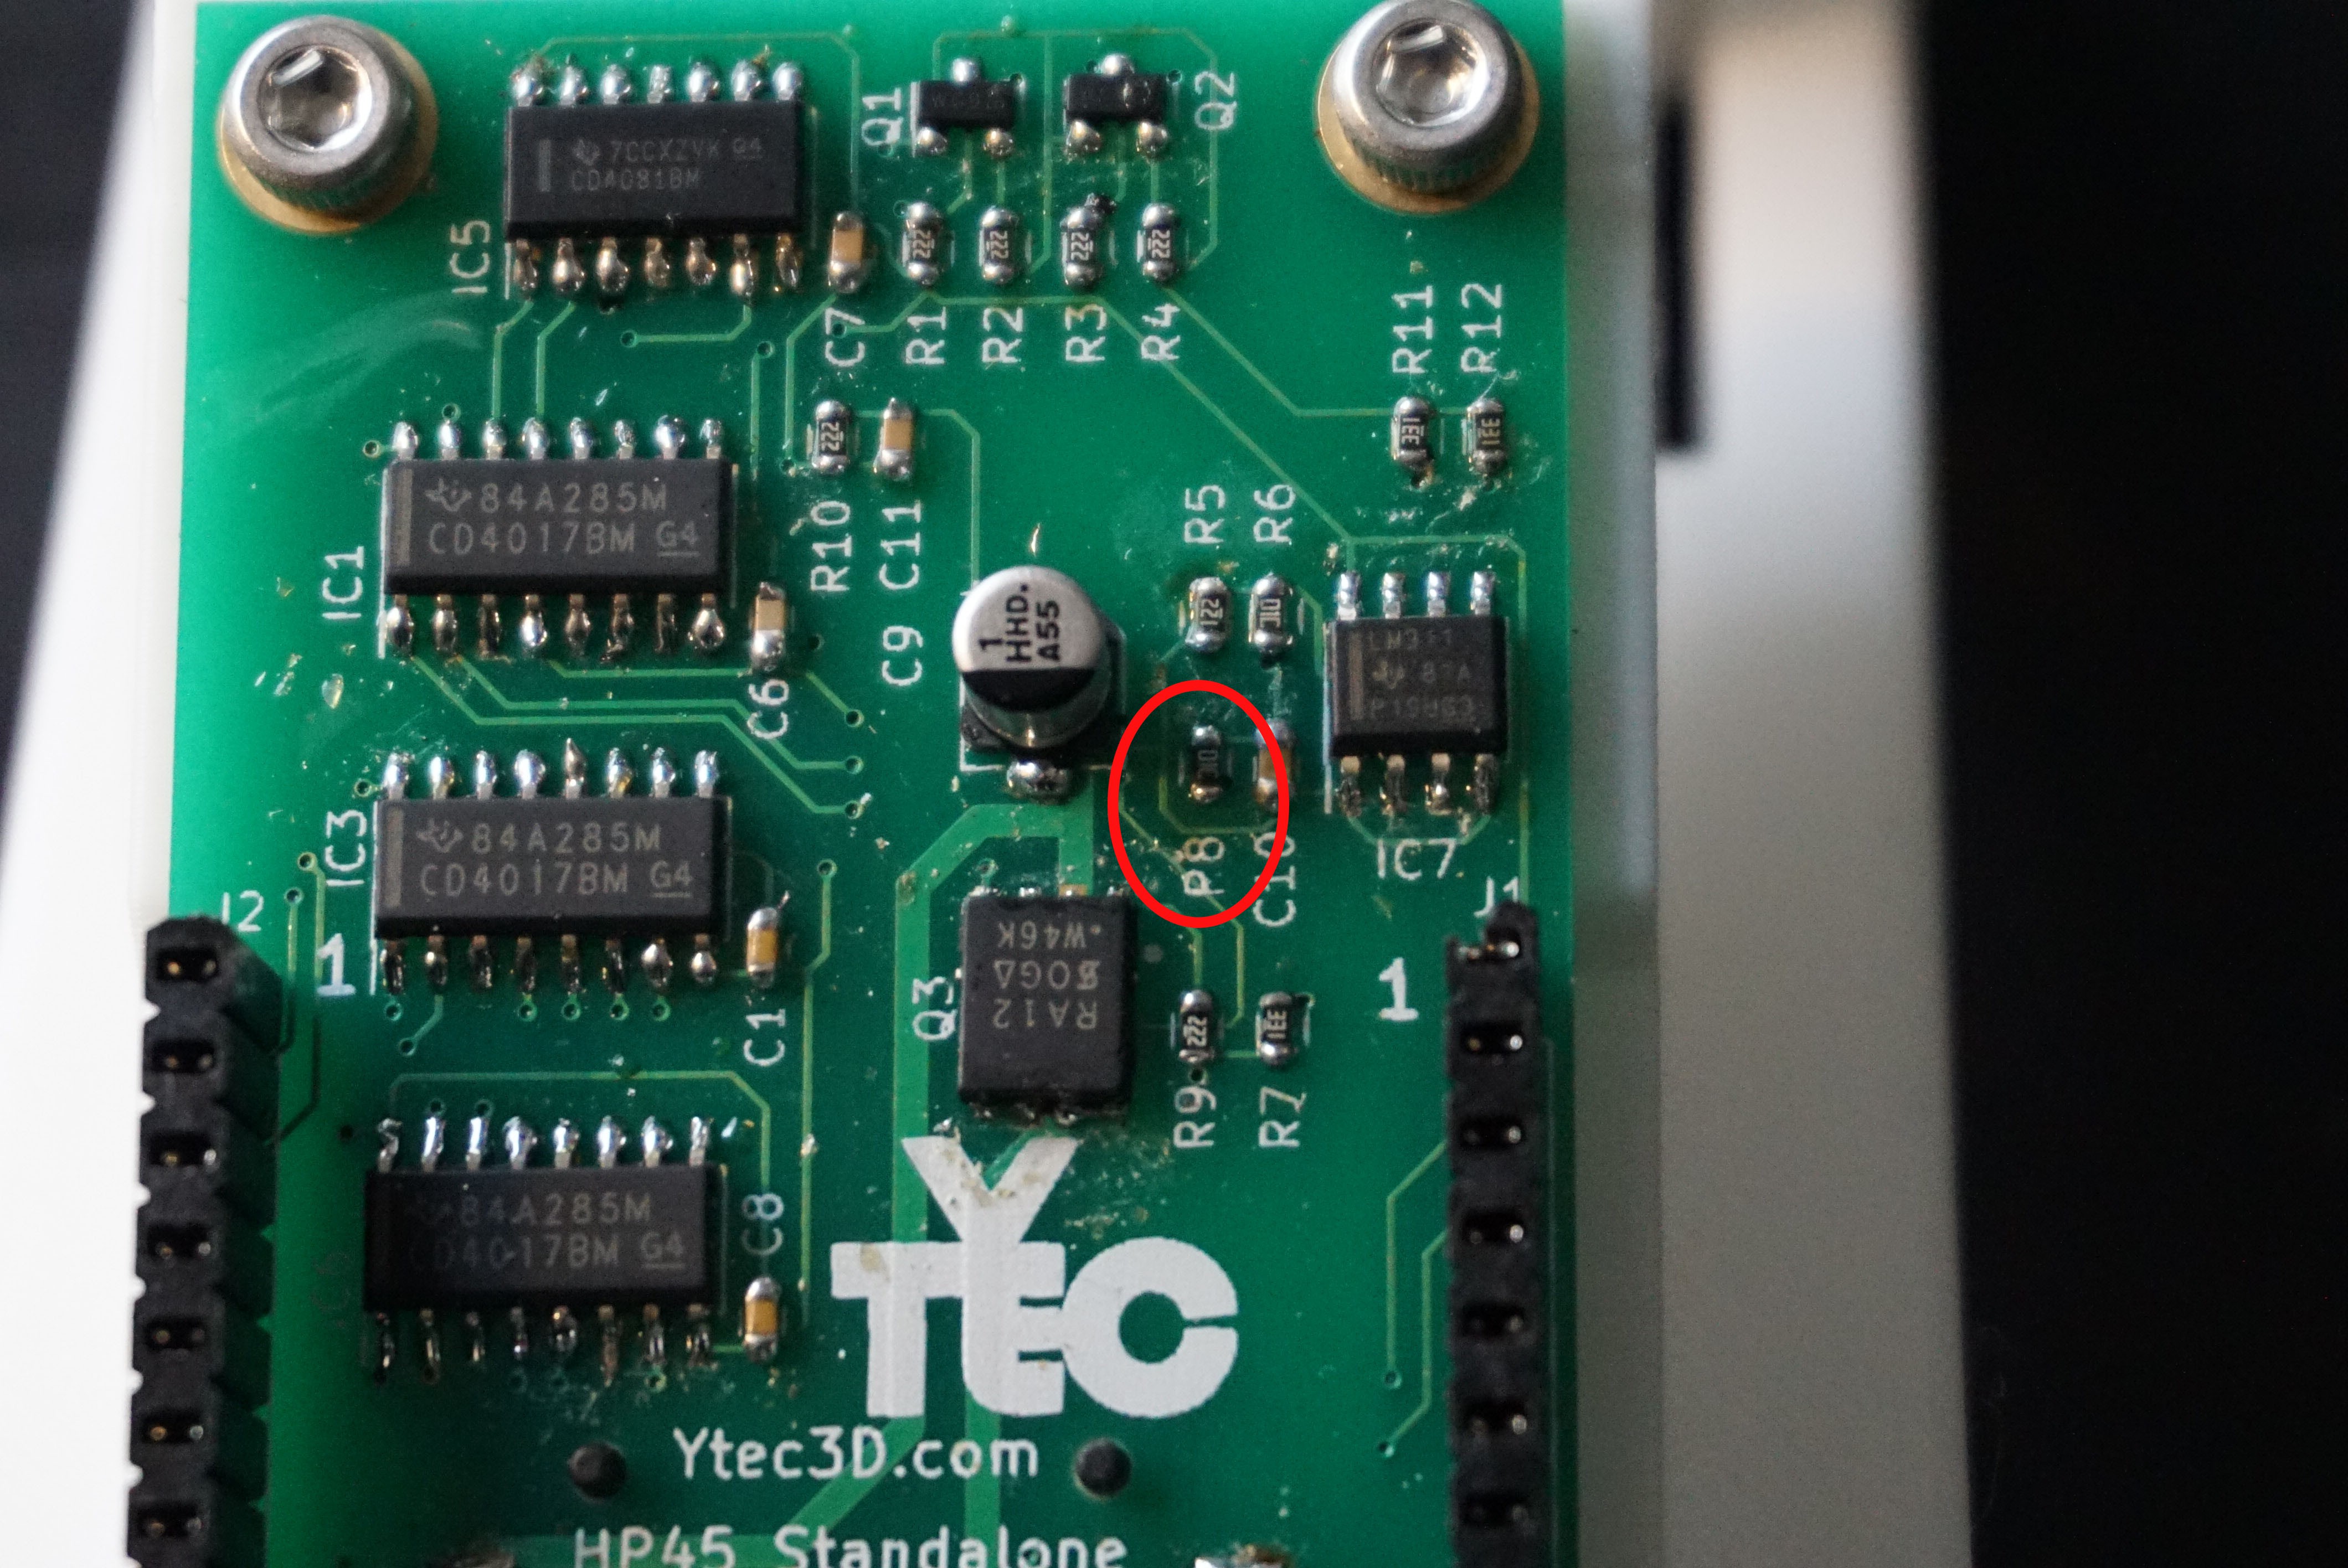 The culprit is R8 (shown here as P8, because the silkscreen is worn off). Desolder it.
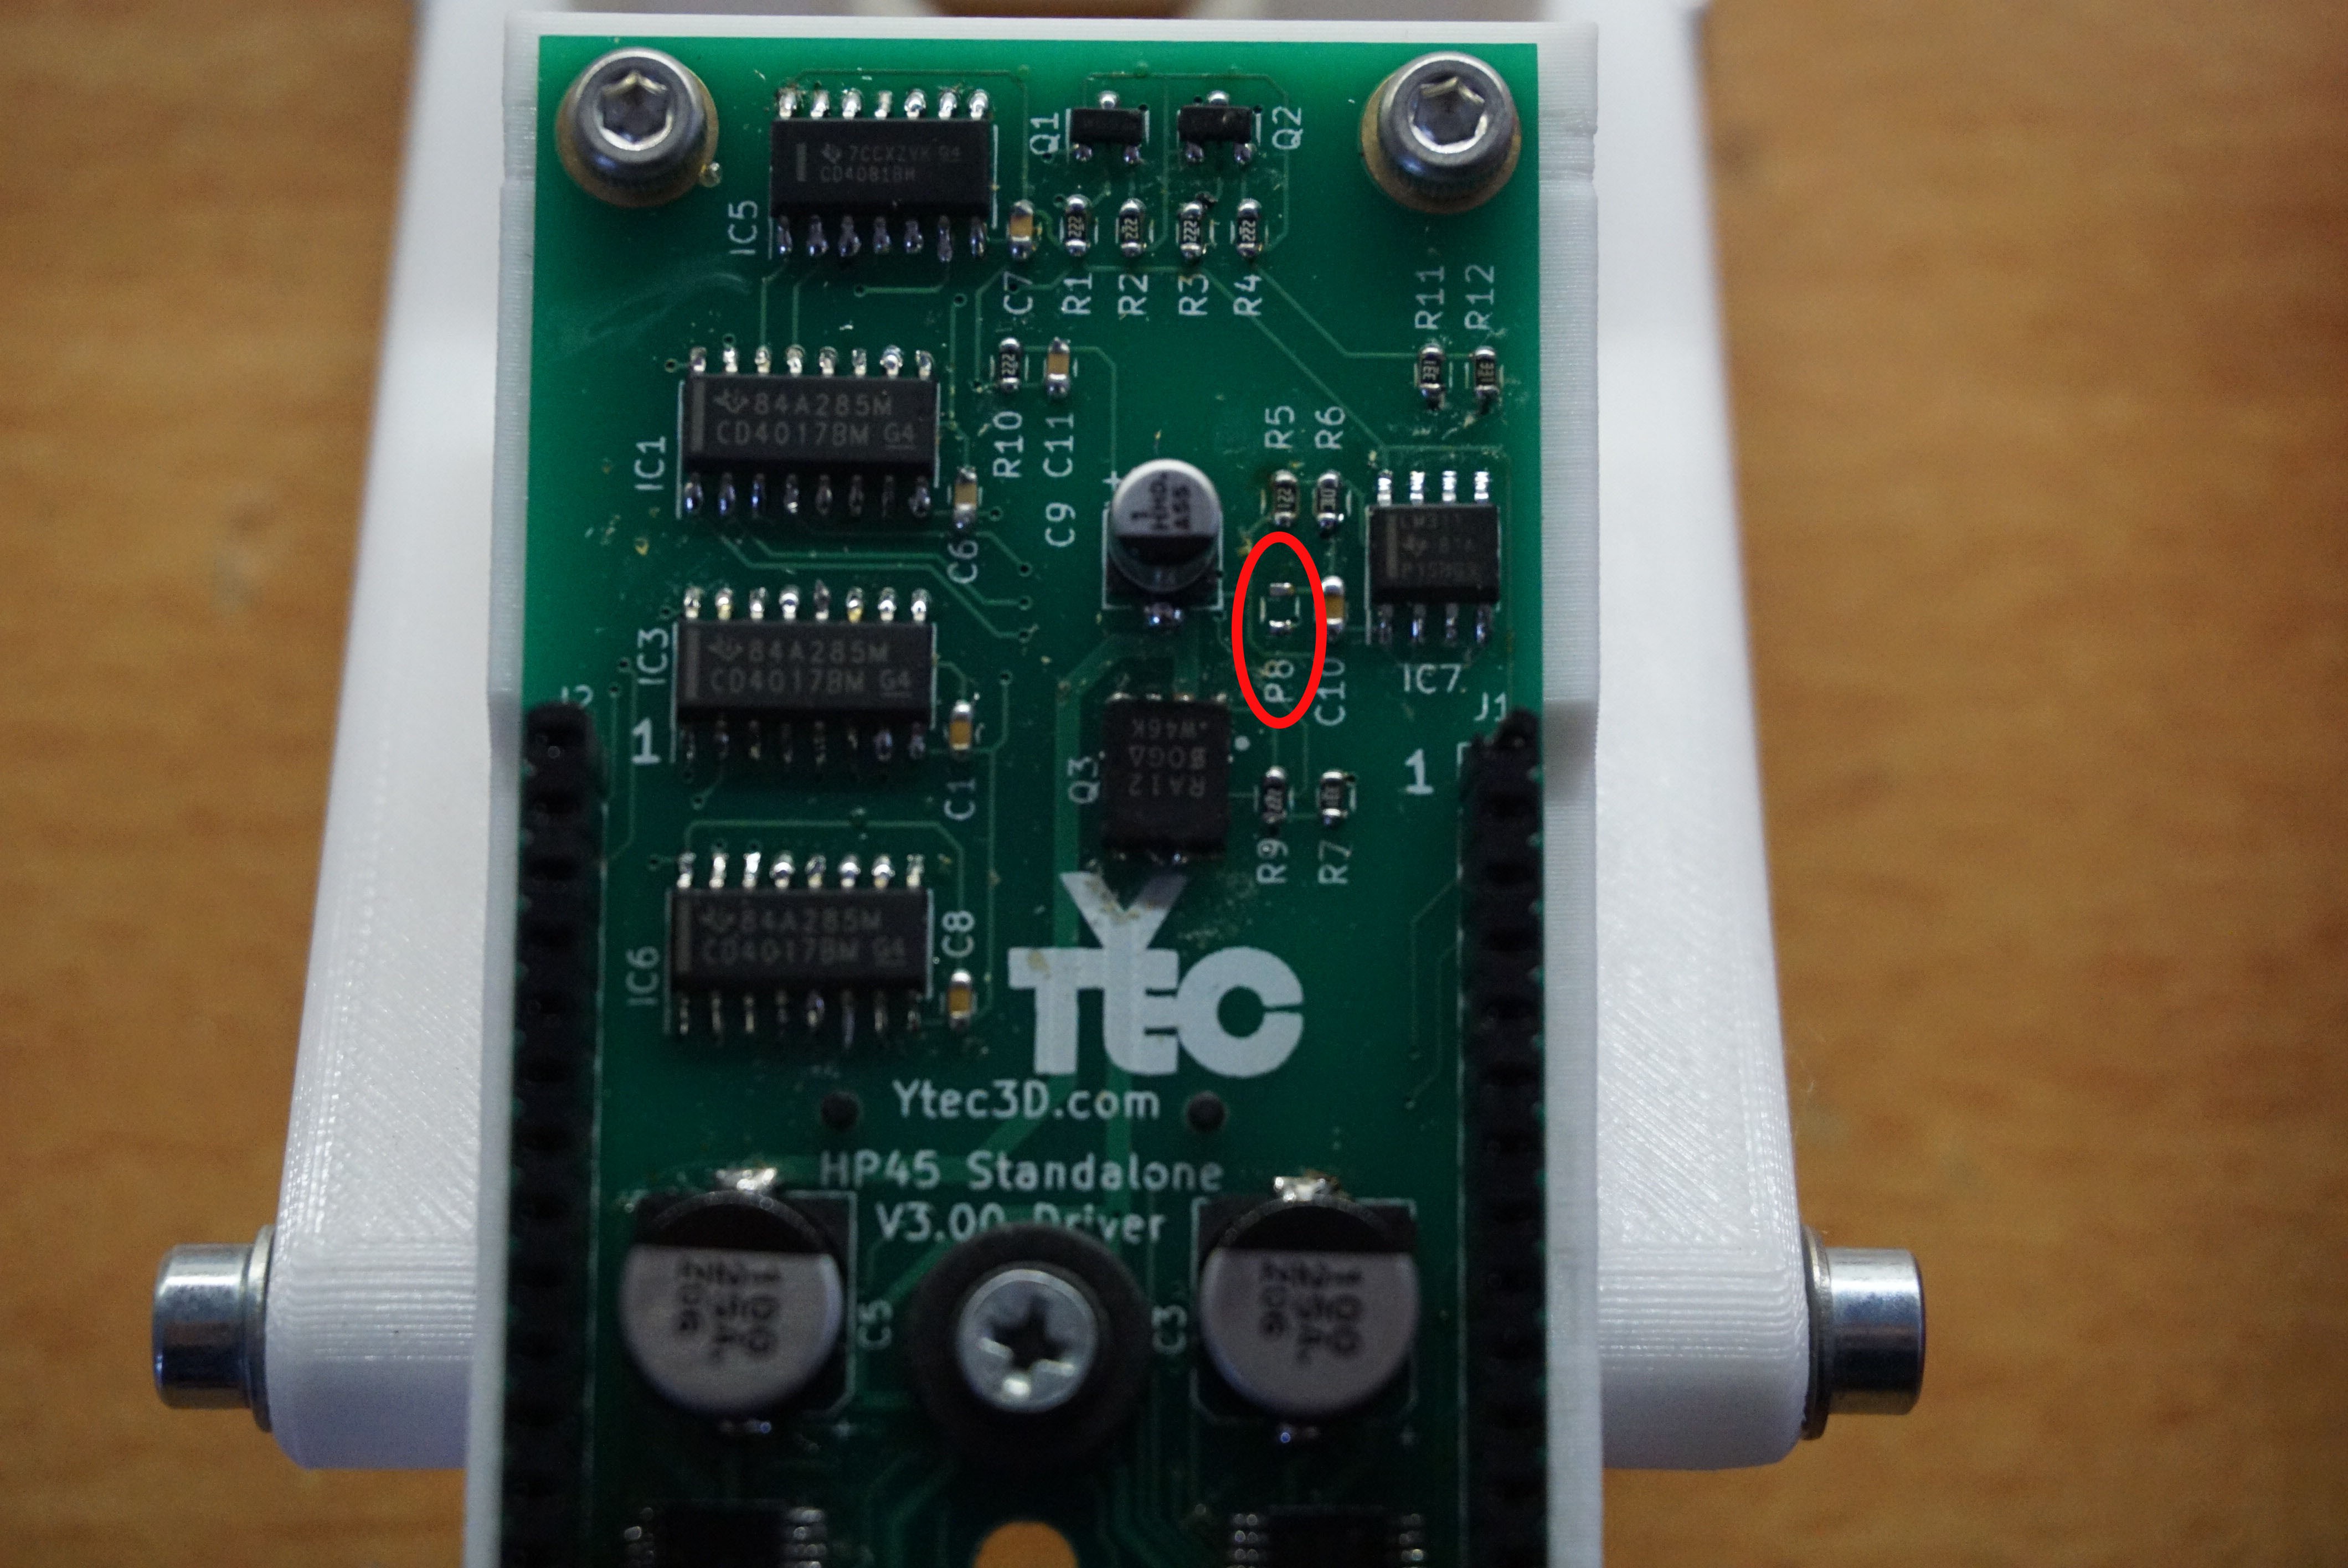 You are now left with 2 pads. The pad closest to the R8 silkscreen is the check pin. The pad furthest away from R8 silkscreen is 12V. Solder one side of the resistor you desoldered (or another 10k resistor) with one side to the check pin, facing up (tombstoning it).
 Now a wire needs to be soldered from a 3.3V pin to the side of the 10k resistor facing up. R11 and R12 have 3.3V on the pads closest to the silkscreen. First solder a wire to the R11 or R12, then bend the wire to R8 and solder it to the side of the resistor facing up.
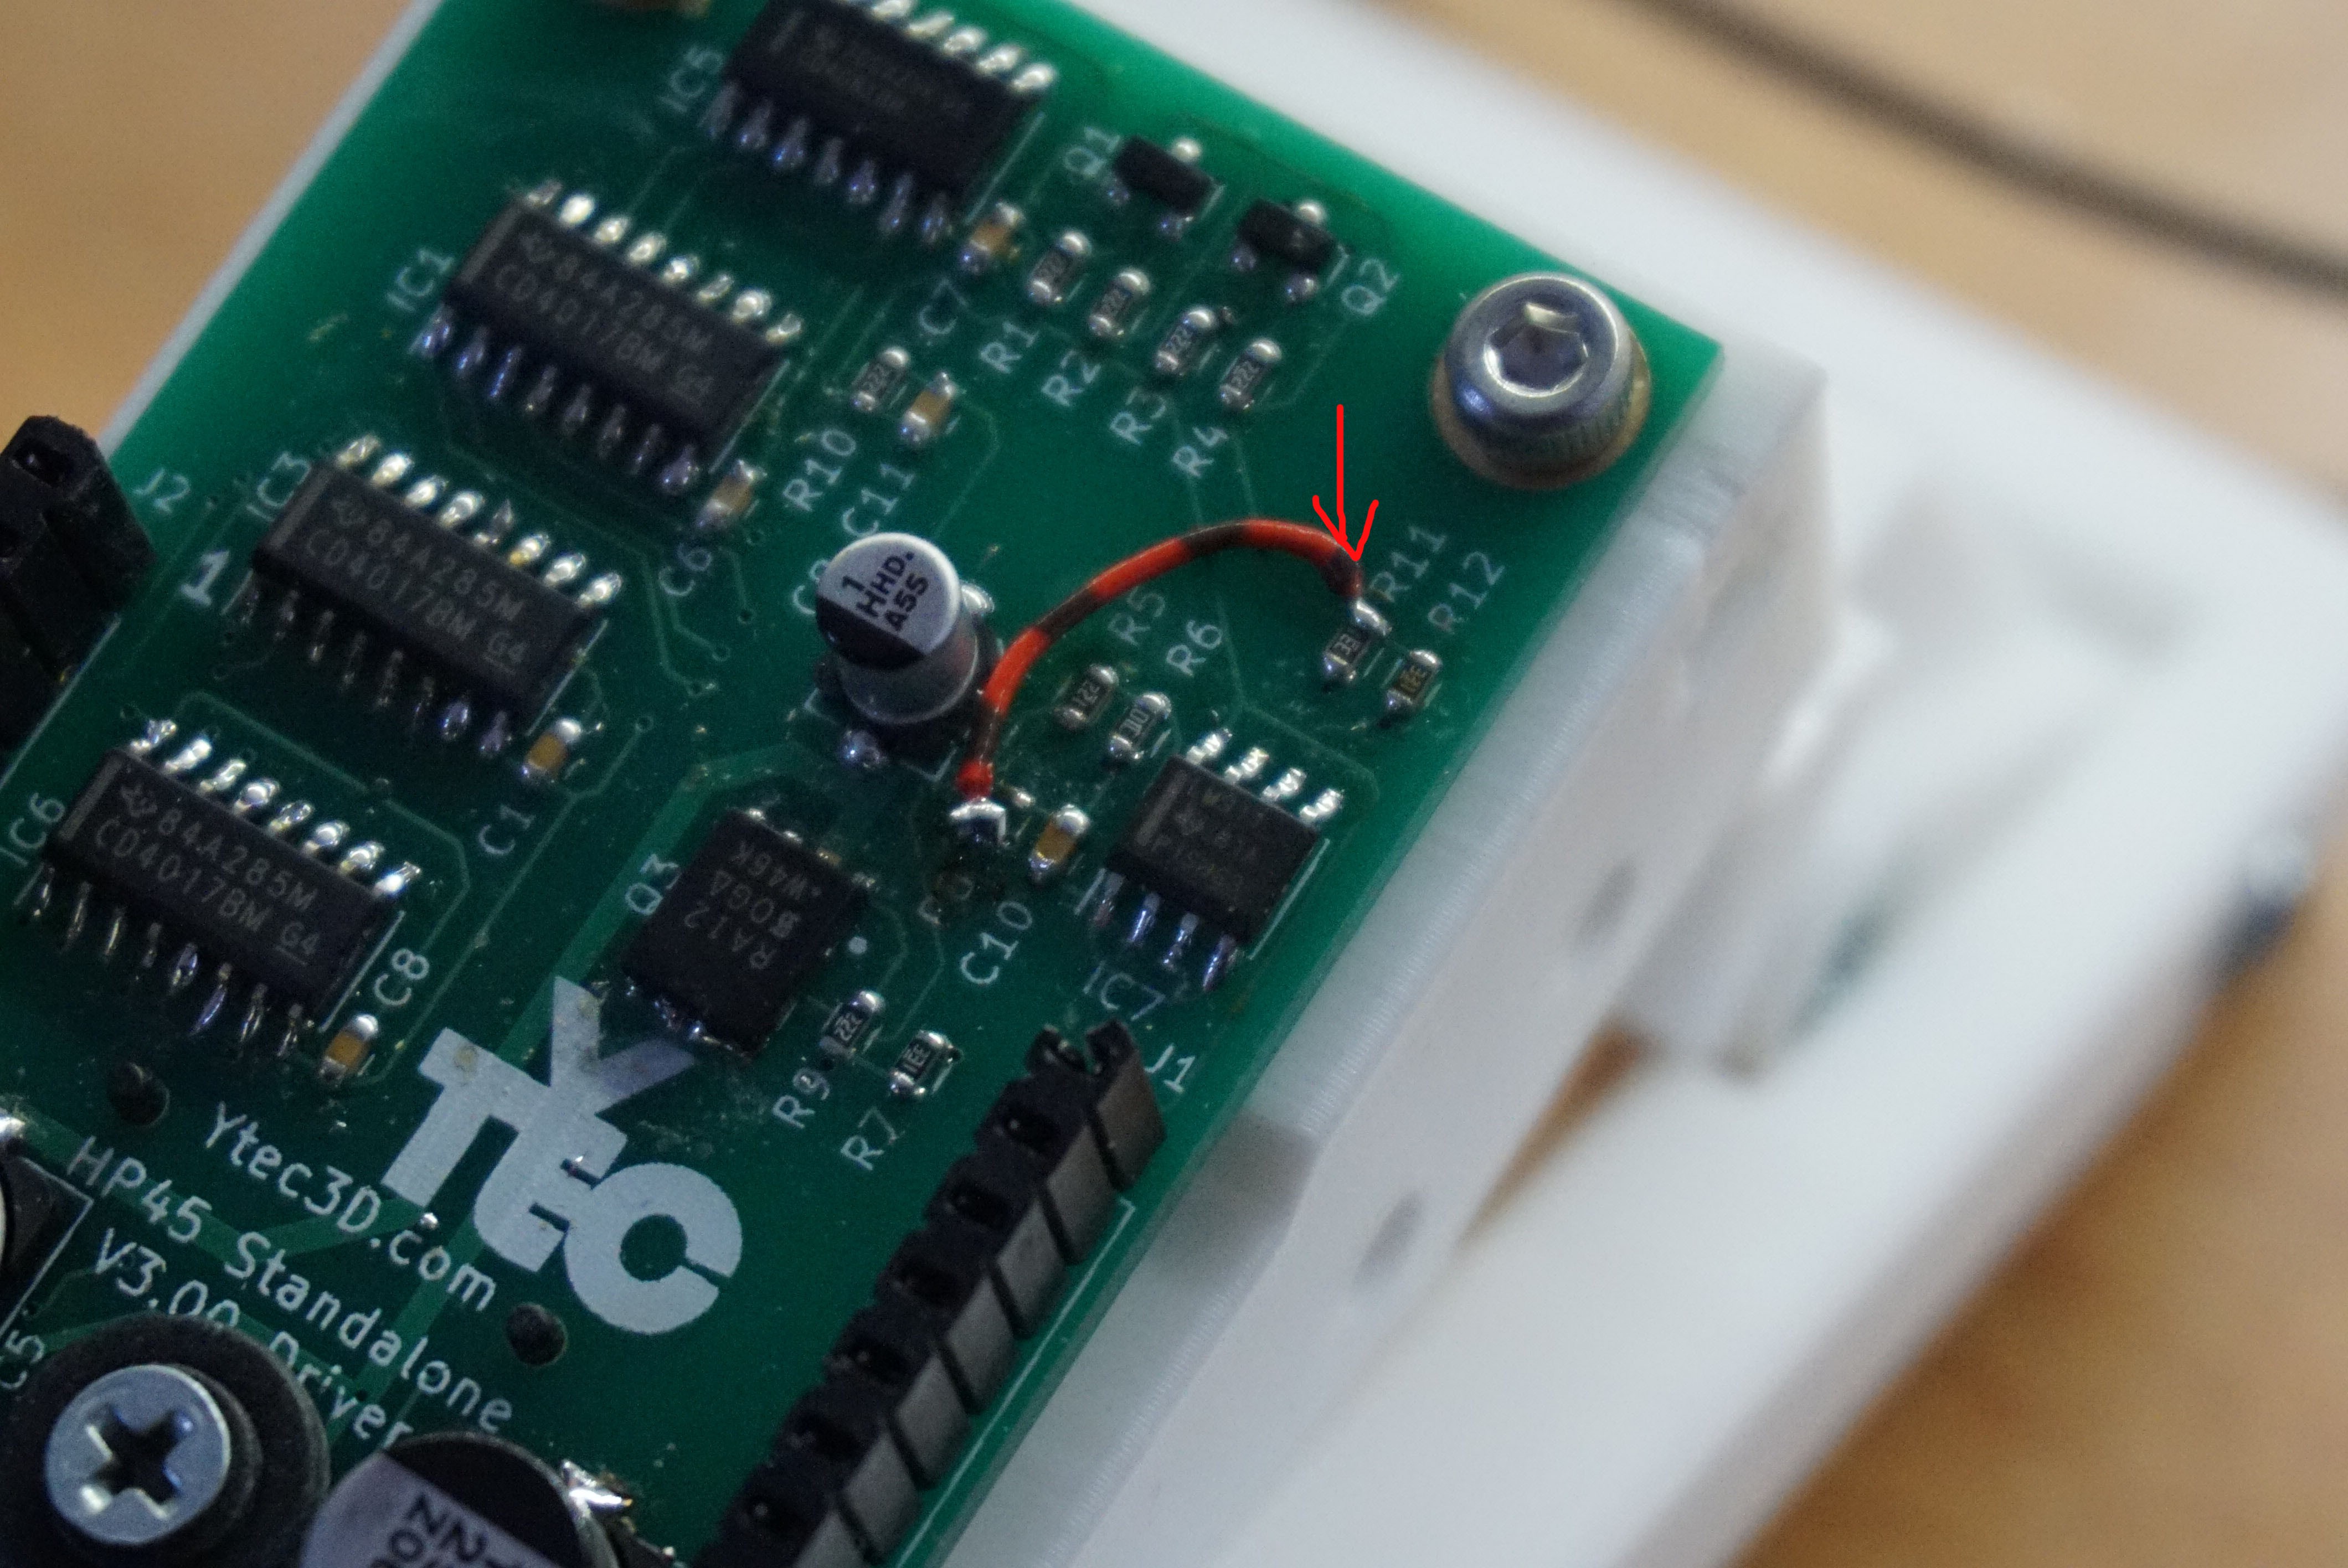 Now the check pin is pulled to 3.3V and the check pin is no longer capable of destroying the Teensy.


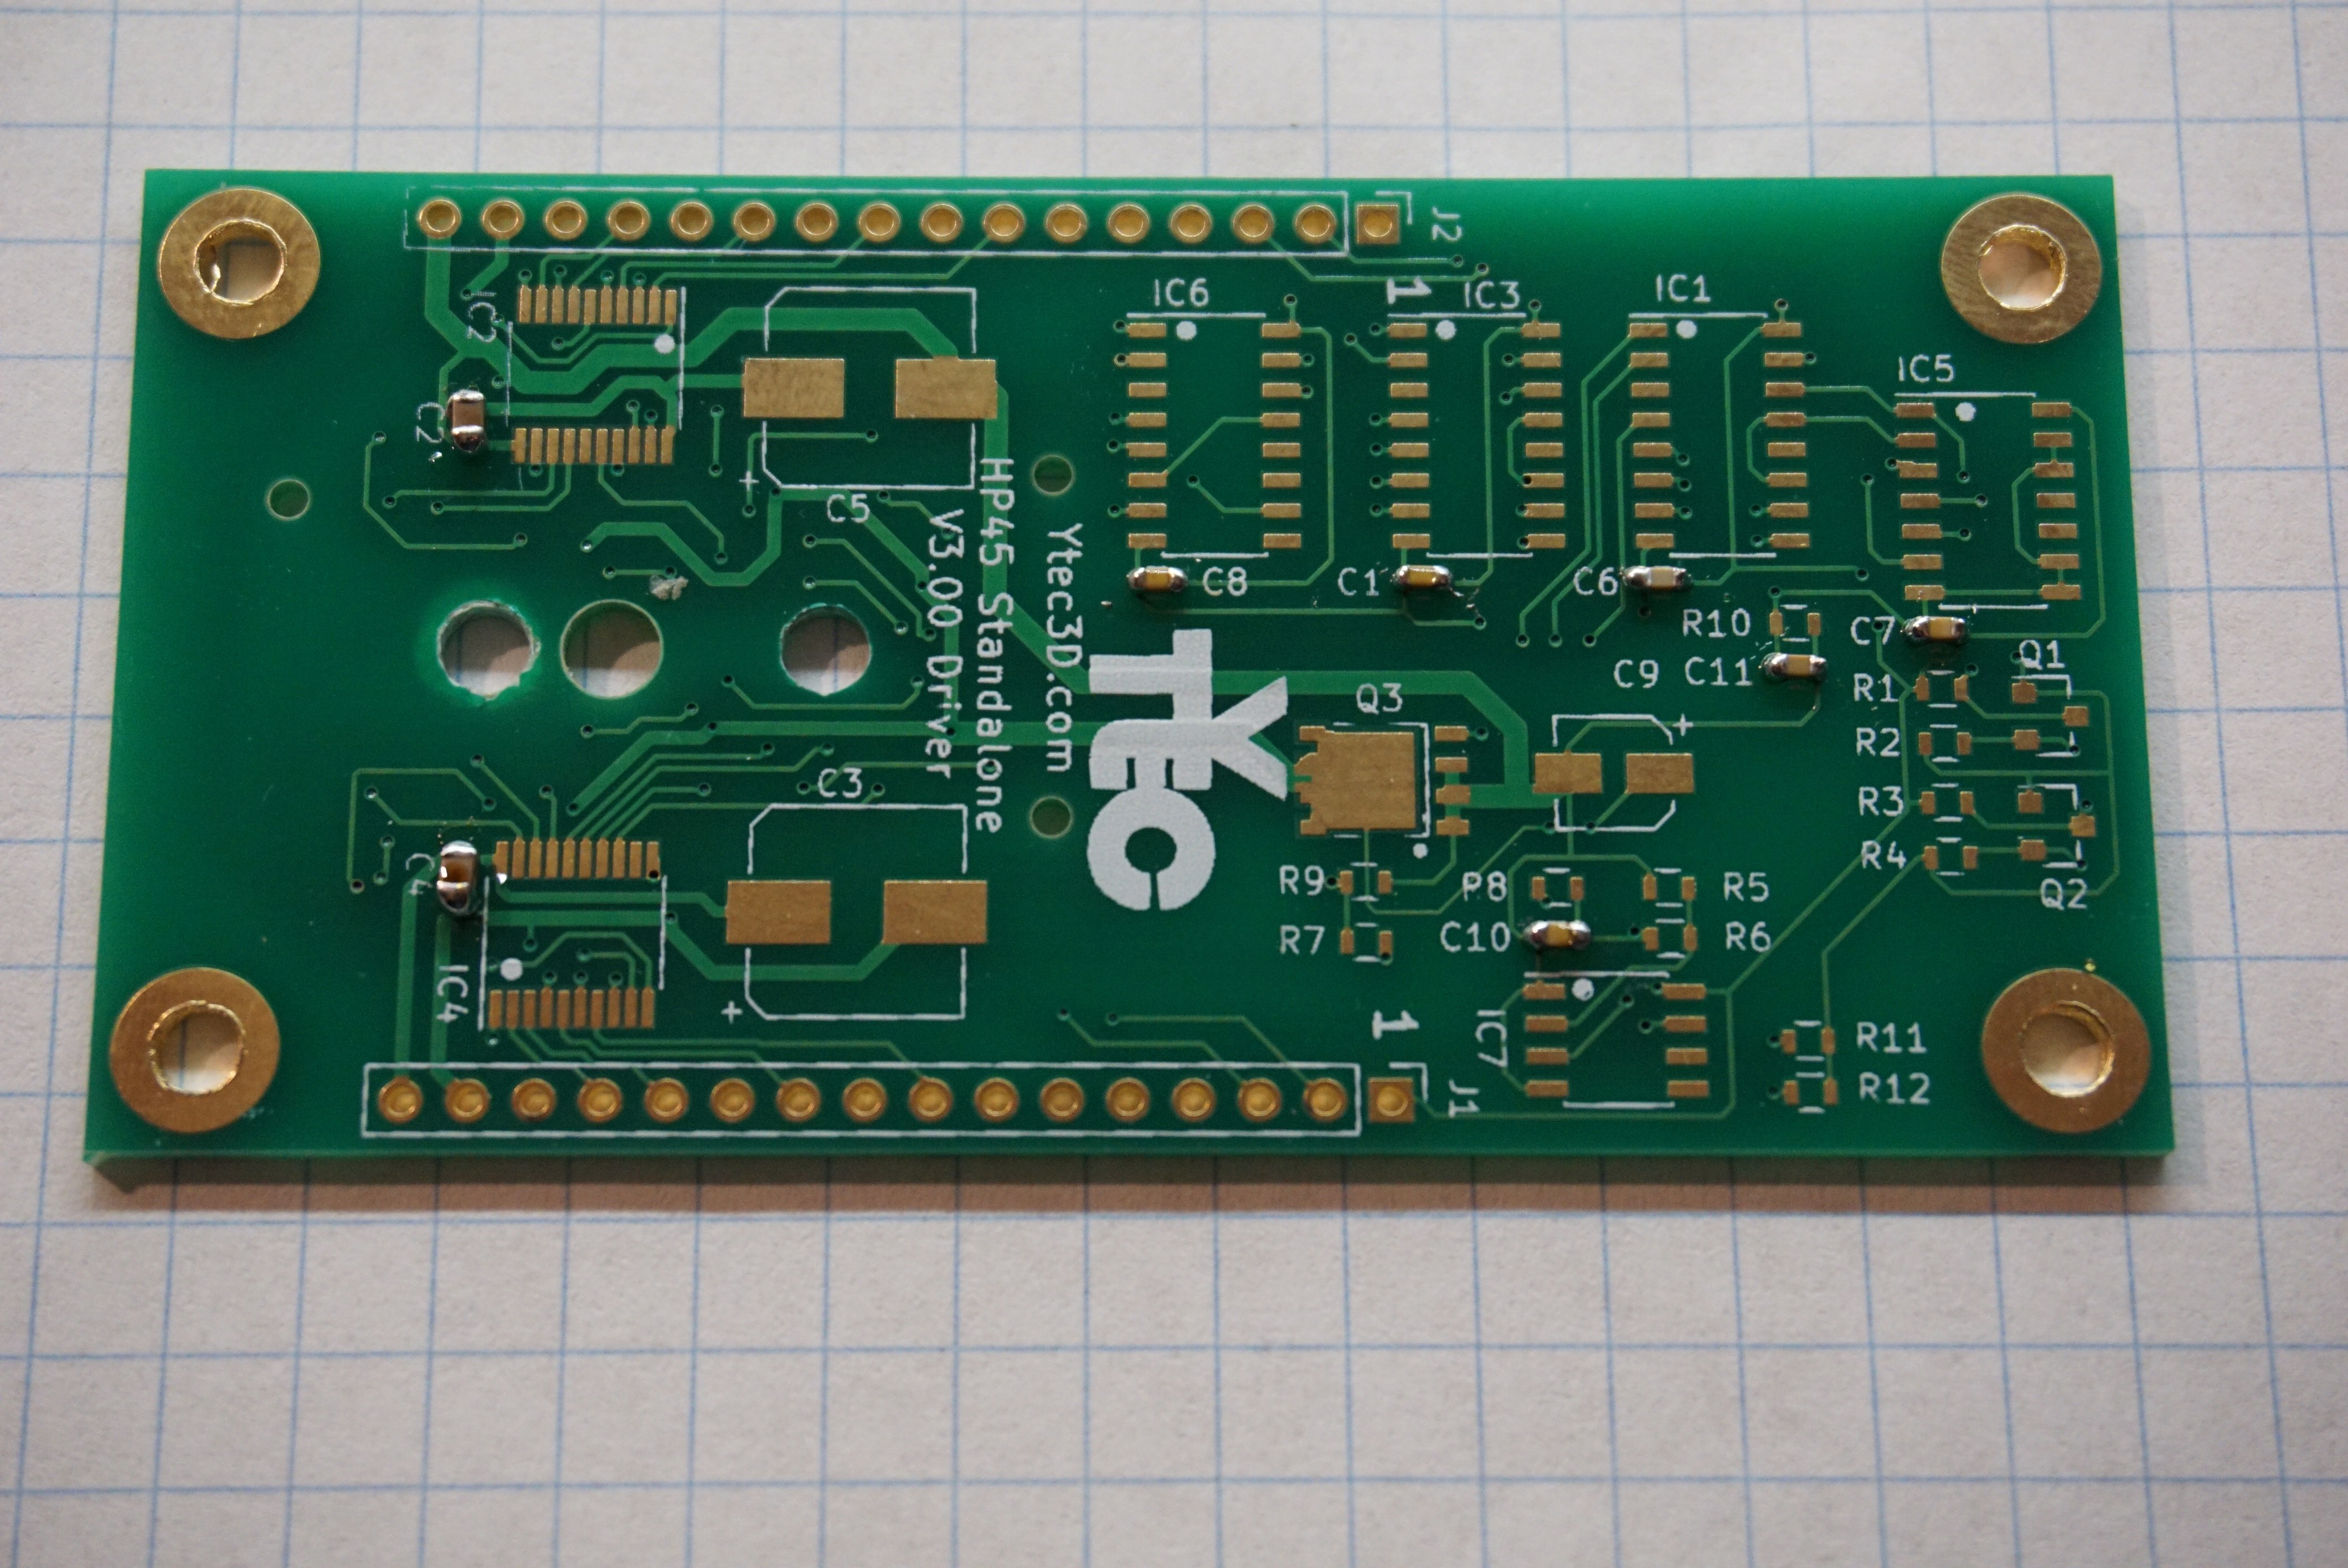
 Install the mosfets. There are several types. Q1 and Q2 are the small ones. They are PMV20CNER and have a SOT-23 footprint. They only serve to shift level, so any low threshold voltage N channel mosfet should work. Q3 is the big one. It is a SIRA12DP-T1-GE3 in an SO-8 power pack. It needs low on resistance and a gate voltage lower than 3V. The dot marks the orientation for Q3.
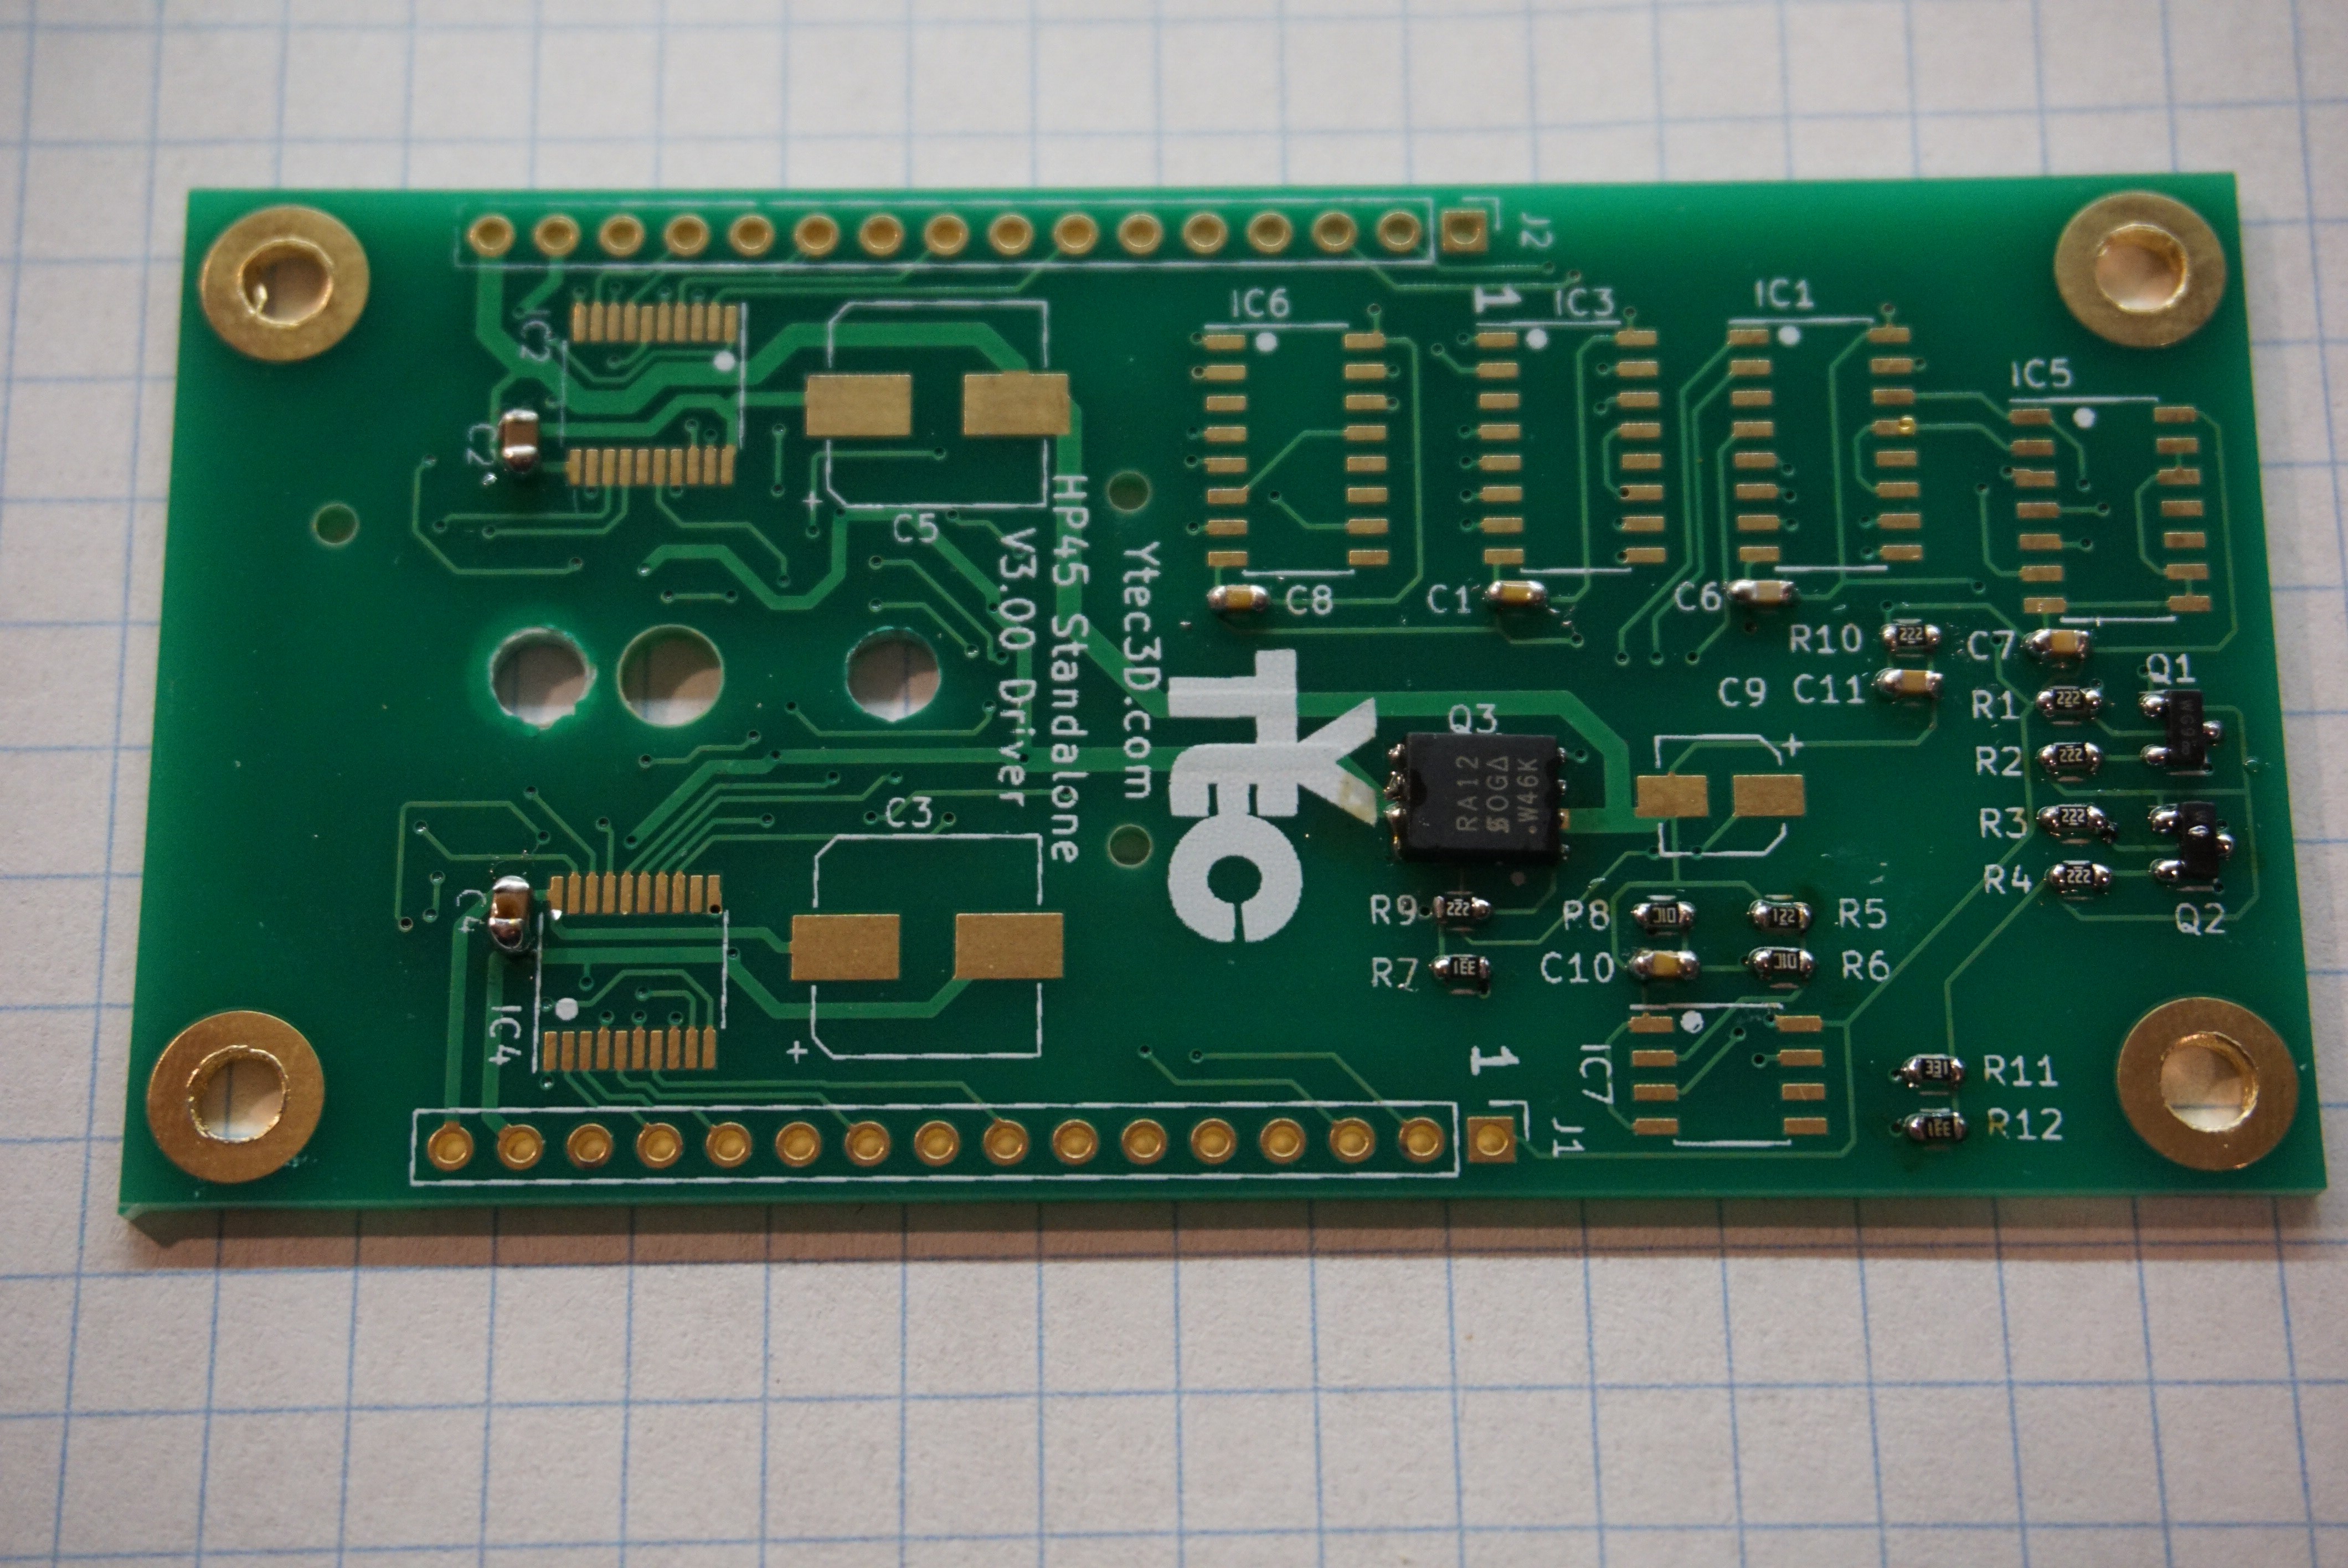
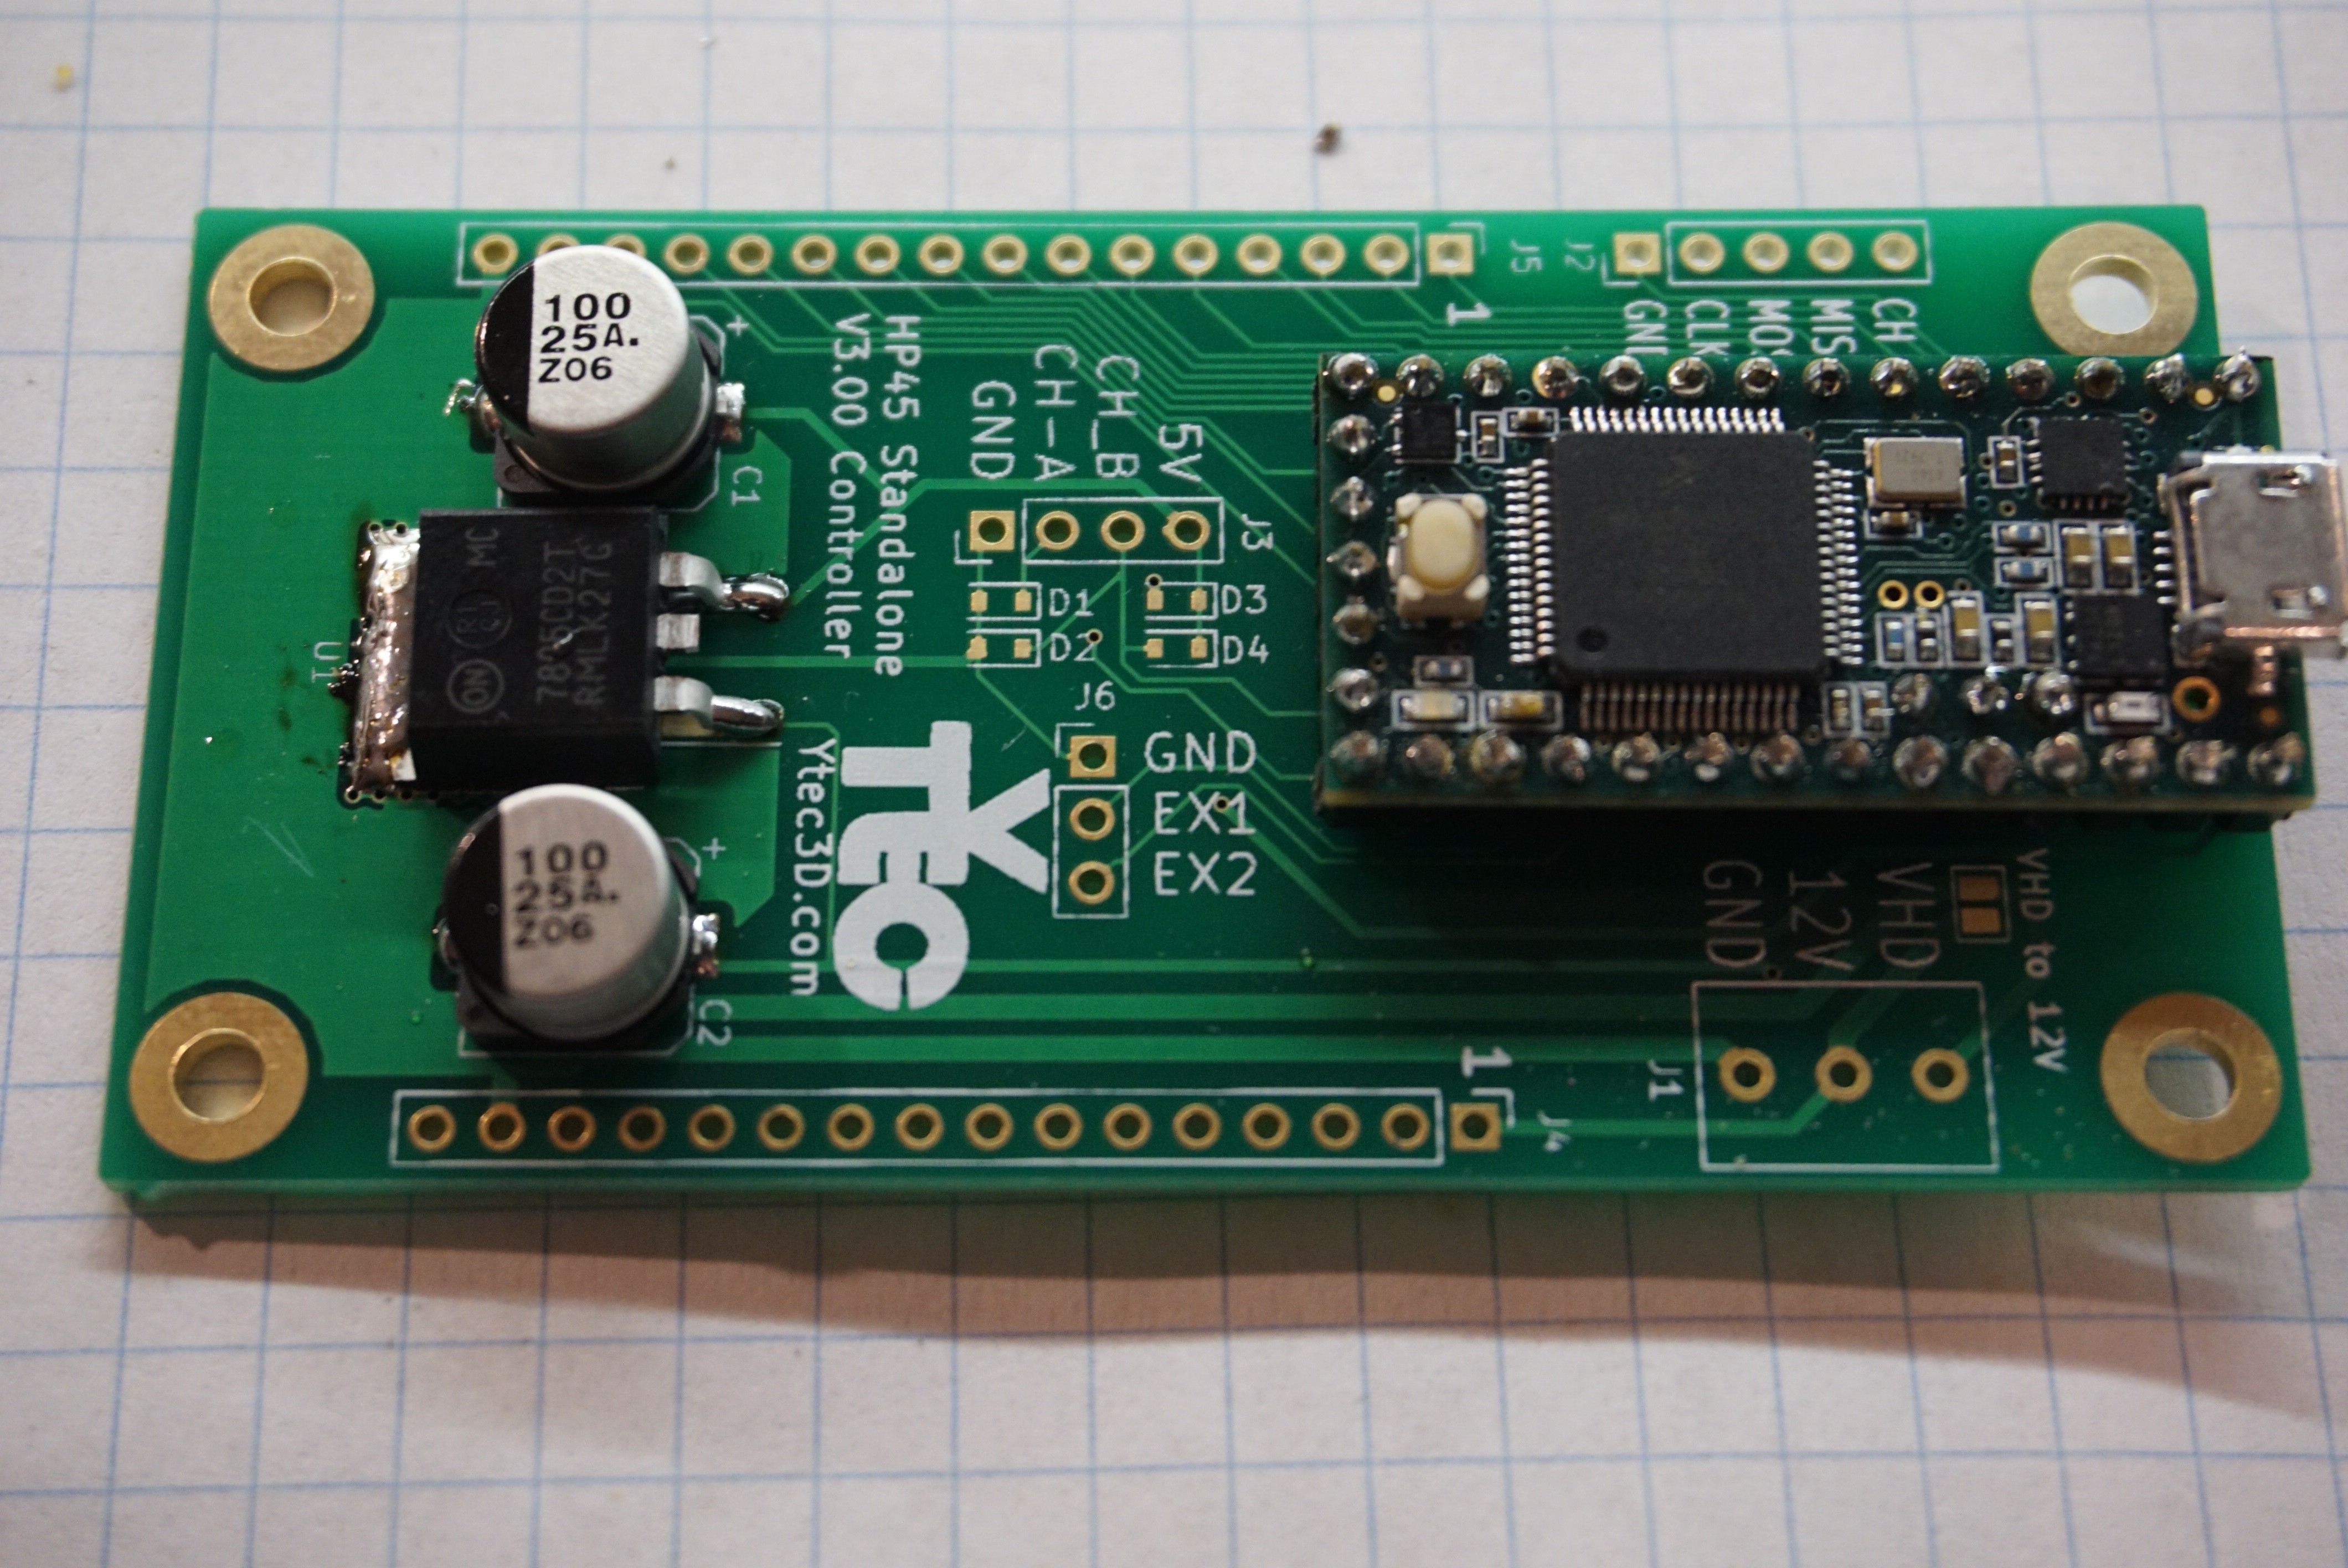
 Install the Electrolytic capacitors. C3, C5 are 100uF, 16V minimum, package 8mm, height lower than 10mm. C9 is 1uF, 16V minimum, package 4mm.
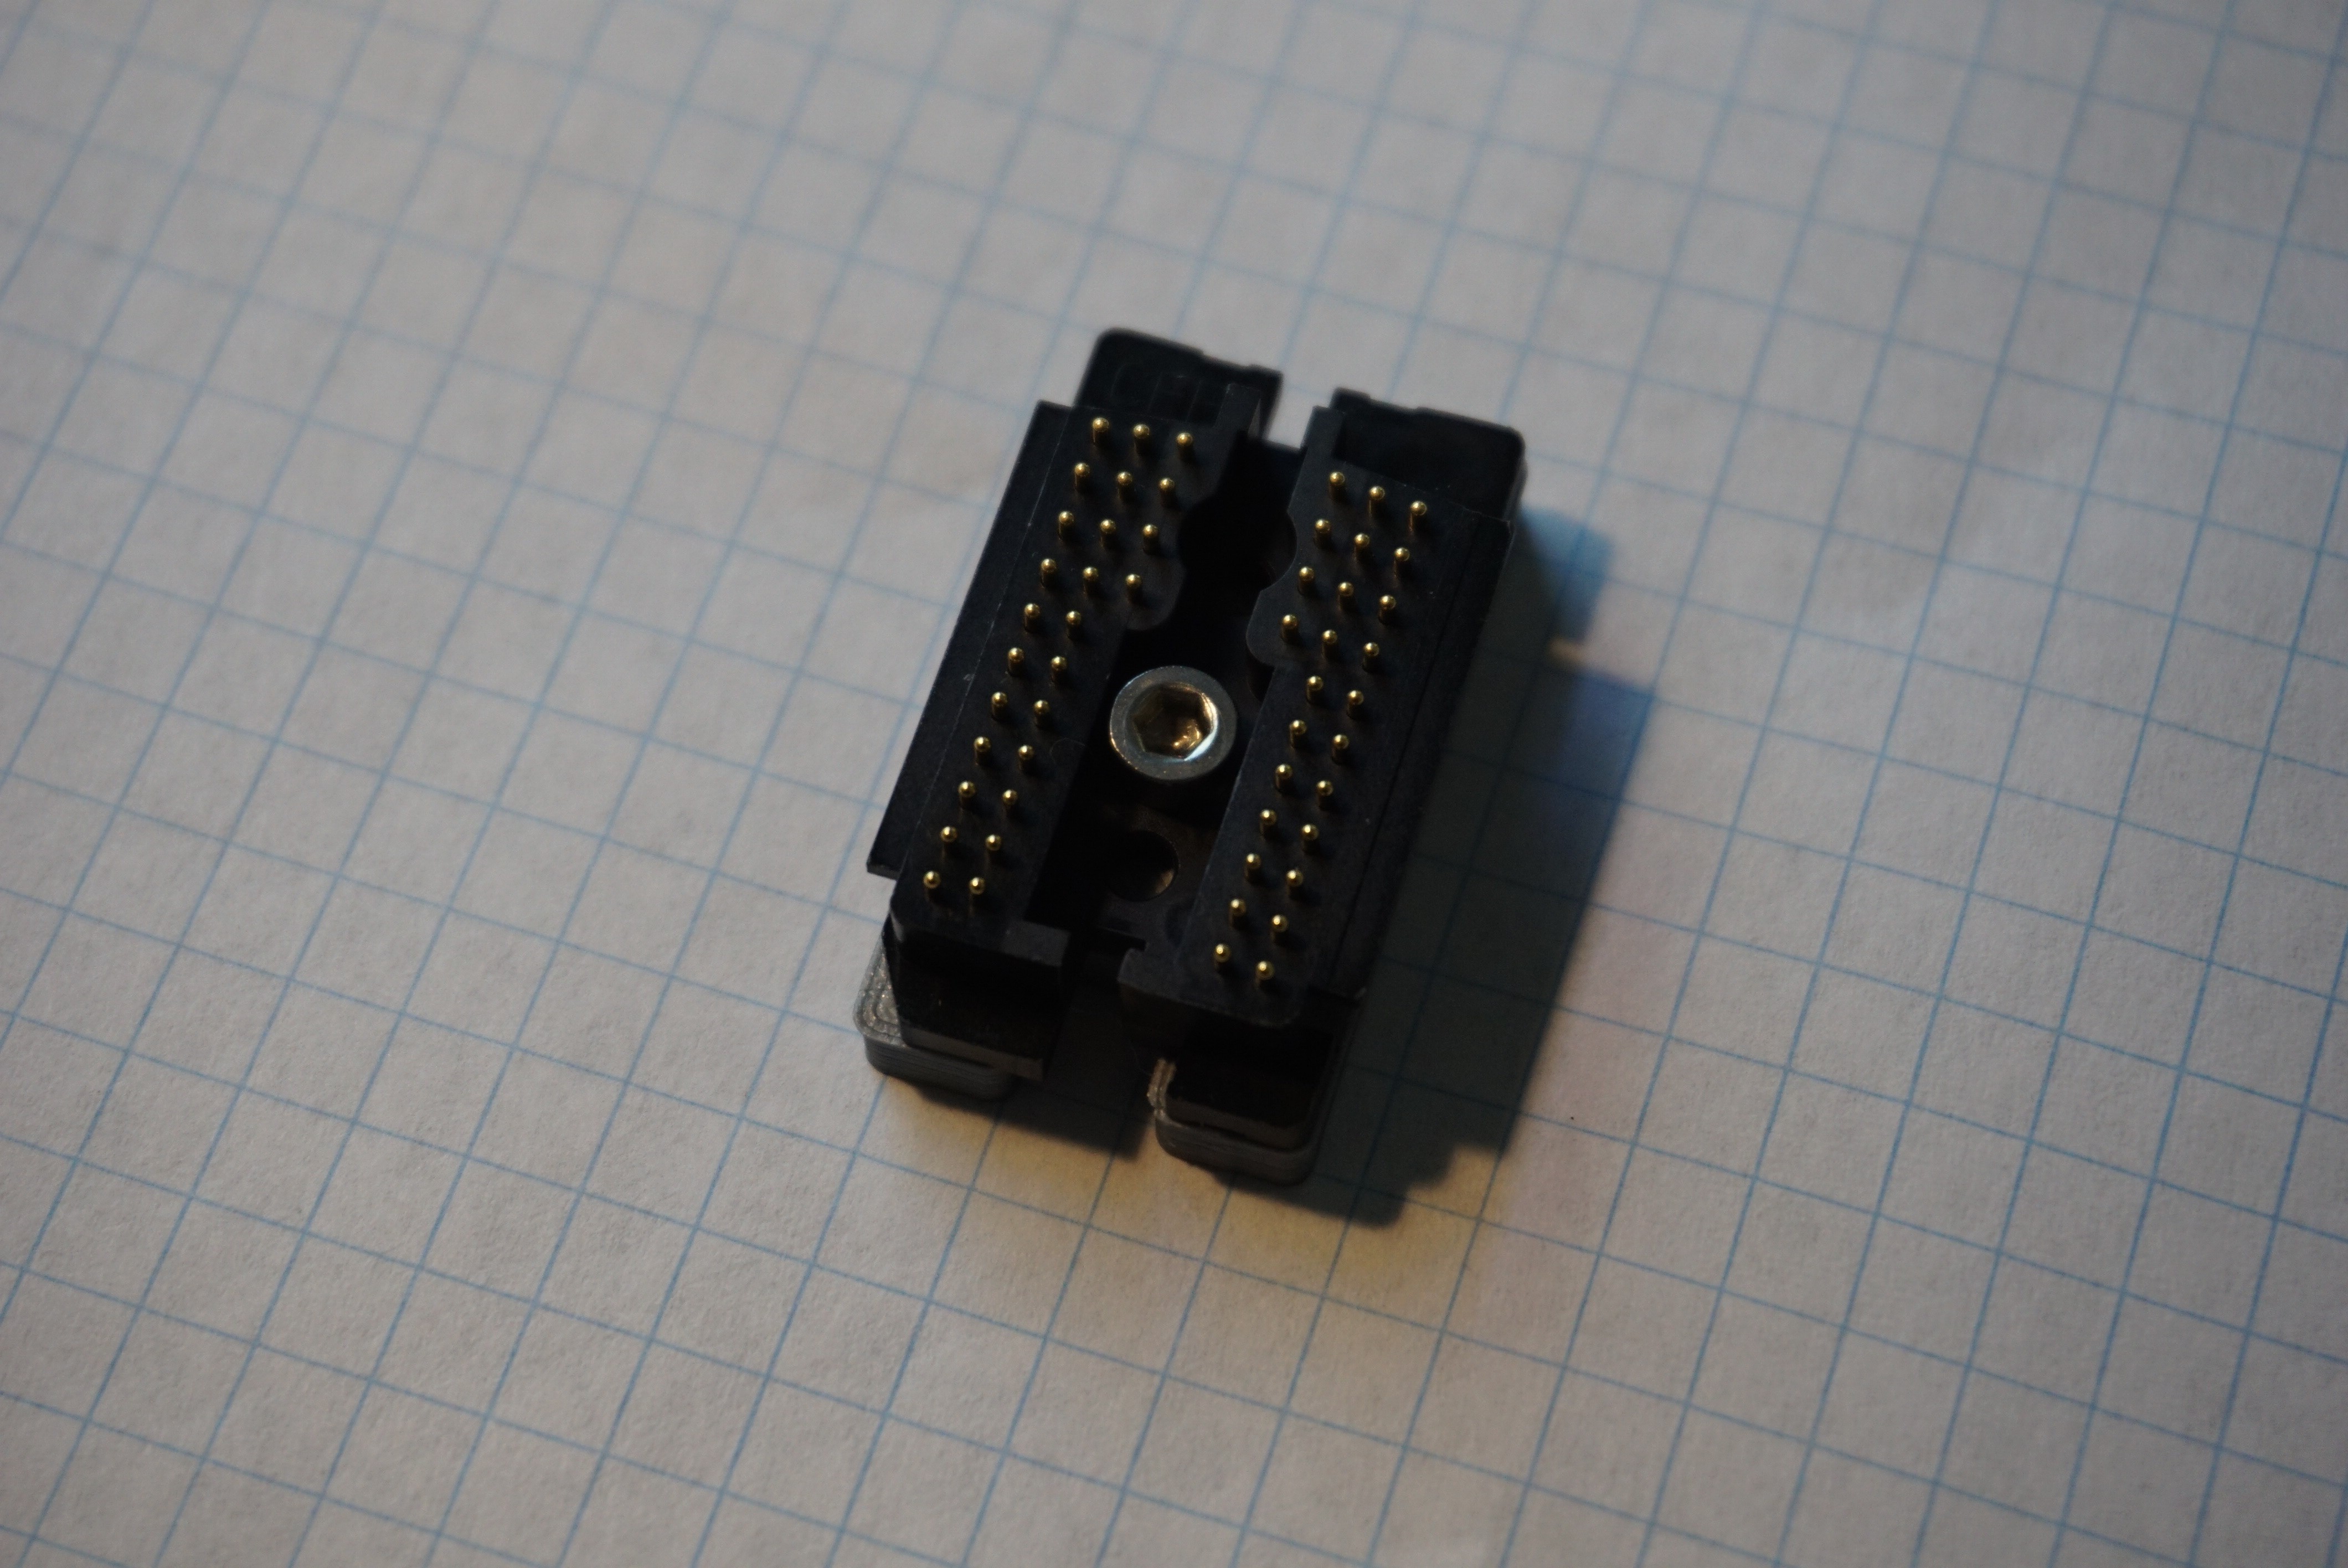
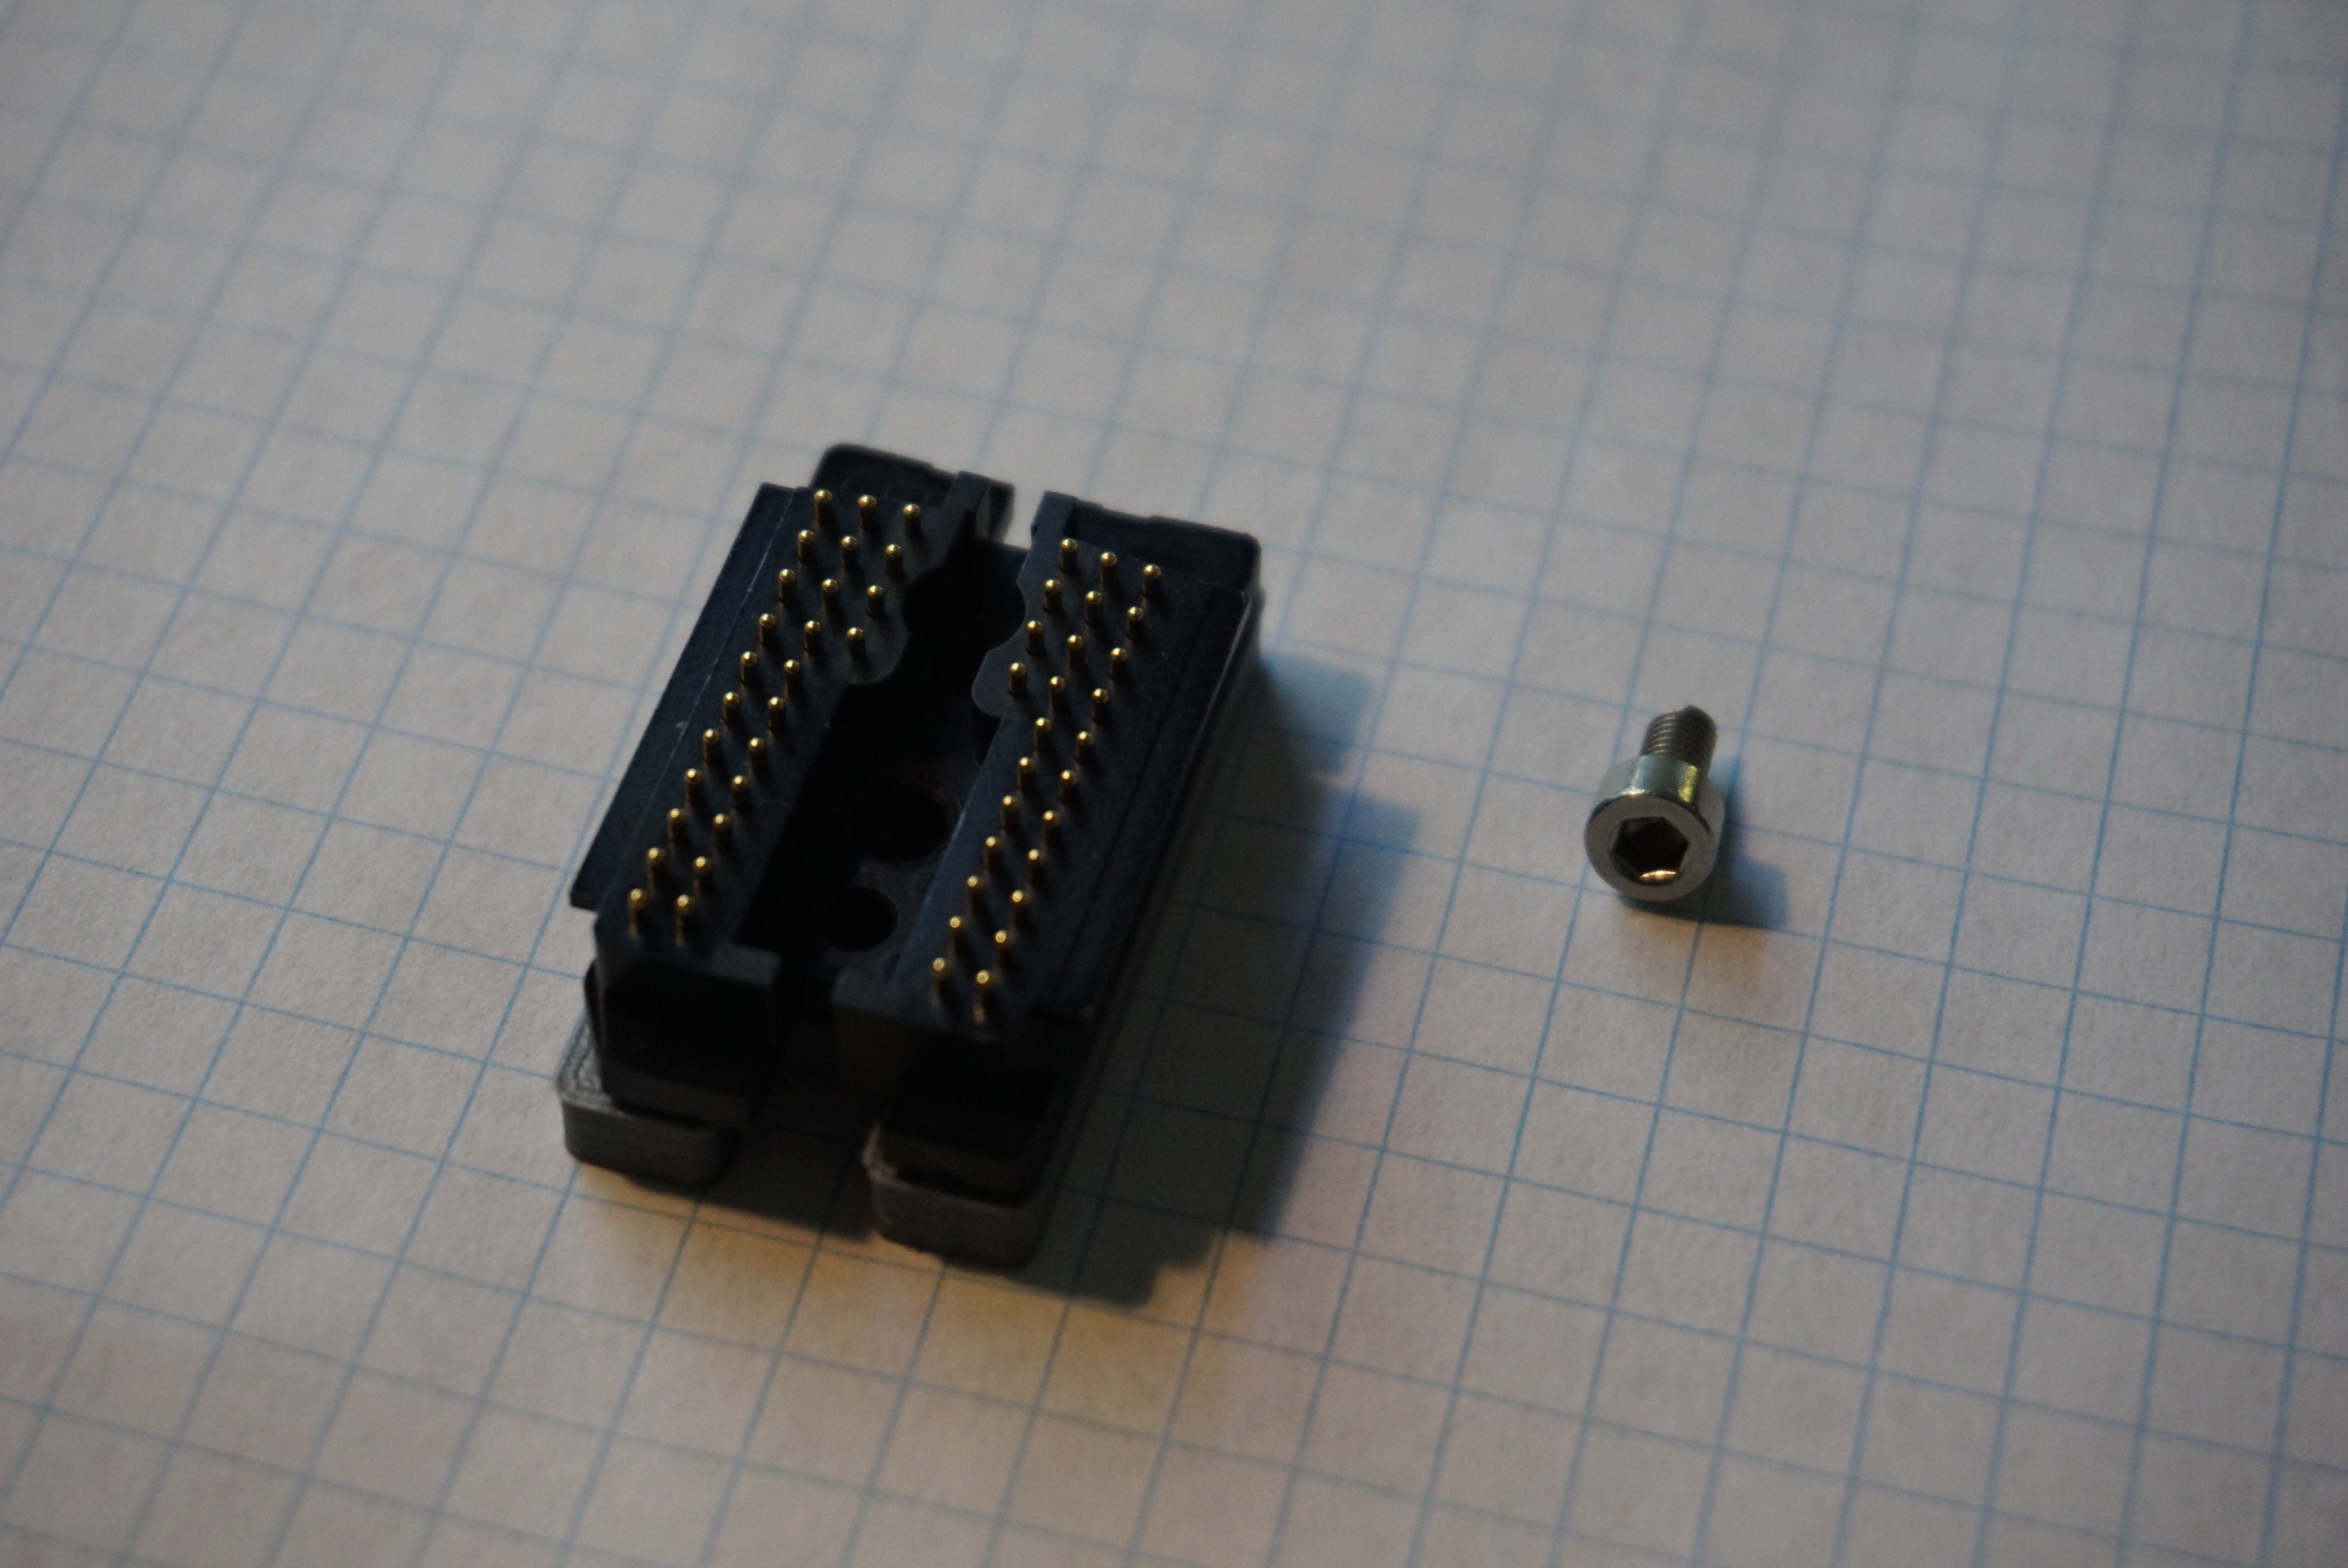
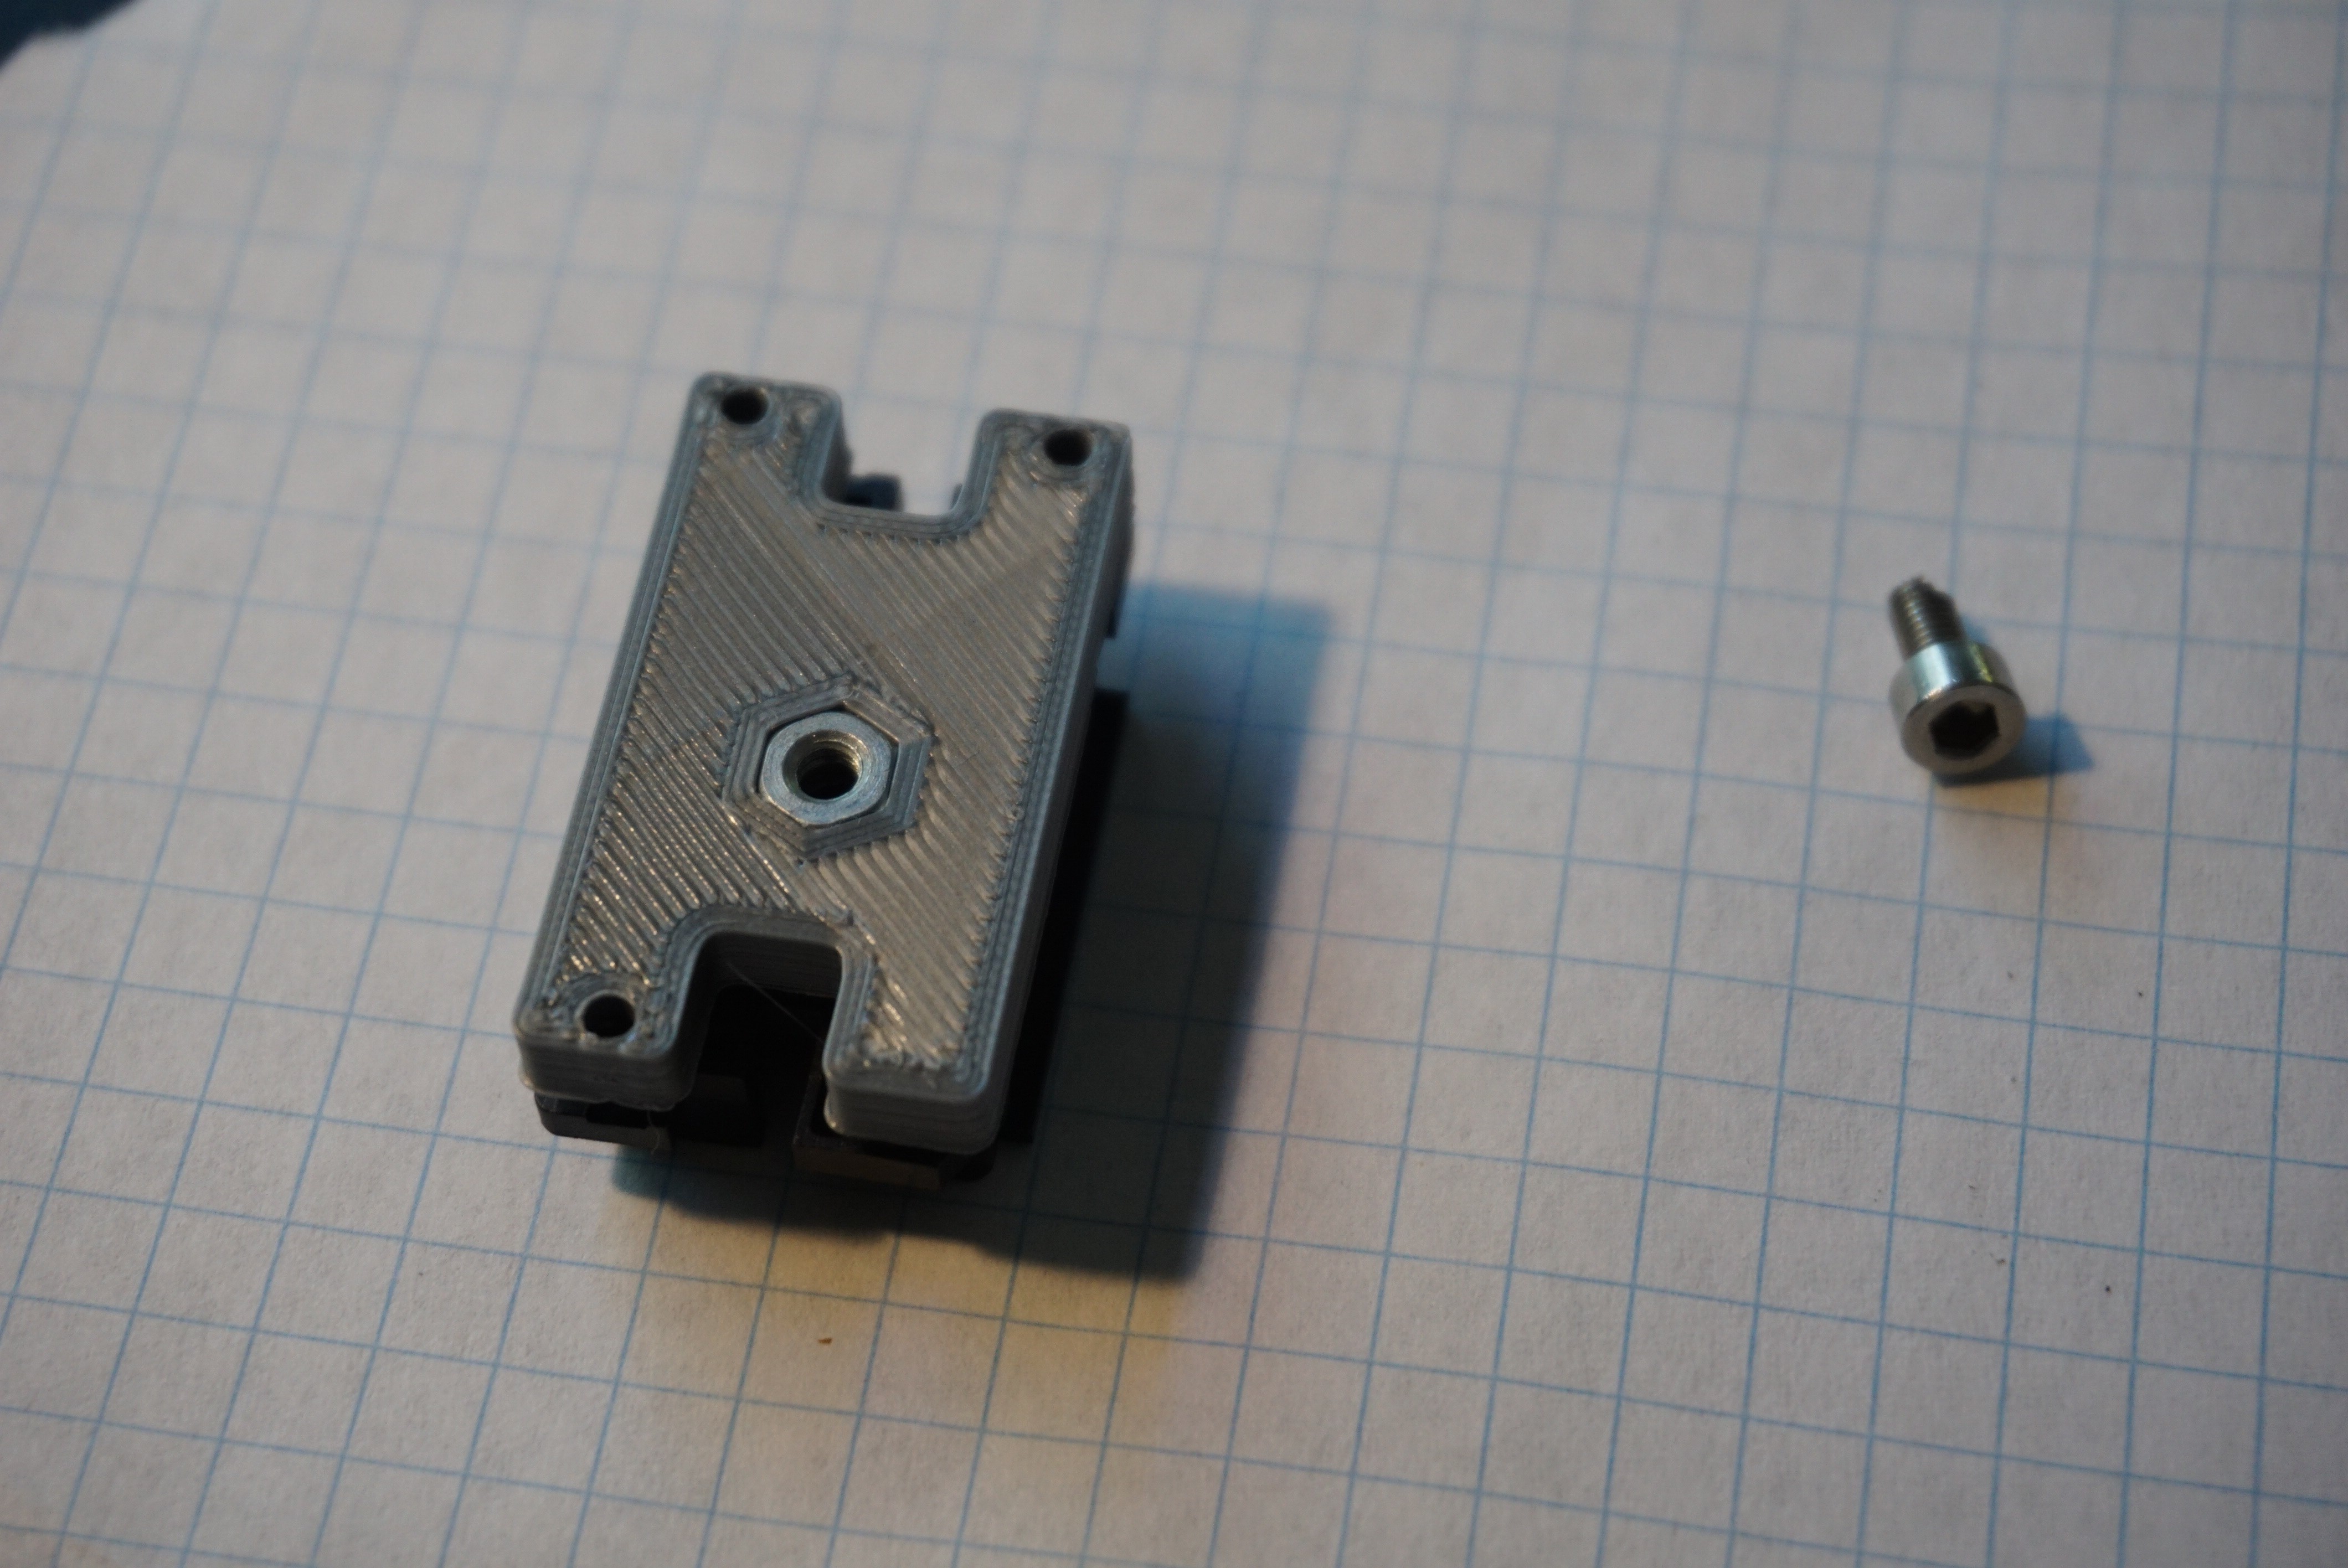
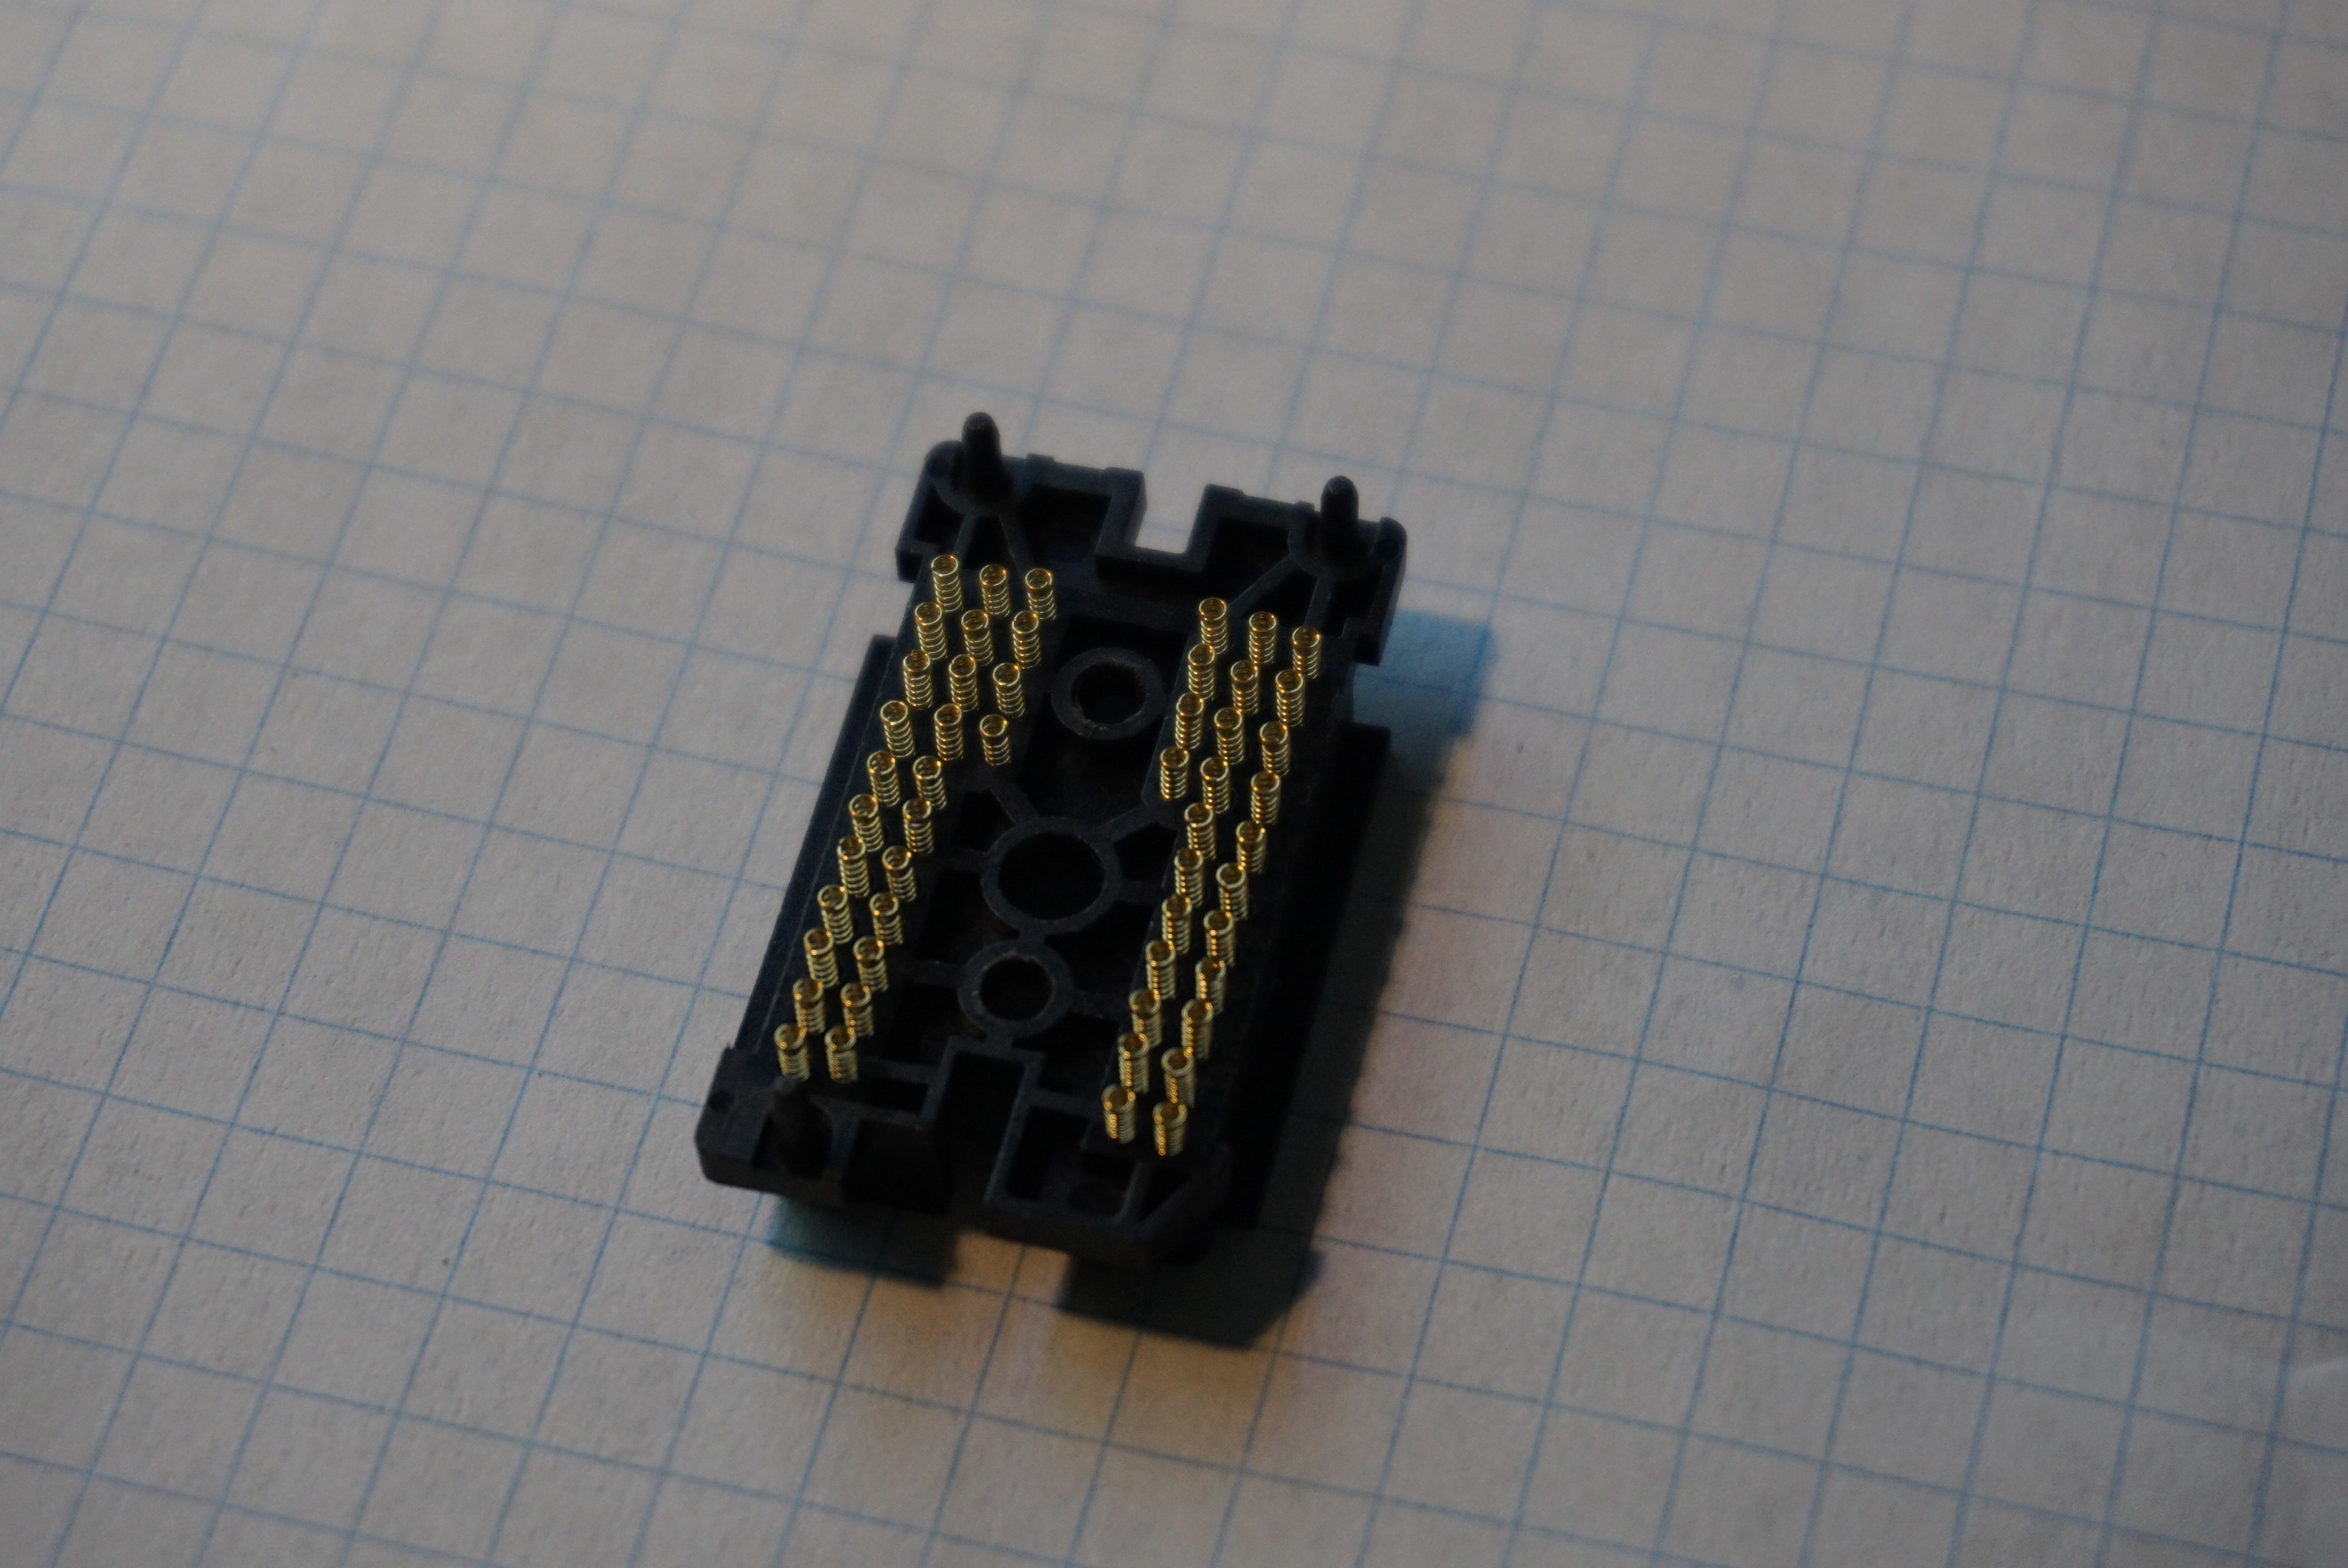
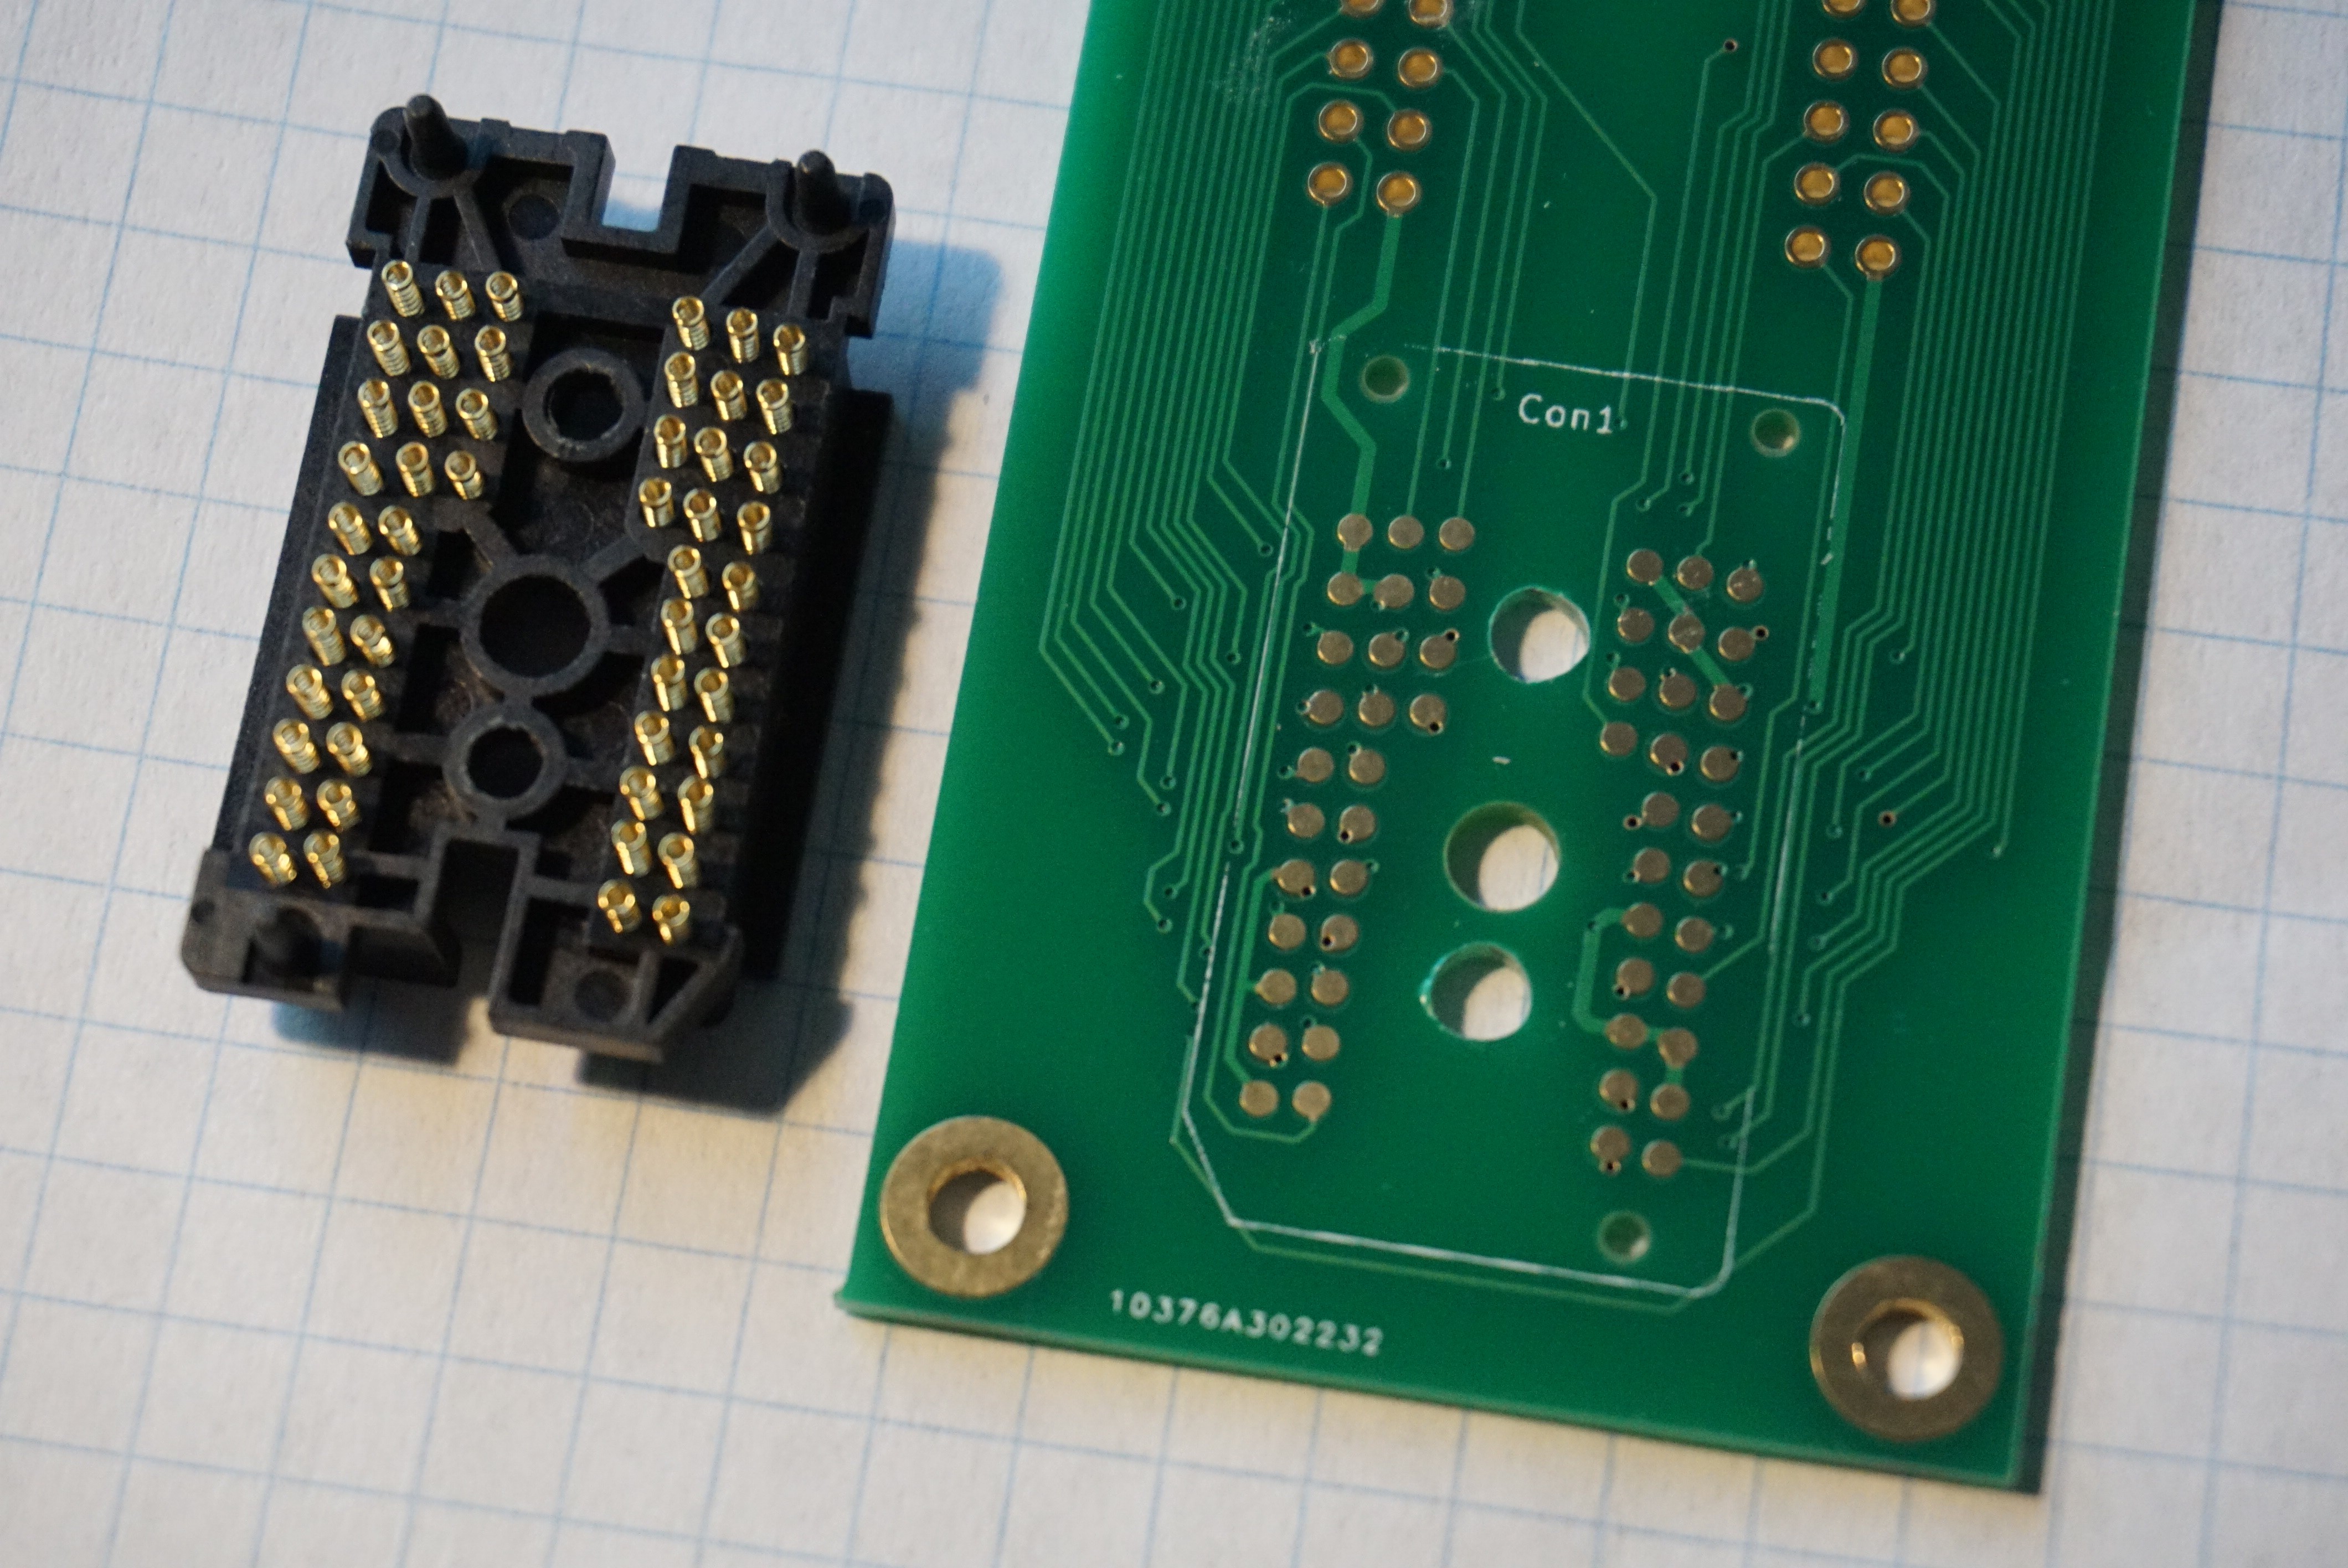
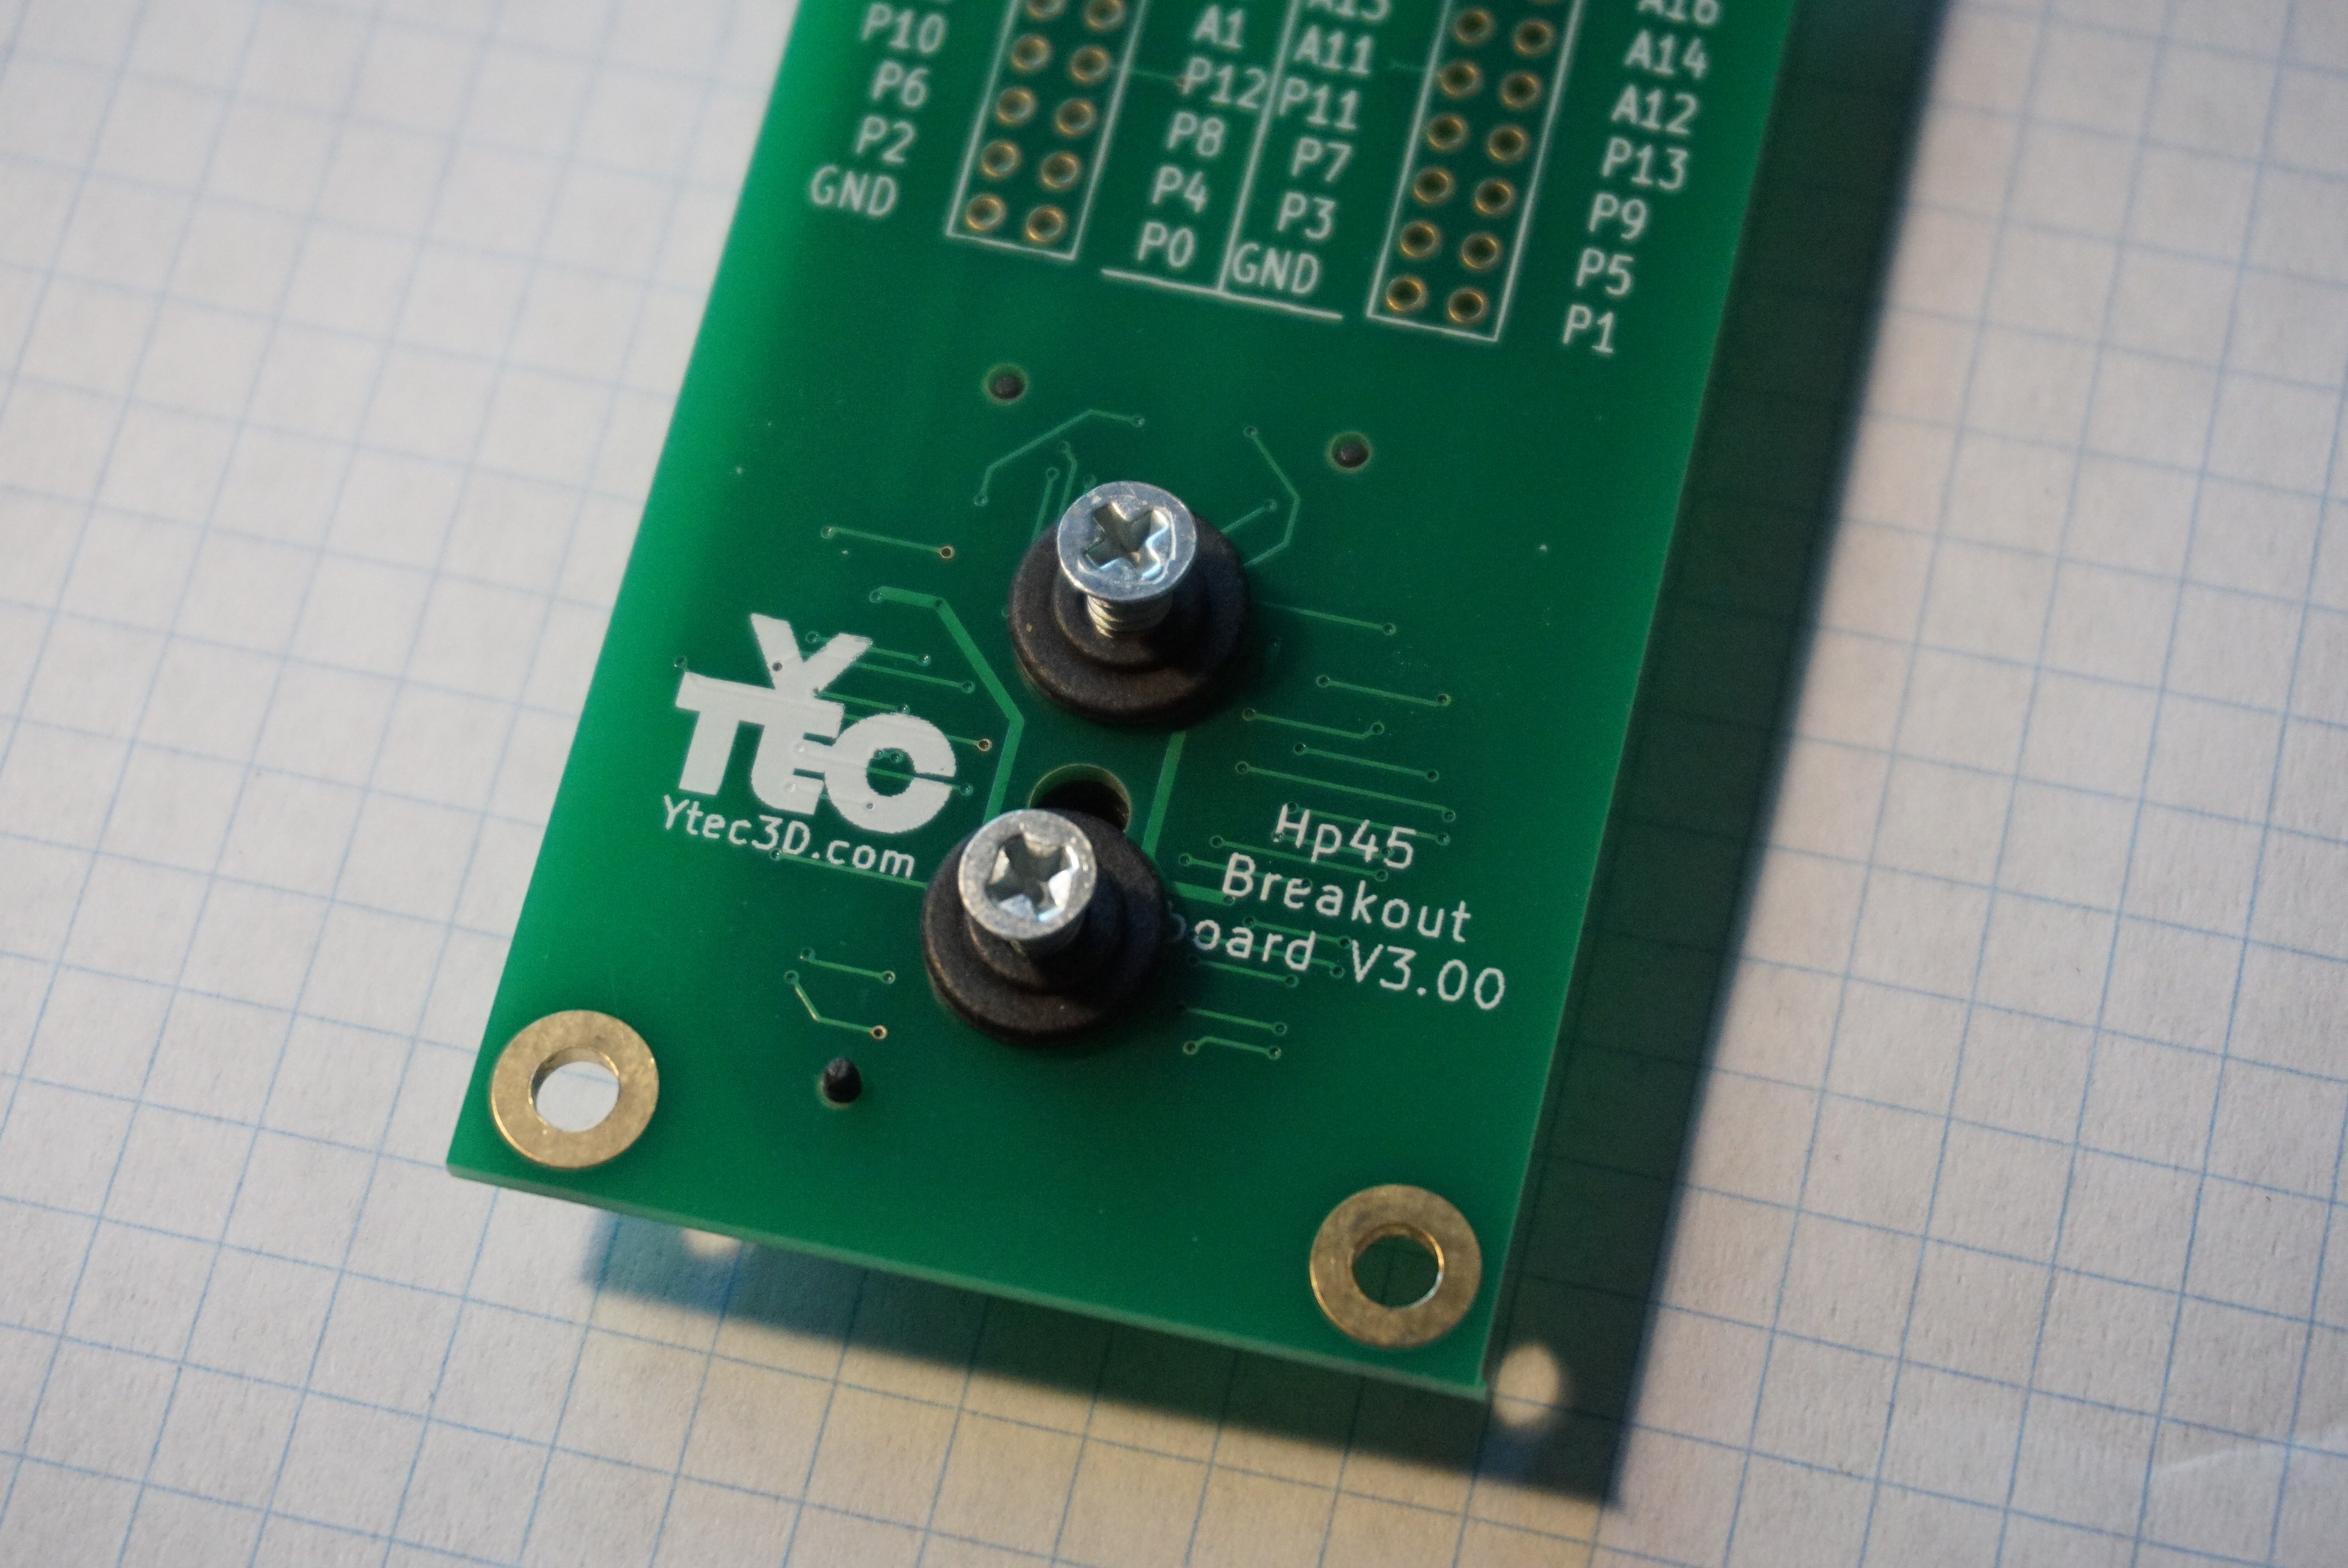
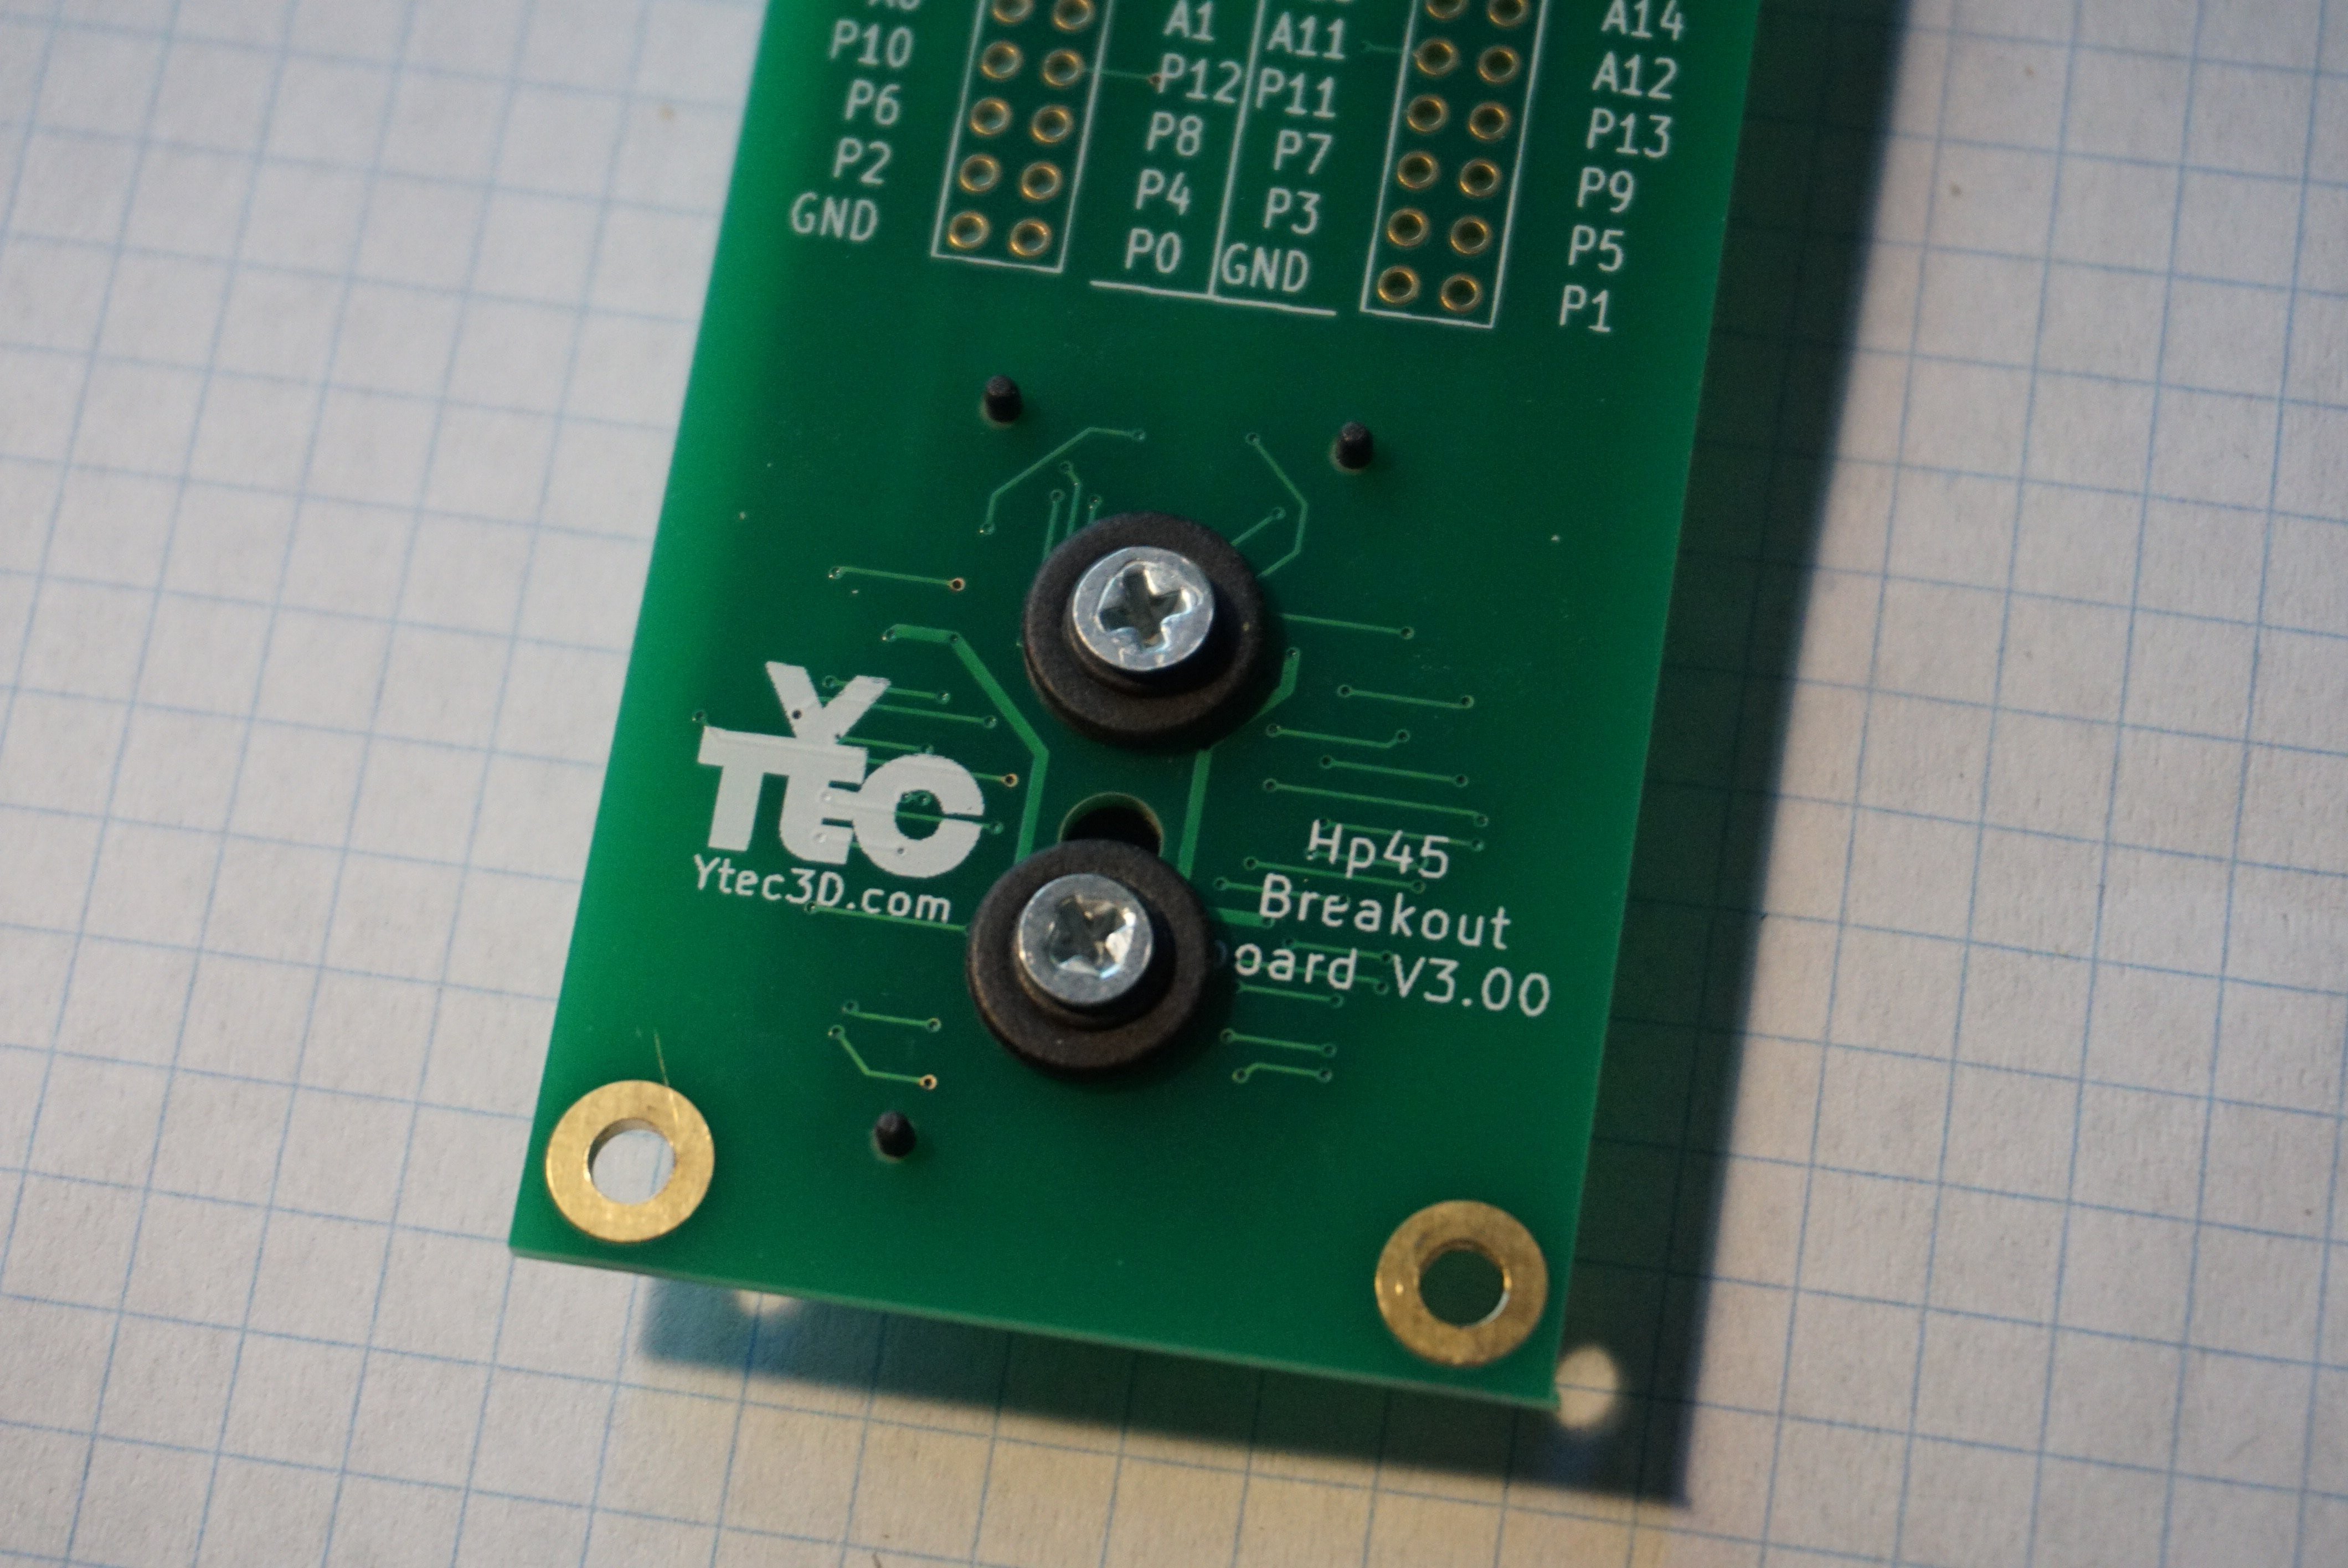
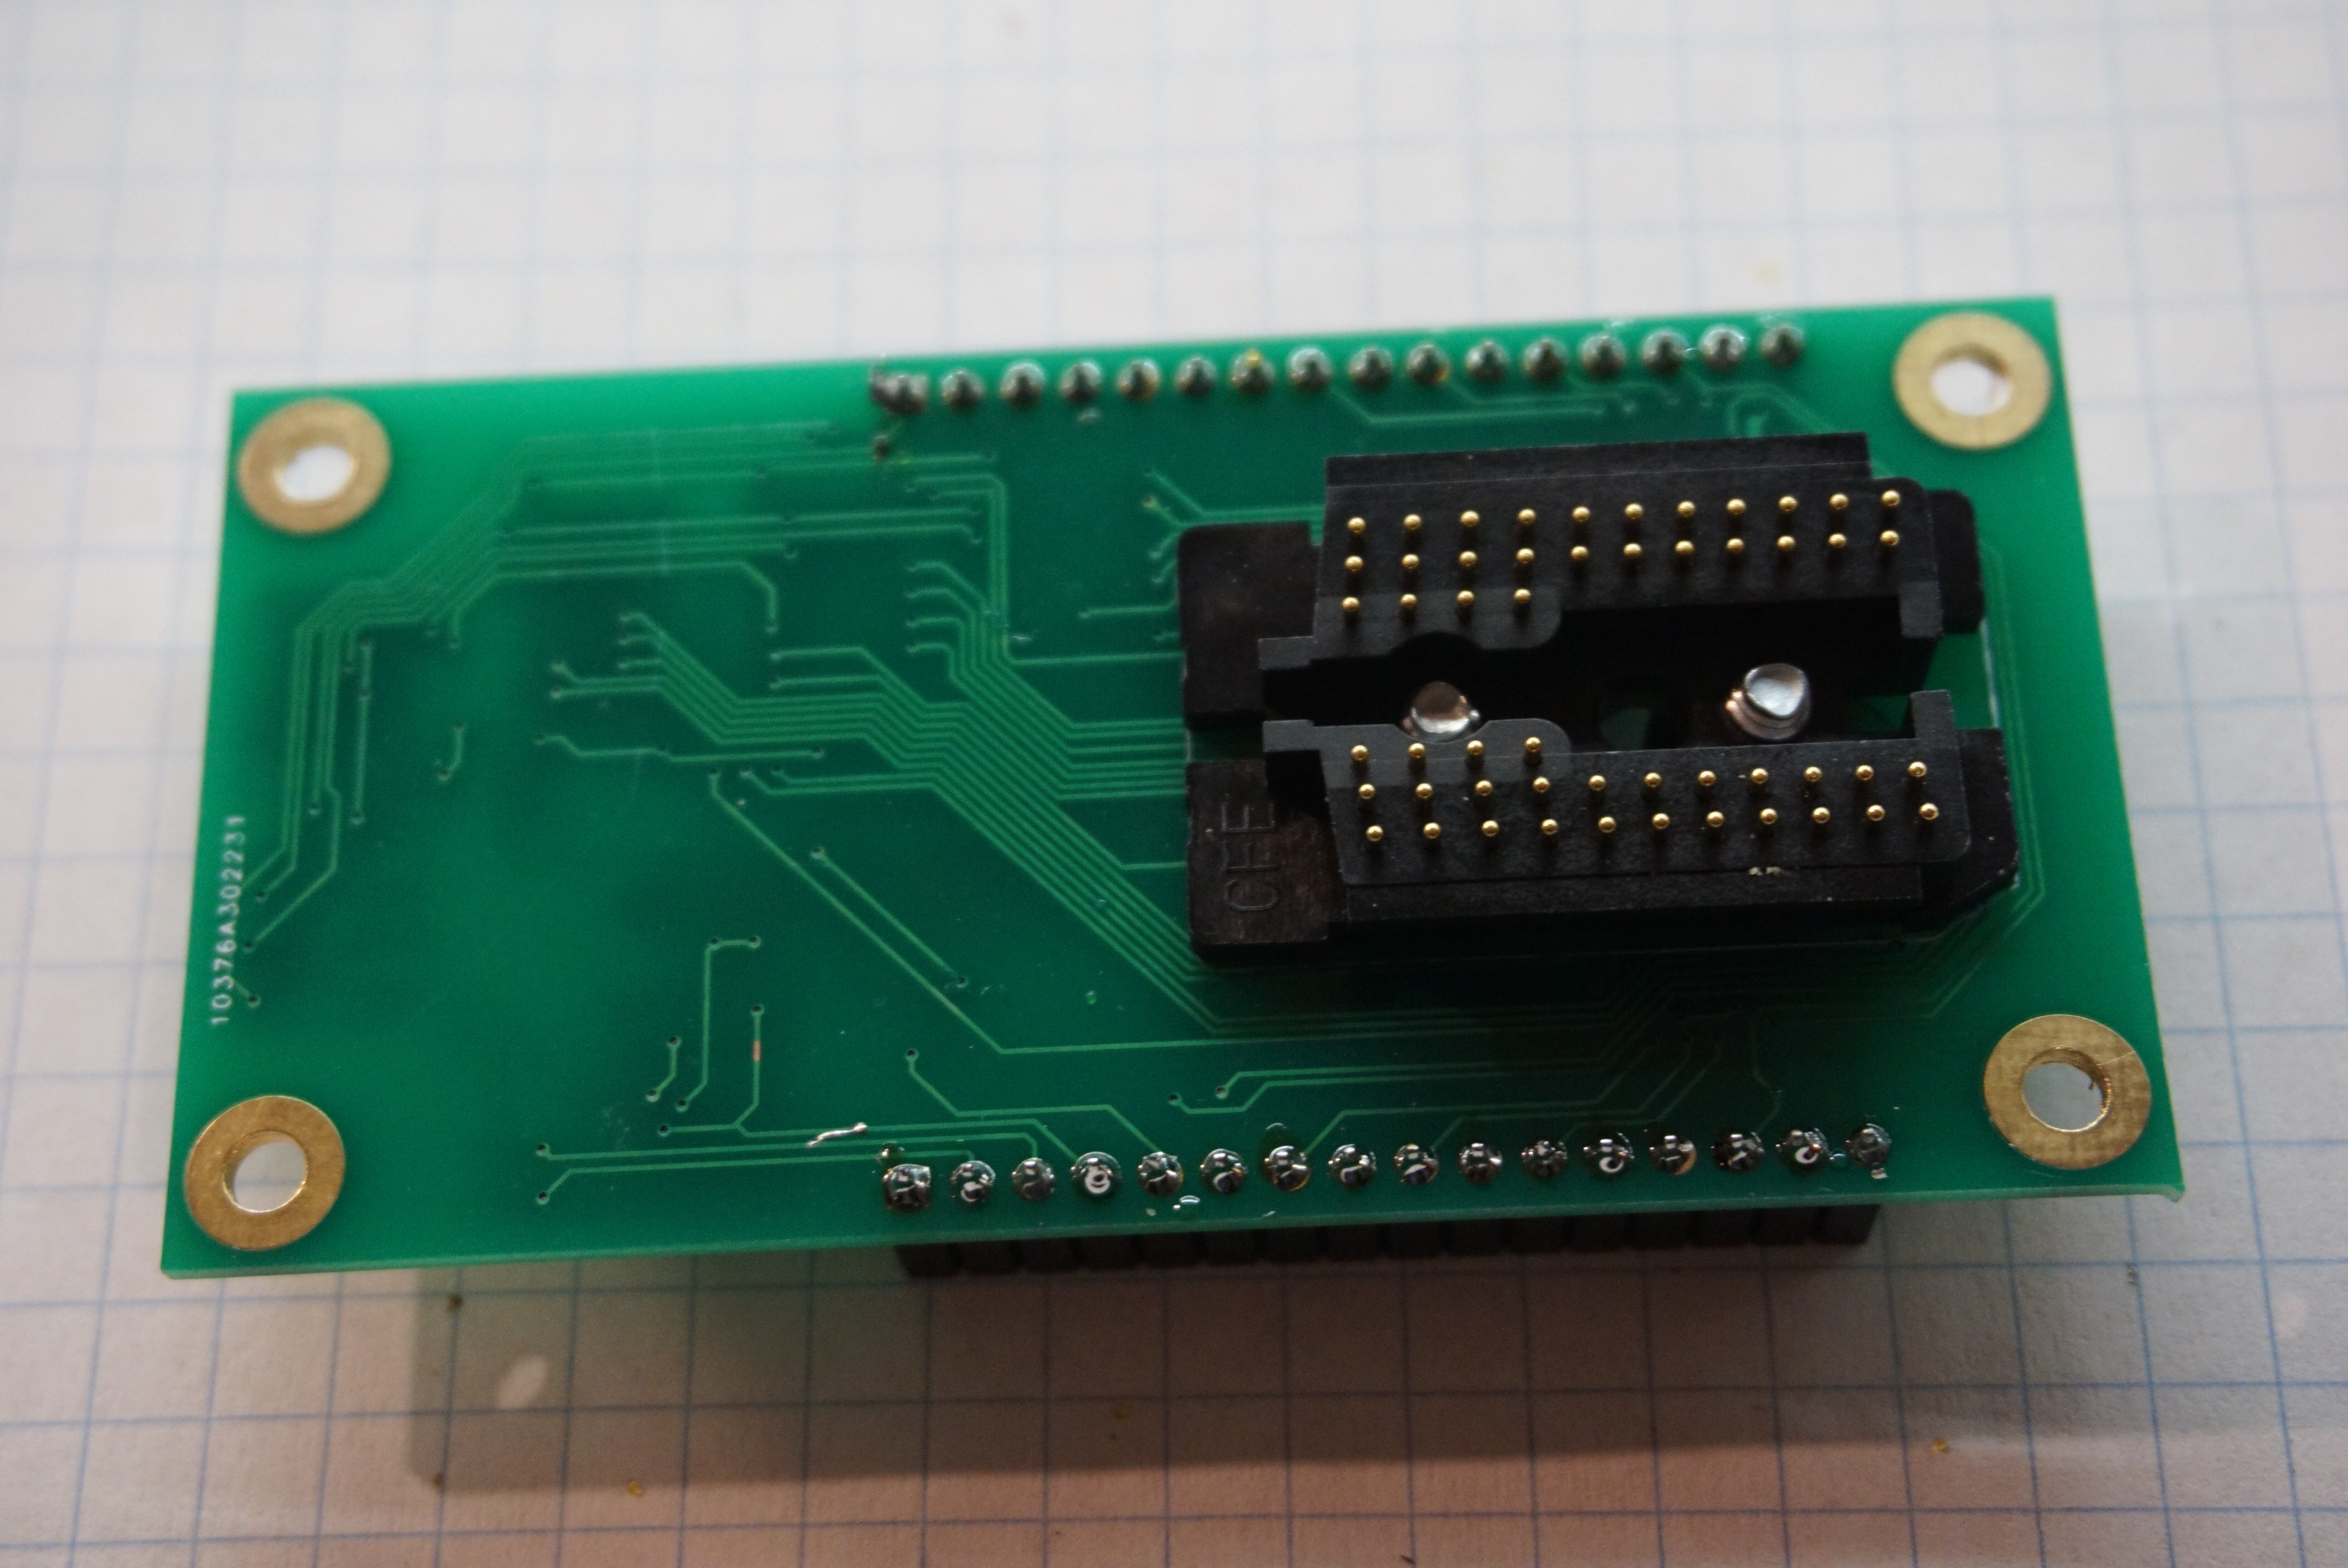
 Mount the HP45 connector using M3x6 or #6 screws (I am experimenting with #6, if they behave I will include them in what I sell. The holes are not actually big enough for #6, so I do have to ream the holes right now.
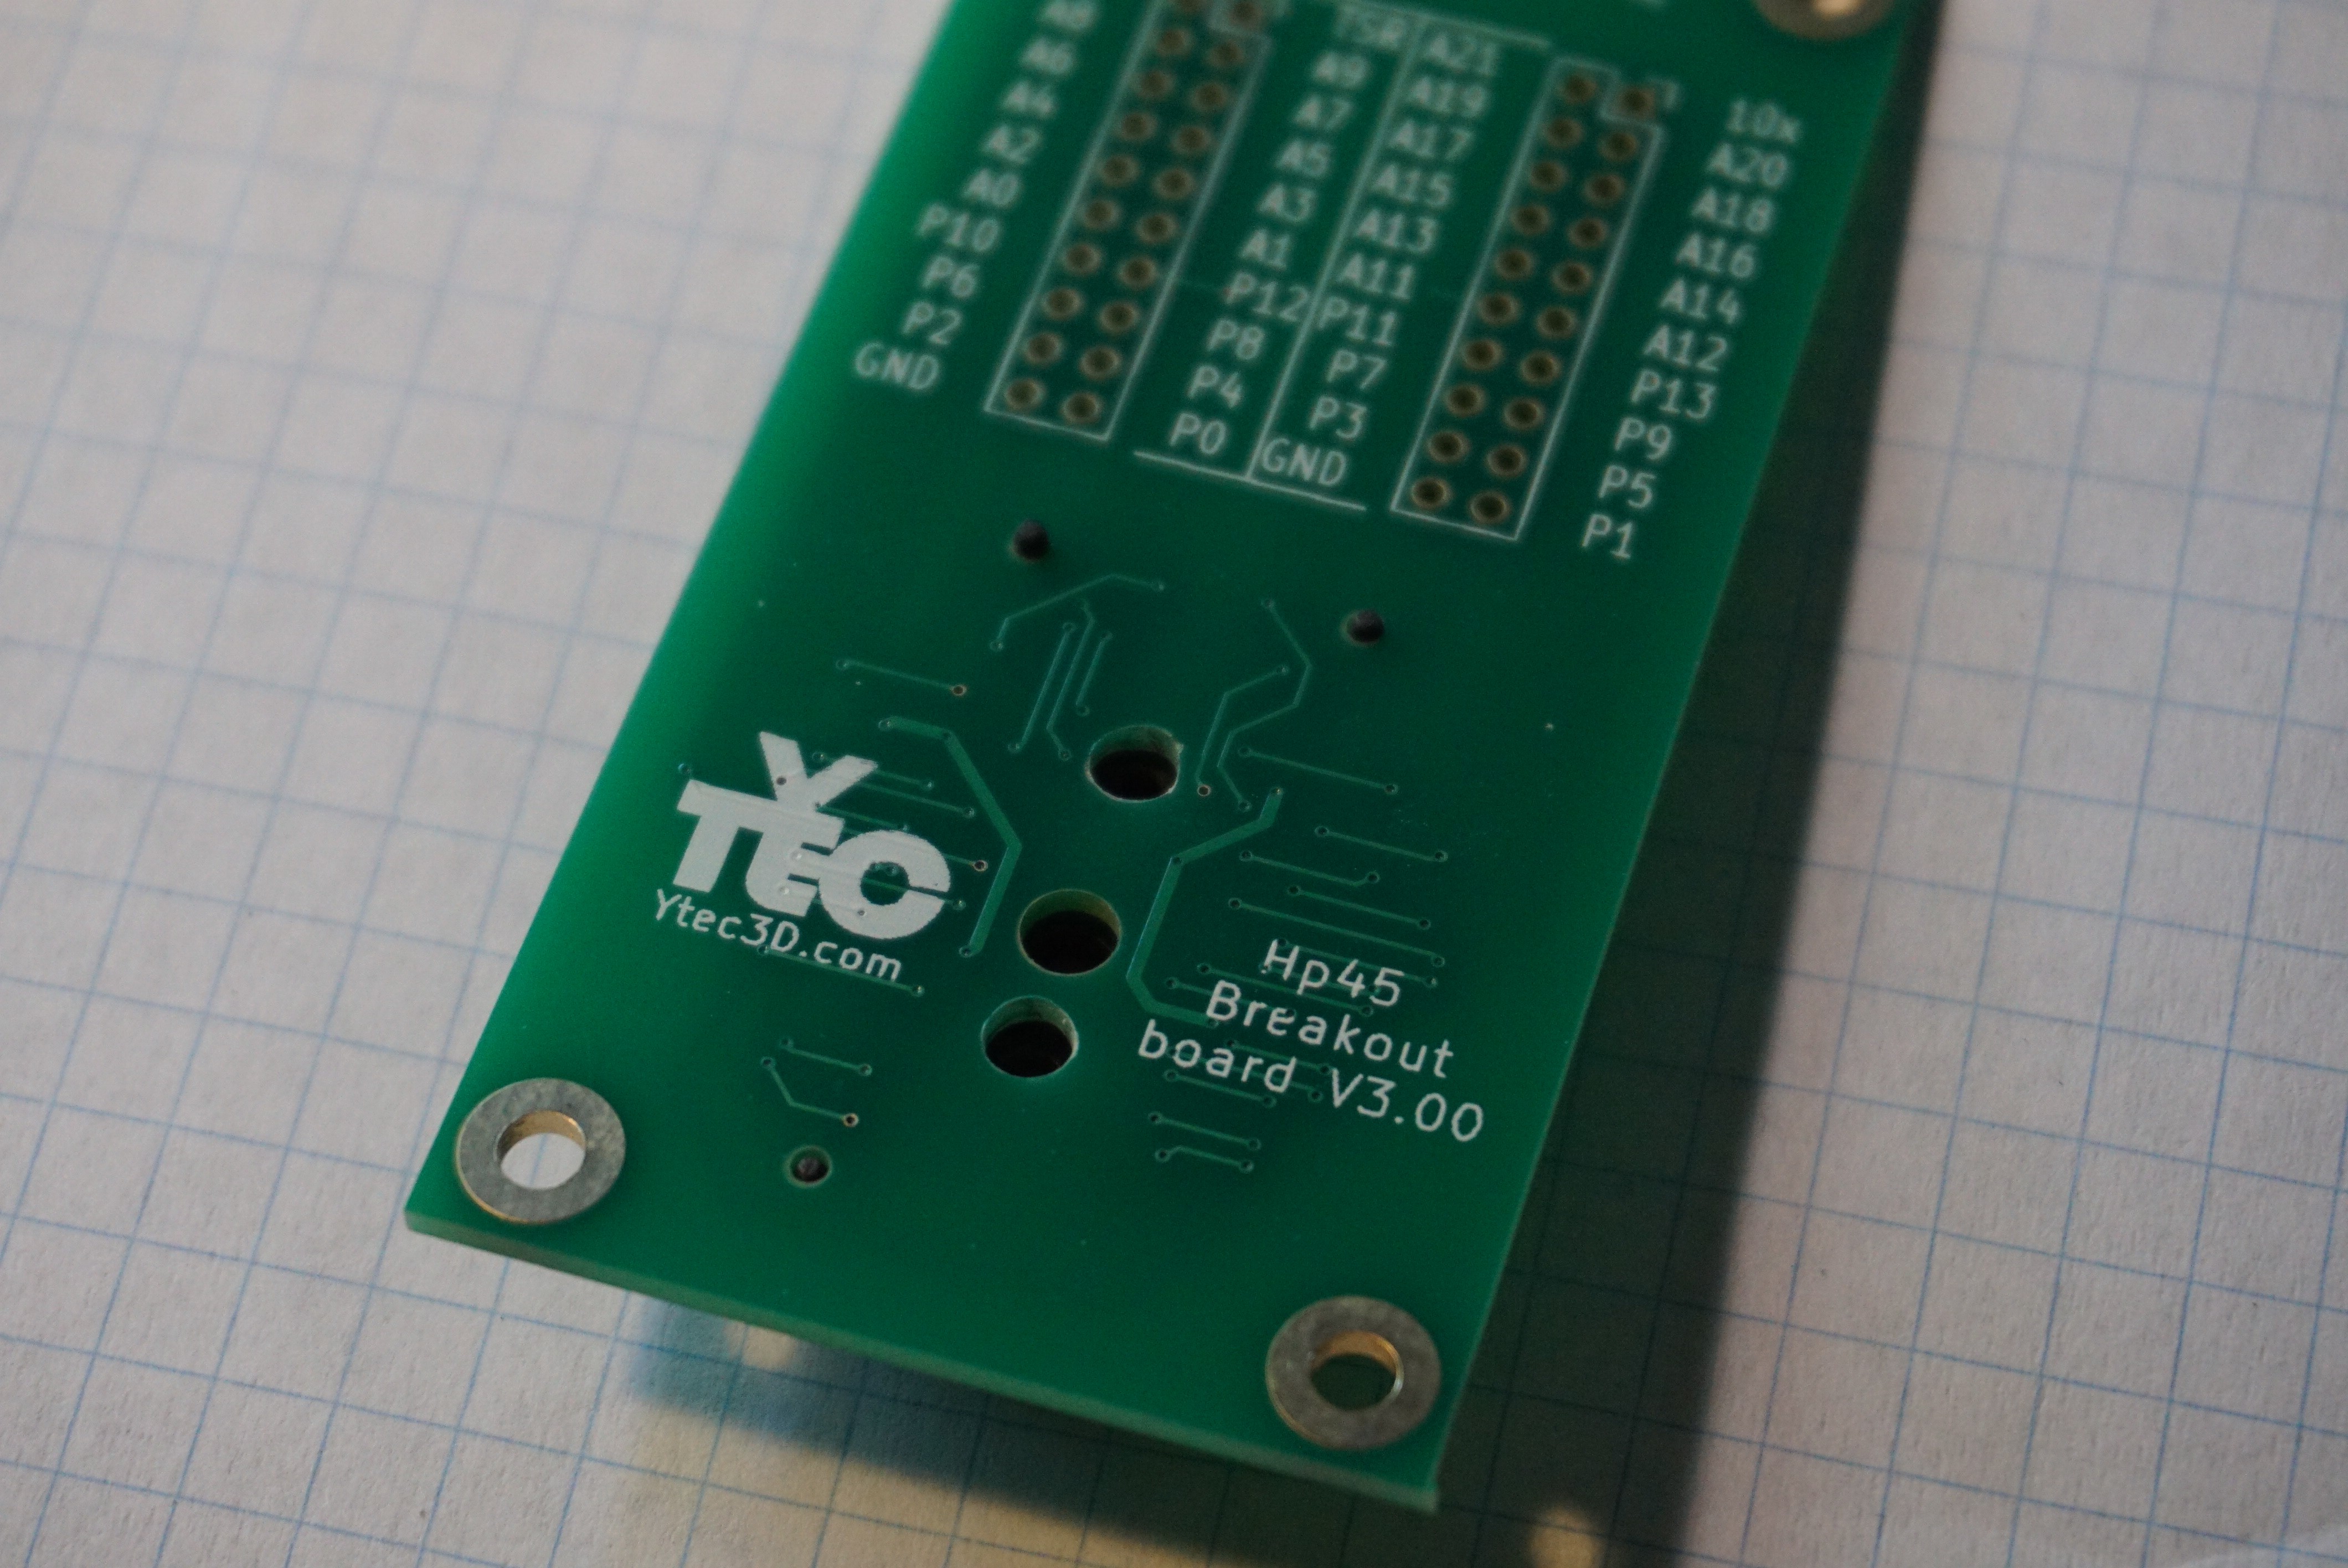
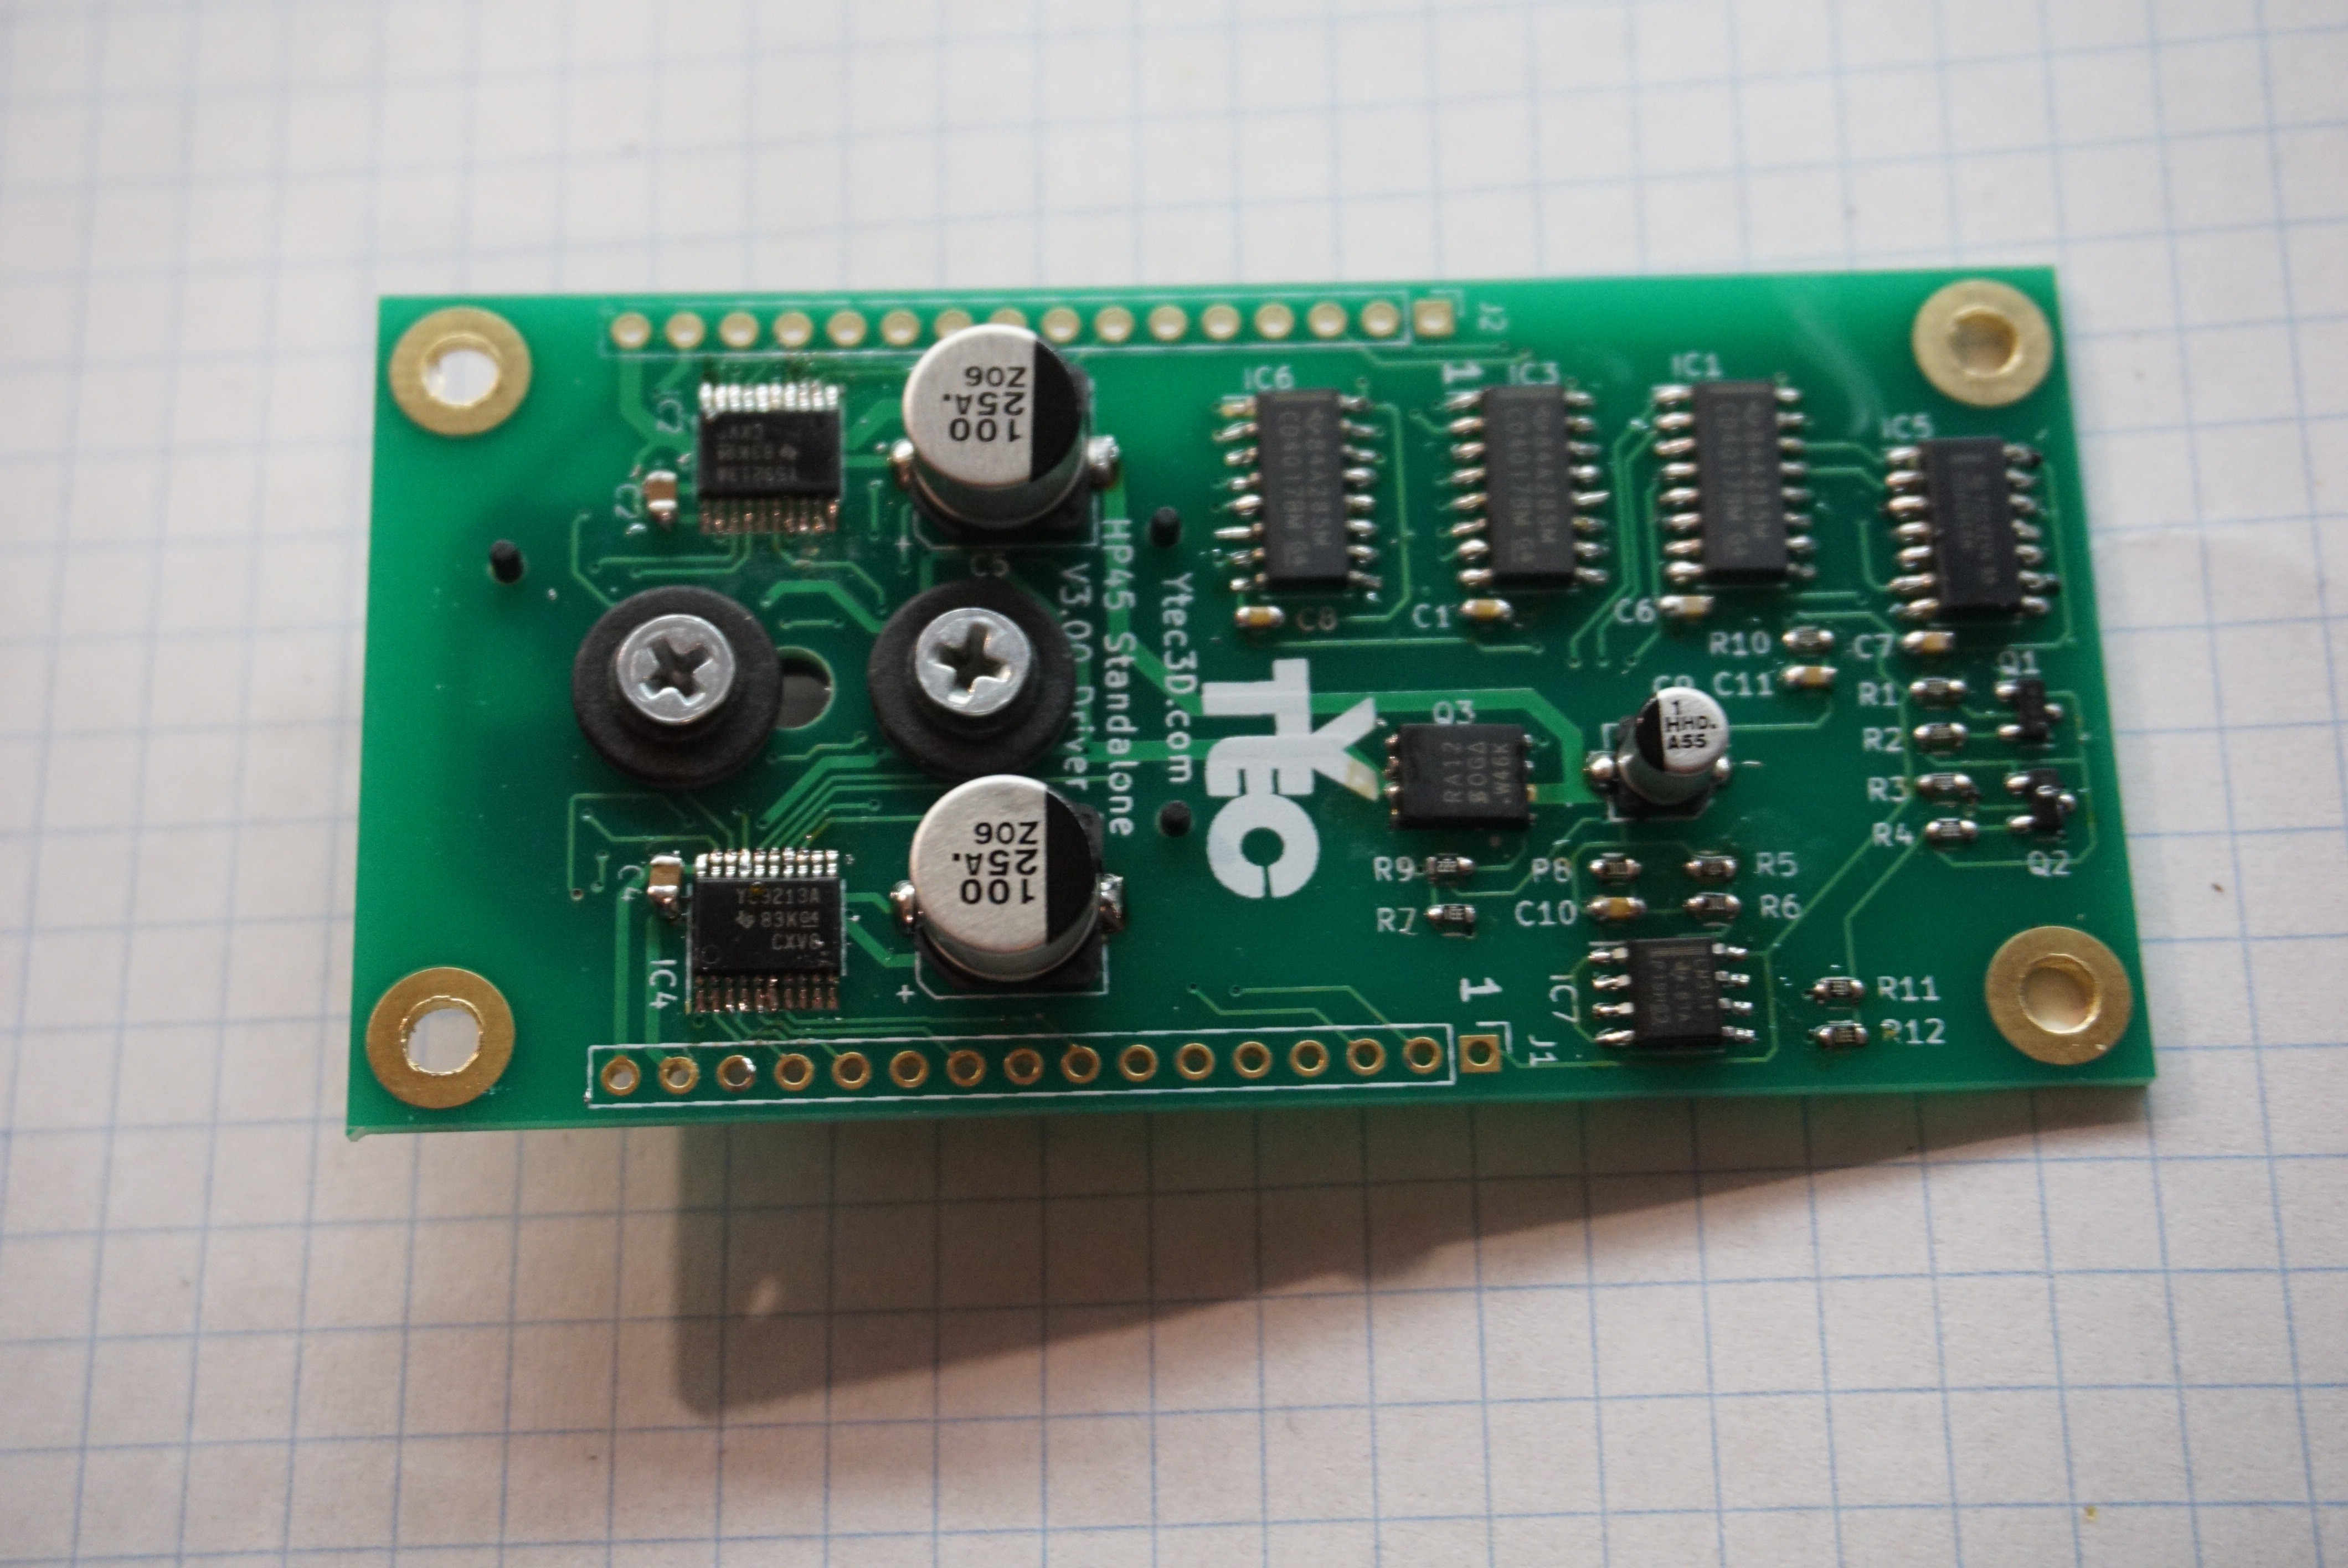 2x 16 pin female headers, 2.54mm (J1, J2)
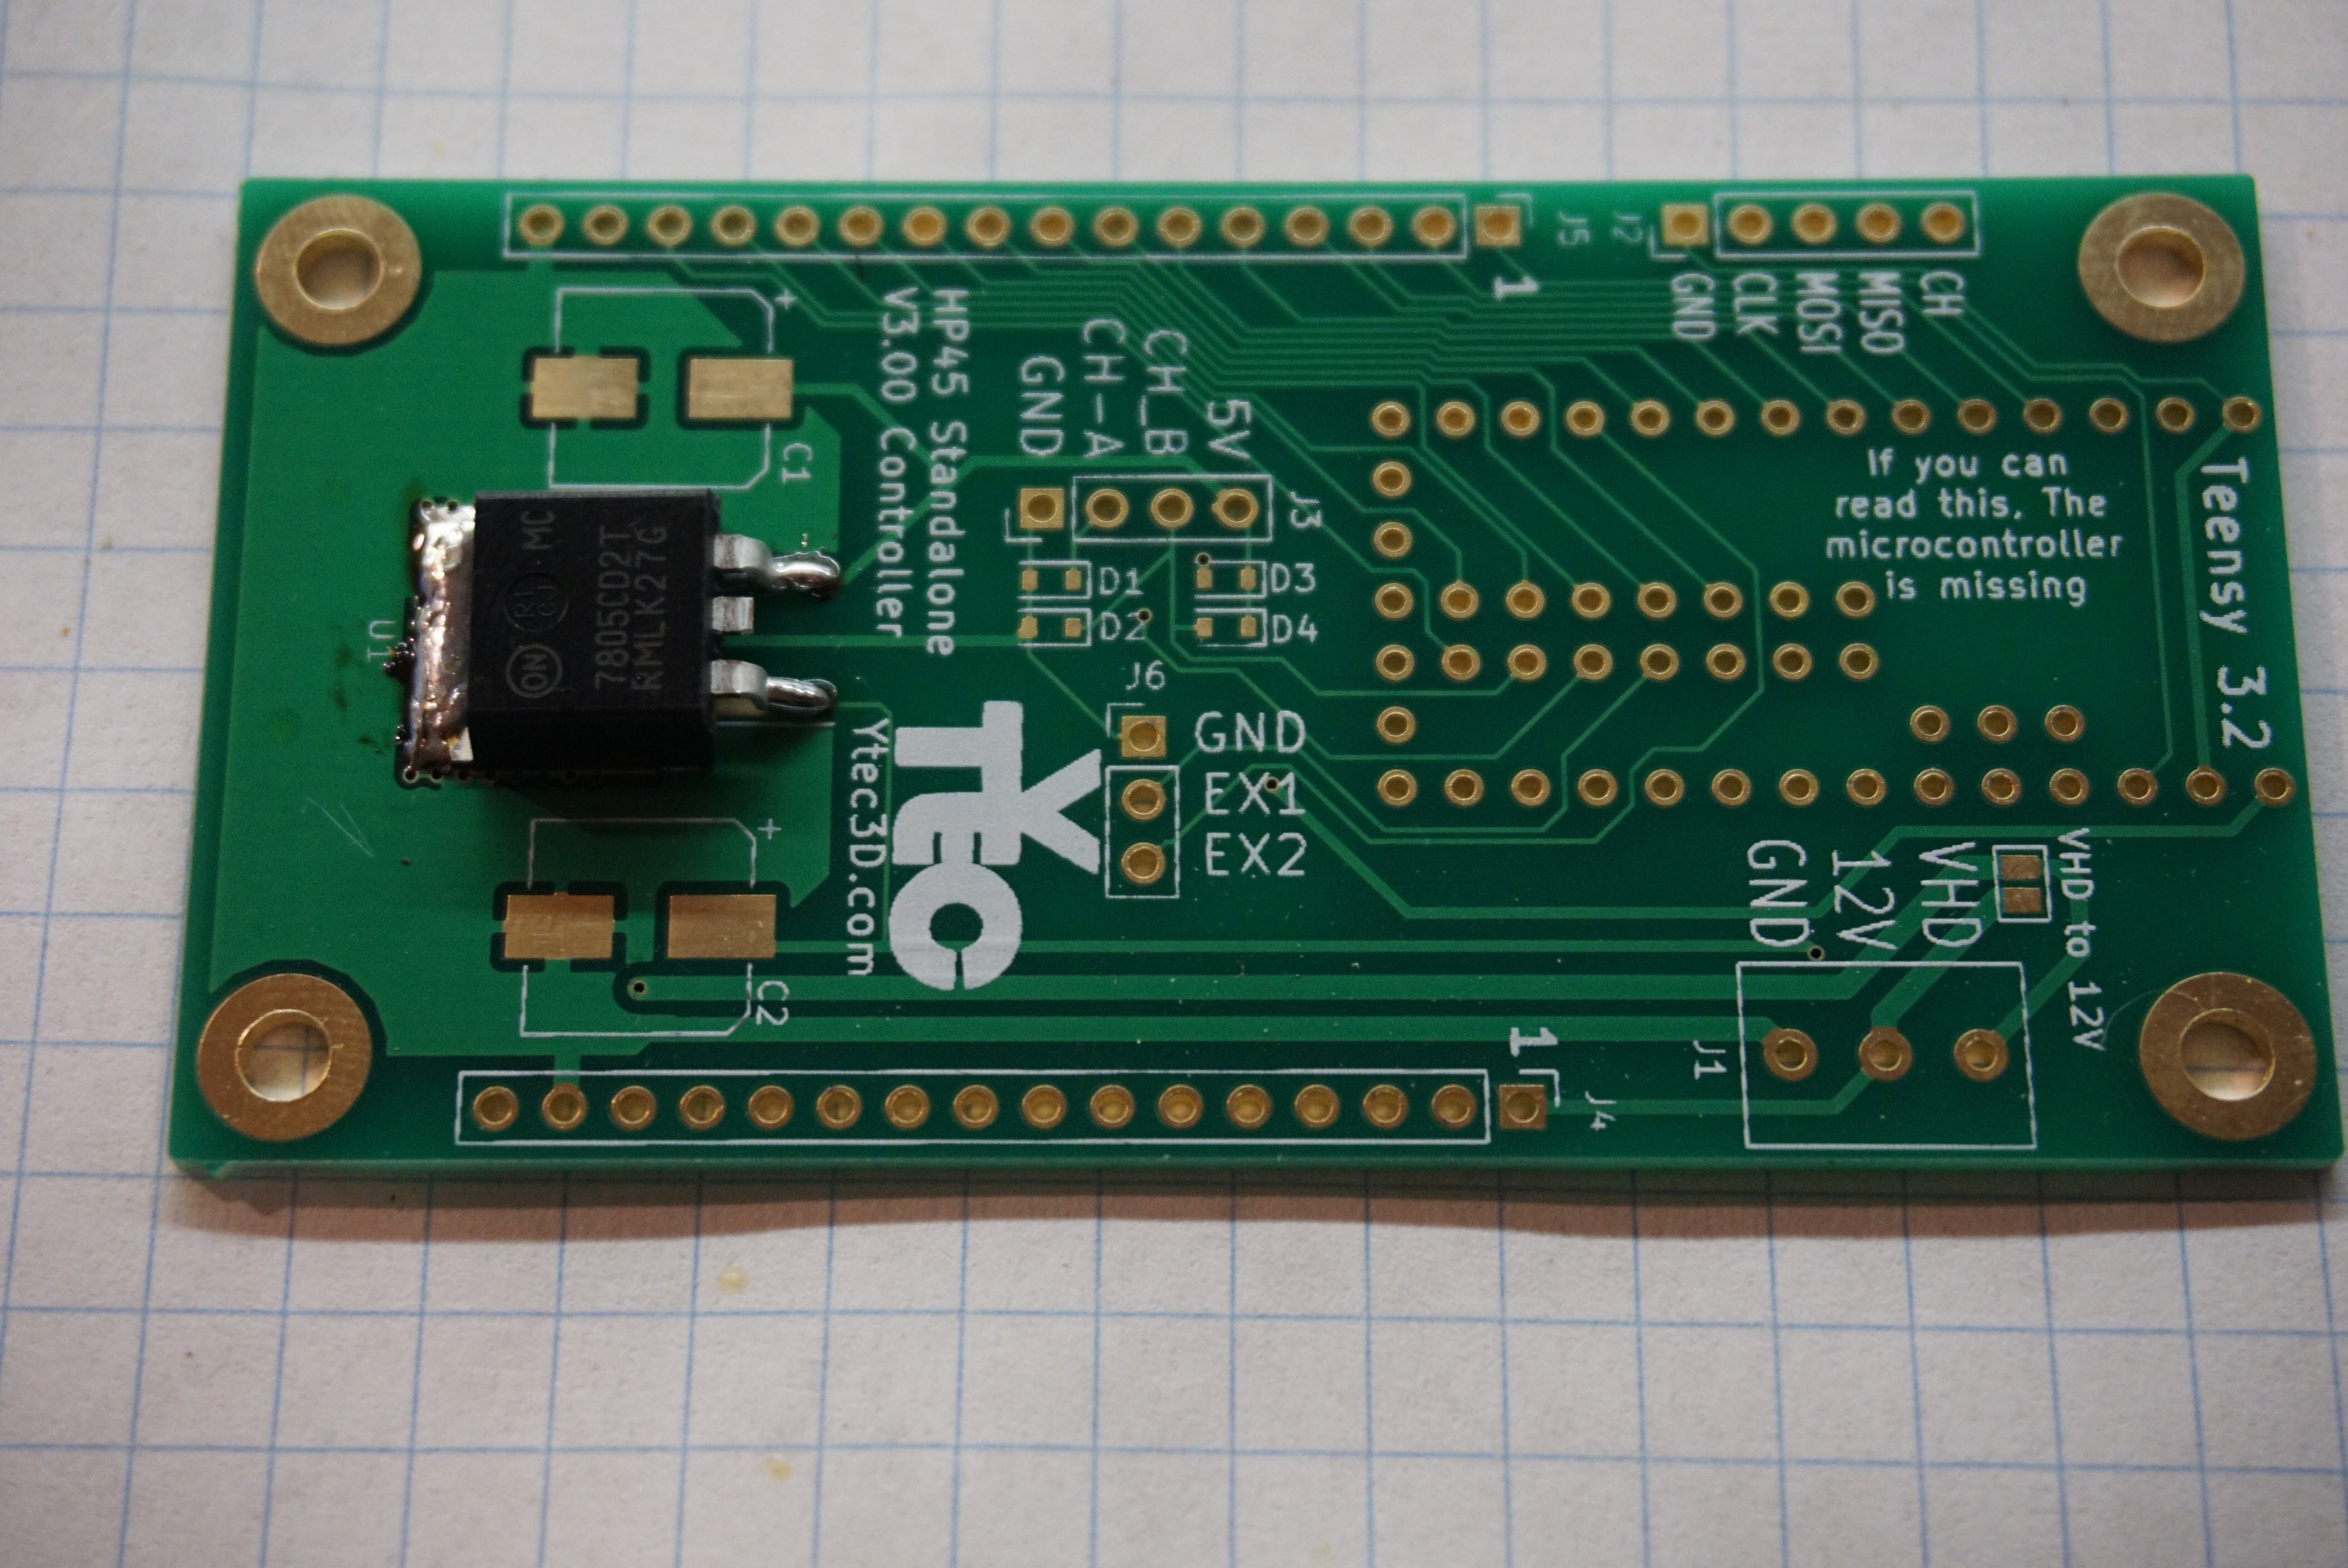
 Solder the Teensy 3.2 to controller board. Here you can optionally solder female headers to the board. Be aware though that this will increase the height of the whole assembly to a point where it will not properly fit in Oasis.
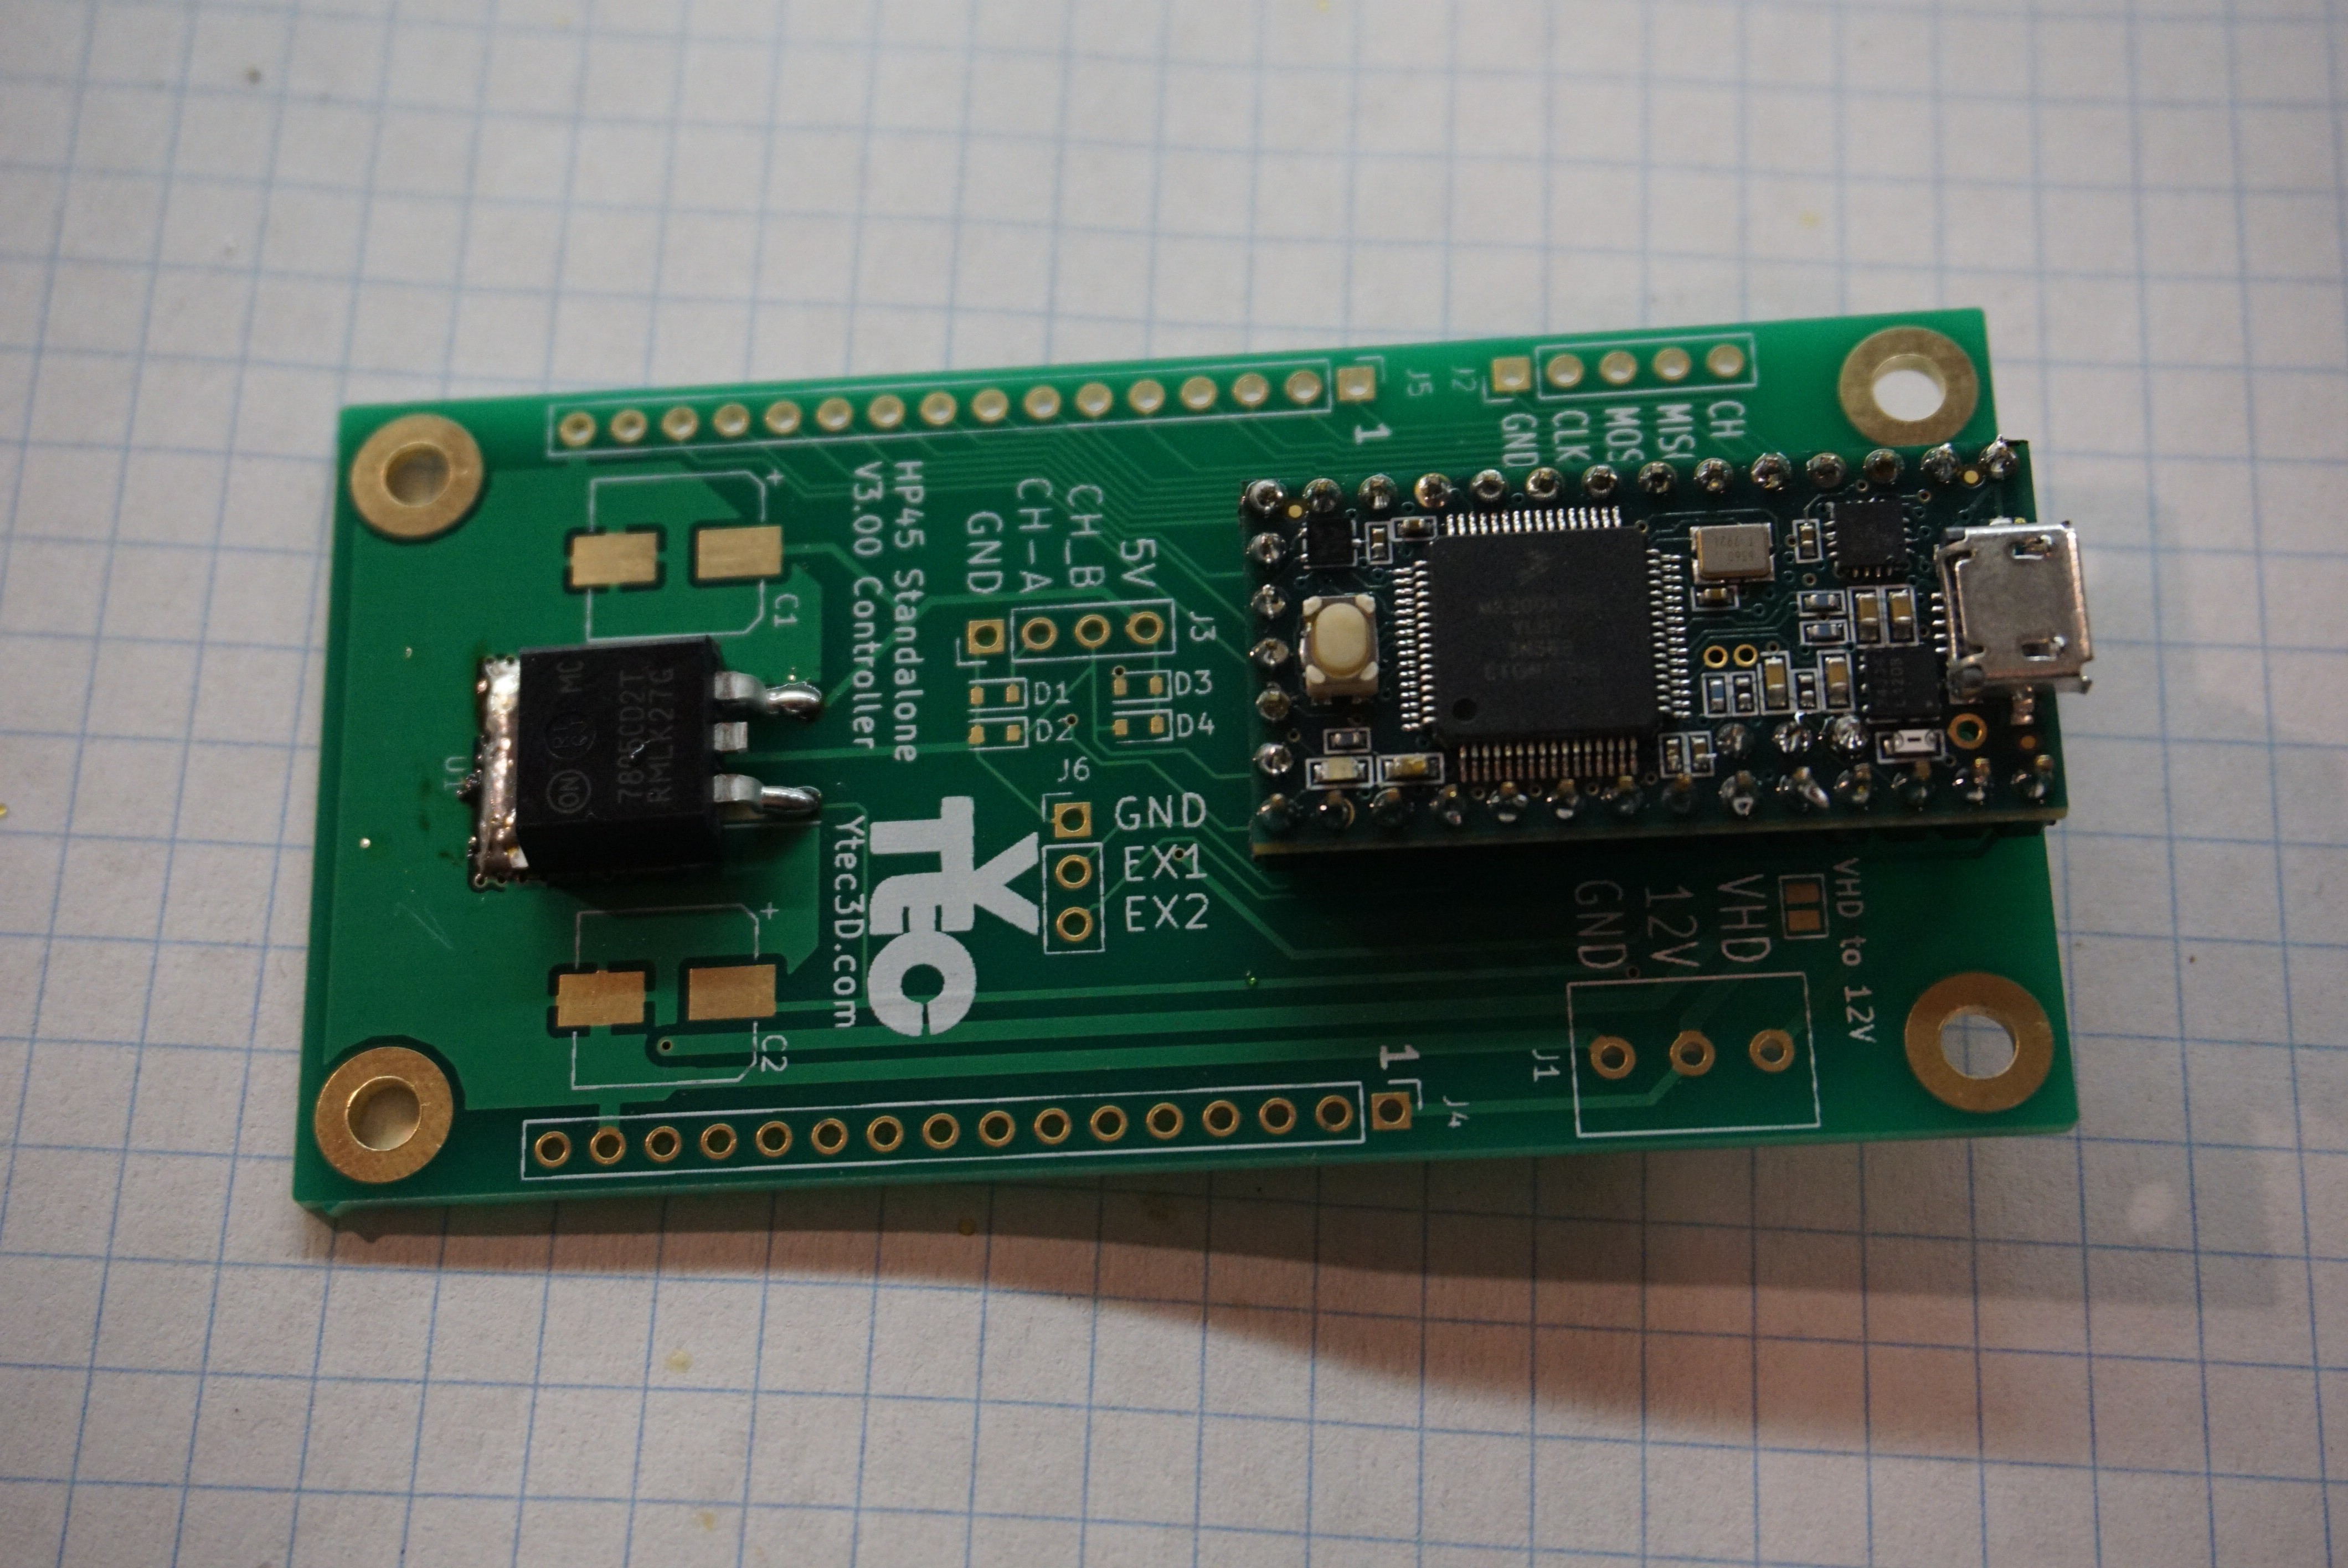
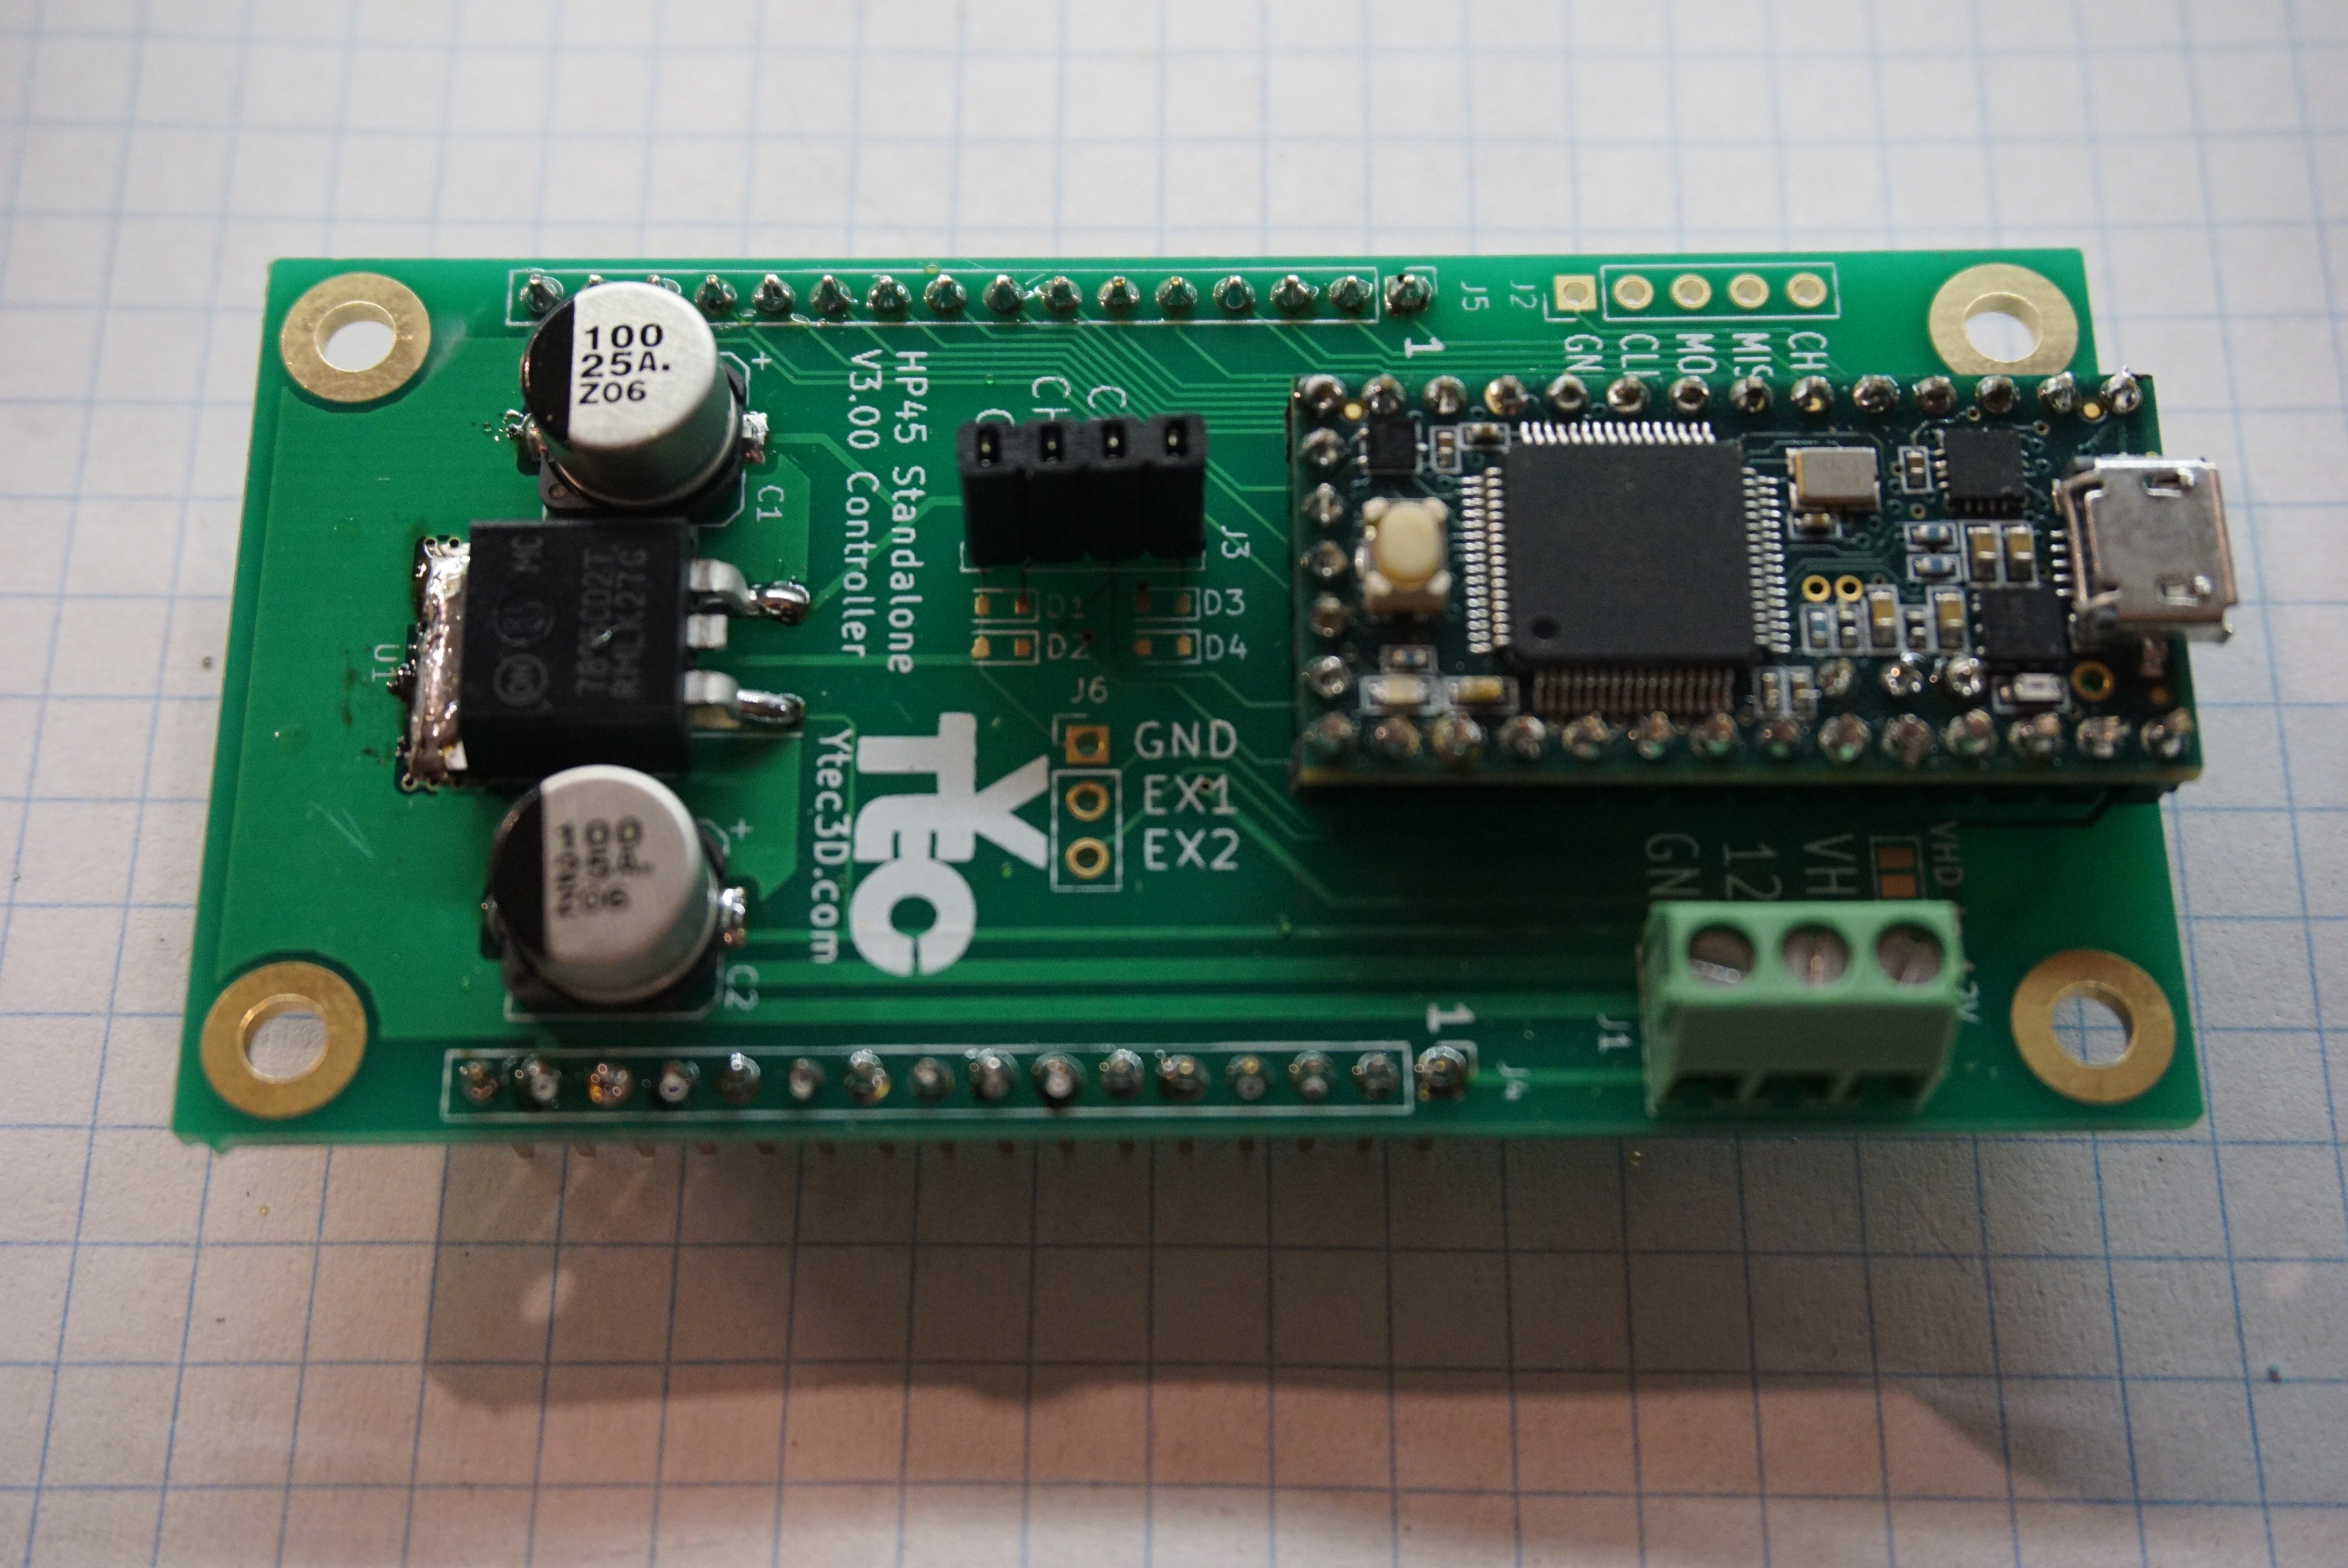 Put boards together and enjoy.


 xpDIY
xpDIY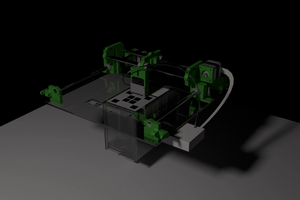
 Miroslav Zuzelka
Hi there
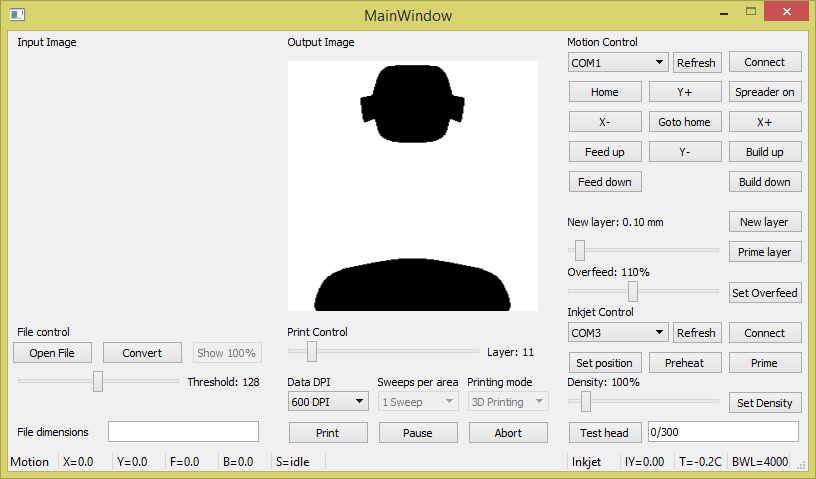
The oasis we assemabled have met problem. When printing, it would not print a whole frame of 0.5 inch, but print fixed width color bars about 2.7 mm. I am wondering if it is because wrong choose of the print head? Or maybe the driverboard or controller board were wrongly soldered?I sincerely hope you could answer this question. Thank you very much.
Best regards