 Tom Meehan
Goal:
- Develop an inexpensive hardware and software platform to make Neurofeedback accessible to all that need or could benefit from it.
- Make this platform completely Open Source. Develop Java application that is usable in multiple environments.
- Make it as open as possible in terms of hardware. The central EEG processing board is the TGAM1 board made by Neurosky and is the only piece of proprietary hardware used in this project. These boards are easily salvaged from children's gamest (last I checked they aren't available from Neurosky except in commercial quantities.
This project has taken a number of different turns and dead ends, but is currently progressing quite well. Hardware is all done, java application is taking a bit longer (due to having to learn java - which I am doing).
Quick Links
- Configuring Serial Bluetooth Board
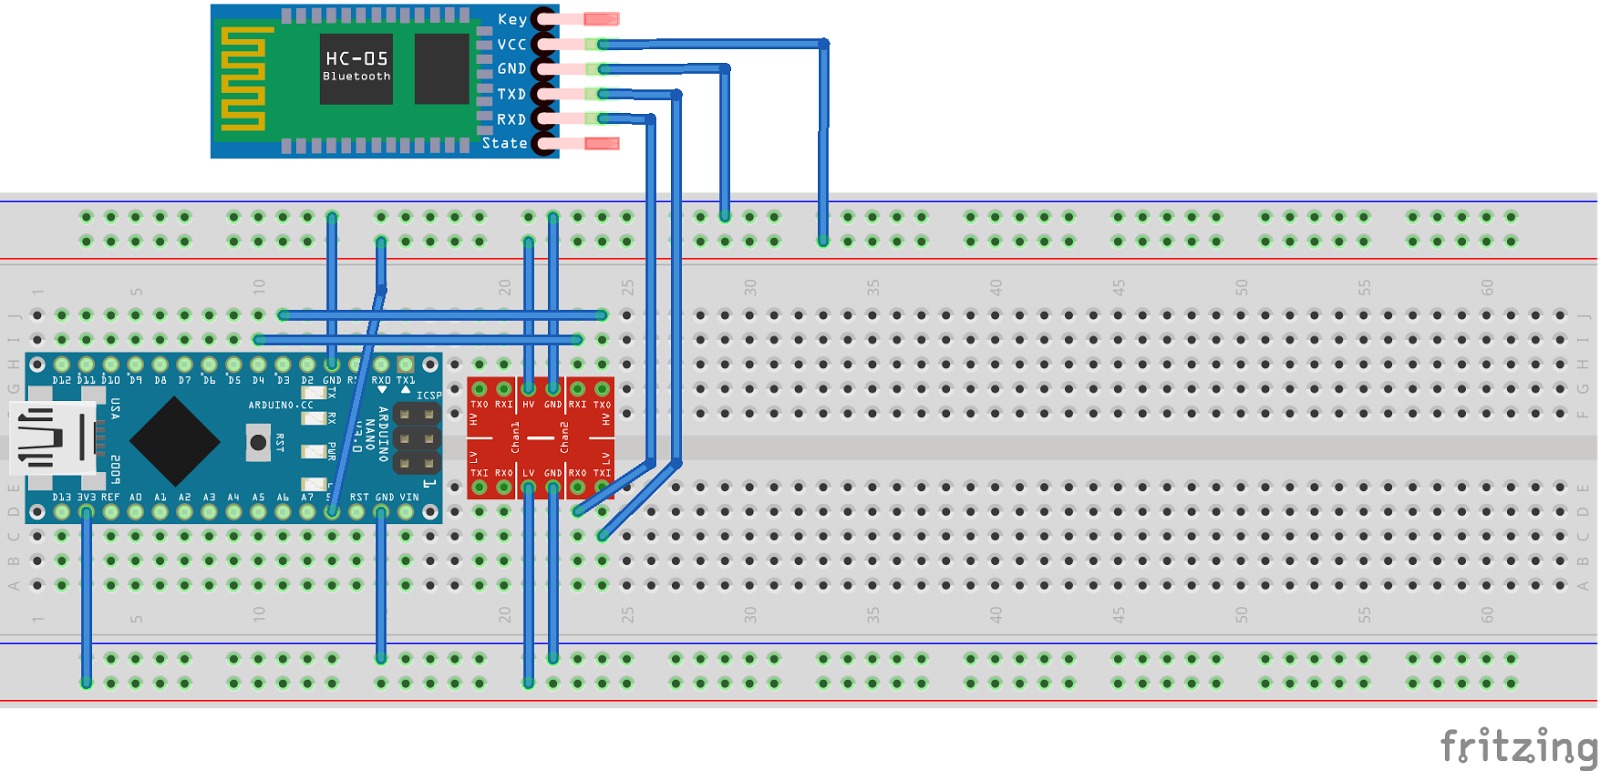 Bluetooth TX goes thru level shifter to Arduino TX (Pin 3). Bluetooth RX goes thru level shifter to Arduino RX (Pin 4).


 Maave
Maave
 Bharbour
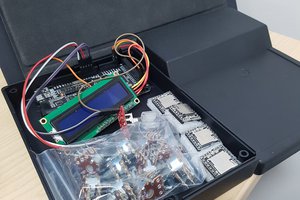
 Craig Hissett
Hi!. i just developed a code for a Photon device from Particle to register
the raw values from mindflex @57600 (based on TGAM1 - rev2.7) and after
sending the command byte for configuring the 0x02 mode, i started receiving raw data packets
correctly, but after 2 packets, it starts giving checksum errrors
and eveything goes wrong ... as you can see on the following portion of
the log file i recorded:
latestByte: AA
PacketLength: 4
latestByte: 80
latestByte: 2
latestByte: 3
latestByte: 80
latestByte: AA
ERROR: Checksum: 170 250[128, 2, 3, 128, 0, 0, 0, 0, 0, 0, 0, 0, 0, 0, 0, 0, 0,...
Do you know where the problem can be? ... i've not using any optoacoplator
between mindflex and the Photon device. Thanks a lot for your help.