Close
0%
0%

Hector 9000

Fancy barbot with lots of needless features and ...of course... WiFi and a bunch of blinky LEDs

Similar projects worth following
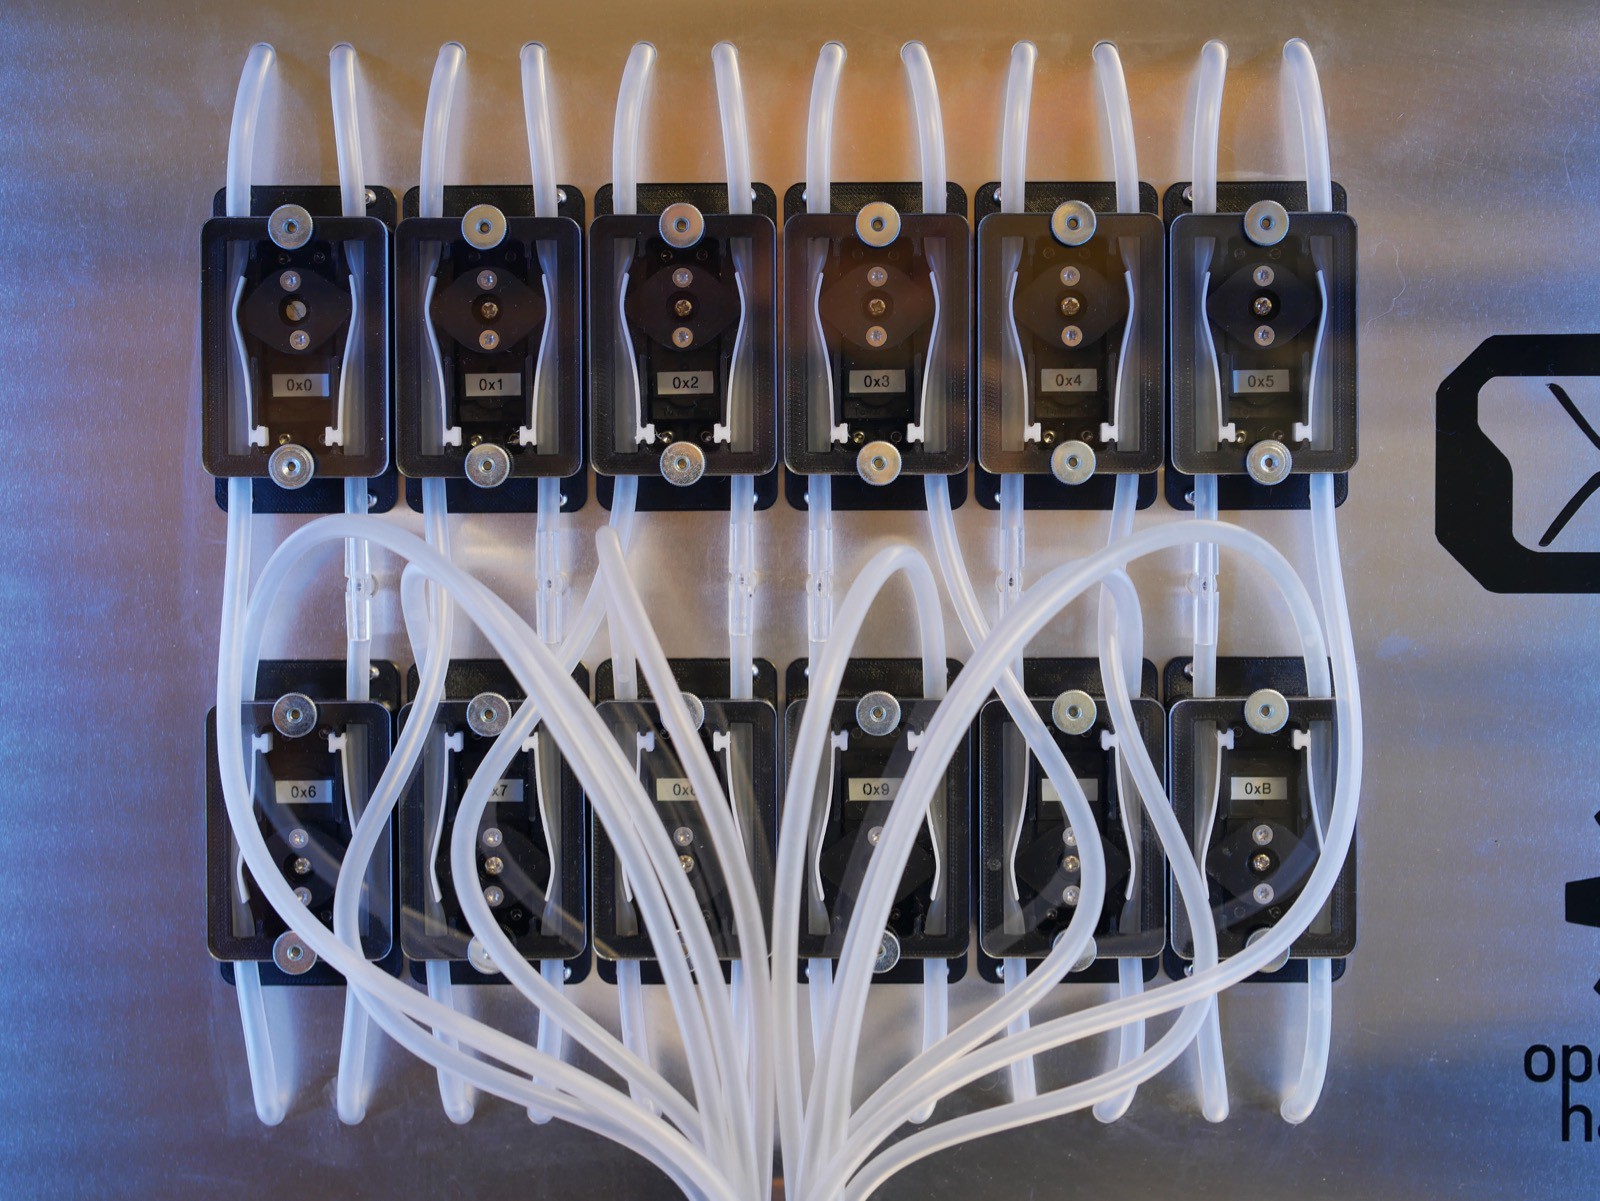
The idea was to build a barbot which is able to dispense 12 different liquids. We did not want to use peristaltic pumps, because it should be possible to dispense carbonated drinks. So we decided to pump the liquds with pressured air. The mass of the dispensed liquids are measured by a load cell. By using pressured air there is some loss of carbondioxide, but the Cocktails are still fizzy.
Beside the dispensing function we included some eyecandys like some (needless) moving parts and blinky LEDs.
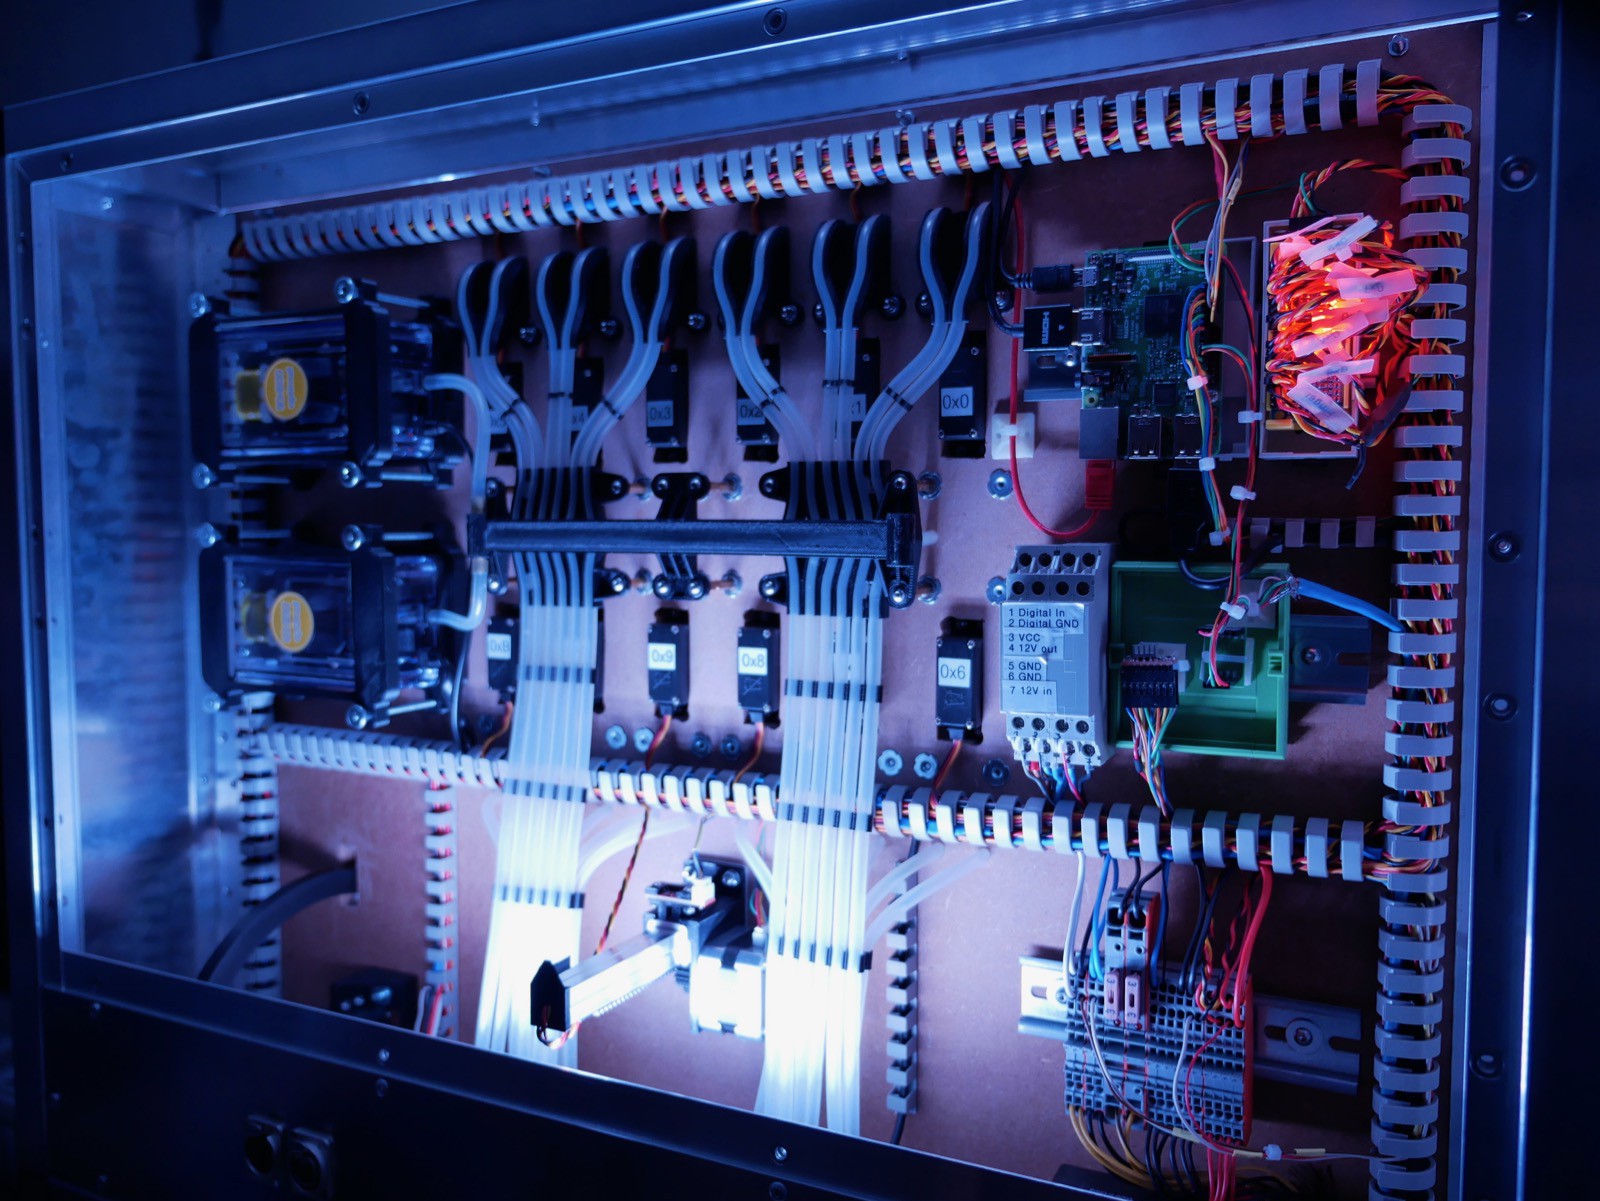
To control the barbot we choose a Raspberry Pi. You can choose the desired Cocktail on a 7" touchsreen. After mixing the drink Hector gives an acoustic signal.

One of our focal points for the development of Hector 9000 is, to make it as easy as possible to replicate the machine. Thus we 

  • used of the shelf & easy to source electronic components
  • made the mechanical hardware parts mainly by FDM printing (without support)
  • host the software on GitHub
  • try to make a good documentation

We also made most of the functional parts independent from the structural parts to give a high degree of freedom for an individual case/cabinet design.  

During the work on Hector 9000 we had a lot of ideas for additional features and improvements. Here are some of them:

  • Ice dispensing unit
  • Cocktail Umbrella dispensing unit
  • Dispenser for sugar
  • GUI based on Qt
  • Statistic functions (Best Drink of the Day, ...)
  • AI to create new Coctail recipes

all software and CAD files have been transfered to GitHub

<--- follow the links on the left side ---<<<

all software and cad files have been transfered to github - 0 bytes - 04/26/2020 at 19:39

Download

...also the documentation

<--- follow the link on the left side ---<<<

also the documentation - 0 bytes - 04/26/2020 at 19:36

Download

  • 1 × Scale DIY, see "Notes on Assembly"
  • 1 × Pump see "Notes on Assembly"
  • 1 × Adafruit PCA9685 Servo Driver Board
  • 1 × Raspberry Pi 3B
  • 1 × Bell Assembly DIY, see "Notes on Assembly"

View all 11 components

  • Hector Pi Image

    DevTown04/04/2022 at 17:17 0 comments

    Now Hector9000 has his own Pi Image.

    You can find it here:

    https://github.com/H3c702/Hector9000-Image/releases

    Have fun an enjoy.

  • Files have been transfered to GitHub

    Cadmium04/26/2020 at 20:02 0 comments

    Due to better maintenance and collaboration, we transfered the CAD files, the software and the Documentation to GitHub.

    We will also provide the STEP files for the 3D printed parts in the near future.

    You will find the files in the following Repositories:

    Software

    WebUI

    CAD Files

    Documentation

  • New Release

    DevTown01/01/2020 at 21:36 0 comments

    A new release of the software is here.

    Have a look at ->  https://github.com/H3c702/Hector9000/releases

    Have fun ;-)

    In 2020 there will be more to come.

  • Hector9000 Cups

    DevTown07/31/2019 at 14:54 0 comments

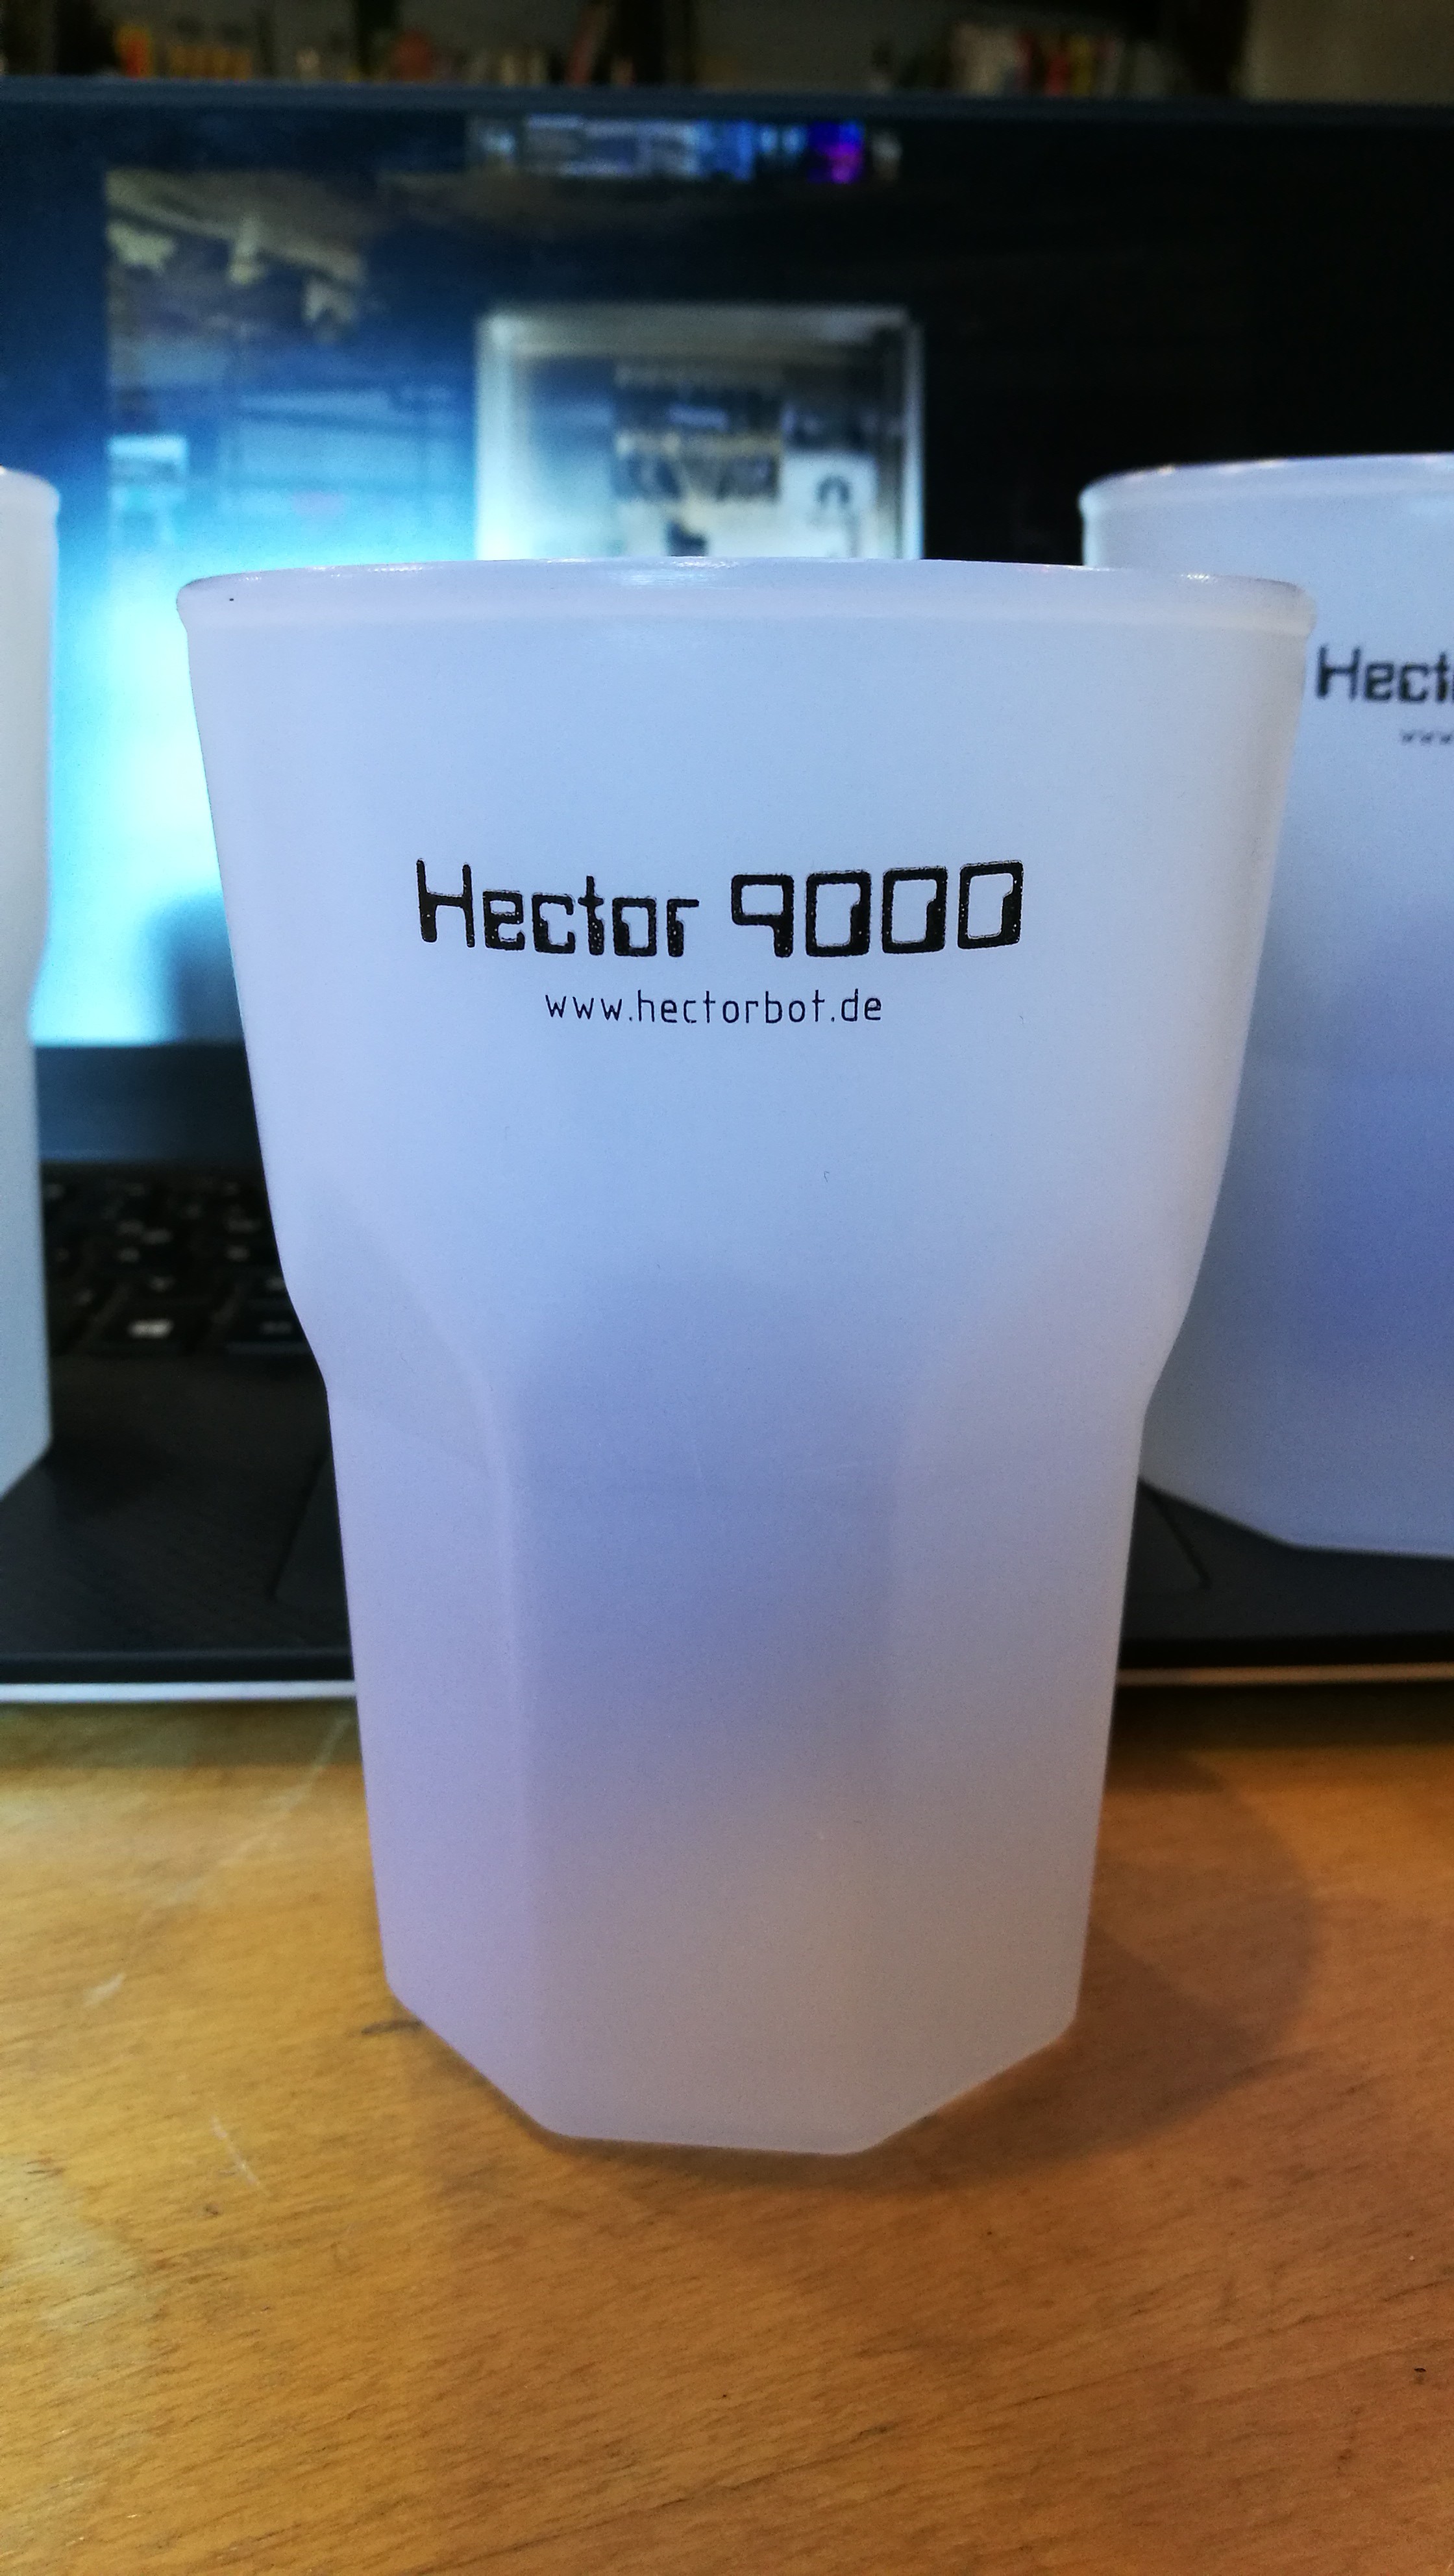
    We have our own cups now ;-)

  • Hector on event

    DevTown07/16/2019 at 13:11 0 comments

  • Fixed .stl-file

    Cadmium07/10/2019 at 08:03 0 comments

    We fixed a wrong positioned hole in the .stl-file for the valve body.

  • CAD Bug

    Cadmium07/09/2019 at 06:58 0 comments

    Some of you mentioned that there is a bug in one of our CAD files. It seems that at least one hole for mounting the servo into the valve body is not positioned correctly. I will fix it within the next week. We have to apologize for the inconvenience. 

  • New Photos Part II

    Cadmium03/18/2019 at 14:36 0 comments

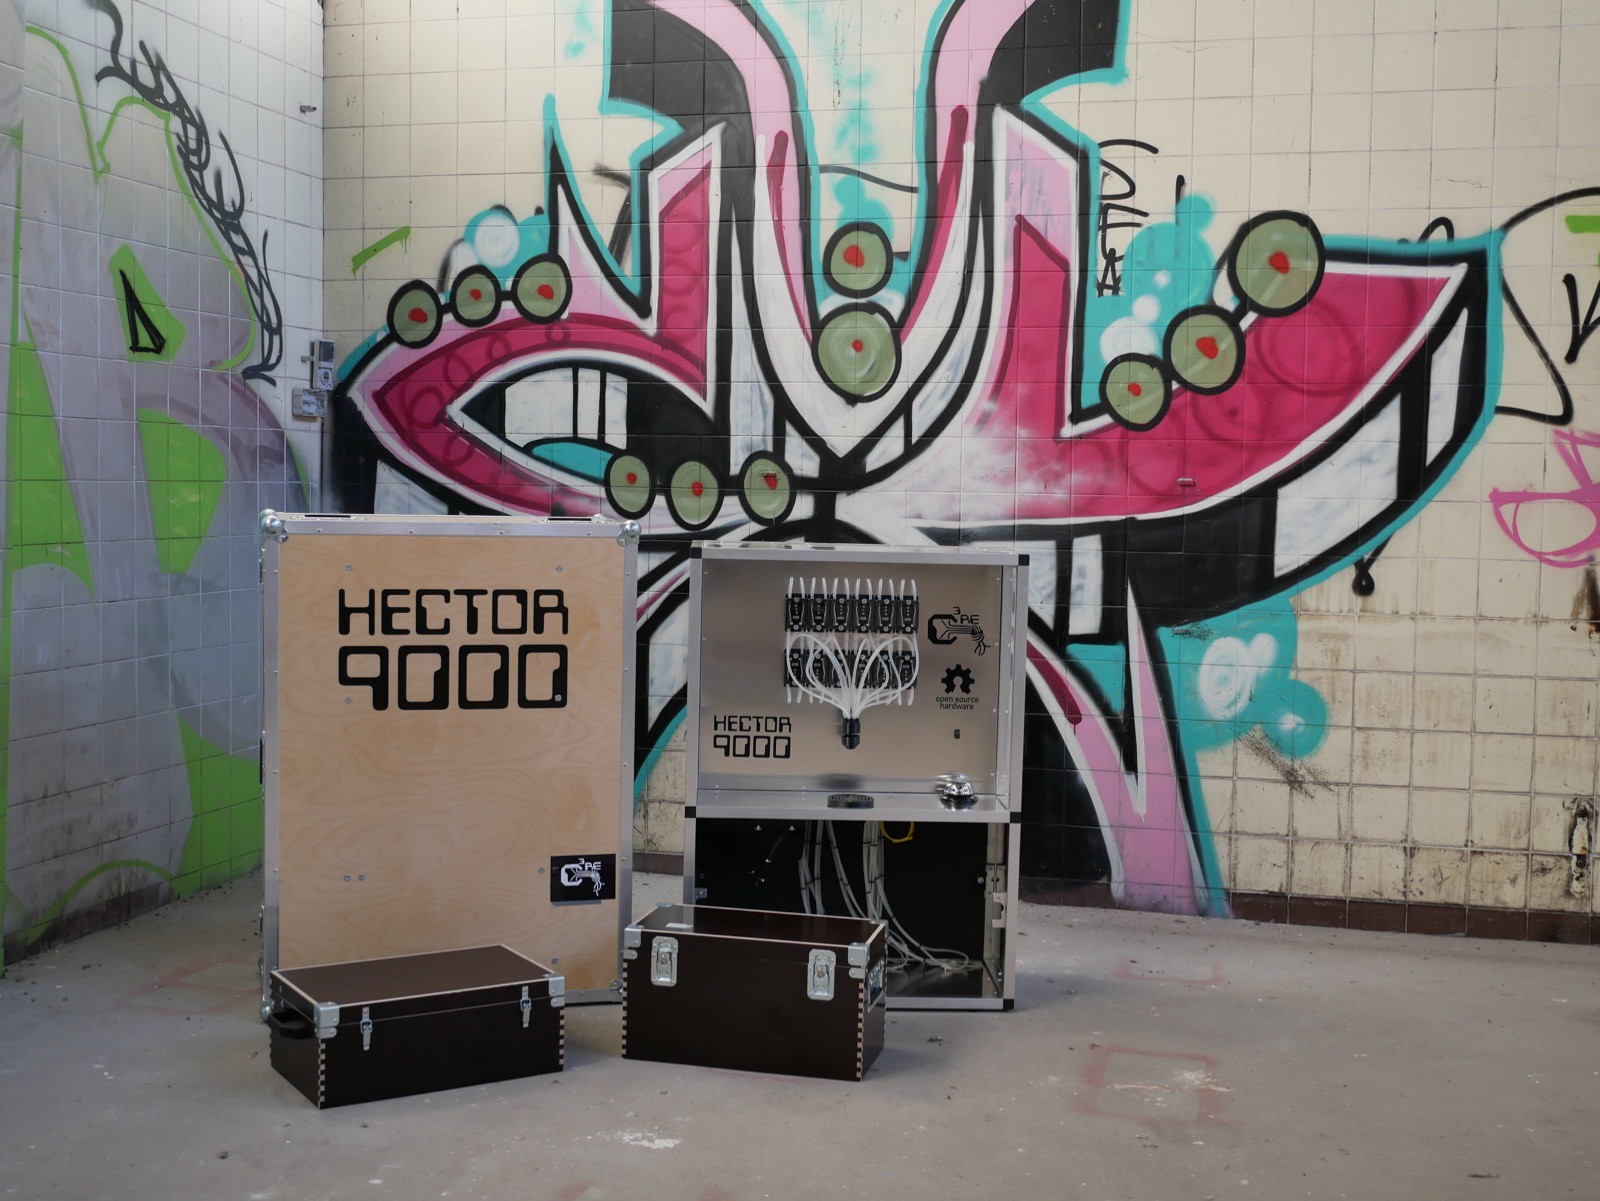
    Today we will share some photos which are showing the current state of Hector 9000.

  • New Video and Pictures

    Cadmium03/13/2019 at 11:35 0 comments

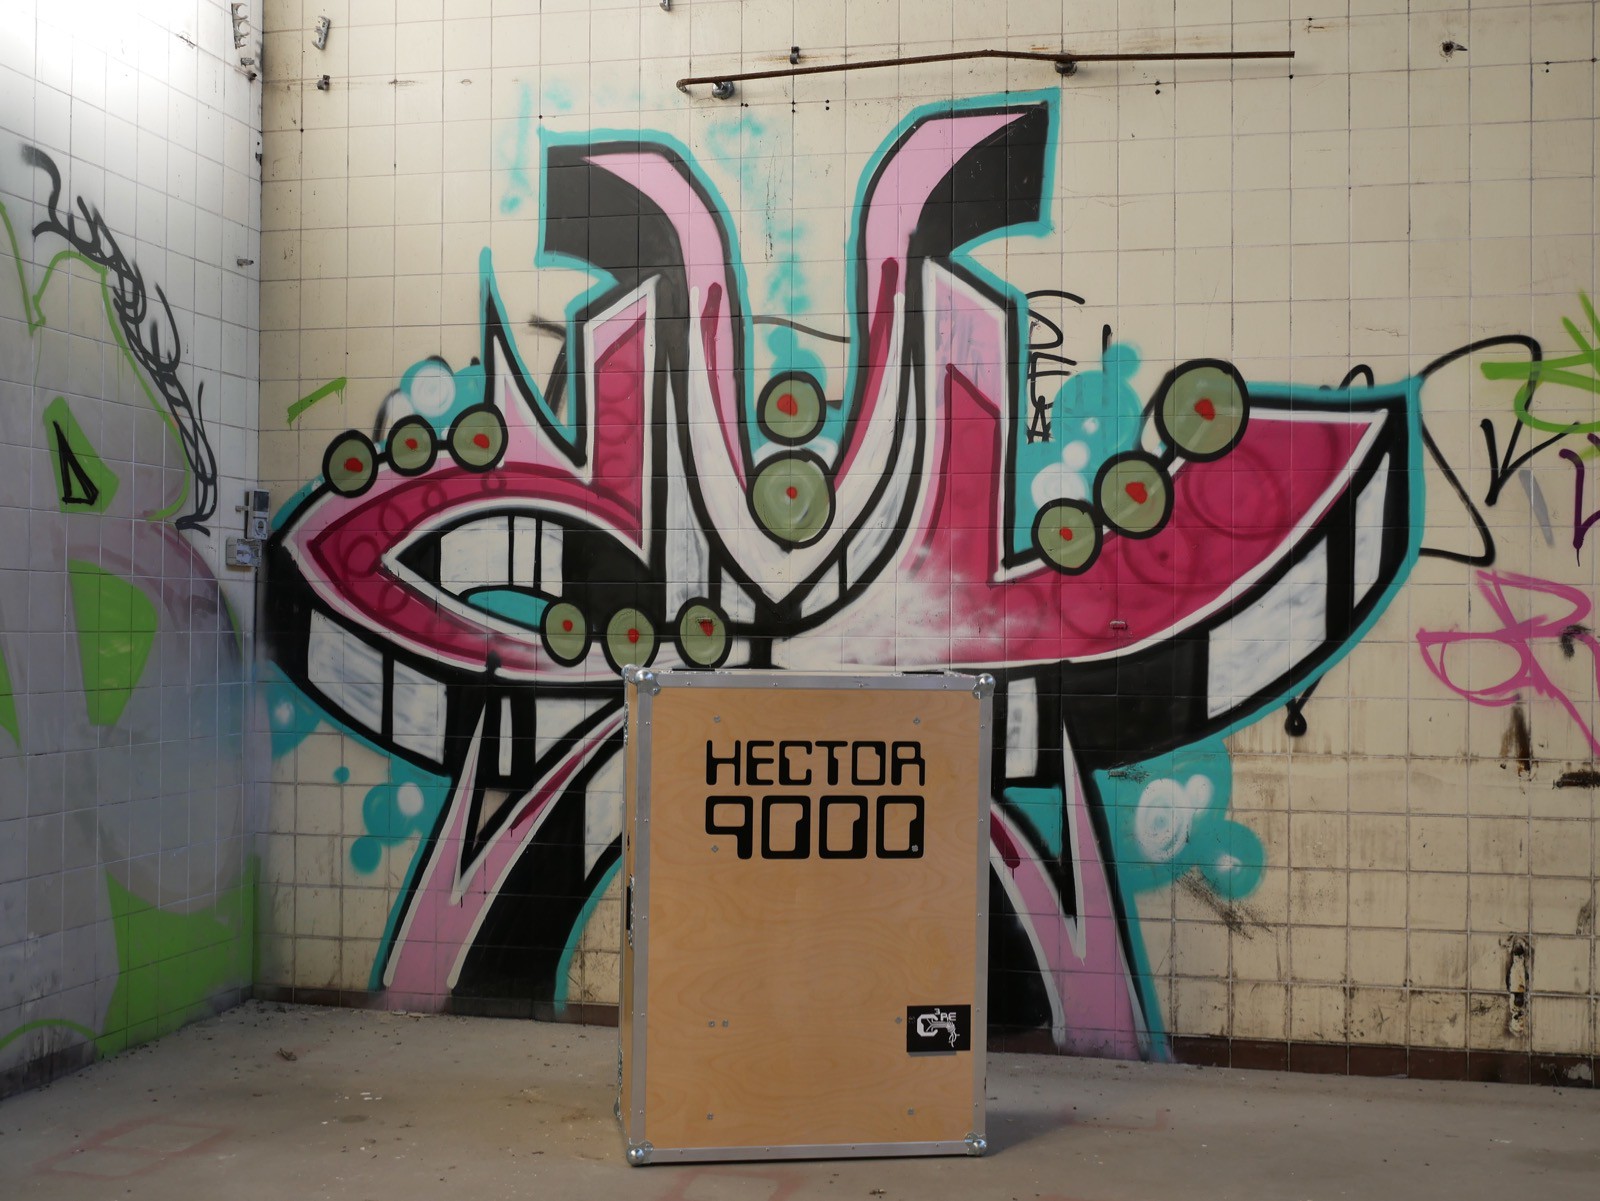
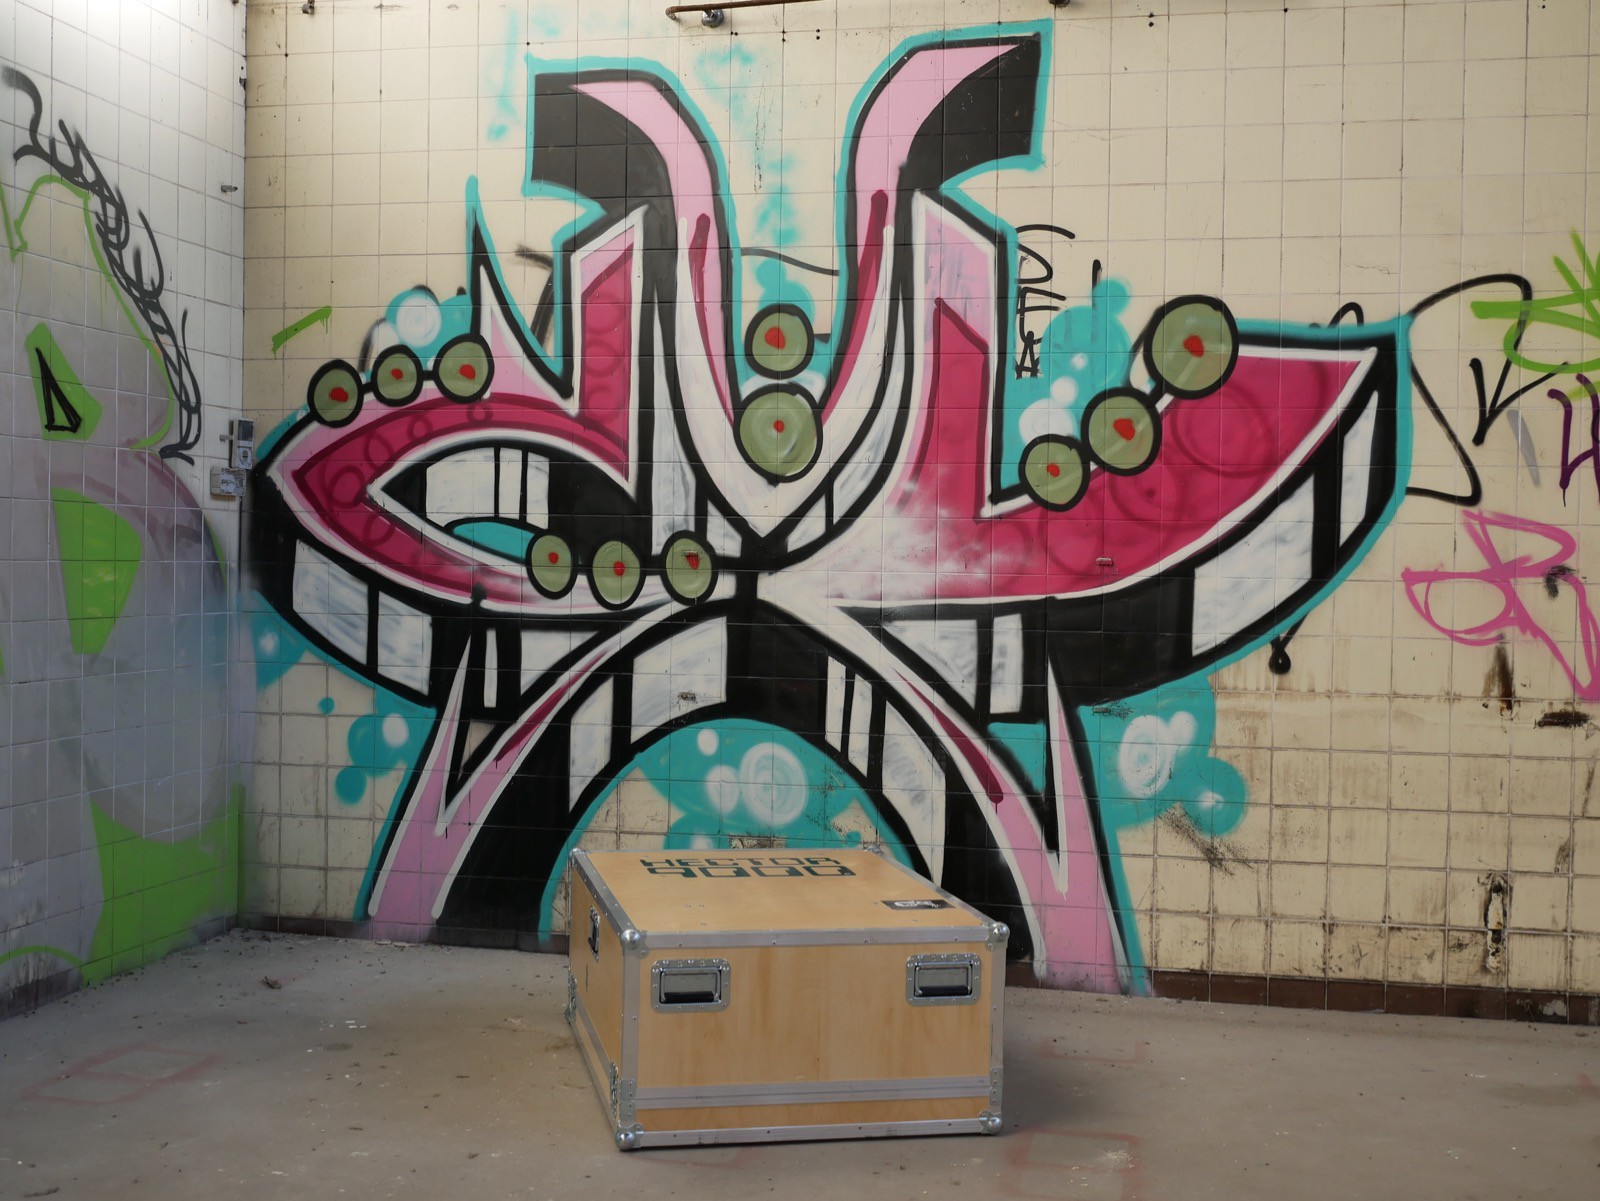
    Meanwhile we made a video and took some pictures which we want to share with you. We will publish the content within the next week. Today I will start with the video and some pictures of our flightcase.


  • EZ-to-assemble™ Cam

    Cadmium02/07/2019 at 19:58 1 comment

    We got some feedback from people which are building their own Hector 9000.

    Thank you very much for the feedback!

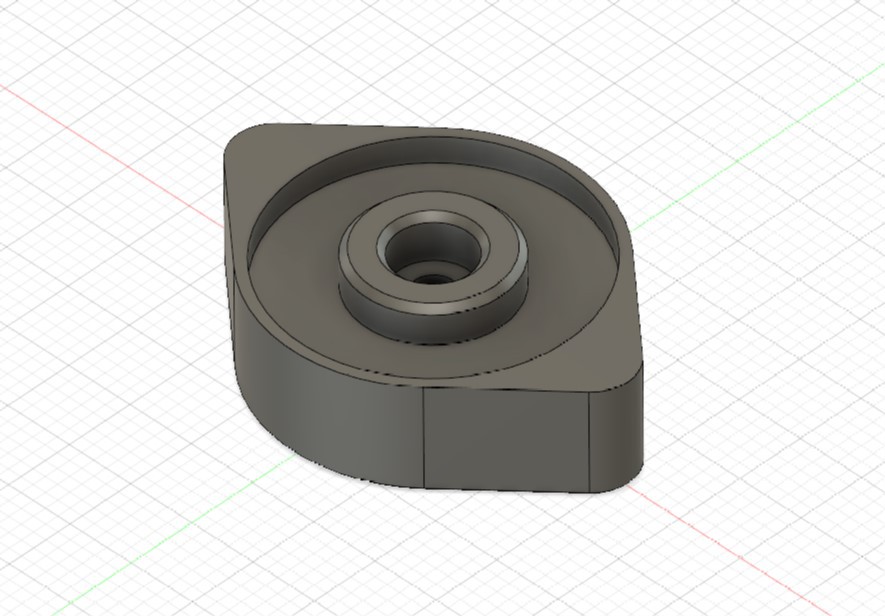
    Some of you pointed out that it is very much work to assemble the valves, because it is neccessary to customize the diameter of the original servo horns. So we tried to create a cam which you could directly mount to the servo shaft.

    Because it is nearly impossible to print the splines of the servo shaft with an ordinary FDM printer, we think it could be possible to press a cam directly onto the shaft and secure it with a M3 bolt. We propose to use PETG or ABS for the print.

    Unfortunately our printer is down for maintenance so we could not test the design. If you decide to try the new cam, it would be nice to get some feedback. You will find the .stl file for the cam in the download area as a single file (not included in the stl archive).   

View all 15 project logs

  • 1
    Download the files

    Download the files on github.com and hackaday.io

  • 2
    Print the parts

    Additional information can be found in the documentation

  • 3
    Build a case

    Be creative. Consider the size for transportation and the possibility for upgrades.

View all 6 instructions

Enjoy this project?

Share

Discussions

space-x wrote 09/07/2019 at 00:49 point

Hi, I like that machine and I am definitely going to rebuild it. But I am a little bit lost, where is the link to the S/W on Github? There is just the generic link to Github.

My next question would be about how many cocktails are possible and what are the 12 basic liquids the machine is supporting/requiring?

(I guess that is part of the S/W legend which links to my first question)

thanks in advance and

cheers

Uwe

  Are you sure? yes | no

DevTown wrote 09/07/2019 at 19:30 point

Hi Uwe,

the link at the top of the Page is a direct link to our project on github. 

Else use this: https://github.com/H3c702/Hector9000

The 2nd question is no so easy. At the moment we do not deliver a mass of drinks (5 in this state I think). But you can add more to your bot when you edit the drinks.py ;-)

Hope I could help.

  Are you sure? yes | no

jocamel wrote 09/13/2019 at 16:37 point

Hi, I think I managed about 96 drinks from 12 Ingredients.Try if you can get more
https://makemeacocktail.com//recipes/s/?mybar=1

  Are you sure? yes | no

space-x wrote 09/17/2019 at 05:37 point

Hi jocamel,

Thank you for this link. It is a perfect tool to get a choice of what is possible with a certain set of ingredients. Would you mind to disclose which basic 12 ingredients you are using?

Many thanks 

Uwe

  Are you sure? yes | no

jocamel wrote 09/17/2019 at 07:32 point

Looks like I didn´t write it down ;-)
As a start use Gin, Rum, Tequila, Vodka, Cointreau, Orange Juice, Soda Water, Grenadine, Tonic Water, Lime Juice
get to 85 drinks ;-)

  Are you sure? yes | no

schwaigerm wrote 09/05/2019 at 17:40 point

Hallo.

Welches Relais Modul wurde für die Ansteuerung der Pumpe verwendet?

Grüße Michi

  Are you sure? yes | no

Meru wrote 08/27/2019 at 11:33 point

Hallo habe mal wieder Probleme / Fragen.

Ich habe ein paar Probleme mit dem Drucken

1.       Beim Ventilkörper ist das Innere Maß etwas zu klein so, dass ich meine Servos nicht reinbekomme. Ich habe da mal mit meinen Messschieber gemessen (Toleranz 0.02 mm), Motoren sind bei mir außen 20.02 mm. Bei einen Probeausdruck aus PLA habe ich innen 20 mm (könnte man noch schleifen), mit meinen PETG was ich für die Ventile nehmen möchte, habe ich nach einem Probeausdruck 19 mm Innen.

2.       Beim Display Deckel und Unterseite habe ich das Problem das mein Drucker nicht genug Volumen hat (150x150x150 mm), so dass ich es nicht an einem Stück drucken kann.

Deshalb die Frage, besteht die Möglichkeit auch die original Dateien freizugeben und wenn ja mit welchen Programm sind die erstellt wurden.

Die Bearbeitungsmöglichkeiten von STL sind ja nicht so gut. Hab es schon in Freecad umgewandelt aber das, dass dann alles aus 3 Ecken besteht….

3.       Auch die Stöpsel machen mir Sorgen. Ich habe mehrere mit PLA gedruckt (10 % infill und 0,3 mm Sichthöhe), sind sie leider leicht undicht, in PETG (40% infill und 0,2 Schichthöhe) ist zu mindestens bei einem Probedruck sogar noch undichter. Die Undichtigkeit scheint an der Unterseite des Kopfes zu sein.

Hat da jemand irgendwelche Tricks, wie man sowas dicht drucken kann.

Könnte natürlich die Teile Lackieren, dann sind die auch dicht, sofern der Lack hält. Aber das ist ja auch nicht so Sinn der Sache. Habe auch mal mit 100% infill gedruckt, ist nicht wirklich praktikabel. 

Die Messingrohre hab ich jetzt einfach mit meine Lötstation eingeschmolzen.

Natürlich auch noch eine Idee / Verbesserungsvorschlag

Das Abteil für die Flaschen sollte gekühlt werden. Dazu kann man eine alte Kühlbox ausschlachten und dort das Kühlelement recyceln, ist alles in der Regel 12 V.

Gruß Meru

  Are you sure? yes | no

Meru wrote 09/08/2019 at 19:28 point

zu 1. und 2.

Habe mir den Ventilkörper inzwischen in Freecad nachgebaut...hab die Ma0e 4 mal ändern müsse bevor es mit Brauchbaren Maßen aus meinen Drucker kam....Muss das Ding mal richtig einstellen, hab einfach zu viel Ausschuss.

Das Display werde ich auch noch hinbekommen.

Aber wenn jemand noch einen Heißen Tip hat wie ich Stöpsel dicht bekomme...ansonsten mache ich die mit einen breiten Lötkolbenmeisel dicht.... :)

  Are you sure? yes | no

jocamel wrote 08/20/2019 at 08:49 point

Rohzustand meines Gehäuses!
Jetzt erstmal prüfen, ob alles montierbar ist. Weitere Ansicht folgt


https://photos.app.goo.gl/zVbtXVLQvkUBe5AZ8

  Are you sure? yes | no

green2034 wrote 08/05/2019 at 06:48 point

Hallo,

ich würde mich freuen, wenn ihr etwas mehr vom Gehäuse berichten würdet.

1. Welche Aluminium Profile habt ihr benutzt?

In der Doku steht 25mm, aber es gibt ja viele Varianten : Vierkant, L Profil, usw.

2. Welche Maße hat das Gehäuse?

3. Wo habt ihr die Teile fürs Gehäuse best bestellt?

Besten Dank!

Daniel

  Are you sure? yes | no

green2034 wrote 08/19/2019 at 04:41 point

Wollte nochmal an meine Fragen erinnern. 😊

  Are you sure? yes | no

jocamel wrote 08/21/2019 at 04:34 point

Kann leider nicht helfen, wie Du oben siehst, habe ich meines aus Stahlblech gefertigt.

  Are you sure? yes | no

Meru wrote 08/27/2019 at 11:42 point

https://products.alfer.com/Produkte/Eisenwaren/combitech-System-connect-23-5-mm/

Schau dir dass mal an, die 23,5 gibt es auch auch in Kunststoff und dann kann auch Holzplatten nehmen, ist günstiger als Alubleche.

Edit: Ein paar fürchterliche Fehler korrigiert, die meine Rechtschreibkorrektur reingezaubert hat....  

  Are you sure? yes | no

Cadmium wrote 09/16/2019 at 18:40 point

Hello,

we purchased our profiles from alusteck.de.

They offer nice systems for building things with aluminium frames.

  Are you sure? yes | no

koppmax wrote 08/03/2019 at 08:19 point

Hallo Ich habe große Schwierigkeiten die Software zu "Starten".

Ich bin kein Programmierer und habe leider nicht genug Kenntnisse um alle Vorgänge richtig zu verstehen. 

Bei GitHub habe ich alle Anweisungen gefolgt und bin zum Teil auch auf Fehlermeldungen gekommen und weiß auch nicht so recht wie ich die Anwendung starten soll, so dass ich was im Display sehen kann.

Momentan habe ich den Aufbau mit dem RaspberryPi 3B + 7" Touch-Display gemacht um die Software zu verstehen (weil ich nicht viele Kenntnisse habe) und komme leider nicht weiter, das Frustriert mich. Ich würde gerne Hector zum laufen bekommen da ich das Konzept richtig gut finde.

Könnte mir vielleicht jemand eine fertige Image geben, mit der ich arbeiten kann, bzw. dass das Programm Starten kann.

Danke im voraus

Max

  Are you sure? yes | no

DevTown wrote 08/05/2019 at 17:01 point

Ok ich glaube da fehlt noch was an der Anleitung auf Github. Ich schaue 1. das ich noch beschreibe wie das Tool dann zu starten ist und 2, dass wir noch ein Image von unserem Hector machen wie er momentan läuft. Zudem versuchen wir für zukünftige Releases direkt ein Image mitzuliefern.

  Are you sure? yes | no

jocamel wrote 08/06/2019 at 13:34 point

Was vor allem fehlt ist der Hinweis, dass die Hardware einzeln installiert werden muss ;-)
Wenn man das befolgt, läuft es aber soweit.

  Are you sure? yes | no

jocamel wrote 08/07/2019 at 07:46 point

Wenn Du die richtige Hardware installiert hast, musst Du den Schritten des finalen aufbaus folgen. D.h. die Gabellichtschranke muss z.B. ein Signal geben, nachdem der Servo gedreht hat, sonst hängt es da

  Are you sure? yes | no

Alexander Stielau wrote 08/18/2019 at 14:26 point

Ich hab ein paar mehr Notizen gemacht, baue gerade das Projekt nach. Wenn man auf einem frischen Raspi von null anfängt, gehen ein paar Dinge nicht ganz automatisch, z.B braucht Kivy eine config, damit das Touch funktioniert.

Guck mal rein, vielleicht hilft dir das ein bißchen weiter: https://github.com/alesti/iso9001/blob/master/installation-notes.md

Da findest Du auch, wie ich die einzelnen Komponenten auf Funktion getestet habe.

  Are you sure? yes | no

Franz Bozsak wrote 09/22/2019 at 10:49 point

Vielen Dank für die Notizen! Bin auch gerade dabei Hector 9000 nachzubauen und das hilft!

  Are you sure? yes | no

sebi wrote 08/02/2019 at 17:59 point

Great project!!!


is it possible that you share a image of the software?  I think people with less softwareskills get some problems.

  Are you sure? yes | no

DevTown wrote 08/05/2019 at 16:54 point

At the moment we do not have one BUT 1st for the next release we will try to roll out one with every release and 2nd we will have a look at our Hector and try to get a image out of it :-) We will post here when it will be live.

  Are you sure? yes | no

jocamel wrote 08/01/2019 at 11:12 point

Mein Gehäuse wird diese Woche kommen, alle Teile sind gedruckt, dann kann es endlich losgehen!

http://wensing.dyndns.org:8000/f/2bd898a37f/?raw=1

  Are you sure? yes | no

Cadmium wrote 08/02/2019 at 05:41 point

Nice! I hope you will show us some pictures of the finished enclosure.

  Are you sure? yes | no

Meru wrote 08/04/2019 at 11:03 point

Looks Great :)

Baust du das Gehäuse selber oder lässt du es bauen?

  Are you sure? yes | no

DevTown wrote 08/05/2019 at 16:56 point

Nice . Das schaut sehr gut aus. Bin gespannt wie es fertig ausschaut :-)

  Are you sure? yes | no

Alexander Stielau wrote 08/18/2019 at 14:50 point

Da sieht geil aus, aber auch riesig, wenn man es transportieren muss. Ein Tipp: mach das Netzteil irgendwo nach oben, wo nie nicht unter keinen Umständen Flüssigkeit hinkommen kann und nicht unter den Tisch :D

  Are you sure? yes | no

Meru wrote 07/29/2019 at 17:41 point

Hallo ersteinmal,

Ich habe folgende Fragen / Verbesserungsvorschläge / Kritik.

Ich schreibe auf deutsch hier, weil mein „Wall of Text“ sonst zu kompliziert und unverständlich würde.

——————————————————

Fragen:

1. Welche Maße habt ihr für die Rückwand genommen (Wo die Ventile eingebaut sind), damit ich einen Anhaltspunkt habe?

2. Wo bekommt man die Hutschinenklemmen mit den Sicherungen her die man auf dem Bild sieht? 

3. Habt Ihr die 2. Druckluftpumpe eingebaut damit die Gläser schneller voll werden? Auf den Video zieht es doch richtlangsam aus.

4. Wie wird Überdosierung vermieden, wenn zb, die Waage 50 g Ouzo gemessen hat, gehen die Ventile doch nicht so schnell zu. Muss man   das bei den Rezepten berücksichtigen? Oder gibt es eine Kalibrierung Einstellung um den Nachlauf einzustellen?

——————————————————

Verbesserungsvorschläge:

Für die Flaschenkappen gibt es 2 interessante Alternativen auf thingiverse. Hier kann man sich eine Flaschenkappe mit Gewinde und Anschlüssen zum selber Drucken laden, man braucht nur noch einen O-Ring als Dichtung. Ich selbst scheitere Momentan nur noch daran das Gewinde zu drucken.

Link1: https://www.thingiverse.com/thing:2445858

Link2: https://www.thingiverse.com/thing:66732

Wenn der Steppermotor NEMA 17 zu heiß wird, kann man sicherlich das Gehäuse mittels kleinen Kühlkörpern so kalt halten das man auch PLA verwenden kann.  (Notfalls auch ein kleiner Lüfter?) (Für die die nur PLA haben)

Für die Gleitlager des Armes / für die Ventilzungen, könnte man auch einfach PET Getränkeflaschen zerschneiden.

Die gibt es ja von haudünn (günstiges Mineralwasser) bis Dick (1,5 l Cola Flasche). Die Zunge einfach auf länge und breite schneiden, unteres Ende ca. 170° Biegen, in das Ventilgehäuse Stecken und mit einen kleinen 3-eckigen Keil festklemmen.

Beim Arm einfach an den Stellen wo es gleiten soll dünner drucken und dann PET streifen einlegen und ankleben bzw. Schlitze vorsehen wo man die Streifen einklemmen kann.

Für den Druckluftverteiler gibt es für den Aquariumbedarf Luftverteiler mit kleinen Ventilen zum Abdrehen (Auch in einer 12 Anschlüsse Version).

——————————————————

Kritik:

Bei den Kosten habt Ihr ganz schön tiefgestapelt.. 300€ ohne Gehäuse, ja aber da fehlt auch noch das Geld für das Elektrozeug (Kabel, Stecker, Befestigung), sowie Befestigungsmaterial (die ganzen Schrauben), von den Kosten für das 3D Druck Filialen ganz zu schweigen.

Eine Aktualisierung der Anleitung auf den neusten Stand wäre auch nicht schlecht. Auf den Bildern der Seite und in der Make kann man entnehmen das so einiges Neu dazugekommen ist.

Die Druckdateien für den Verteiler könnte man auch noch einfügen für diejenigen die komplett alles Drucken wollen.

Die Beschreibung der Software bzw deren Anwendung..besonders der neuen Module wäre für Leute wie mich, die keine Ahnung von Pyton / Rasberrry / Linux haben wünschenswert. Ich hab zwar die Oberfläche zum laufen bekommen, aber ich schaue auf den Rest wie ein Ochse auf das neue Scheunentor.

Gruß M

  Are you sure? yes | no

Cadmium wrote 07/30/2019 at 06:38 point

1. Welche Maße habt ihr für die Rückwand genommen (Wo die Ventile eingebaut sind), damit ich einen Anhaltspunkt habe?

ca. 70x60cm

2. Wo bekommt man die Hutschinenklemmen mit den Sicherungen her die man auf dem Bild sieht?

Die Klemmen sind von Wago, erhältlich u.a. bei Voelkner.

3. Habt Ihr die 2. Druckluftpumpe eingebaut damit die Gläser schneller voll werden? Auf den Video zieht es doch richtlangsam aus.

Ja, es war ein Versuch. Hat leider nicht viel gebracht, daher wird die zweite Pumpe demnächst wieder ausgebaut

4. Wie wird Überdosierung vermieden, wenn zb, die Waage 50 g Ouzo gemessen hat, gehen die Ventile doch nicht so schnell zu. Muss man   das bei den Rezepten berücksichtigen? Oder gibt es eine Kalibrierung Einstellung um den Nachlauf einzustellen?

Die Ventile schließen sehr schnell. Es laufen nur wenige Tropfen nach, auf eine Kalibrierung haben wir verzichtet.

Flaschenkappen mit Gewinde haben wir beim Vorgänger verwendet. Auf die meisten Softdrinks passen Deckel mit einem DIN 28 Gewinde, speziell bei Spirituosen gibt es  aber sehr viele verschiedene Gewinde. Da wir Hector unterschiedlich bestücken möchten, müssten wir einen Sack voll unterschiedlicher Deckel vorhalten. Es erschien uns daher einfacher mit einem universellen Stopfen zu arbeiten. So können wir außerdem Flaschen anschließen die mit einem Korken verschlossen sind und gar kein Gewinde haben.

Vielen Dank für die Anregung mit den PET Streifen und dem Luftverteiler. Das könnte man sicherlich ausprobieren. Bei unserer Konstruktion lag allerdings ein Schwerpunkt darin, möglicht viele Teile selbst zu konstruieren und zu drucken.

Bei den Kosten habt Ihr ganz schön tiefgestapelt.. 300€ ohne Gehäuse, ja aber da fehlt auch noch das Geld für das Elektrozeug (Kabel, Stecker, Befestigung), sowie Befestigungsmaterial (die ganzen Schrauben), von den Kosten für das 3D Druck Filialen ganz zu schweigen.

Ganz schön tiefgestapelt finde ich die Kosten nicht:

RasPi + Monitor ca. 100€

Servos + Stepper ca. 75€

Pumpe (12V) ca. 60€

Waage ca. 10€

Netzteil ca. 20€

Filament ca. 20€

Summe: 285€

Kosten für Kabel sind nicht mit drin, da die Menge stark von dem Gehäuse und der Kabelführung abhangt. Auf welche Kosten kommst Du denn?

Eine Aktualisierung der Anleitung und Druckdateien werden wir bestimmt noch vornehmen. Im Projektteam leiden leider alle an chronischem Zeitmangel.

  Are you sure? yes | no

Meru wrote 07/30/2019 at 20:33 point

Hallo, 

vielen Dank für die Antworten, dass hilft mir schon mal weiter.

Das mit den Stopfen stimmt natürlich, die sind viel Flexibler.

-----------------------

Noch eine Frage. Was für eine Gabellichtschranke habt ihr genommen, würde mir gerne eine besorgen die gleich an den Halter passt.

-----------------------

Noch ein paar Verbesserungsvorschläge oder Nachbauideen :

Hier ist noch ein Strohhalm Spender, den ich mir auf jeden Fall noch anbaue:

https://www.thingiverse.com/thing:1579192

Bei thingiverse gibt es auch noch Elektromechanische Becherspender und Strohhalmspender. Dann könnte man einen Schwenkbaren Arm machen der erst einen Becher aufnimmt, dann in die Mitte schwenkt und dort der Becher gefüllt wird, dann wieder schwenkt und dort ein Strohhalm in den Becher gespendet wird.

Aber ich werde das Ding erstmal normal bauen....Das sind dann erstmal Erweiterungen die ich mache wenn ich den Automaten zum laufen gebracht habe.

-----------------------

Mit den Kosten muss ich mal schauen, hab noch nicht alle Teile zusammen. Aber der Silikonschlauch 30 m für min.2€/m kommt ja auch noch dazu, sowie die Servoansteuerung, Schrauben etc., das Kostet zwar nicht viel aber summiert sich auch auf. 

Ich muss nur noch 75% der Teile Drucken, dann brauch ich noch etwas Elektroverkabelung, Lichtschranke sowie Gehäusematerial und natürlich Schnaps….

  Are you sure? yes | no

DevTown wrote 07/30/2019 at 20:33 point

Dann melde ich mich mal zum Thema Software zu Wort:

Wie Cadmium schon geschrieben hat sind unsere Probleme gerade etwas in der Zeit definiert. Daher kommt es dazu, dass die Doku etwas nach hinten verschoben wurde.

Nicht unbedingt glücklich das stimmt.

Im Moment sitzen wir daran, das gesamte Backend neu zu ordnen und dazu auch das Frontend austauschbar zu machen. Das kostet im Moment etwas Zeit.

Aber danach wird es ein System sein, welches einfacher mit Zusatzmodulen wie Eis etc. klar kommen wird.

Sobald dies fertig und getestet wurde kommt hierfür dann auch eine komplette Dokumentation für 1. die Installation 2. das schreiben neuer Erweiterungen und 3. die Pflege .

Die Form dieser Doku ist leider auch noch nicht ganz fix und somit gibt es noch keinen Termin wann wir damit fertig sind.

Wir streben zudem auch an, dass der Hector in seiner Grundkonfiguration auch mit einem einfachen Skript gestartet werden kann. (Alle Services und das UI werden dann automatisch gestartet). Aber das hat leider eher im Moment eine mindere Priorität für uns.

  Are you sure? yes | no

maurice.demmer wrote 07/22/2019 at 08:14 point

Hallo zusammen,

Hector 9000 hat mein Interesse geweckt!

Ich suche gerade einen geeigneten 3D Drucker.

Hat jemand Erfahrungen mit dem Anycubic I3 Mega?

Welches Filament sollte man für die Bauteile verwenden?

  Are you sure? yes | no

jocamel wrote 07/22/2019 at 14:07 point

Anycubic sollte gehen. Wichtig ist, dass die Bauteile in den Bauraum passen. Als Filament PLA, die Gleitelemente, wie geschrieben besser aus Igus Iglidur Filament.

  Are you sure? yes | no

DevTown wrote 07/24/2019 at 06:24 point

Original sind die Teile auf einem PRUSA I3 MK2 gedruckt worden.

Sollte aber auch mit einem I3 Mega passen ;-)

Als Material PLA oder PETG und für die besonderen Teile wie bereits geschrieben das Material von Igus.
--------------------------------------------------------------------------------------
Original the parts are printed on a PRUSA I3 MK2.
But a I3 Mega should do the job fortunately as well ;-)

For the material PLA or PETG are fine but for the special parts the material from Igus will be a better choise.

  Are you sure? yes | no

Alexander Stielau wrote 07/14/2019 at 09:28 point

Hi, i will try to rebuild your project, i love the scale part (which was my biggest problem in the cocktailmachines i built before) and the overpressure transportation.

I used windscreen wiper pumps in the 1st and dishwasher valves and gravity in the 2nd generation bot, which had different problems - it is not easy to pump sparkling (coke) or floating particle (orange juice) ingredients, and it not easy to meassure the flow rate only by time on gravity flow (and the tanks need to be on a awkward position for the balance point of the bot).
Your design fix these problems in a wonderful way.

In my 2nd gen bot i used big tanks (5 litres each) for all ingredients, so i consider to use bigger tanks at least for the non alcoholic base ingredients (tonic, orange juice, coke, ...) to not too often run out of them as in 1 litre bottles and to get the chance to leave the bot for some minutes longer alone.
(EDITH) After watching the video I am happy that you did that also - no problems with overpressure and (weak) plastic canisters. Great!

And i am thinking about cooling - e.g. building the bottom part as a basin to put the bottles/tanks into crushed ice (which needs something to prevent the tanks not start swimming, if they getting empty). And the construction will be very heavy.

In the 2nd gen i experimented with copper pipes in ice water to cool down the ingredients, but this went never live, too heavy, to much mess.

Yay, thanks for this great template!
Aleks
 

  Are you sure? yes | no

jocamel wrote 07/10/2019 at 13:43 point

I´m testing my hardware now. I found that at the HX711 Breakout Board pins DAT and SCK are mixed.

I need to connect DAT to Pin 29 and SCK to Pin 31 (Corresponding to this: https://tutorials-raspberrypi.com/digital-raspberry-pi-scale-weight-sensor-hx711/)

  Are you sure? yes | no

jocamel wrote 07/08/2019 at 17:12 point

I hope there will be some updates especiially in the software department...

https://makemeacocktail.com/

This is a good start btw to see what cocktails can be made from which ingredients!
Unfortunately the documentation refers to an older revision. Lets see what I can make of it with my super limited Raspy knowledge ;-)

  Are you sure? yes | no

DevTown wrote 07/15/2019 at 06:20 point

Hi jocamel,

yes there are some big updates comming for the software.

The UI will be redesigned and the backend will get some changes too.

So have a look at github to stay up to date.

  Are you sure? yes | no

jocamel wrote 07/15/2019 at 06:34 point

That is great news!
Currently I finish off the housing, components arrived and are in test now

  Are you sure? yes | no

jocamel wrote 07/08/2019 at 09:15 point

Hello guys!
I like your approach to the bartender robot. I ordered all components and will build one soon.
Is it possible you also share CAD files of the Lasercutparts? That would ease up my own design.
I also noticed the Relais to control the pump is not on the list. and... You have two pumps now?

  Are you sure? yes | no

Cadmium wrote 07/09/2019 at 06:51 point

Thanks for your comment. Within the next week I will check the parts list and upload the file for the lasercut covers. The two pumps are experimental, we learned that the second pump brings no benefit, thus it is useless and will be removed.

  Are you sure? yes | no

green2034 wrote 06/24/2019 at 10:11 point

Ein sehr cooles Projekt. Herzlichen Dank für das Teilen der Files.

Könntet ihr vielleicht etwas genauer auf die Verkabelung der einzelnen Komponenten insbesondere der Stromversorgung eingehen: Welche Anschlußkemmen habt ihr benutzt, etc.??

Vielen Dank!!!!

  Are you sure? yes | no

Cadmium wrote 07/09/2019 at 06:47 point

Hi, an der Stromversorgung ist eigentlich nichts Besonderes. Als Netzteil wurde ein PC-Netzteil verwendet, alle Kabel liegen in Kabelkanälen und einige Anschlüsse sind auf Reihenklemmen gelegt. Zusätzlich haben wir für die LED-Strips Reihenklemmen mit Sicherungen verwendet. Die Verbindungen zu den einzelnen Komponenten wurden zum größten Teil mit Crimp-Steckern (DuPont) realisiert.

  Are you sure? yes | no

matze wrote 03/26/2019 at 20:28 point

Hey, habt ihr schonmal das Problem gehabt das auf der Flaschenkappe oben am Schlauch es nicht dicht wird? Es blubbert da voll raus

  Are you sure? yes | no

Cadmium wrote 04/08/2019 at 14:23 point

Hallo, ich möchte mich zunächst für die späte Antwort entschuldigen. Das Problem mit den undichten Flaschenkappen hatten wir in der ersten Generation der Stopfen. Anschließend haben wir die nächste Generation Stopfen mit eingepressten Messingrohren entwickelt. Siehe Project-Log. Mit den Stopfen gab es bisher keine Probleme. Wenn Du die Teile trotzdem zu 100% 3D-drucken möchtest, kannst Du den Extrusionsmultiplikator auf ca. 1.4 stellen. Durch die extreme Überextrusion sollte der Stopfen dicht werden. Ich würde trotzdem davon abraten, da ziemlich viel Material an der Düse verschmiert und Du alle paar Layer die Düse reinigen musst.

  Are you sure? yes | no

Zach wrote 02/19/2019 at 03:53 point

Any plans on a cleaning and/or hygiene routine? I did a similar project in college and one of the more challenging aspects was keeping everything clean.

Also do you need a pinch valve if you are using a peristaltic pump? Or does the pump not create a good enough seal?

  Are you sure? yes | no

Cadmium wrote 03/08/2019 at 10:16 point

There are no mechanical parts in contact with the drinks, thus the cleaning is very easy. You just have to replace your ingredients with bottles which are filled with water & detergent and start the cleaning routine. After that, you fill the bottles with clear water and let the cleaning routine flush the hoses. To dry the hoses, you connect the separate air hoses to the corrosponding liquid hoses and start the cleaning routine again. Depending on air temperature and humidity it takes up to 3h to get the hoses dry. Because you do not have to supervise the cleaning process, the long duration is no problem. Its just like a dishwasher: turn it on and forget.

I think if you build a cocktail machine with peristaltic pumps, you will not need the pinch valves.  

  Are you sure? yes | no

Sung Dz-da wrote 02/15/2019 at 02:52 point

Cool project, any videos?

  Are you sure? yes | no

Cadmium wrote 02/18/2019 at 09:25 point

We do not have any videos yet, but you can find some videos, made by other persons, on Youtube. Just search for Hector 9000.

  Are you sure? yes | no

Julian wrote 02/13/2019 at 17:25 point

Cool project, very impressive! I like the clean design.

  Are you sure? yes | no

Cadmium wrote 02/18/2019 at 09:26 point

Thank you very much!

  Are you sure? yes | no

Similar Projects

Does this project spark your interest?

Become a member to follow this project and never miss any updates