 Norbert Heinz
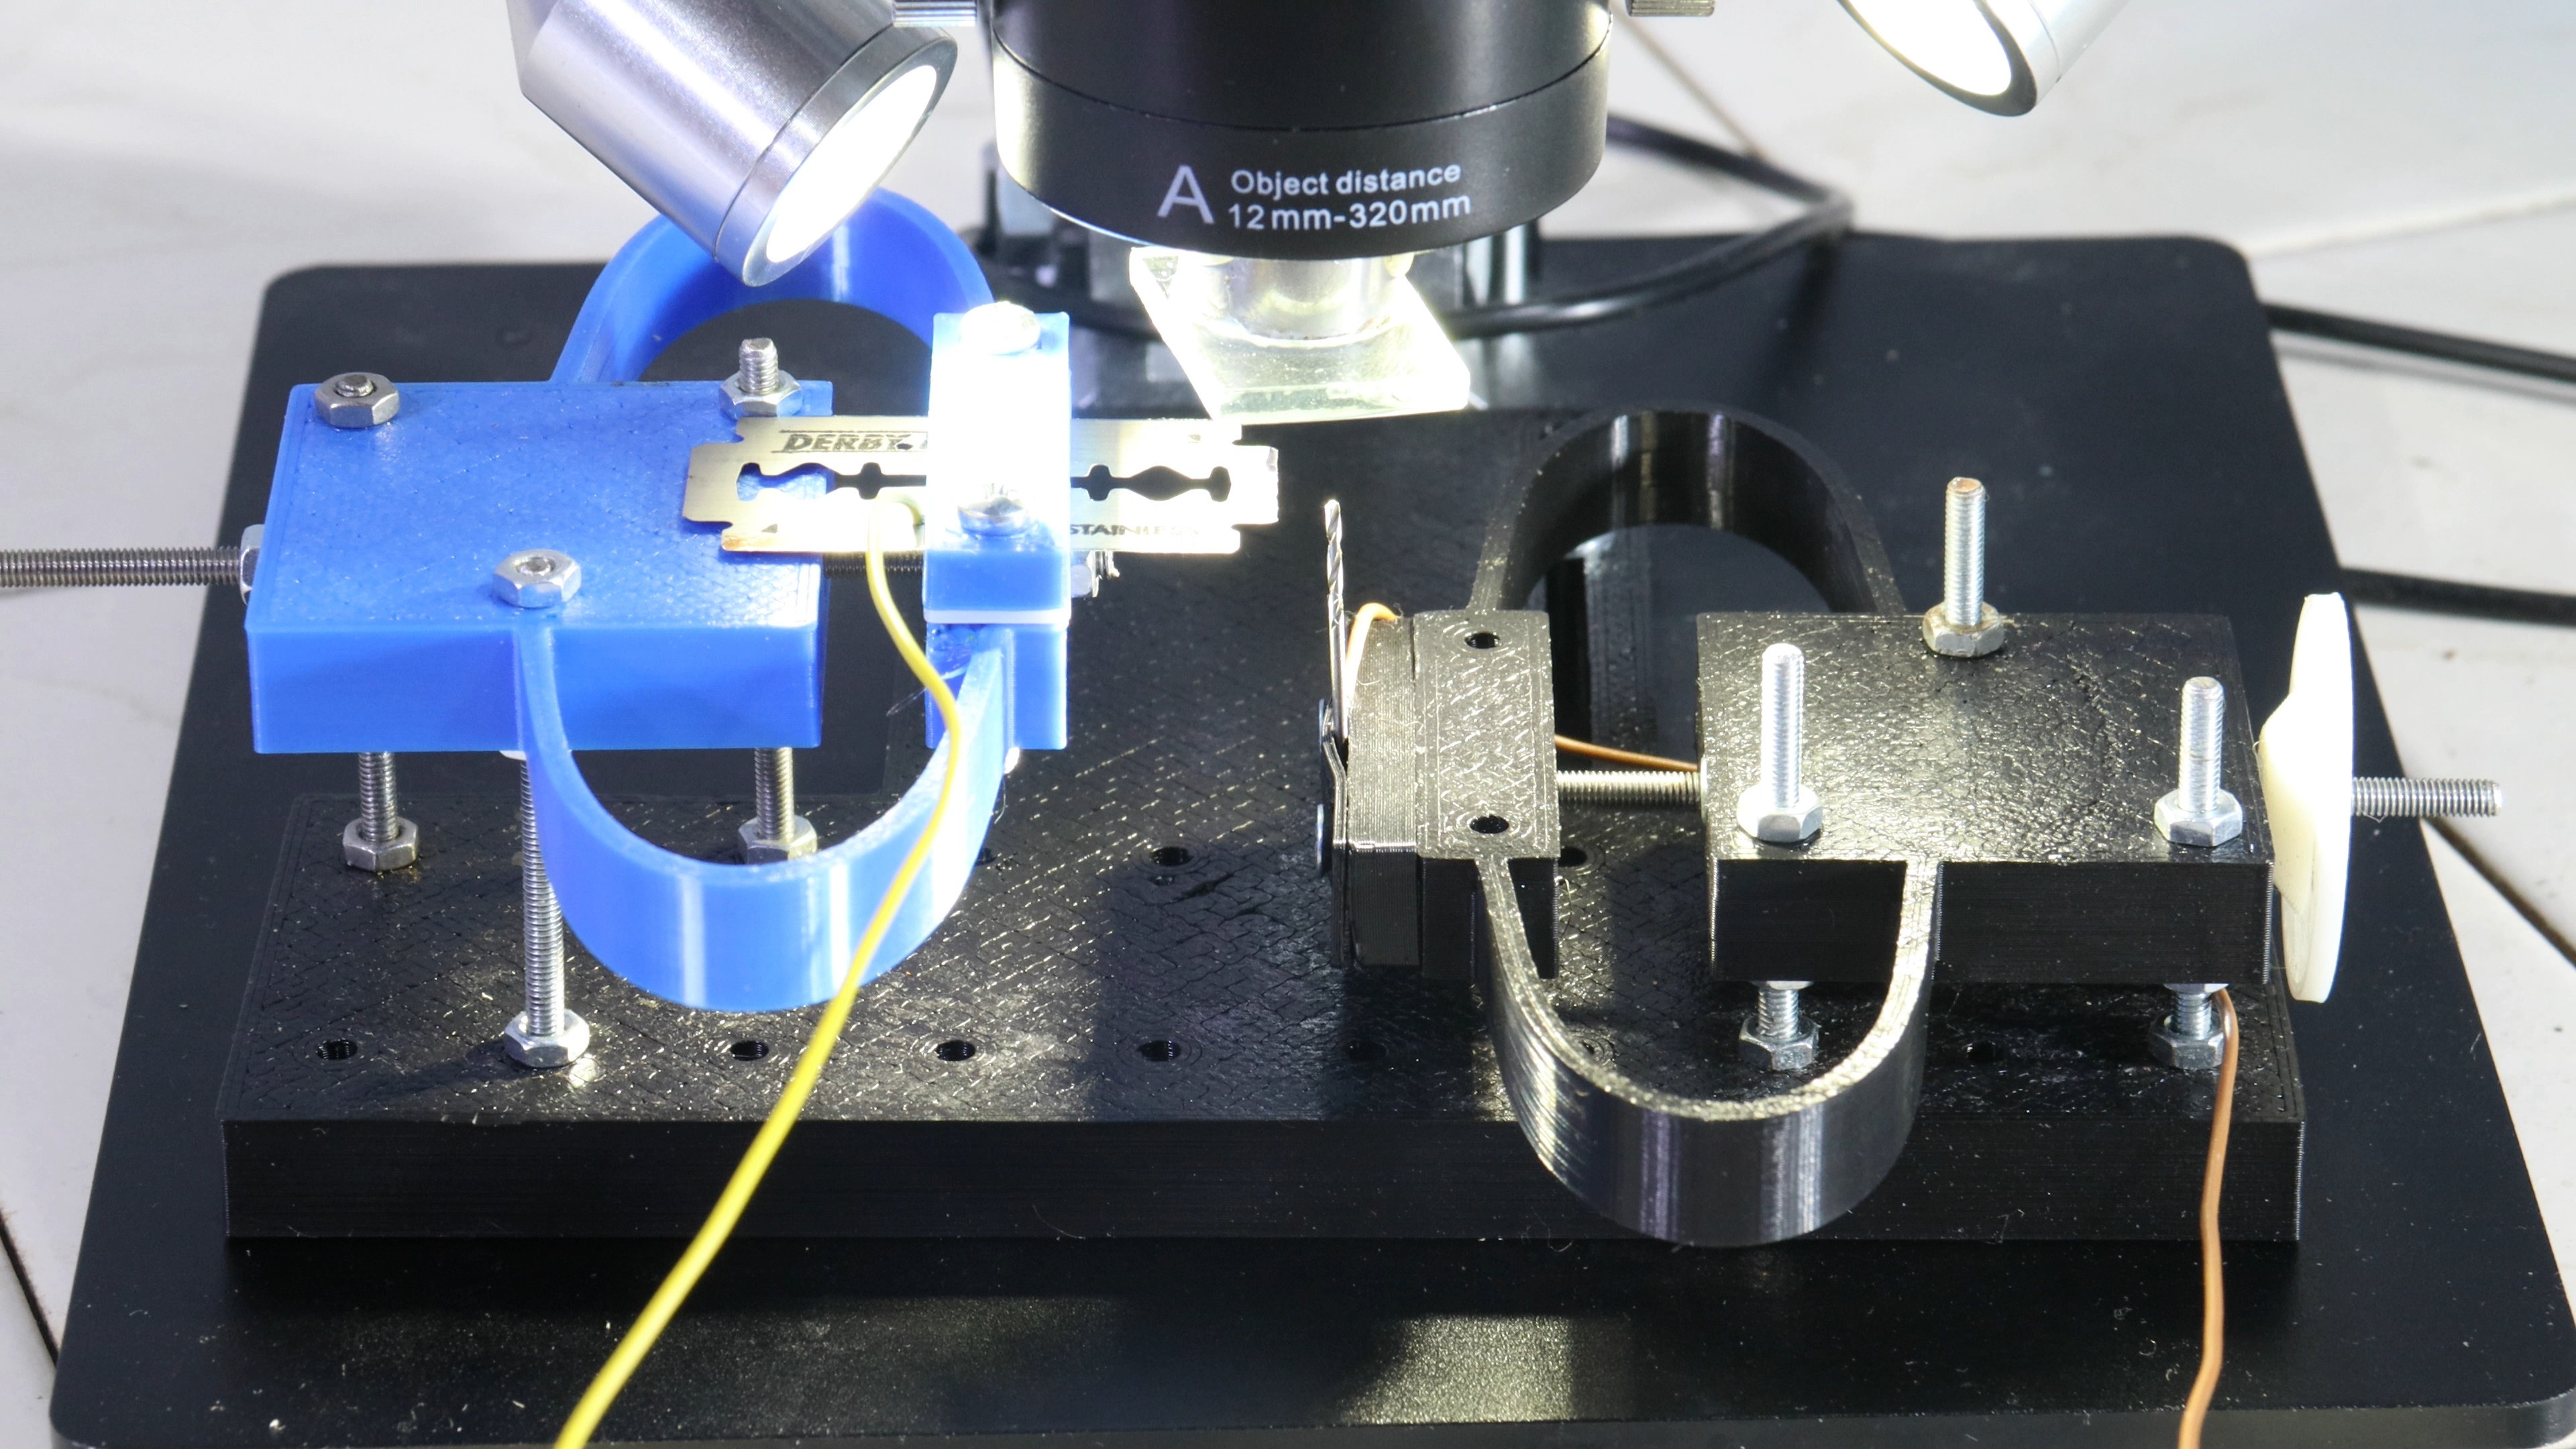
Going from a working, but horrible EDM setup to a useful machine step by step is the aim of this project. With that, all processes running, when eroding metals with sparks will be treated chapter by chapter. Main questions are:
- What happens when a spark hits the workpiece
- The importance of cooling and flushing
- The properties of a spark (plasma)
- Minimum electronic circuits required
- Better electronic circuits
- Electrode materials / what materials can be eroded
- Difference in software control of a CNC machine compared to milling
- All the other questions that will rise when diving deeper into the project...


 johnowhitaker
 Chris Johnson
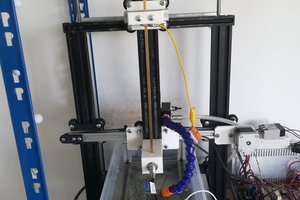
 Dominik Meffert
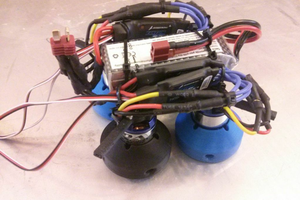
 jellmeister
A fantastic effort on your part. I always wanted to build my own EDM and had some plans on the drawing board for years but it turned out to be low priority so kudos to you for making a start and writing up a great detailed project. The fun is in the doing and learning along the way. There is no substitute for that. If I can be of help in some way let me know. I am relatively new to Hackaday so I am not sure how members get in touch with each other.
Cheers