 avishorp
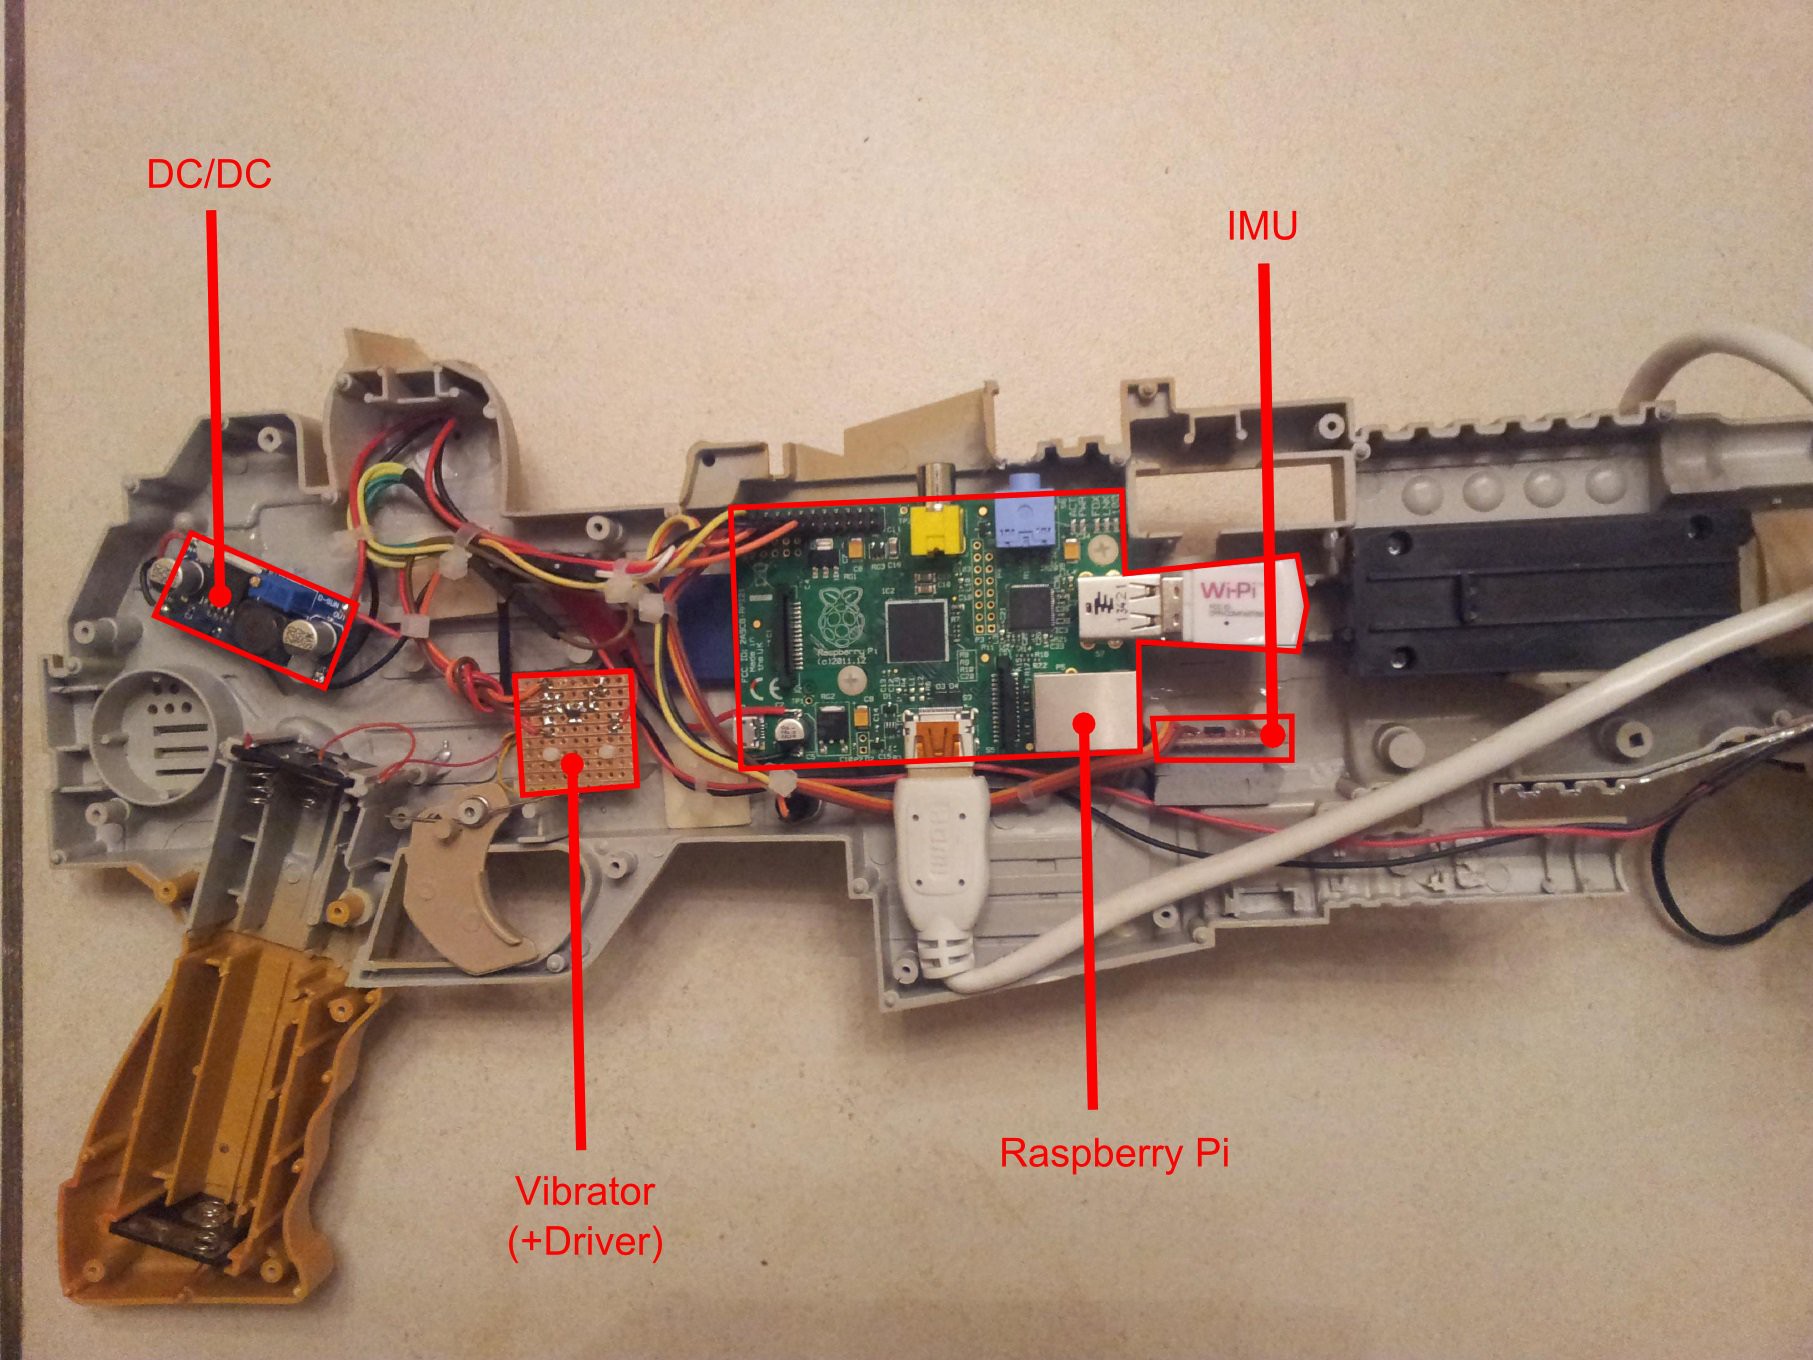
The project is built around a Raspberry Pi (model B). The Pi generates the graphics which is sent through the HDMI connector to a controller board, which is connected by a short flat cable to the LCD panel itself. The GPIO connector is connected to an MPU-9150 breakout board (through the I2C bus, also providing it 3.3V); The trigger of the gun; A 'start' button mounted on the side of the gun; And finally a small cell-phone vibrator which is responsible for the "rumble".
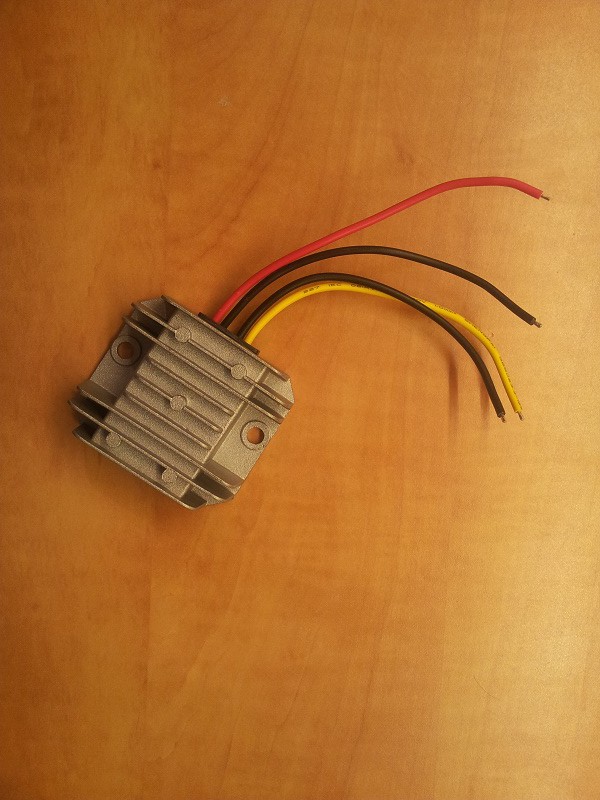
Everything is powered through a LiPo battery (in 3S configuration, giving ~11V) which is reduced to 5V by a simple DC/DC converter.

The layout of the components inside the gun body is shown in the picture below. The LCD and its controller are mounted on the barrel. An HDMI wire and an additional power cord (carrying 5V) connects the body of the gun to the barrel.
The components were connected to the body using short male-female or female-female spacers. One side of the spacer is glued to the body, to create clean, screw-free look. It was first placed using a small drop of Cyanoacrylate ("super-glue") and then surrounded with a fair amount of epoxy. This configuration seem to work very well and give strong and reliable connection.
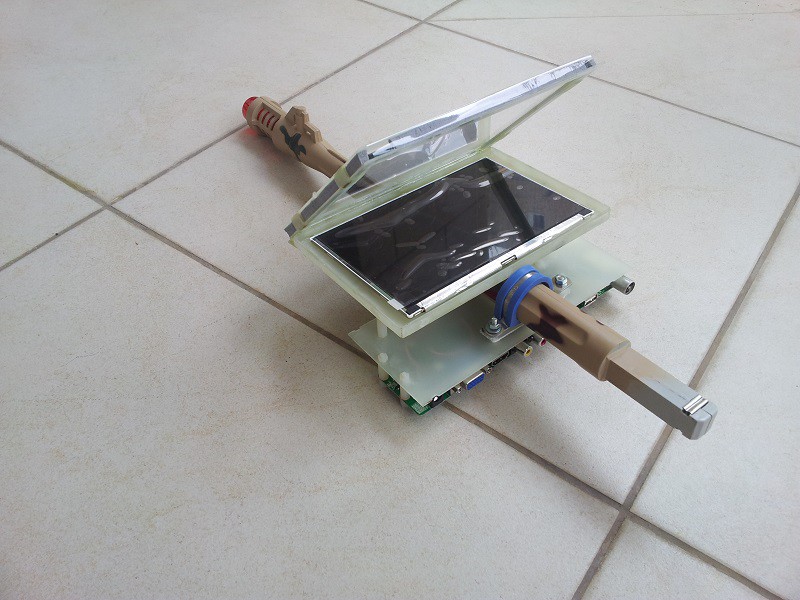
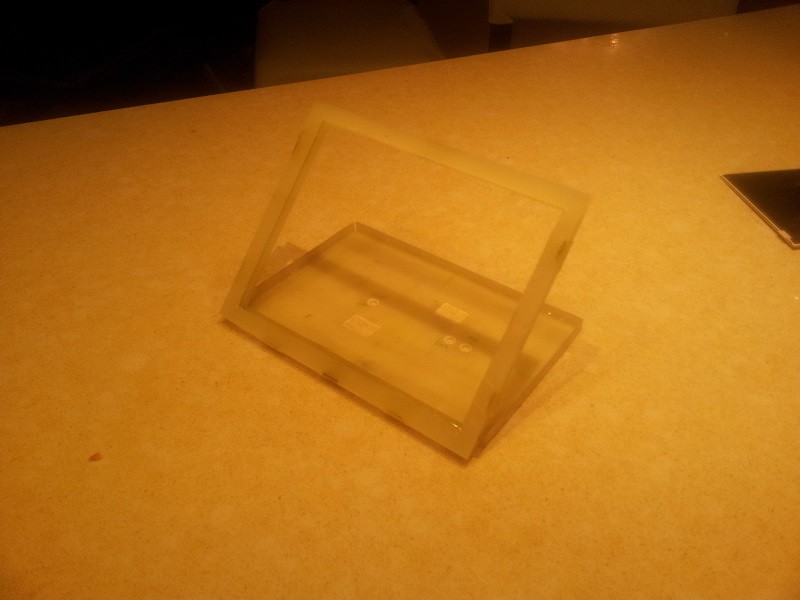
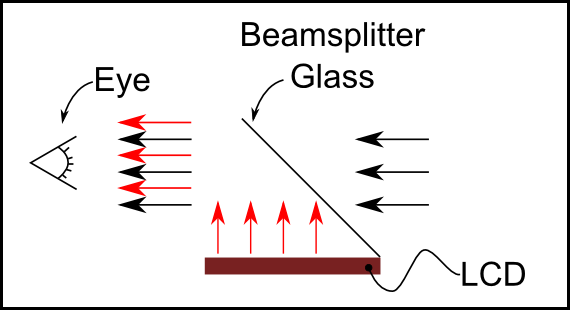
The barrel (which can be removed from the gun body, as seen) holds a glass epoxy structure which holds the LCD panel and the beamsplitter glass. They are placed 45 degrees to each other. The surrounding of the LCD panel is covered by a black painted piece of cardboard (not shown in the picture). The lower side of the barrel holds the LCD controller.


 Johann Elias Stoetzer
 Rodmg
Rodmg
 Josh Starnes
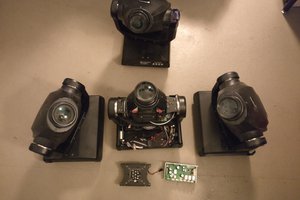
 Thomas
hi
astroids_db.bin and trans.png not found and
i have a mpu9255 but self.data is (0,0,0)
def run(self):
while(self.running):
if self.imu.IMURead():
self.data = self.imu.getFusionData()
time.sleep(self.wait_s)
not read fusiondata