0%
0%
FLED
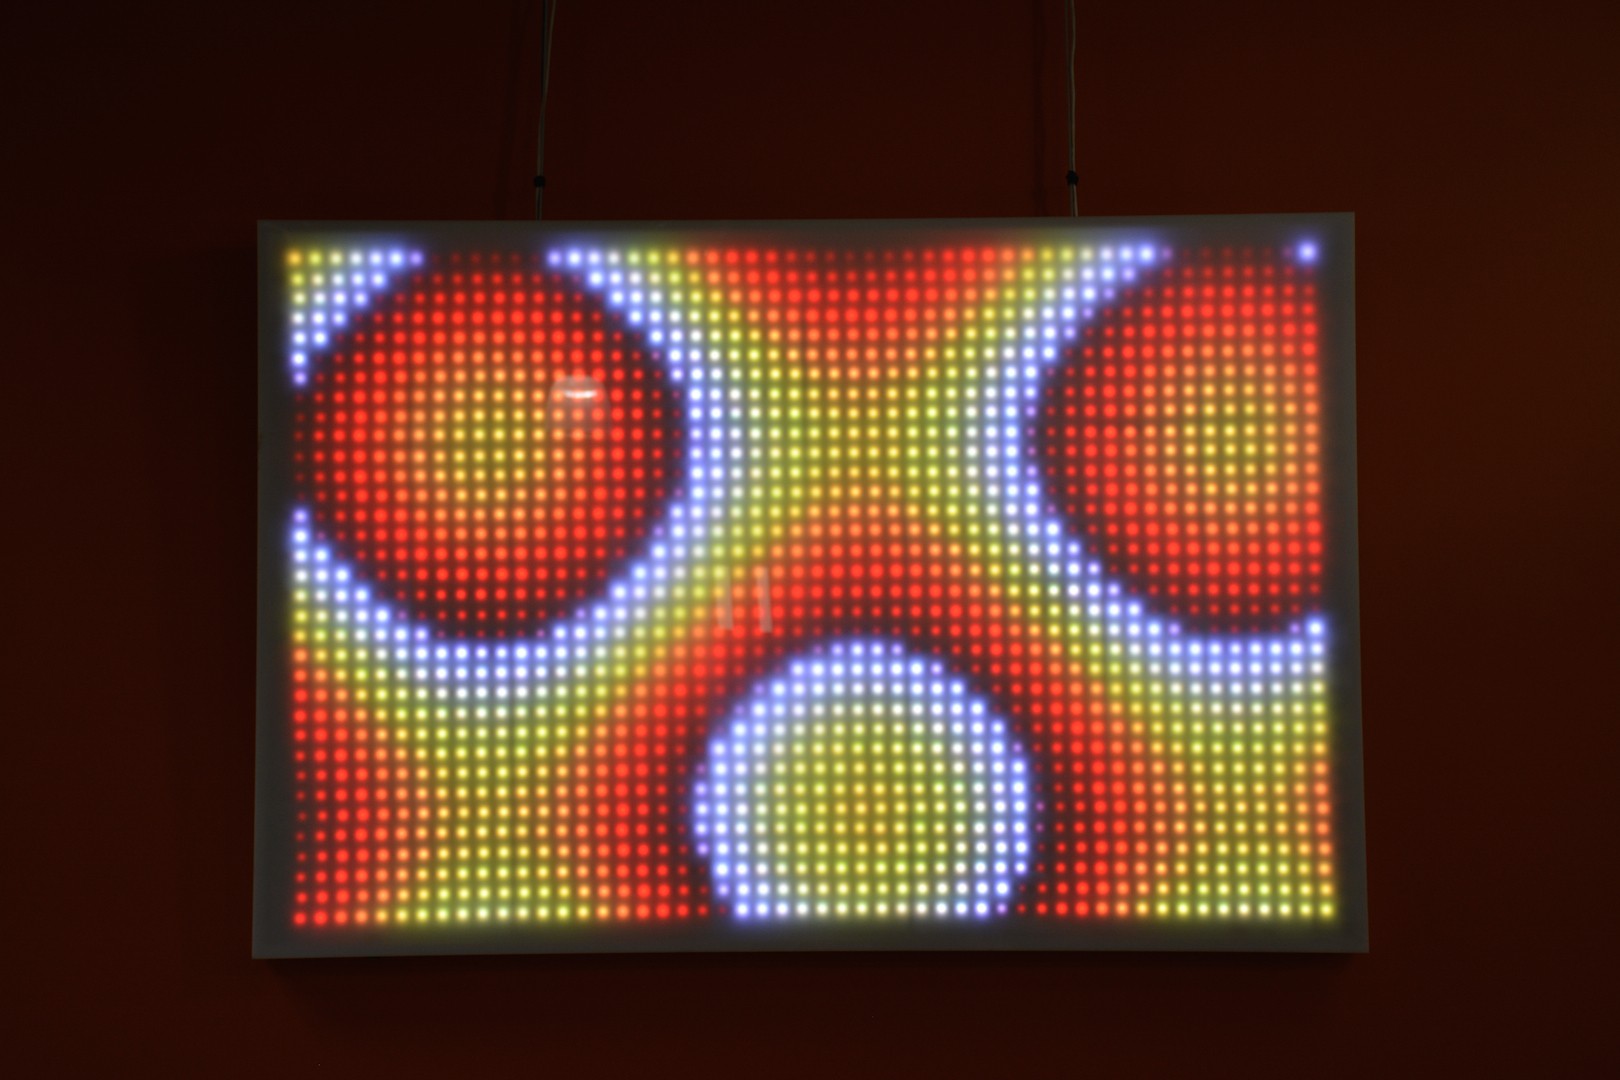
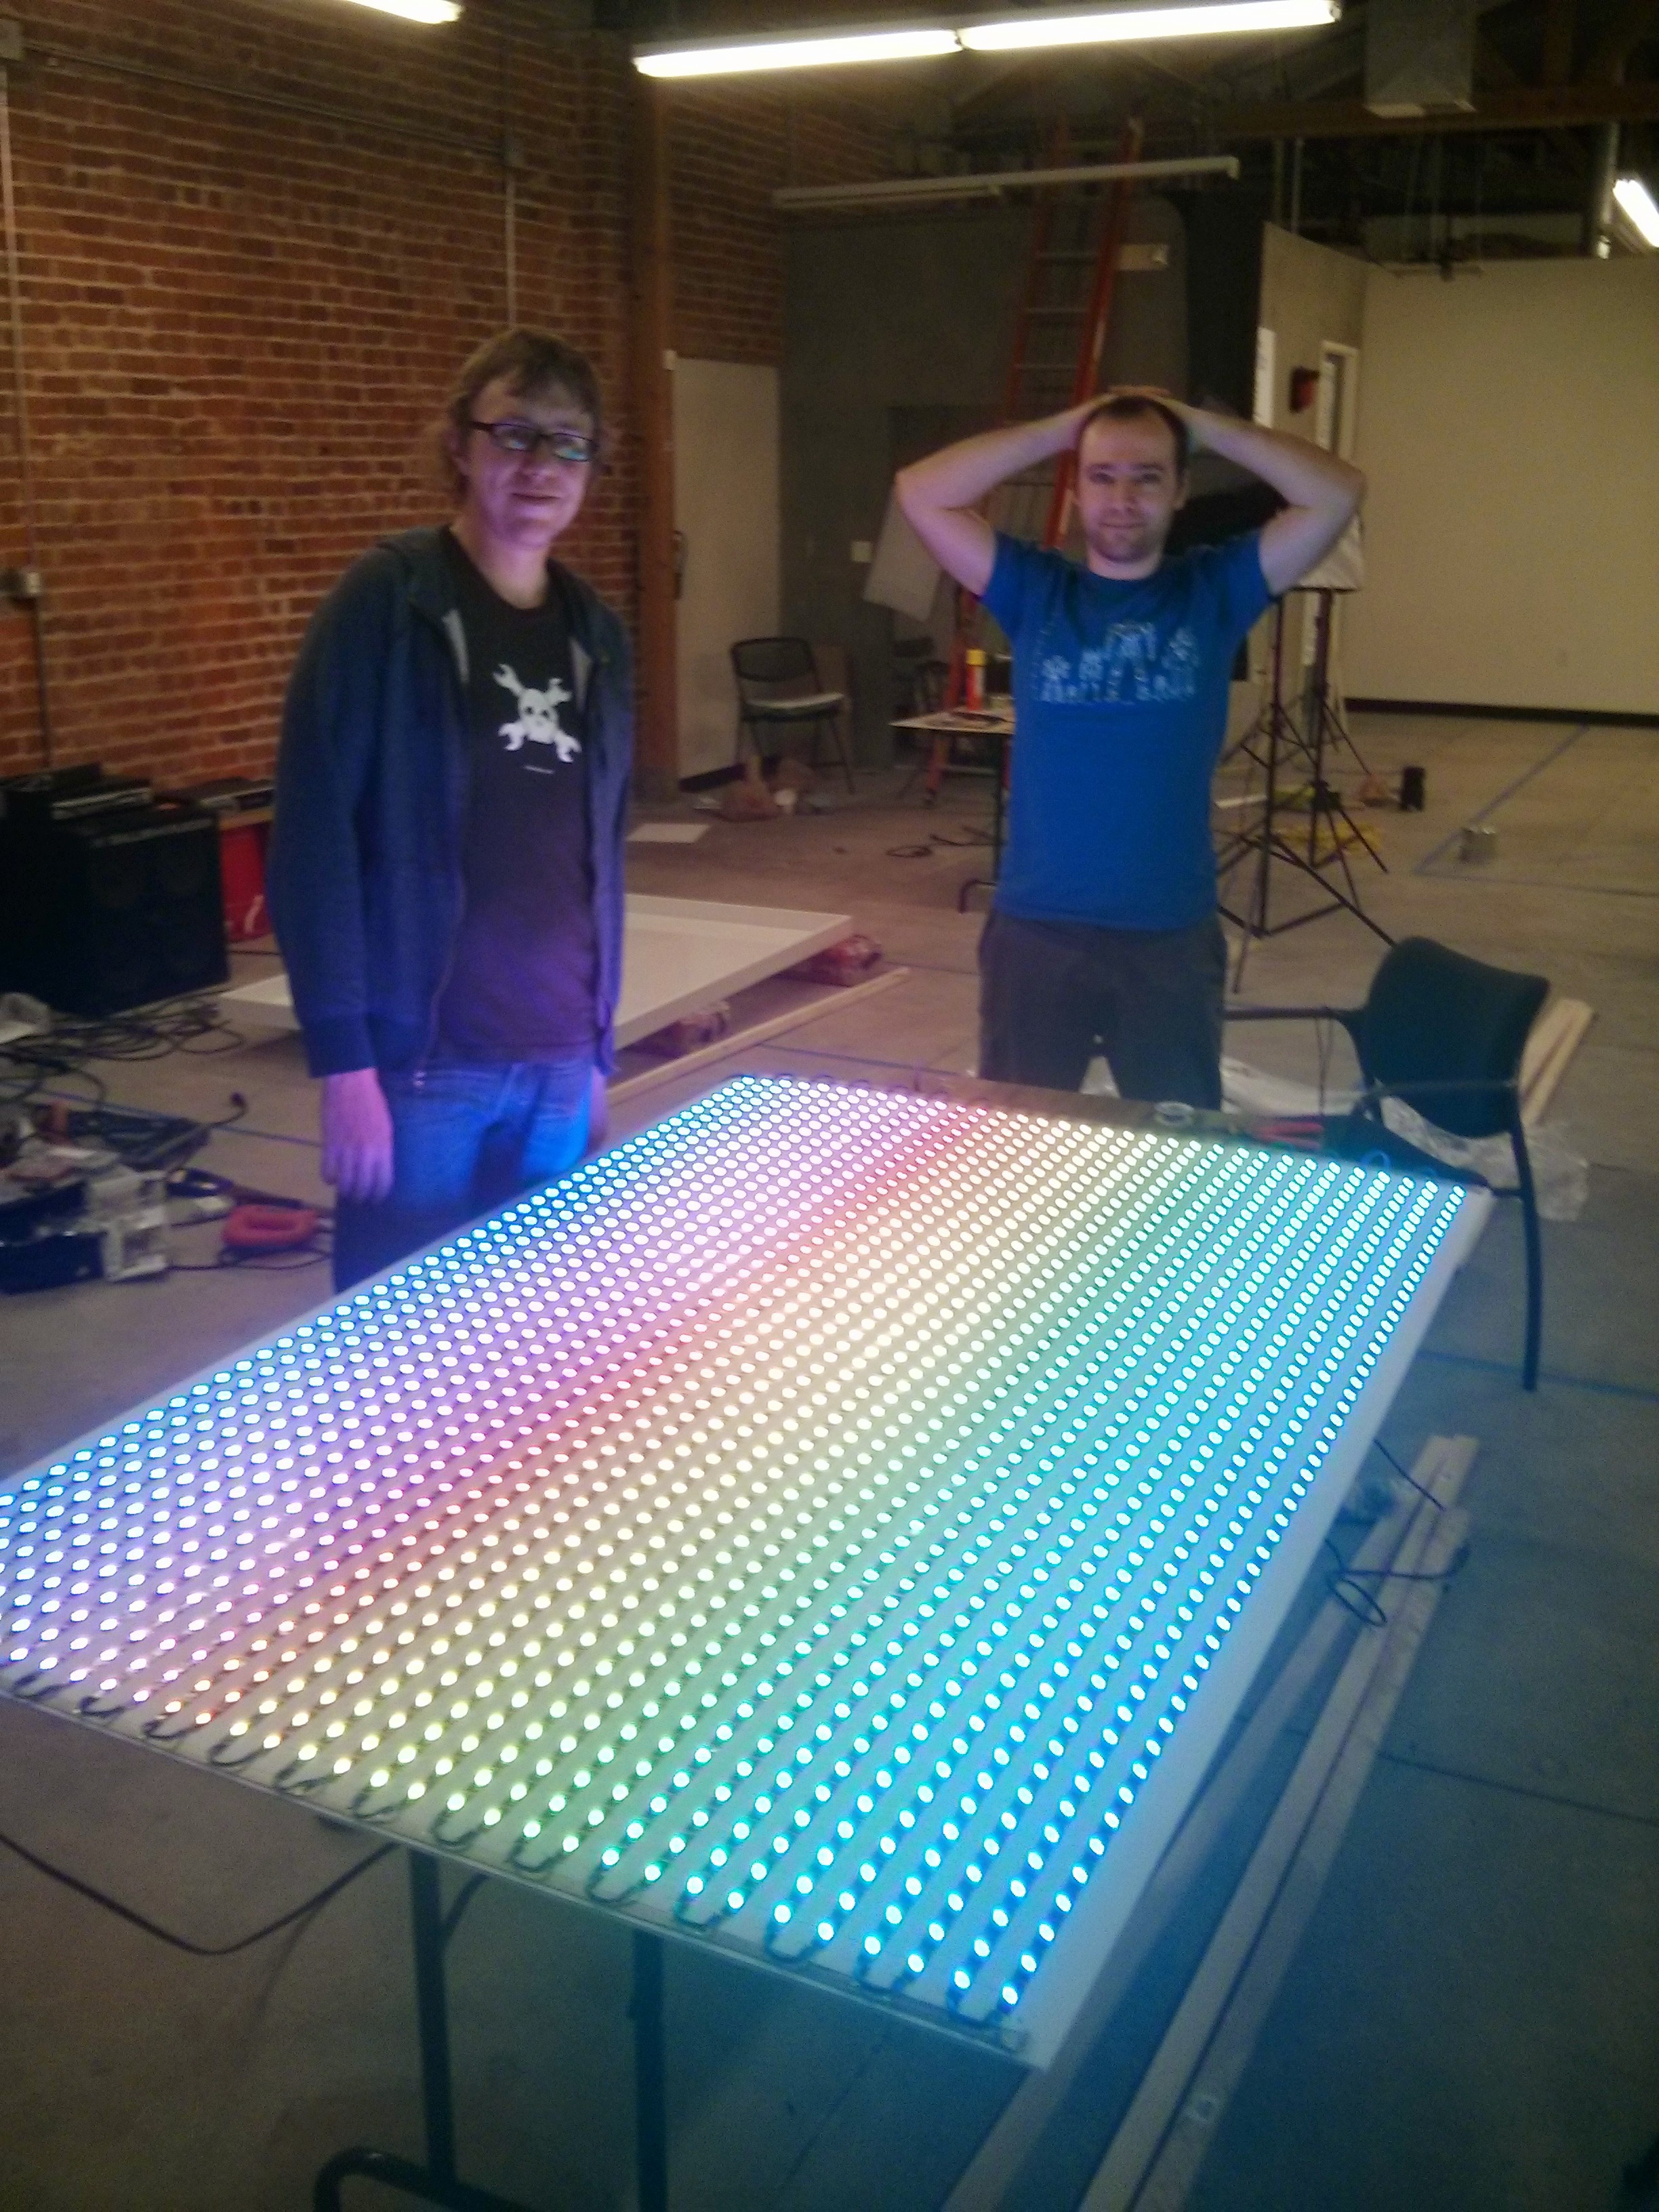
An LED display showing visualizations and rendering data from a variety of TCP sources over the Open Pixel Control protocol
 Ben Delarre
Become a Hackaday.io member
Already have an account? Log in.
Just one more thing
To make the experience fit your profile, pick a username and tell us what interests you.
Pick an awesome username
hackaday.io/
Your profile's URL: hackaday.io/username. Max 25 alphanumeric characters.
Pick a few interests
Projects that share your interests
People that share your interests


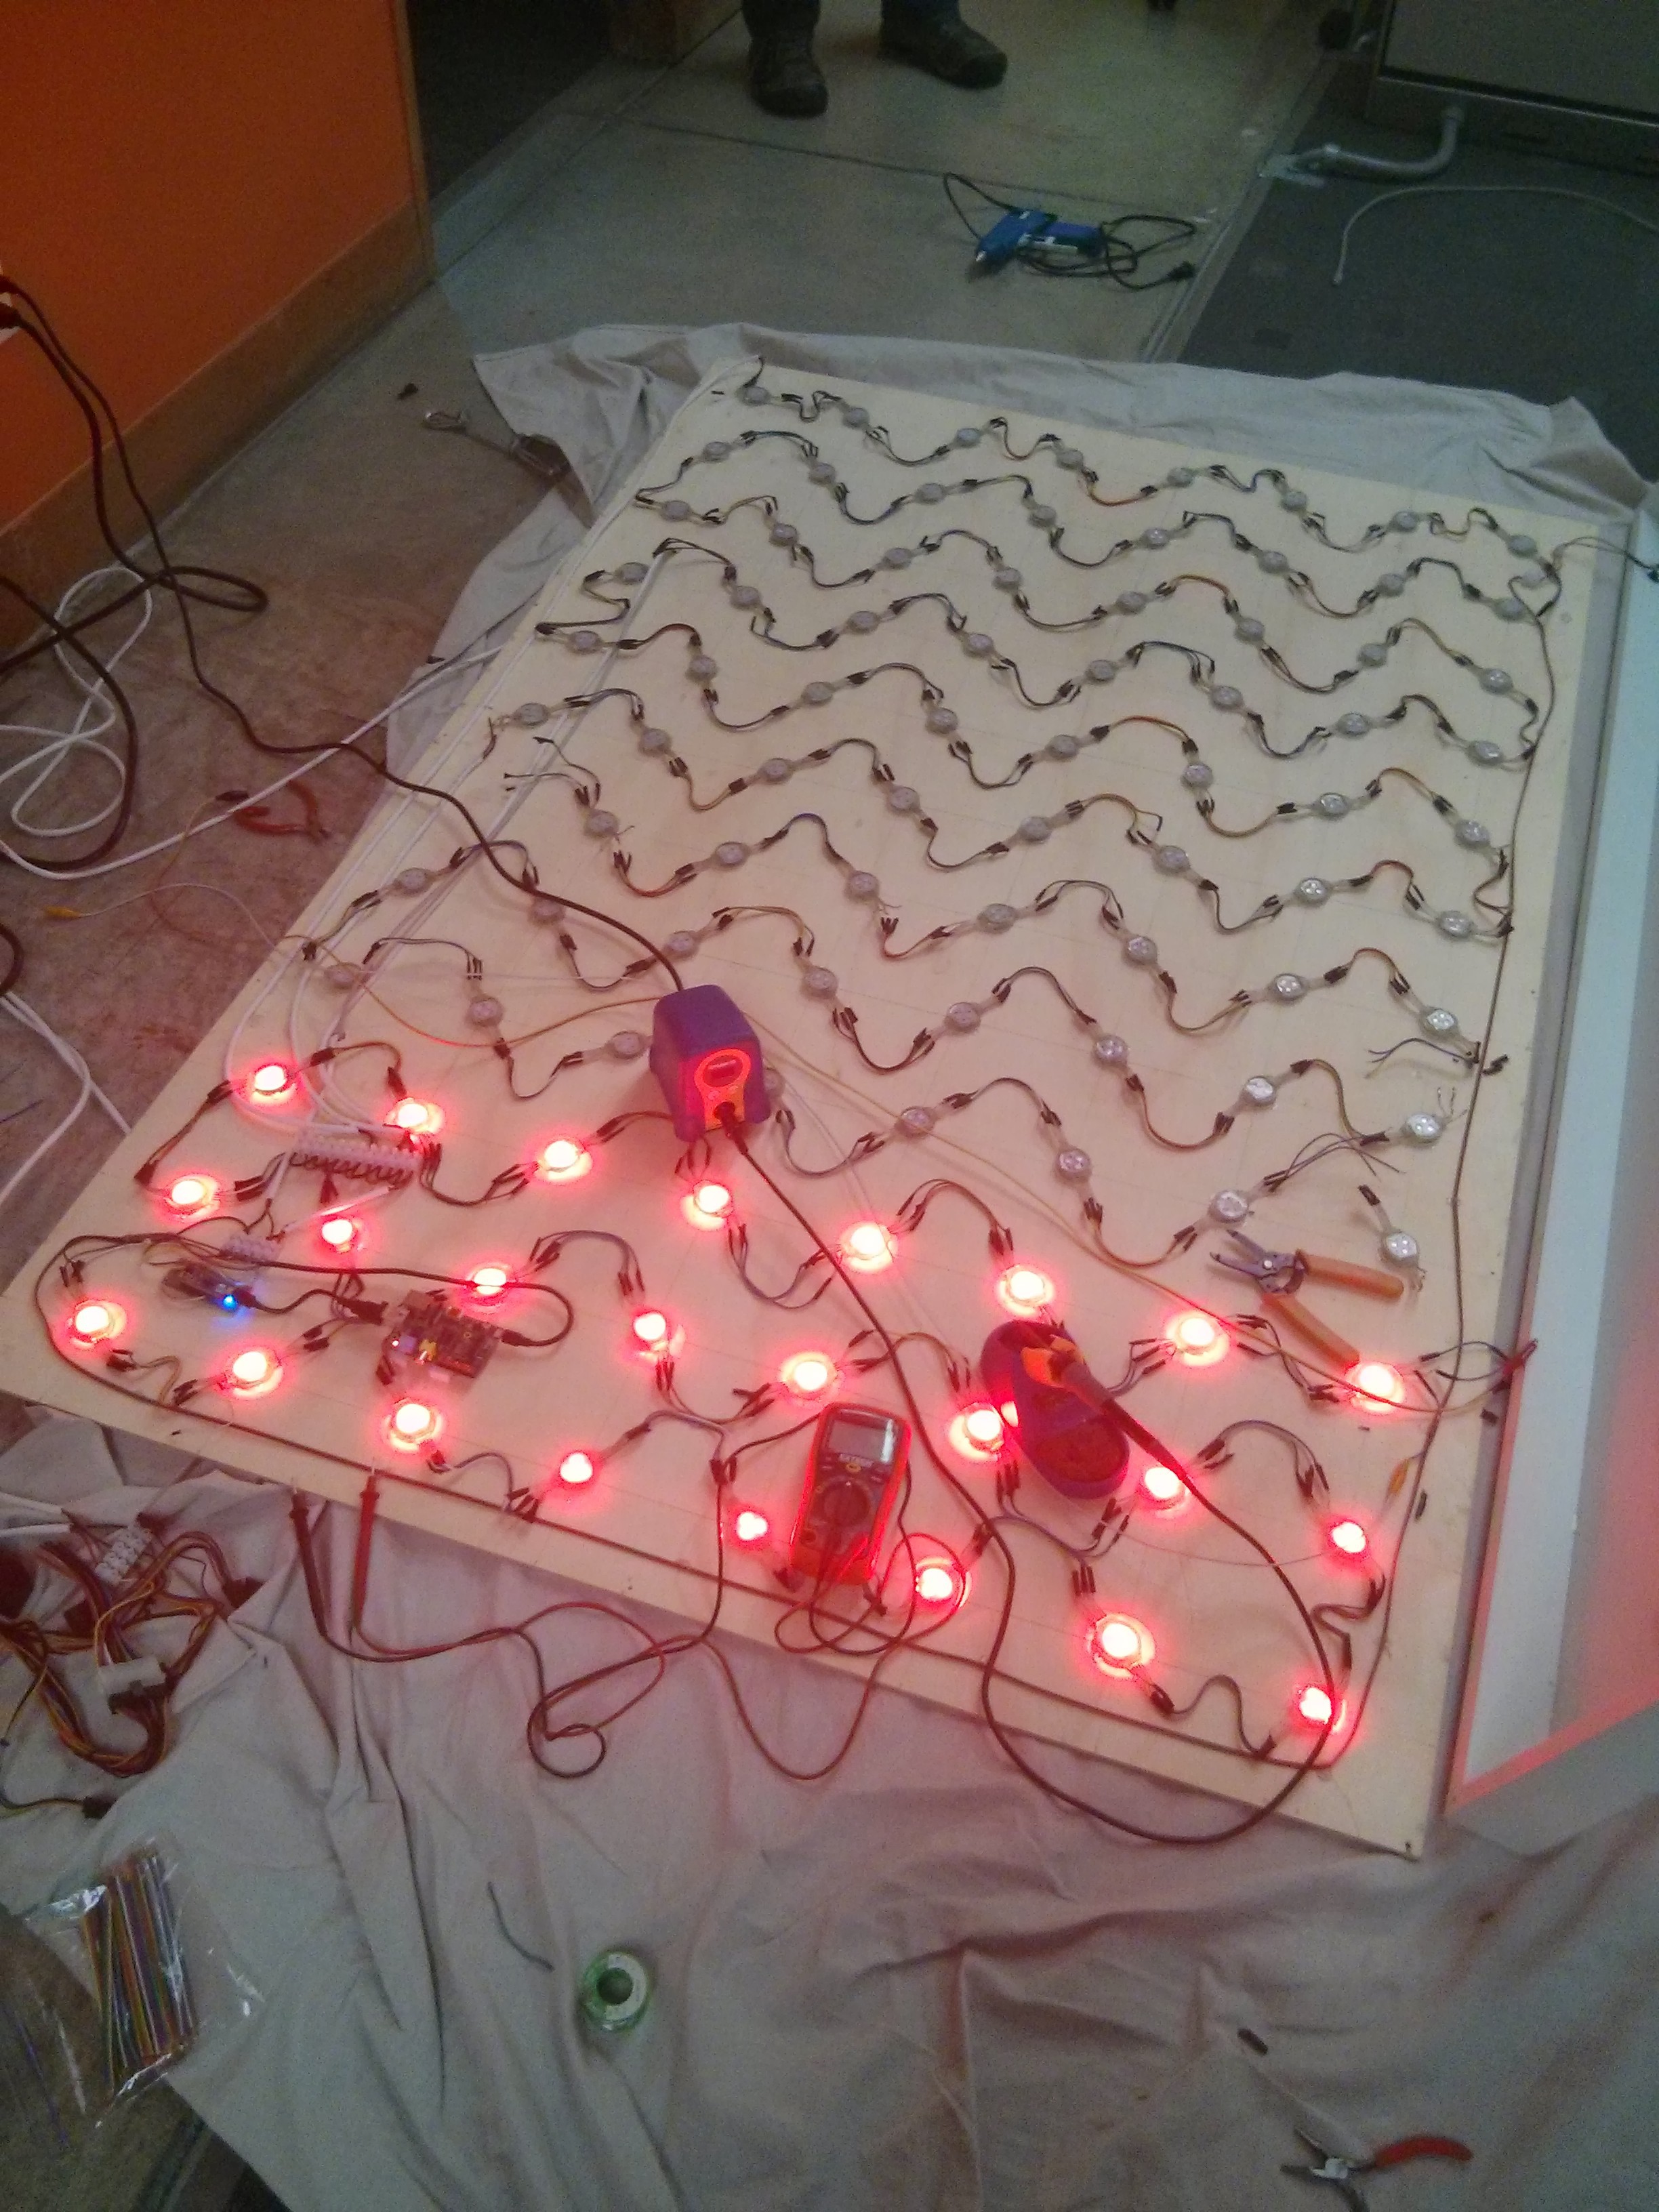 Because we're using WS2811 driven LEDs it didn't seem like there was any easy way to debug the LEDs individually. So we had to resort to a binary search, this meant cutting the strip at various points to find where in the chain the issue was found. After 7 cuts we managed to isolate the one LED that was causing the problem. After tearing it off the backplane we were treated to this lovely example of what happens when you have lots of heat sealed inside some silicone!
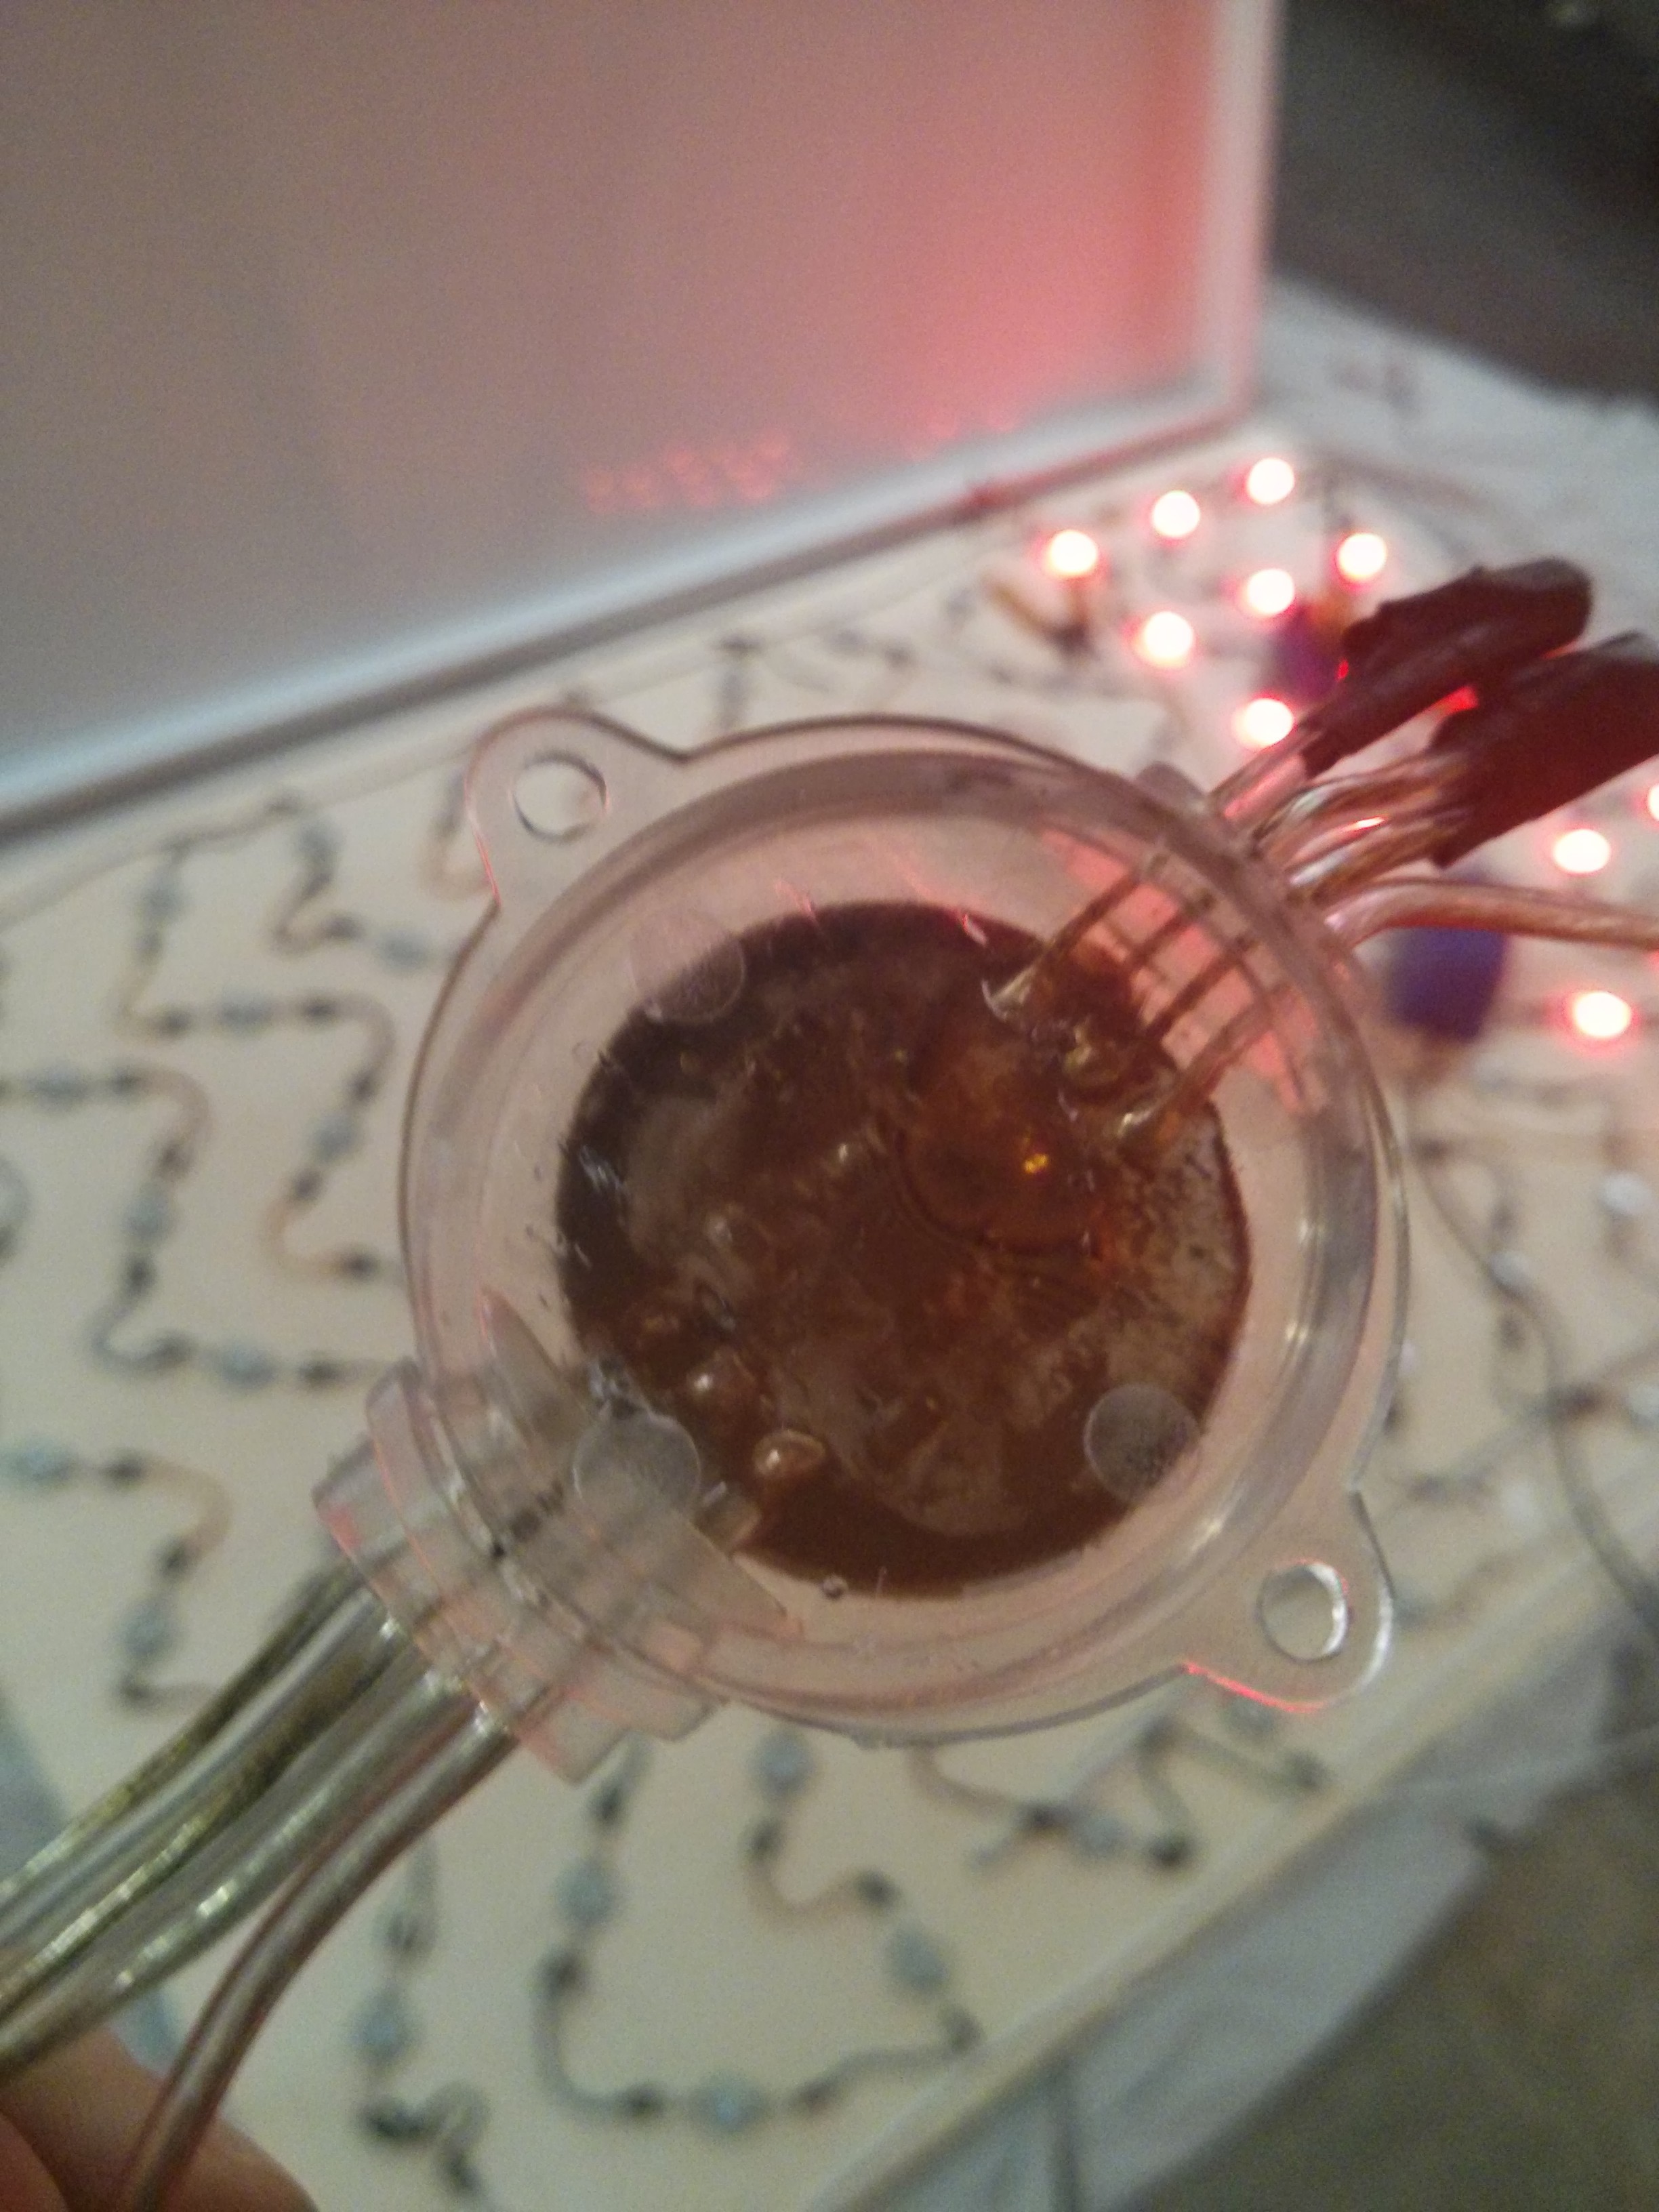


 Yann Guidon / YGDES
 Ron O'Sullivan

 siliconlabs
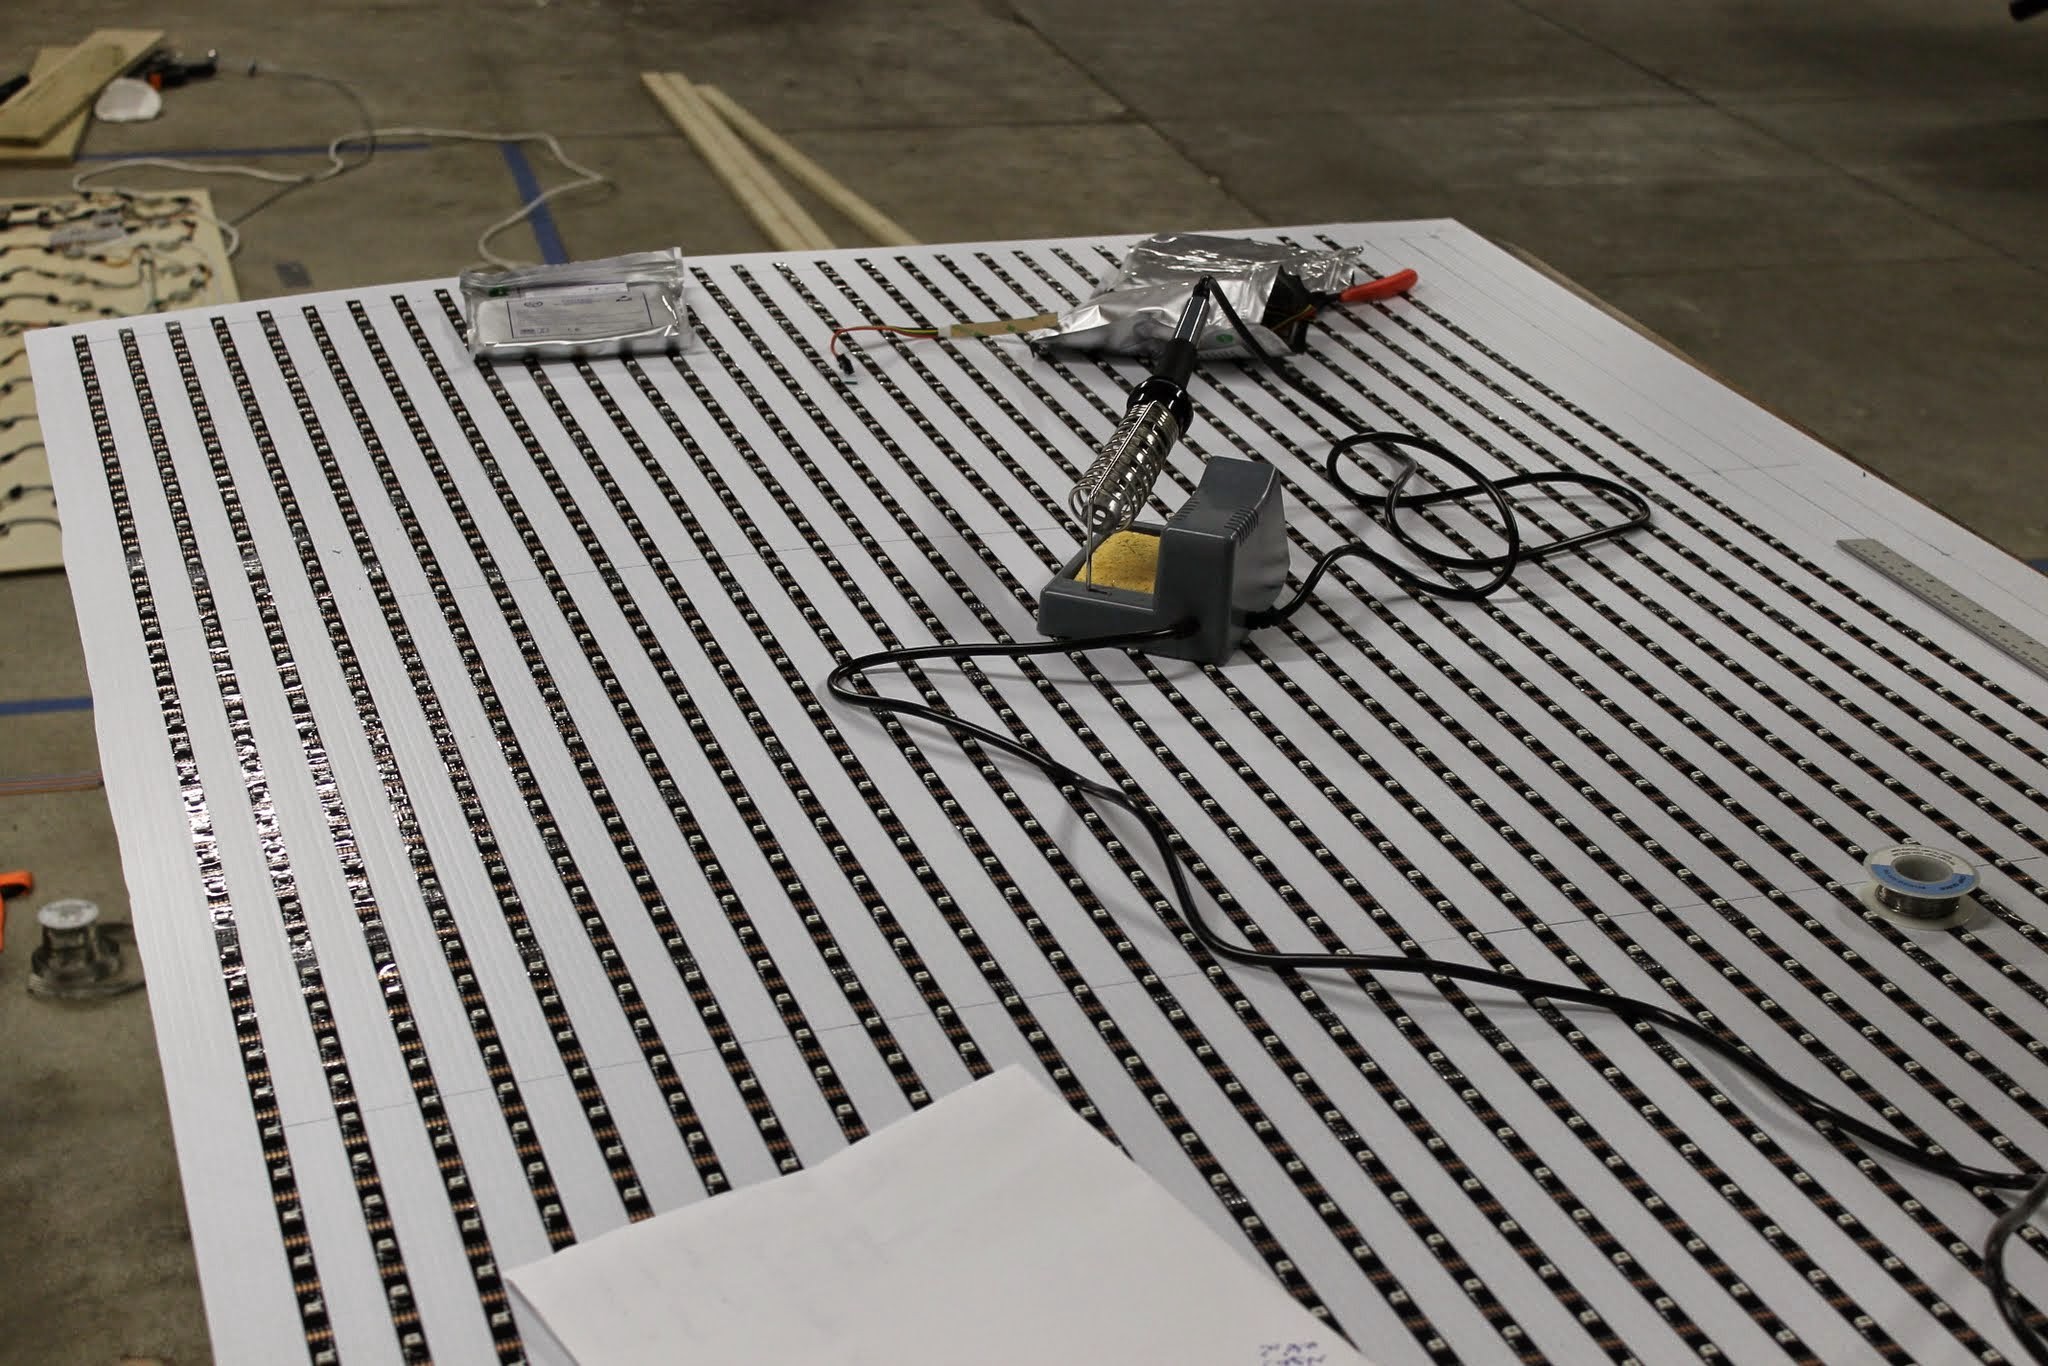
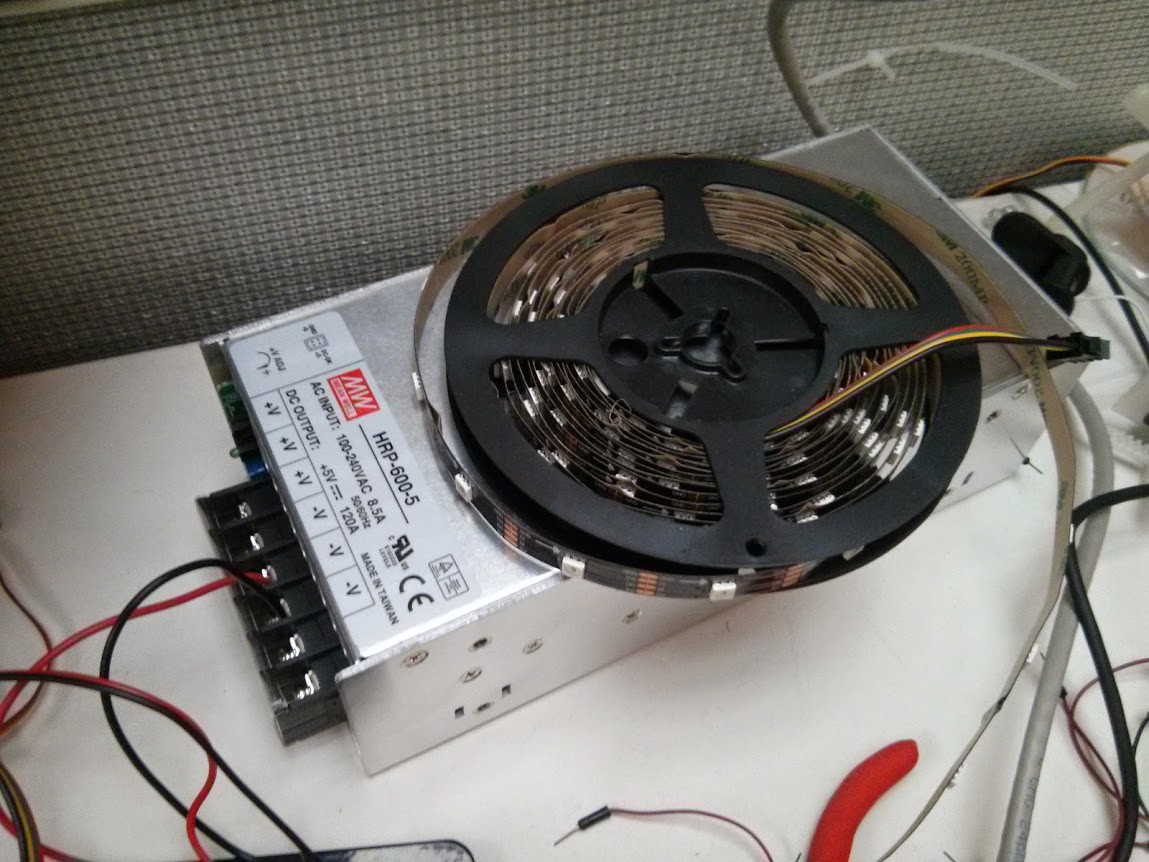
I love this project, one of the few examples I could find for the APA LEDs! Are pictures of the complete setup available? I'm curious how the LEDs are powered and connected to the Beaglebone Black cape