0%
0%
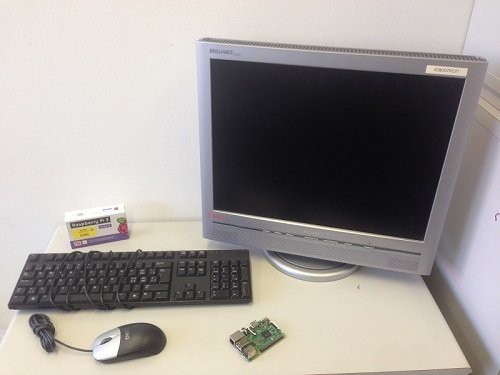
Raspberry Pi 3 based workstation
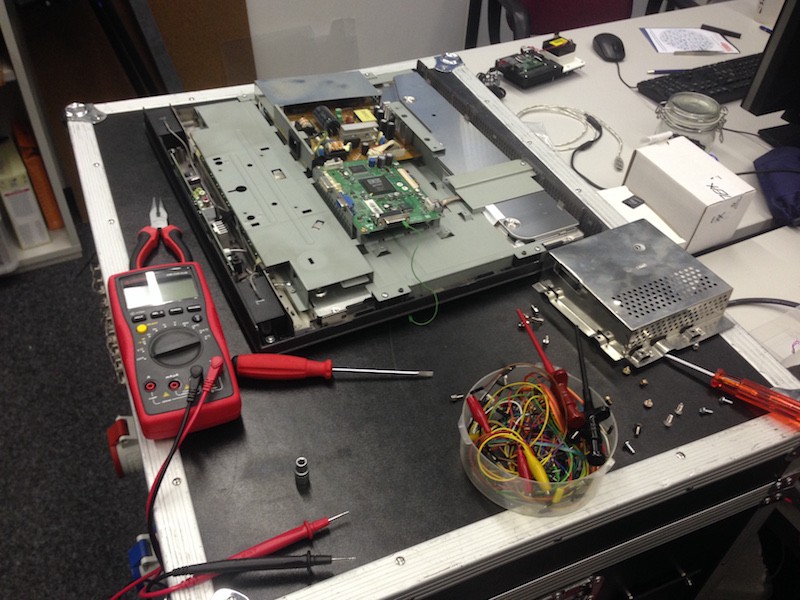
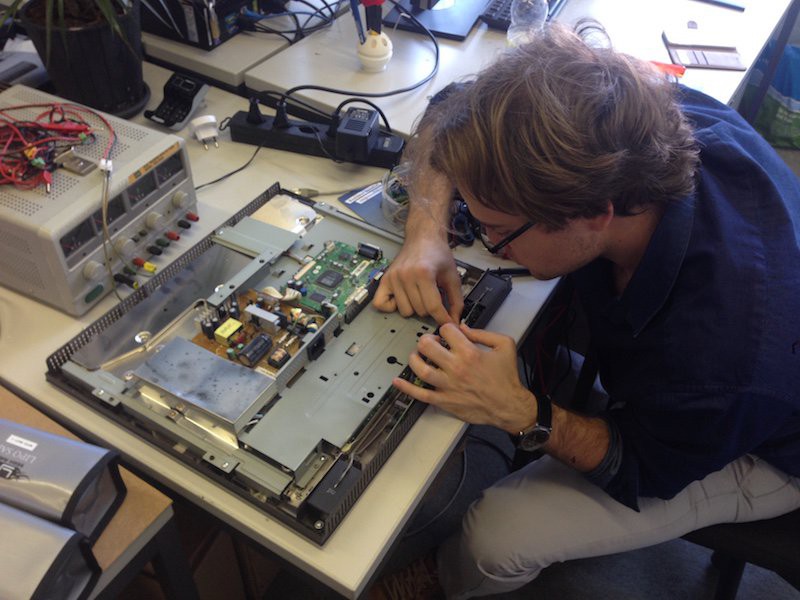
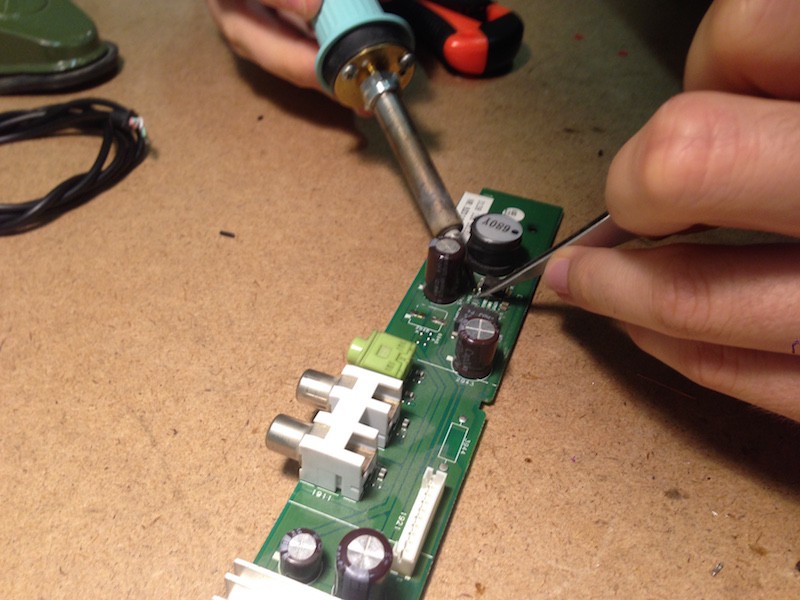
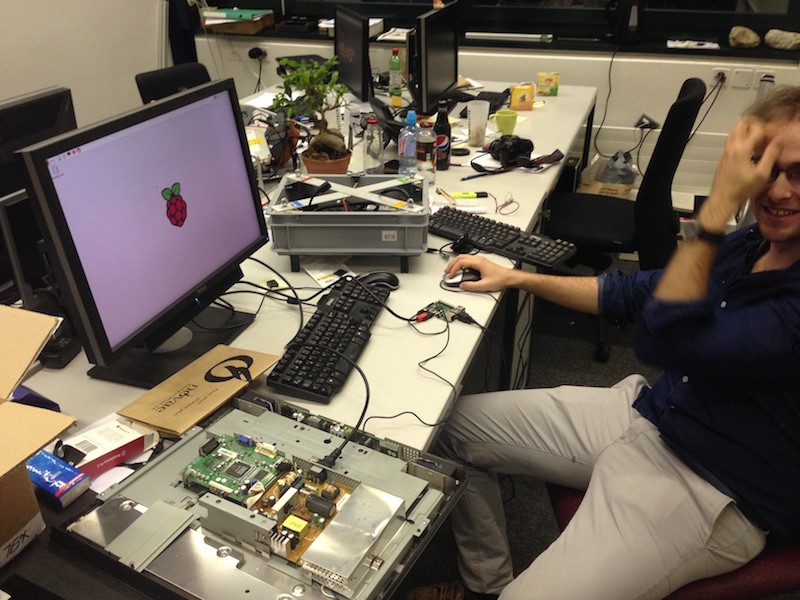
Building an inexpensive (as close to free as possible) workstation based on the Raspberry Pi 3
Become a Hackaday.io member
Already have an account? Log in.
Just one more thing
To make the experience fit your profile, pick a username and tell us what interests you.
Pick an awesome username
hackaday.io/
Your profile's URL: hackaday.io/username. Max 25 alphanumeric characters.
Pick a few interests
Projects that share your interests
People that share your interests


 overflo

 Eric Wiiliam
I wonder if this project couldn't be solved by visiting scrapheap and harvesting dozens of perfectly functional, but morally obsoleted (=it doesn't run newest CPU/GPU heavy games) computers or laptops for free.
As an alternative suggestion - friend of mine looked for second-hand computers for foster home by emailing a few local companies with polite explanation of his aim - a few days later he had offers for used office computers ready for pick up.
This way you can cut down the HW costs to absolute minimum, perhaps to zero - and solve only the transportation.